
Español
Hola mis seguidores y lectores…
En las escuelas de primaria de mi país, siempre piden hacer muchas cosas para decorar o celebrar algo. El trabajo que hoy les muestro, fue elaborado con la intención de complementar la cartelera de cumpleaños del aula de clases. Cada niño debía llevar de manera creativa su nombre y fecha de nacimiento.
Dado que mi amigo (al padre del niño) no le gustan las manualidades me encargó la misión a mi, y pues acá les muestro lo que hice de forma rápida (cabe acotar lo hice en un par de horas nada más)
Sin más, y esperando disfruten del trabajo realizado les dejo los materiales utilizados, el proceso y las fotos finales del trabajo realizado.
- Hoja o cartón suave reciclado
- Foami de colores
- Cartulina Blanca
- Marcadores permanentes (gruesos y delgados)
- Lápiz
- Plancha
- Silicón Liquido
- Tijera
- Cutter
English
Hello my followers and readers...
In elementary schools in my country, they always ask to do many things to decorate or celebrate something. The work that I show you today, was made with the intention of complementing the birthday poster in the classroom. Each child had to creatively carry his or her name and date of birth.
Since my friend (the father of the child) does not like crafts, he gave me the mission to me, and here I show you what I did quickly (it should be noted that I did it in a couple of hours nothing more).
Without further ado, and hoping you enjoy the work done I leave the materials used, the process and the final photos of the work done.
- Sheet or recycled soft cardboard
- Colored Foami
- White cardboard
- Permanent markers (thick and thin)
- Pencil
- Iron
- Liquid Silicone
- Scissors
- Cutter
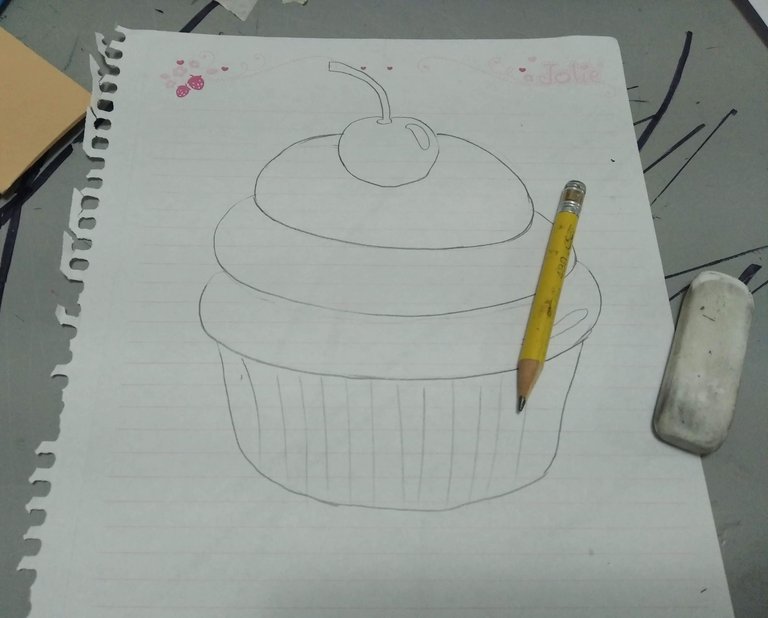
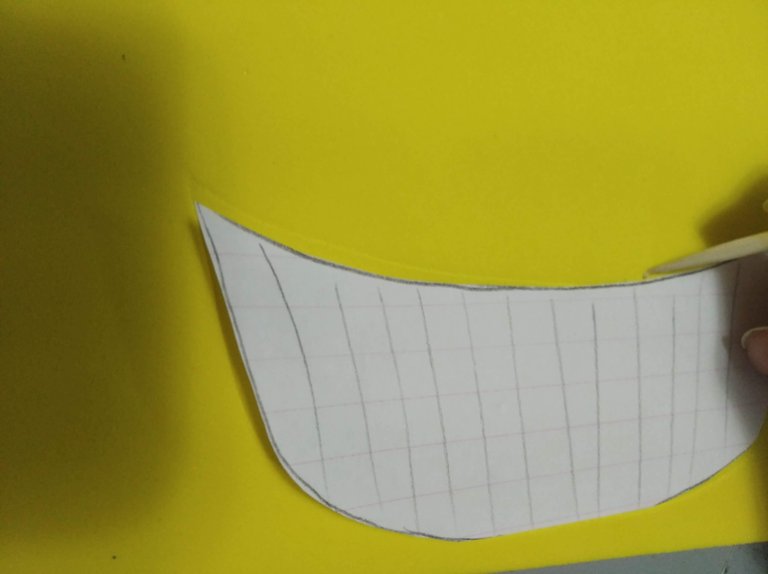
1.- Diseñar el cupcake en la hoja reciclada del tamaño (ancho y alto) que se desee. Para este caso fue de 10 por 10 centímetros aproximadamente.
1.- Design the cupcake on the recycled sheet of the size (width and height) you want. In this case it was approximately 10 by 10 centimeters.
 |
|---|
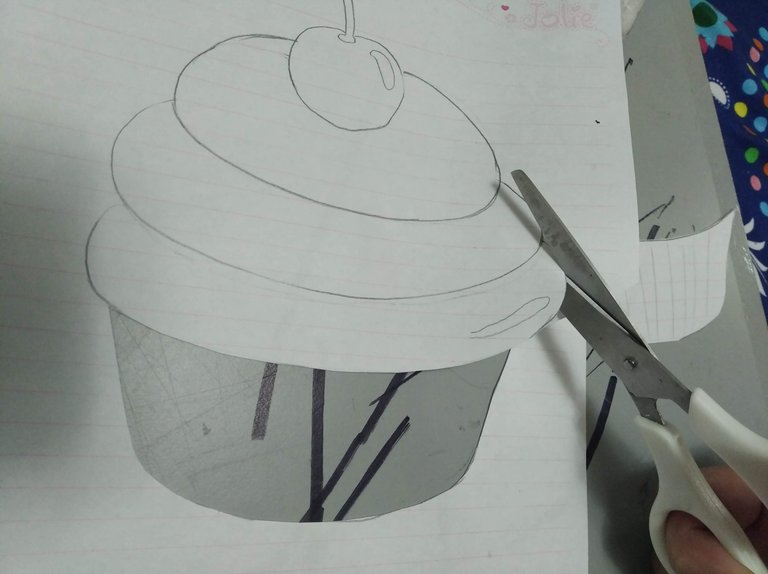
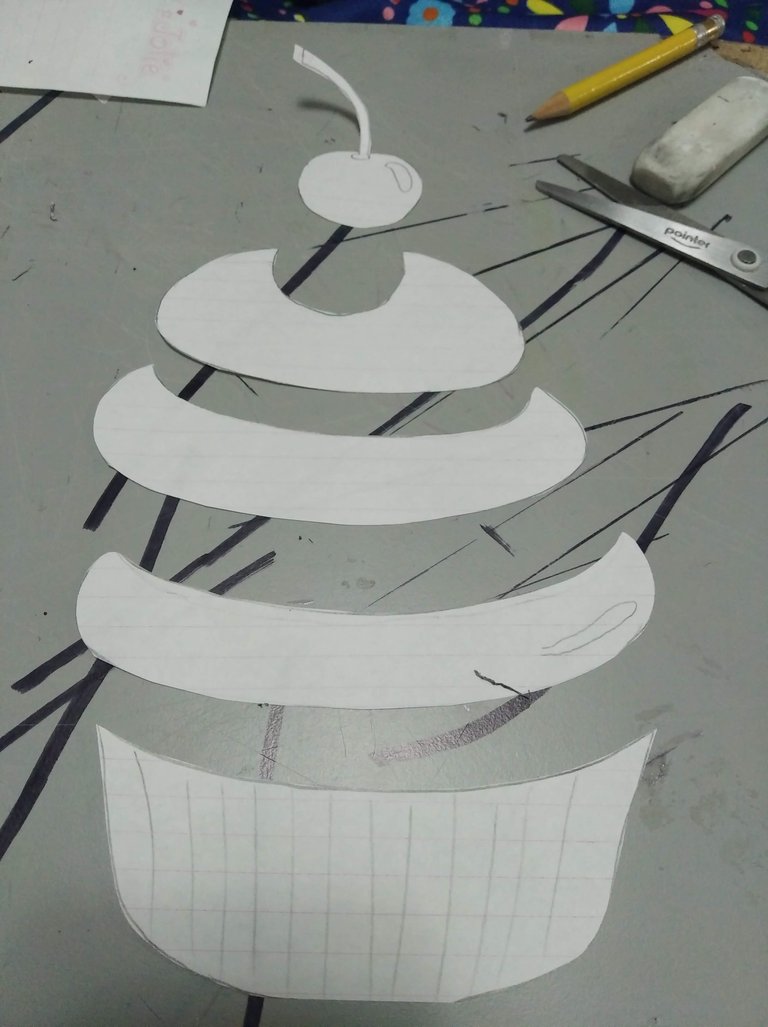
2.- Al tener el diseño listo, recortar las distintas partes que componen el diseño.
2.- Once the design is ready, cut out the different parts that make up the design.
 |  |
|---|
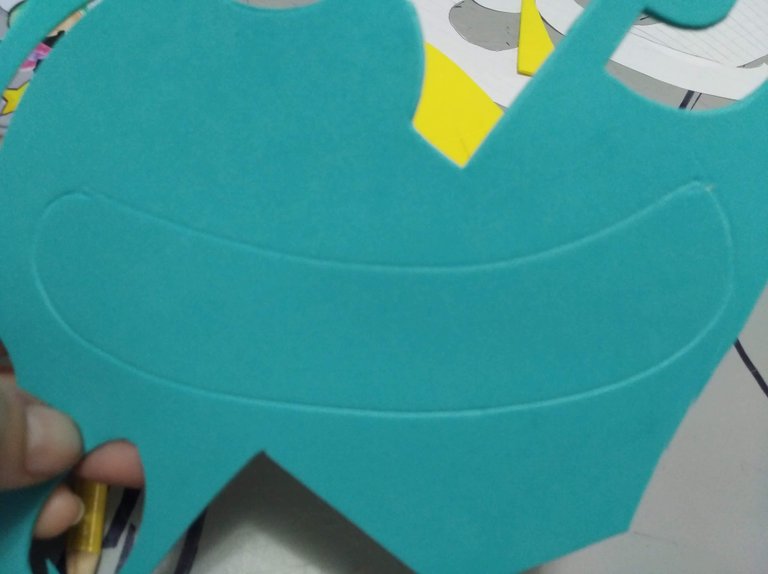
3.- Cada pieza recortada deberá marcarse con la ayuda del lápiz en el foami. Para este trabajo utilicé colores variados y divertidos para cada pieza.
3.- Each cut out piece should be marked with the help of a pencil on the foami. For this work I used varied and fun colors for each piece.
 |  |
|---|
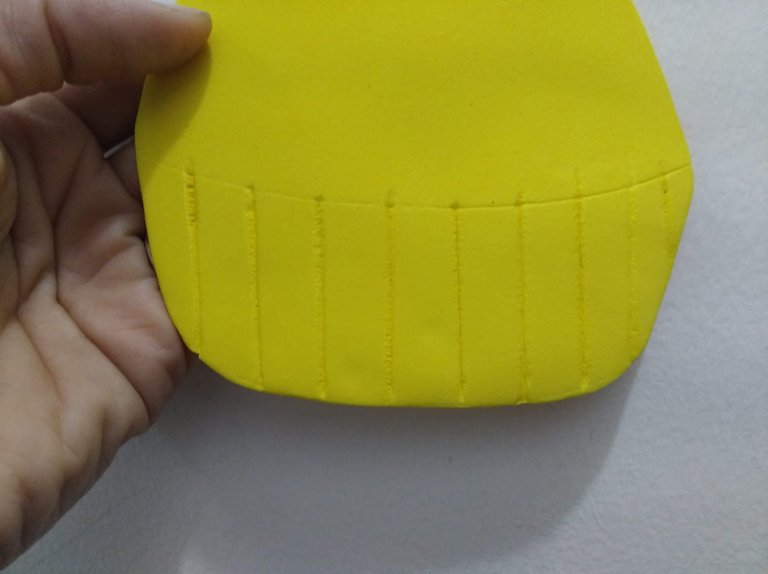
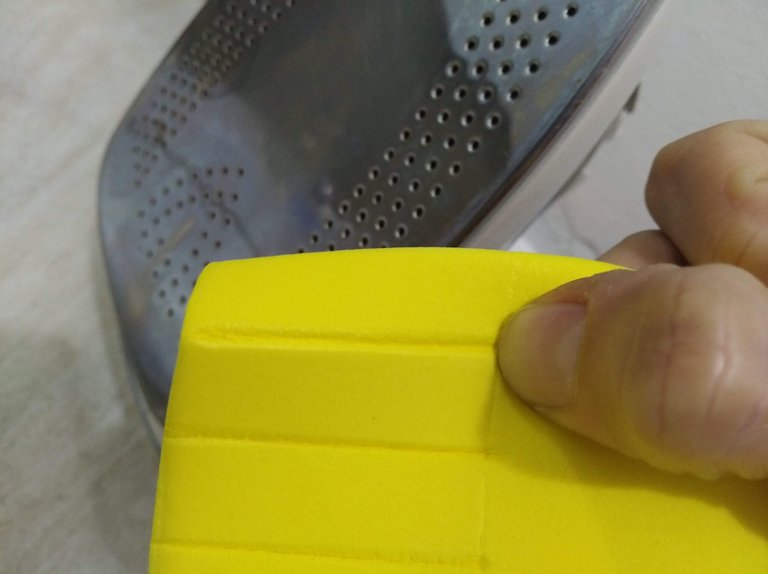
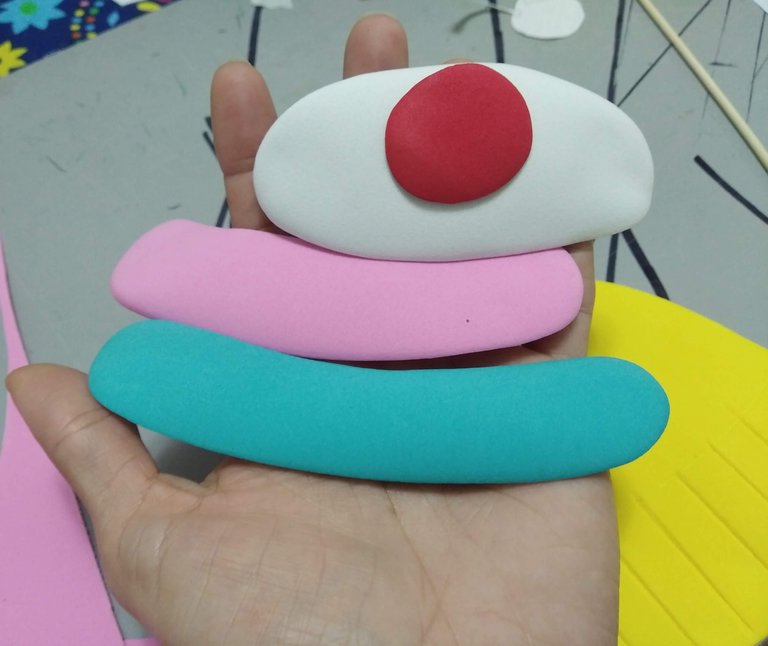
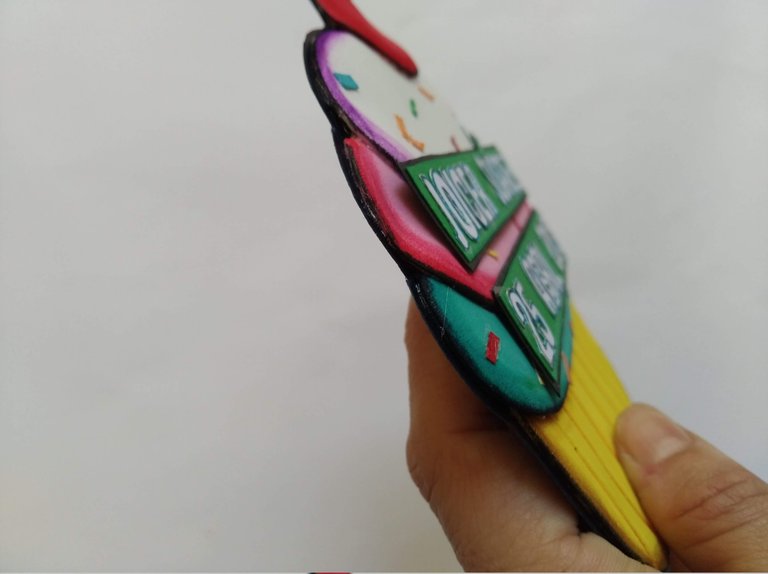
4.- A las piezas foami, recortarlas, marcarlas (si se desea) y pasarlas por el calor de la plancha caliente para que tomen un poco de volumen y no se vean tan planas.
4.- Cut out the foami pieces, mark them (if desired) and pass them through the heat of the hot iron so that they take on a little volume and do not look so flat.
 |  |
|---|---|
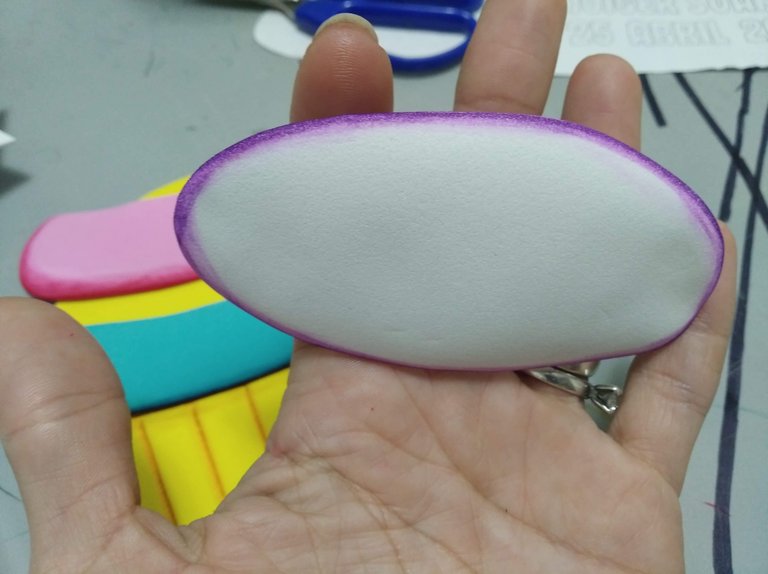
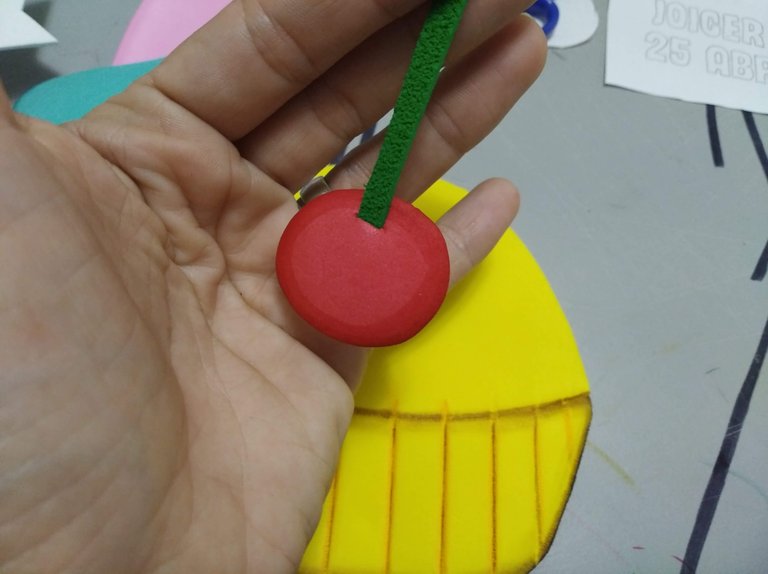
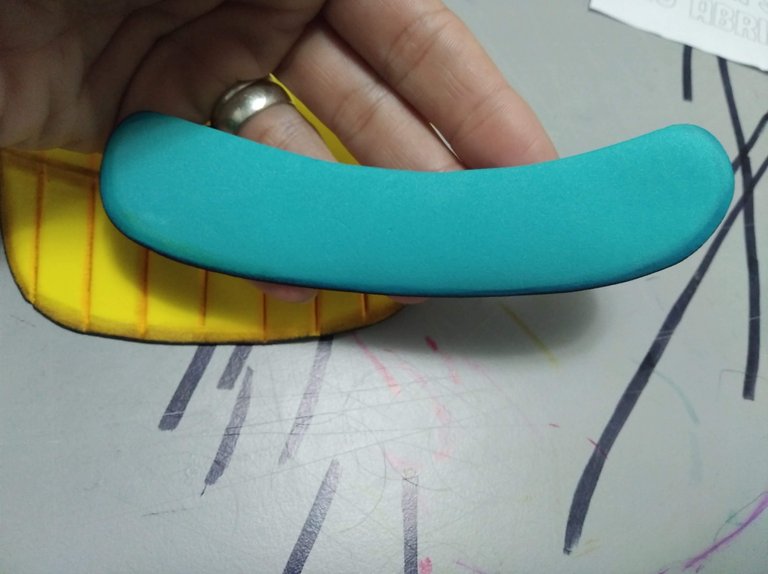
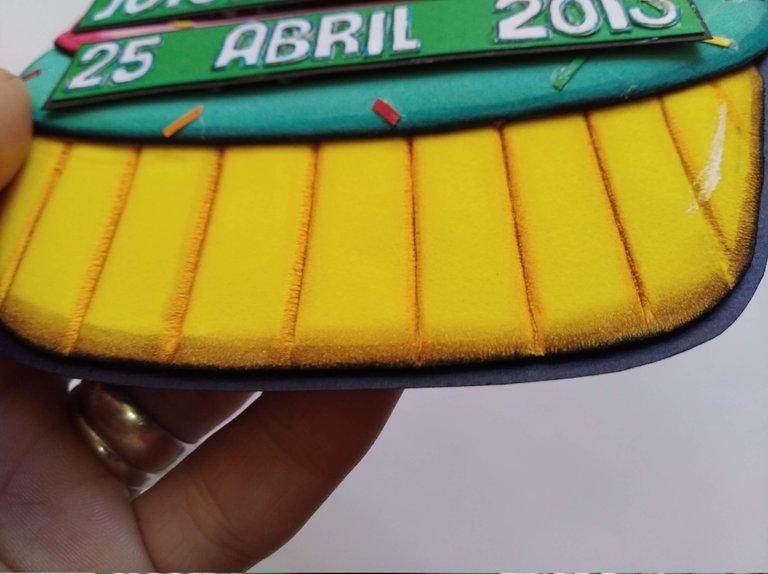
5.- Con todas las piezas listas, darle sombreado con los marcadores permanentes, este sombreado es a gusto personal, sin embargo, a mi me gusta el sombreado difuminado porque da mayor profundidad a las piezas.
5.- With all the pieces ready, give it shading with the permanent markers, this shading is to personal taste, however, I like the blurred shading because it gives more depth to the pieces.
 |  | |||
|---|---|---|---|---|
 |  | - | - |
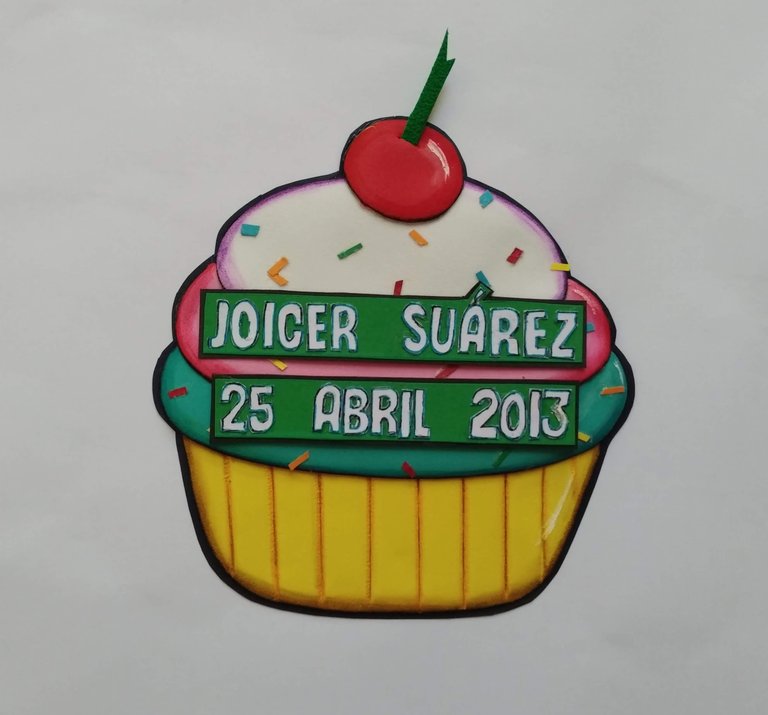
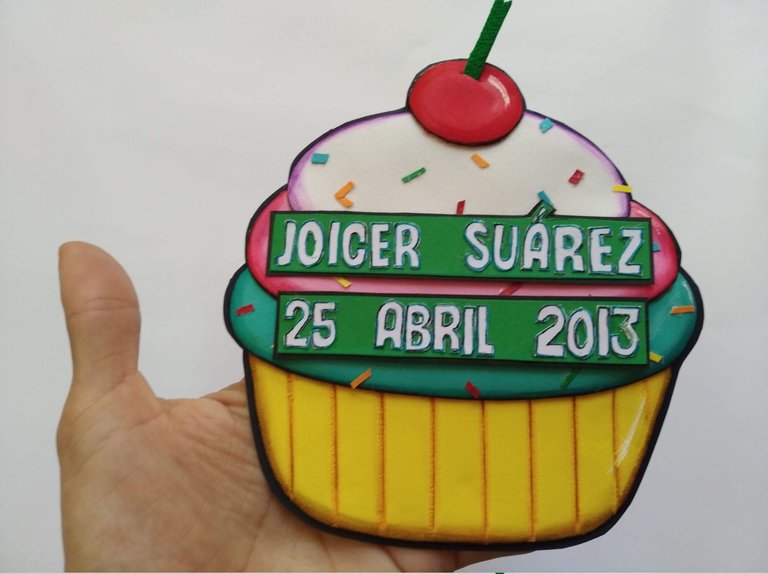
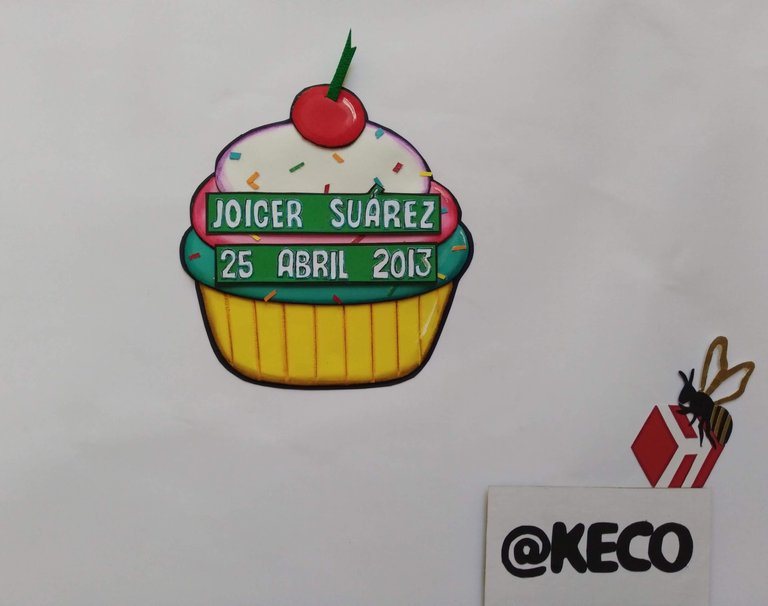
6.- Al tener todas las piezas terminadas, pegar sobre la cartulina blanca de acuerdo al orden del diseño y colocar el nombre y la fecha de cumpleaños. Luego de pegar todo, poner detalles personales y recortar todos los bordes de la cartulina sobrante, ¡y listo!, tienen un recordatorio de cumpleaños sencillo pero hermoso.
6.- When you have all the pieces finished, glue on the white cardboard according to the order of the design and place the name and the birthday date. After gluing everything together, add personal details and trim all the edges of the leftover cardboard, and voila, you have a simple but beautiful birthday reminder.
IMAGEN O IMÁGENES PASO 6
 |  | |||
|---|---|---|---|---|
 |  | - | - |
Espero les haya gustado y sobre todo se entusiasmen a crear algo parecido para sorprender a familiares y amigos.
I hope you liked it and, above all, I hope you get excited to create something similar to surprise your family and friends.
NOTA / NOTE:
SALUDOS / REGARDS

Todas las Fotos fueron tomadas con mi teléfono
Contenido original de @keco (fotos y texto) - Todos los derechos reservados para ser Publicado en HIVE así como en mis distintas redes: Instagram y X
All photos were taken with my phone
Original content by @keco (photos and text) - All rights reserved to be posted on HIVE as well as on my various networks: Instagram and X
Quedó hermoso. Cada detalle, el paso a paso bien explicado y la elección de colores son cosas dignas de elogiar en tu publicación. Te felicito por tan buen trabajo realizado. Saludos y bendiciones.
Hola @edeyglezsosa un placer leerte. Estoy contenta les haya gustado. Fue algo super veloz de hacer pero feliz con el resultado, a la maestra le gustò bastante gracias a Dios.
Saludos, bendiciones y éxitos.
wow, it's very beautiful👍
Muchas Gracias @reachdreams
!discovery 25
Gracias infinitas @idayrus
This post was shared and voted inside the discord by the curators team of discovery-it
Join our Community and follow our Curation Trail
Discovery-it is also a Witness, vote for us here
Delegate to us for passive income. Check our 80% fee-back Program
Gracias @discovery-it y a todo el equipo de curadores... Infinitas gracias.
Saludos, bendiciones y éxitos.
Thanks @discovery-it and the whole team of curators.... Thank you so much.
Greetings, blessings and success
Quedó muy lindo y llamativo. Difícilmente pasará desapercibida su fecha de cumpleaños.
Hola @mamaemigrante, sin duda serà visible entre todos los recordatorios jejeje.. Gracias.
Saludos, bendiciones y èxitos.
This is so colorful, such an easy-to-make craft and it’s perfect for our little ones as it would keep them both busy and entertained. Great job friend and thanks for sharing.
Ese recordatorio de cumple años para pizarra es una notaaaa! Dios mío que estas costumbres no se pierdan, extraño cuando las maestras convertían los salones en galerías de DIY por todos lados; que bueno que esta comisión llegó a ti y estoy segura tanto el papá como el niño quedaron súper felices con el resultado 🤌 💞