

Hello, my dear readers. I hope you are having or have had a wonderful day. Christmas is here, and it's time to feel the excitement of putting up Christmas decorations all over the house and in every empty corner. You have to put up decorations, whether large or small; the important thing is to change the atmosphere so that you can feel Christmas throughout the house.
For my part, I want to show you a Christmas tree decoration made from recycled materials using the origami technique. It looks very nice and you don't need many materials.
As many of you may know, origami is a Japanese art form in which paper figures are made by folding the paper without cutting or gluing, using only certain folds to create either flat or three-dimensional figures. It is truly a beautiful art form that only requires patience and has many benefits, such as helping to improve concentration, memory and coordination. It also works as therapy for stress, attention and frustration.
In short, there are many good reasons to practise it, although not everyone likes to do so. Here is a step-by-step guide on how to make a small tree; I made it out of shiny card; actually, the paper is called glazed paper, but I don't know what it's called in other countries. This paper was an advertisement that was going to be thrown away at a shop, and I asked them to give it to me since it was in good condition. I asked for it because this paper is actually expensive at a stationery shop, but without further ado, I'll show you how I made it.


STEP BY STEP:
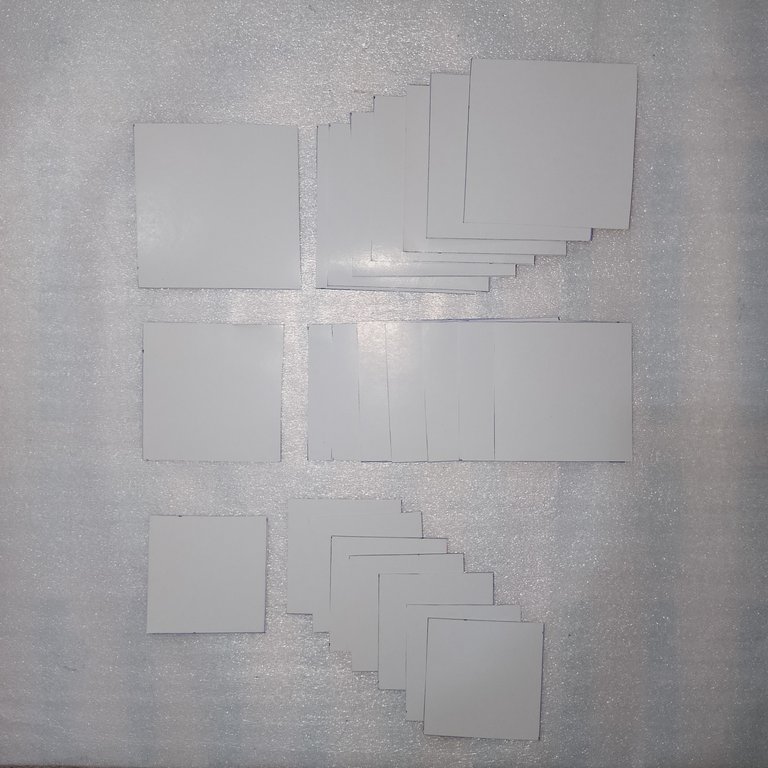
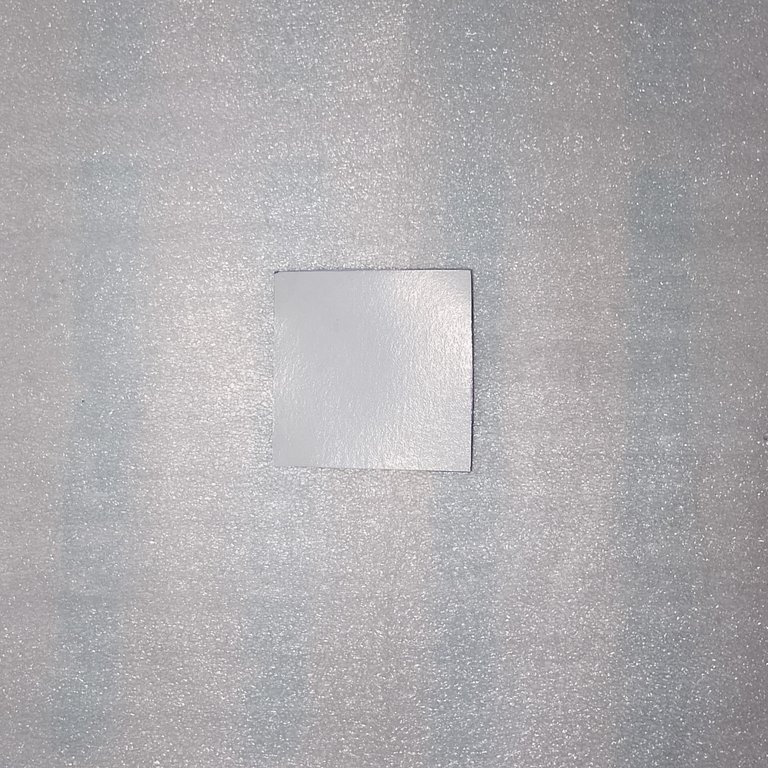
To make the tree, I will need eight squares of different sizes. Some will be 7x7 cm, some 6x6 cm, and some 5x5 cm.

Once you have checked all the boxes, cut them out.
|
|
|
|---|


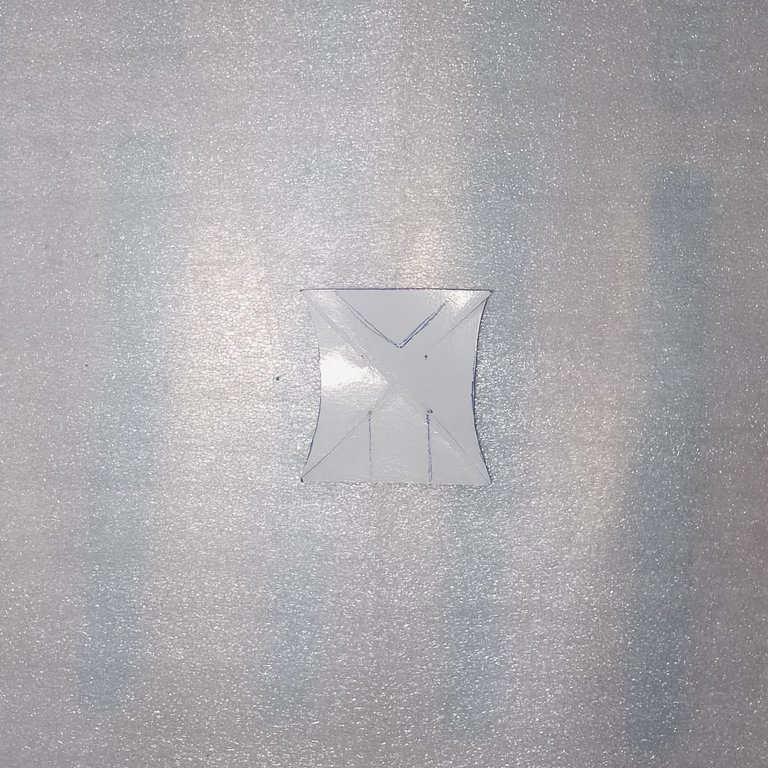
I will take a square and then make vertical folds on both sides to form an X.
|
|
|---|


|
|
|---|

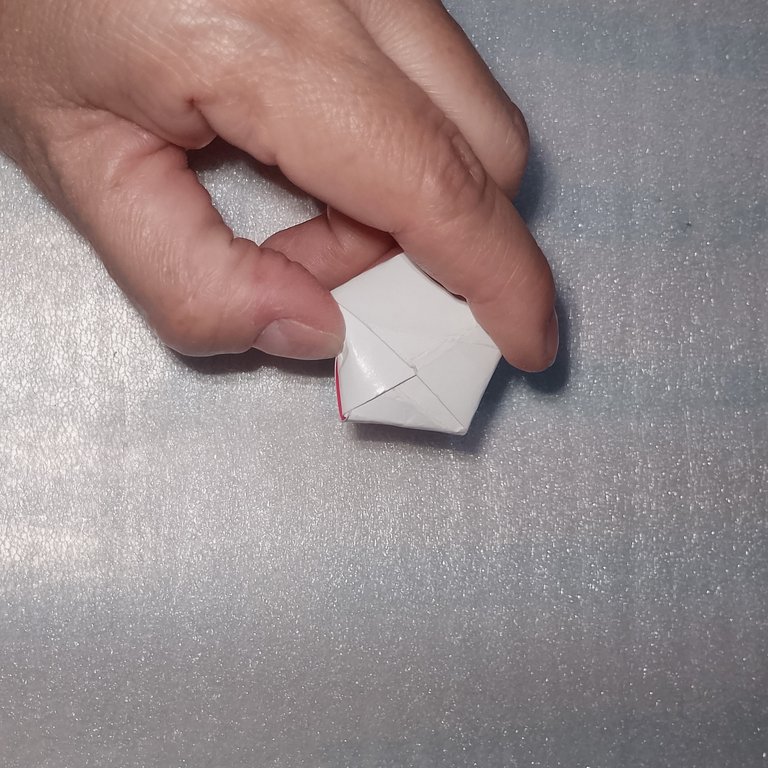
Now fold the corners toward the center diagonally, forming a sort of pyramid; then do the same on the other side, as shown in the images.
|
|
|
|---|


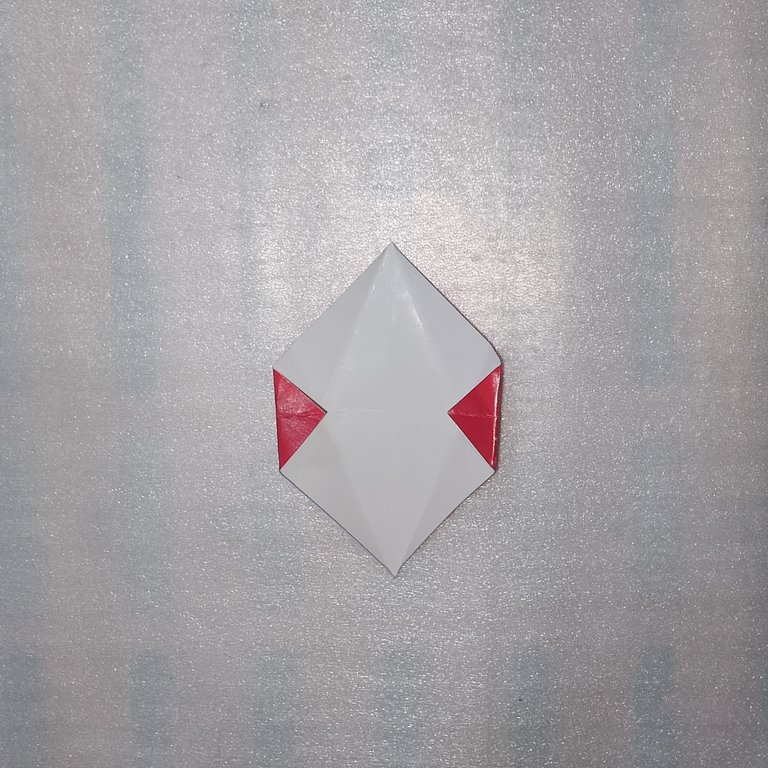
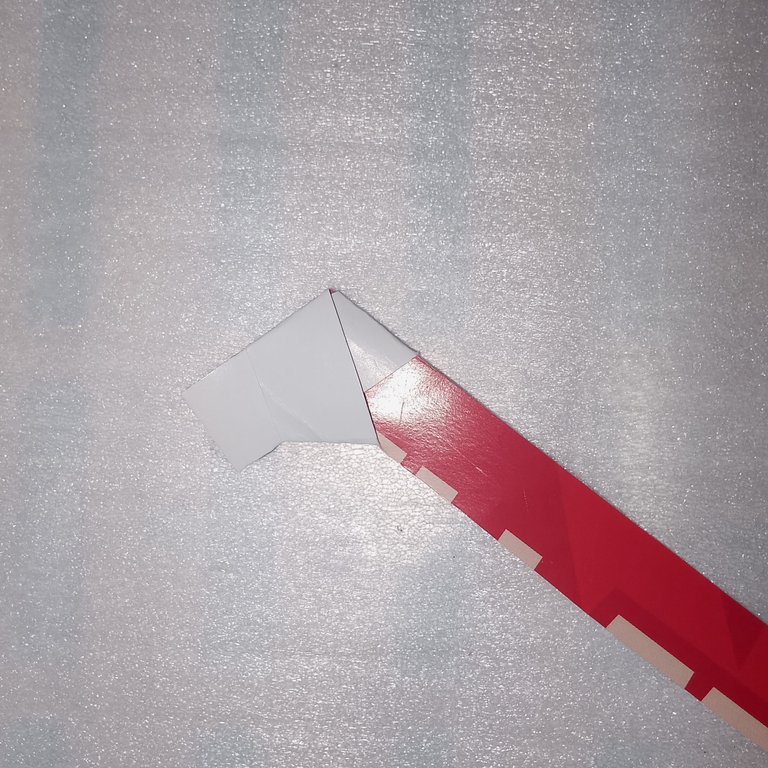
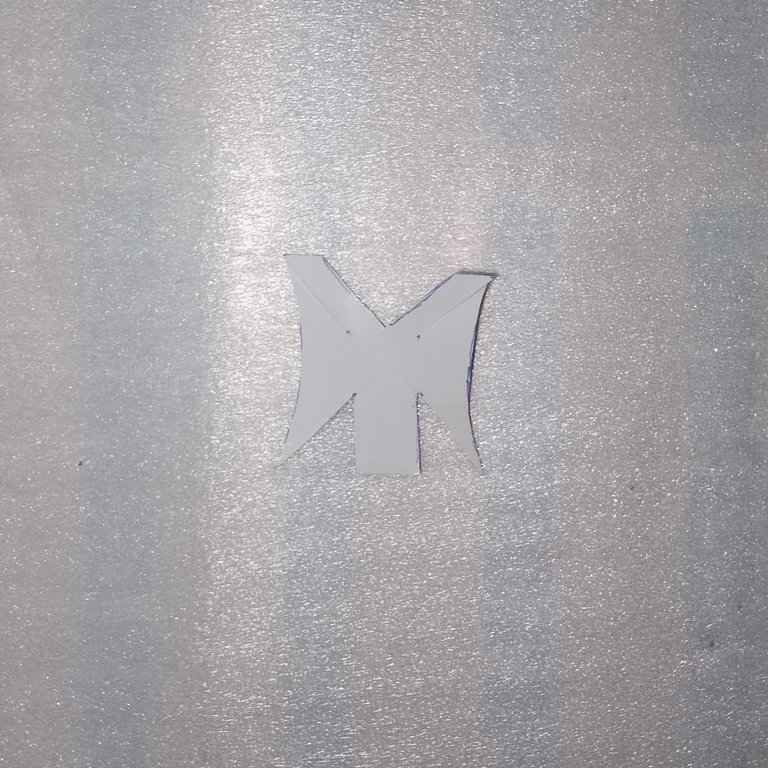
Unfold the paper and fold only two corners as shown in the image. Then fold inward along the longest side, trying to keep the center corner facing up, and do this on both sides. Next, fold in half toward the back and then open it up so that you are left with two hollows as shown.


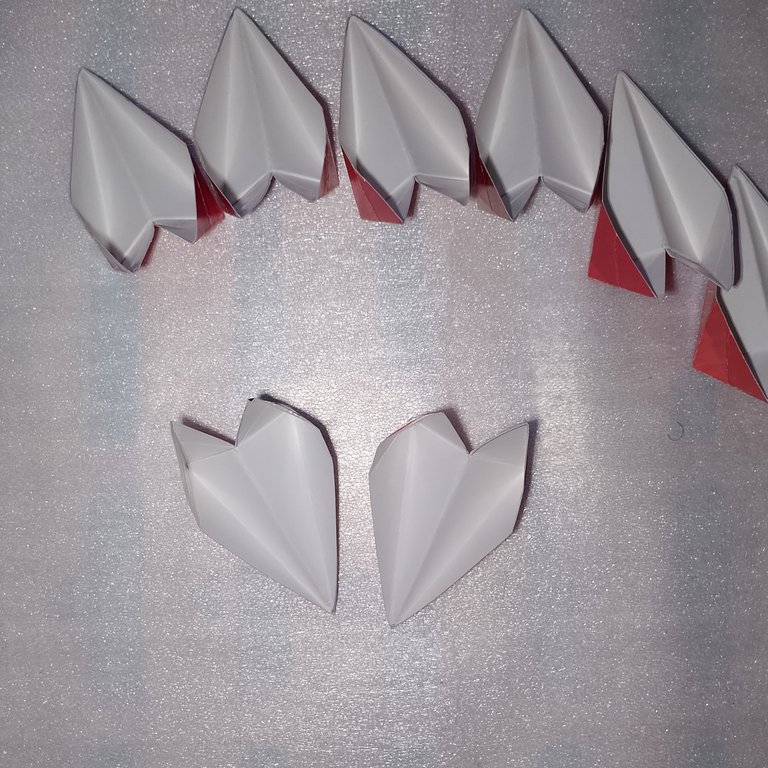
We will fold all the other pieces in the same way, until we have completed the 8 pieces of each size.

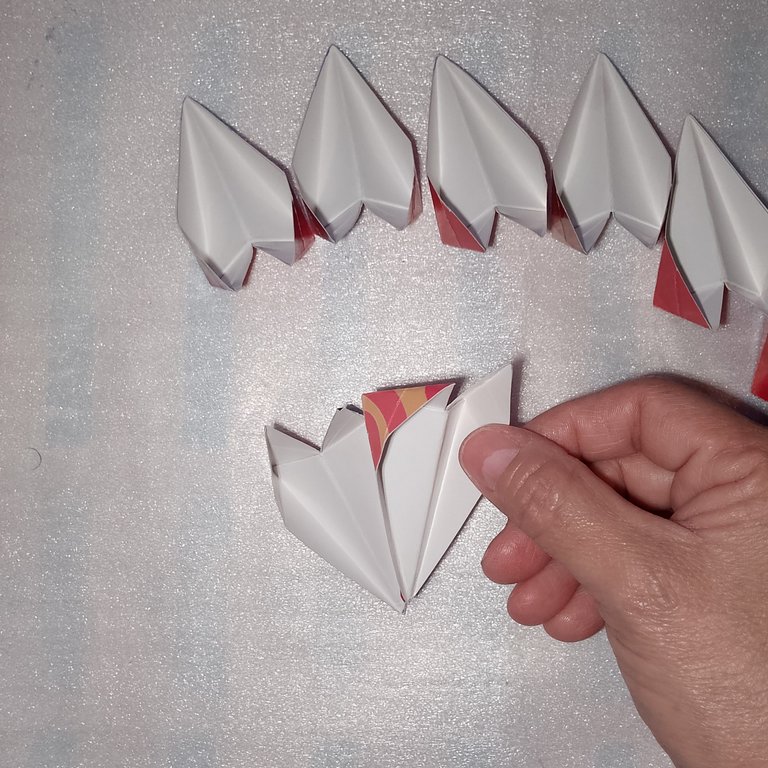
We begin assembling the tree by taking two pieces and placing one side of one piece on top of the other. We then lower the tip that remains at the junction of the two pieces and try to fit the pieces together properly. We repeat this process with the other pieces until we have formed a circle with eight pieces.
|
|
|---|
|
|
|---|
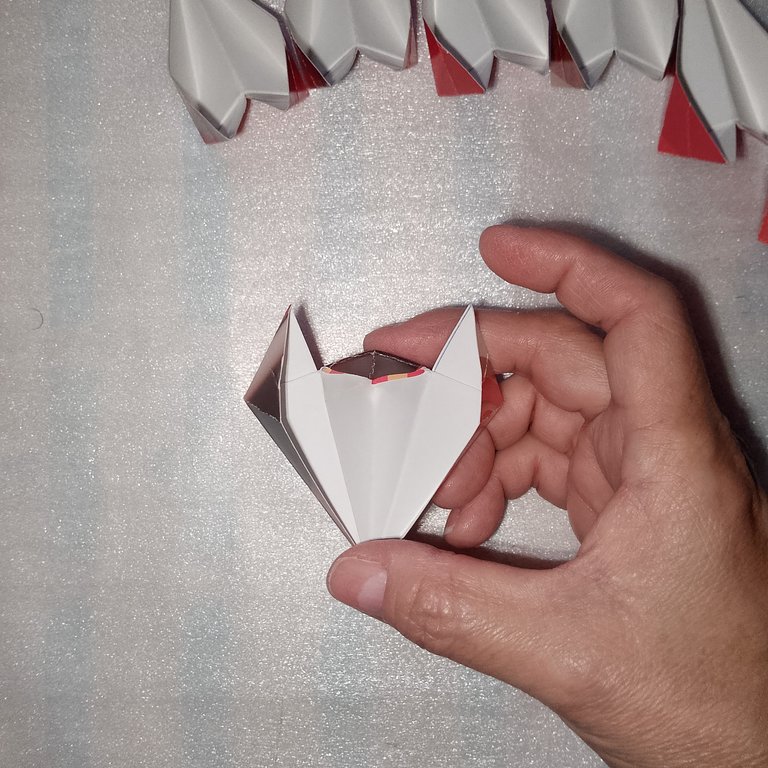

And that's how it should stay; if they fit together well, they won't come apart, so there's no need to use glue.

Cut a strip of paper measuring 30 x 1 cm and make a kind of loop; close it very carefully to form a pentagon, then fold the rest of the strip around the pentagon. Each time you make a fold, the same strip will give the shape to where the next fold will be made.
|
|
|---|


|
|
|---|

|
|
|---|


Once we have finished rolling up the entire strip, tuck the end into the folds so that it does not unravel. Then, hold the star as shown in the picture and press inward with your finger until it folds. Do this on all sides, leaving it like this.


And we're almost done. Just one little bow left to do.

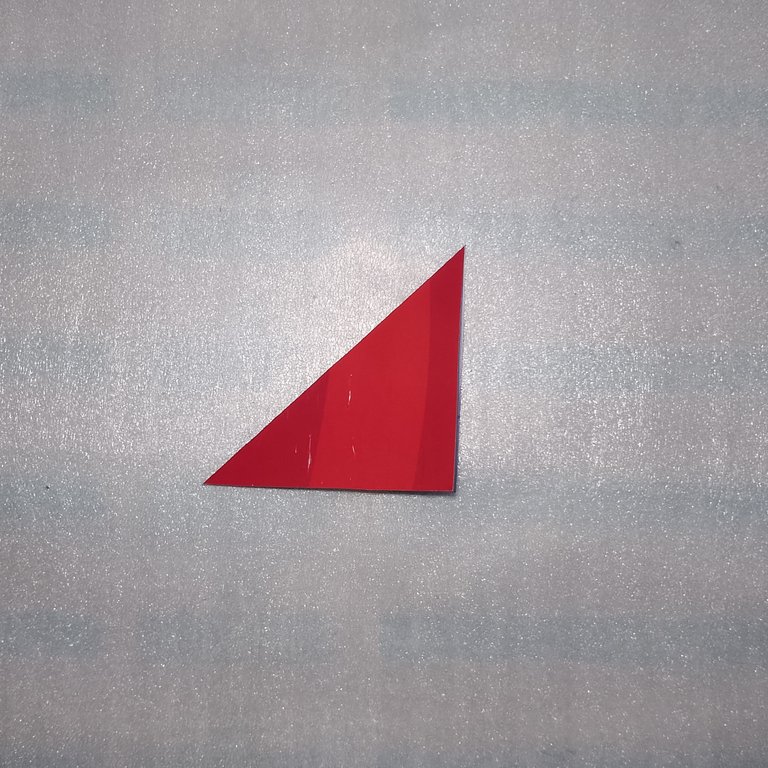
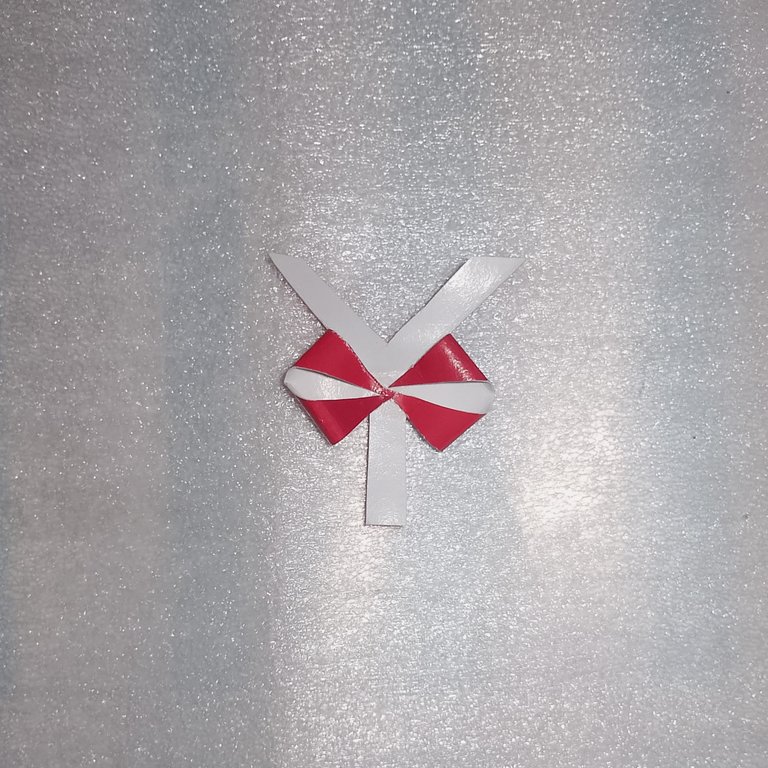
Cut out a 4 x 4 cm square; I will make vertical folds to form an “X.” Then I will make some cuts, which I will mark so you can see what I cut out. A curve on both sides and on the diagonal lines; I will cut until I reach the points marked in the image. Then I will make a triangle-shaped cut on one of the other sides where I did not make the curve, and on the other side, I will cut out a strip. Now I will fold the tips toward the center; in this case, I will need a little white glue so that it does not open. I fold the two tips backward, then make a fold in the middle and fold them back to the right. I will fold the remaining strip around as if I were tying a bow, and that's it.
|
|
|
|---|


|
|
|
|---|
|
|
|
|---|


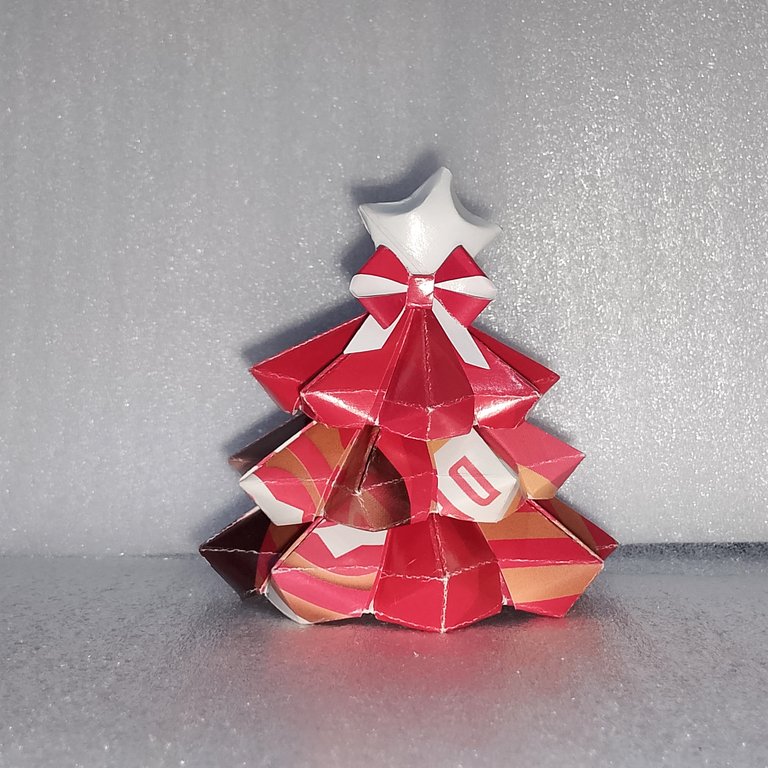
Now all that's left is to stack each circle on top of the other, place the star on top, and decorate with the ribbon. And it's ready to decorate any place in your home or office.
I hope you enjoyed this tutorial, which I was happy to prepare for you. I bid you farewell as always, but not before thanking you for taking the time to visit my blog and support me. And as the saying goes: “Do good, without looking at whom.”

Original content:
🎄All photos were taken and edited by me using my Infinix SMART 8 phone.
⭐The cover image and materials were created with the Canva app and edited by me.
🎄 The images on the dividers were taken from: glitter-graphics.com.
⭐The English translation was done with the help of Deepl.com.
🎄The letters indicating the languages were created on es.textstudio.com and edited by me.


Hola, mis queridos lectores. Espero que tengan o hayan tenido un excelente día. Ya estamos en Navidad y es cuando sentimos la emoción de colocar adornos navideños en toda la casa y en cada rincón que esté vacío. Hay que colocar una decoración, bien sea grande o pequeña; lo importante es cambiar el ambiente, que se sienta la Navidad en toda la casa.
Yo, por mi parte, quiero enseñarle una decoración de un árbol de Navidad, realizado con material reciclado, con la técnica del origami. Queda muy bonito y no necesitas de mucho material.
Como muchos deben saber, la técnica del origami es un arte japonés, donde se pueden realizar figuras de papel, doblando el papel, sin cortar, sin pegar, solo usando ciertos pliegues, donde podemos crear una figura, bien sea plana o tridimensional. La verdad es que es un arte muy hermoso, solo se necesita tener paciencia y tiene buenos beneficios, como ayudarte a mejorar la concentración, la memoria, la coordinación. Funciona también como terapia para el estrés, la atención y la frustración.
En fin, tiene muchas buenas razones para practicarlo, aunque no a todos les gusta hacerlo. Aquí les traigo un paso a paso de cómo realizar un arbolito; yo lo realicé en una cartulina brillante; en realidad, el papel se llama papel glasé, pero no sé cómo se conoce en otros países. Este papel era una publicidad, que iban a botar en un local, y yo les pedí que me lo regalaran, ya que estaba en buen estado; lo pedí porque en realidad ese papel es caro en una papelería, pero sin más preámbulos le muestro cómo lo realicé.

PASO A PASO:
Para realizar el arbolito necesitaré 8 cuadros de diferentes tamaños. Unos de 7x7 cm, de 6x6 cm y de 5x5 cm.
Una vez que marque todos los cuadros, los recorte.
|
|
|
|---|
Tomaré un cuadro para luego hacer los pliegues en forma vertical por ambos lados, para así formar una X.
|
|
|---|
|
|
|---|
Ahora doble las puntas hacia el centro en forma diagonal, hasta formar una especie de pirámide; luego realizo lo mismo del otro lado, tal como se muestra en las imágenes.
|
|
|
|---|
Desdoblamos el papel y doblamos solo dos puntas tal como se muestra en la imagen. Después doblamos hacia adentro, por la parte más larga, tratando de que quede la punta del centro hacia arriba, y eso lo haremos de los dos lados. Luego doblaremos por la mitad hacia la parte de atrás y luego abrimos para que nos queden las dos cuencas como se muestra.
Así doblaremos todas las demás piezas, hasta completar las 8 piezas de cada tamaño.
Empezamos el armado del árbol, tomamos dos piezas y montaremos un solo lado de la pieza, encima de la otra, y la punta que queda en la unión de las dos piezas, bajamos y tratamos de que queden bien encajadas las piezas. Así haremos con las demás piezas hasta formar un círculo con 8 piezas.
|
|
|---|
|
|
|---|
Y así nos debe quedar; si se encajan bien, no se soltarán, así que no es necesario usar pegamento.
Recorte una tira de papel de 30 x 1 cm y haré una especie de lazada; lo cerraré con mucho cuidado hasta formar un pentágono, luego doblaré el resto de la tira alrededor del pentágono. Cada vez que hacemos el doblez, la misma tira dará la forma hacia donde se hará el próximo doblez.
|
|
|---|
|
|
|---|
|
|
|---|
Una vez que terminamos de enrollar toda la tira, la punta se introduce entre los pliegues, para que no se desdoble. Después tomaremos la estrella como se muestra en la imagen y presionamos con el dedo hacia adentro, hasta que se doble, y eso haremos por todos los lados, quedando de esta manera.
Y así ya casi tenemos todo listo. Solo falta un lacito.
Recorte un cuadrado de 4 x 4 cm; haré los dobleces en forma vertical para formar una “X”. Luego le haré unos cortes, los cuales se los pinte para que vean lo que recorte. Una curva en ambos lados y en las líneas diagonales; cortaré hasta llegar a los puntos que están marcados en la imagen. Luego haré un corte en forma de triángulo en uno de los otros lados en los que no hice la curva y, en el otro lado, recortaré una tira. Ahora doblaré las puntas hacia el centro; en este caso sí necesitaré un poco de pega blanca para que no abra. Las dos puntas las doblo hacia atrás, para luego hacer un doblez en la mitad y volver a doblar al derecho. La tira que queda la doblaré alrededor como si estuviera amarrando el lazo y listo.
|
|
|
|---|
|
|
|
|---|
|
|
|
|---|
Y ya solo queda montar cada círculo encima del otro, colocar la estrella y decorar con el lazo. Y listo para decorar cualquier lugar del hogar u oficina.
Espero que hayan disfrutado de este tutorial, que con mucho gusto les preparé. Me despido como siempre, no sin antes agradecerles por tomarse el tiempo de visitar mi blog y apoyarme. Y como dice el dicho: “Haz bien, sin mirar a quién”.
Contenido original:
🎄Todas las fotos fueron tomadas y editadas por mí con mi teléfono Infinix SMART 8.
⭐La imagen de portada y los materiales fueron creados con la aplicación Canva y editados por mí.
🎄 Las imágenes de los separadores fueron tomadas de: glitter-graphics.com.
⭐La traducción al inglés se realizó con la ayuda de Deepl.com.
🎄Las letras que indican los idiomas se crearon en es.textstudio.com y fueron editadas por mí.
This is okay and beautiful for the season
Yes, it's excellent for decorating small spaces. Thank you very much.
It's a beautiful art, thank you for sharing the tutorial.
Me alegra que te haya gustado. Muchas gracias.
excelente para decorar, muy creativo, quedo hermoso
excellent for decorating, very creative, it turned out beautiful
Muchas gracias por tu comentario y apoyo.
I hope you have a good Christmas month with this great art. This is the interesting paper Christmas tree.
Thank you very much, Merry Christmas to you too.
Yes you are welcome
It is nice and beautiful. What you made, that's awesome. It looks great. Well done! Keep up the good work!
selected by @rezoanulvibes
Thank you very much for your visit and support. Best regards.