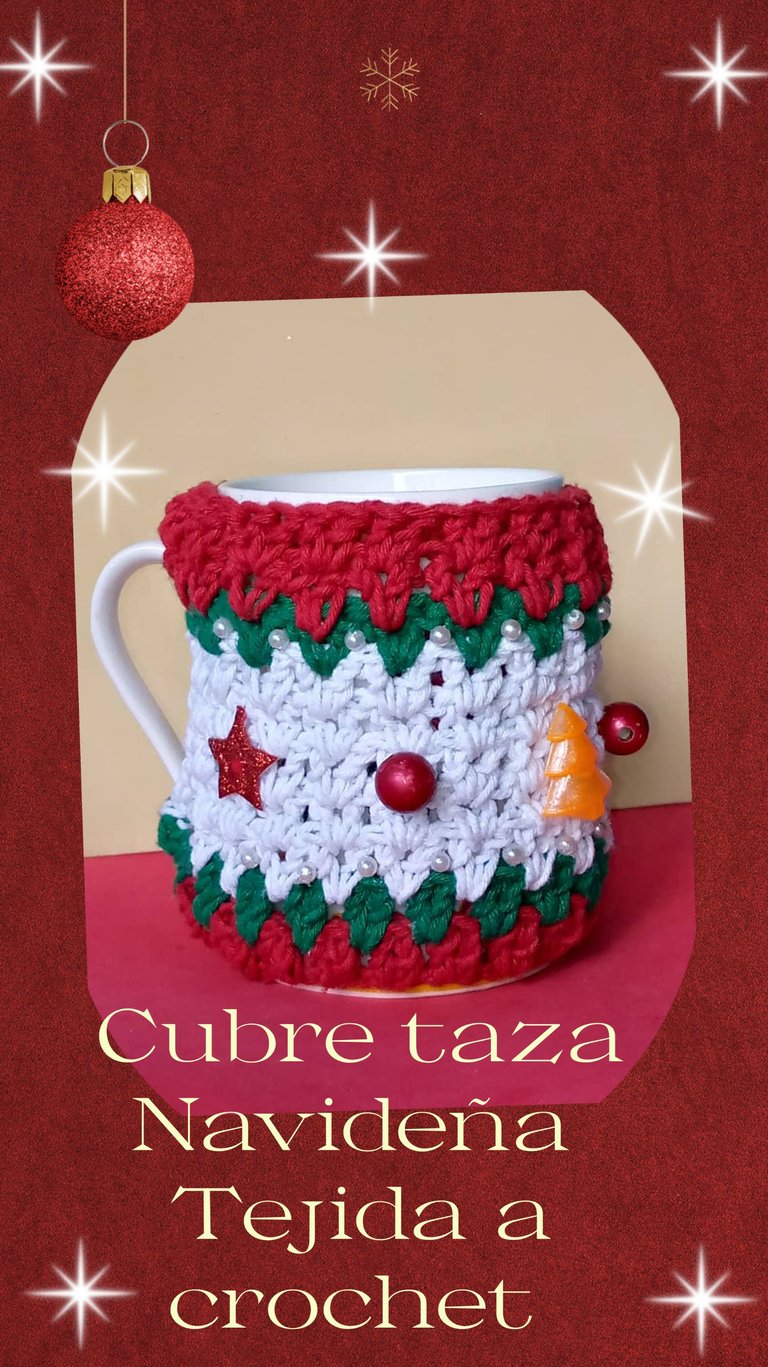
Buenos días a todos los miembros de esta comunidad #diyhub.
¡Bienvenido a mi blog!.Feliz Lunes,23 de Diciembre, faltan pocos días para terminar este año 2024, tan rápido pasaron los días. Dando gracias a Dios por todo.
Hoy quiero mostrar como tejer un lindo porta taza con motivo navideño,tejido a crochet.
Cuando hablamos de navidad o se acerca ,estamos pensando que vamos a adornar con motivo navideños. ¡Pues todo!
Comenzamos adornando el arbolito, las puertas , ventanas , cocina y mesa para la cena. Por lo tanto este cubre taza también forma parte de esta tradición .
Good morning to all the members of this #diyhub community.
Welcome to my blog!.Happy Monday,December 23, just a few days left to finish this year 2024, so fast the days passed. Thanking God for everything.
**Today I want to show you how to knit a cute cup holder with Christmas motif, crochet knitted.
When we talk about Christmas or it is approaching ,we are thinking that we are going to decorate with Christmas motif. Well, everything!
We start decorating the tree, the doors, windows, kitchen and dinner table. Therefore this cup cover is also part of this tradition.
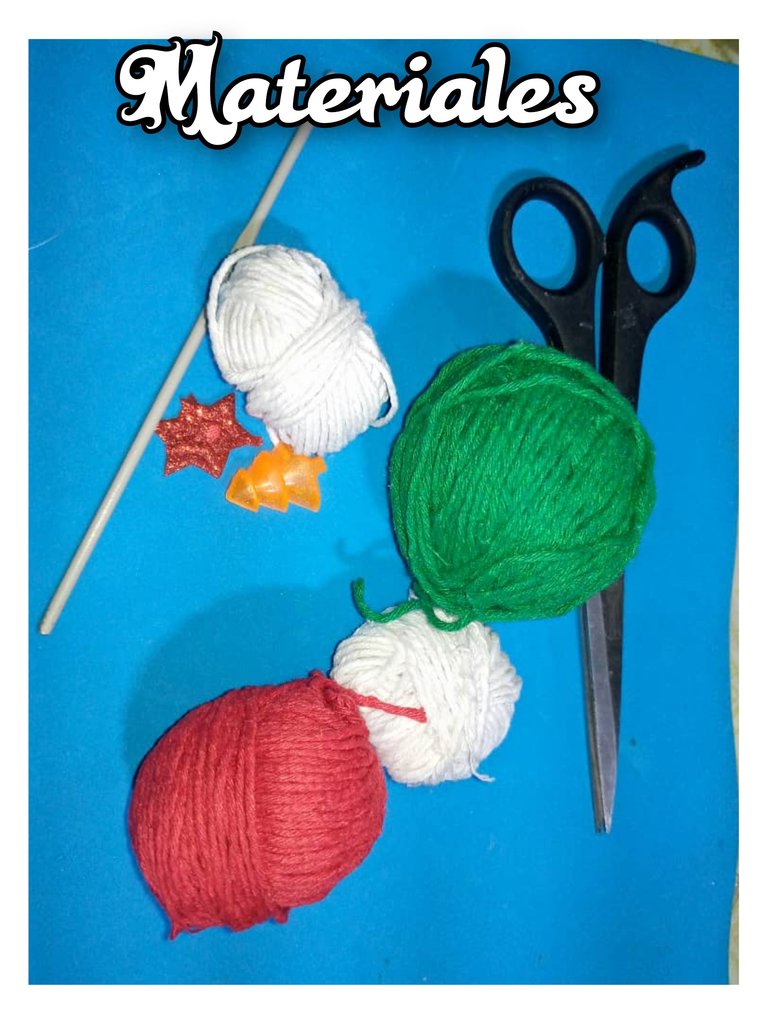
Materiales que se necesitan para la realización del lindo porta tazas ,tejido a crochet:
- Hilo de tejer, colores: rojo , verde y blanco.
- Aguja de tejer , número 3 .
- Silicona liquida.
- Tijera.
- Adornos de navidad.
- Perlas ,color vino tinto.
- Perlas pequeñas blancas.
Materials needed for the realization of the cute crochet cup holder:
- Knitting yarn, colors: red , green and white.
- Knitting needle, number 3.
- Liquid silicone.
- Scissors.
- Christmas ornaments.
- Pearls, red wine color.
- Small white pearls.
Realización del porta tazas :
- Lo primero que debemos tener es la taza con que vamos a trabajar , ya que tomaremos la medida para ver cuantas cadeneta haremos. En mi caso haré 50 cadeneta con el hilo de color rojo. Desde allí se comienza.
- Cerramos las cadenetas con un punto deslizado.
- Levantamos tres cadenas ,tomamos lazada en el punto y metemos la aguja ,dejando un punto en el medio, osea contamos ,uno y dos y en ese segundo metemos la aguja, allí mismo metemos otro punto alto más. Así haremos toda la vuelta ,
Making the cup holder :
- The first thing we must have is the cup we are going to work with , as we will take the measurement to see how many chain stitch we will make. In my case I will make 50 chain stitches with the red yarn. We start from there.
- We close the chains with a slip stitch.
- We lift three chains, take a loop in the stitch and put the needle in, leaving a stitch in the middle, that is, we count one and two and in that second we put the needle in, right there we put another high stitch. This is how we will do the whole round,
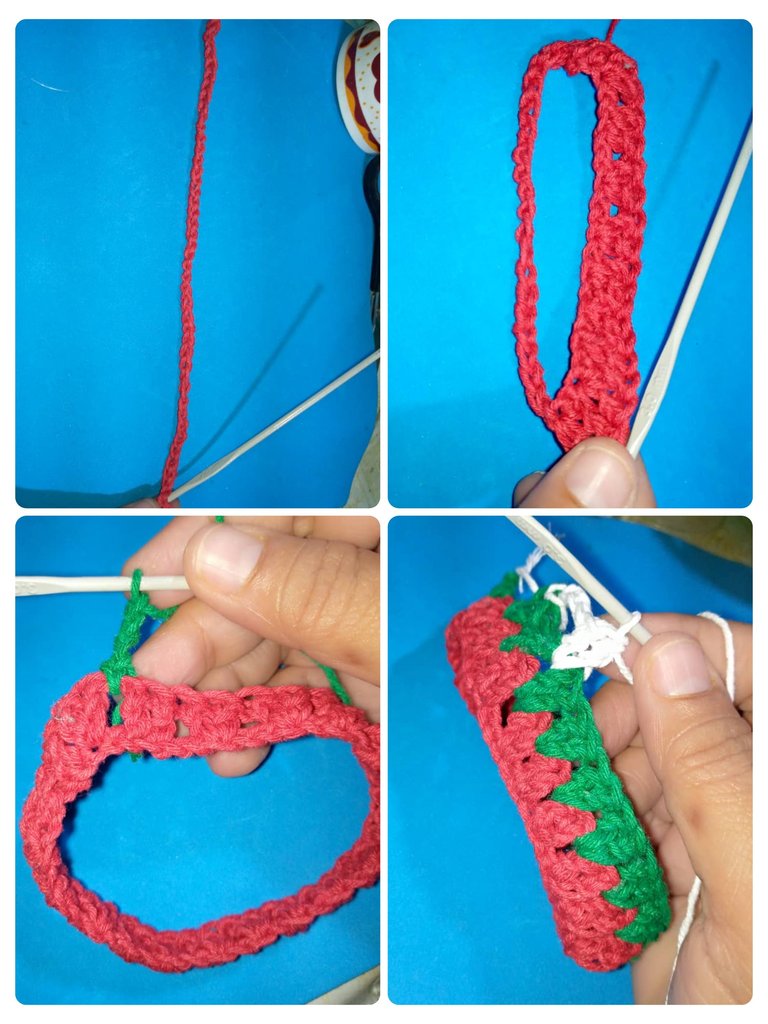
- Para la segunda vuelta utilizamos el mismo procedimiento que se hizo en la primera vuelta. Pero cambiamos de hilo color, verde. Con la diferencia que en la parte de atrás no cerramos el punto ,ya que debemos ir dejando un espacio por donde metemos el asa de la taza.
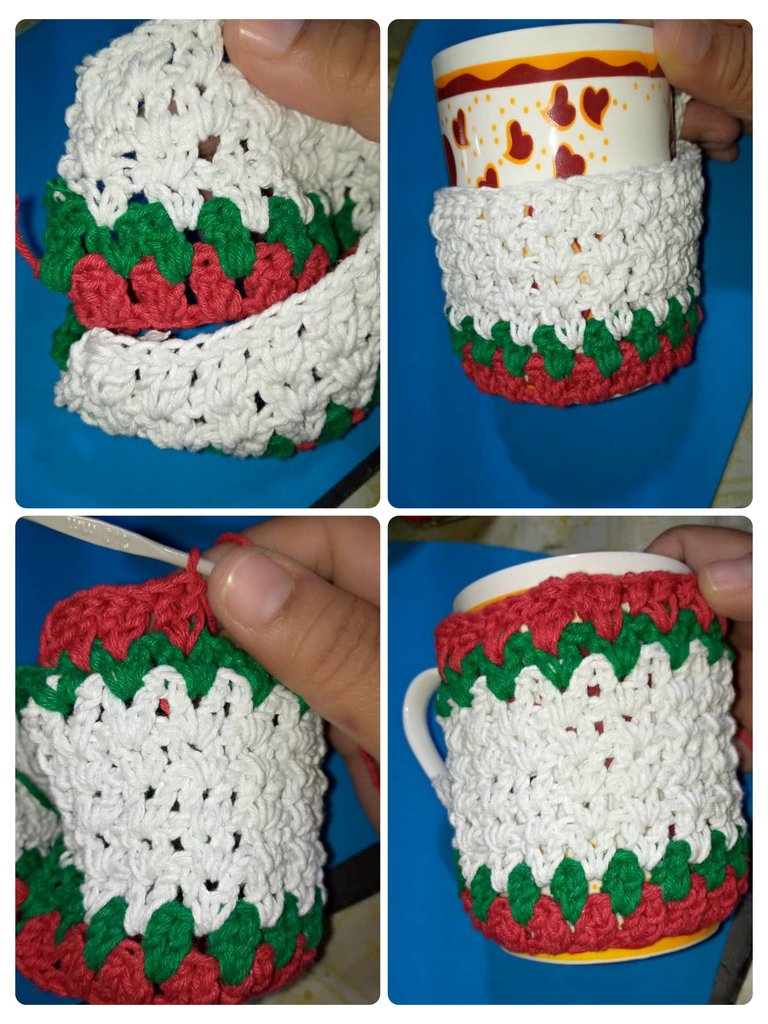
- Tercera vuelta , cambiamos de hilo ,color blanco. Hacemos el mismo procedimiento ,levantamos tres cadenas, luego metemos en el medio en donde hicimos los dos puntos altos. Así haremos hasta terminar la vuelta 6, recordando que dejar espacio para el asa. No cerramos la parte de atrás , sino cuando lleguemos ,nos devolvemos y volteamos el tejido.
- For the second round we use the same procedure that was done in the first round. But we change the color of the yarn, green. With the difference that in the back part we do not close the stitch, since we have to leave a space where we put the handle of the cup.
- Third round, we change yarn color, white. We do the same procedure, we pick up three chains, then we put in the middle where we made the two high stitches. We will do this until the end of the 6th row, remembering to leave space for the handle. We do not close the back, but when we get there, we turn back and flip the fabric.
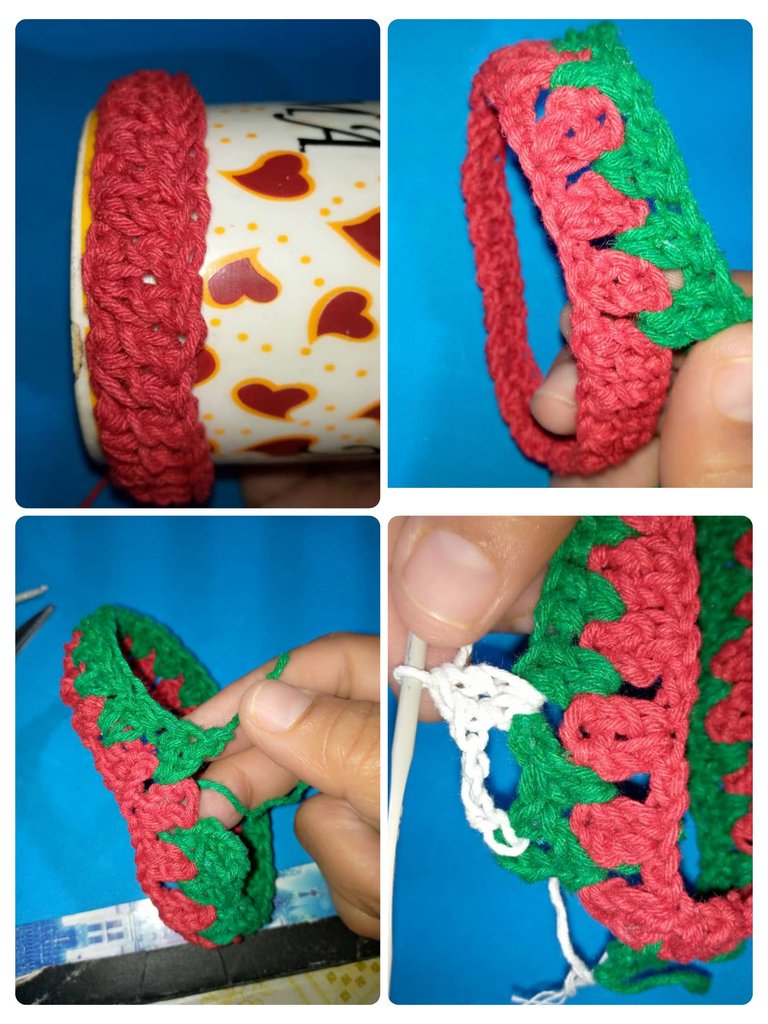
- Séptima vuelta ,cambiamos de hilo ,colocamos color verde, hacemos el mismo procedimiento. Para las dos ultimas vueltas ,colocamos hilo rojo y cuando lleguemos a la parte de donde va el ada de la taza , hacemos 4 cadenas y cerramos con punto deslizado y para la otra vuelta con el hilo rojo. Tejemos todo. Y ya está listo. Sin muchas complicaciones , solo puntos altos, deslizados y cadenetas.
- Seventh row, we change yarn, we place green color, we do the same procedure. For the last two rows, we place red yarn and when we get to the part where the cup loop goes, we make 4 chains and close with slipped stitch and for the other row with the red yarn. We knit everything. And it's ready. Without too many complications, just high stitches, slipped stitches and chain stitches.
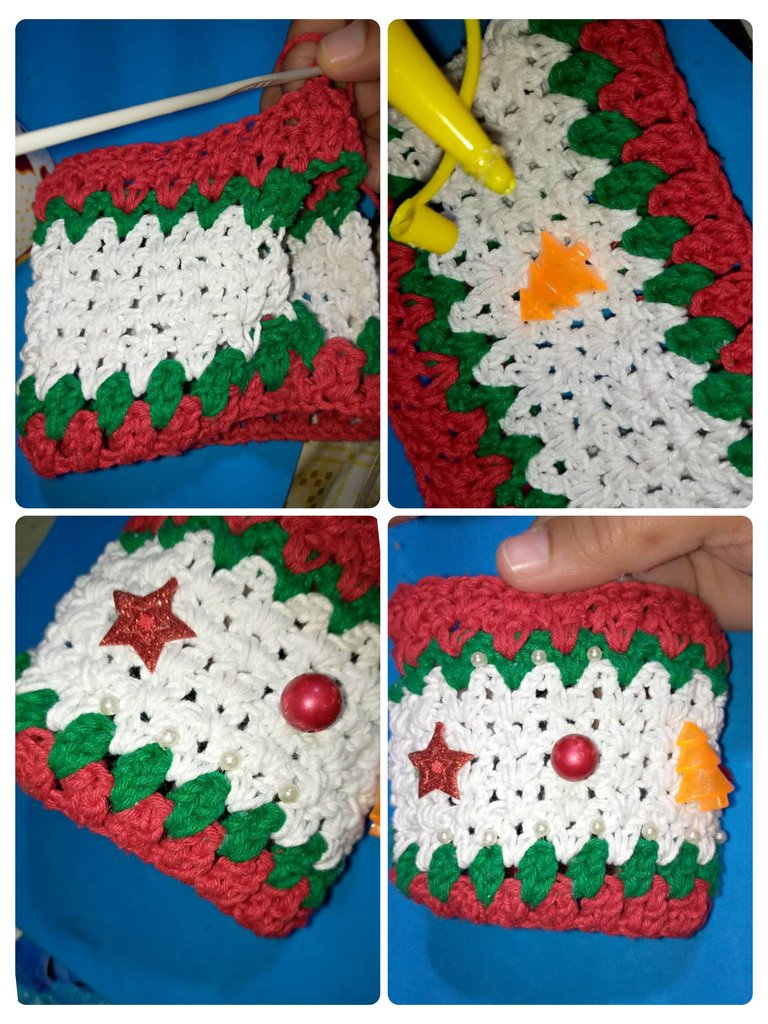
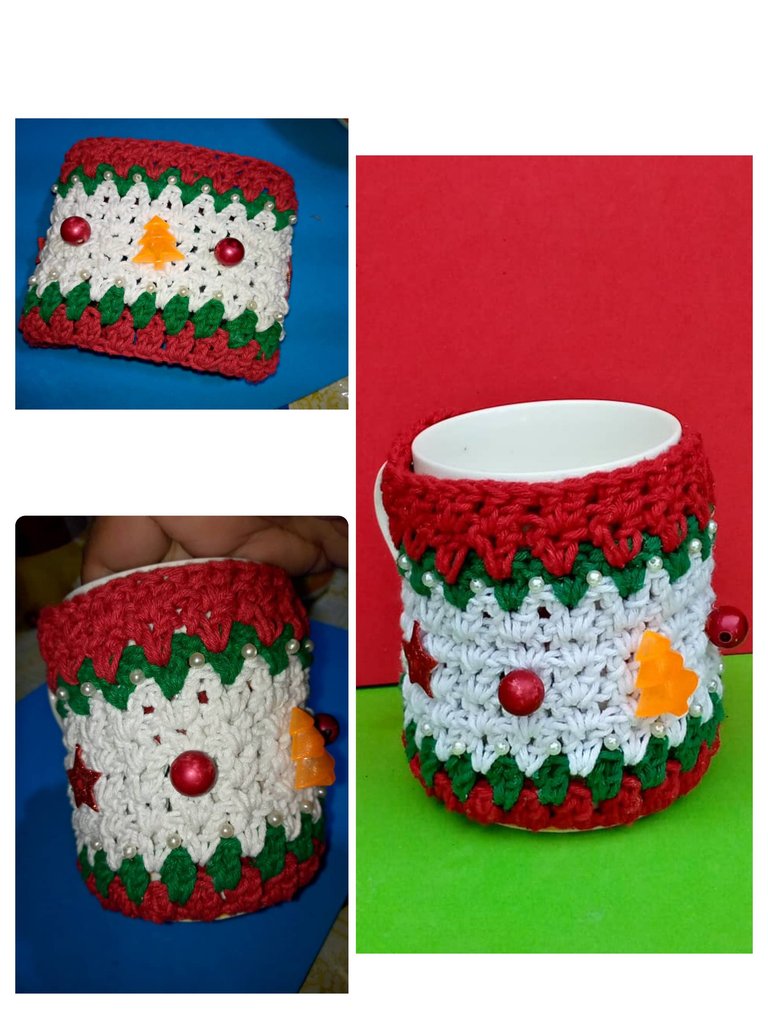
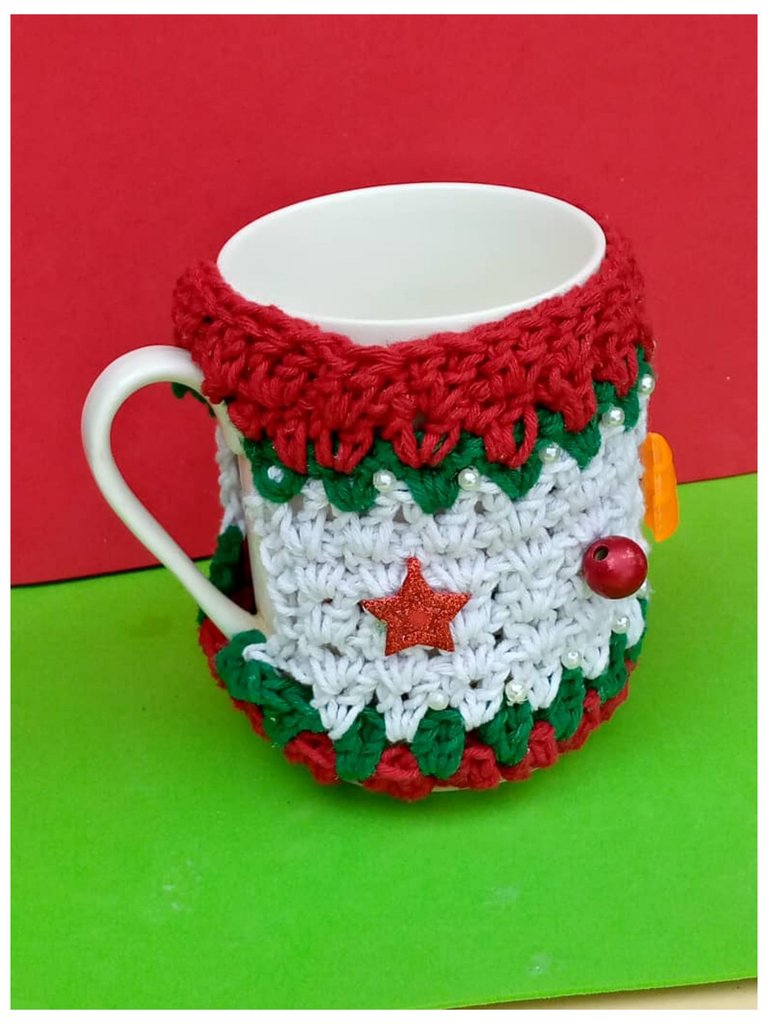
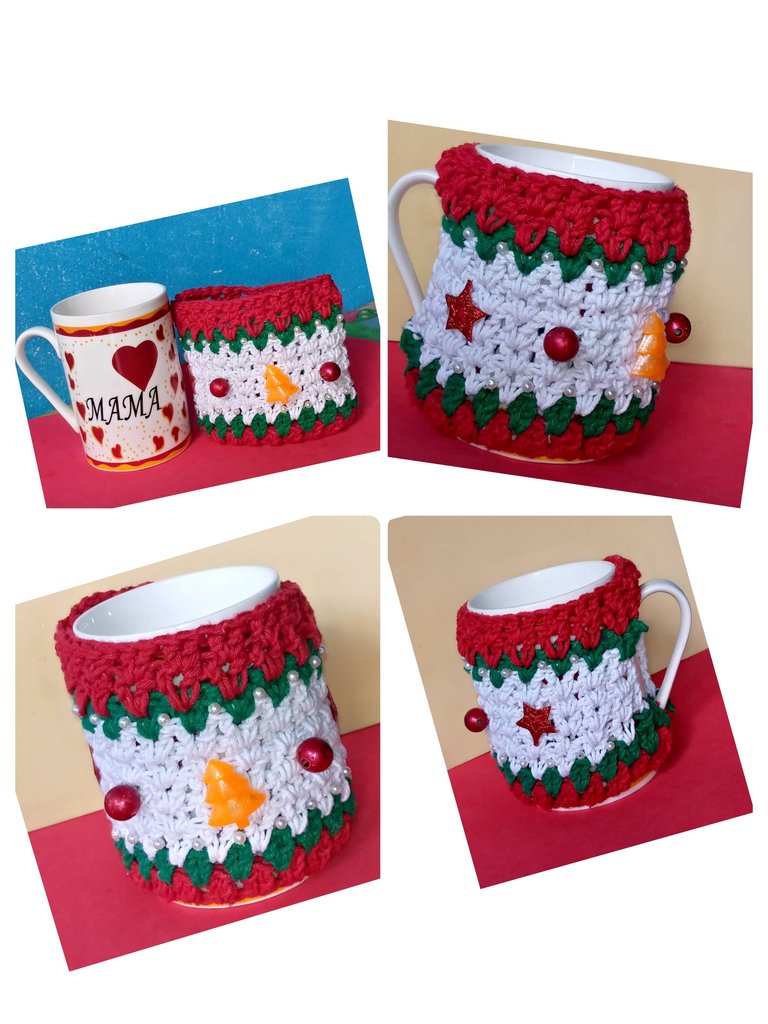
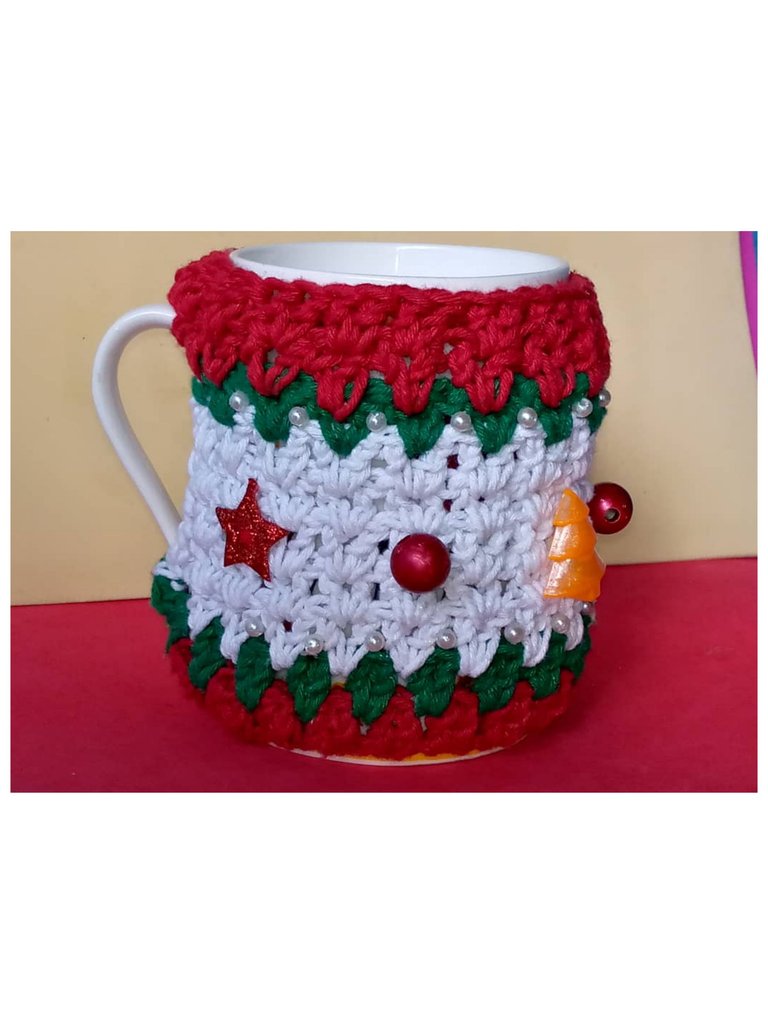
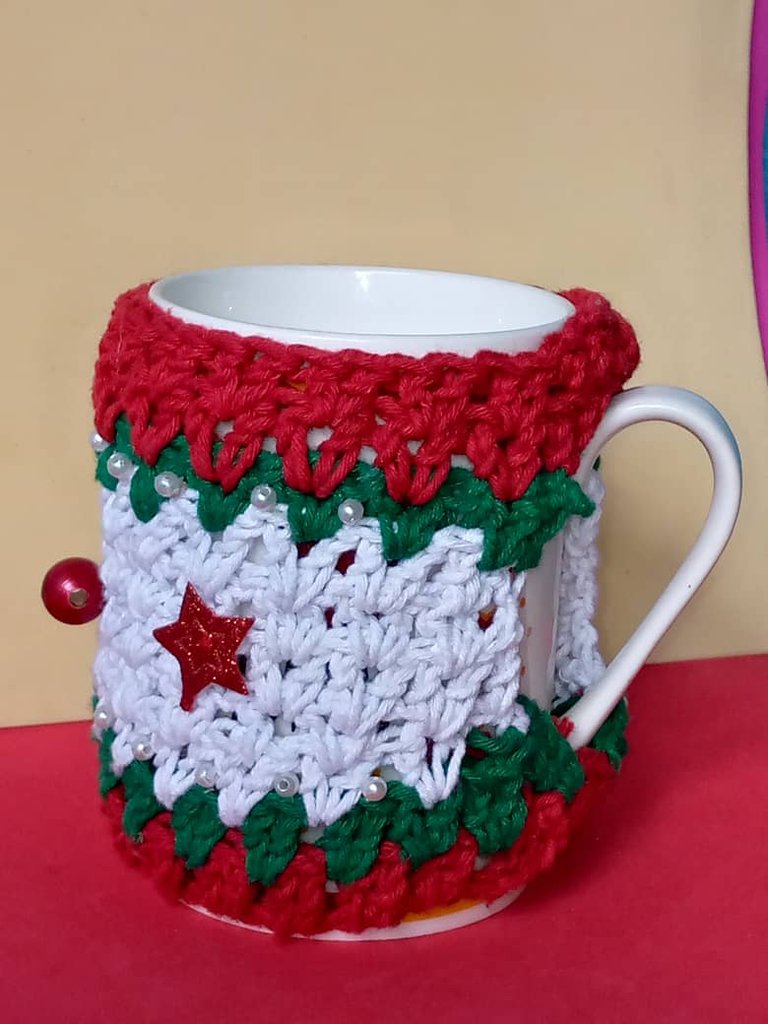
Aquí podemos observar la hermosa porta taza, adornada con motivo navideño, lista para adornar nuestra mesa.
Here we can see the beautiful cup holder, decorated with Christmas motif, ready to decorate our table.
Gracias por leer y comentar mi post,muchas bendiciones.
Las fotos son mías ,tomadas con teléfono Infinix, editadas con incollage y traducidas con Deepl.
Thank you for reading and commenting on my post, many blessings.
The photos are mine, taken with Infinix phone, edited with incollage and translated with Deepl.

que bonito, el diseño esta genial y bueno para usar en estas fiestas!
how nice, the design is great and good to use this holiday season!
Si , @yasmarit es muy lindo. Gracias por leer mi post. Bendiciones
Hola @josdelmi, primera vez que veo un cubre taza y me encantó el motivo navideño. Te quedó bien bonito, como para ponerlo en tendencia.
Ay me alegra que te haya gustado @soyunasantacruz . Muchas bendiciones.
the results are very beautiful, you are very creative.
Hola @reachdreams , muchas gracias , me alegra que te guste. Saludos
You are welcome, friend.
It is so colorful, charming, and beautiful. Good to see each step of making this. Its color combination makes it more attractive. Great work!
Hermoso trabajo amiga, los colores están geniales, me gustó el detalle de las perlas se ven muy bien.
Feliz Navidad!
!DIY
Gracias amiga @belkyscabrera , me alegra que te guste. Saludos🌲🤗😘
You can query your personal balance by
!DIYSTATSEsto luce demasiado hermoso. Esa taza está repleta de puro estilo navideño.
¡Pero que lindura! 😍 Que lindo personalizar las tazas con esta técnica, este sería un regalo único y bello para la temporada navideña 😁