How To Make Satin Hair Bonnet.

Hello Everyone!
A warm welcome to the new year 2025, I wish us a blessed and prosperous new year. Today I would love to talk about how I made an adjustable satin hair bonnet.
Before I dive deeper into how to make satin hair bonnet, it would be nice to know the function of the hair bonnet. Satin hair bonnet is a cover cap that most ladies wear in the night to sleep, satin hair bonnet is the best hair protector that maintain the natural oils in the hair and allow less friction between the hair and other surfaces such as cotton sheet and pillow case. It prevent excessive tangling and also minimize breakage.
To make a satin hair bonnet, below are the list of materials needed.
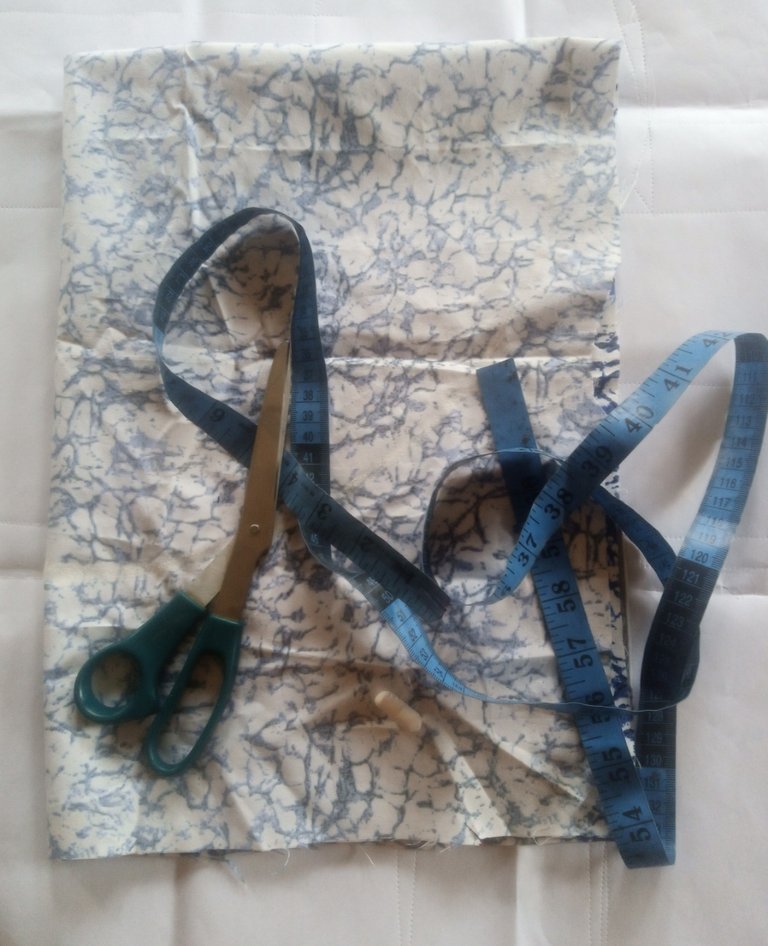
- African Print Fabric
- Scissor
- Tape rule
- Chalk and thread
- Head circumference measurement.
Here are the steps involve in making satin hair bonnet;
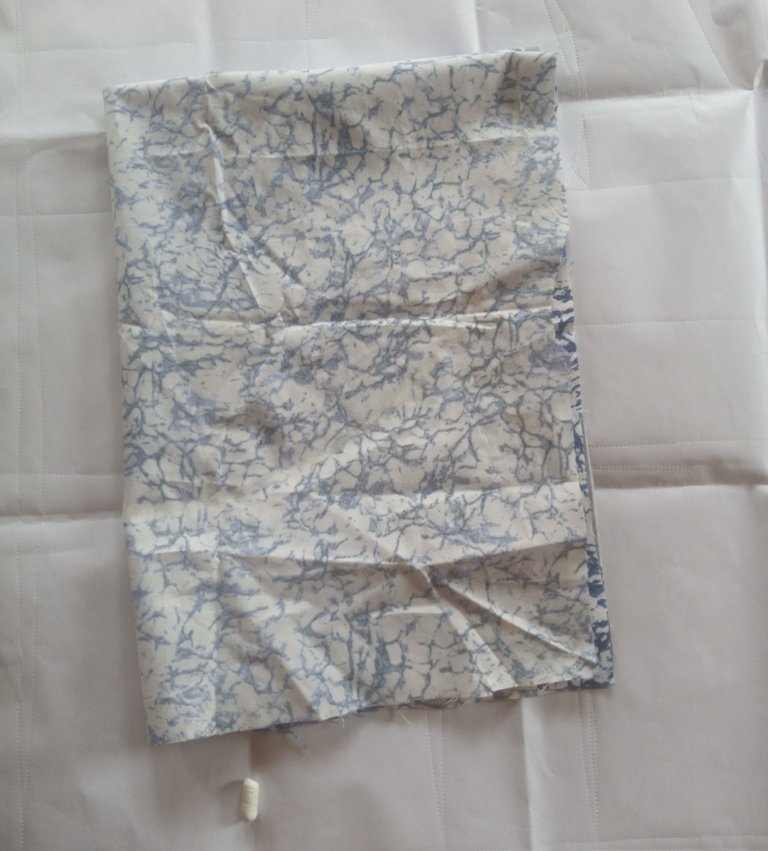
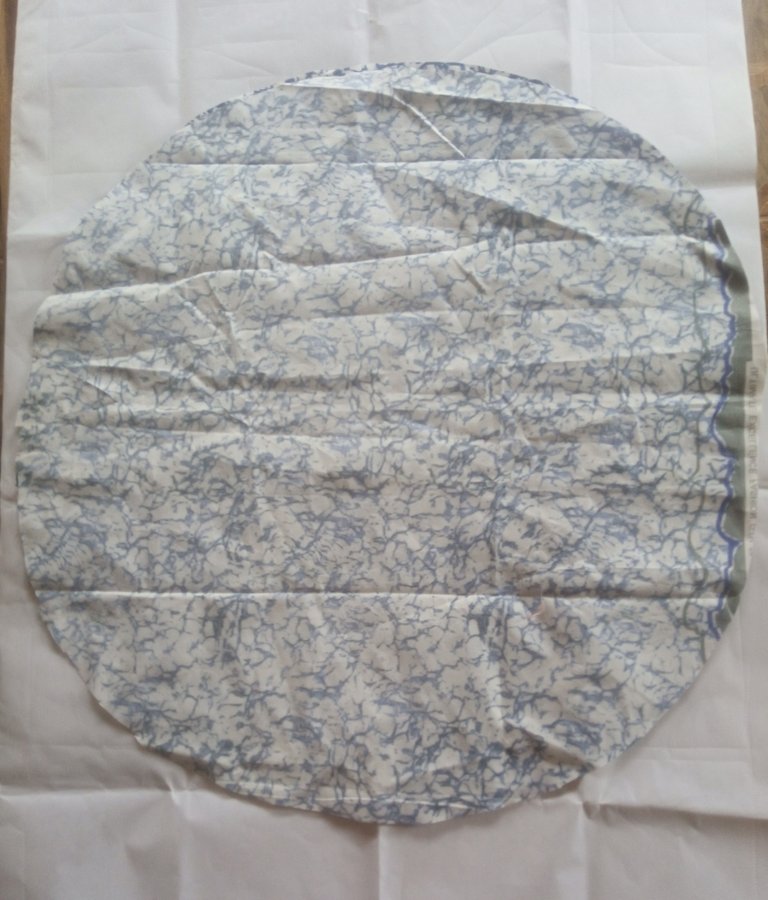
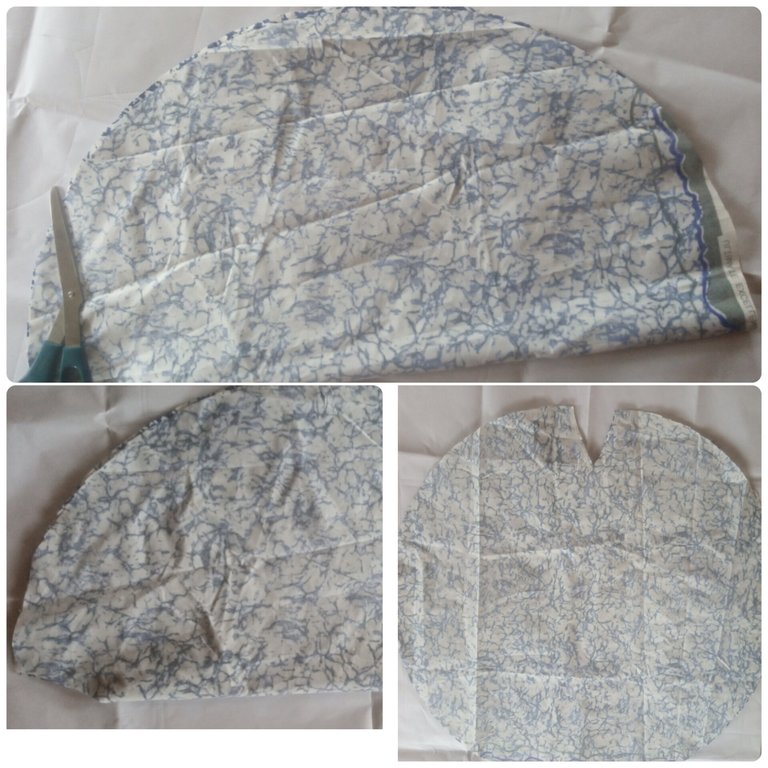
Step1: Fold the Africa print fabric into four, start by marking out the radius of your circle all round starting from the tip of one of the corners but now, the cut on fold corner and then cut it out. By the time you're done cutting, open it up, you should have a perfect circle.
Step2: cutting of the inner fabric since the satin bonnet is doubled, the step is the same as the first or you place the first circle fabric you just finished cutting on the fabric, trace it out and cut. In my case, I used the same fabric for both outside and inner.
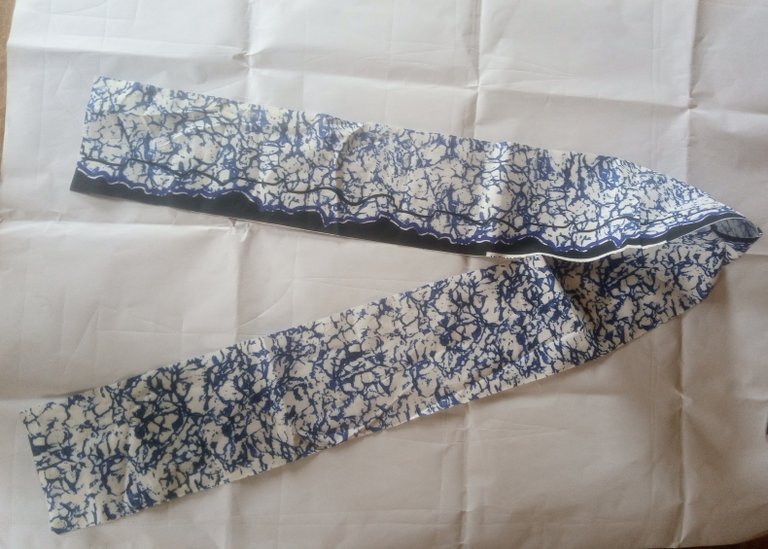
Step3: Cut out the head band/strap which is a long rectangular pieces that could be as long as you wish in length and may be 5" width depending on how you want wideness to be.
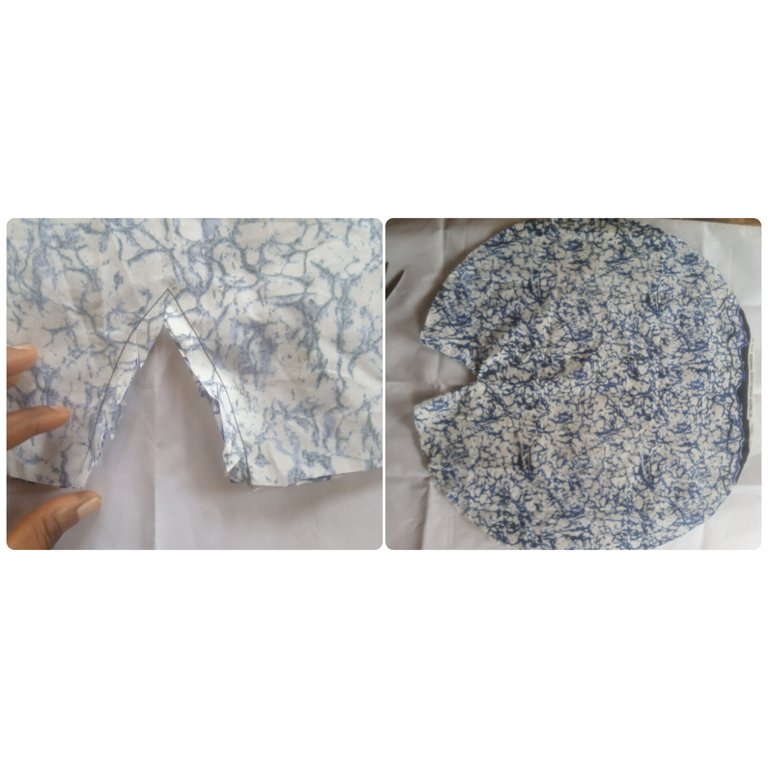
Step4: Bring the two circle together ( lay over each other) and fold into two, at the end of one of the edges, come in by 3" and cut it out; this is to create a notch that will make the bonnet to enter the head well without restriction. Then, take it to sewing machine and stitch them together with right side of the fabric facing each other, give it a notch at the curvey area to make it flat and relax. Finally, flip it out and iron it well.
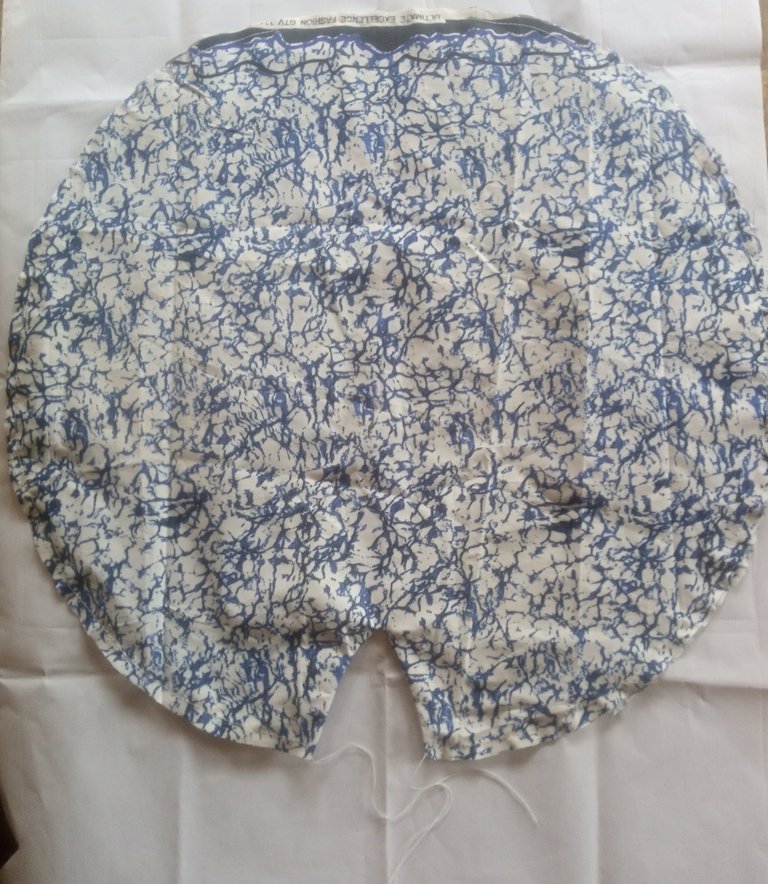
Step5: Take the fabric to the machine and run gather stitches all along the circle excluding the curvey area.
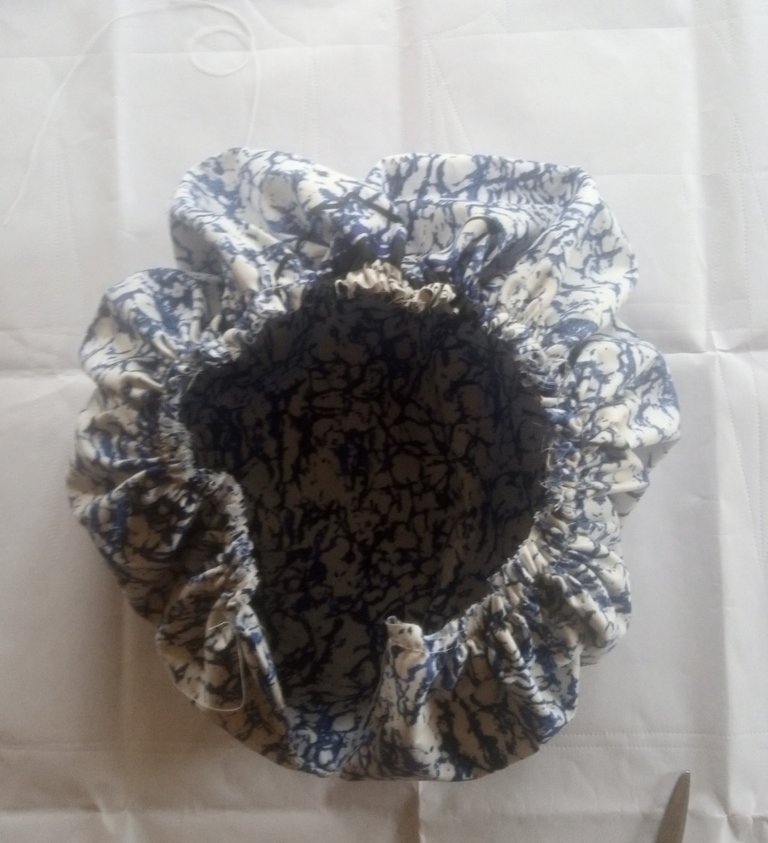
Step 6: Hold one of the thread from the gather stitches made with sewing machine and pull it to form gather pleating, the aim is to gather the fabric to the size of the head circumference you're working with. When you're done pulling, it look like an hat/ cap shape.
Step7: This is the final stage where you'll be joining the head band/strap with the cap/hat. Before joining them together, fold the head band into two and find the mid point by notching it out, do the same for the cap too. Let the mid point of the cap and head band meet and match the right side of both together and top stitch it all round. Then, you're done making an adjustable Satin Hair Bonnet that can fit head perfectly without falling off while sleep.
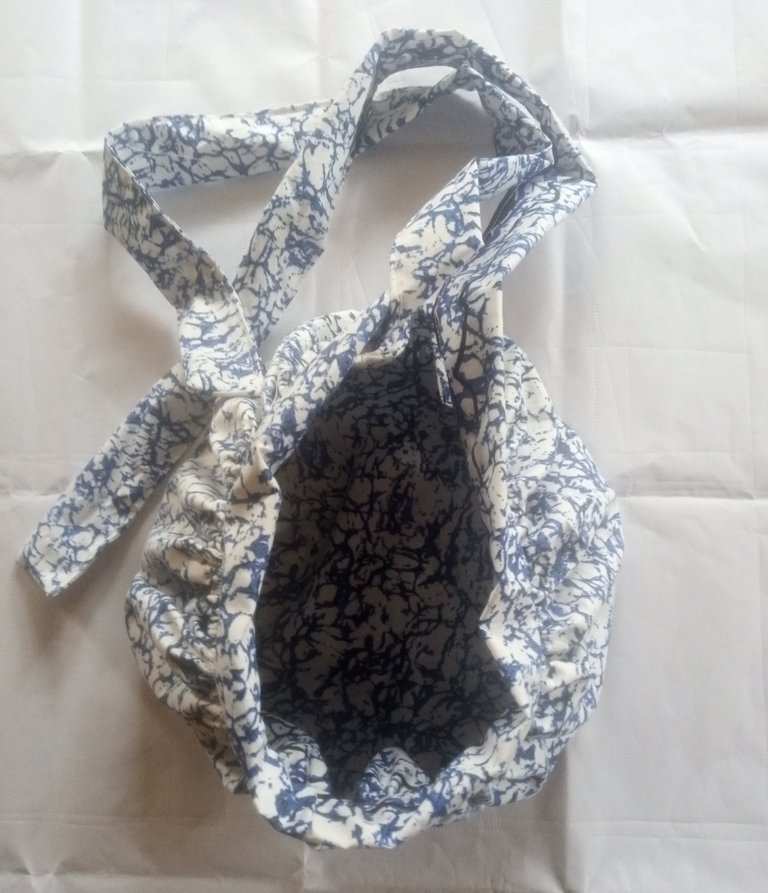
Thank you for reading through, I believe with the simplified steps above, you can easily make your own hair bonnet.
All images used here are mine.
Congratulations @jimohlamide! You have completed the following achievement on the Hive blockchain And have been rewarded with New badge(s)
Your next target is to reach 100 upvotes.
Your next target is to reach 50 replies.
You can view your badges on your board and compare yourself to others in the Ranking
If you no longer want to receive notifications, reply to this comment with the word
STOPVery nice and very practical hat I loved the model Thank you so much for sharing your step-by-step creative process in our community. Have a nice weekend