It is a pleasure and pleasure to be able to continue sharing new projects for this Christmas season, so I have seen that all the friends who are part of this community have very good talent, who have made very beautiful Christmas crafts and I love that all of us, including myself Let's have a new idea every day, so I learn from you, and you from me.
To start this day, I made a decoration for my window, it is a snowman, but in order not to continue telling you, I better present my new project.
Un gusto y placer en poder seguir compartiendo nuevos proyectos para esta época navideña, de manera he visto que todos los amigos que forman parte de esta comunidad, tienen muy buen talento, la cual han hecho manualidades navideñas muy bellas y me encanta que todos nosotros incluyéndome a mí tengamos una idea nueva todos los días, así yo aprendo de ustedes, y ustedes de mí.
Para iniciar este día, elabore un decorado para mi ventana, se trata de un muñeco de nieves, pero para no seguir contándoles, mejor les presento mi nuevo proyecto.
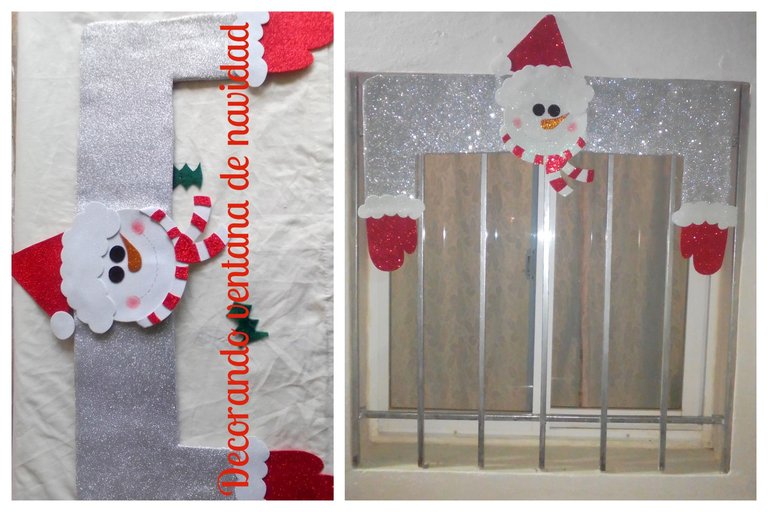
Used materials:
√ Pattern.
√ Cardboard in the shape of a T-shirt.
√ Frosted EVA foam (silver, red, white).
√ Scrap of frosted EVA foam (copper and black).
√ Silicone gun plus bar.
√ Scissors, pencil and black pen.
Materiales utilizados:
√ Patrón.
√ Cartón en forma de camiseta.
√ Goma eva escarchado (plateado, rojo, blanco).
√ Retazo de goma eva escarchado (cobre y negro).
√ Pistola de silicona más barra.
√ Tijera, lápiz y lapicero negro.
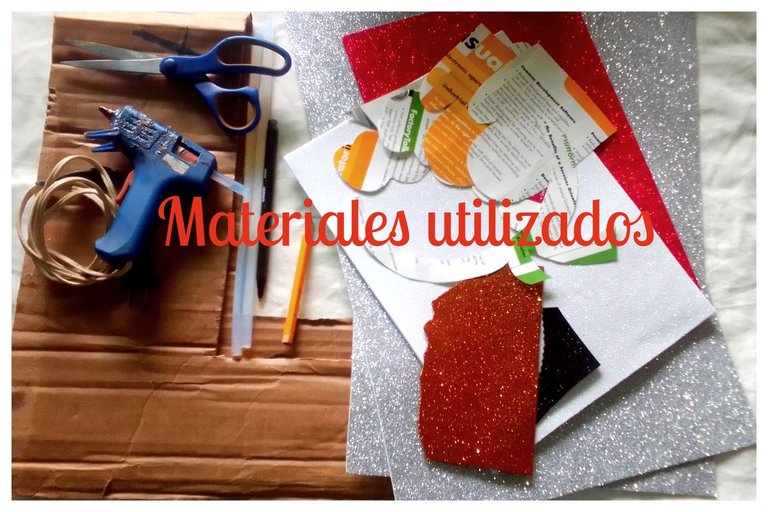
Step #1:
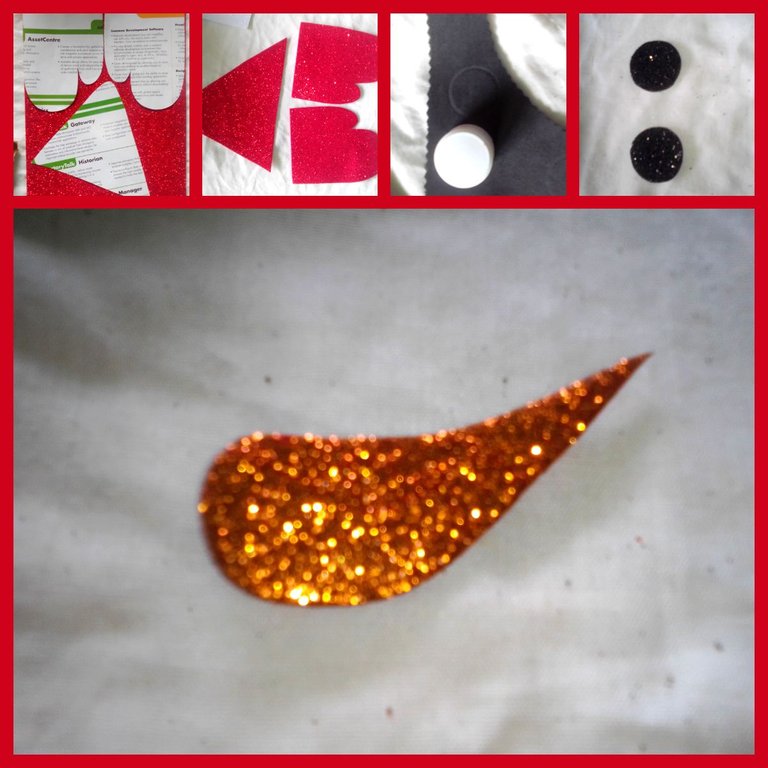
Use a cap to mark a circle, then use the scarf pattern to do the same and cut out.
Paso #1:
Use una tapa para marcar un círculo, luego utilice el patrón de la bufanda realizando lo mismo y recorte.
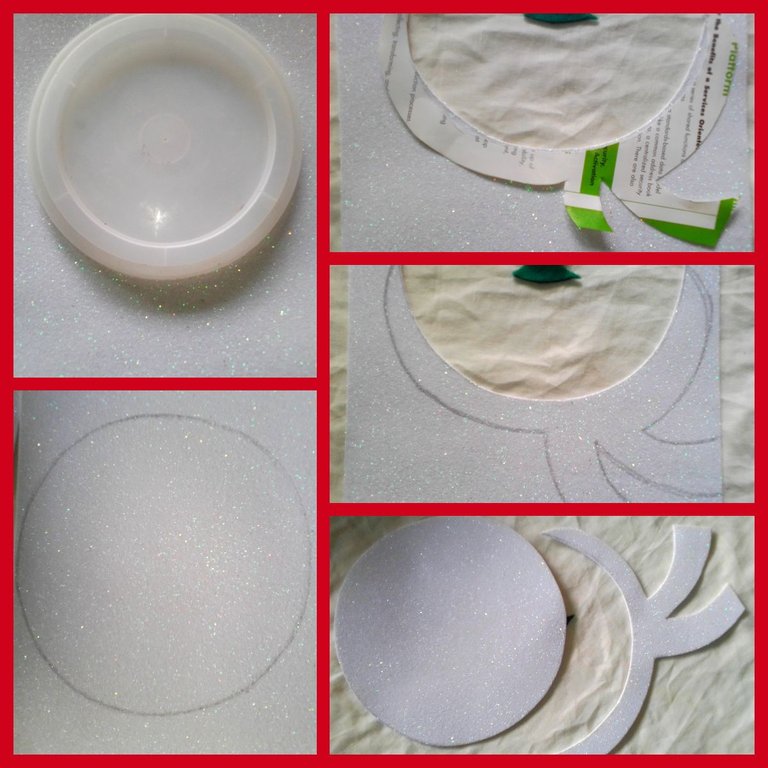
Step #2:
On this other EVA foam, mark the headband of the hat and 2 pieces of the headband of the gloves, cut out making a total of 3 pieces. Then use a medium cap to proceed to cut out a circle.
Paso #2:
En este otro goma eva, marque el faralao del gorro y 2 piezas del faralao de los guantes, recorte haciendo un total de 3 piezas. Luego emplee una tapa mediana para así proceder a recortar un círculo.
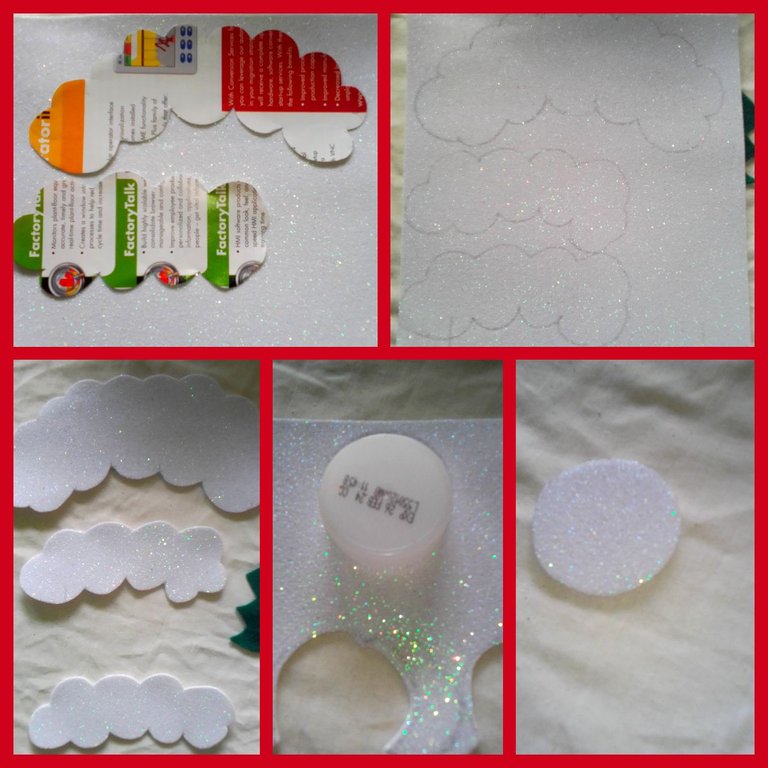
Step #3:
From the red eva rubber, cut the gloves and part of the hat, then use a smaller cap to cut the 2 eyes from the black eva rubber scrap and finally use the copper color to cut the nose.
Paso #3:
De la goma eva rojo, corte los guantes y parte del gorro, luego use una tapa más pequeña, para cortar los 2 ojos del retazo de la goma eva negro y por último utilice el color cobre para cortar la nariz.
Step #4:
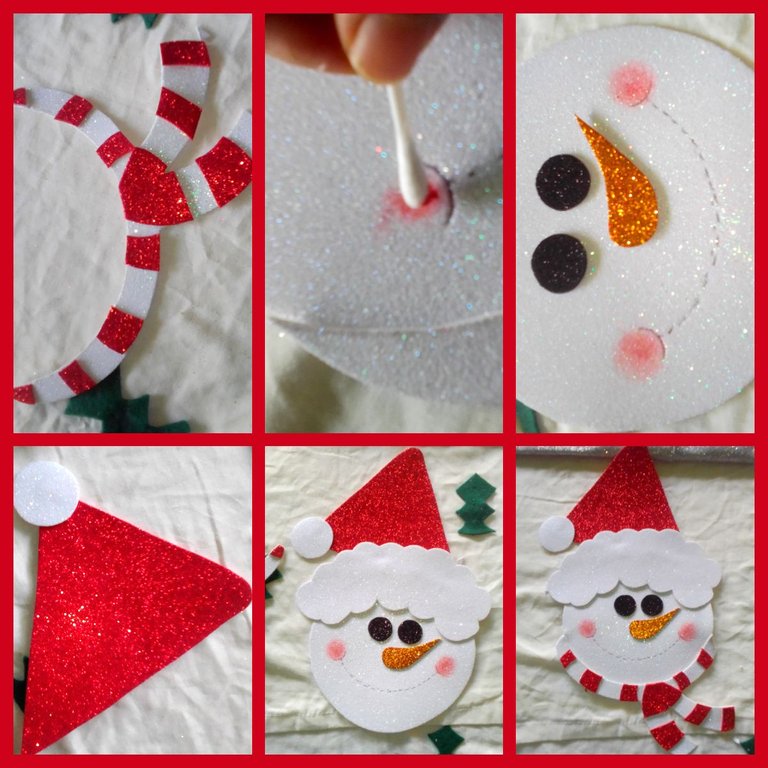
Decorate the scarf with the same red, gluing some stripes, then draw your mouth with the black pencil and your cheeks with the pink leftover. Here I proceeded to assemble the snowman's face, thus gluing his eyes, nose, then on the hat I placed the white circle, this hat along with the faralao I glued to the head of the doll and to conclude this step, his scarf.
Paso #4:
Decore la bufanda con el mismo rojo, pegando unas franjas, luego dibuje su boca con el lapicero negro y con la sobra color rosa sus mejillas. Aquí procedí a armar la cara del muñeco de nieve, pegando así sus ojos, nariz, luego al gorro le coloque el círculo blanco, este gorro junto al faralao lo pegue a la cabeza del muñeco y para concluir este paso su bufanda.
Step #5:
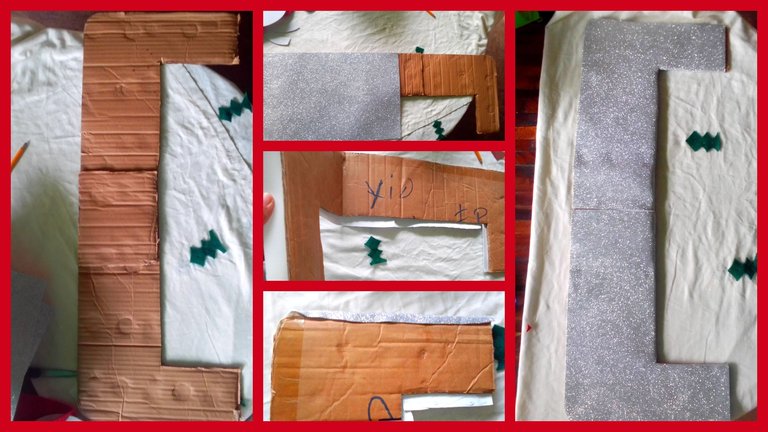
Cut a piece of cardboard in the shape of a T-shirt, I proceeded to place 2 pieces of silver frosted EVA foam on the cardboard, cut the remaining one, leaving 1 cm left over from all sides, so that it could be folded and glued.
Paso #5:
Corte un cartón en forma de camiseta, al cartón procedí a colocarle 2 piezas de goma eva escarchado plateado, corte el restante, dejando así 1 cm sobrante de todos los lados, para así doblar y pegar.
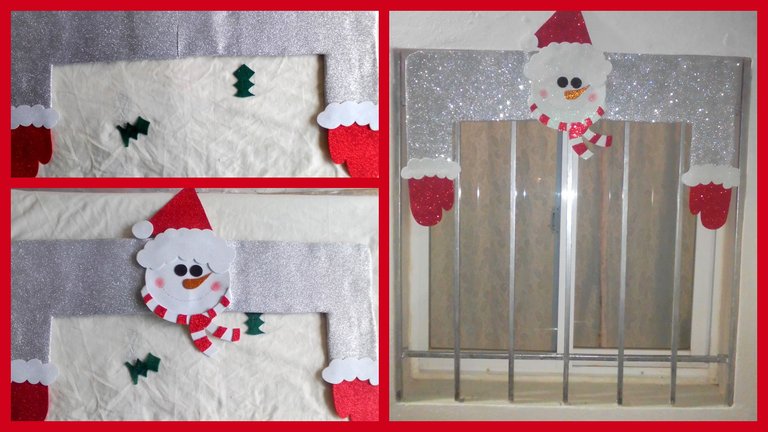
On each of the sleeves I glued his gloves and faralao, then in the entire center the head of the snowman, and this is my final result, which when glued to the window makes a good decoration. Well, my friends, this way, I conclude my day, dedicating this new project to you, with the purpose of decorating our windows, so that the design you want to make for your windows will attract a lot of attention from your visitors. I hope you can enjoy the moment of making your own decoration.
Good day.
En cada una de las mangas pegué sus guantes y faralao, luego en todo el centro la cabeza del muñeco de nieve, y así queda mi resultado final, que al pegarlo a la ventana le hace un buen decorado. Bueno, mis amigos así de esta manera, concluyo mi día, dedicándole este nuevo proyecto, con la finalidad de decorar nuestras ventanas, la cual el diseño que deseen hacer para sus ventanas, llamara mucha la atención de sus visitantes. Espero que puedan disfrutar el momento de elaborar su propio decorado.
Feliz día.
Collage making program: Fotojet Link
Translated from google translator Link
Photo editing program: PhotoFiltre 7
Las fotos fueron tomadas desde un Xiaomi Mi A2.
Programa para hacer el collage: Fotojet Enlace
Traducido del traductor de Google Enlace
Programa para editar fotos: PhotoFiltre 7
I say goodbye until another opportunity.
Thanks for your support.
Me despido hasta otra oportunidad.
Gracias por su apoyo.
Copyright @imargasa. All rights reserved.
Se ve muy original y bonita esa decoración en la ventana.
Gracias amiga.
!DIY
!discovery 28
This post was shared and voted inside the discord by the curators team of discovery-it
Join our Community and follow our Curation Trail
Discovery-it is also a Witness, vote for us here
Delegate to us for passive income. Check our 80% fee-back Program
A wonderful Christmas decoration. Nicely
You can query your personal balance by
@stevenson7 just sent you a DIY token as a little appreciation for your post dear @imargasa! Feel free to multiply it by sending someone else !DIY in a comment :) You can do that x times a day depending on your balance so:!DIYSTATSCongratulations, your post has been upvoted by @dsc-r2cornell, which is the curating account for @R2cornell's Discord Community. Enhorabuena, su "post" ha sido "up-voted" por @dsc-r2cornell, que es la "cuenta curating" de la Comunidad de la Discordia de @R2cornell.