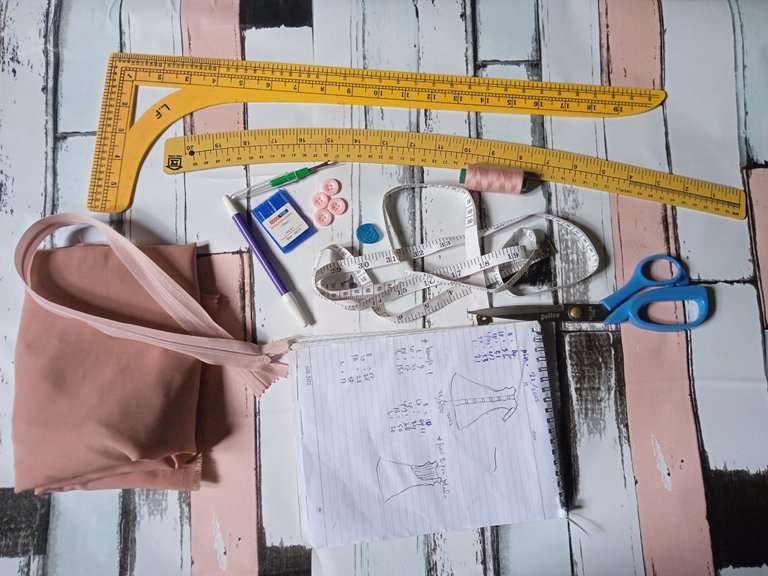
Hello everyone, on this occasion I would like to share knowledge about sewing tutorials for millennial party gamis. Talk about going to a party! Well, going to a party does not have to wear lace, sequins and such that have official value. Although going to a party is called an official thing, but for me it does not affect something that makes it feel more comfortable and cool when wearing it. Not hot, frivolous, especially where I live in what is called a tropical country. Also this shirt is very suitable for mothers who have toddlers feel more comfortable when in use. like the millennial party robe that I want to sew below.
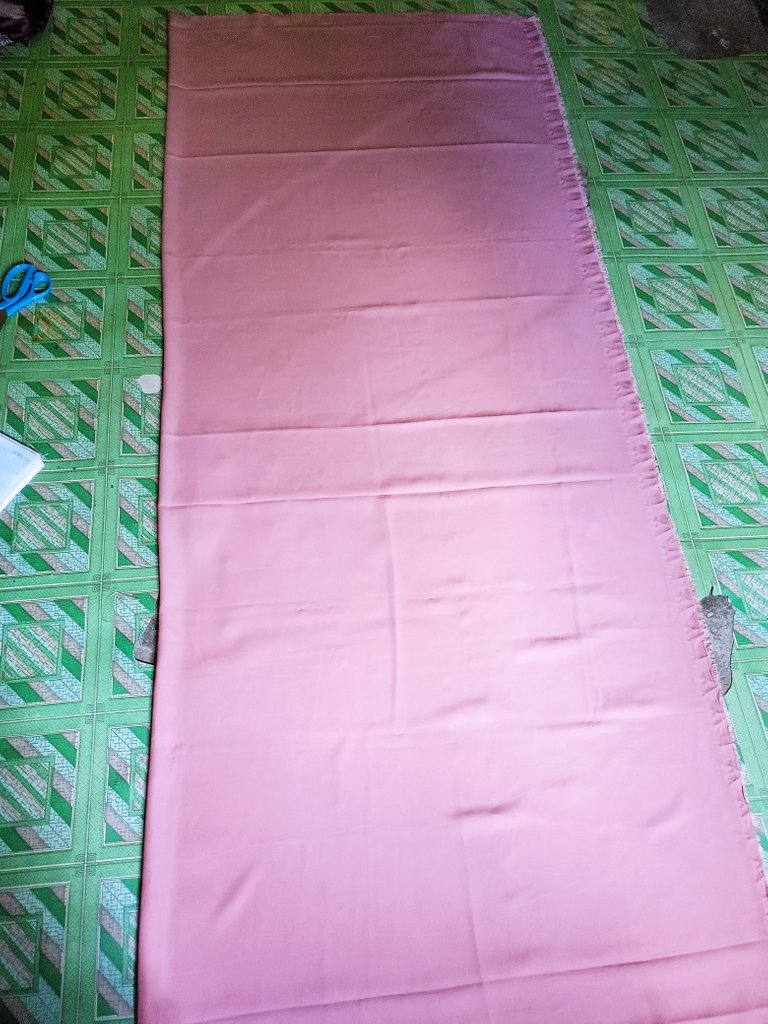
Okay, here I have a fabric with a plain motif of 2.5 meters and a width of 1.5 meters. To sew a millennial gamis shirt, I don't need to use a shirt patron because here I only use a basic pattern. In this shirt later I will use the front layer, so the fabric can be said to be sufficient for the archetype model that has a front layer. because the customer here has a body that can be said to be petite with a chest width of 31 inches, the length of the shirt is 50 inches. This size uses inches, if the size greatly exceeds the size I mentioned the possibility of the fabric is not enough 2.5 meters and must be prepared as much as 3 meters.
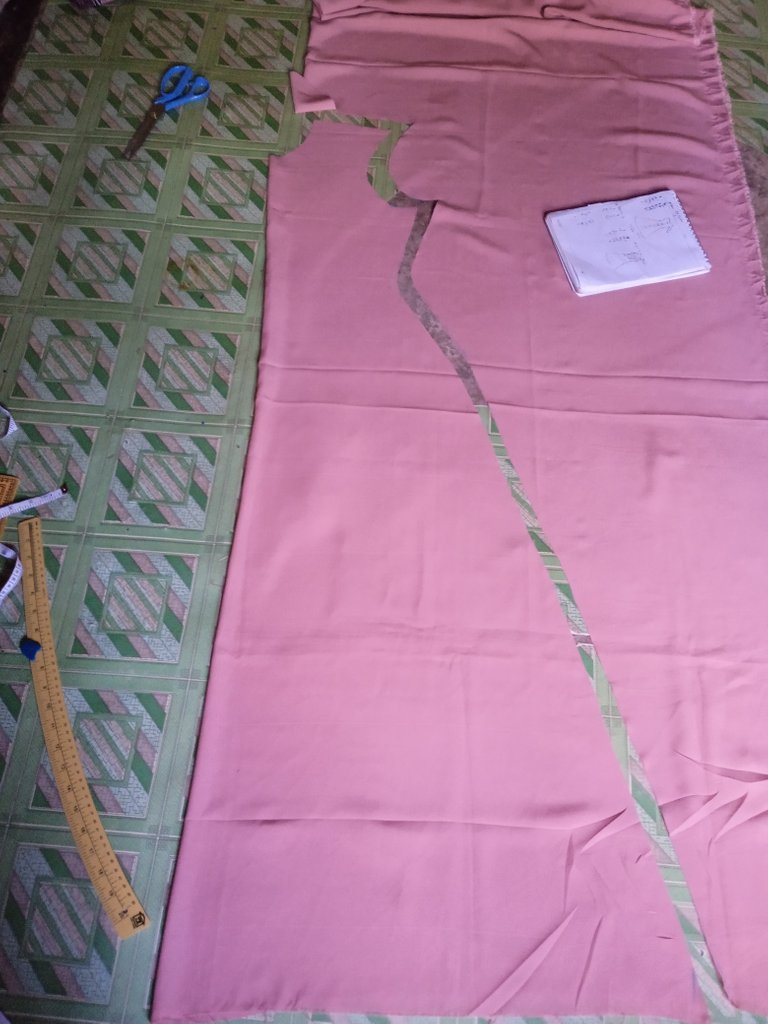
For the basic pattern of plain fabric like this, the way to fold the fabric is rectangular, this is the front pattern, so I start measuring from the middle to the bottom of the fabric so that the fabric can be more efficient. Besides being able to sew, I also need to know how to fold, cut, and save fabric. Because all of that is very necessary to know in order to produce creative work. Different models of clothes that I sew are different ways of cutting the fabric. And this is how to cut the fabric as usual, namely using the basic pattern of the shirt.
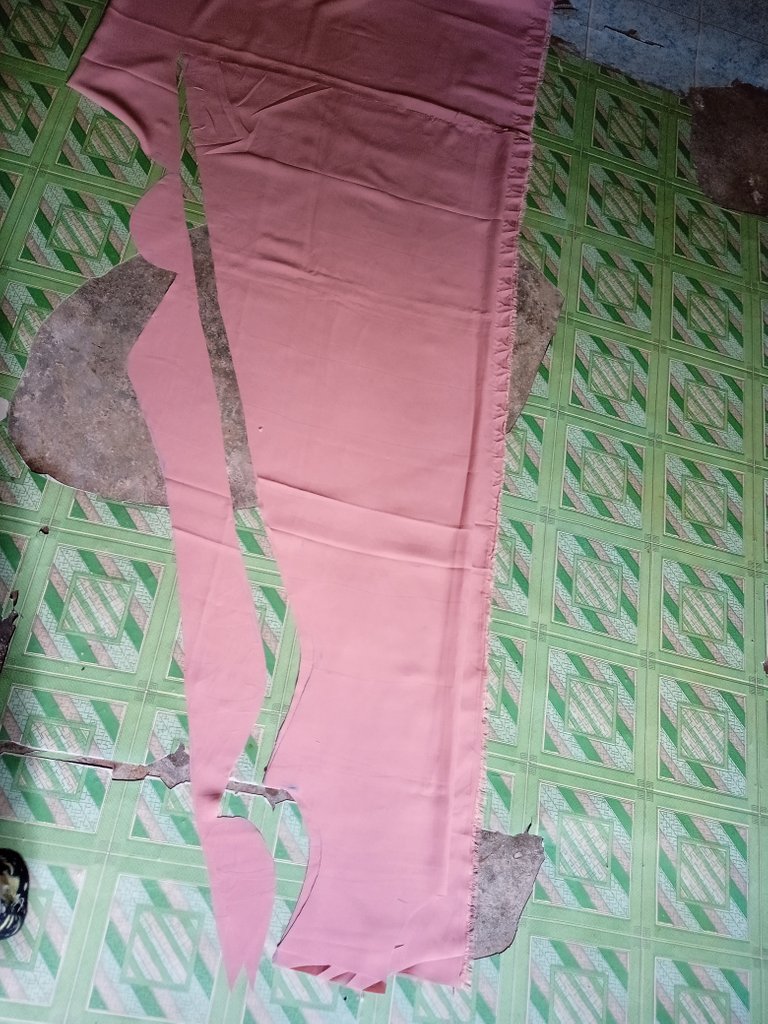
After I cut the front pattern, the fabric that I folded earlier I did not move it still in the same position, so the front pattern that I had cut earlier I put on the surface of the fabric that was still in the same position earlier, I added to the back pattern that is the shoulder up 1/2 inch, on the armpit pattern 1/2 inch, waist 1/2 inch to the hip. front pattern with cutting position from the middle to the bottom while the back pattern from the bottom to the middle, because the shirt pattern here does not have a cut at the waist, how to put it like this is why it is called the basic pattern. like the photo I show below.
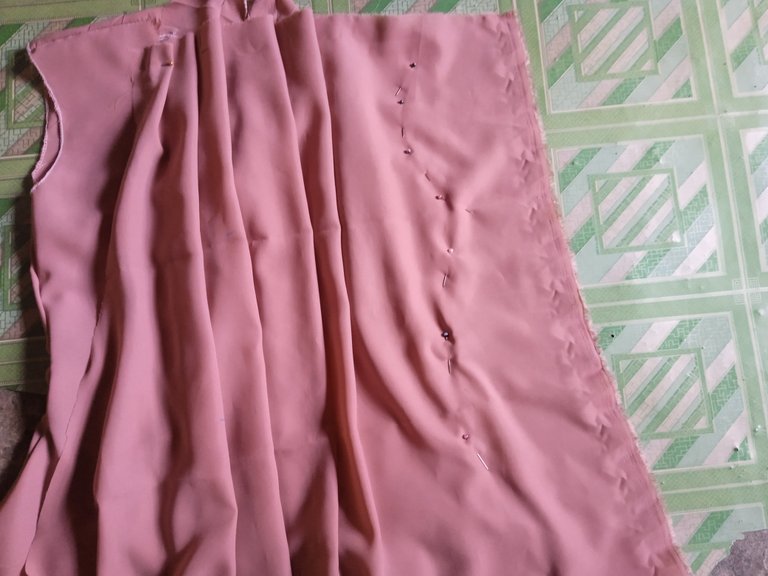
This is how to cut the layer on the front. I first fold the fabric over the front pattern and form it like a pattern, after I form it using a penul I sew it first to make it easier to cut the rest and be able to form the front pattern. Before I sew on the neck, armpits, waist to the hips, I first iron the edges of the layer and sew it. After that, I sewed the neck to the hips that I had shaped earlier. After that, I cut the rest of the fabric.
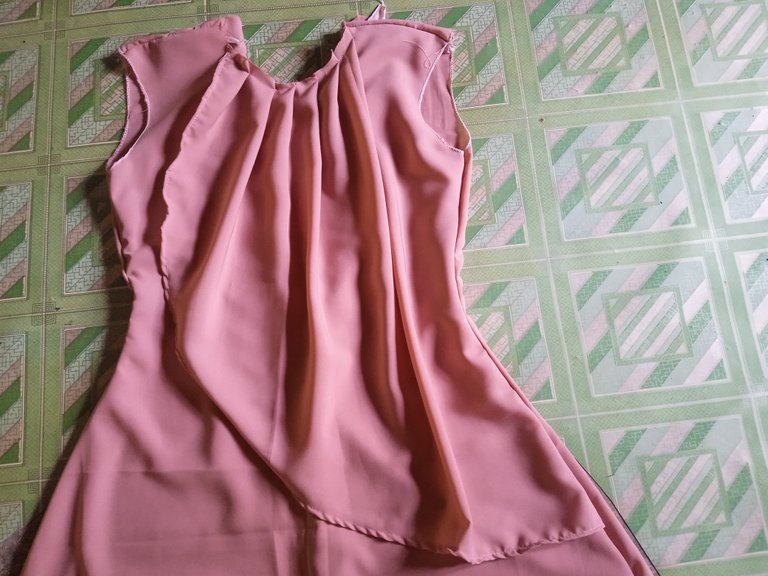
The sleeve cutting here has more or less an S shape. The end of the sleeve I will add a tire or bud to the bottom of the sleeve, the hard fabric that I use here is specifically for women, because hard fabric has several divisions, there is a special for men used in shirt collars, a hard one, not too hard and a soft one that is the thinnest. so I chose the special one for women.
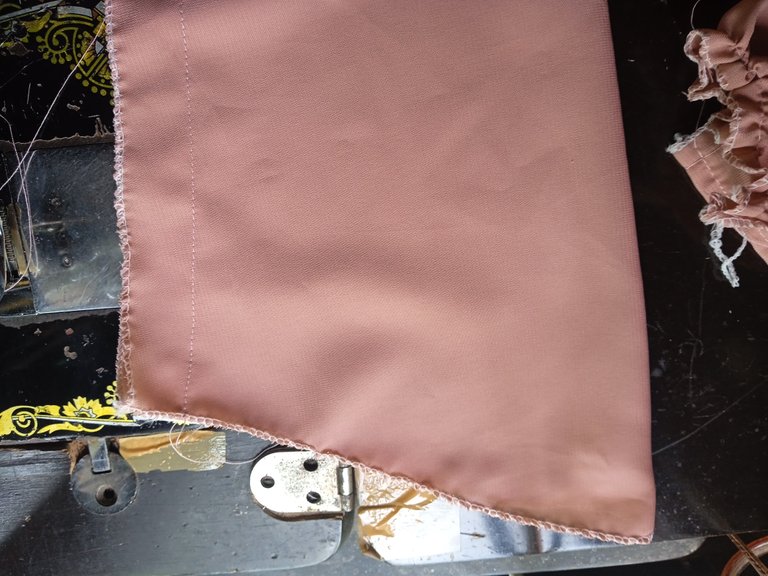
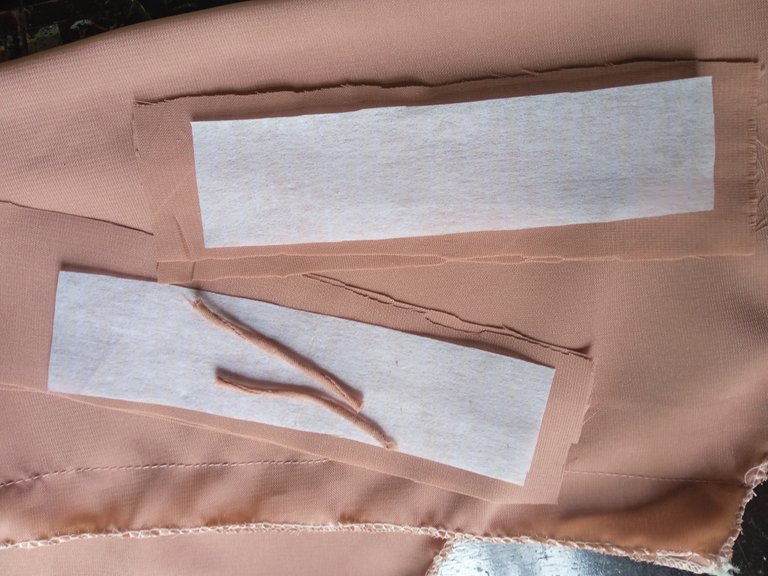
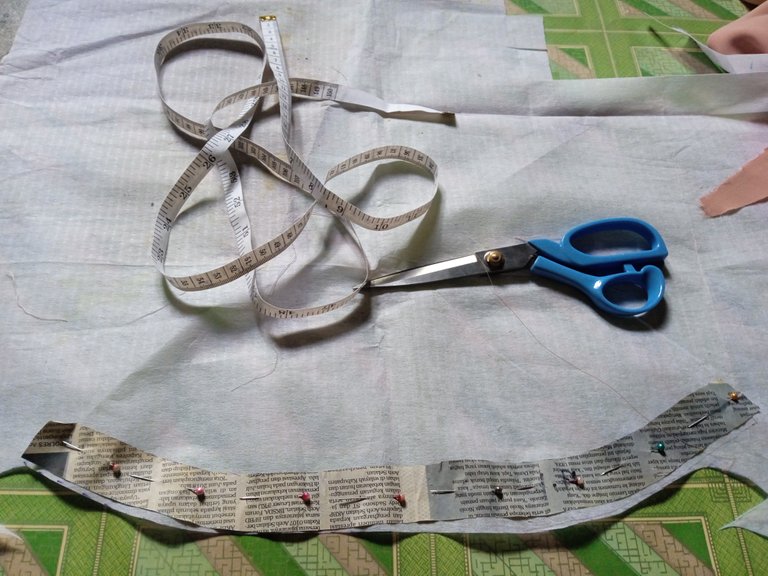
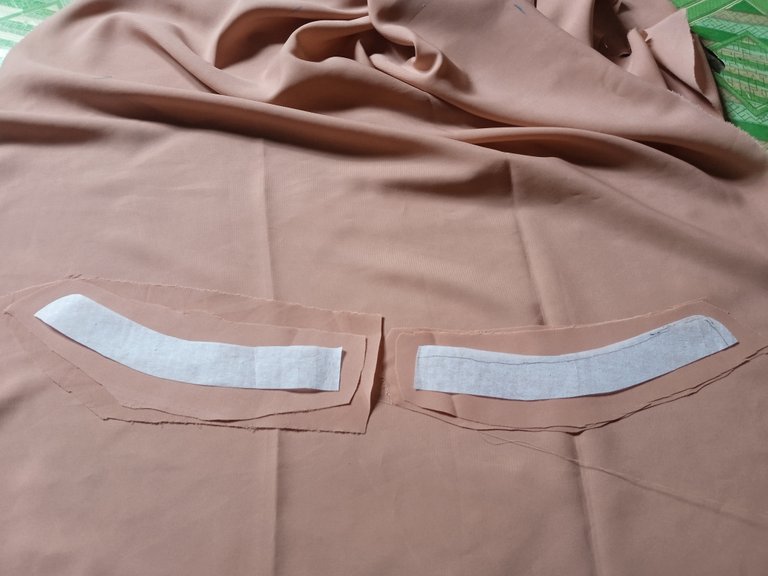
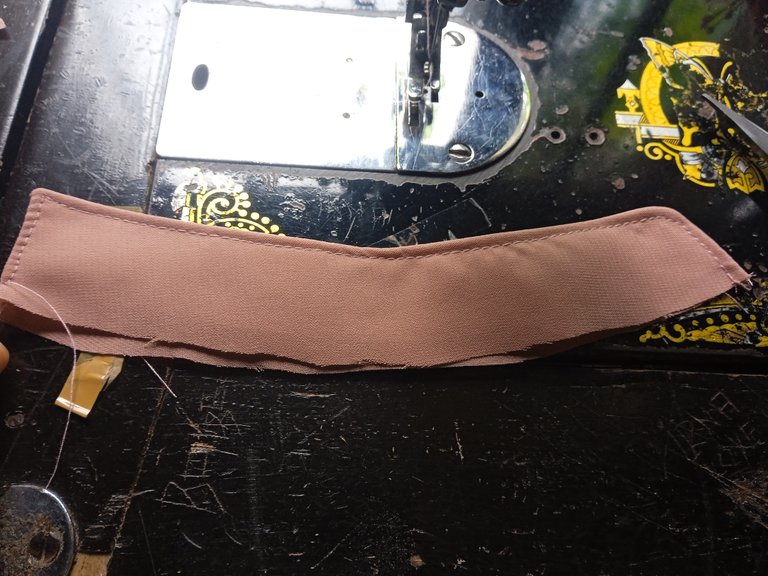
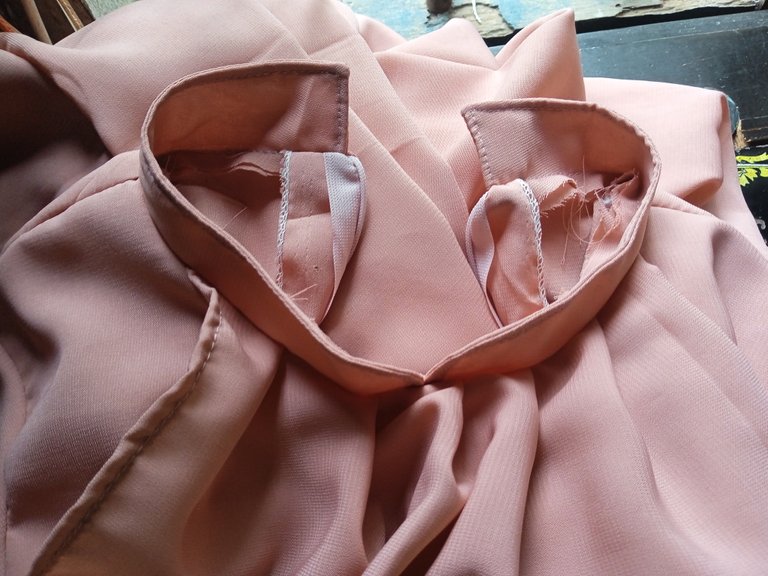
Next, I will attach the Shanghai collar. So I still use newspaper to trace because I'm still a beginner, I'm afraid it's not too perfect without tracing. The way to put it must face the outside of the fabric is the same outside of the fabric, later after sewing and turning it so it is the same not reversed inside and outside. Ready to form the Shanghai collar, I immediately put it on the neck one by one. After that I obras so as not to remove excessive threads and I sew reciprocally so that it looks neat.
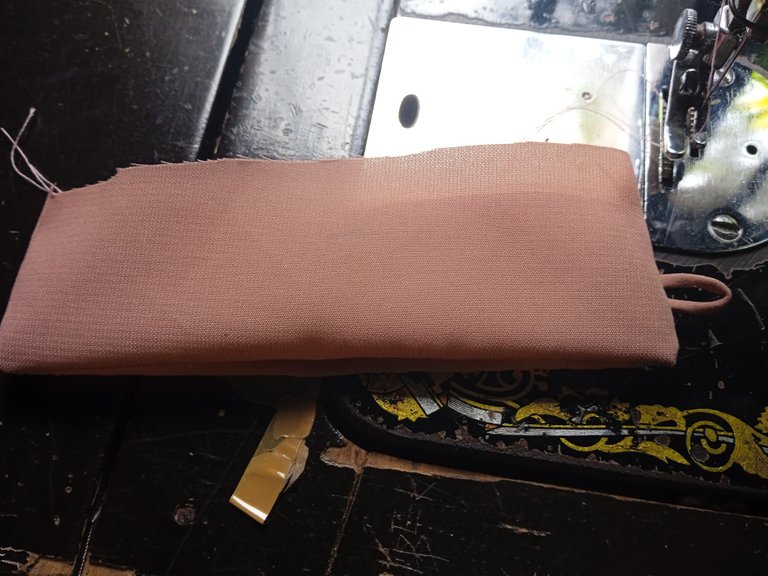
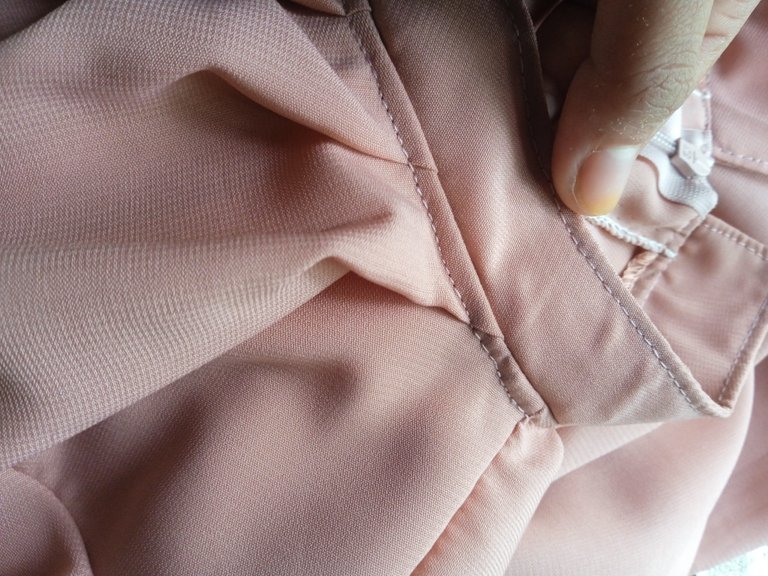
Finally, this is the result of a millennial condangan gamis dress that is comfortable to wear especially for a mother who still has a toddler is very suitable for clothes like this to wear. Since my layers are pleated, so to tidy up I use skirt medicine. Usually the tailor in my place uses this on school skirts, on men's pants and in certain parts. I use this medicine specifically on the part of the shirt that has pleats and is not too perfect just by using an iron. So I add a little of this medicine to the pleated layer to make it look neat.
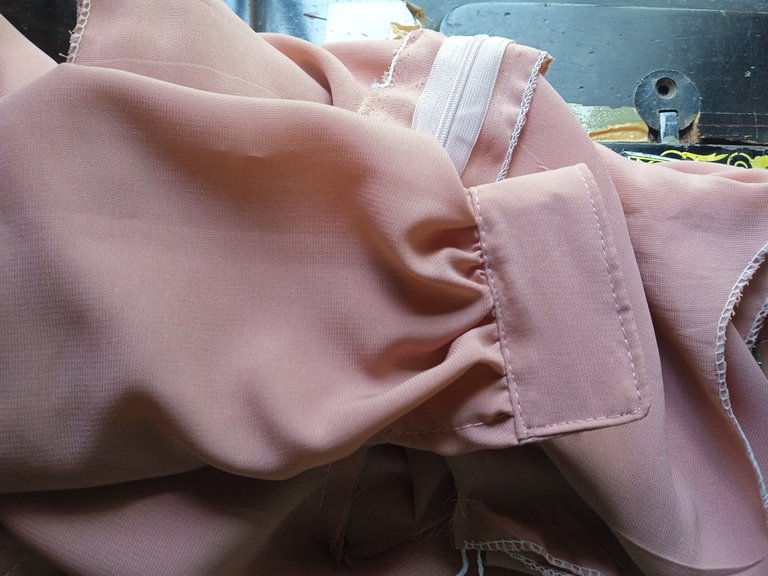
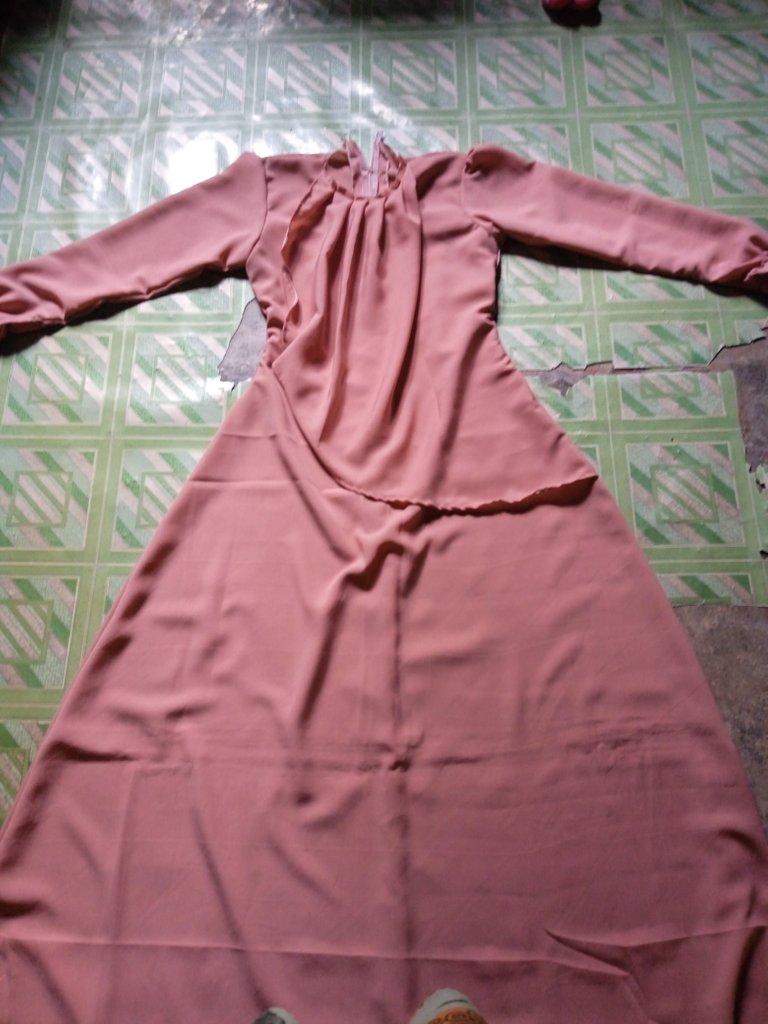
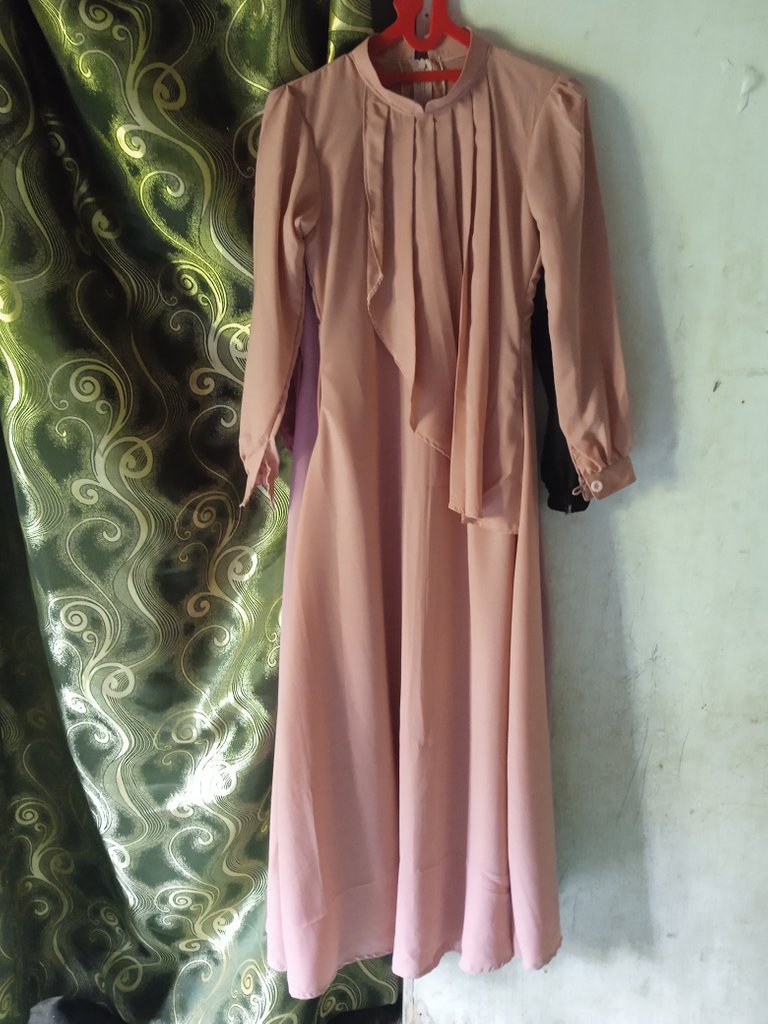
That's all from me, hopefully it can be useful for those of you who want to try it. I am also still learning a lot in terms of sewing and can also say I am still a beginner. Thank you for your attention and apologize for any mistakes both in writing words and what I show. Have a nice day, see you in my next post.
Thank you for sharing this post in the DIYHUB Community!
Your content got selected by our fellow curator desro & you just received a little thank you upvote from us for your great work! Your post will be featured in one of our recurring compilations which are aiming to offer you a stage to widen your audience within the DIY scene of Hive. Stay creative & HIVE ON!
Please vote for our hive witness <3
The rewards earned on this comment will go directly to the people( @neoseven ) sharing the post on Twitter as long as they are registered with @poshtoken. Sign up at https://hiveposh.com.
Congratulations, your post has been upvoted by @dsc-r2cornell, which is the curating account for @R2cornell's Discord Community.
Congratulations @honeyflow! You have completed the following achievement on the Hive blockchain And have been rewarded with New badge(s)
Your next target is to reach 600 upvotes.
You can view your badges on your board and compare yourself to others in the Ranking
If you no longer want to receive notifications, reply to this comment with the word
STOPCheck out the last post from @hivebuzz:
Support the HiveBuzz project. Vote for our proposal!