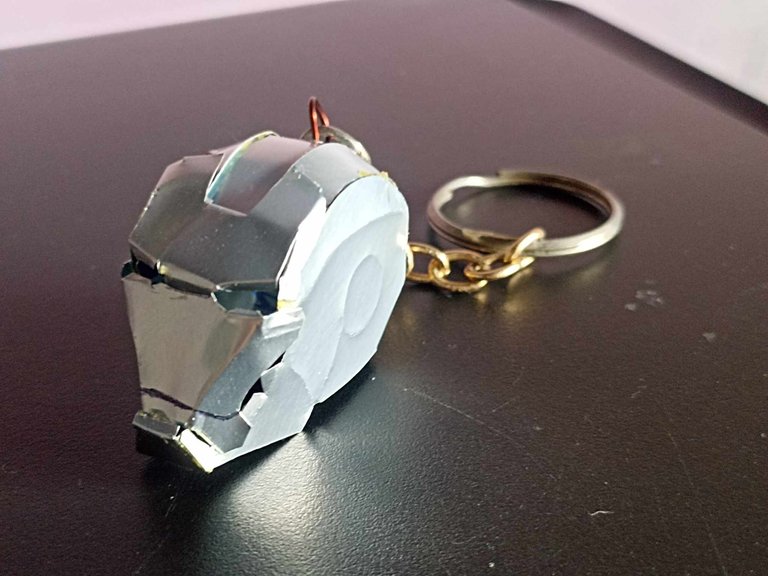
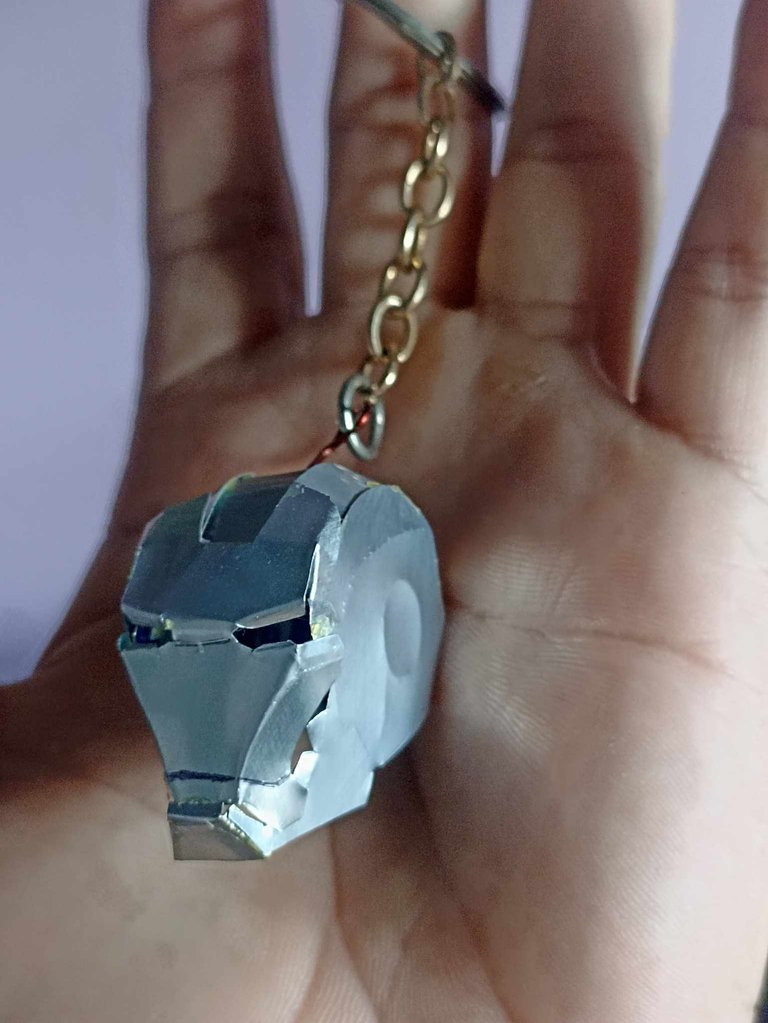
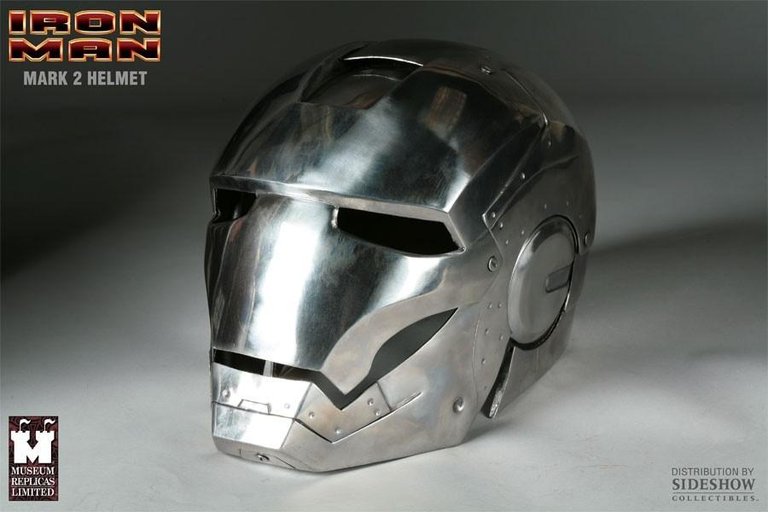
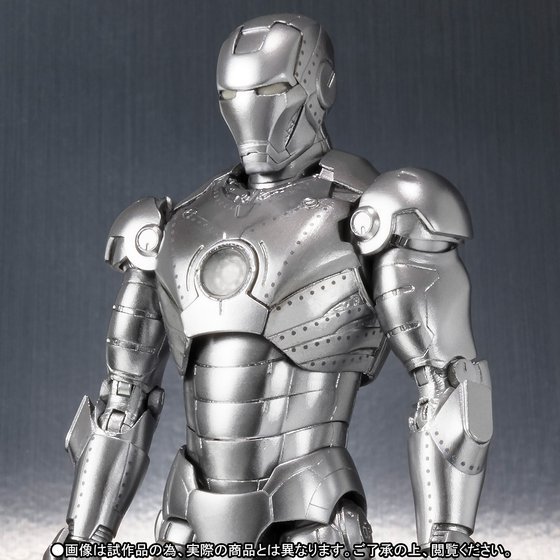
Hello dear friends, I hope you are all well, in another chapter of miniature publications I have taken the opportunity to share with you how I made a keychain of the superhero Iron Man's helmet, but it is not the classic red and gold helmet, This helmet is silver and belongs to the second model of armor used in the first Iron Man movie, this was a prototype and was not yet finished. I share with you the step by step and I hope you like it.
Hola queridos amigos, espero que todos se encuentren muy bien, en otro capítulo de publicaciones en miniatura he aprovechado la oportunidad de compartir con ustedes cómo he realizado un llavero del casco del súper héroe Iron Man, pero no es el casco clásico rojo con dorado, este casco es plateado y pertenece al segundo modelo de armadura que utilizó en la primera película de Iron Man, esta era un prototipo y aún no estaba terminada. Comparto con ustedes el paso a paso y espero que les guste.

 |  | |
|---|---|---|
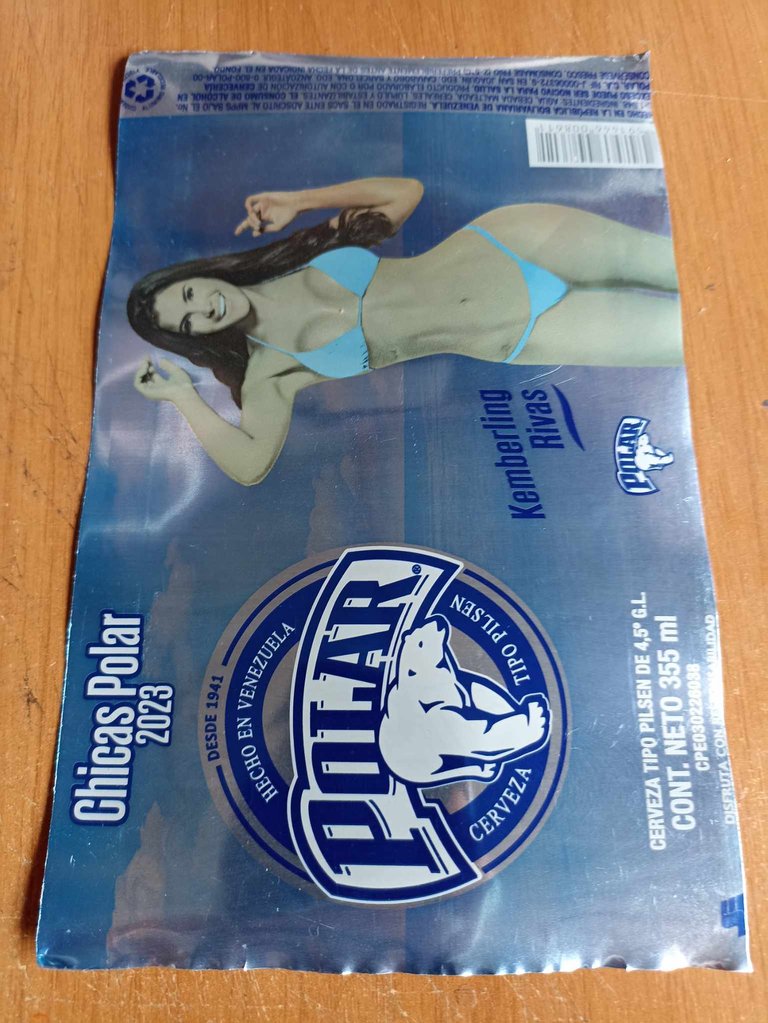 | 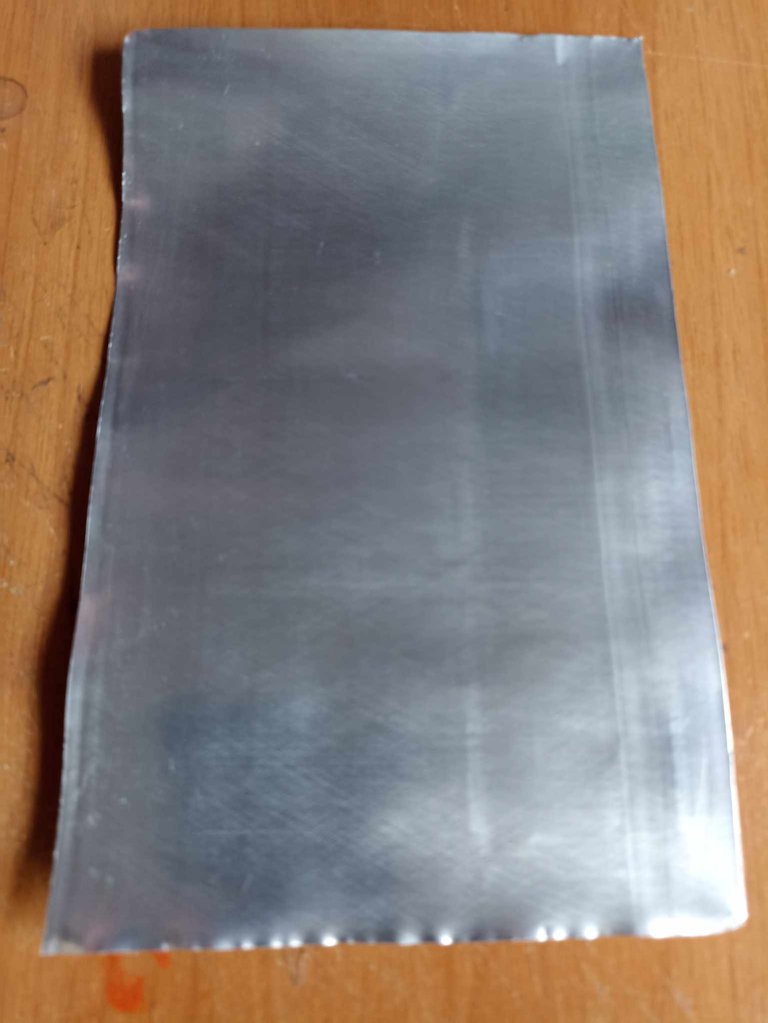 |
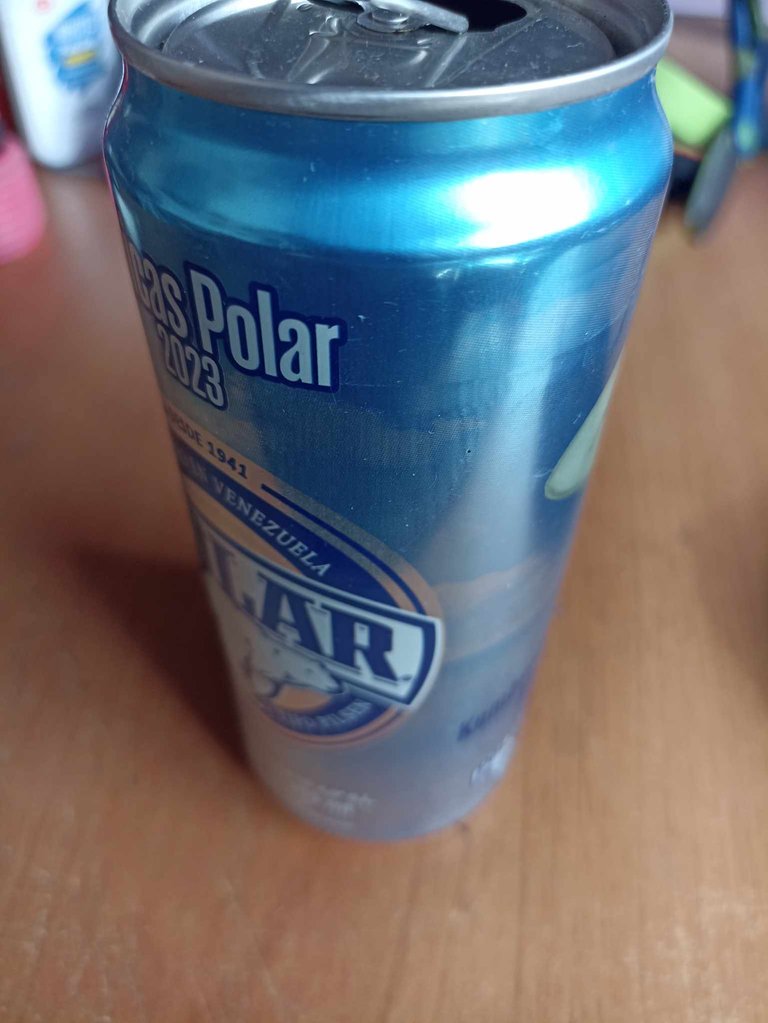
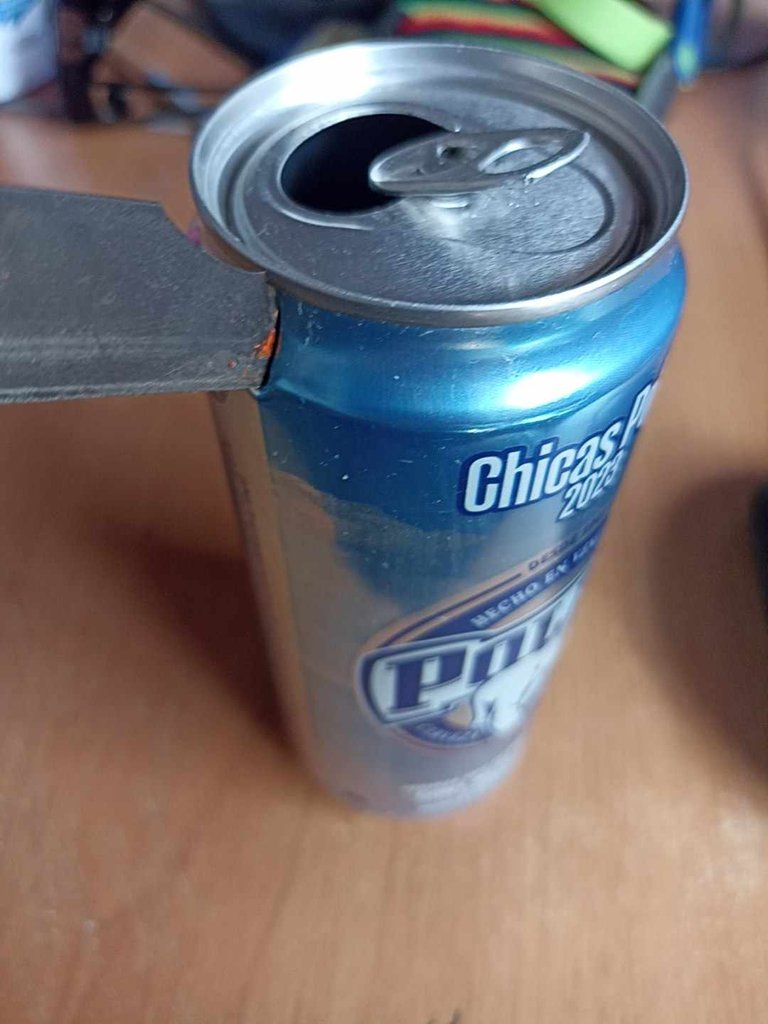
I wanted the helmet to be very shiny just like in the movie, so I took an aluminum can and removed the paint with sandpaper but it didn't work, it looked horrible, so I opted for the classic and used the inside of the can, since it comes in its natural color. So I took another can to open it with the knife and then I cut it with the scissors to cut it and transform it into a sheet.
Yo quería que el casco quedara muy brillante así como en la película, así que tomé una lata de aluminio y le quité la pintura con papel de lija pero no me funcionó, quedo horrible, así que opté por lo clásico y utilicé la cara interior de la lata, ya que esta viene en su color natural. Así que tomé otra lata para abrirla con la navaja y luego la corté con la tijera para cortarla y transformarla en una lámina.

 |  |  |
|---|---|---|
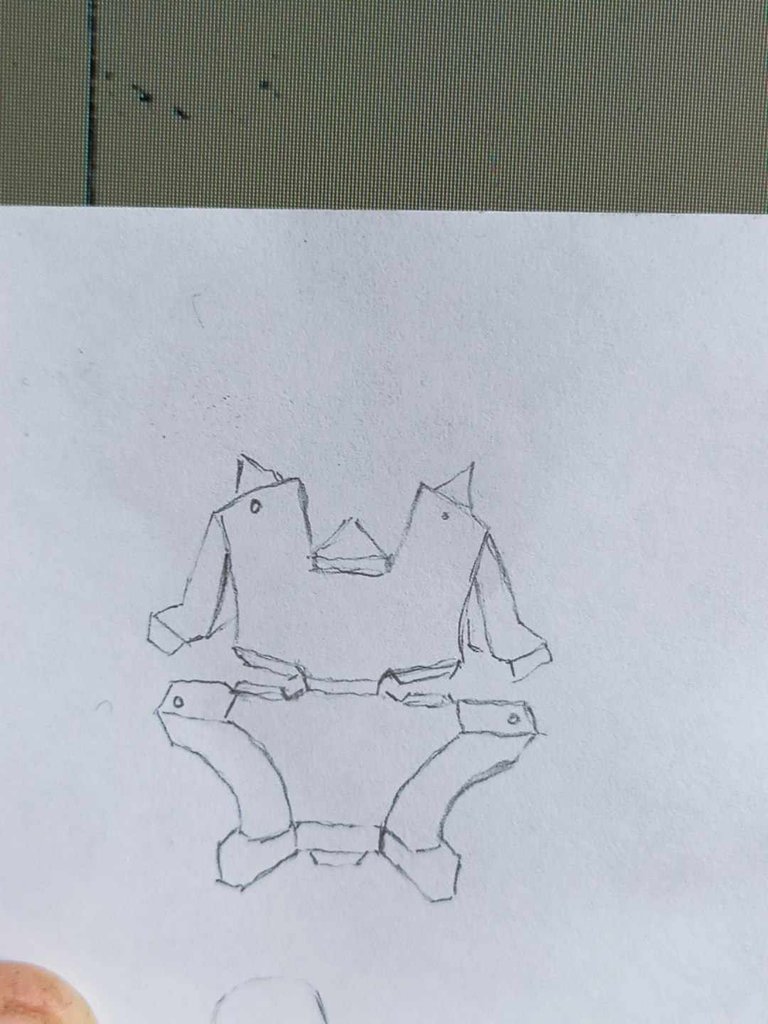 | 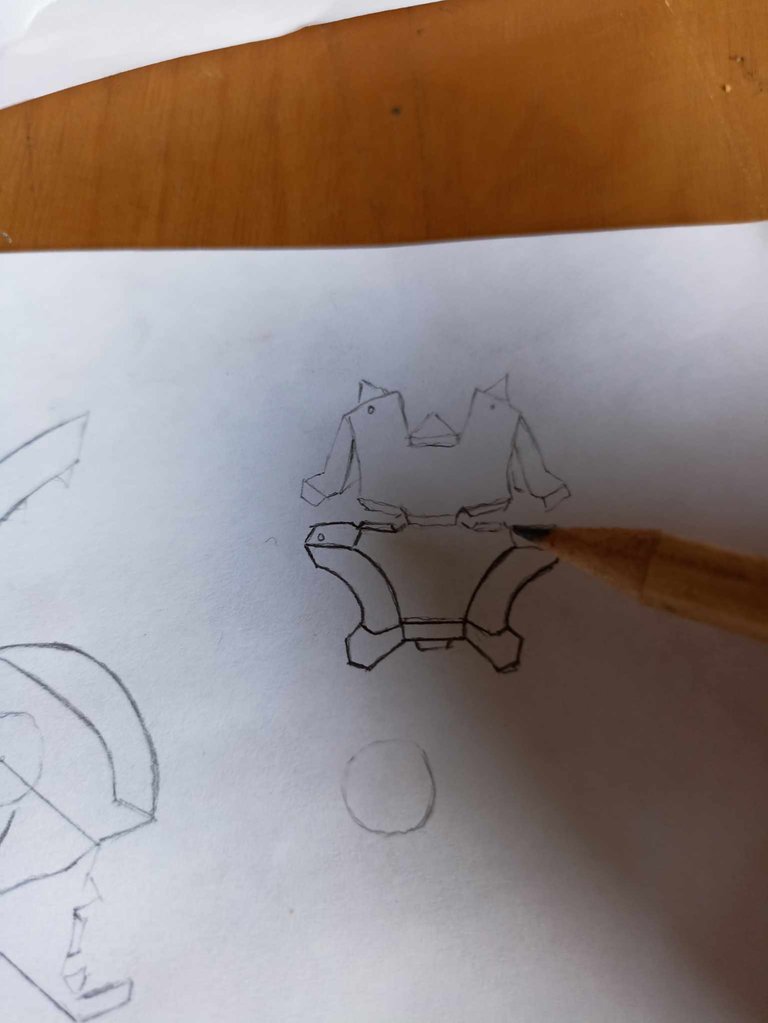 | 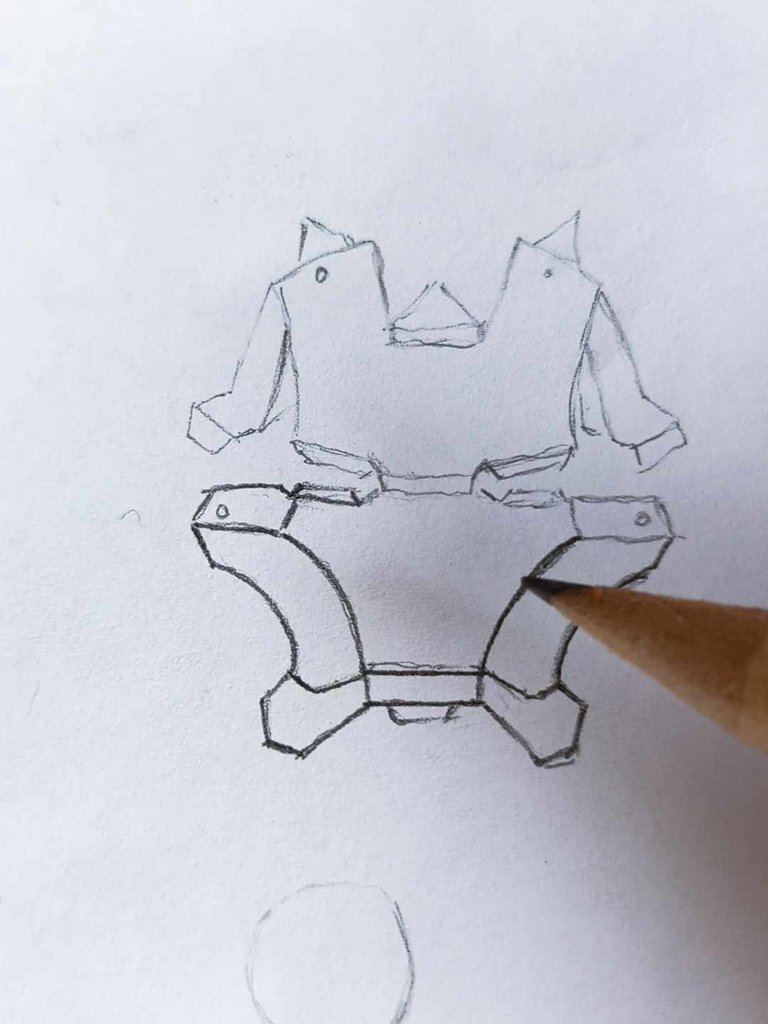 |
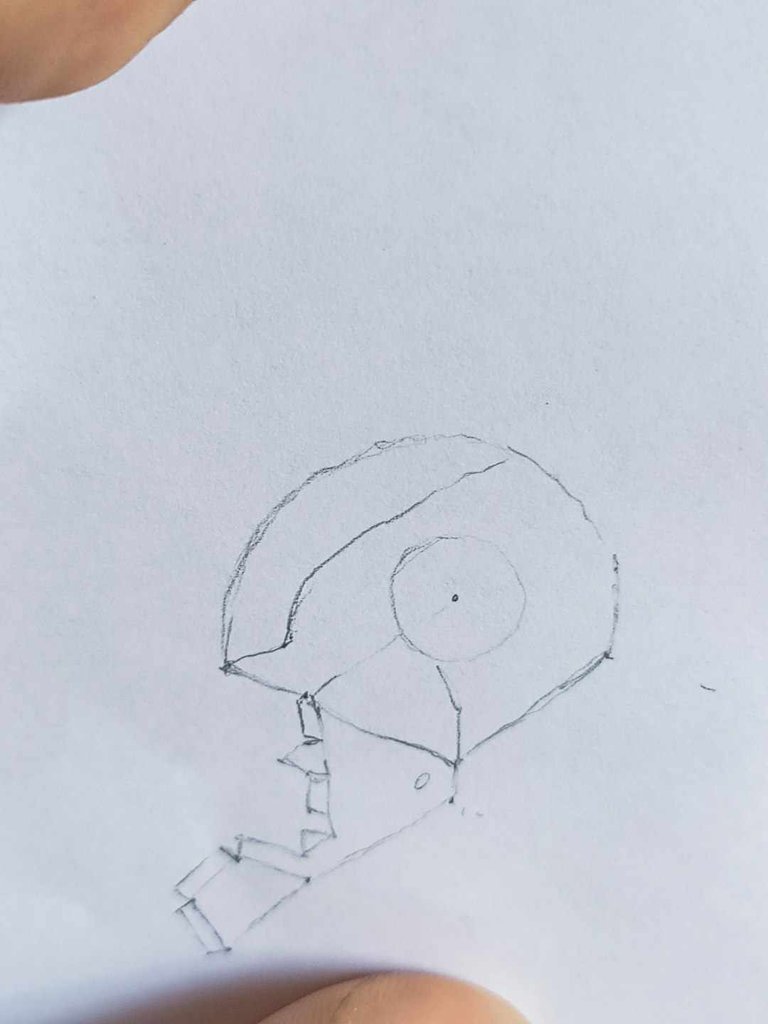
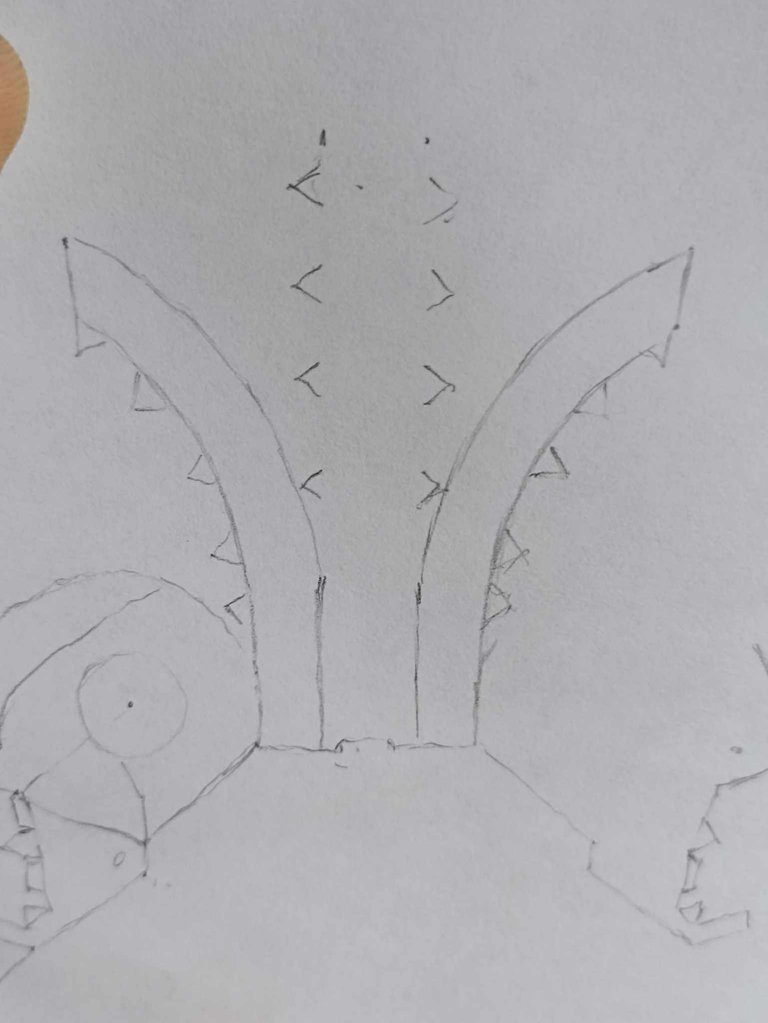
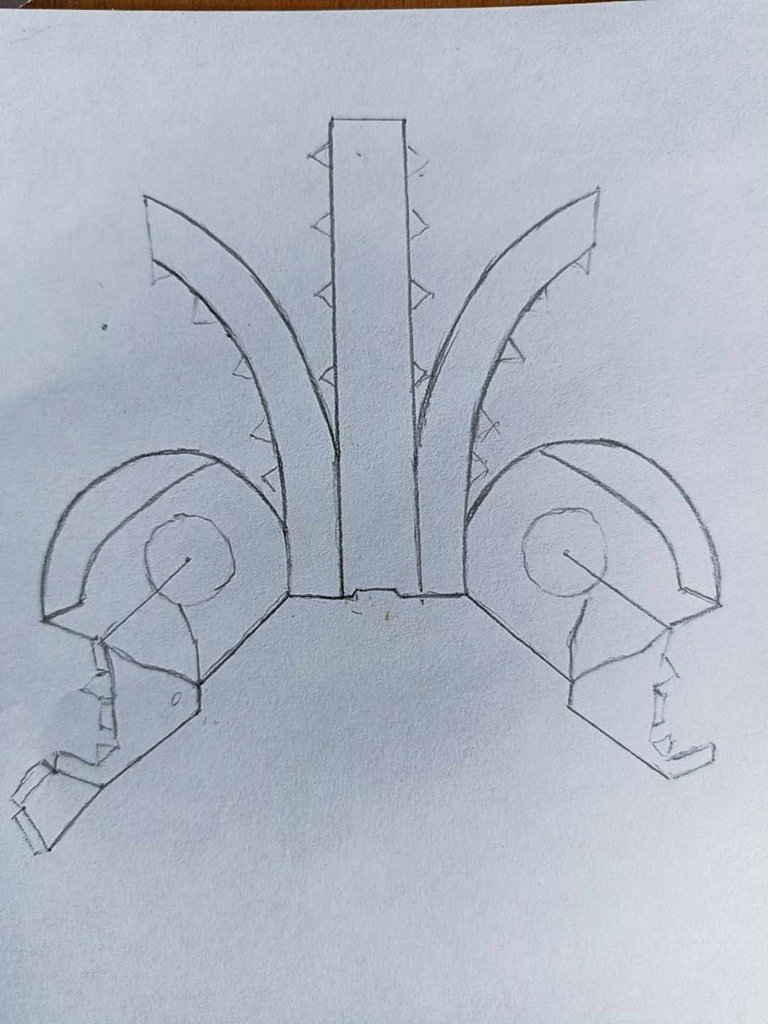
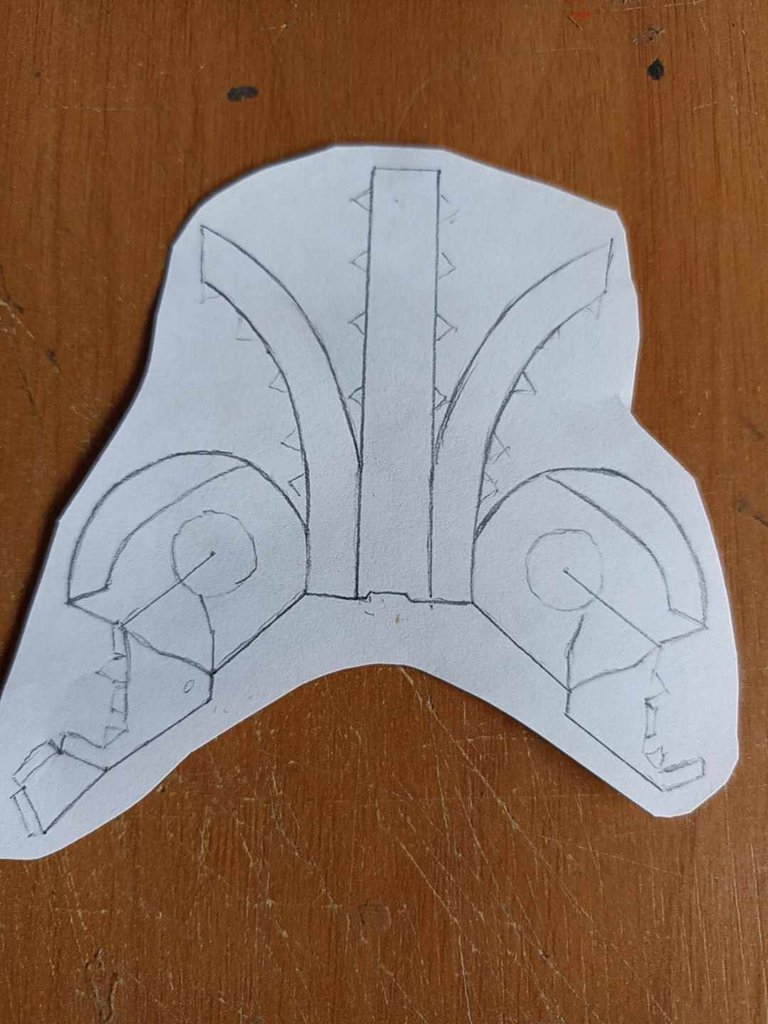
I used several papercraft models for the templates, some I have used before but this time I wanted it to be simpler, since there are papercraft models that are complicated to assemble because they have many pieces, the purpose is always to reduce the number of pieces to use without sacrificing the shape of the original design. So by searching here and there I managed to put together a very simple figure that consists of the head and face part. I drew the templates on cardstock paper and then glued it on top of the can to get the shapes out.
Utilicé para las plantillas varios modelos de papercraft, algunos los he usado antes pero esta vez quise que fuera más sencillo, ya que hay modelos de papercraft que son complicados de armar porque poseen muchas piezas, el propósito siempre es reducir la cantidad de piezas a utilizar sin sacrificar la forma del diseño original. Así que buscando aquí y allá logré armar una figura muy sencilla que consta de la parte de la cabeza y el rostro. Dibujé las plantillas en papel de cartulina y luego lo pegué encima de la lata para sacar las formas.

 |  |  |
|---|---|---|
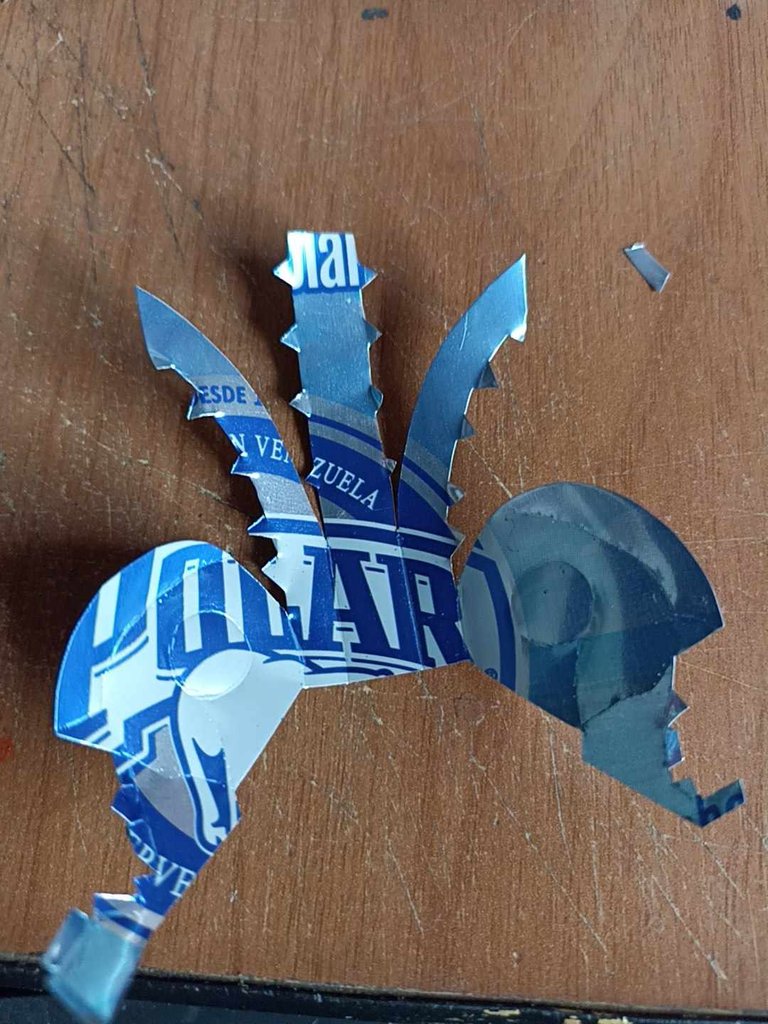 | 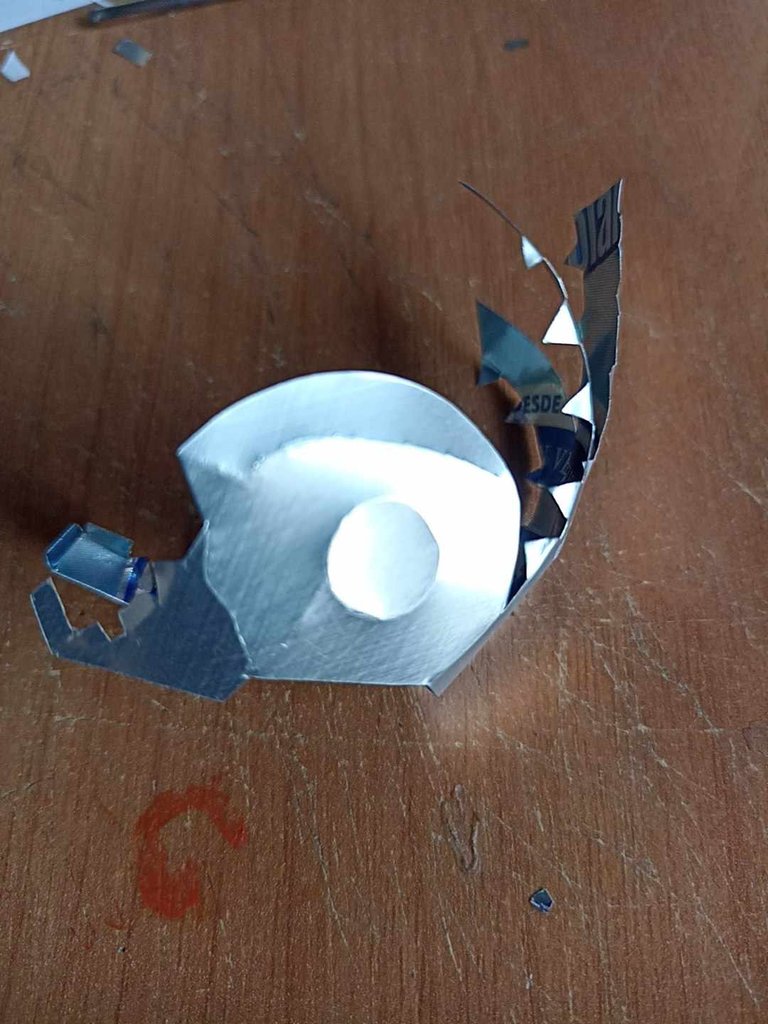 |  |
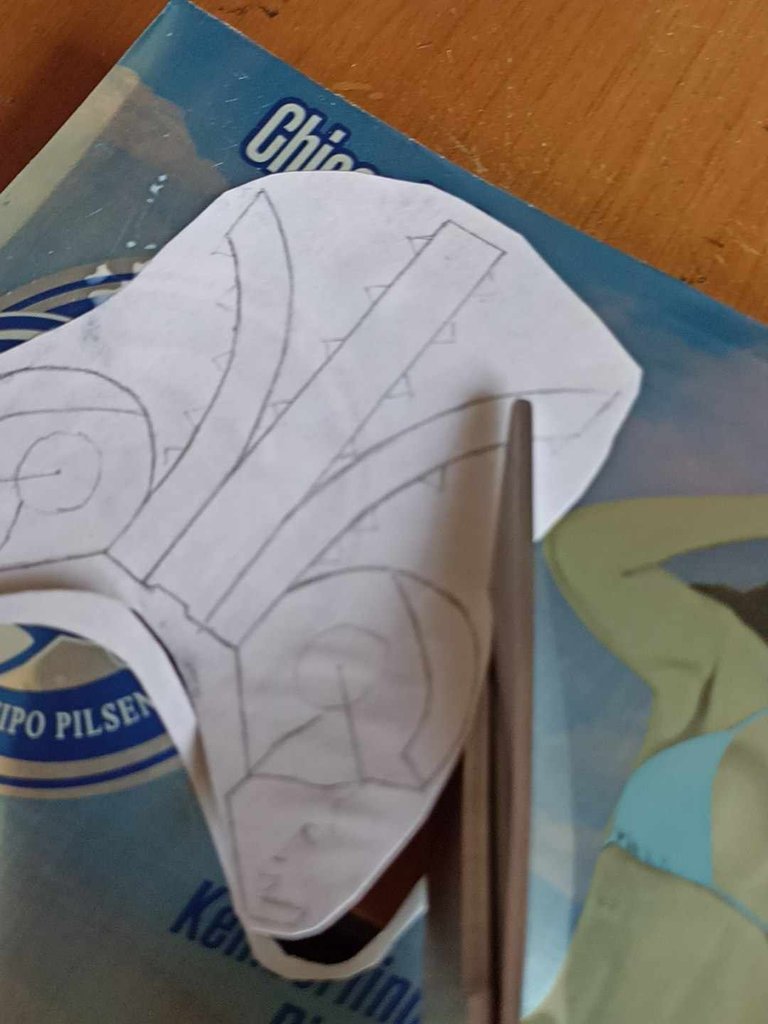
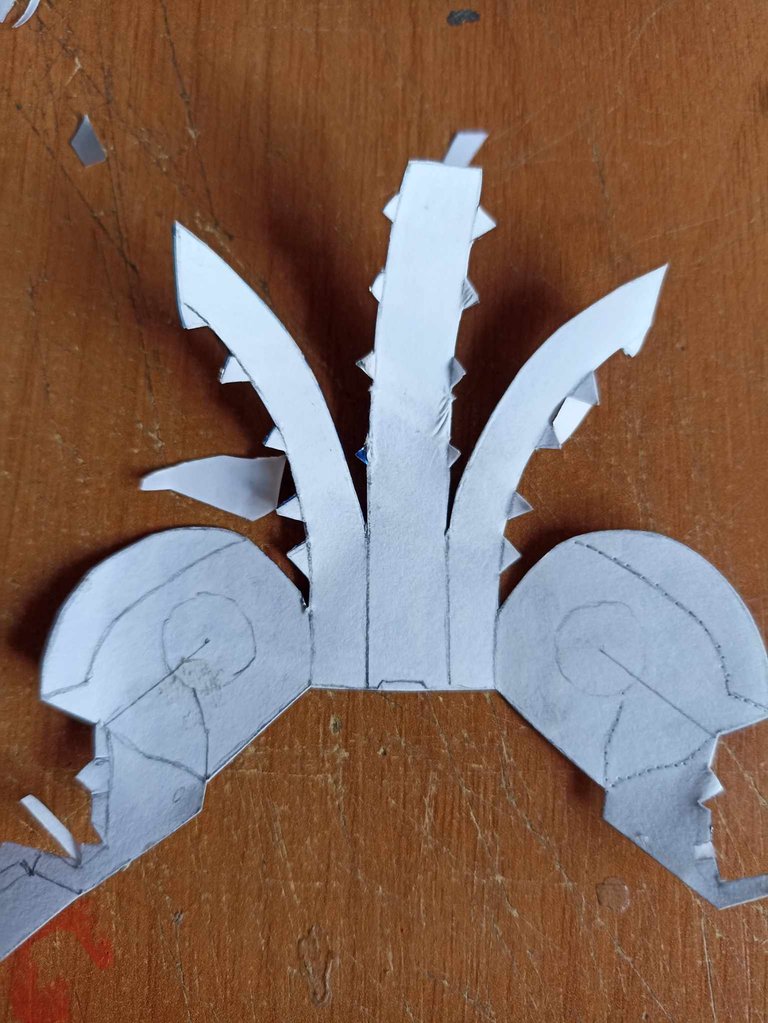
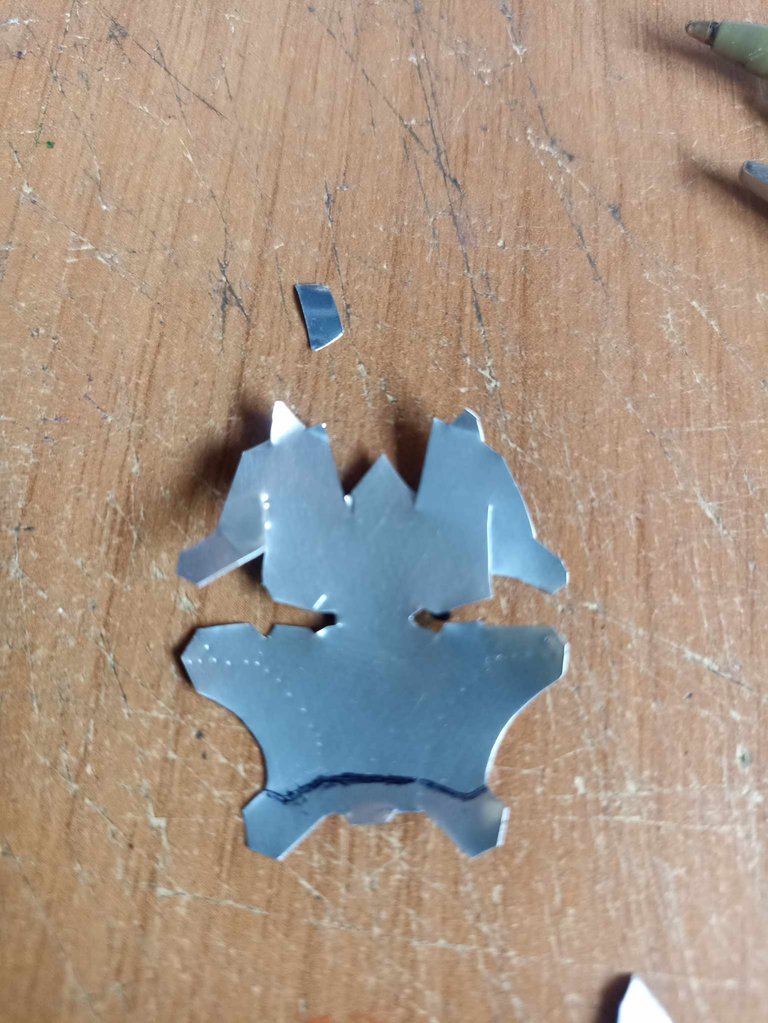
The next step is to glue the piece with the cardboard on top of the aluminum. We can use school glue, since it is cardboard, it adheres very easily, and it is not toxic. We cut the piece little by little until it is completely made of aluminum, then the helmet is shaped in each of its pieces. I used a pen to mark the lines that the helmet has, this gives it a better aesthetic.
El siguiente paso es pegar la pieza con la cartulina encima del aluminio, podemos utilizar pegamento escolar, como es cartulina, esta se adhiere muy fácil, además que no es tóxico. Recortamos poco a poco la pieza hasta sacarla completa de aluminio, seguidamente se le da forma la casco en cada una de sus piezas, yo utilicé un bolígrafo para poder marcar las líneas que el casco posee, este lo da una mejor estética.

 |  | |
|---|---|---|
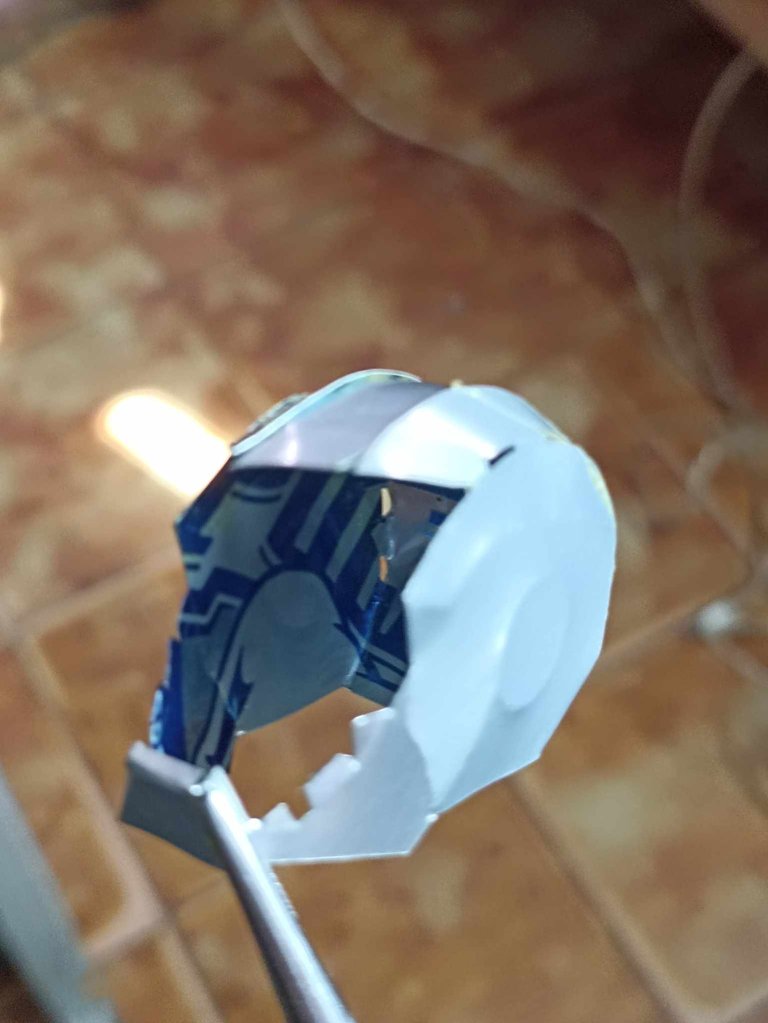 | 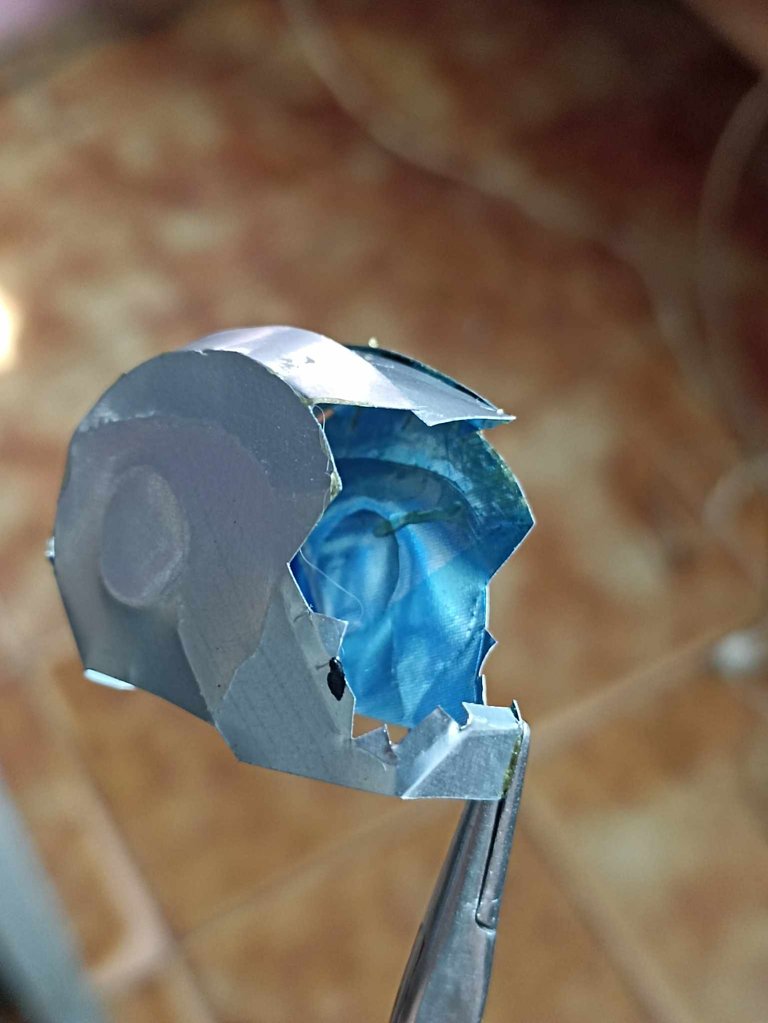 |
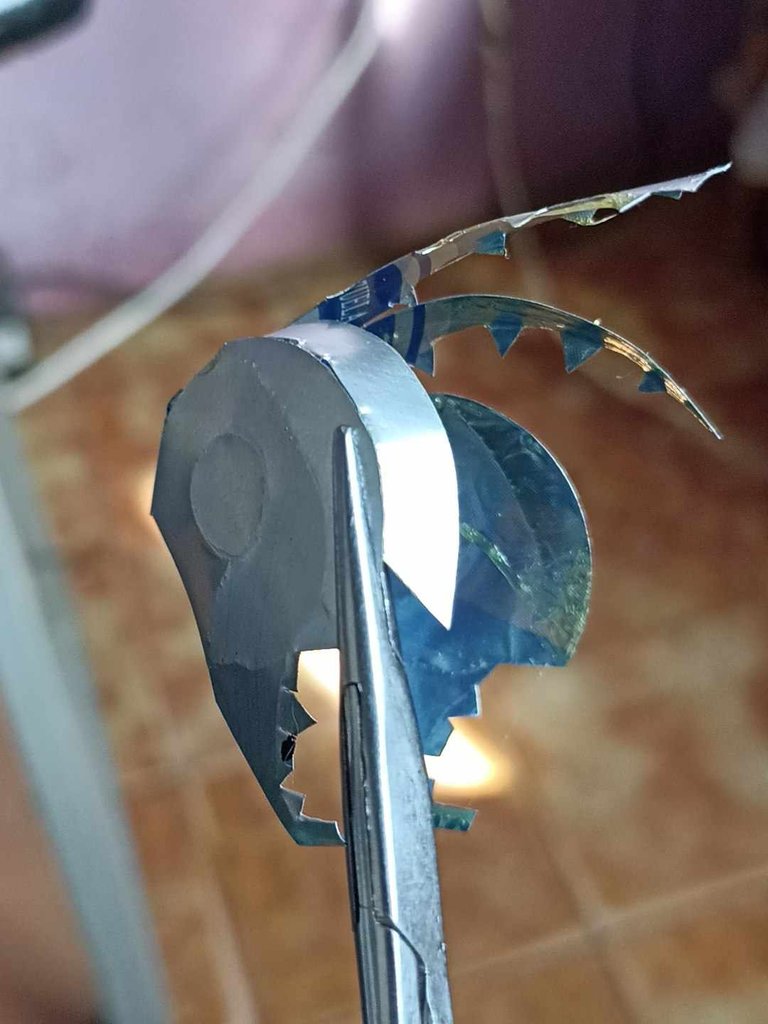
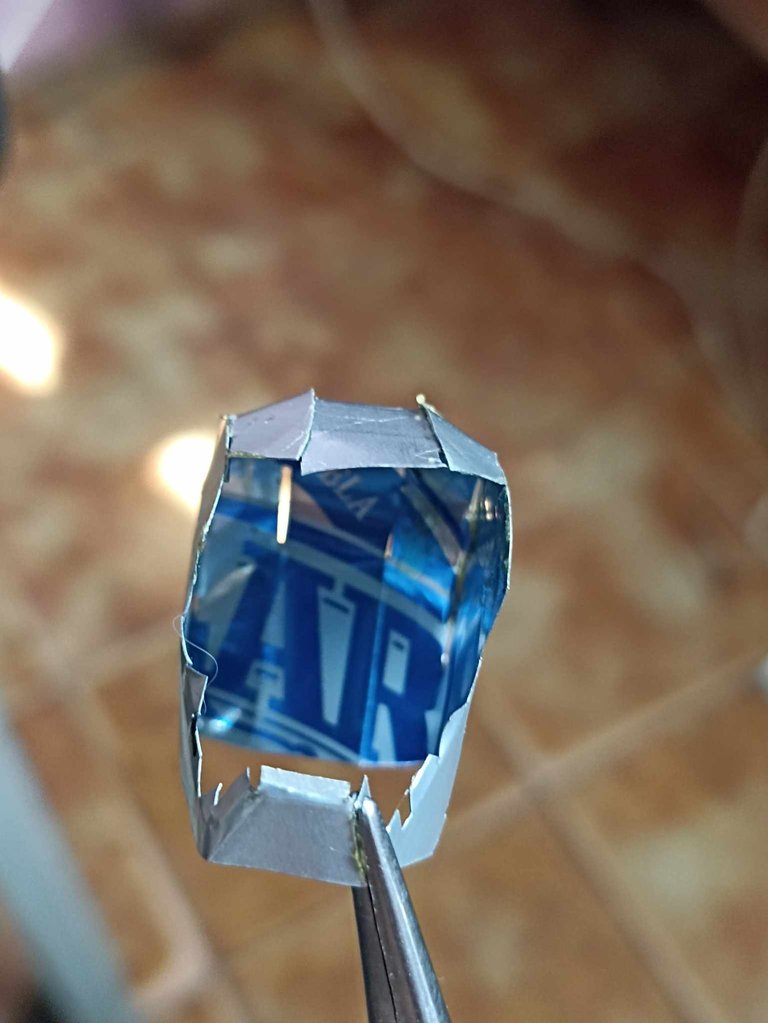
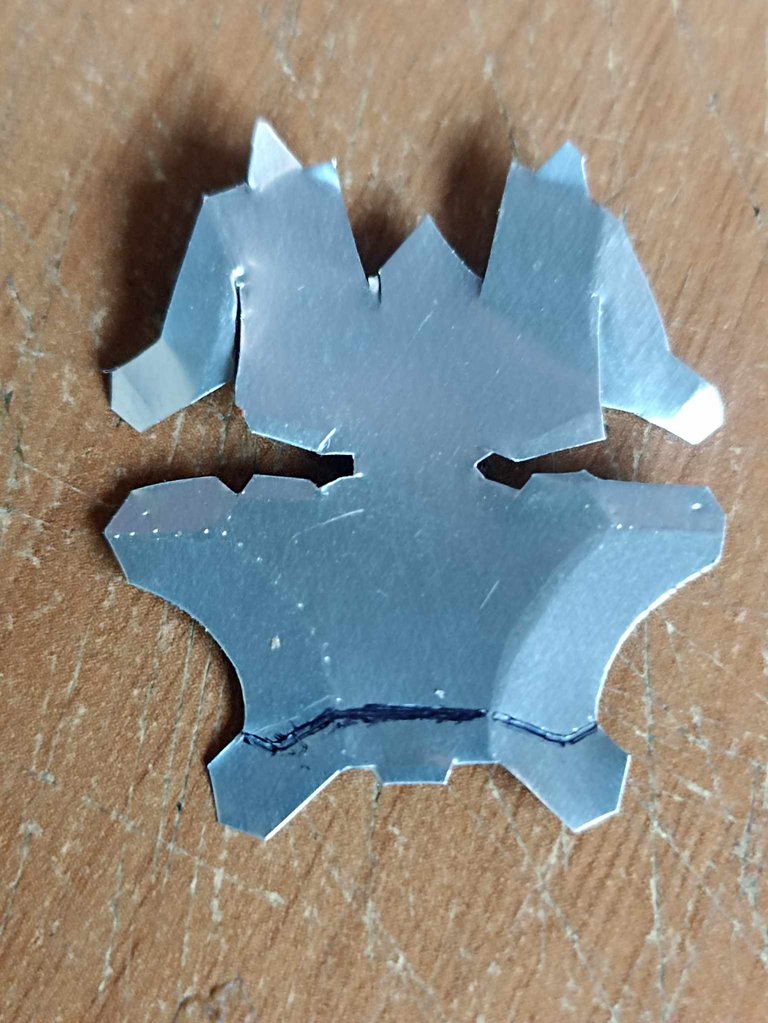
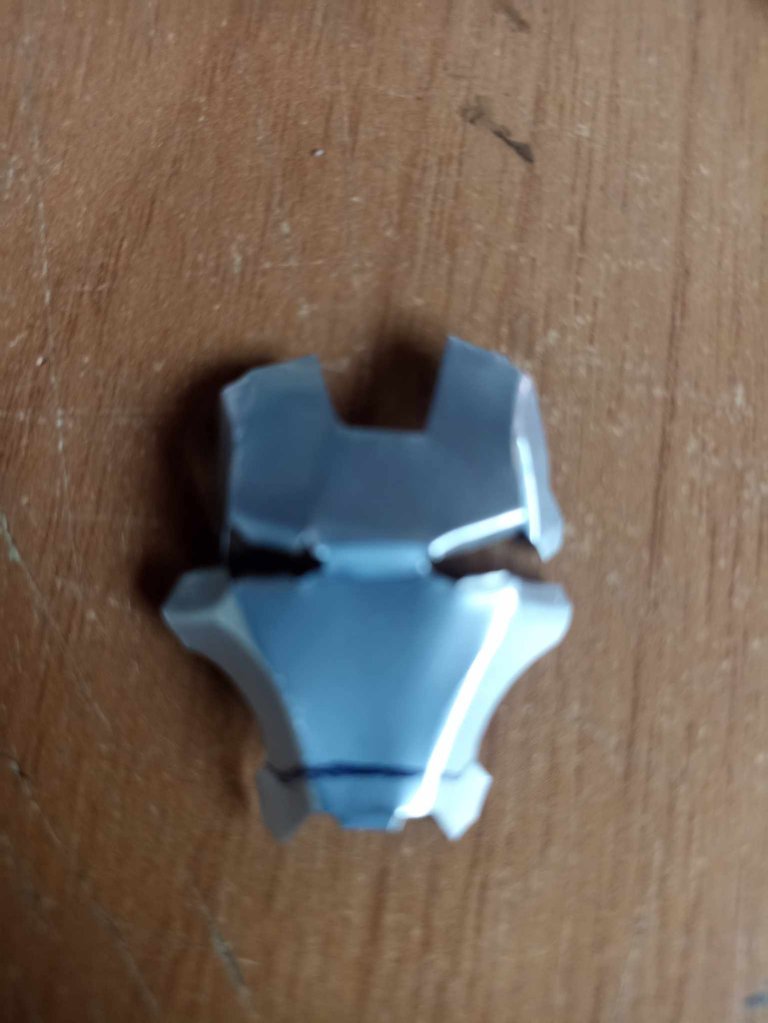
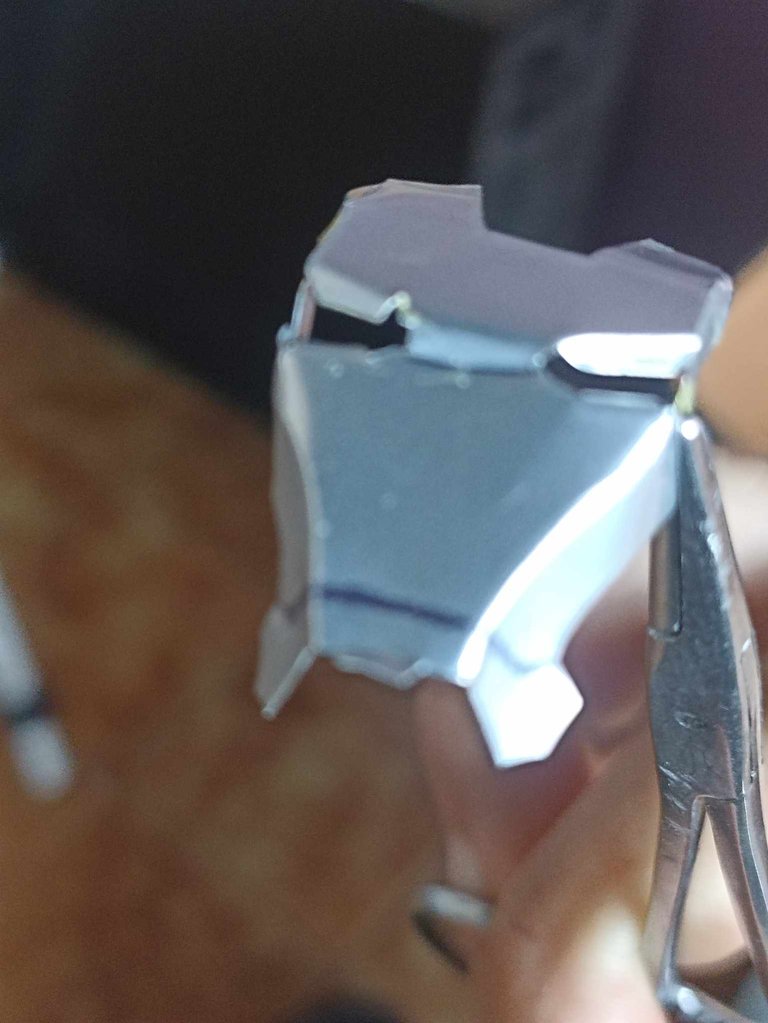
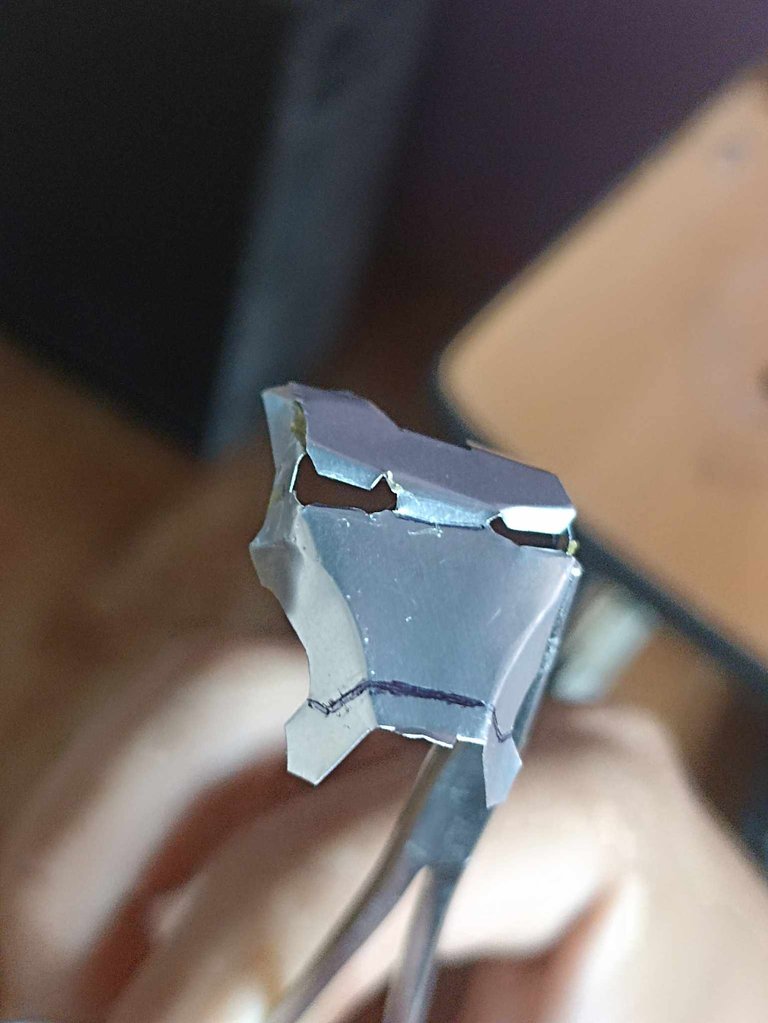
Then with a clamp I began to join all the parts of the helmet, first applying glue so that the parts are well joined and fixed. Since the clamp is a safety clamp, I left it for a while tightening all the parts so that the helmet had a consistent shape.
Después con una pinza comencé a unir todas las partes del casco, poniéndole antes pegamento para que las partes queden bien unidas y fijadas. Como la pinza es de seguridad la dejé un buen rato apretando todas las partes para que el casco tuviera una forma consistente.

 |  |  |
|---|---|---|
 |  | 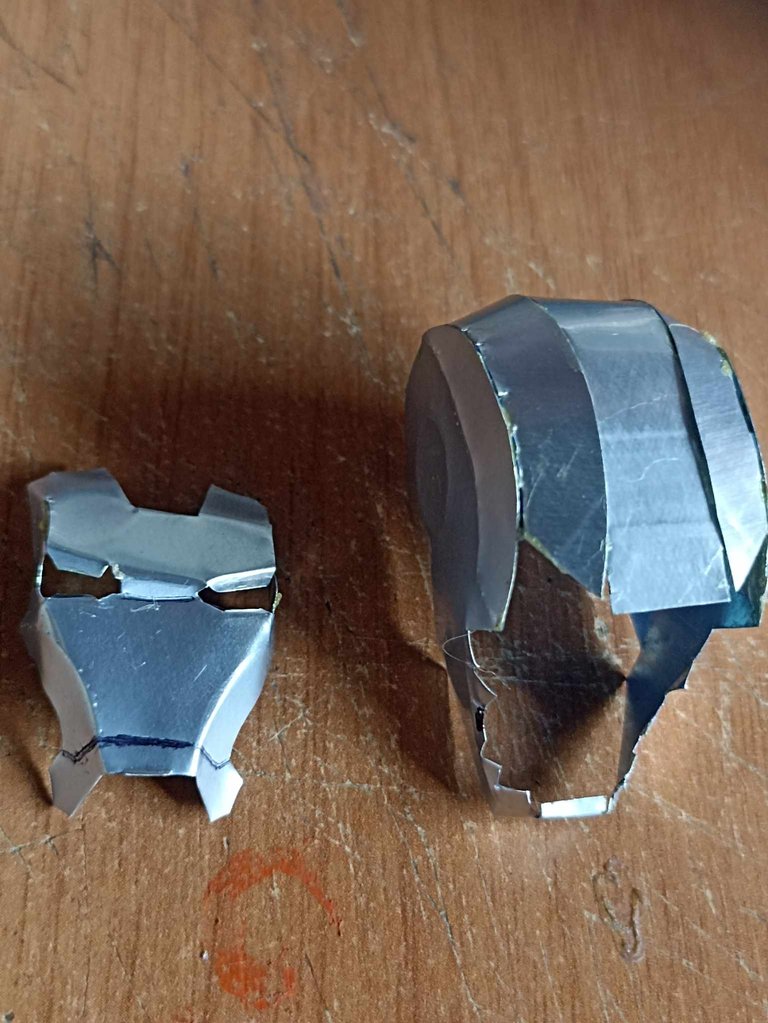 |
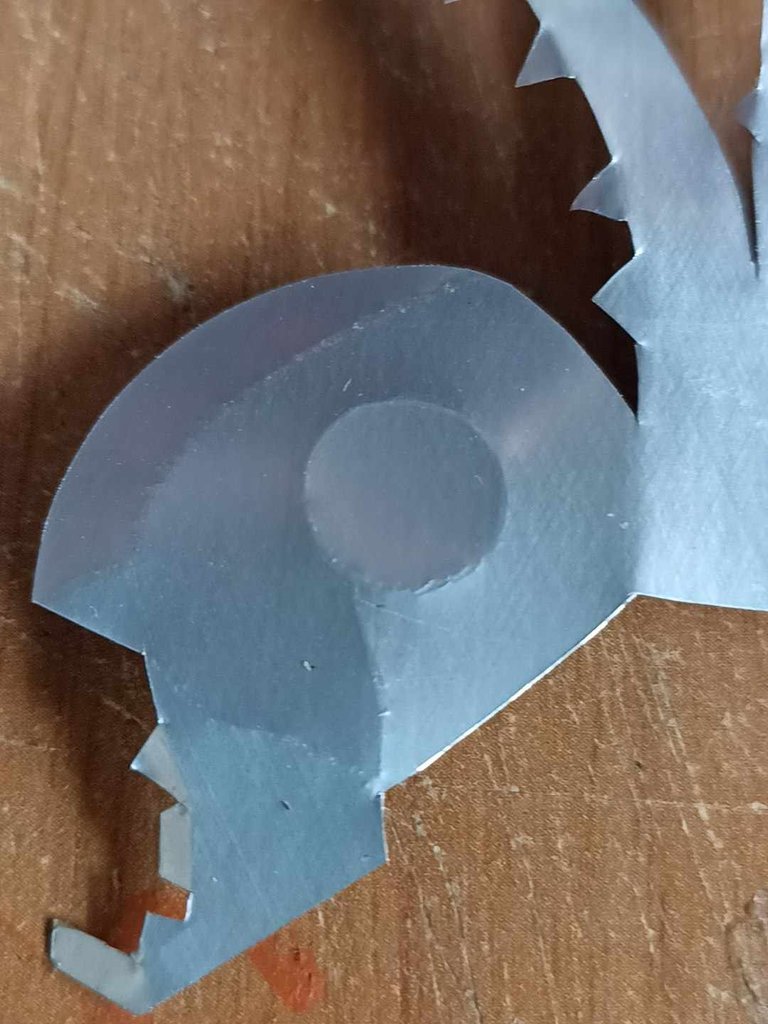
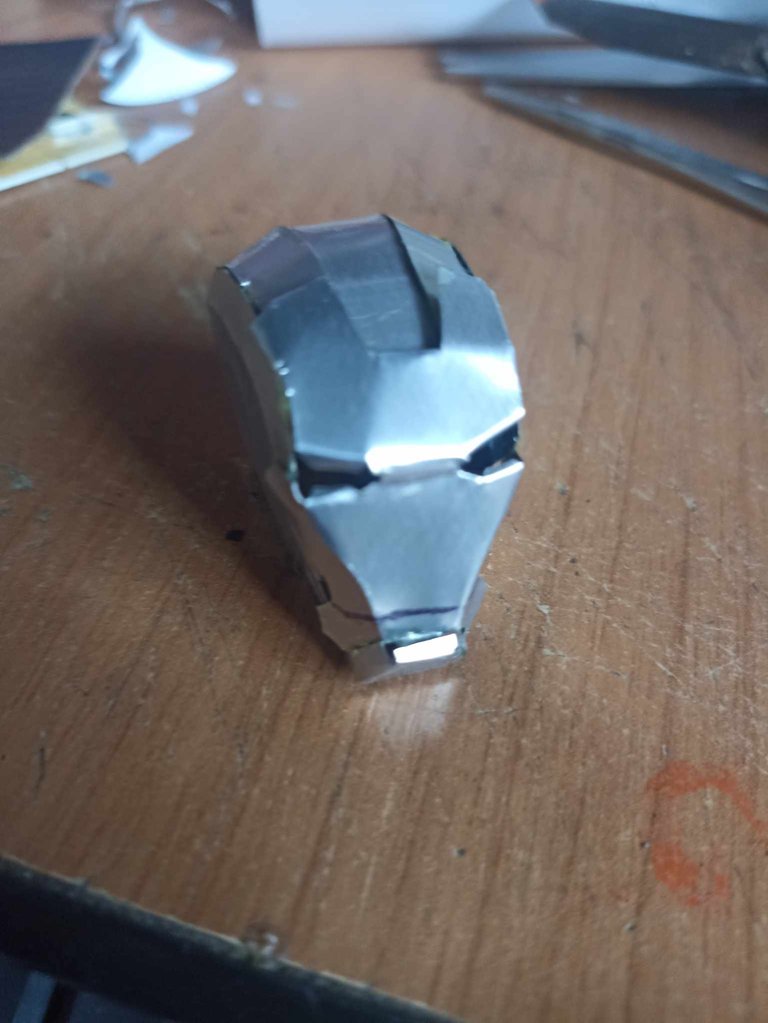
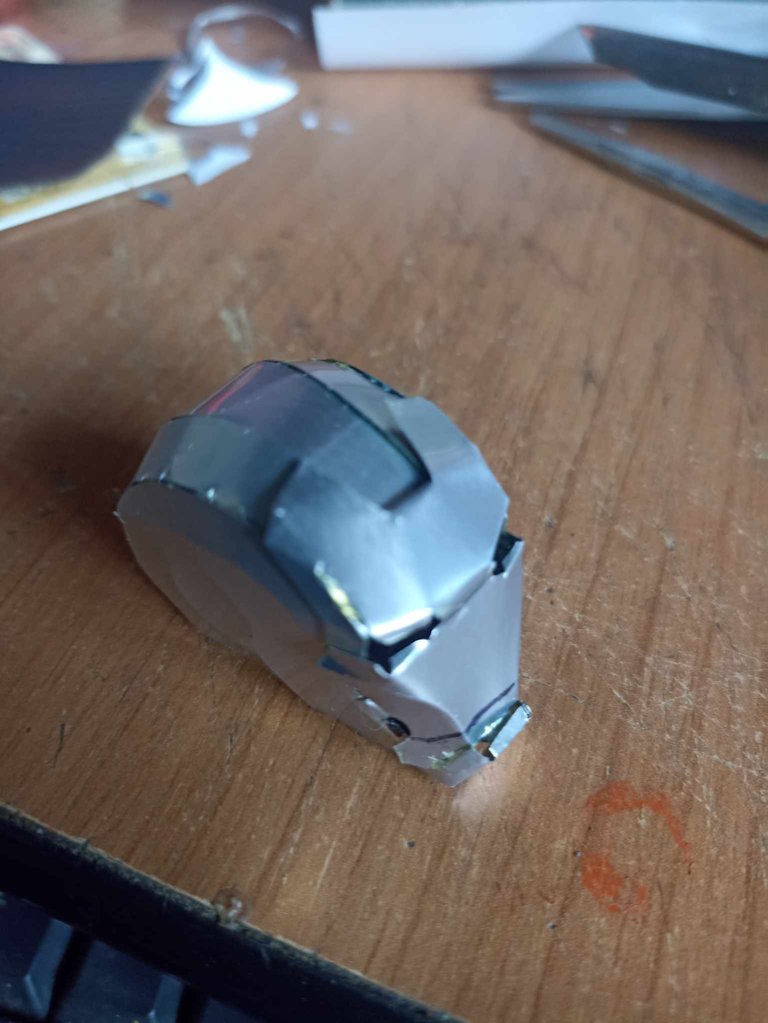
It's the mask's turn, so I also cut it out of the template, this one took me a lot of work to make because the scissors I use is very large, so I had to make small and precise cuts, so with a lot of patience I had to make each one of the cuts, especially those in the eyes. Once cut out I began to shape it with a pen, strongly tracing the lines I had marked with the template.
Es el turno de la máscara, así que también la recorto de la plantilla, esta me costó mucho trabajo hacer porque la tijera que uso es muy grando, así que había que hacer cortes pequeños y precisos, por lo que con mucha paciencia debí hacer cada uno de los cortes, especialmente los de los ojos. Una vez recortado comencé a darle forma con un bolígrafo, trazando fuertemente las líneas que había marcado con la plantilla.

 |  |  |
|---|---|---|
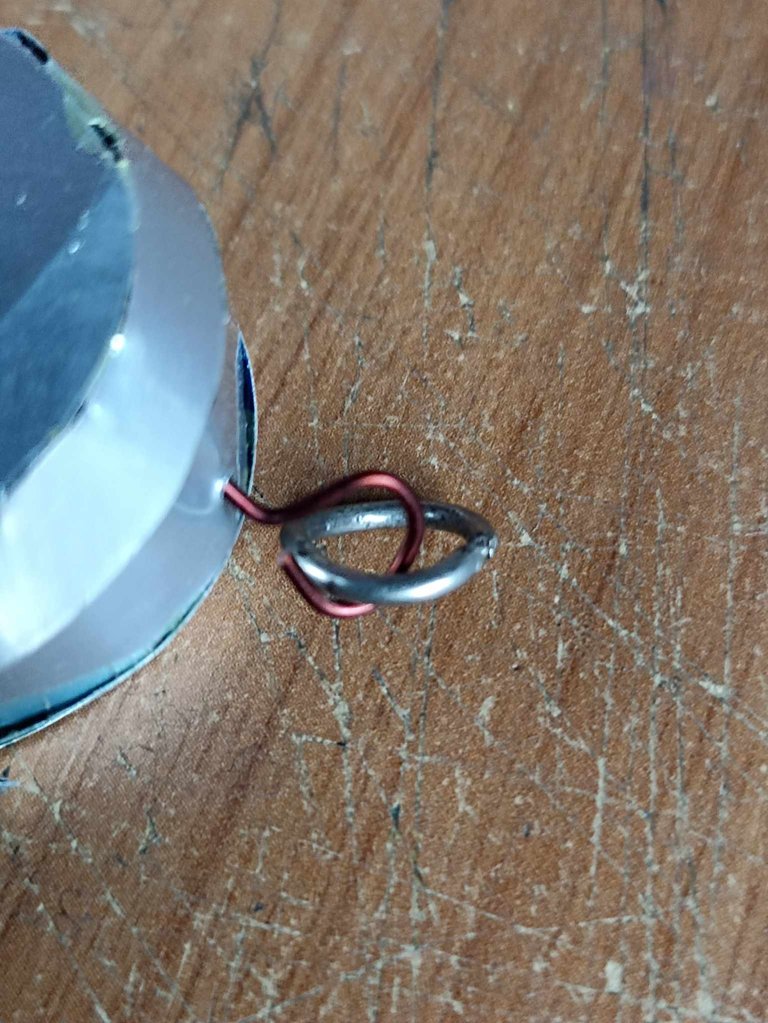 | 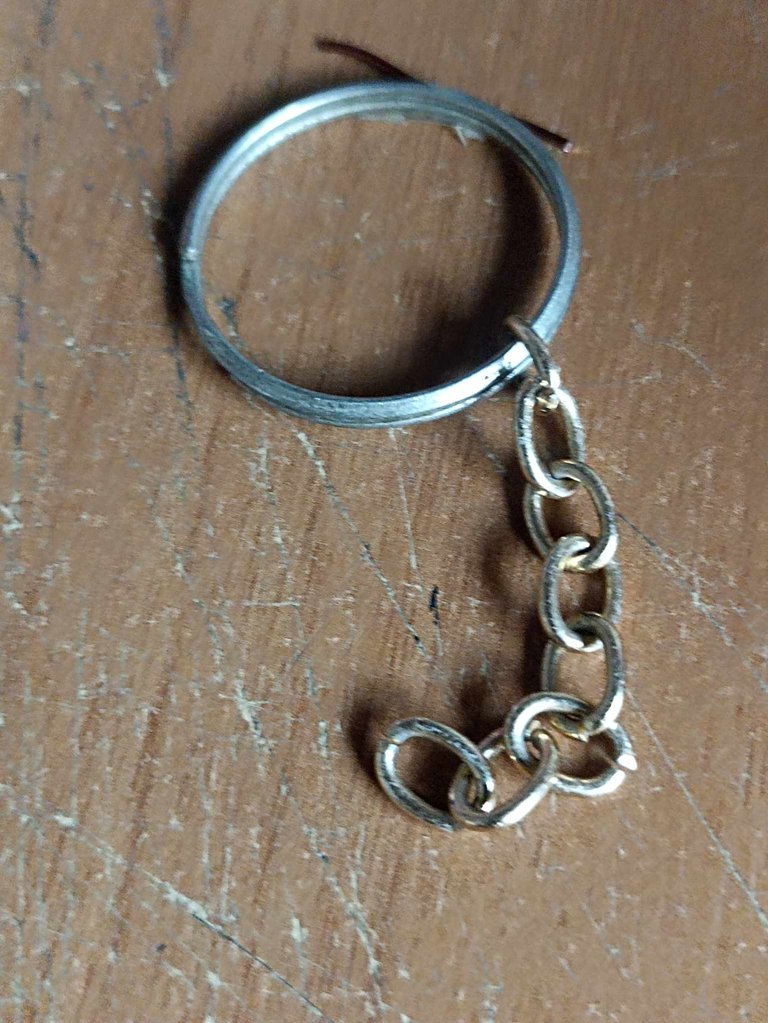 | 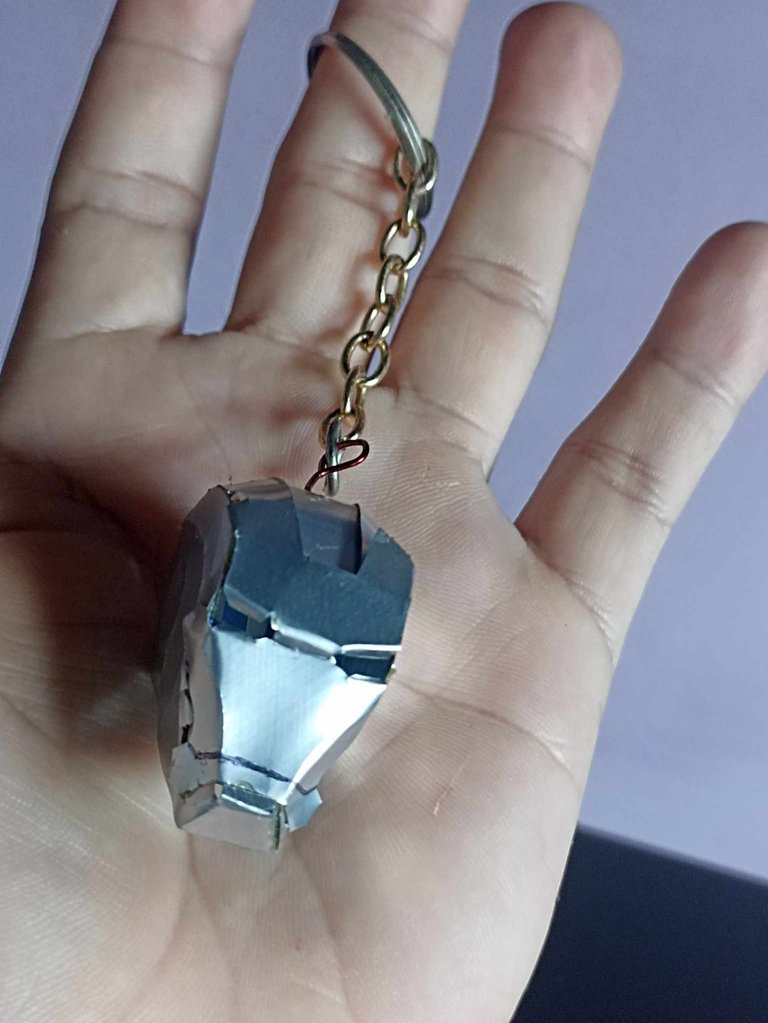 |
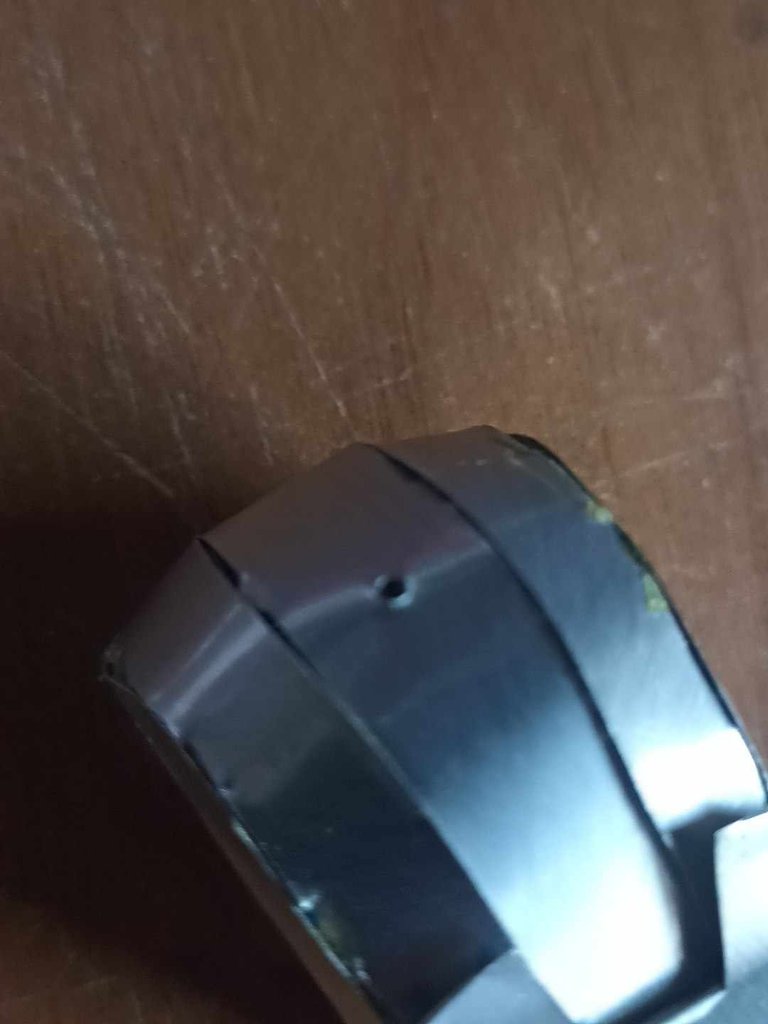
Having both pieces ready, I begin to join them little by little, first putting small drops of glue. Like this until the helmet is well fixed, then I open a small hole in the upper part through which I will pass a copper wire, I shape it into a ring that will serve to insert the small chain of the key ring, then I insert the chain and this is how it looked. Finished the Iron Man keychain.
Al tener ambas piezas listas comienzo a unirlas poco a poco, primero poniendo pequeñas gotas de pegamento. Así hasta que el casco quede bien fijado, luego abro un pequeño agujero en la parte superior por donde haré pasar un alambre de cobre, le doy forma de argolla que me sriva para introducir la pequeña cadena del llavero, despues introduzco la cadena y así quedó finalizado el llavero de Iron Man.

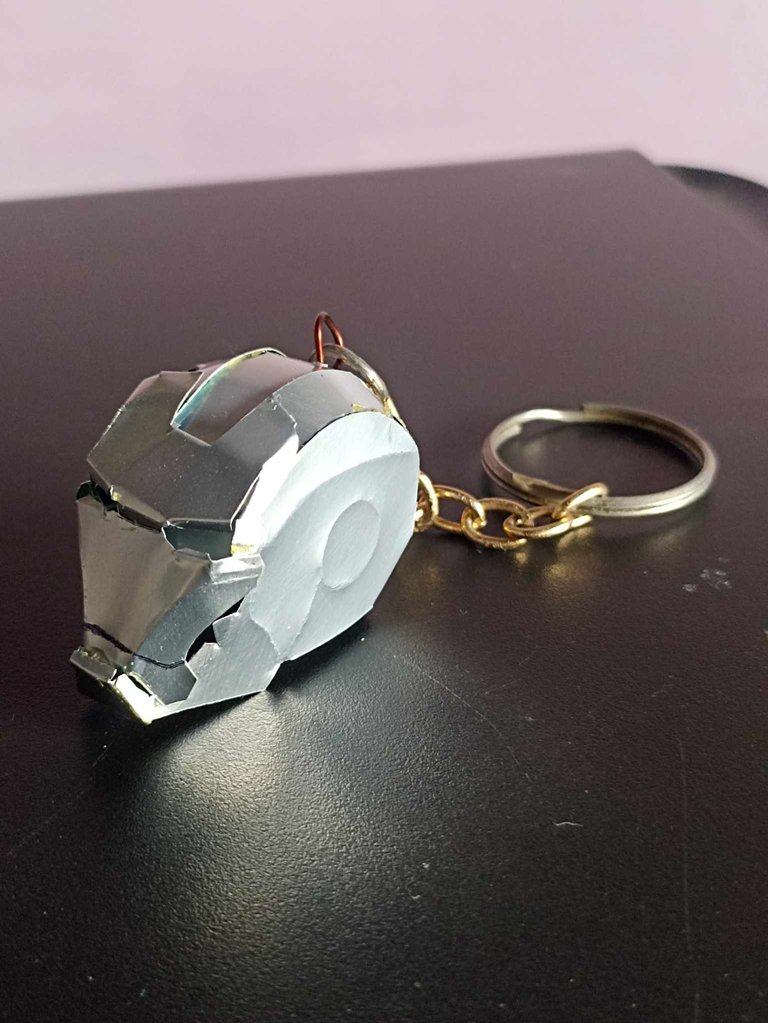
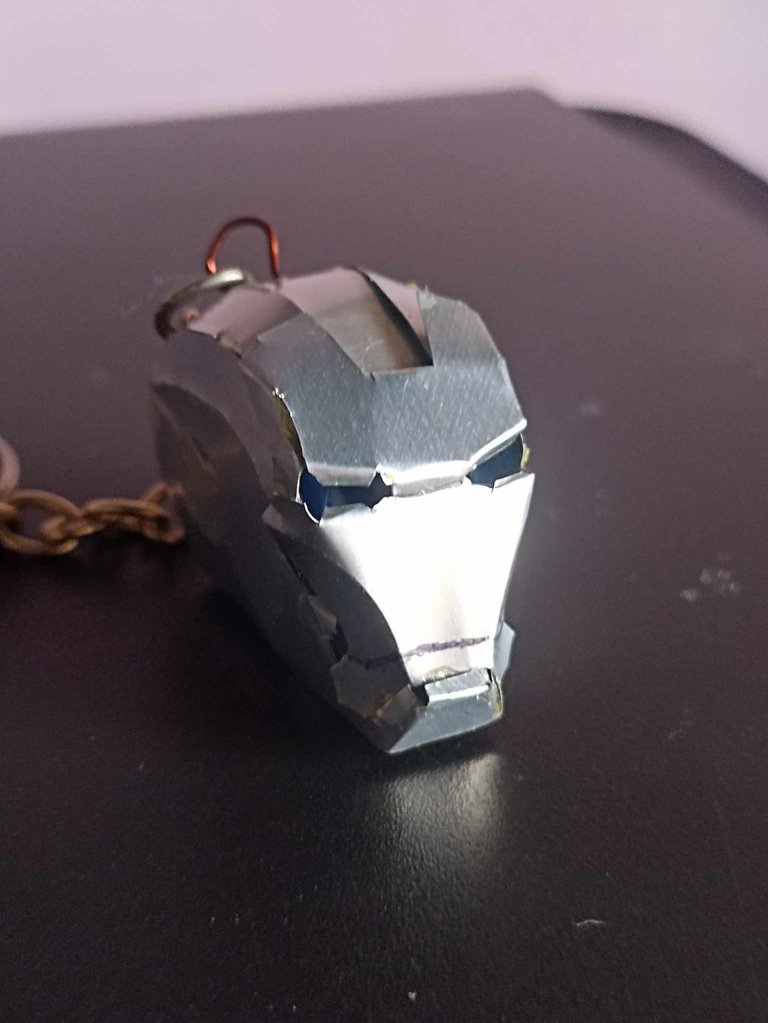
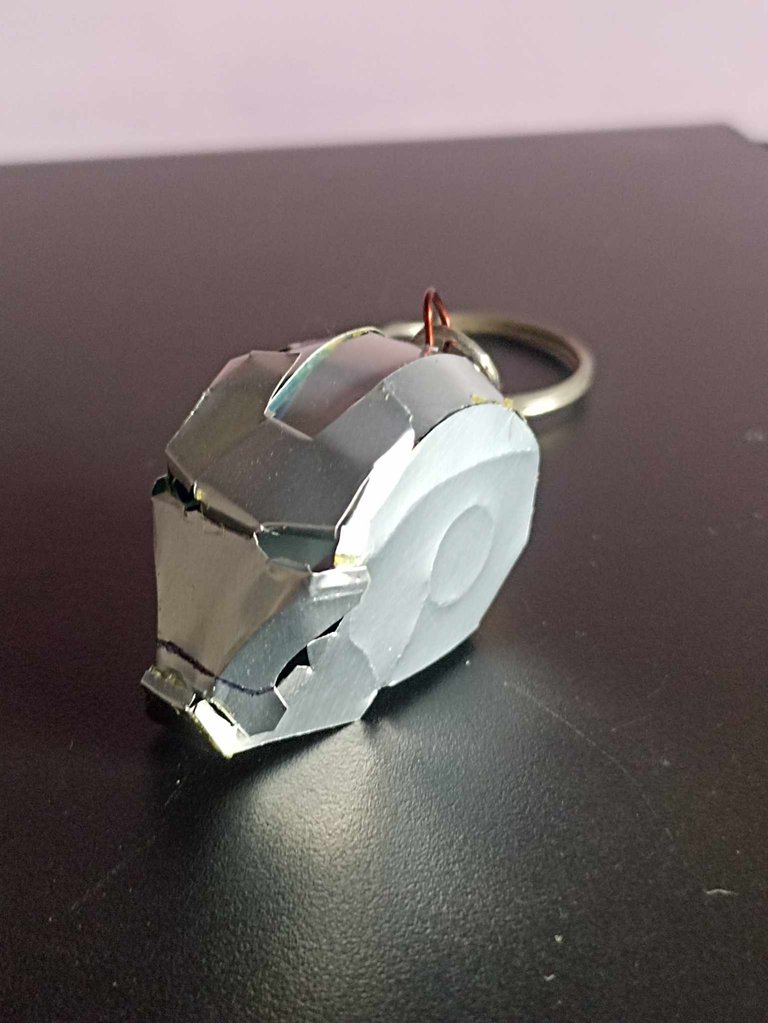
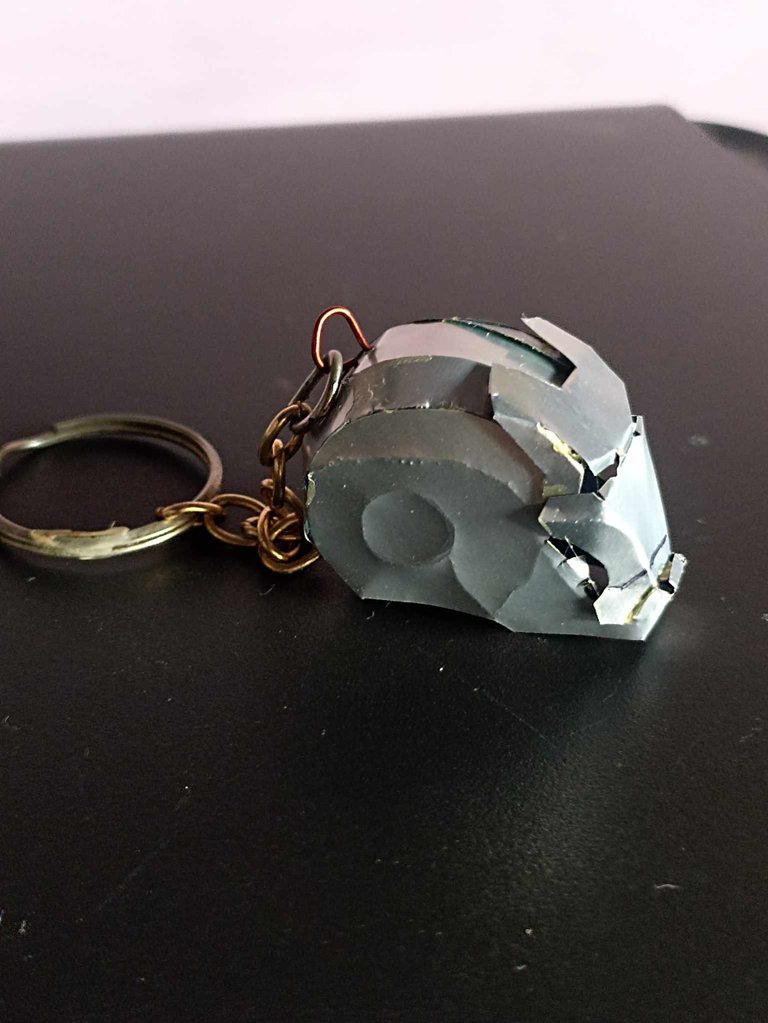

This is how my keychain was finished. I have silver spray paint, but I didn't use it since I realized that the aluminum color looks better on it, plus it has more shine. I tried to summarize the idea of the templates very well because I know that it is difficult to assemble more complicated pieces. This model is perfect to do with cardboard or also with foam rubber, since aluminum is very dangerous if not handled carefully, I already have some accidents. This has been all for now, I hope you like it, if so, don't stop commenting, I'll say goodbye soon.
Así quedo finalizado mi llavero, tengo pintura plateada en aerosol, pero no la utilicé ya que me di cuenta que el color del aluminio le queda mejor, además de que tiene más brillo. Traté de resumir muy bien la idea de las plantillas porque sé que es dificil armar piezas más complicadas, este modelo queda perfecto para hacerlo con cartulina o también con goma foami, ya que el aluminio es muy peligroso sino se maneja con cuidado, yo ya tengo algunos accidentes. Esto ha sido todo por ahora, espero que sea de su agrado, si es así no dejen de comentar, me despido hasta pronto.
Quedó increíble 😁👍
Muchas gracias querida amiga
Thank you very much for your valuable support
Amazing, just wondering 😍😍😍 I love this
I'm glad you liked how this Iron Man keychain turned out.
Yeah I do
Brutal amigo @fixie , como todos los trabajos que nos acostumbras dejar. Mil éxitos y bendiciones a esas manos creadoras... ✨
!DIY
Gracias querida amiga, si hubiera tenido material suficiente hubiera hecho la figura completa jejeje.
Yo se que es así, pero esta espectacular :)
Spectacular that keychain as each of the creations that you have presented us, thank you for giving us your creation and for sharing in our community.
Thank you very much for your support and for the opportunity to share
You can query your personal balance by
!DIYSTATSIndeed this is so beautiful. You are really creative. I love your work. Thanks for sharing
Noooooo.
Pero que hermoso amigo. Gran trabajo
11/10