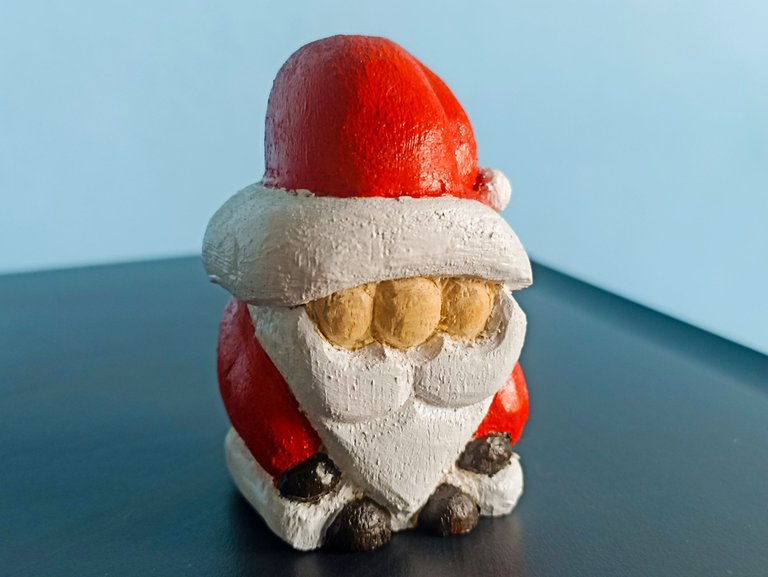
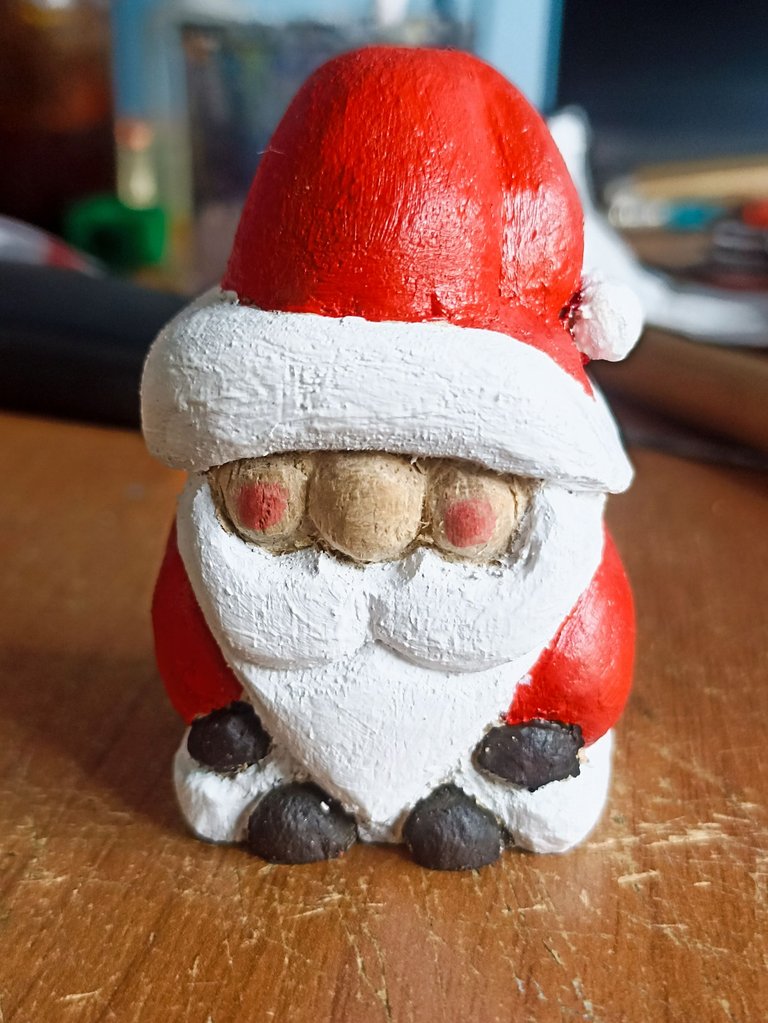
Hello dear friends, I hope you are all well, I want to share with you my latest creation with the intention of participating in the DiyHub Christmas contest, I thank everyone for their support when I participated in the previous 4 Elements contest, it was something fun For me to be able to share. On this occasion I have made a Gnome, those figures that help Santa Claus when the time to deliver gifts approaches, I have made a sculpture carved in wood that can perfectly decorate our Christmas tree. Here I briefly tell you how I did it step by step, I hope you like it.
Hola queridos amigos, espero que todos se encuentren muy bien, quiero compartir con ustedes mi última creación con la intención de participar en el concurso navideño de DiyHub, agradezco a todos su apoyo cuando participé en el concurso anterior de los 4 Elementos, fue algo divertido para mi el poder compartir. en esta oportunidad he realizado un Gnomo, esas figuras que ayudan a Santa Claus cuando se acerca el tiempo de la entrega de regalos, he realizado una escultura tallándola en madera que perfectamente puede adornar nuestro árbol de navidad. Aquí les comento brevemente como lo hice paso a paso, espero que les guste.

 |  | |
|---|---|---|
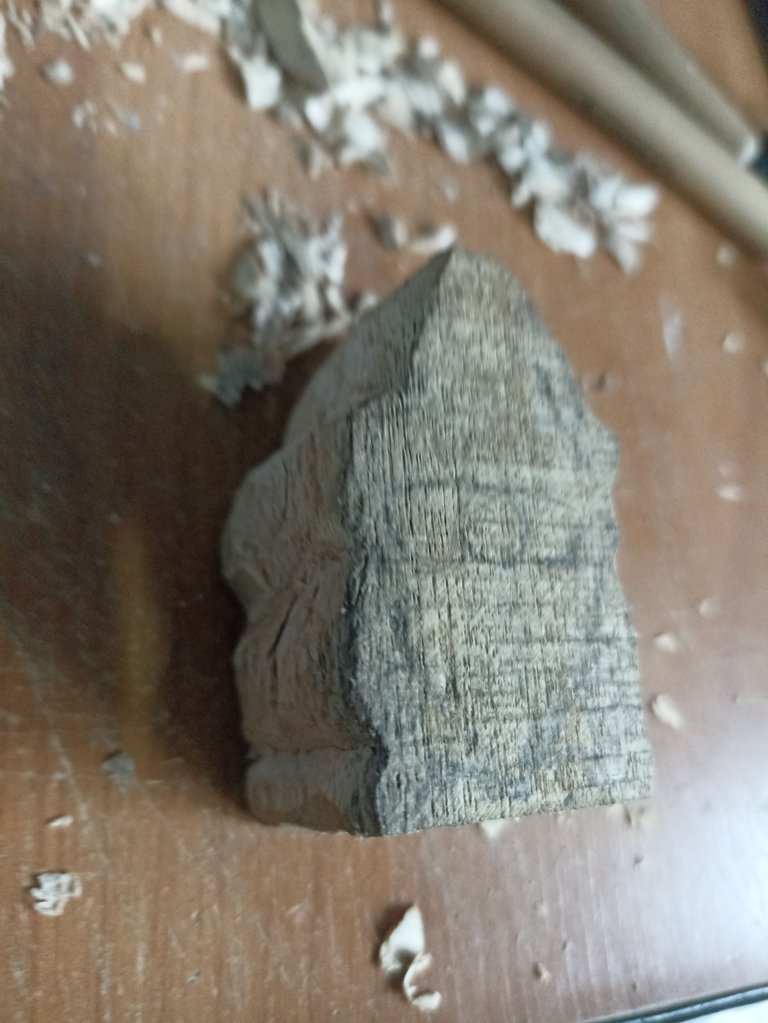 | 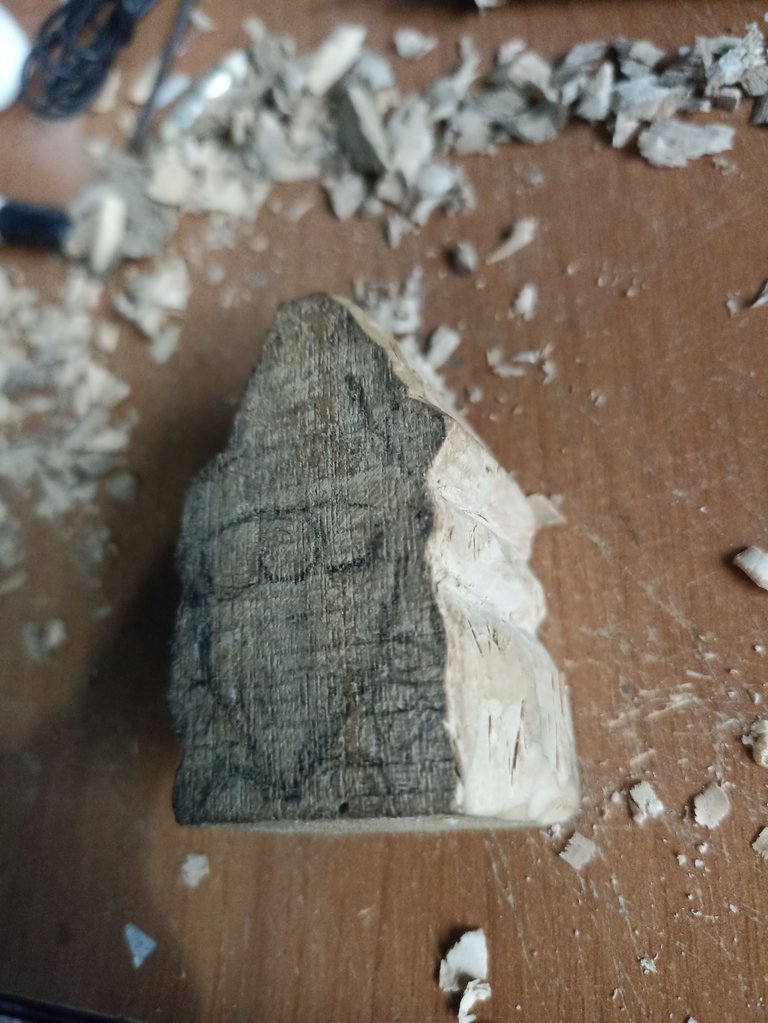 |
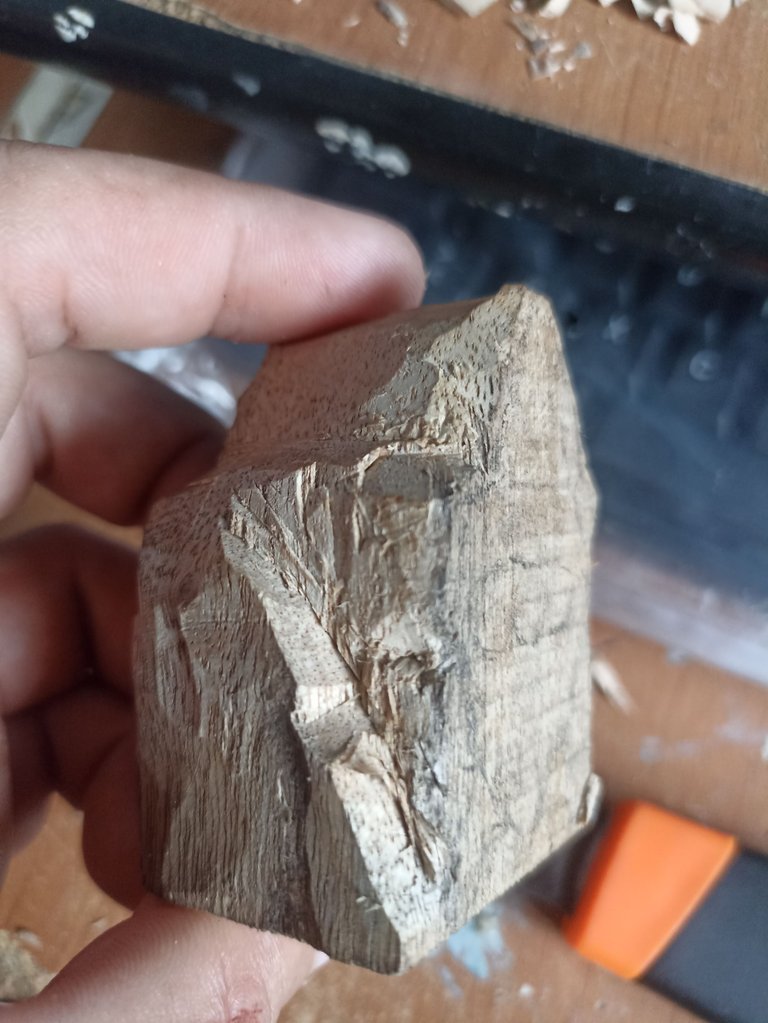
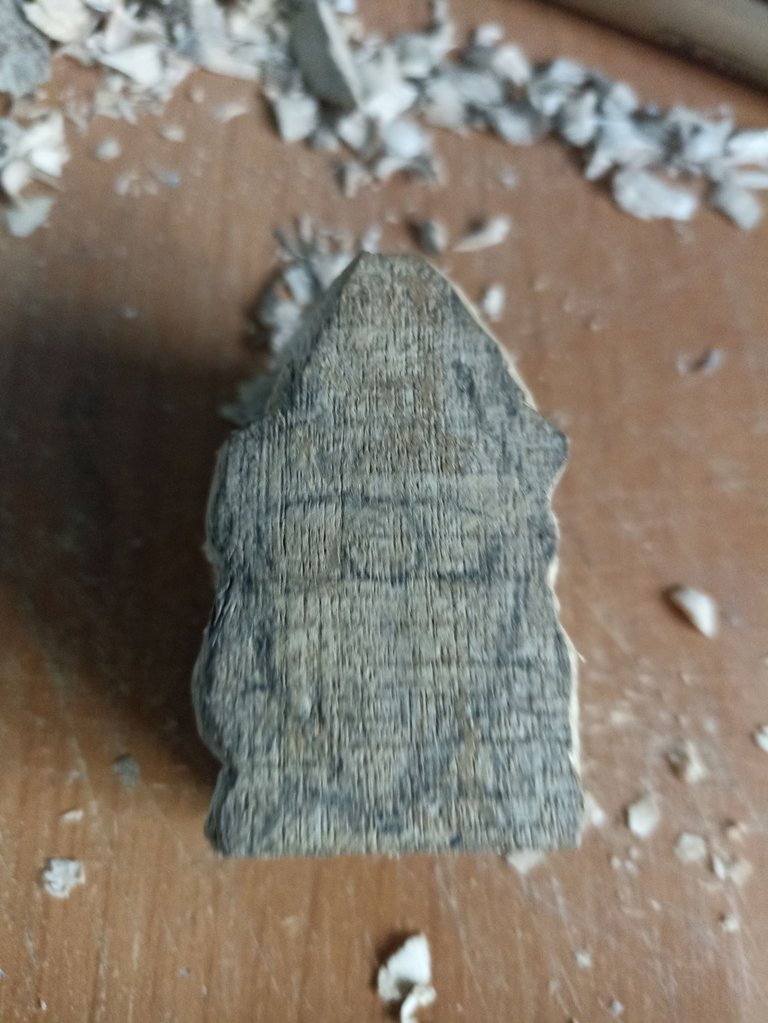
I cut a piece of wood approximately 10 centimeters high by 5 centimeters wide that I then reduced. Above it and on one of its faces I made the sketch of the gnome drawing it with a pencil, I did it frontally and on the sides I drew the profile. I cut and carved the entire front section until the shape of the sketch was left, and from there I began to shape each and every detail of the body.
Corté un trozo de madera de aproximadamente 10 centímetros de alto por 5 centímetros de ancho que luego fui reduciendo. Encima de ella y por una de sus caras hice el boceto del gnomo dibujándolo con lápiz, lo hice de forma frontal y por los lados dibujé el perfil. Fui cortando y tallando toda la parte del frente hasta que quedara la forma del boceto, y a partí de ahí comenzar a darle forma a todos y cada uno de los detalles del cuerpo.

 |  | |
|---|---|---|
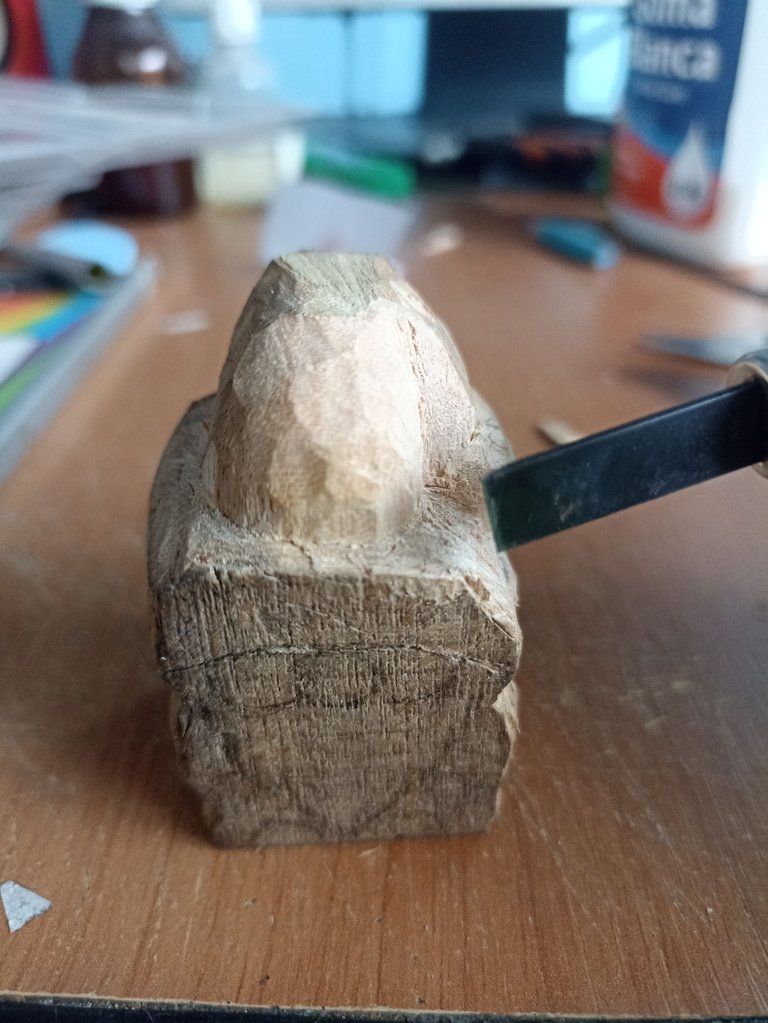 | 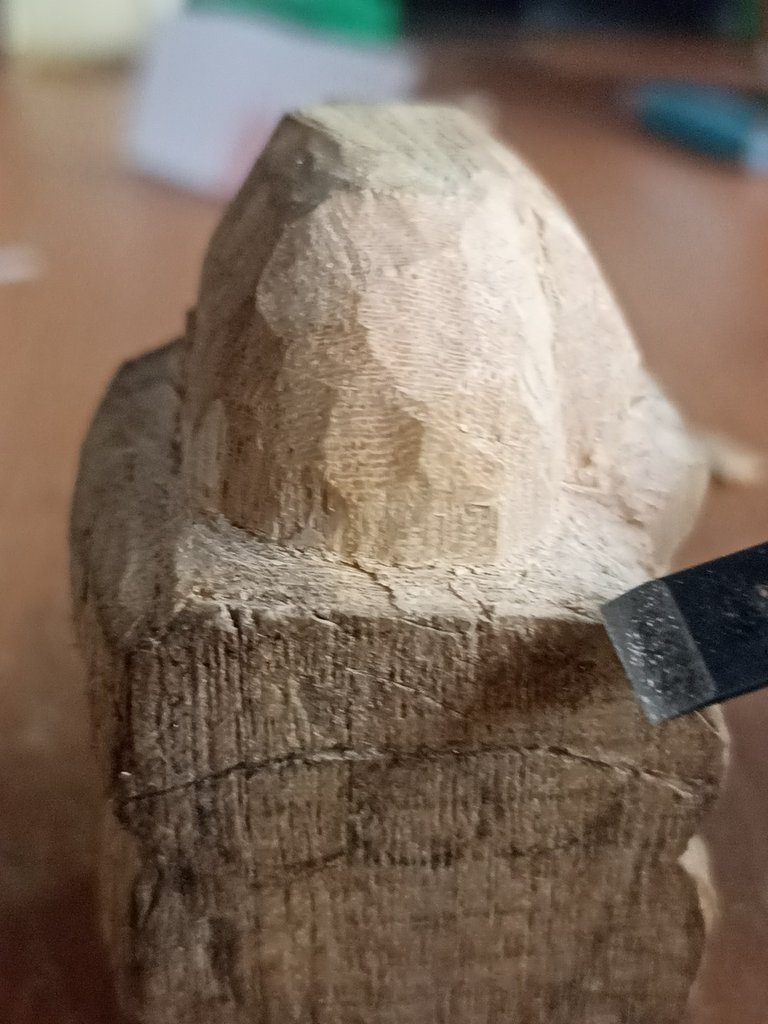 |
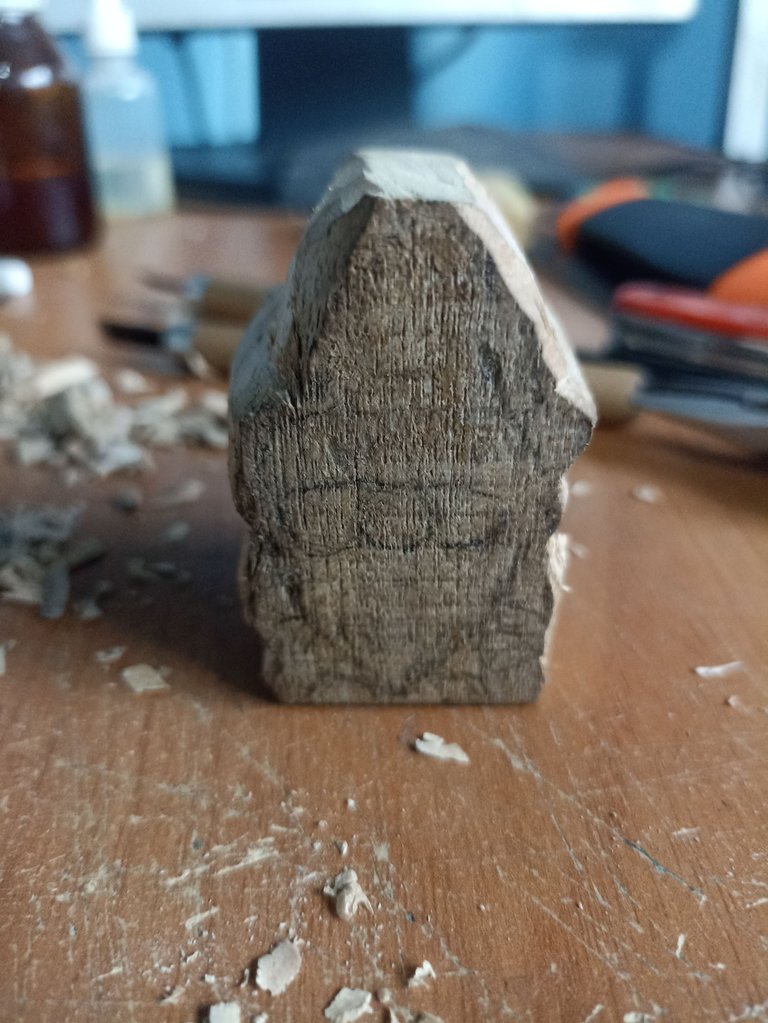
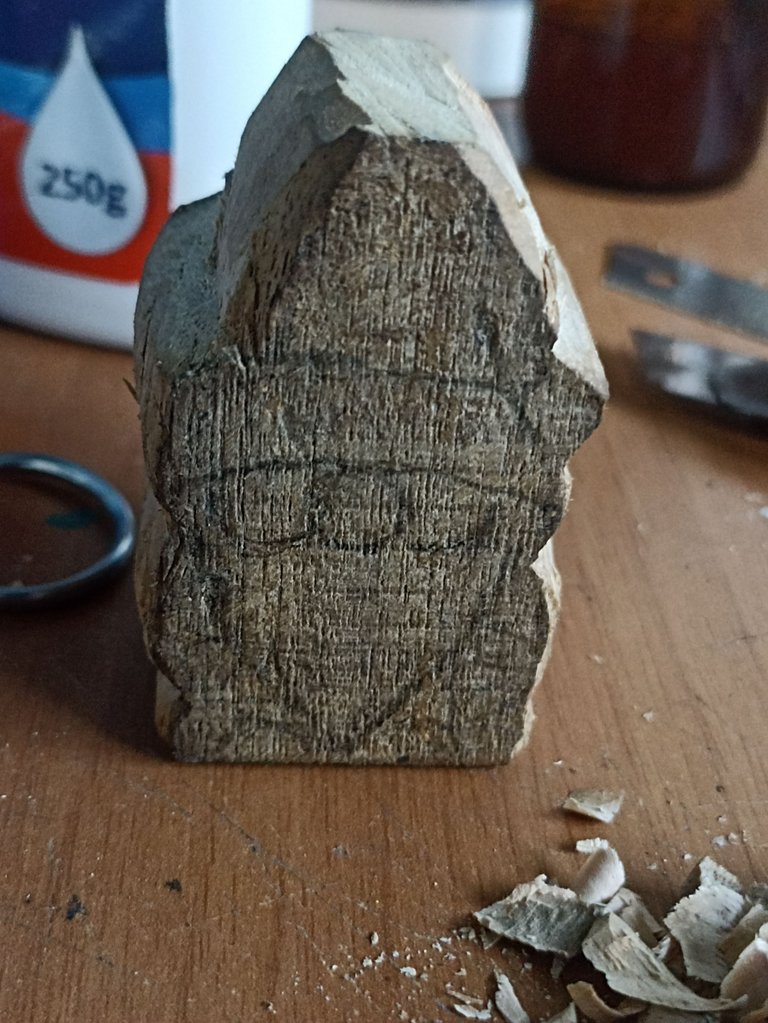
Whenever I make a drawing, or do some craft, there is some point that my brain qualifies as a starting point, these work as a guide or a safe place from where it can see the panorama and know if I am going right or wrong. In this case, my starting point is the gnome's hat, I really liked this part so I decided to start carving the wood in that place, that helped me a lot to calculate the general size of the figure and not feel like it was ib to deform, here you can see how little by little I am giving it shape with the small blades.
Siempre que hago un dibujo, o alguna manualidad hay algún punto que mi cerebro califica como punto de partida, estos funciona como un guía o un lugar seguro desde donde puede ver el panorama y saber si voy bien o mal. en este caso, mi punto de partida es el sombrero del gnomo, me gustó mucha esta parte por lo que decidí comenzar a tallar la madera por ese sitio, eso me ayudó mucho a calcular el tamaño general de la figura y no sentir que se ib a deformar, aquí pueden observar como poco a poco con las cuchillas pequeñas le voy dando forma.

 |  | |
|---|---|---|
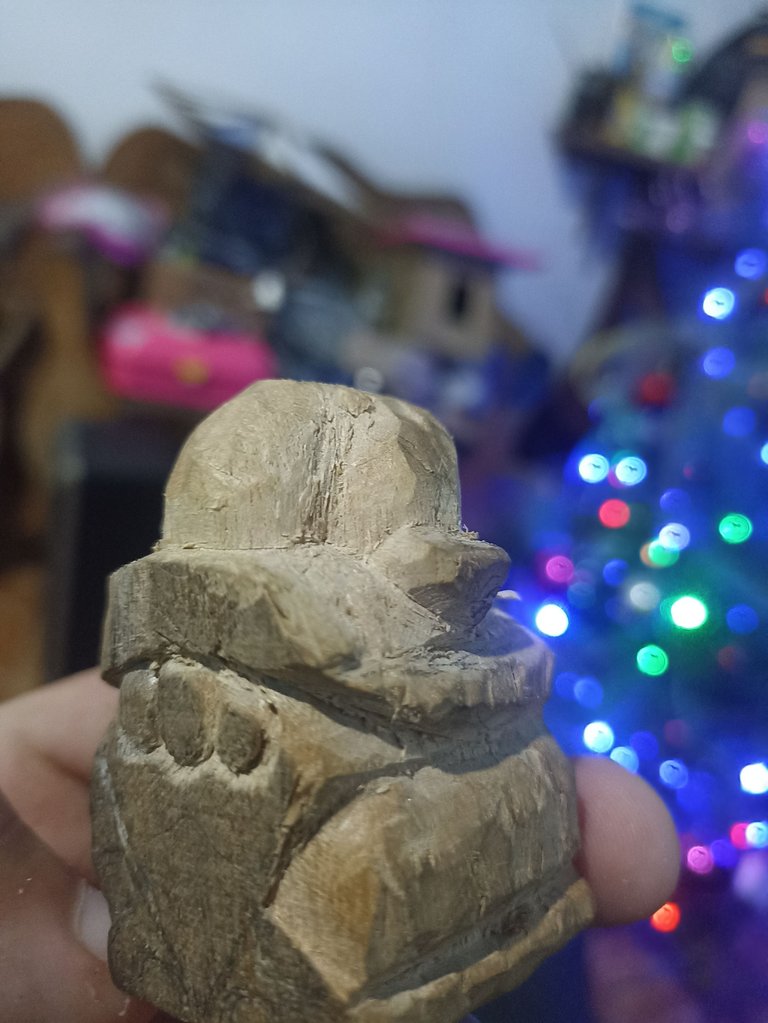 | 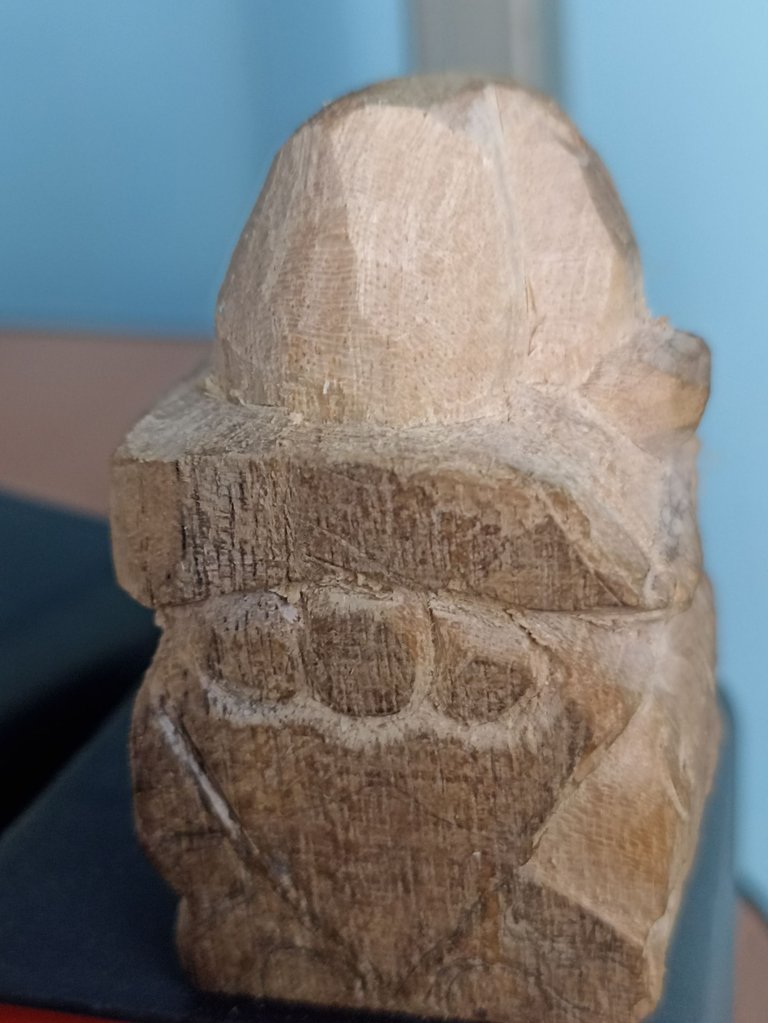 |
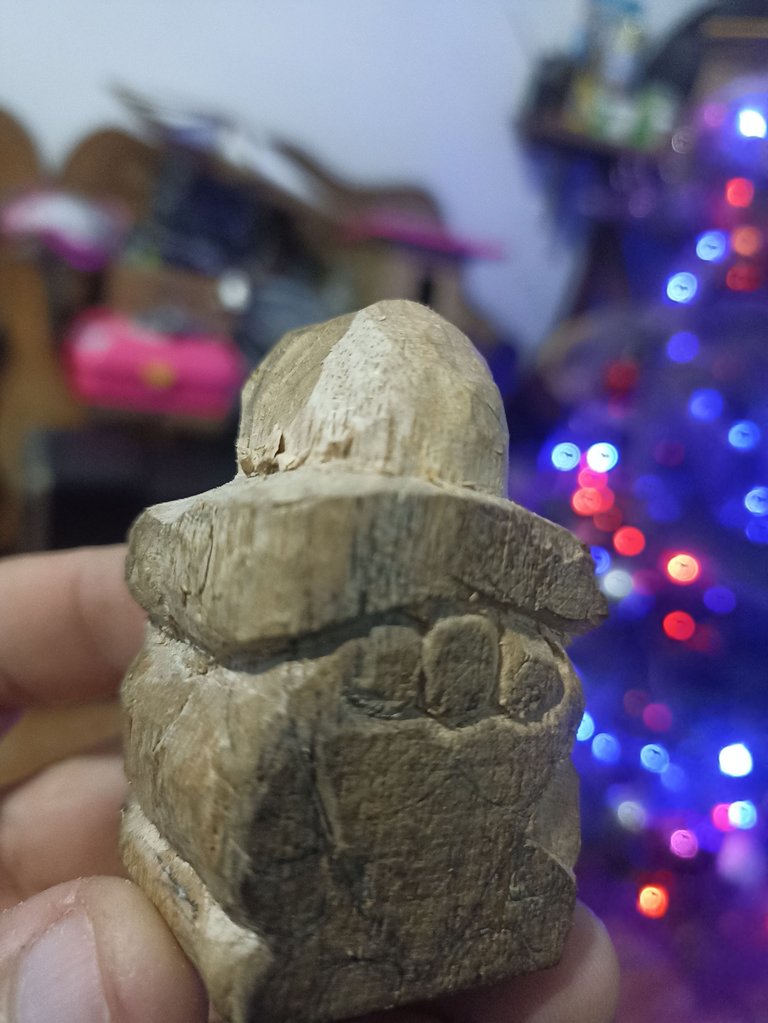
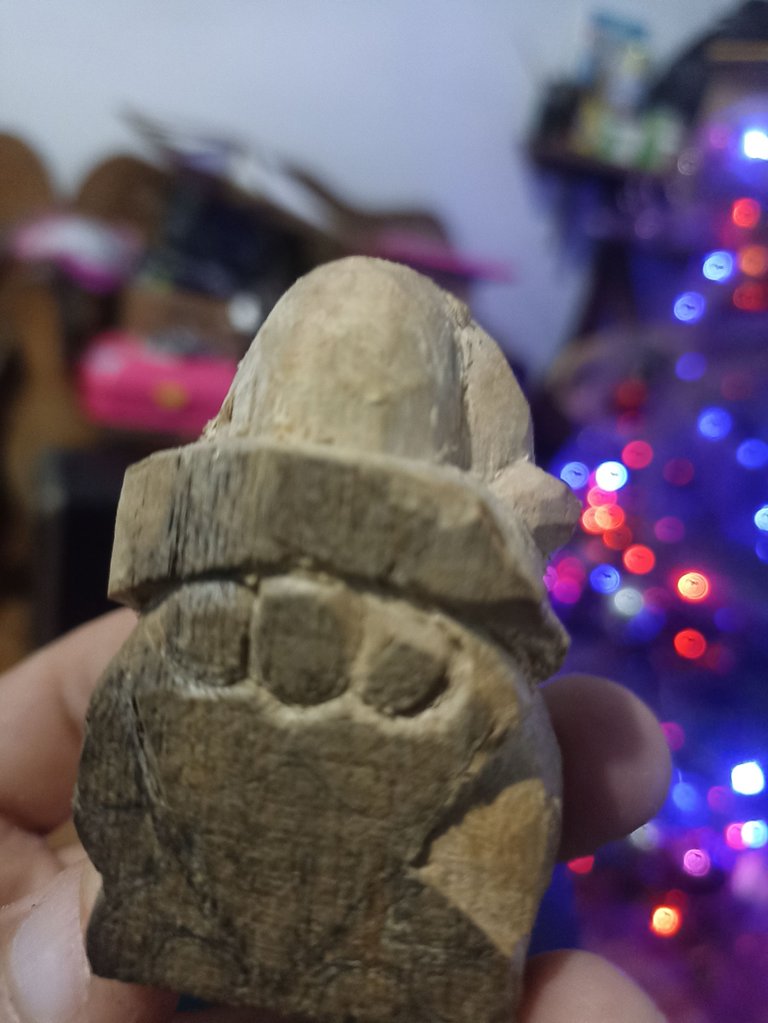
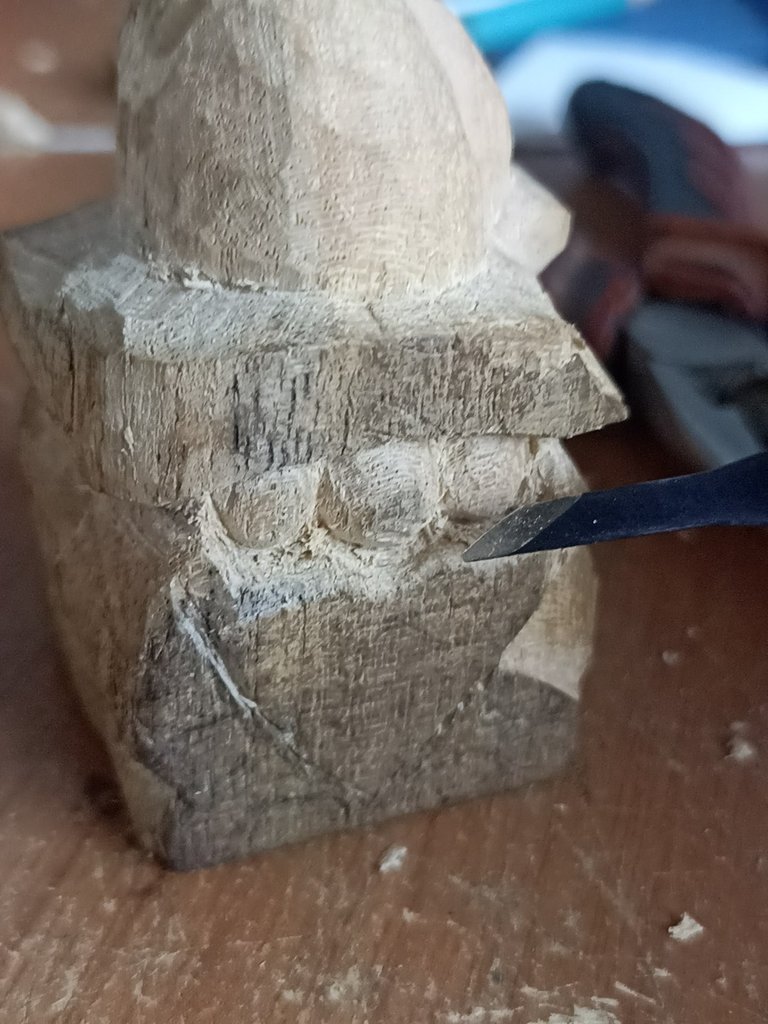
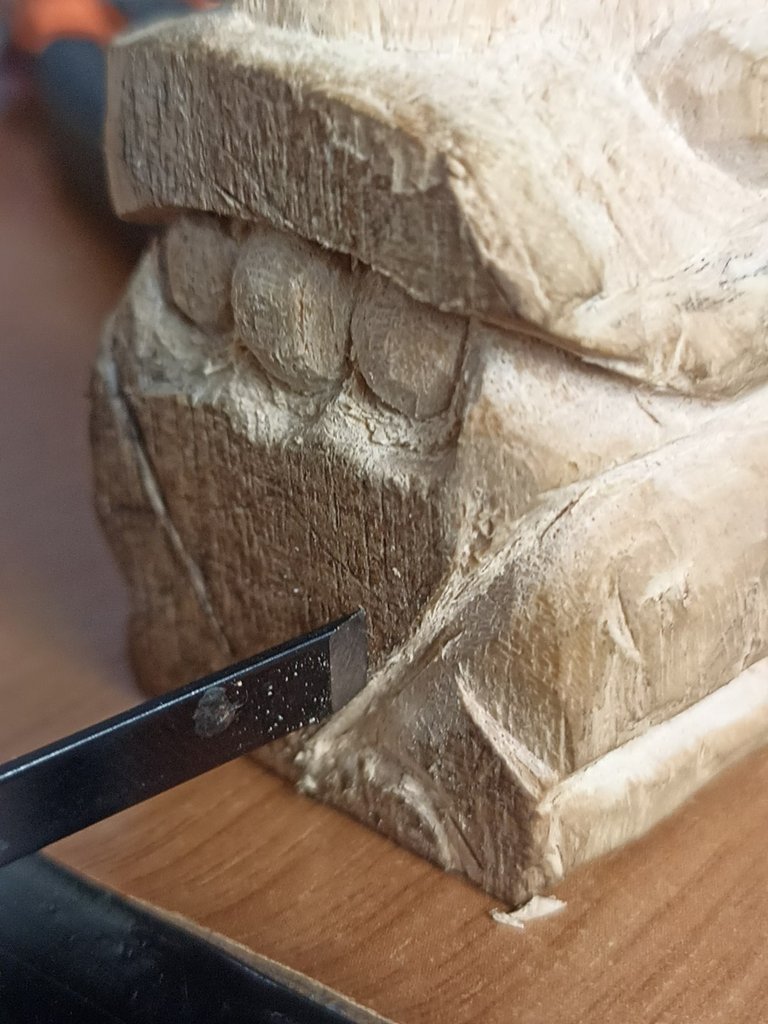
In the next step I made some cuts but not very deep, this with the purpose of marking the parts of the face very well, which I only made cheeks, the nose and his enormous beard. With another type of blades I then began little by little to shape the entire part under the hat.
En el siguiente paso hice algunos cortes pero no muy profundos, esto con el proósito de marcar muy bien las partes del rostro, que solo hice mejillas, la nariz y su enorme barba. Con otro tipo de cuchillas comencé entonces poco a poco a darle forma a toda la parte debajo del sombrero.

 |  | |
|---|---|---|
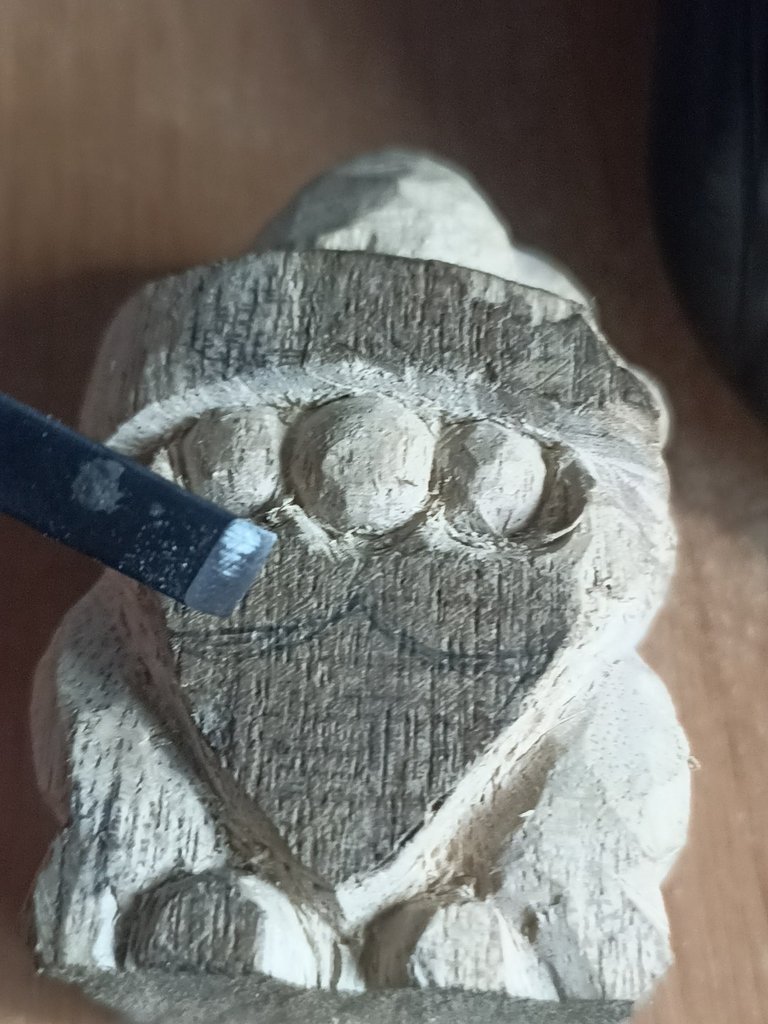 | 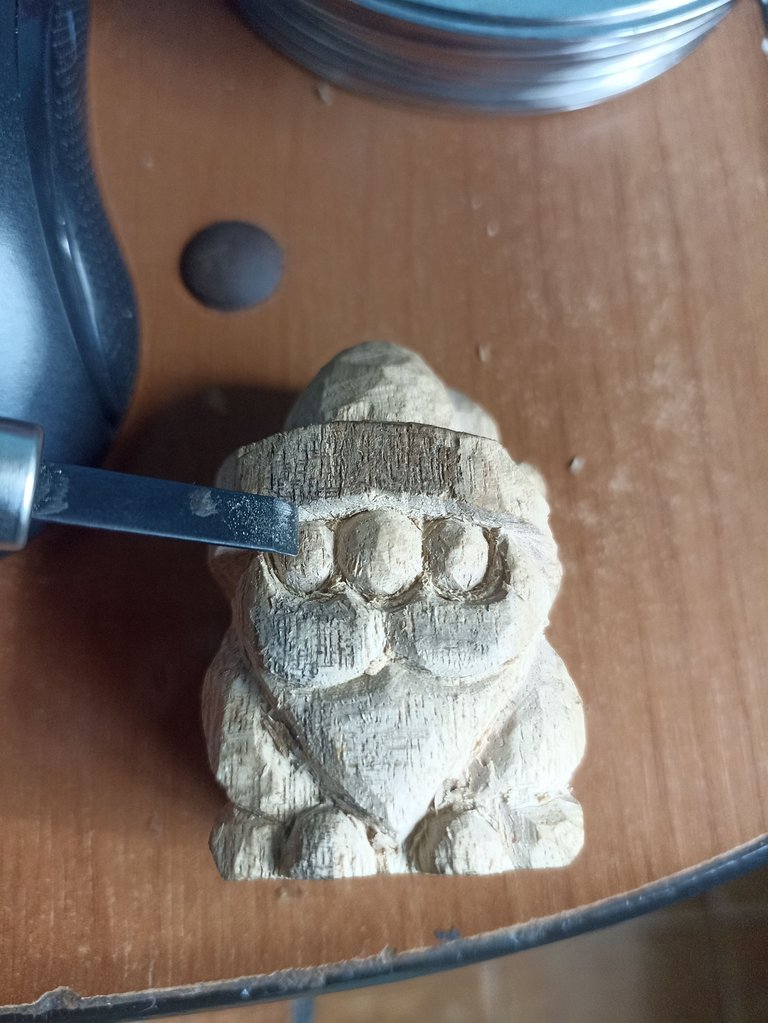 |
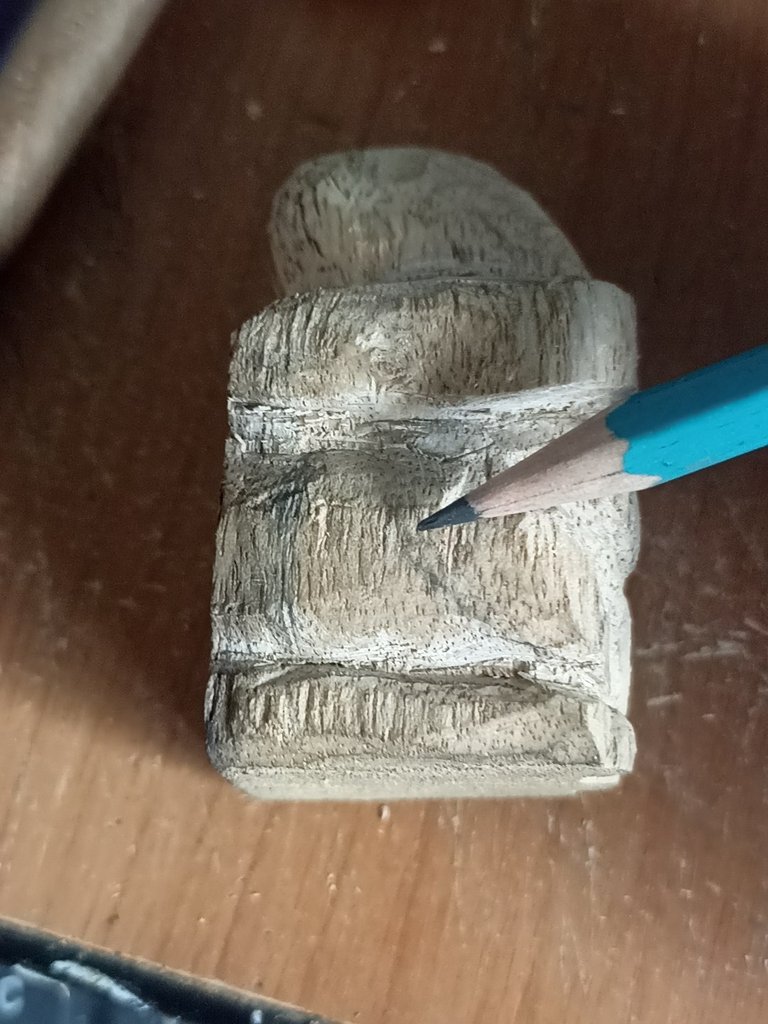
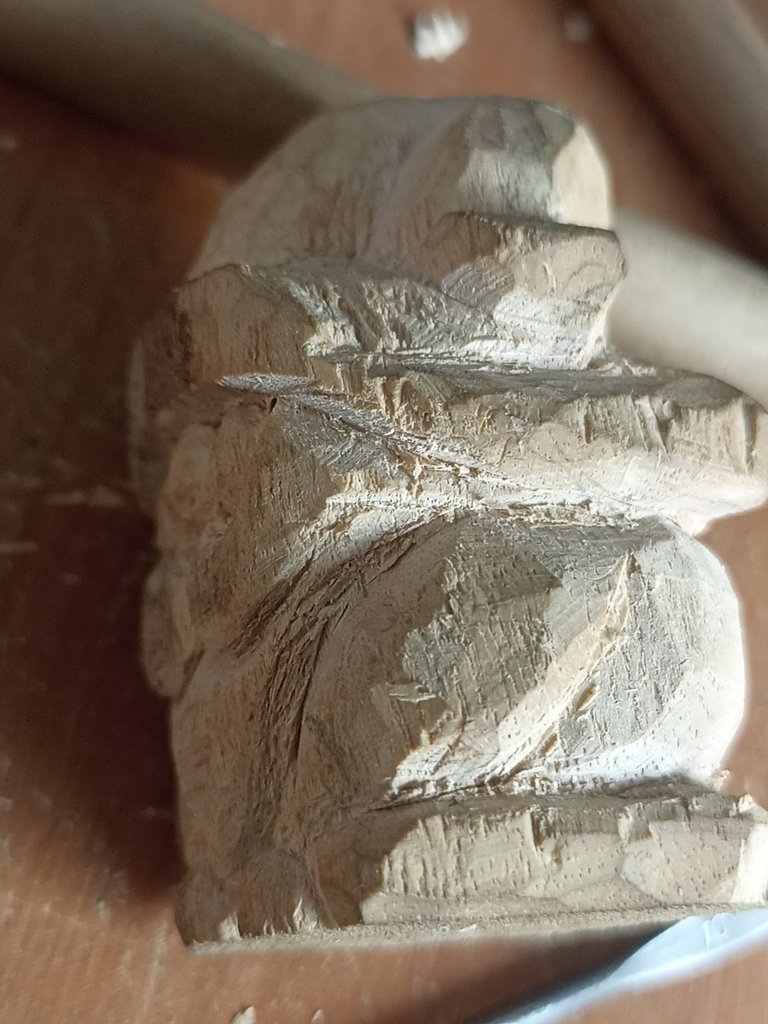
Now I change the blade and use a finer one to make the details of the face, this process was very fun since I was liking the results, I was very careful not to damage the wood doing it with a lot of patience and concentration. Each part was coming out perfect, in the same way I was doing with his enormous beard and his limbs, I was very interested in having the front part ready because it is the most striking of the entire figure.
Ahora cambio de cuchilla y utilizo una mas fina para hacer los detalles del rostro, este proceso fue muy sivertido ya que me iba gustando los resultados, cuidé mucho el no dañar la madera haciéndolo con mucha paciencia y concentración. Cada parte iba saliendo perfecta, de la misma forma fui haciendo con su enorme barba y con sus extremidades, me interesaba mucho tener la parte frontal lista porque es la mas llamativa de toda la figura.

 |  | |
|---|---|---|
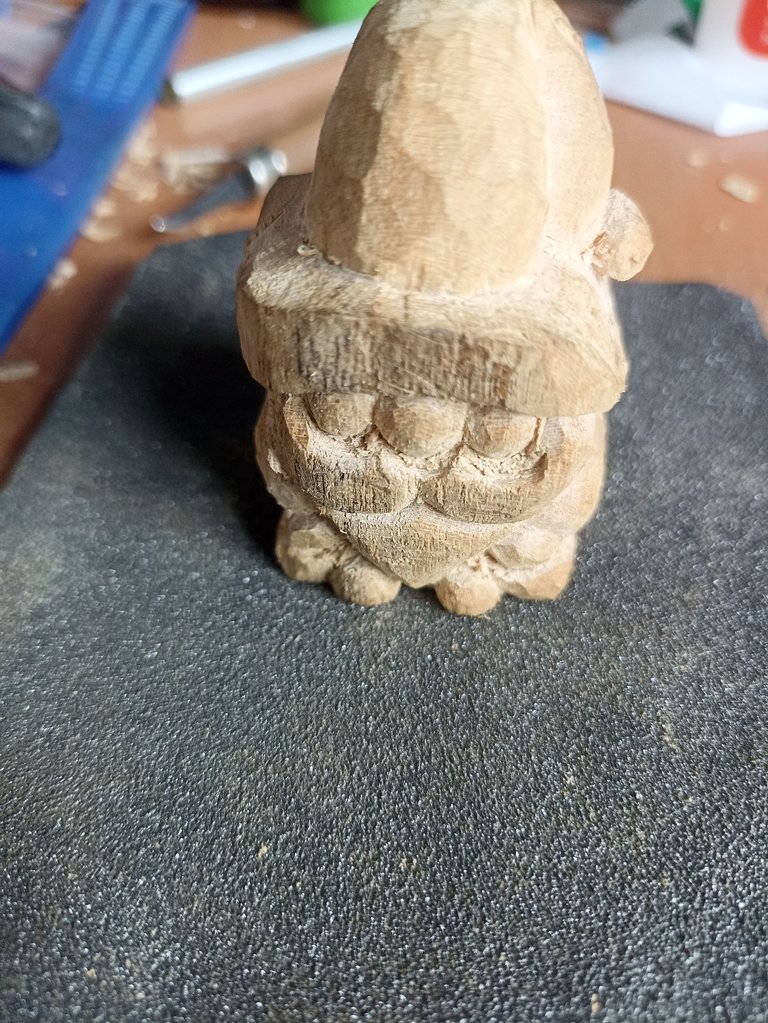 | 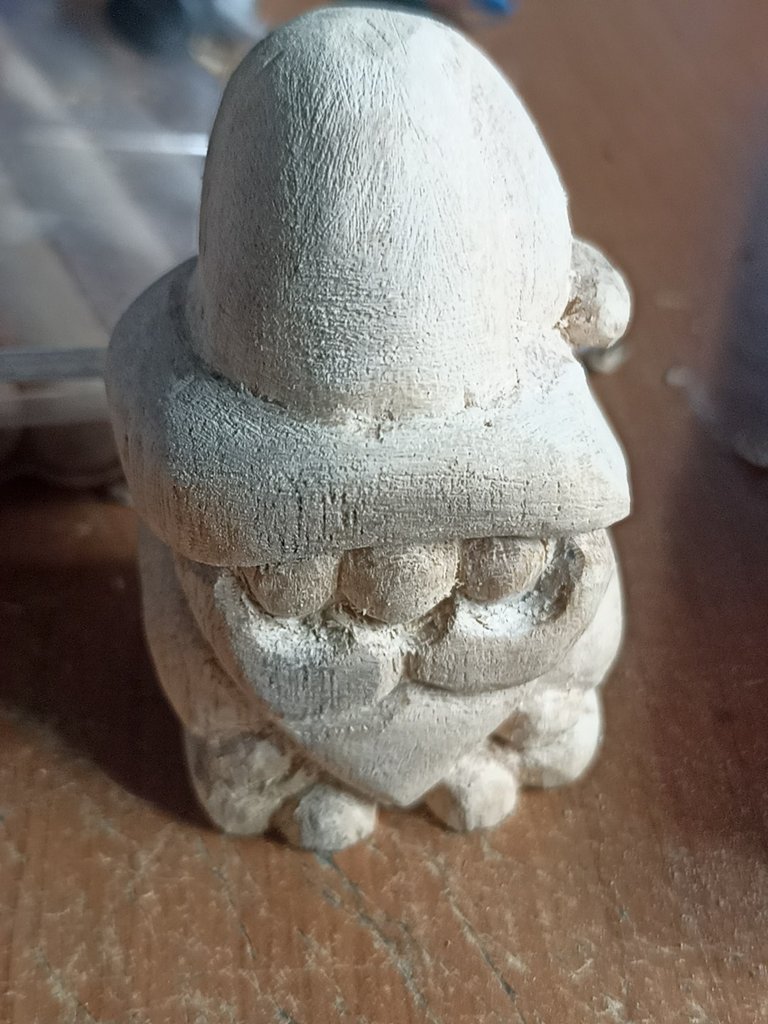 |
As I mentioned before, when I had the front part ready, I began to go along the sides, to shape the arms, part of her dresses and also the hat. Little by little I carved the wood with different blades, then I began sanding and polishing with sandpaper to leave the surface ready to be painted.
Como mencioné anteriormente al tener lista la parte frontal, comencé a ir por los lados, para darle forma a los brazos, parte de sus vestidos y también el sombrero. Poco a poco fui tallando la madera con diferentes cuchillas, seguidamente comencé a lijar y a pulir con papel de lija para dejar la superficie lista para poder ser pintada.

 |  |  |
|---|---|---|
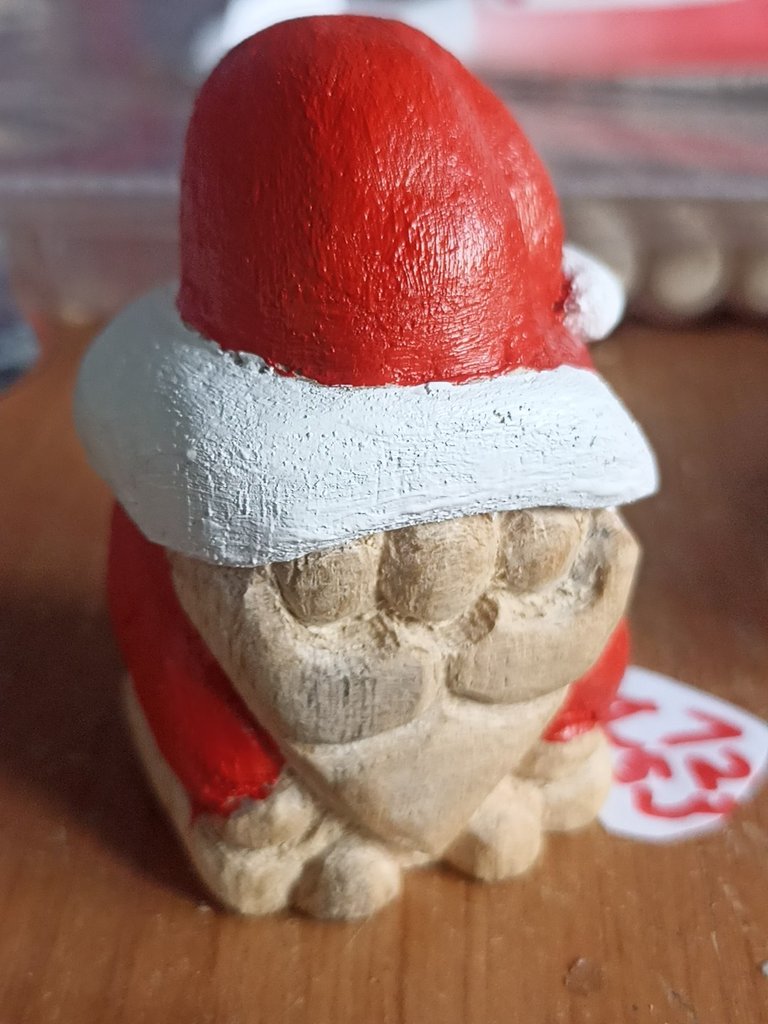 | 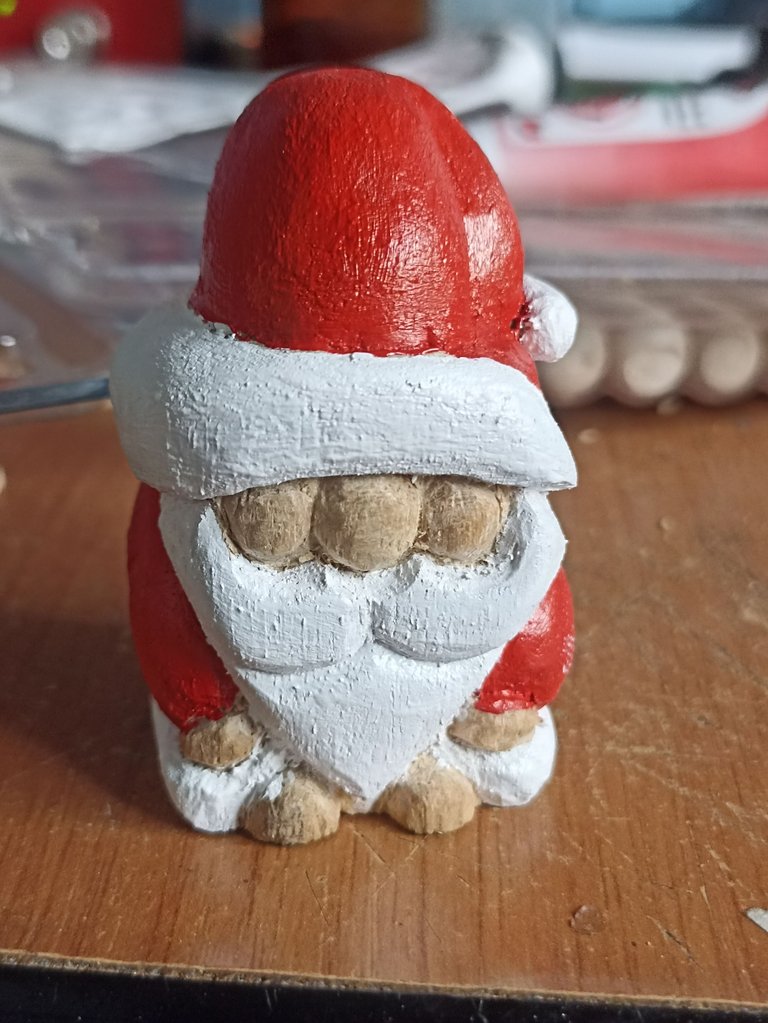 | 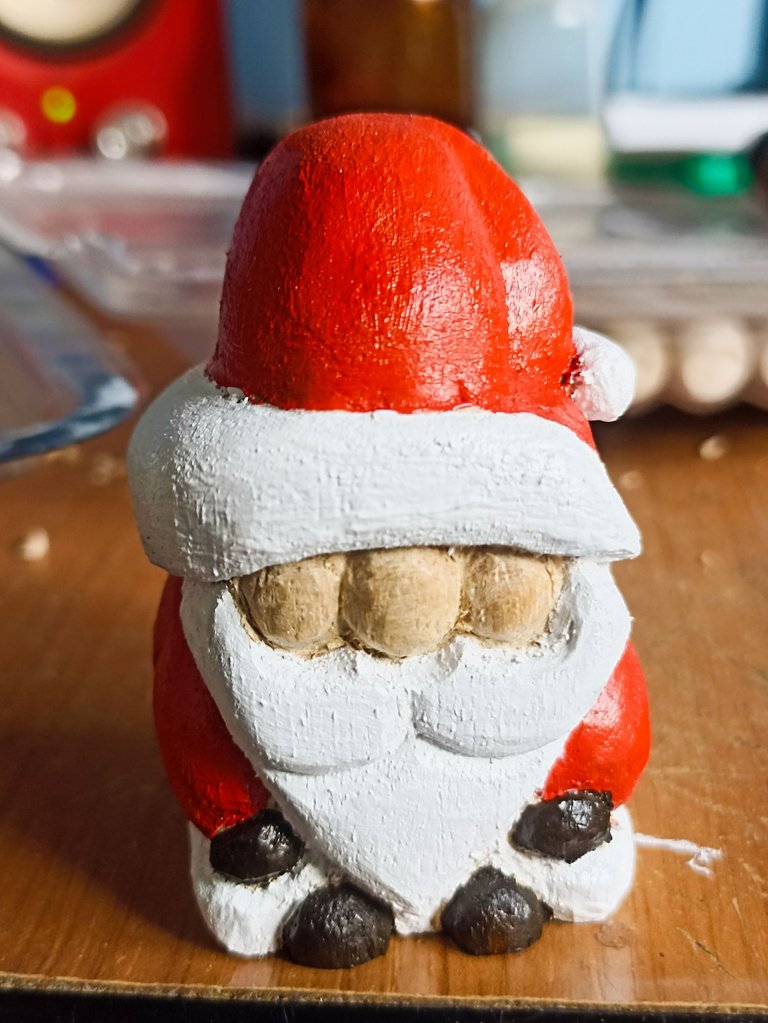 |
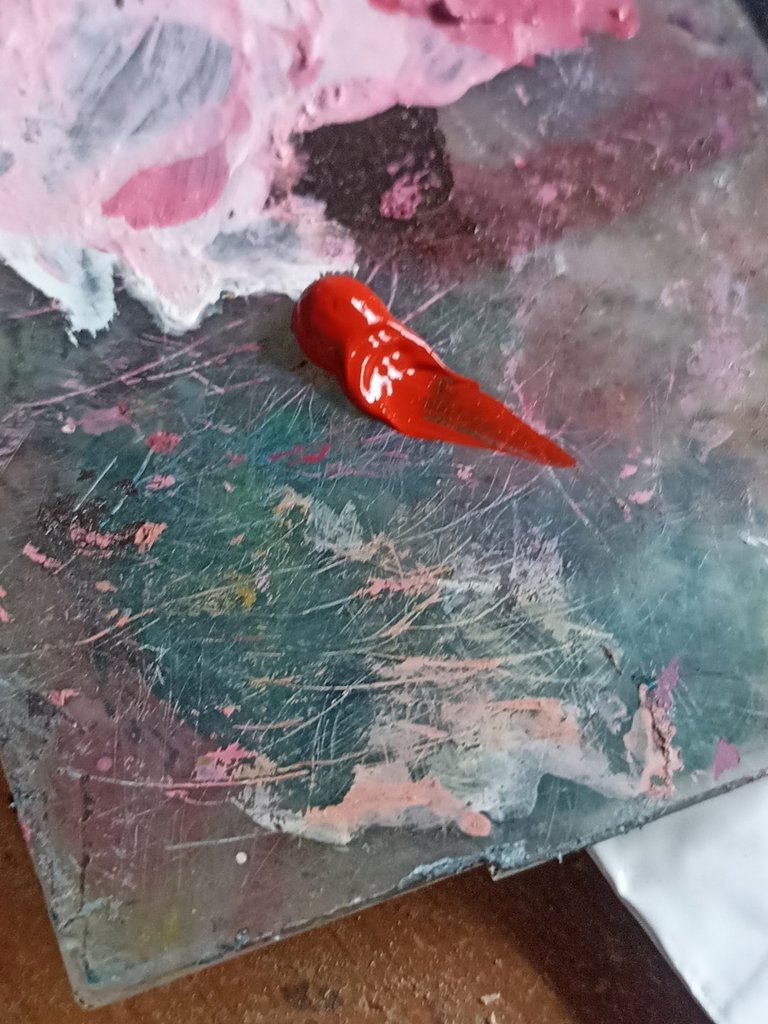
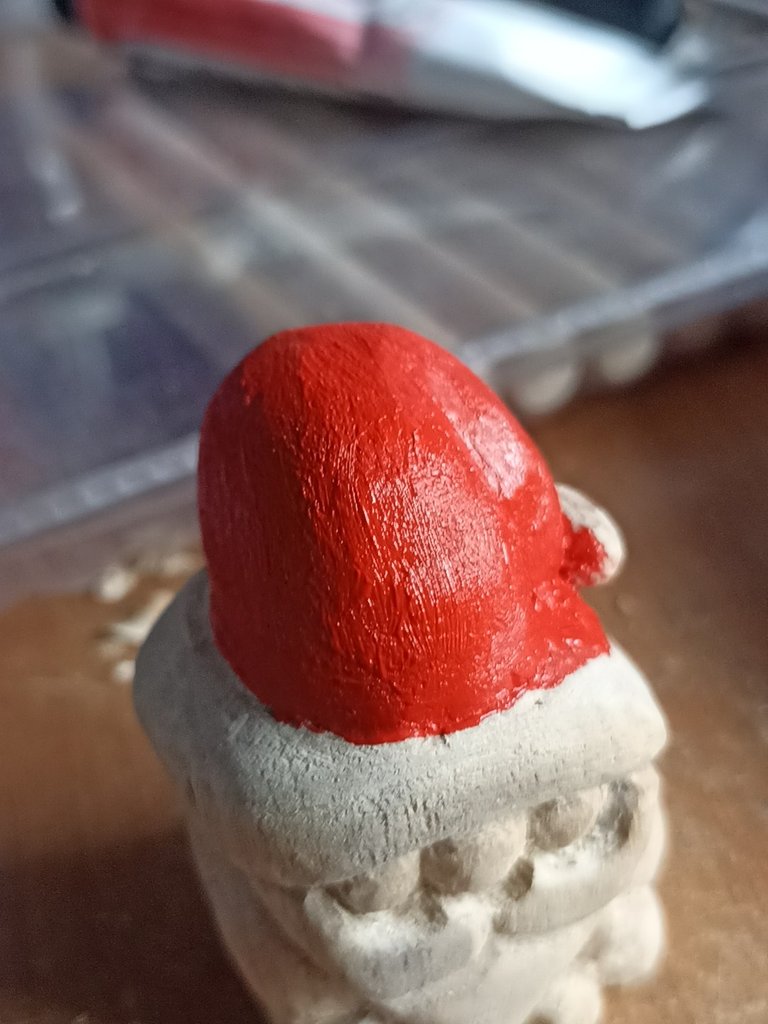
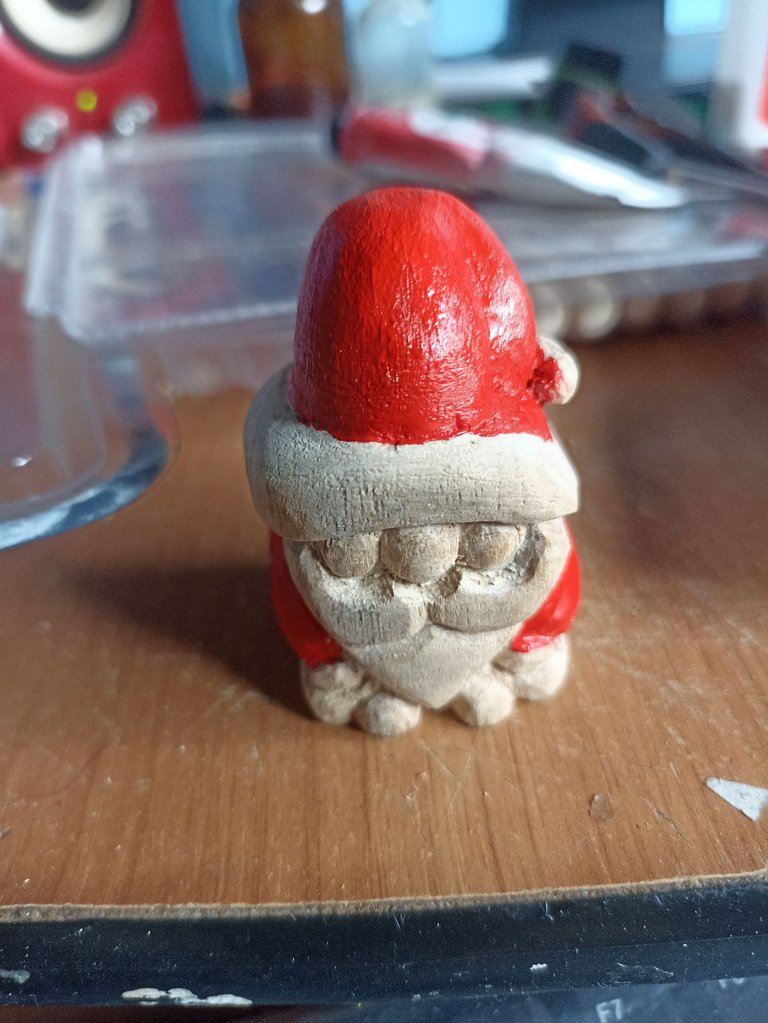
To finish, I began to paint the entire figure with acrylic paint, preparing two drops of paint, white, red and black. To paint part of the hat and his clothes as well as the white edges and his huge beard. As for the gloves, I painted them black and so did his boots. To finish, I painted the cheeks with a little red to give it that appearance of being from the cold and that's how it was finished.
Para finalizar comencé a pintar toda la figura con pintura acrílica, prepare dos gotas de pintura, blanca roja y negra. Para pintar parte del sombrero y su ropa así como los bordes de color blanco y su enorme barba. En cuanto a los guantes los pinté de negro y así también sus botas. Para finalizar pinté con un poco de rojo las mejillas para darle esa apariencia de ser del frío y así quedó finalizado.

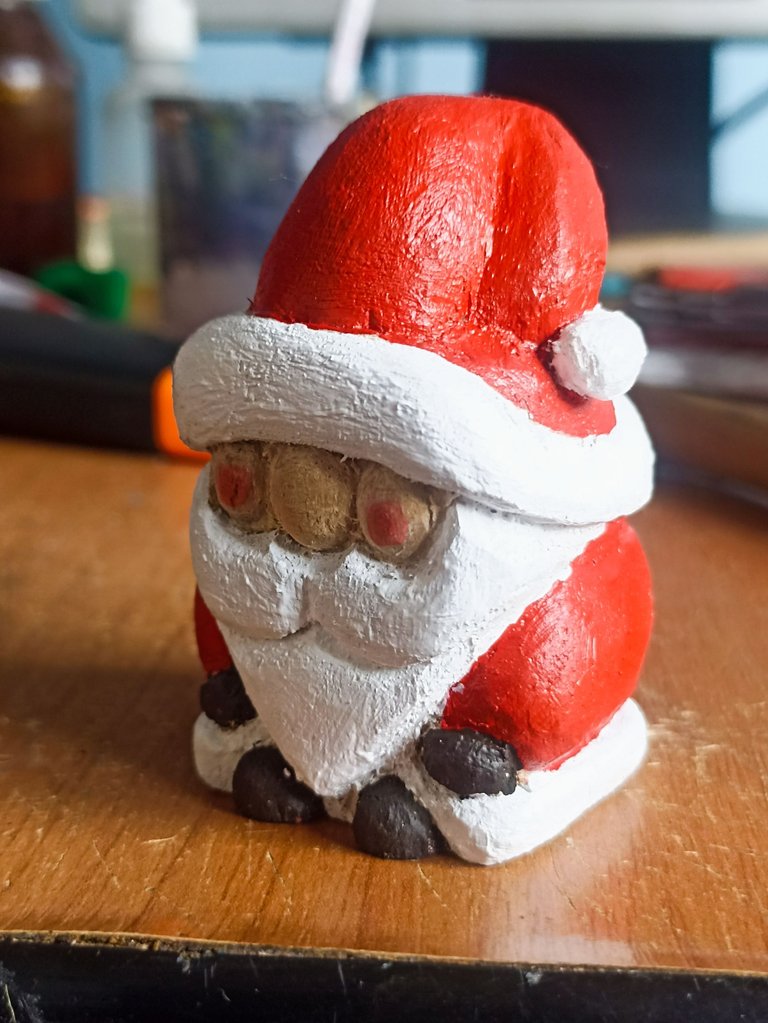
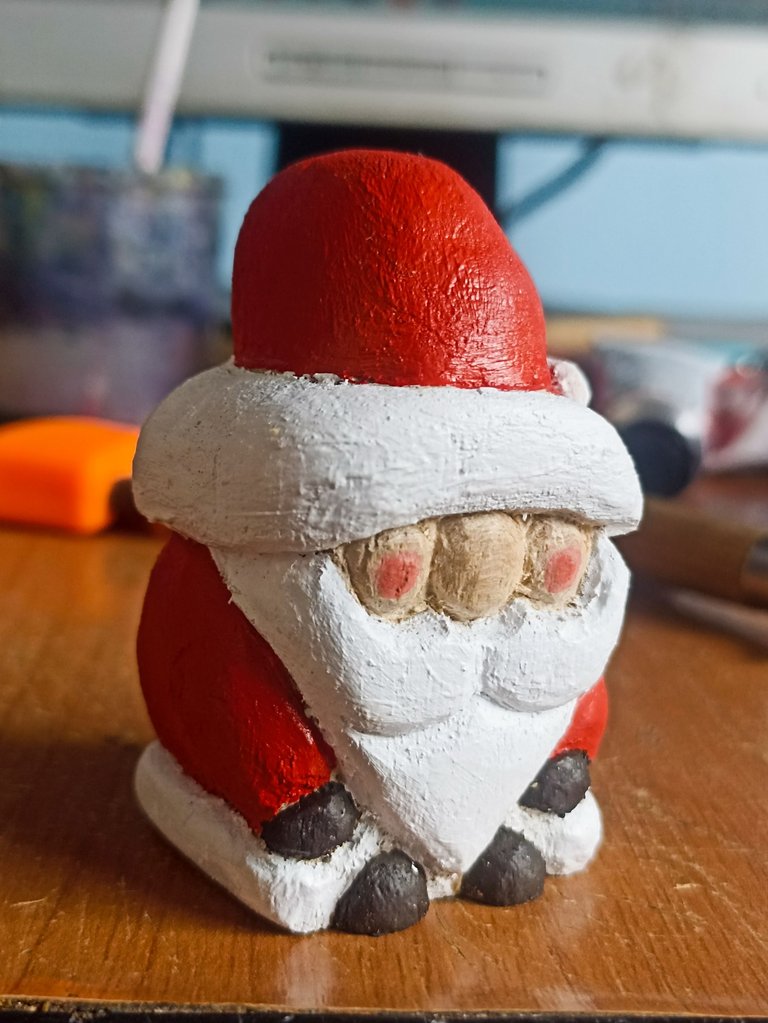
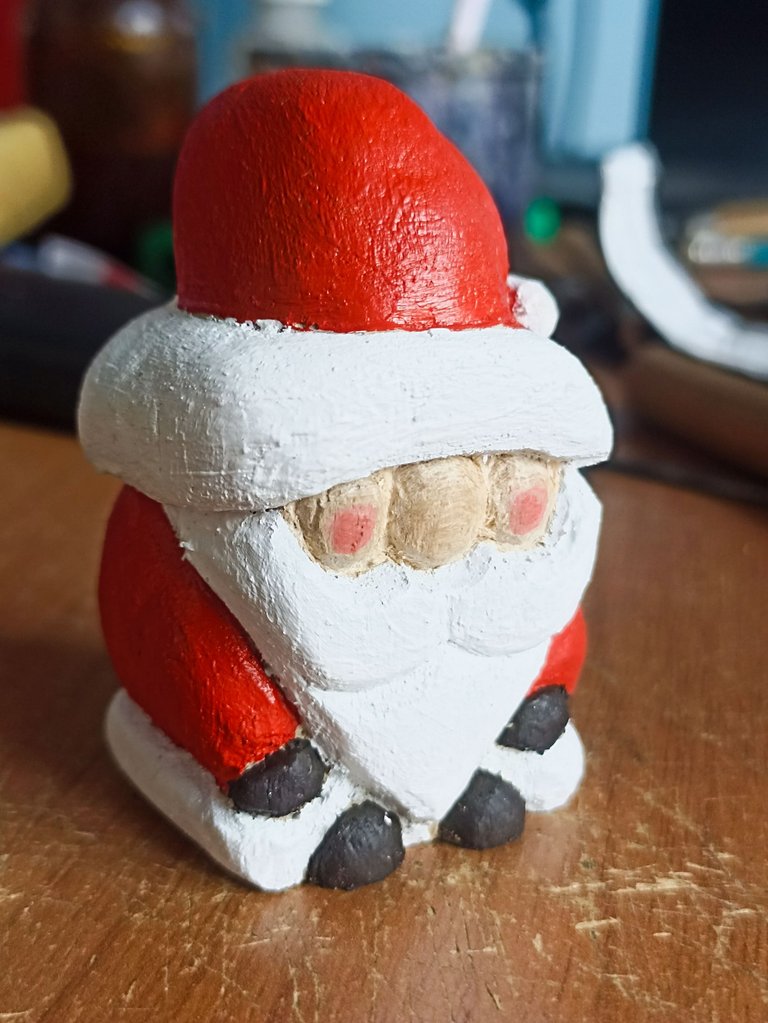
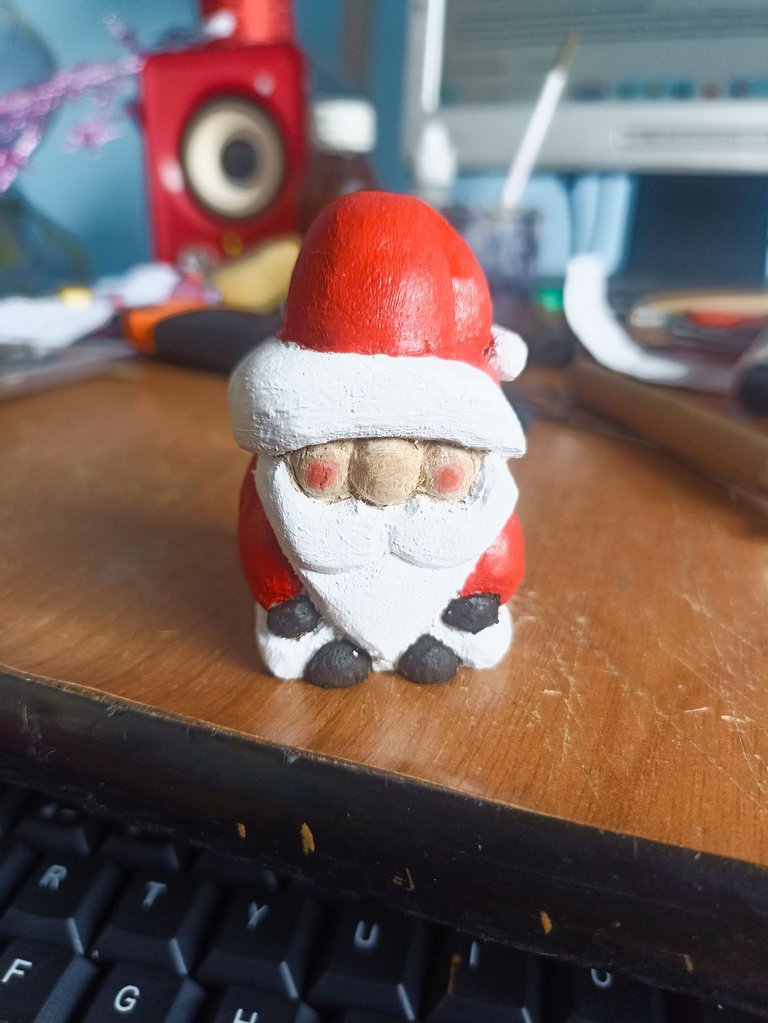

On this occasion I could not use protective varnish, because the one I have was mixed with thinner and melted the paint, I think I will have to use another type of mixture to be able to give better protection to the paint. This is how it was finished, what did you think of the result? Does it look like a real Christmas Gnome? My daughter fell in love with this figurine so I gave it to her, but not before asking her for good wishes and gifts hehehe. This has been my participation, I hope to be able to continue competing, since there are several days left, I say goodbye until I have a new opportunity.
En esta oportunidad no le pude ponder barníz protector, porque el que tengo estaba mezclado con thiner y derretía la pintura, creo que tendré que usar otro tipo de mezcla para poder darle una mejor protección a la pintura. Así fue como quedó finalizado, qué les ha parecido el resultado? luce como un verdadero Gnomo de navidad? Mi hija se enamoró de esta figurita así que se la obsequié, no sin antes pedirle buenos deseos y regalos jejeje. Esta ha sido mi participación, espero poder seguir concursando, ya que quedan varios días, me despido hasta tener una nueva oportunidad.
Hola. Me encanta como se ve el Santa, la textura de la madera pintada me gusta mucho.
Mucha suerte 🍀
Quedó bien chiquitin jejeje
Hermoso querido Fixie <3
Muchas gracias mi querida @equipodelta quedó muy tierno jejeje
Congratulations, your post has been curated by @dsc-r2cornell. You can use the tag #R2cornell. Also, find us on Discord
Felicitaciones, su publicación ha sido votada por @ dsc-r2cornell. Puedes usar el tag #R2cornell. También, nos puedes encontrar en Discord
Muchas gracias
Puff... Maestro!
!discovery 45
Maestro mío, un gusto leerte. Espero en año nuevo hacer el Mecha Godzilla!
This post was shared and voted inside the discord by the curators team of discovery-it
Join our Community and follow our Curation Trail
Discovery-it is also a Witness, vote for us here
Delegate to us for passive income. Check our 80% fee-back Program
Thank you very much for the support
Oh this work is a beauty. A great entry in the contest. Every detail is great. Thank you so much for giving us this great creative process and step by step. Best of luck and have a merry Christmas.
The contest gets better and better seeing the great creations that have been made so far. I am very happy to have participated.
It's nice.
Thank you ver much
Que cosita tan bonita! ❤️
Wow. You’re talented, and that’s not easy to do considering its small size!
Parece una imagen de santa en modo Chibi, luce genial.