Hola amigos, ¡bienvenidos a mi mundo!
Espero que todos estén bien en sus casas, yo estoy mejor de la tos pero todavía tengo un poquito pero ya comencé a ir a la escuela. Hoy les voy a enseñar unas estrellas de navidad que son bien bonitas y esas las iba a hacer mi mamá pero yo le dije que la quería ayudar y como me quedaron mejor a mí ella me dijo que las hiciera todas.

Estas estrellas son para el arbolito y nada más se usan tres cosas para hacerlas:
Palitos de pinchos
Pistola de silicón
Estambre
Tenazas
Paso a paso
Para hacer las estrellas hay que cortar 5 palitos que sean iguales para cada estrella. Eso yo lo hice con una tenaza pero también se puede cortar con una tijera.
Los palitos van a ser del tamaño que quieran la estrella, hasta pueden usar uno entero y queda una estrella grande.
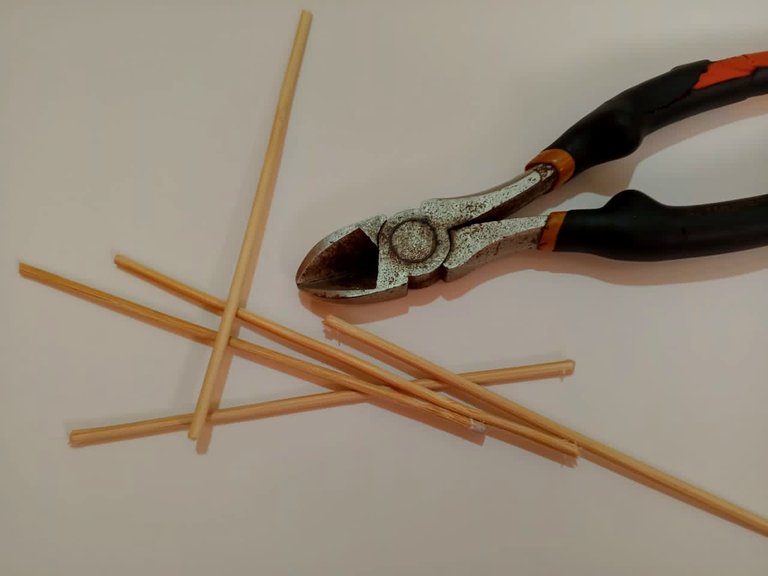
Bueno, después de cortar los palitos hay que pegarlos con la pistola y primero hacen como una A y la pegan en la punta.
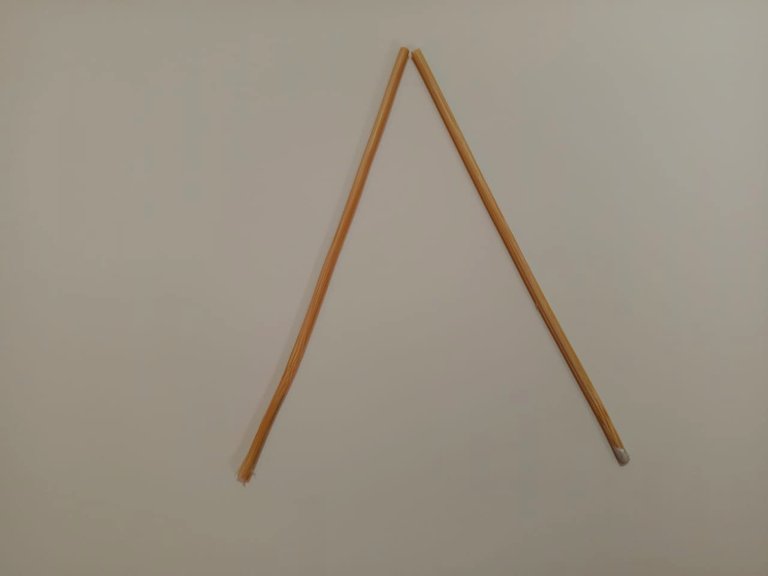
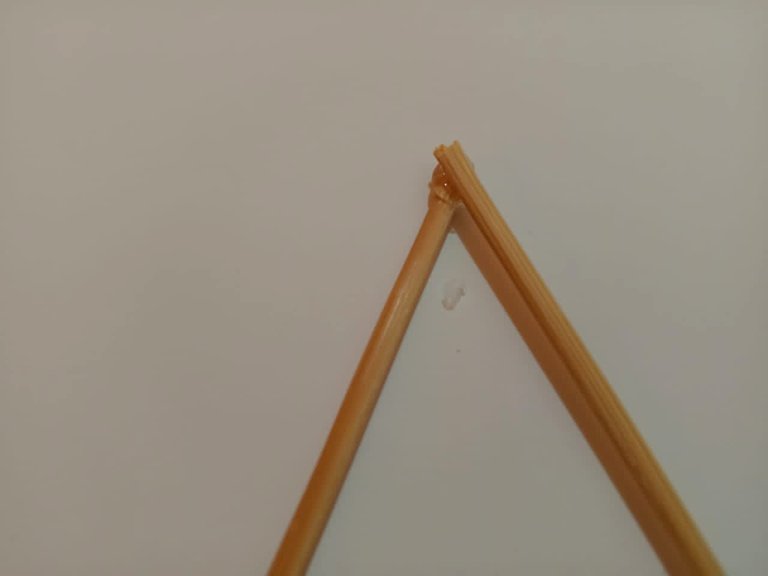
Cuando se seque bien pegan el otro palito así como está en la foto, ese se pega en una punta de abajo y se pega en el otro palito de la A.
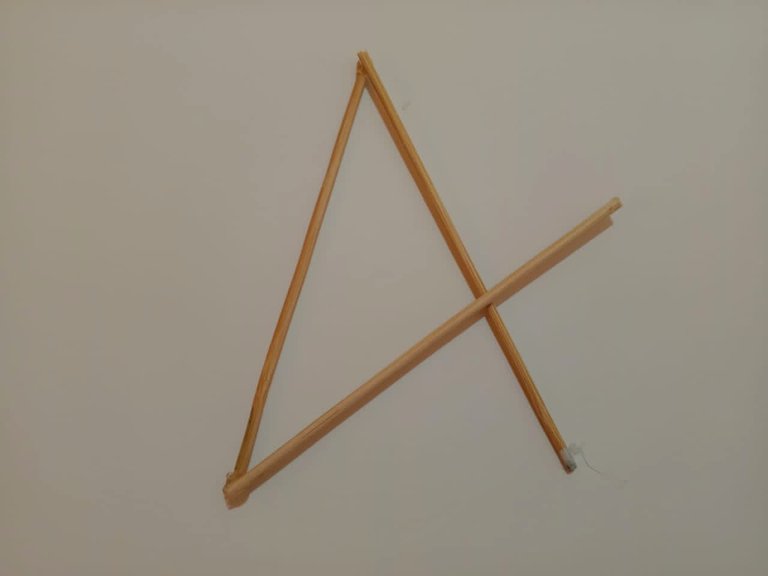
Después se pega otro palito, en la otra punta de la A y se pega a la misma distancia que la que pusieron antes. En la foto se puede ver cómo va pegada.
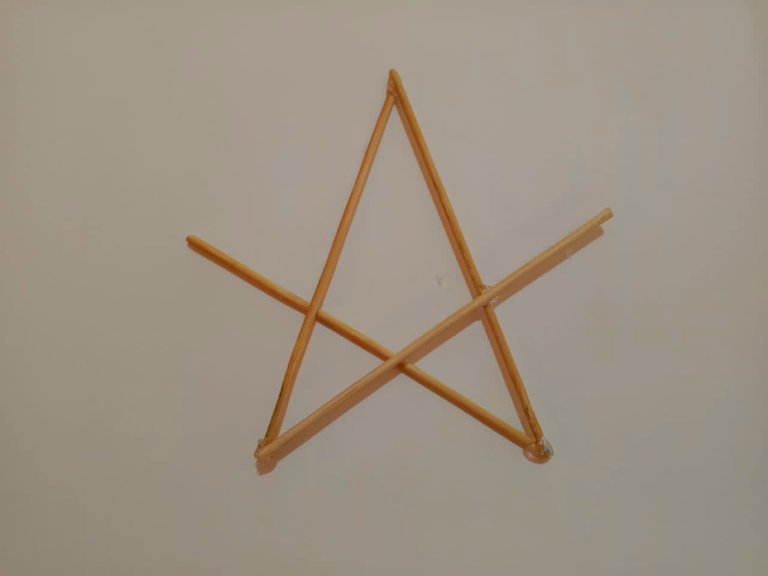
Ahora viene el último palito y ese hay que ponerlo por debajo para pegarlo y va pegado en las dos puntas y ya está la estrella hecha. Yo después le puse más pega en las puntas porque cuando mi mamá les fue a poner el estambre se despegaban.
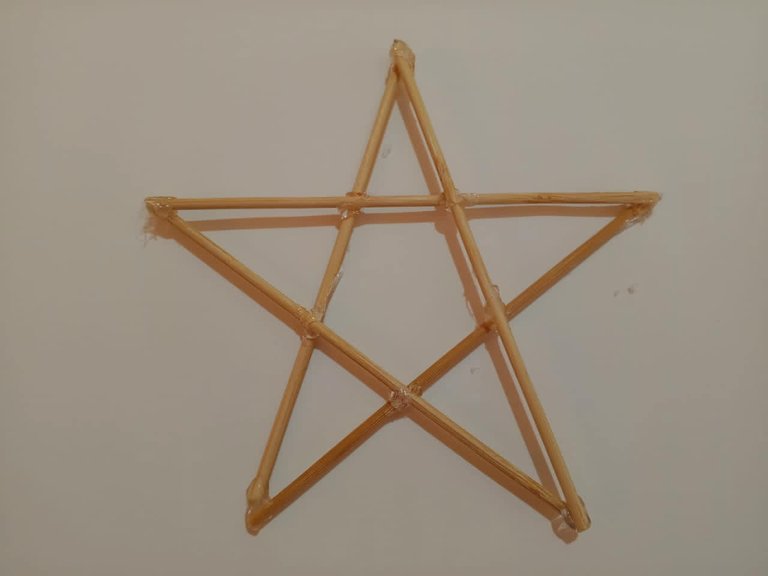
Bueno ahora lo que hay que hacer es pegar el estrambre pasándolo por todos lados que no sea parejo para que se vea bonito y primero ponen un poquito de pega y pegan una punta del estambre y después van de un lado para otro cruzando.
Tienen que ponerle pega de vez en cuando para que quede mejor y le ponen hasta que casi no se vean los palitos. Ah y también se pueden pintar los palitos del color del estambre que le van a poner.
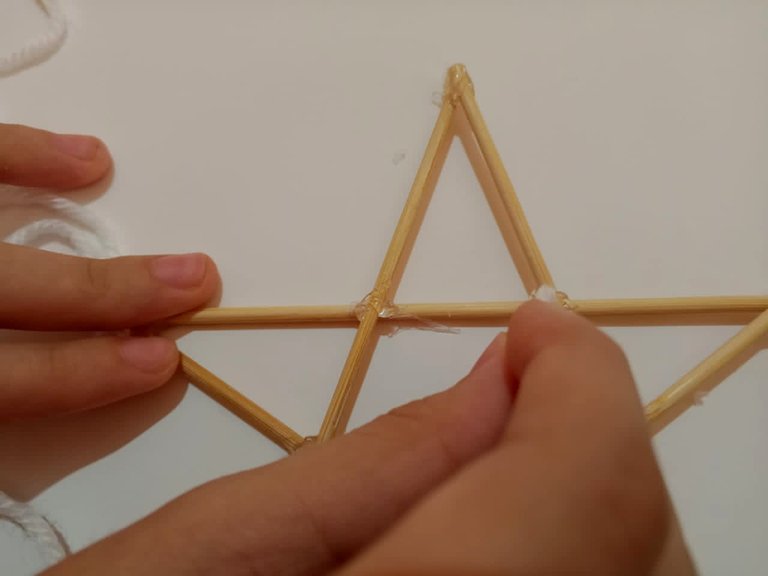

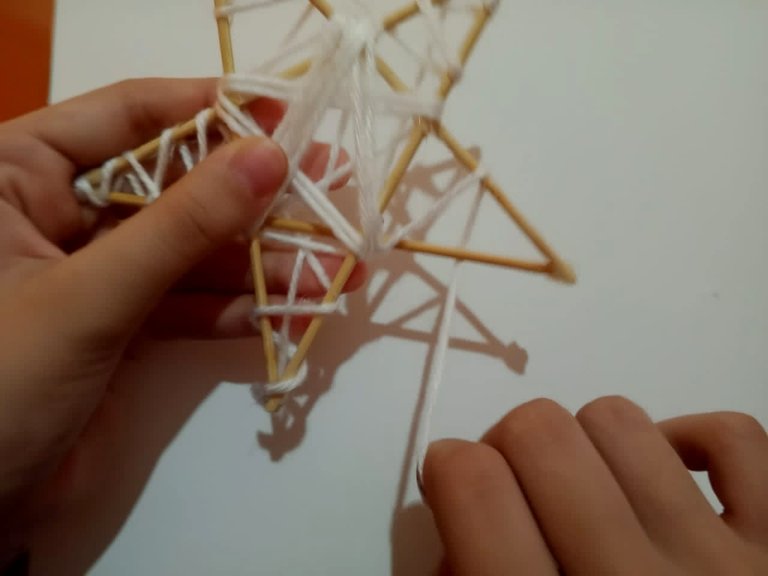
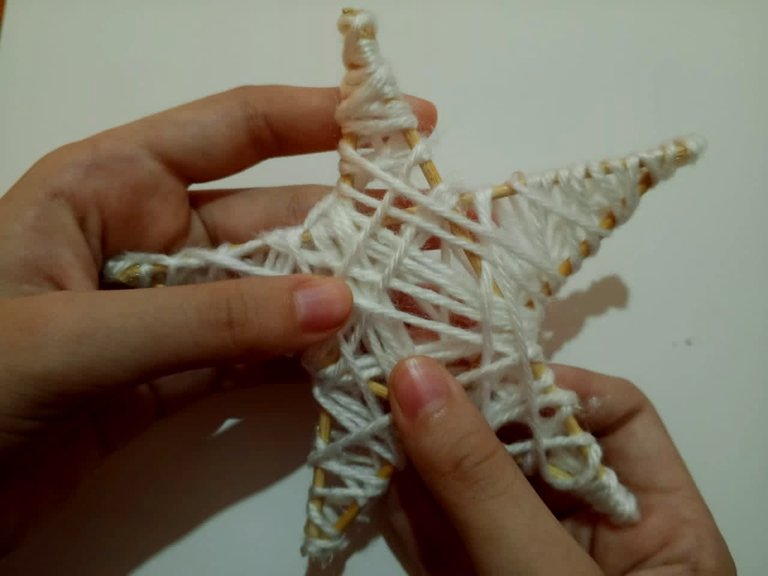
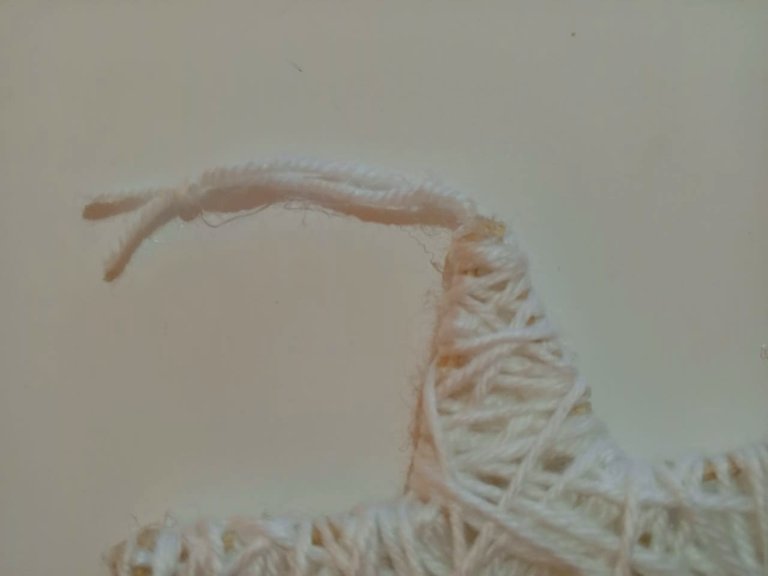
Ya cuando se termine de poner estambre, se corta y se le pone pega y ahora se hace la tirita para colgar y yo lo hice con el mismo estambre para que sea igual y ya ahora sí está lista la estrella.
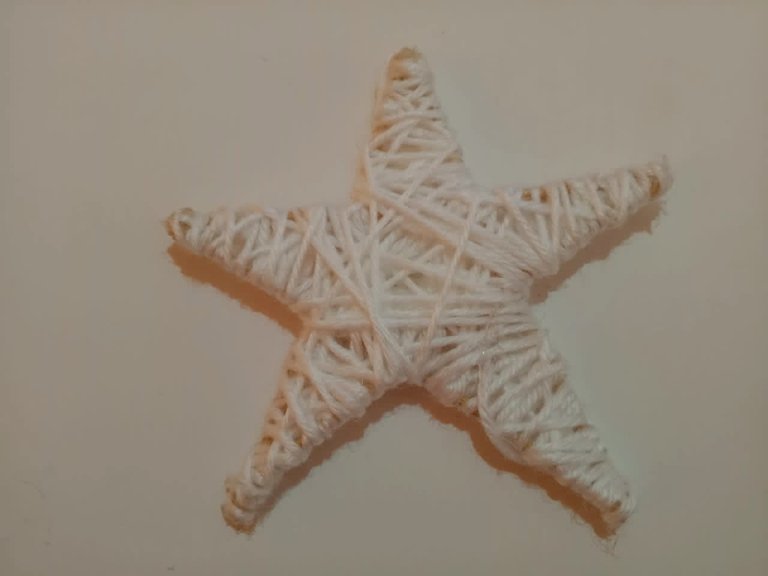
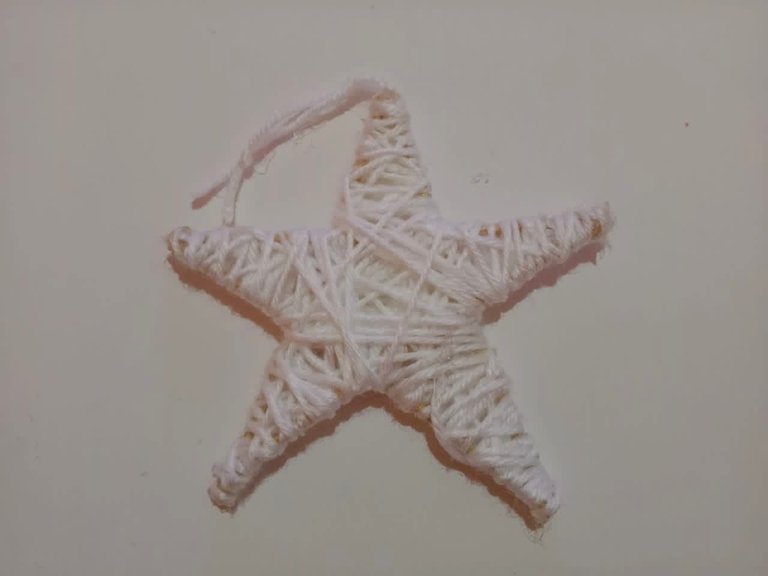
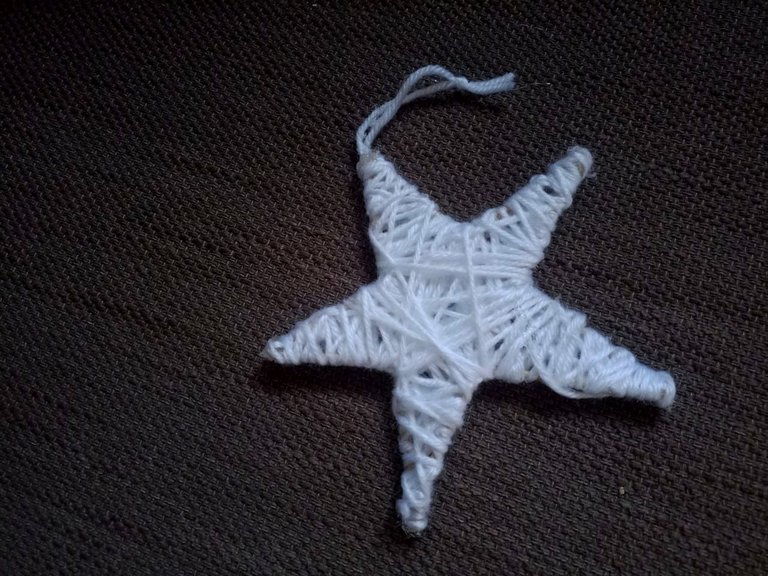
Mi mamá quiere hacer también grises pero no ha encontrado el estambre de ese color pero vamos a salir en estos dias a comprarlo y yo las hago y después las van a ver en el arbolito porque ya les enseñé como se hacen y no puedo hacer otro post igual pero de otro color 🤣
Bueno amigos ya eso es todo por hoy ojalá que les guste la estrella y que la hagan en su casa. Gracias por leer este post, chaooo 💕💕💕♥️♥️♥️

Hello friends, welcome to my world!
I hope everyone is well at home, I am better with my cough but I still have a little bit of it but I started going to school. Today I am going to show you some Christmas stars that are very pretty and my mom was going to make them but I told her I wanted to help her and since they were better for me she told me to make them all.

These stars are for the tree and you only need three things to make them:
Skewer sticks
Silicone gun
Twine
Pliers
Step by step
To make the stars you have to cut 5 sticks that are the same for each star. I did this with a pair of pliers but you can also cut them with scissors.
The sticks will be the size you want the star, you can even use a whole one and get a big star.

Well, after cutting the sticks you have to glue them with the gun and first make an A and glue it on the tip.


When it dries well, glue the other stick as it is in the picture, glue it on the bottom end and glue it on the other stick of the A.

Then glue another stick on the other end of the A and glue it at the same distance as the one you put before. In the photo you can see how it is glued.

Now comes the last stick and you have to put it underneath to glue it and it is glued on the two ends and the star is already made. Later I put more glue on the ends because when my mom went to put the yarn on them, they came unstuck.

Well now what you have to do is to glue the stamen passing it through all sides so that it looks nice and first put a little bit of glue and glue one end of the stamen and then go from one side to the other crossing it.
You have to glue it from time to time to make it look better and glue it until you can hardly see the sticks. Oh and you can also paint the sticks with the color of the yarn you are going to use.


Once the yarn is finished, cut and glue it and now you make the bandage to hang it and I did it with the same yarn so that it is the same and now the star is ready.


My mom also wants to make gray ones but she hasn't found the yarn of that color but we are going to go out these days to buy it and I will make them and then you will see them on the tree because I already showed you how to make them and I can't make another post with the same color 🤣
Well friends that's all for today I hope you like the star and that you make it at home. Thanks for reading this post, bye 💕💕💕💕♥️♥️♥️

This is nice, and could be hung around or as a tree ornament. Would be interesting to put a light inside. Nice work still
Thank you so much
Origina la estrella Miri, tiene una buena maestra. Abrazow
Gracias 💗 si mi mamá me enseña y como me gusta
Está preciosa esa estrella Miri, me encantó, que bueno que puedas ayudar a tu mamá en estaa manualidades y así comparten y se relajan juntas. Me alegro también que ya estés mejor de tos. Saludos Miri
Gracias flor al final mi mamá se estreso porque no le salían y las hice yo es facilito
Te mandando un abrazo y gaby y a santi
This is so creative and beautiful.
Nice one dear
Thank you
You are welcome
Wow, you have done well by offering to make this craft. You have a talent for creating stars. I have never been good with yarn, so I admire those who can do awesome work like this. Thank you so much for sharing it in our DIYHub community, I love seeing the Christmas creations of the participants and they inspire me a lot...
Than you so much maybe i can come again with another decoration
Están muy lindas amiga, esas ideas las hemos visto, se ve fácil de hacer aquí la temática que quiere mi mamá es de estrellas y lunas.
He visto muchas estrellas lindas como estas, por aquí.
Si son facilitas y se terminan rápido eso es lo que me gusta 🤣