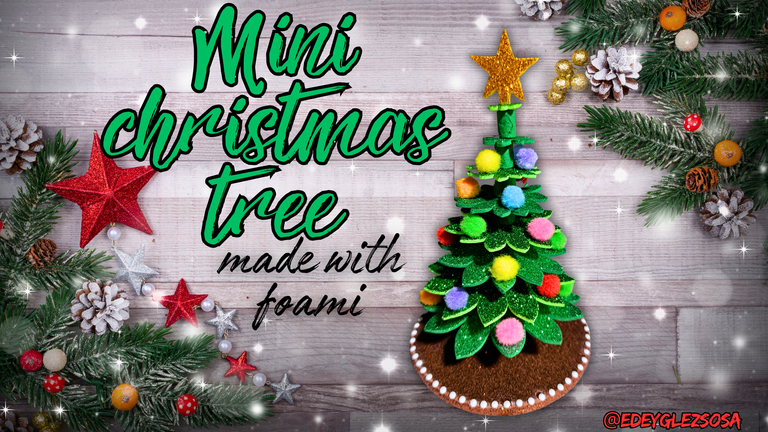
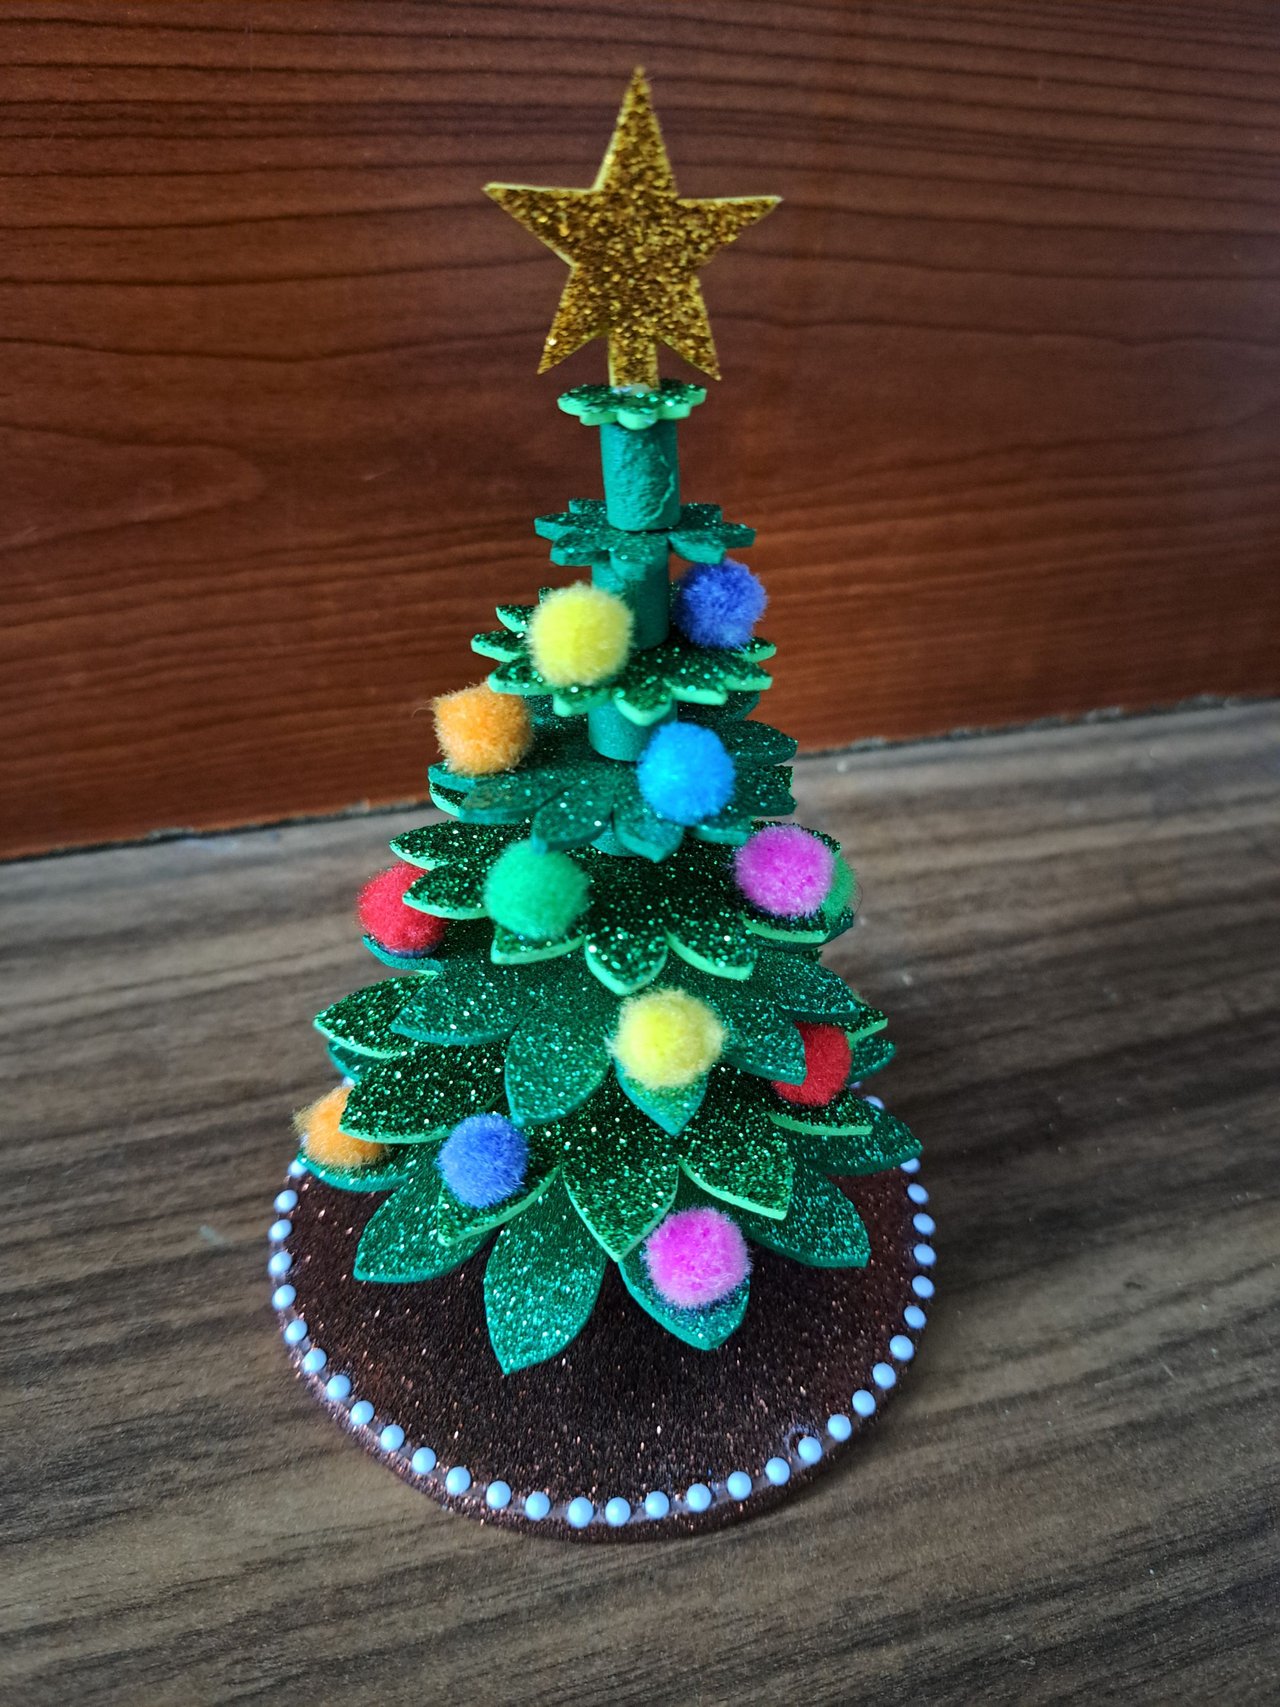
Greetings, friend creator. The truth is that there are no valid excuses for not having a Christmas tree. Whether big or small, natural or artificial, or even a small miniature version like the one I bring you today. And yes, you don't necessarily have to have a huge Christmas tree, and if you are more reserved, you can have a smaller one or even make some to give as gifts, because, as you will see below, these mini-versions are very easy to make and take few materials.
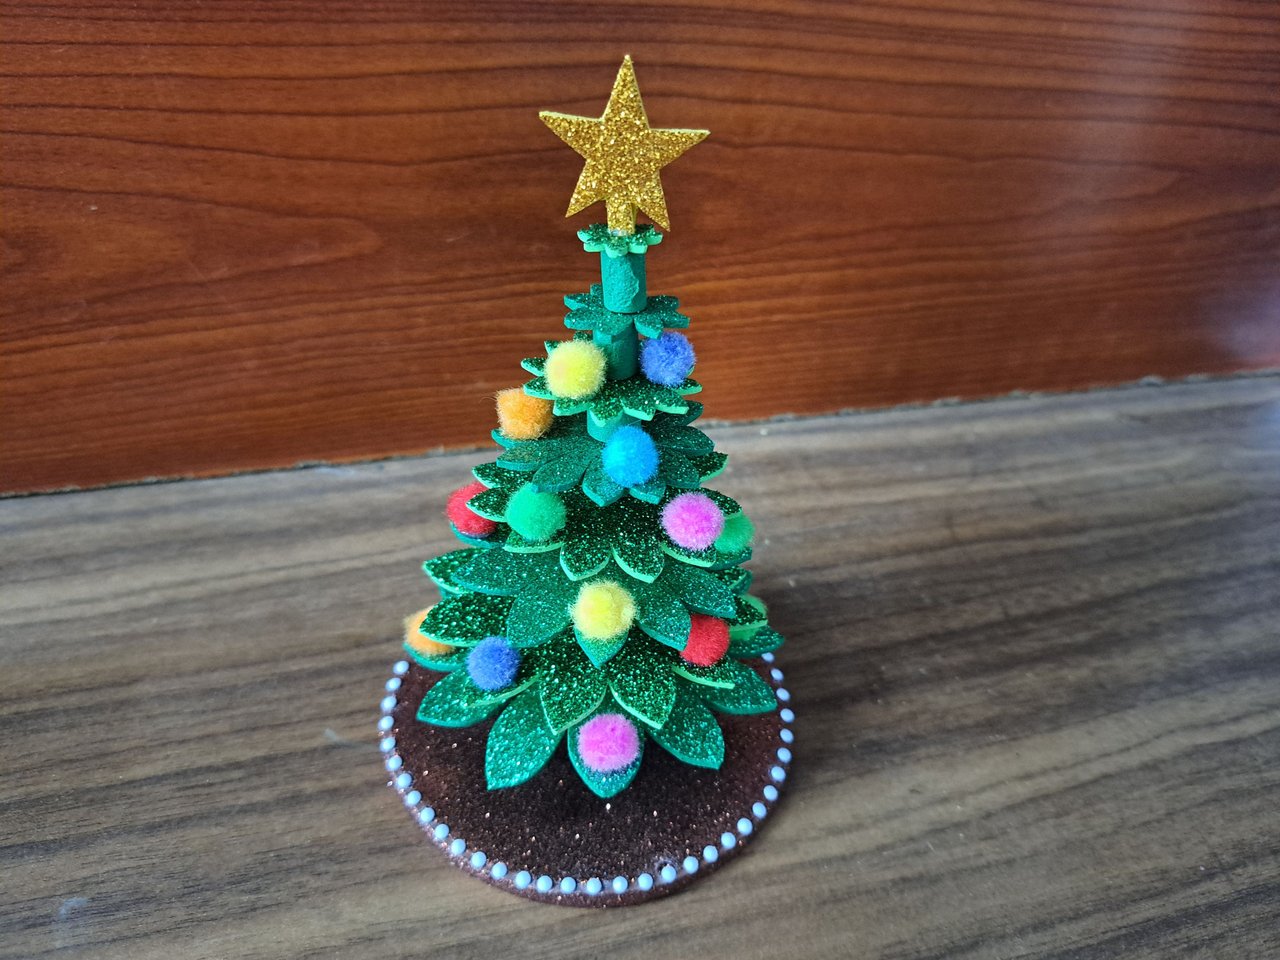
Today I am sharing with you a tutorial where I will show you step by step the process of creating what I call a mini Christmas tree. This craft was made with frosted fomi in its entirety and decorated with colored pompoms, which can be replaced by pearls, stones or even moldable fomi balls. I hope you like it.
Saludos, amigo/a creador/a. La verdad es que no hay excusas válidas para no tener un arbolito de Navidad. Ya sea grande o chiquito, natural o artificial, o incluso una pequeña versión en miniatura como la que les traigo el día de hoy. Y es que sí, no necesariamente hay que tener un enorme árbol de Navidad, y si eres más reservado, puedes tener uno más pequeño o incluso elaborar algunos para regalar, ya que, como verán a continuación, estas miniversiones son muy fáciles de hacer y llevan pocos materiales.
Hoy les comparto un tutorial donde les mostraré paso a paso el proceso de creación de lo que yo llamo un mini árbol de Navidad. Esta manualidad fue elaborada con fomi escarchado en su totalidad y decorada con pompones de colores, los cuales pueden ser sustituidos por perlas, piedras o incluso por bolitas de fomi moldeable. Espero que les guste.
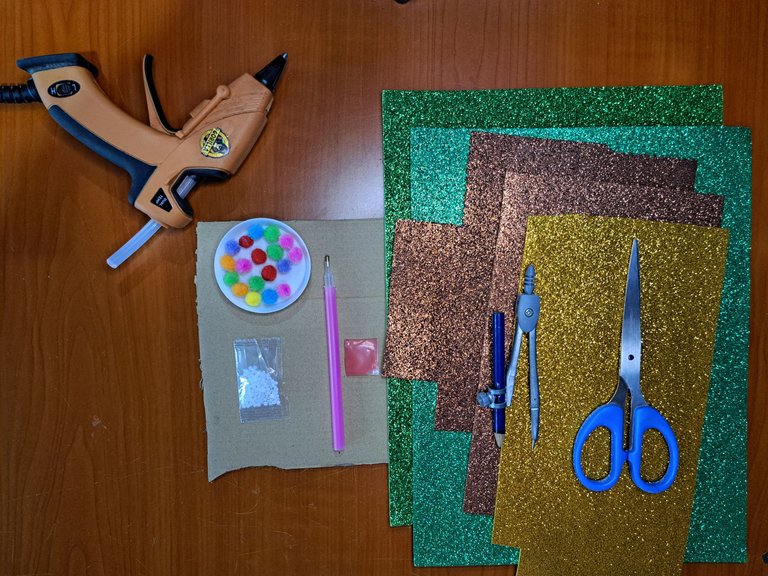
Materials // Materiales
| ✔️ Light green, dark green, carmelite and yellow frosted fomi | ✔️ Fomi escarchado verde claro, verde oscuro, carmelita y amarillo |
| ✔️ Recycled cardboard | ✔️ Cartón reciclado |
| ✔️ Multicolored pompoms | ✔️ Pompones multicolor |
| ✔️ Semi white pearls | ✔️ Semi perlas blancas |
| ✔️ Scissors, pencil and compass | ✔️ Tijeras, lápiz y compás |
| ✔️ Hot silicone | ✔️ Silicona caliente |
Step by step // Paso a paso
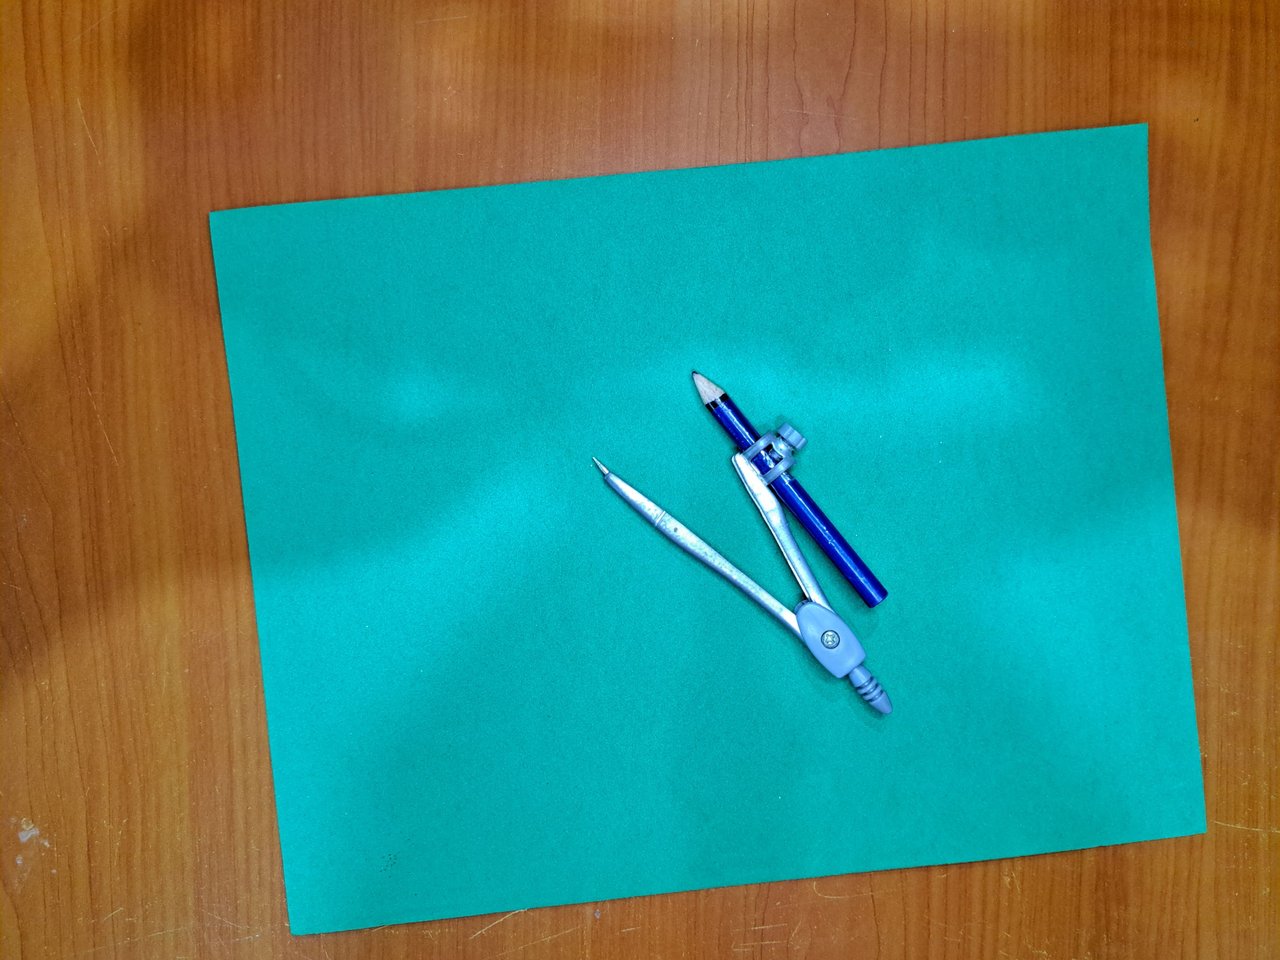
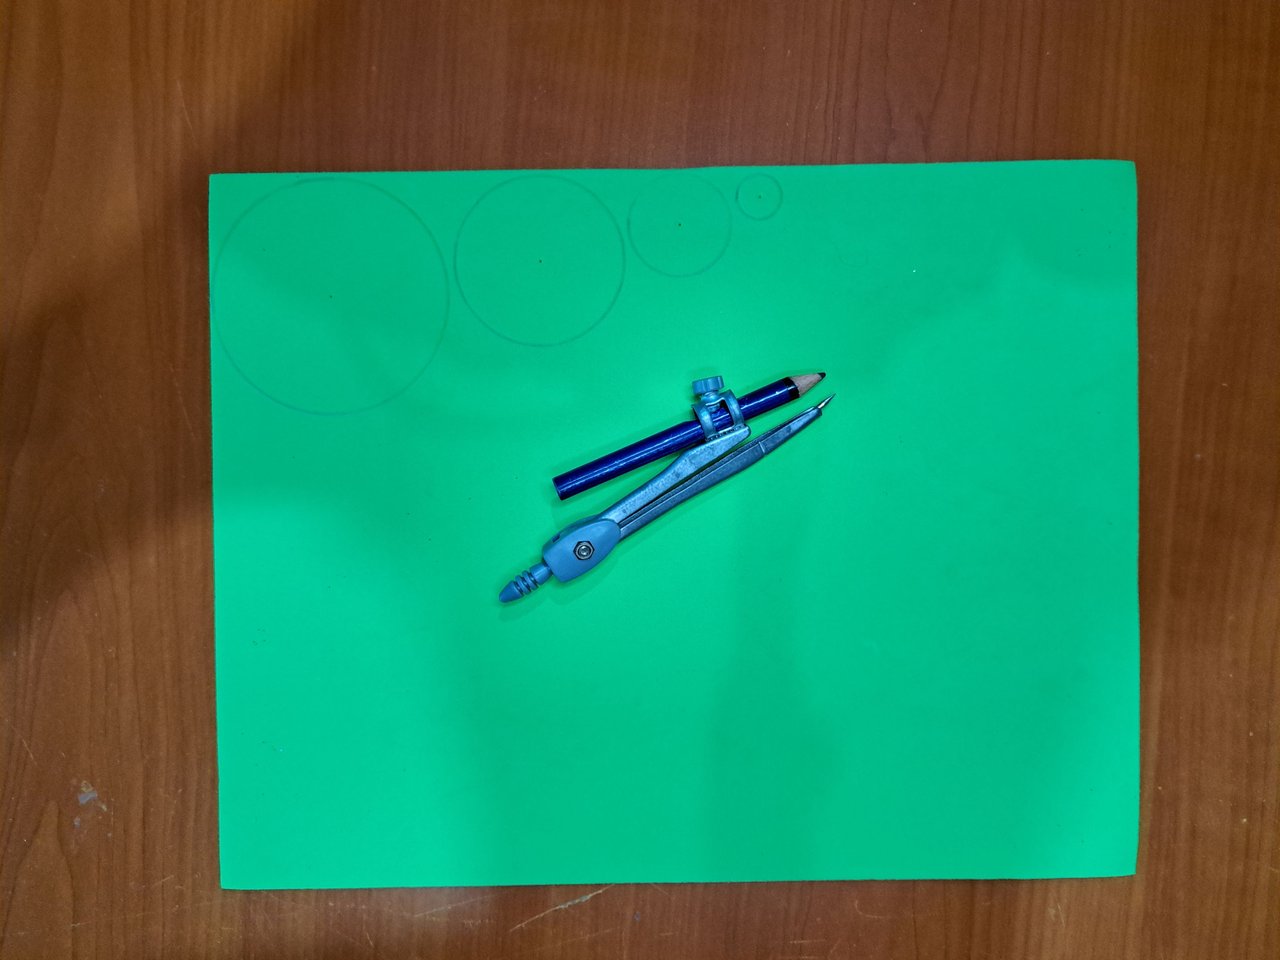
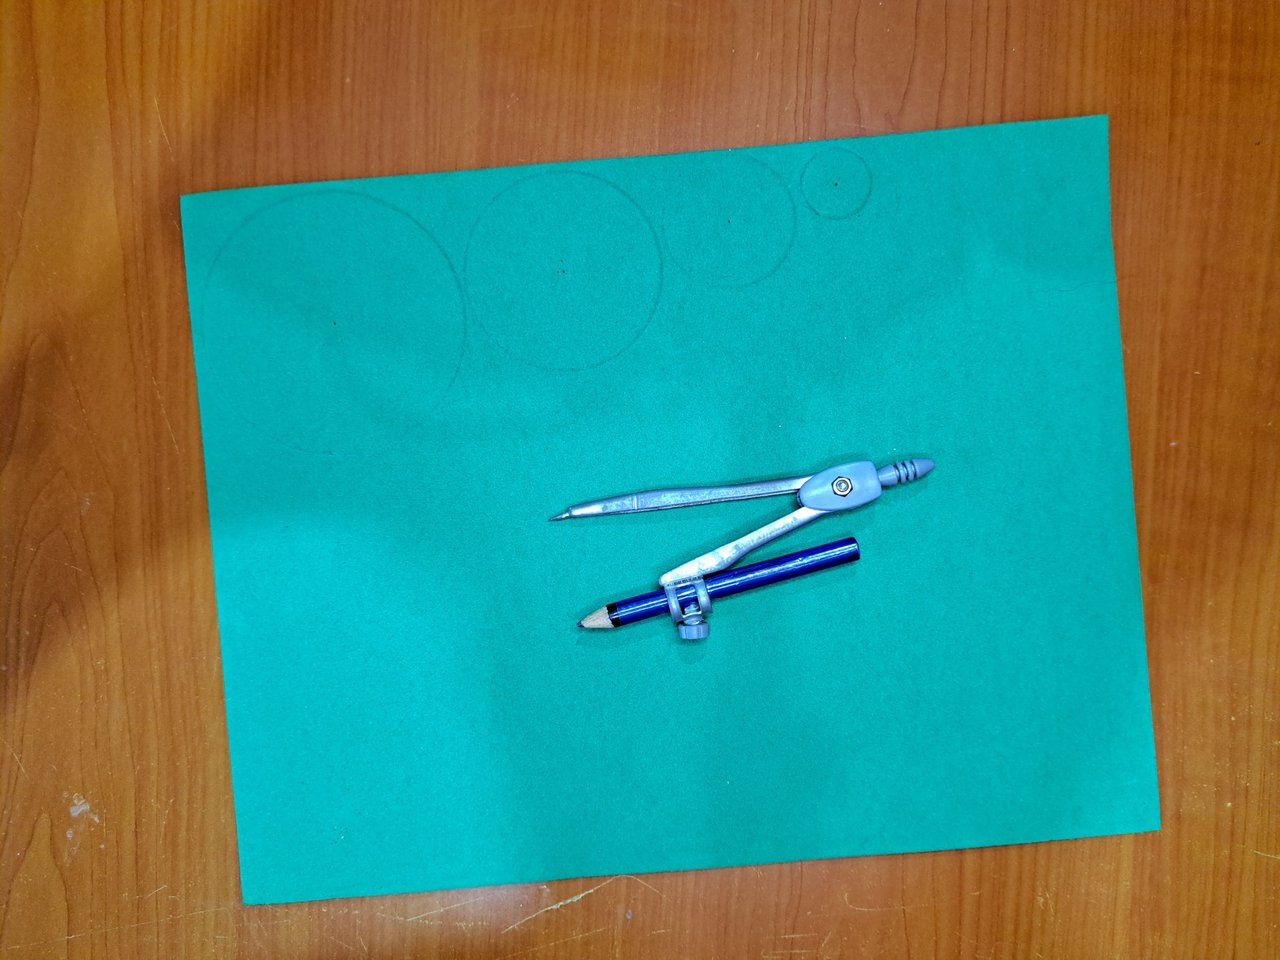
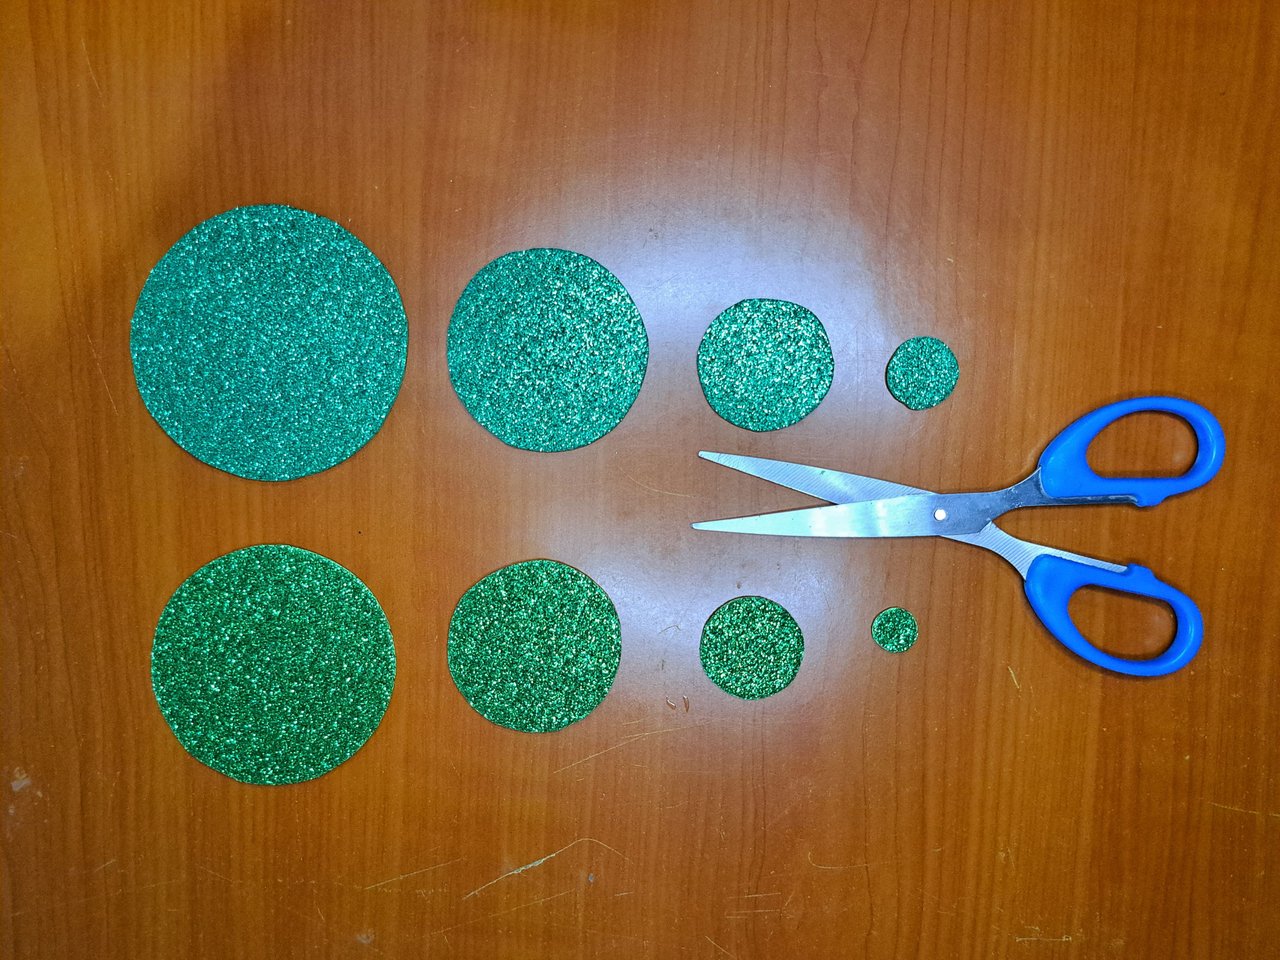
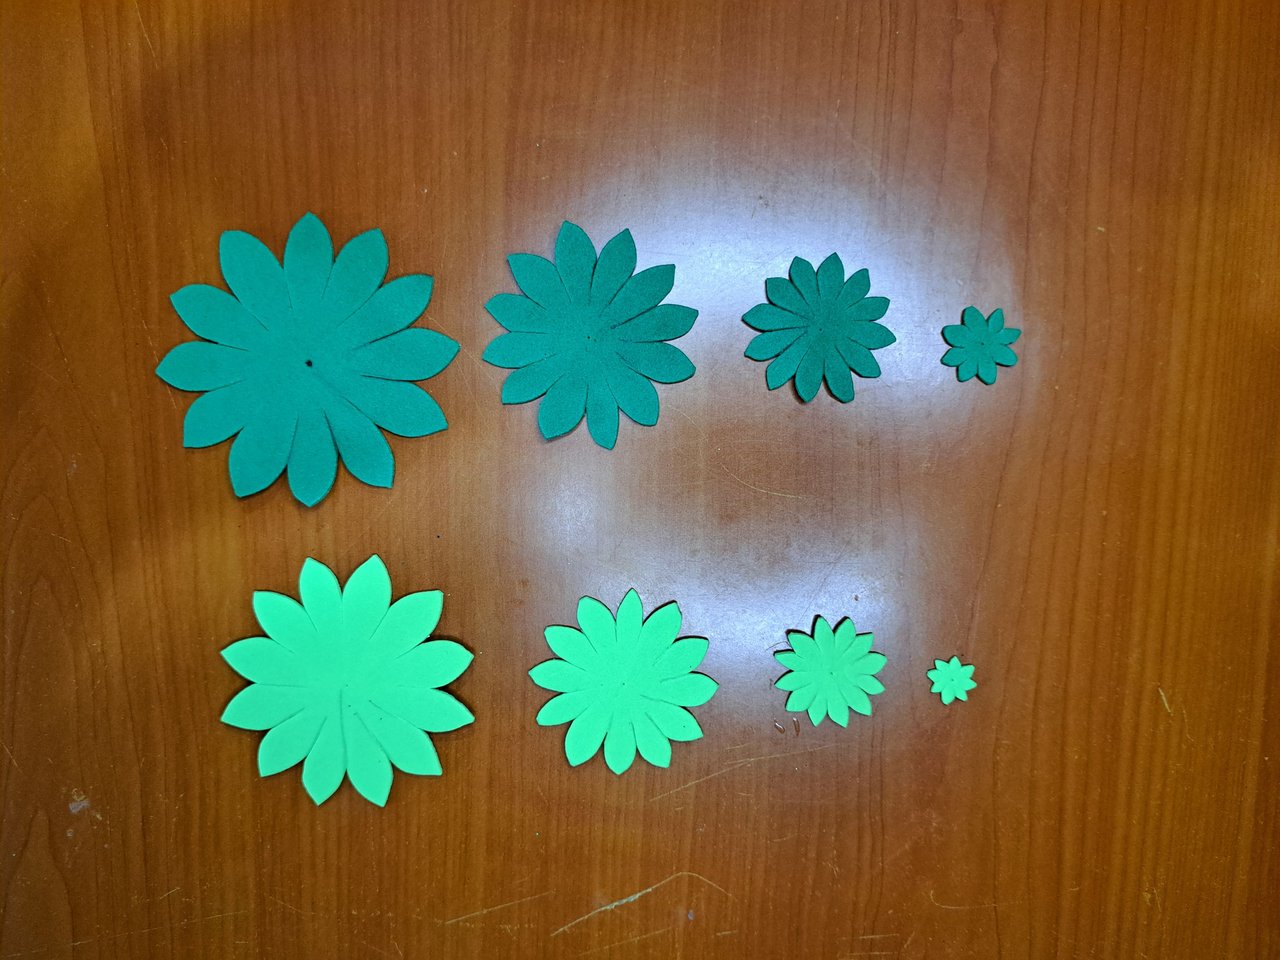
1️⃣ The first thing to do is to mark 8 circles in fomi using a compass. Each of these circles will be of different sizes, having a difference of 1 cm in diameter. If you have two-tone frosted green fomi, you can mark and cut out four circles on each of the fomi sheets; otherwise, you can use only one color for each of the circles. From the largest to the smallest, the circles will be 8, 7, 6 cm in diameter and so on up to 1 cm in diameter.
Lo primero será marcar 8 círculos en fomi utilizando un compás. Cada uno de estos círculos será de tamaños distintos, teniendo una diferencia de 1 cm de diámetro. En caso de contar con fomi verde escarchado de dos tonos, se pueden marcar y recortar cuatro círculos en cada una de las láminas de fomi; en caso contrario, se puede utilizar un solo color para cada uno de los círculos. Desde el más grande hasta el más pequeño, los círculos serán de 8, 7, 6 cm de diámetros y así sucesivamente hasta llegar a 1 cm de diámetro.
 |
 |
 |
 |
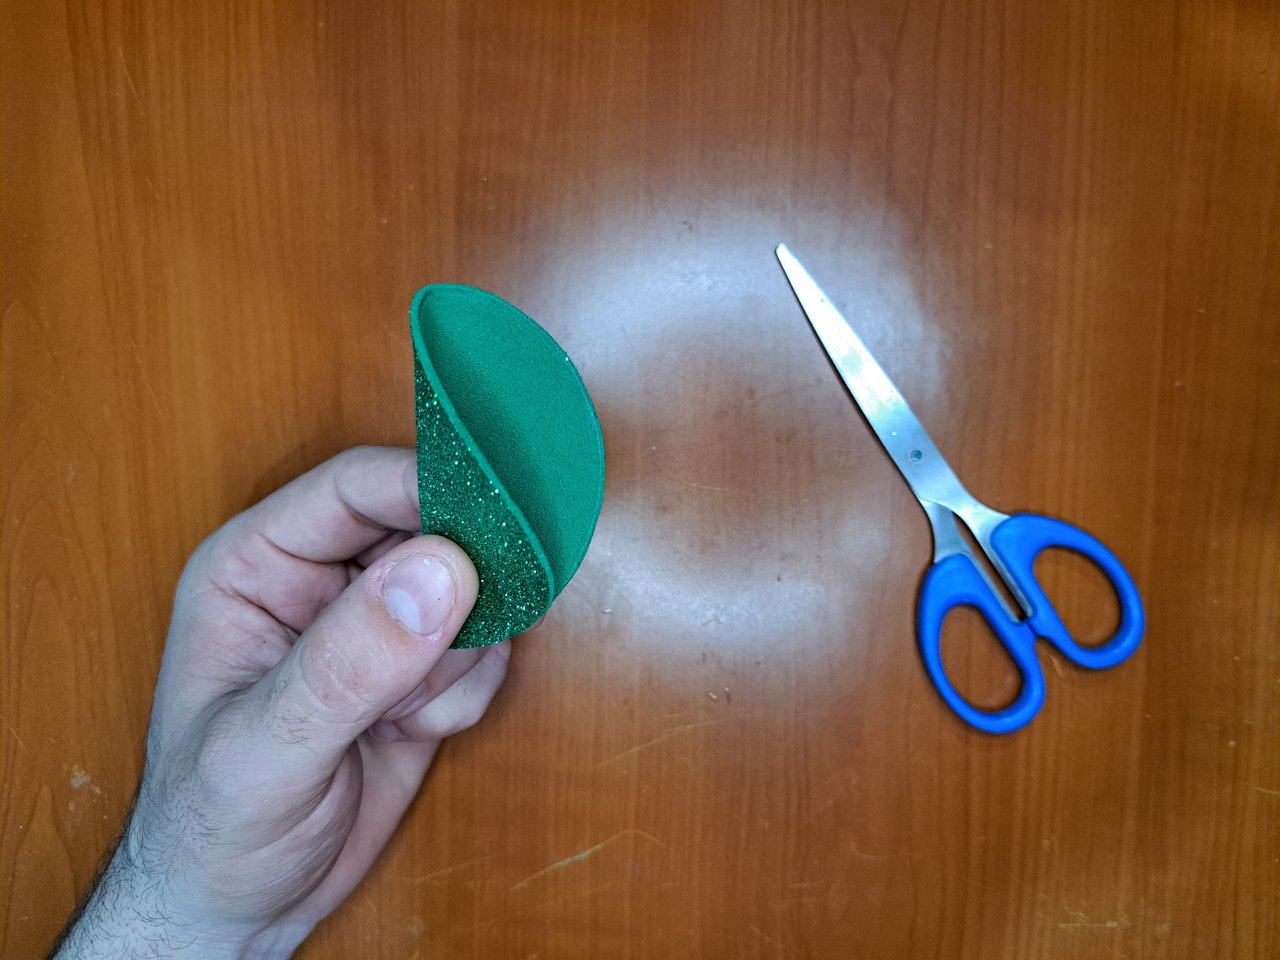
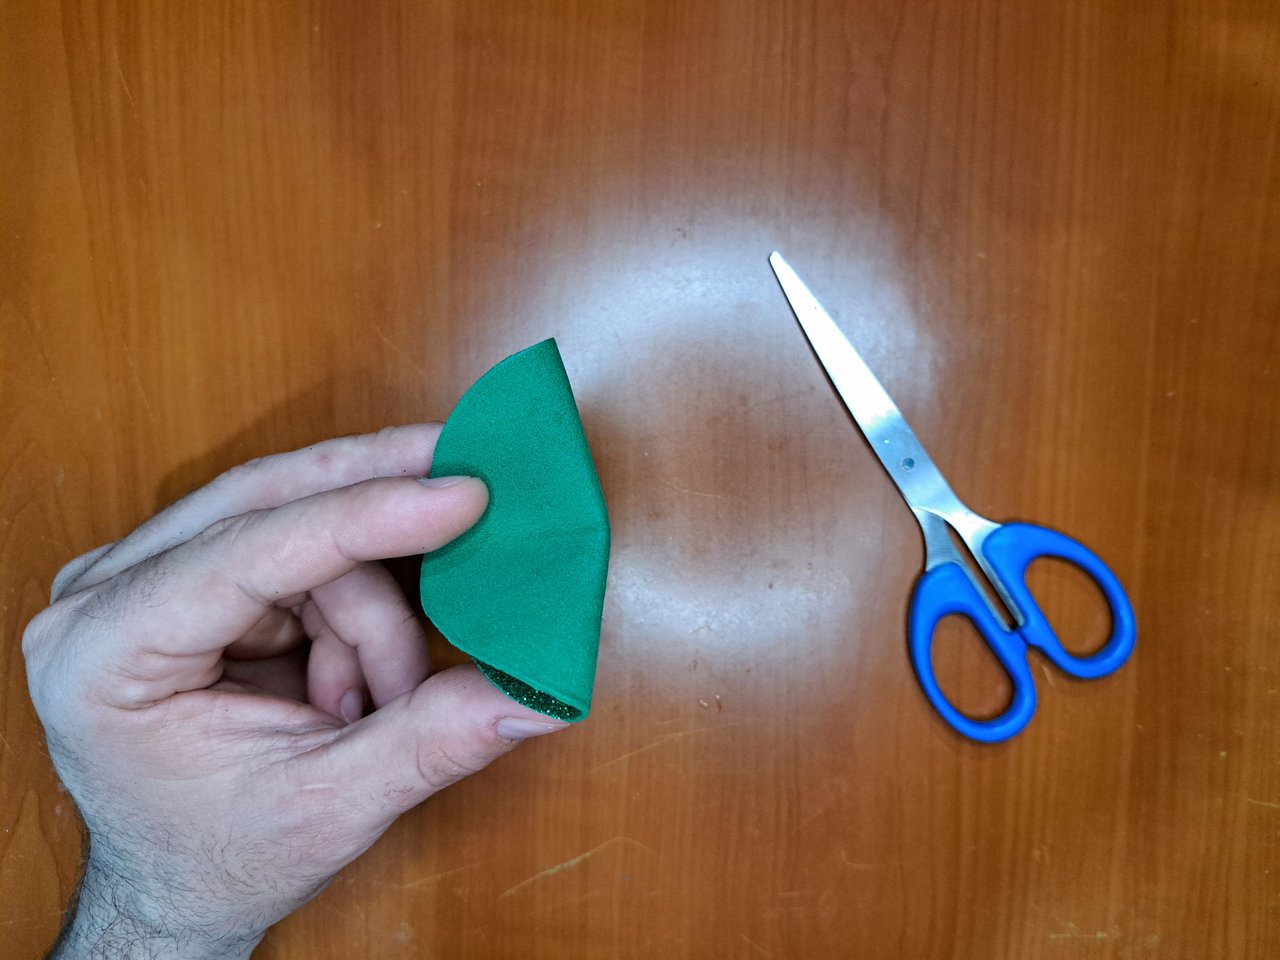
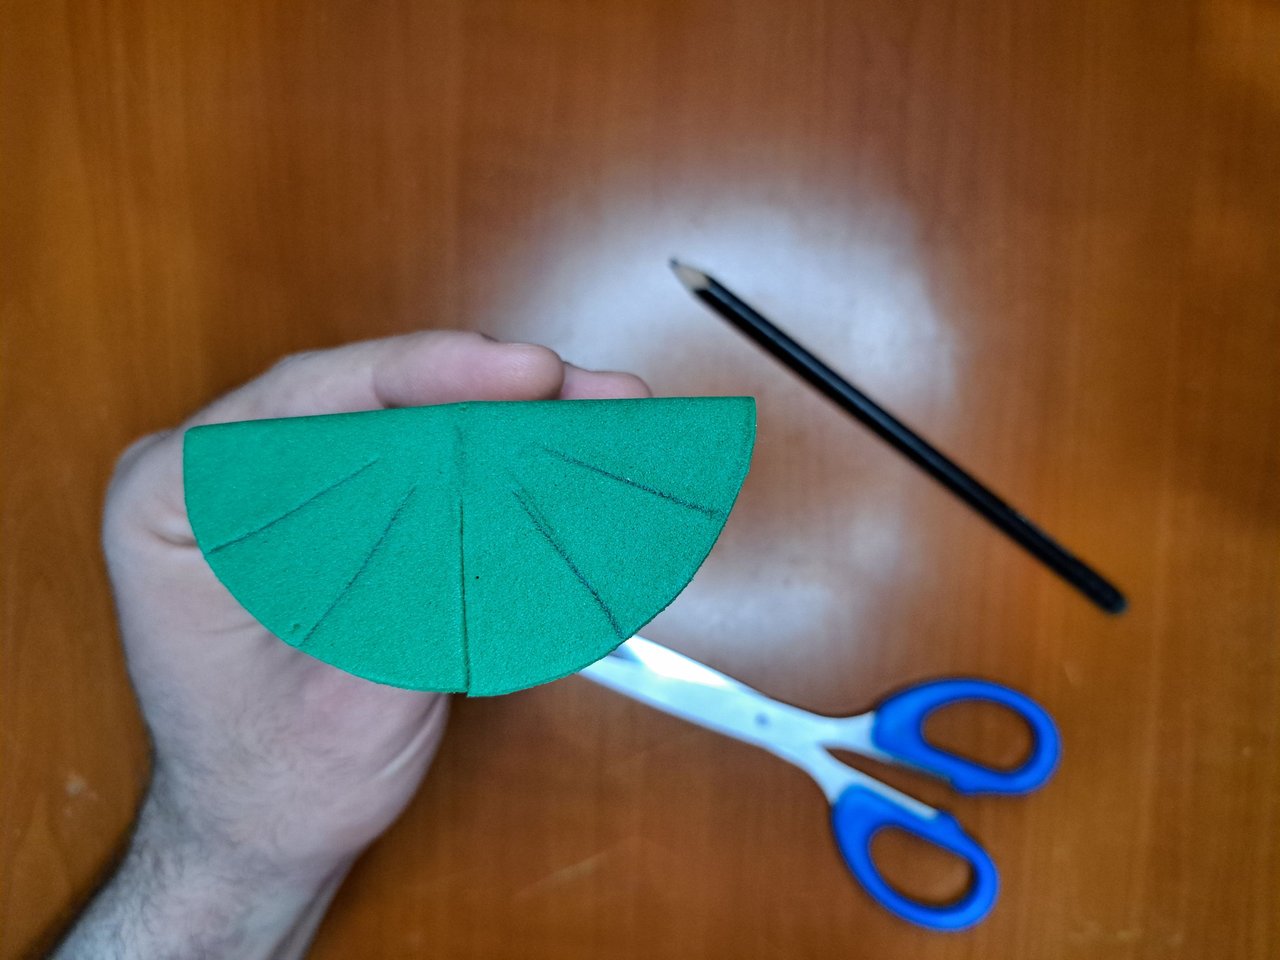
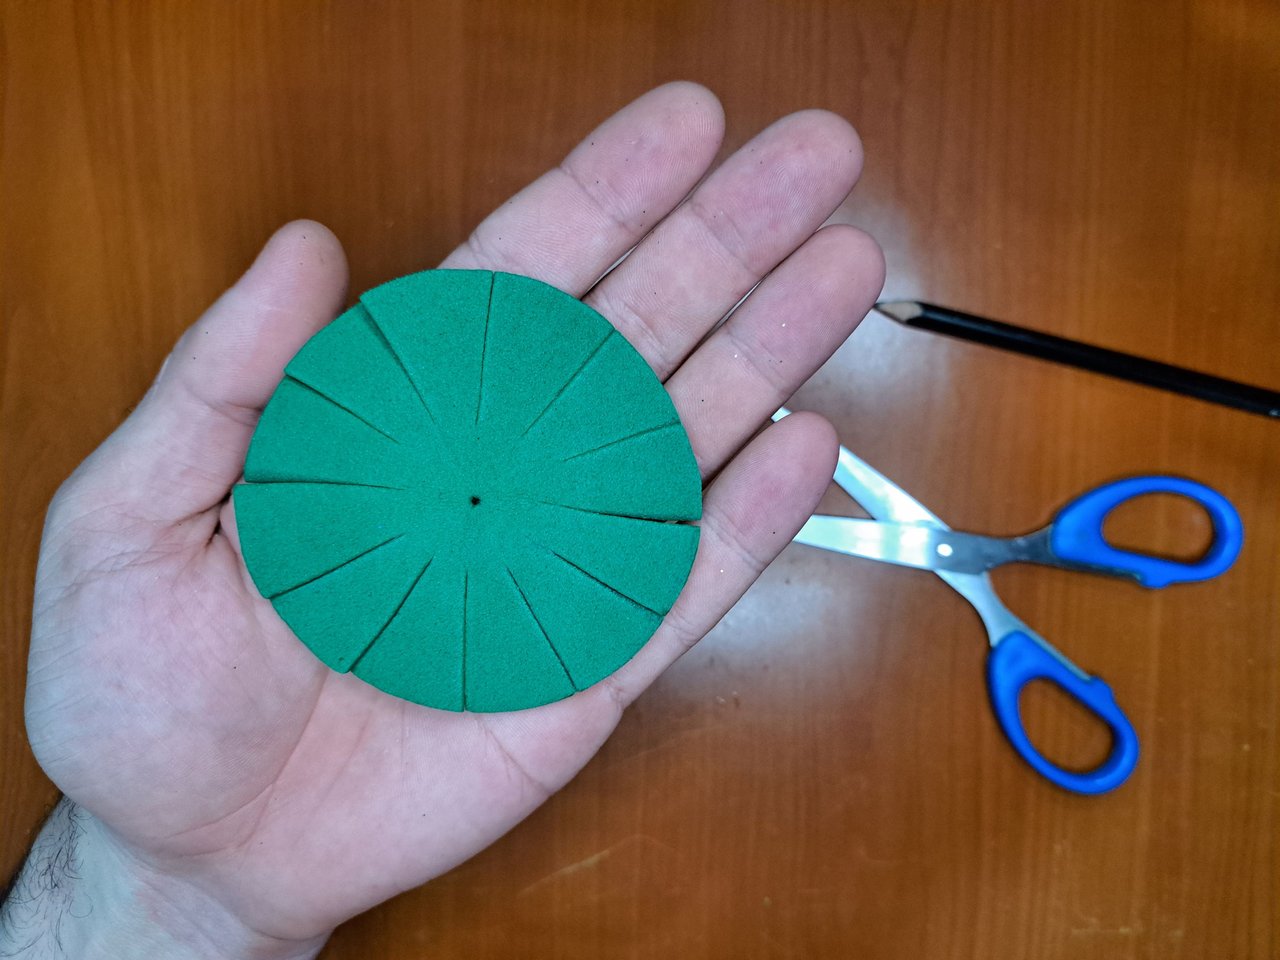
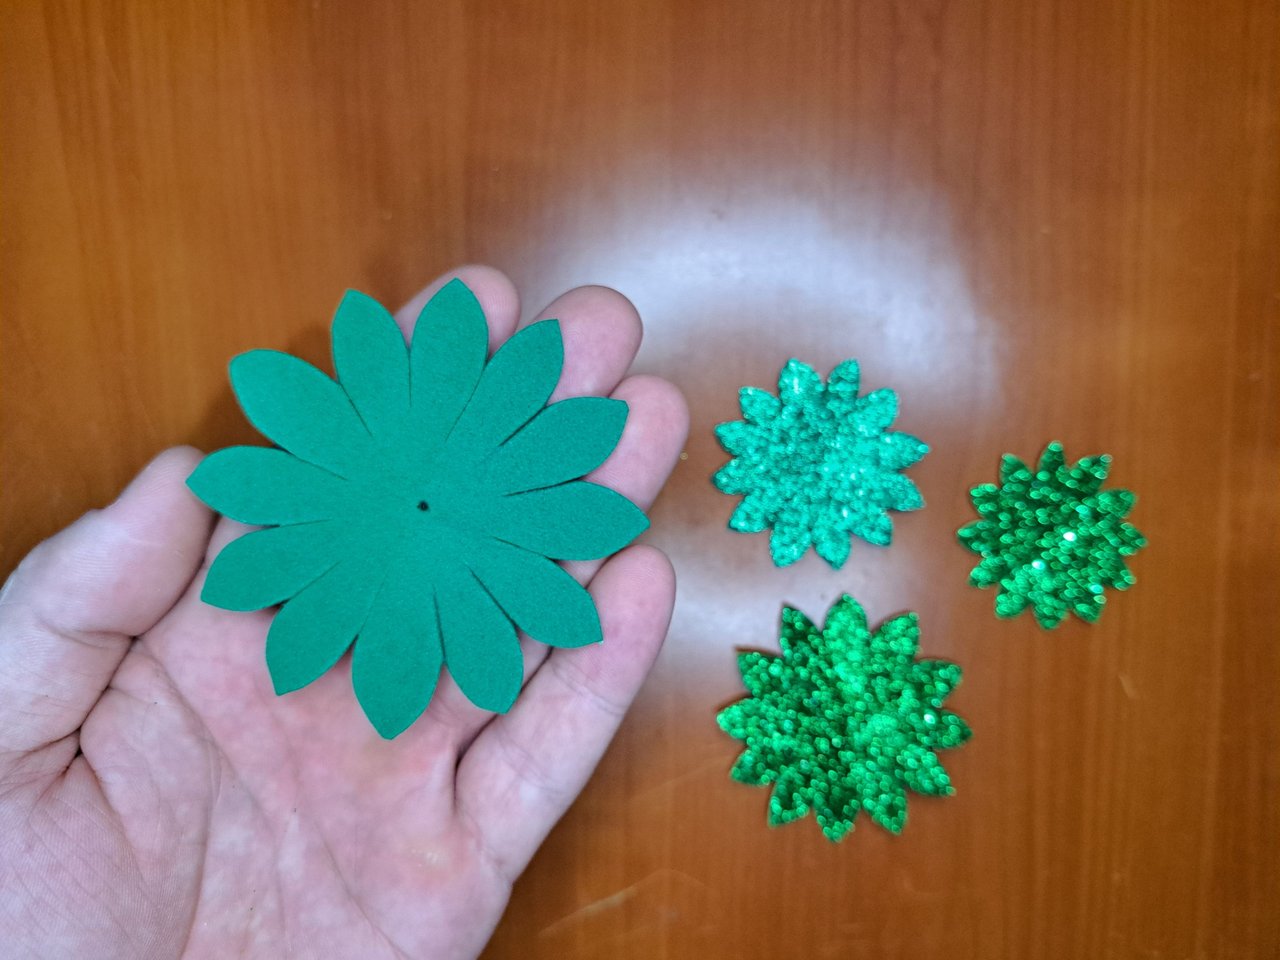
2️⃣ Each of the circles will be folded in four in order to have the area of each one divided into four parts. To make the work easier, you can draw the lines where you will make 7 cuts on each side of the circle. After making the cuts, a precision scissors will be used to give the following shape to the edge of each of the circles.
A cada uno de los círculos se les doblará en cuatro para así tener el área de cada uno dividida en cuatro partes. Para facilitar más el trabajo, se pueden dibujar las líneas por donde se le harán 7 cortes a cada lado del círculo. Luego de hacer los cortes, se utilizará una tijera de precisión para darle la siguiente forma al borde de cada uno de los círculos.
 |
 |
 |
 |
 |
 |
 |
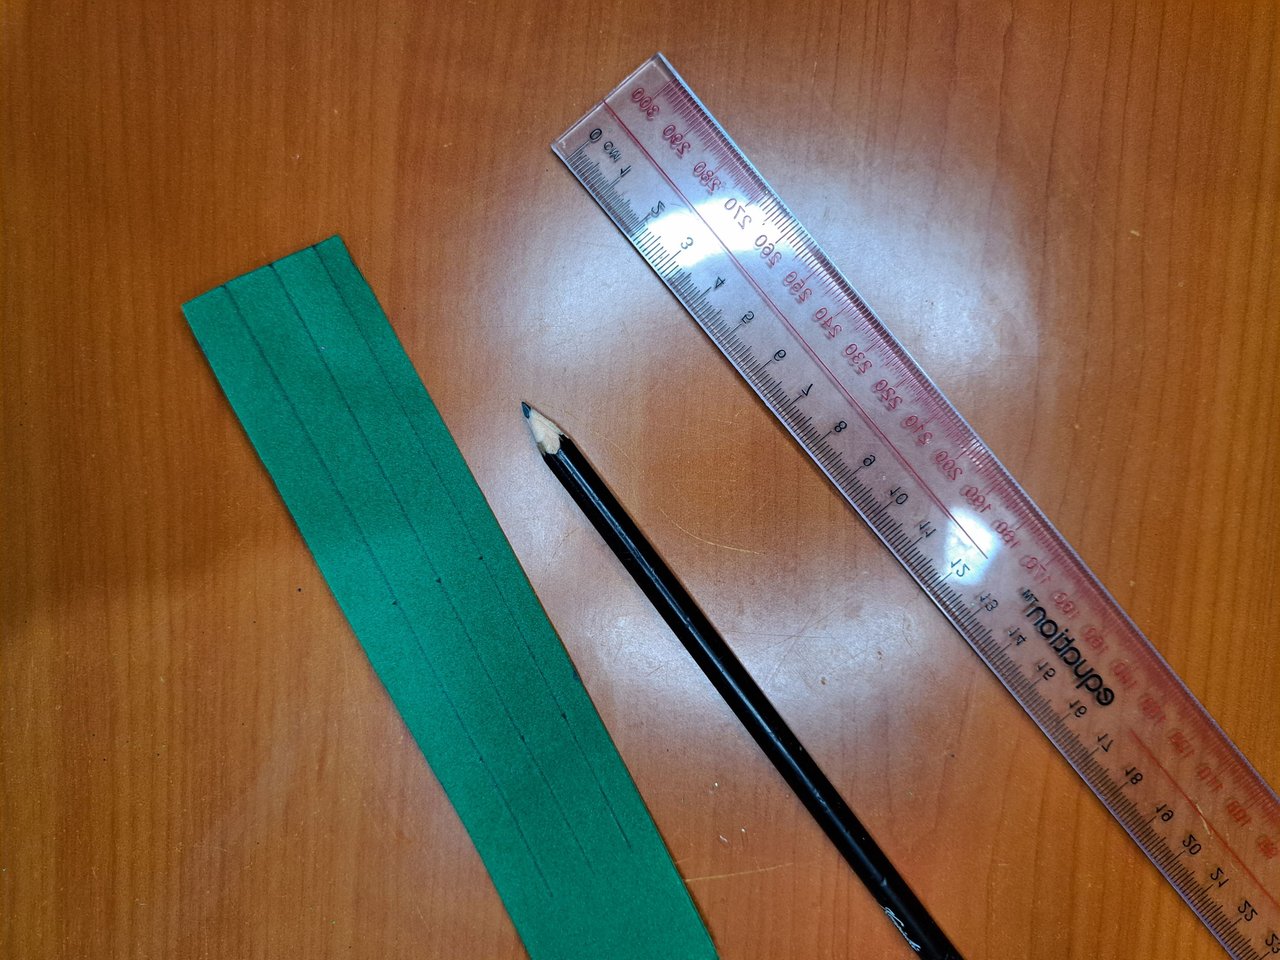
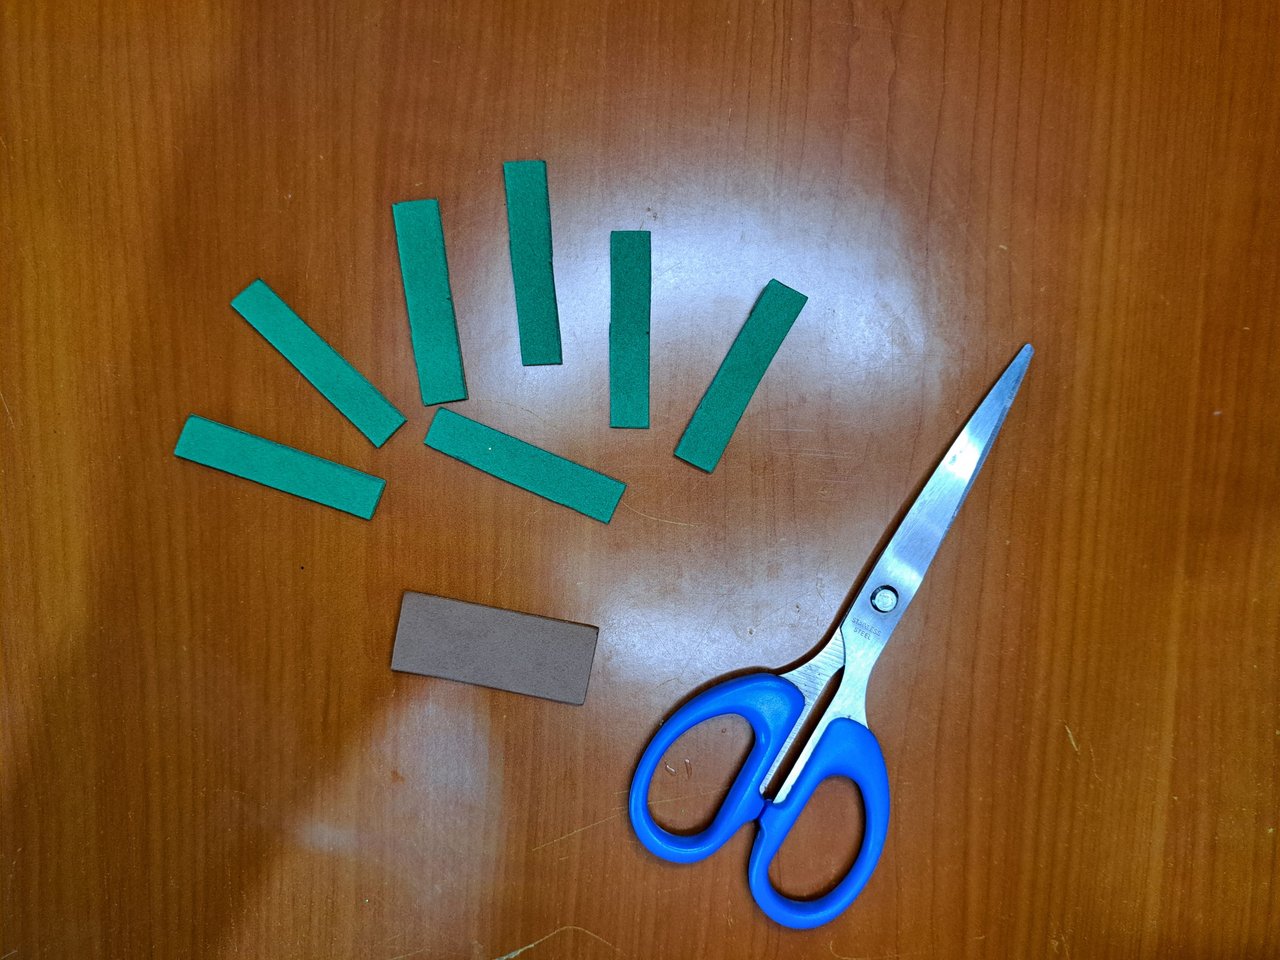
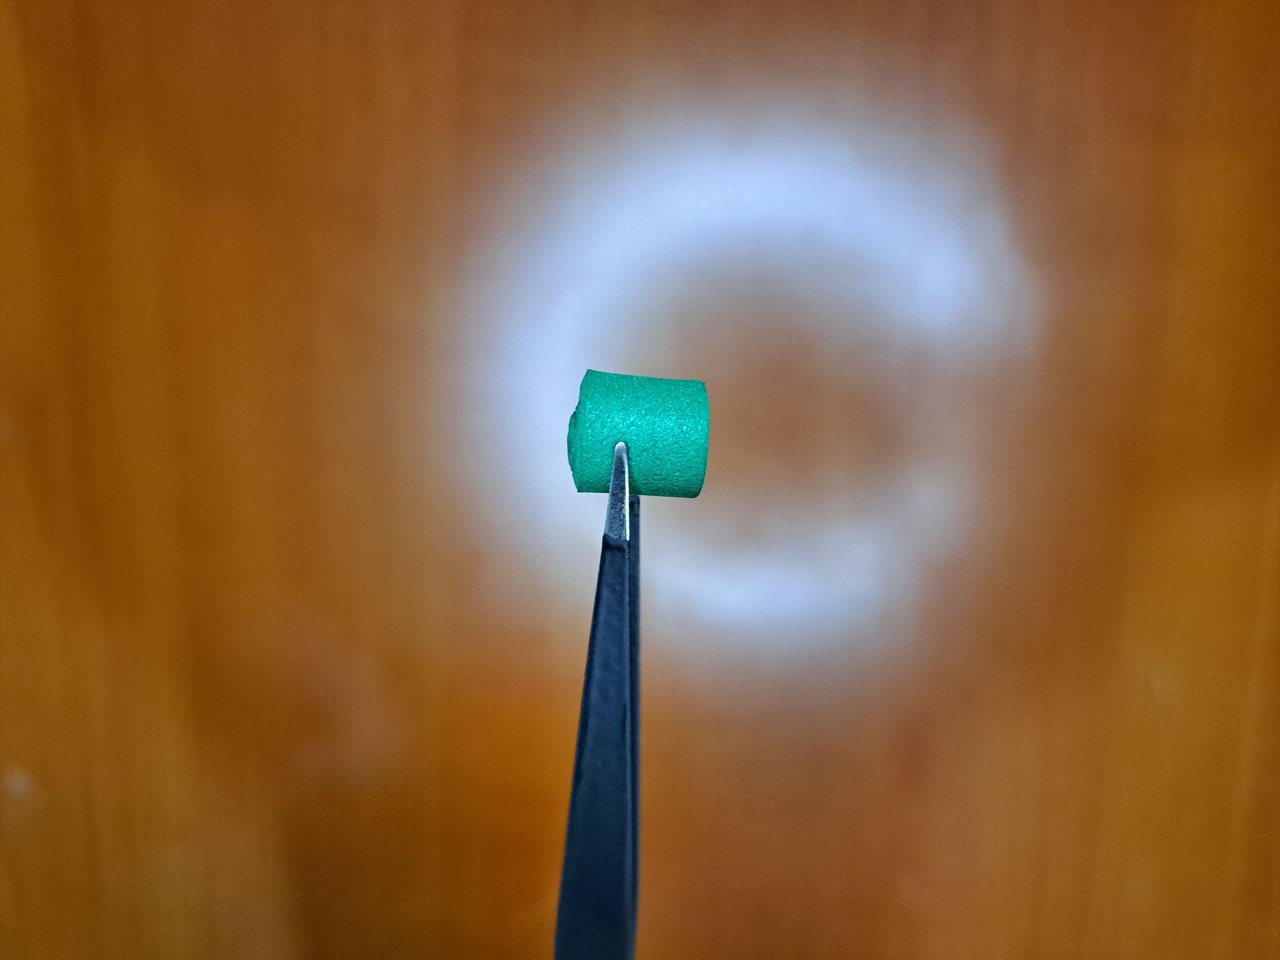
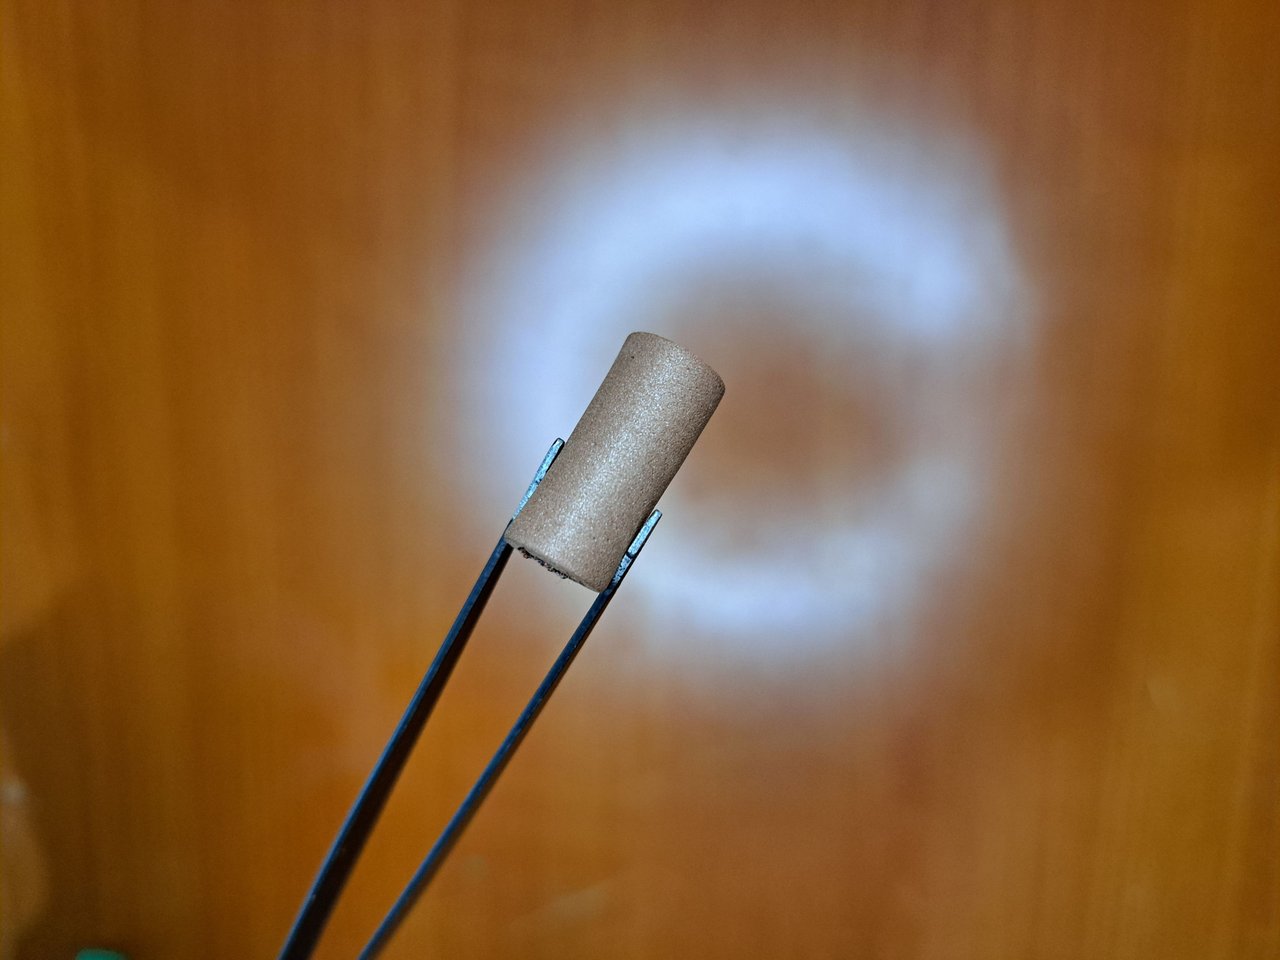
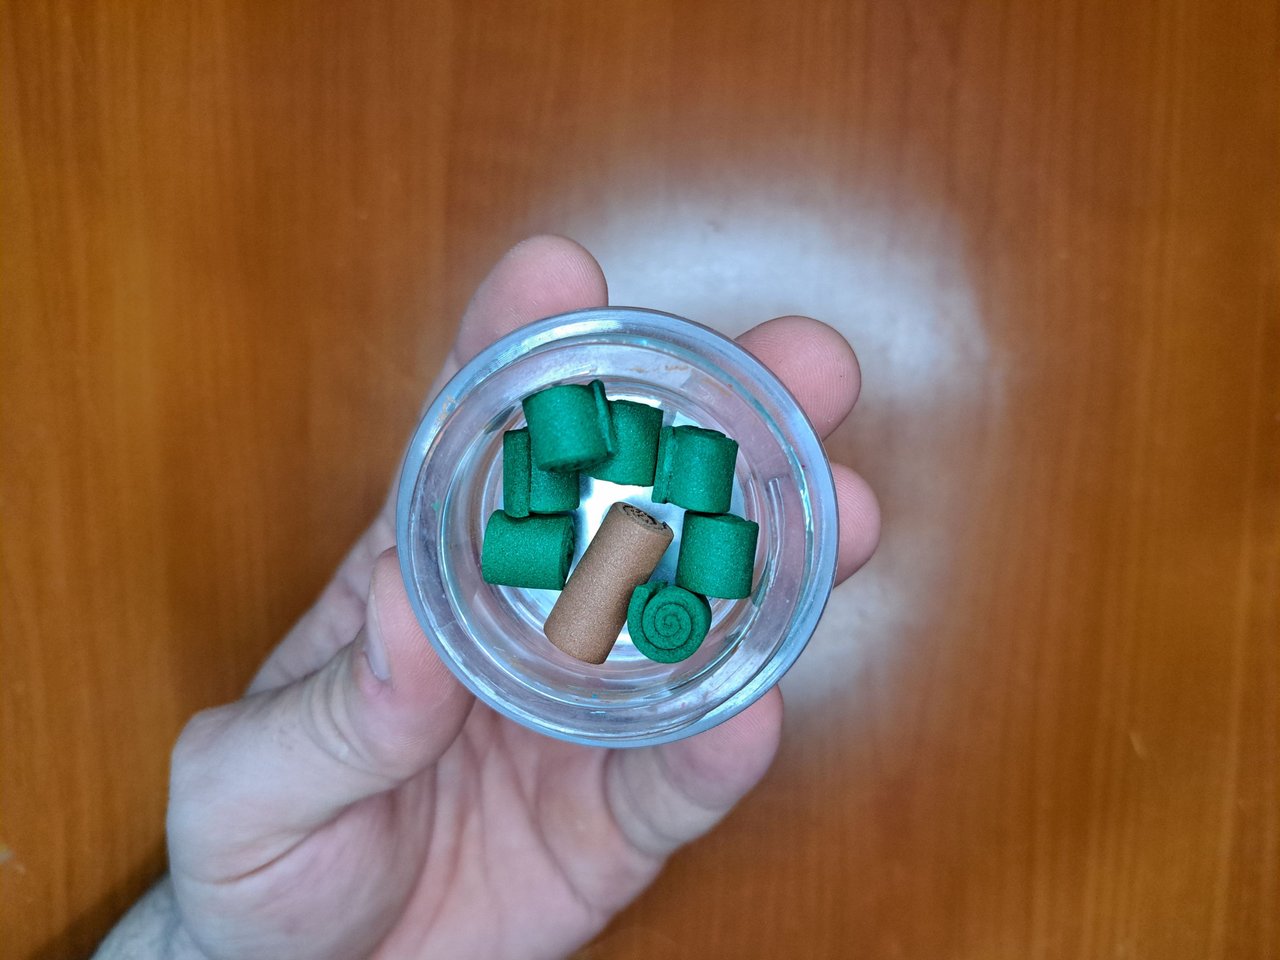
3️⃣ On a plain green fomi sheet, mark and cut out 7 pieces of 5 cm x 1 cm. In the same way, the same will be done on a brown fomi sheet, but this one will be 5 cm x 2 cm. Each of these pieces will be wrapped and glued lengthwise to create the lower and intermediate stems.
En una lámina de fomi verde liso se marcarán y recortarán 7 piezas de 5 cm x 1 cm. De igual manera, se hará lo mismo en una lámina de fomi castaño, pero esta será de 5 cm x 2 cm. Cada una de estas piezas se envolverán y pegarán a lo largo para crear los tallos inferior e intermedios.
 |
 |
 |
 |
 |
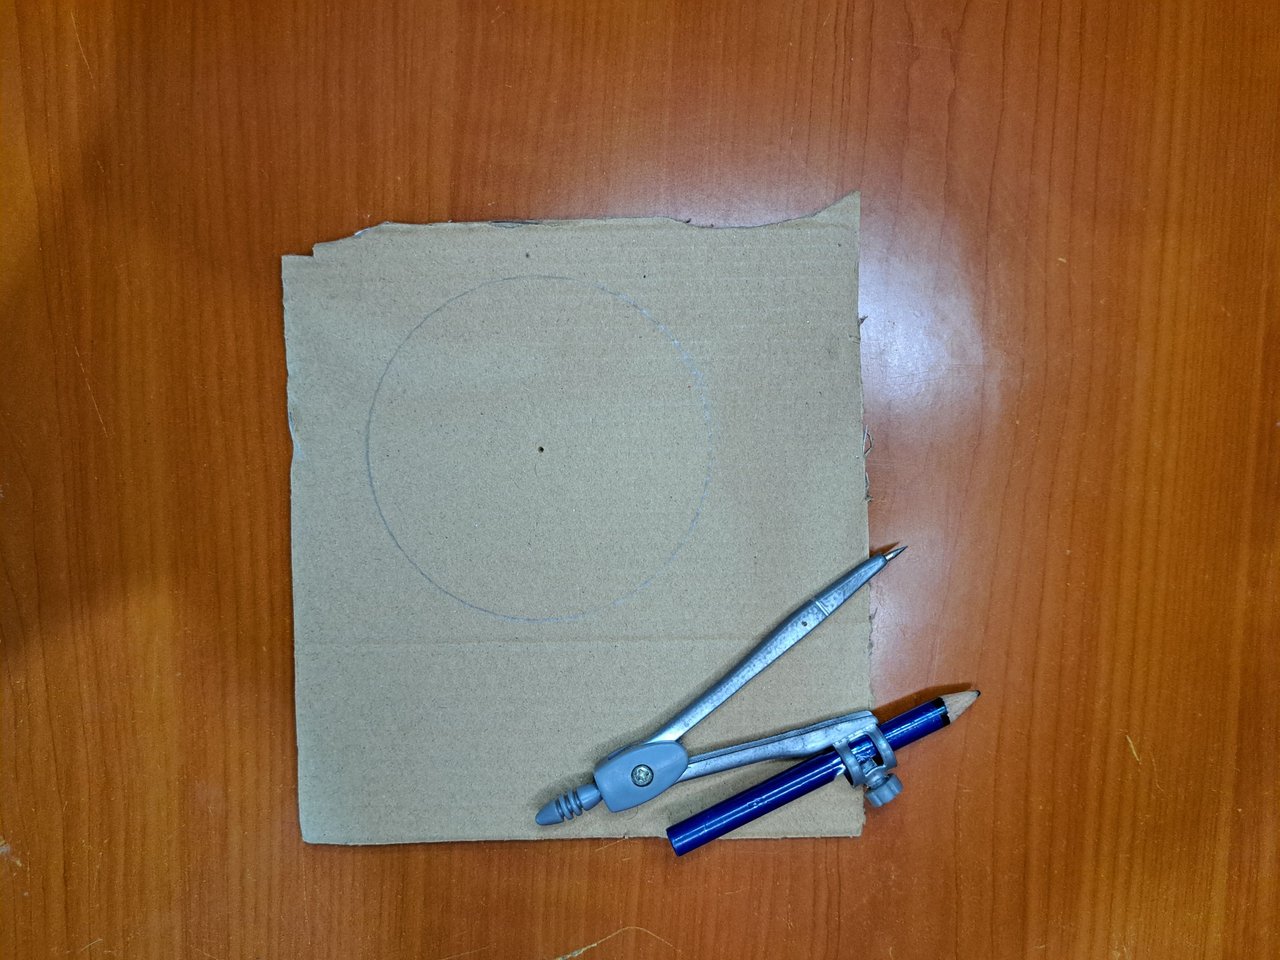
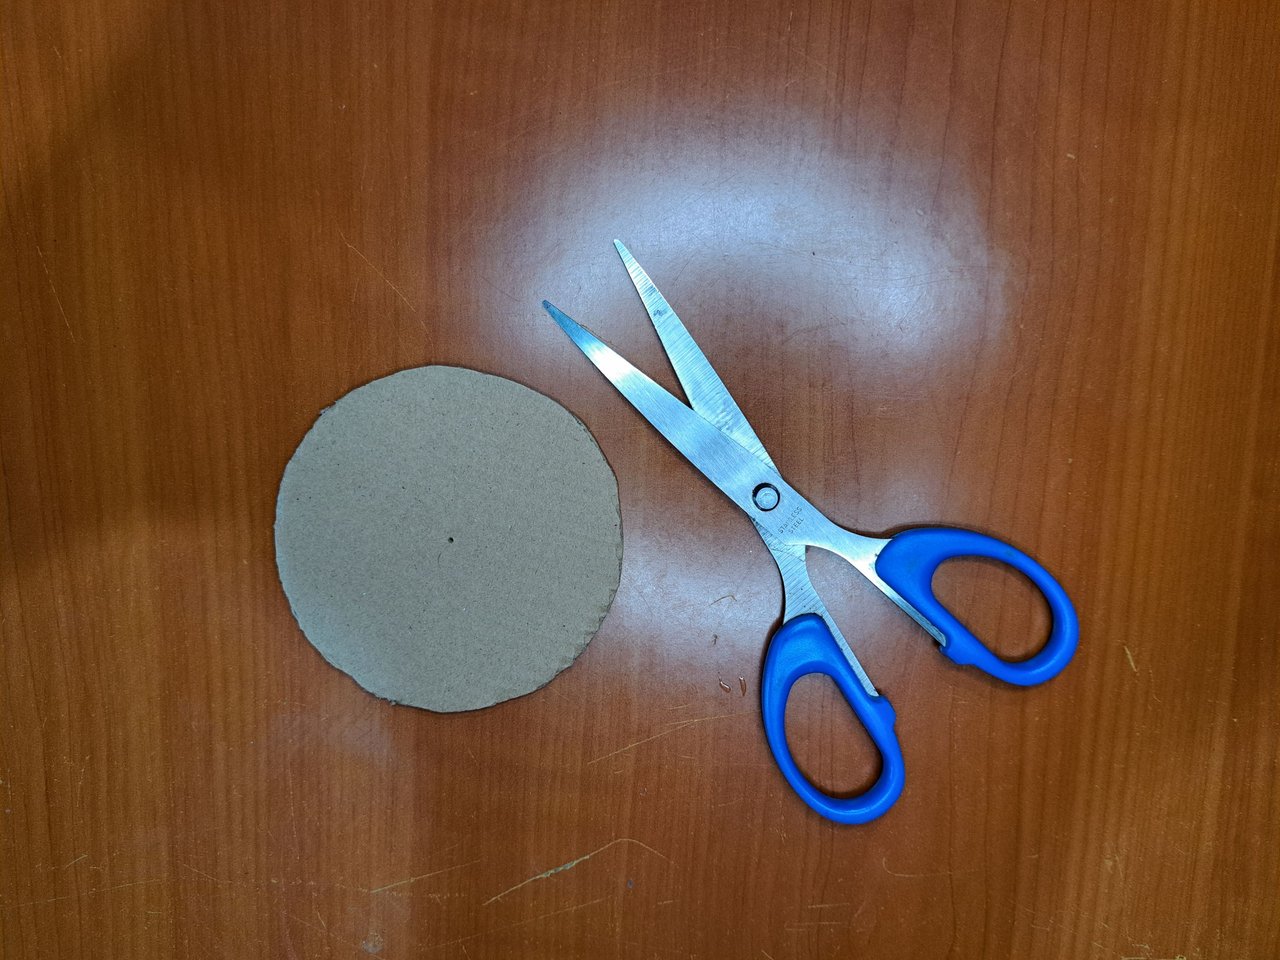
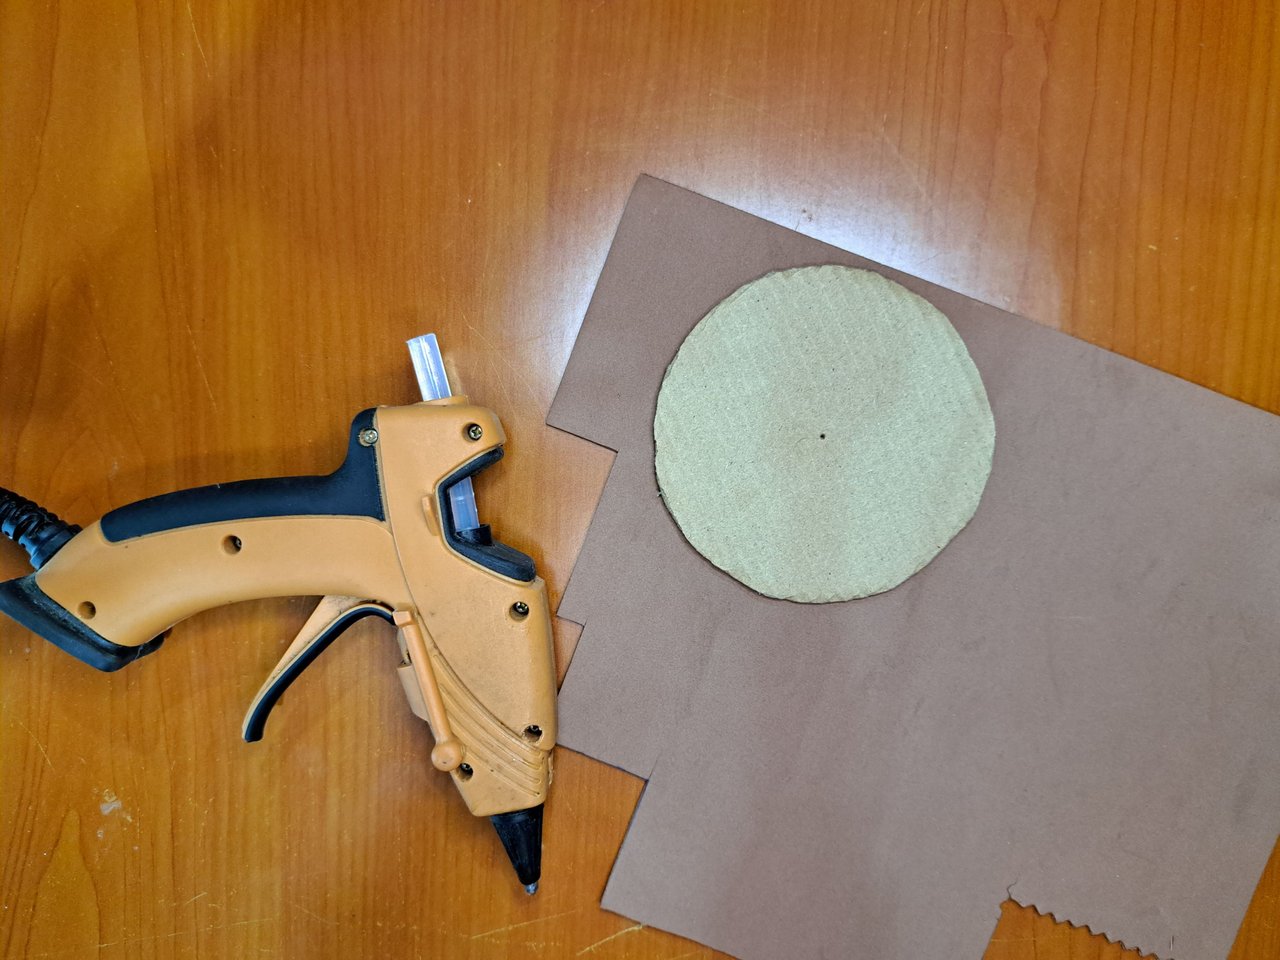
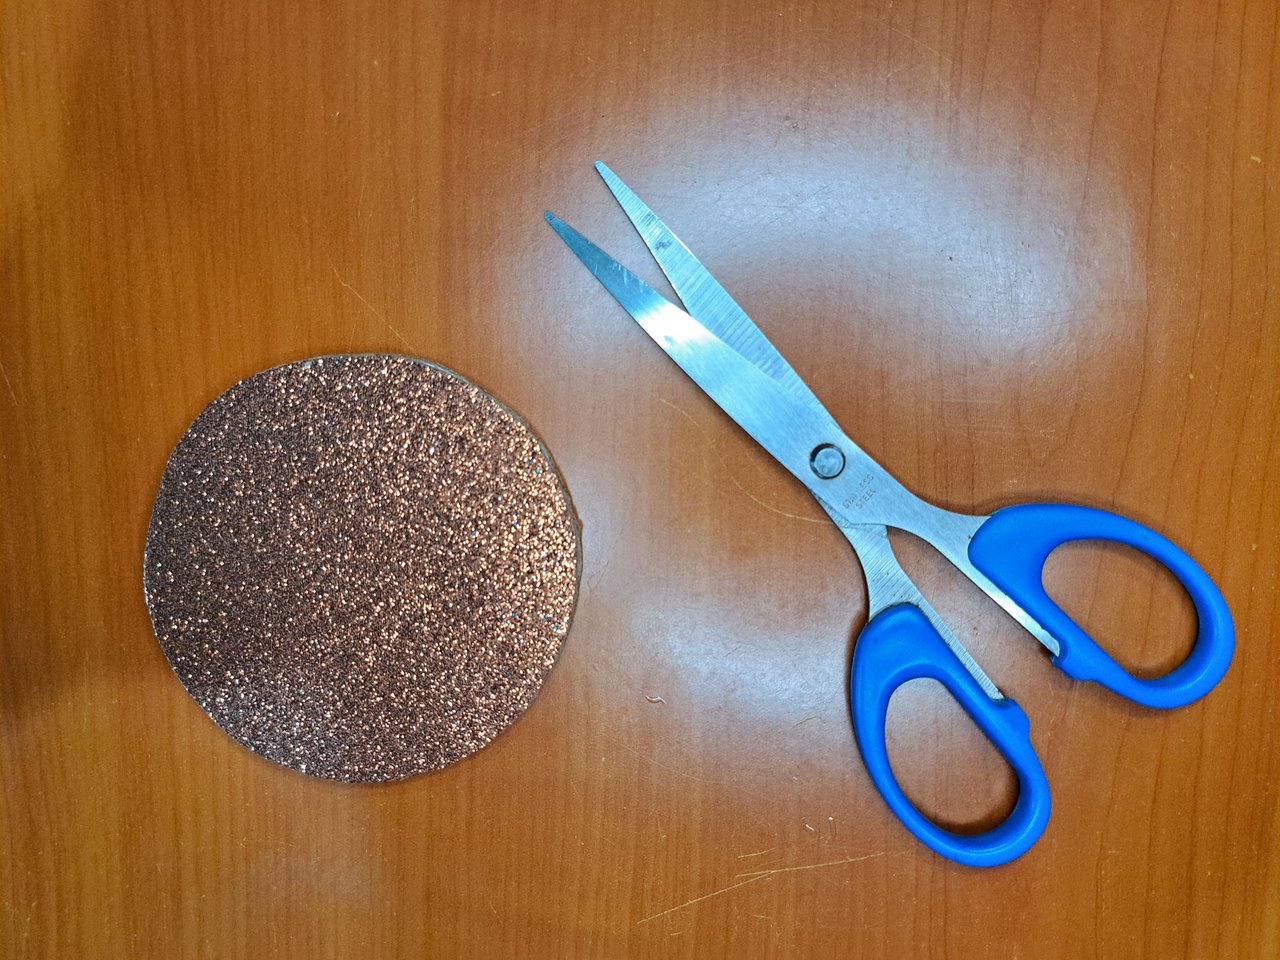
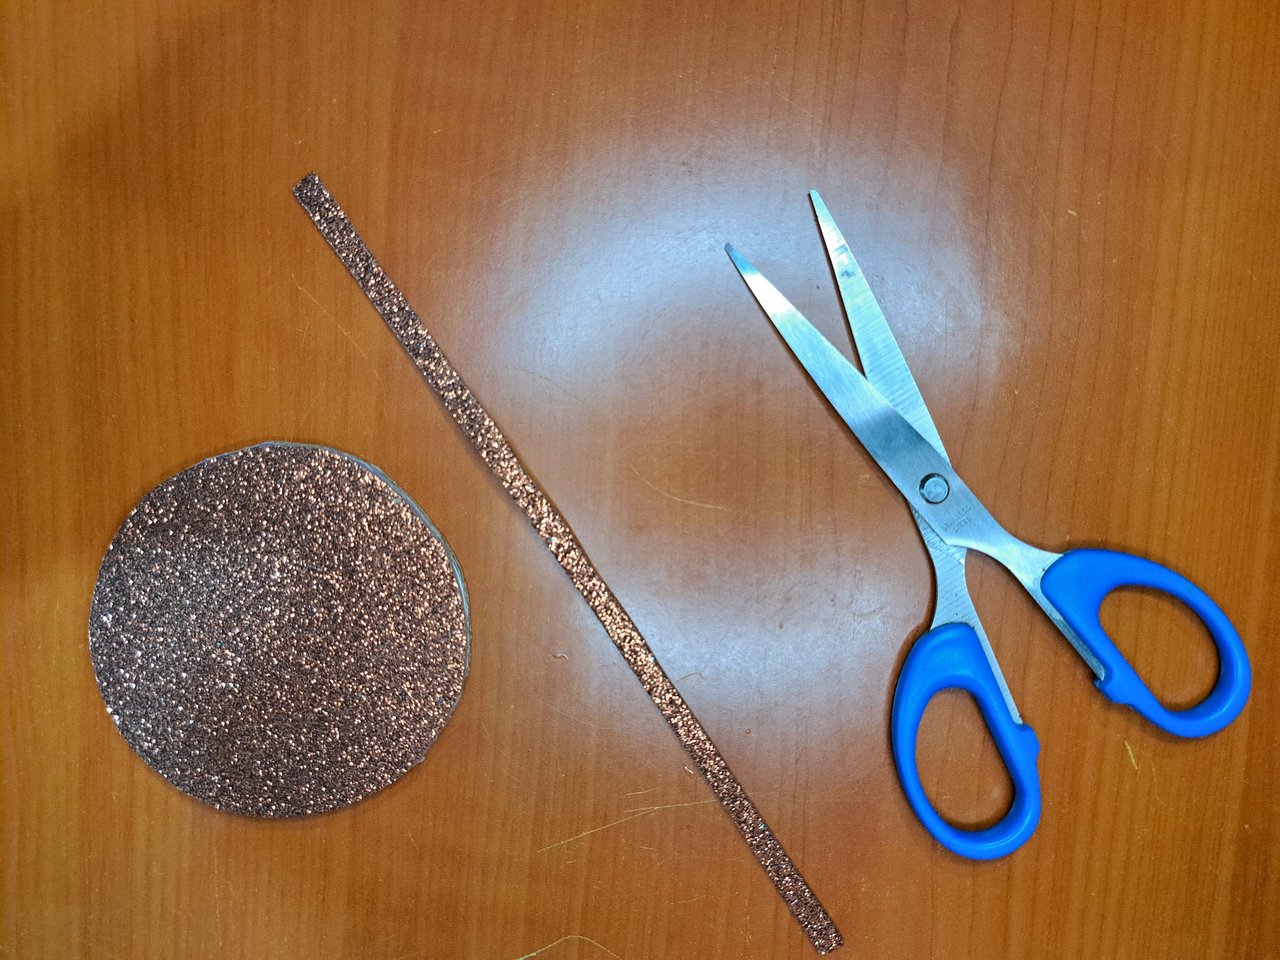
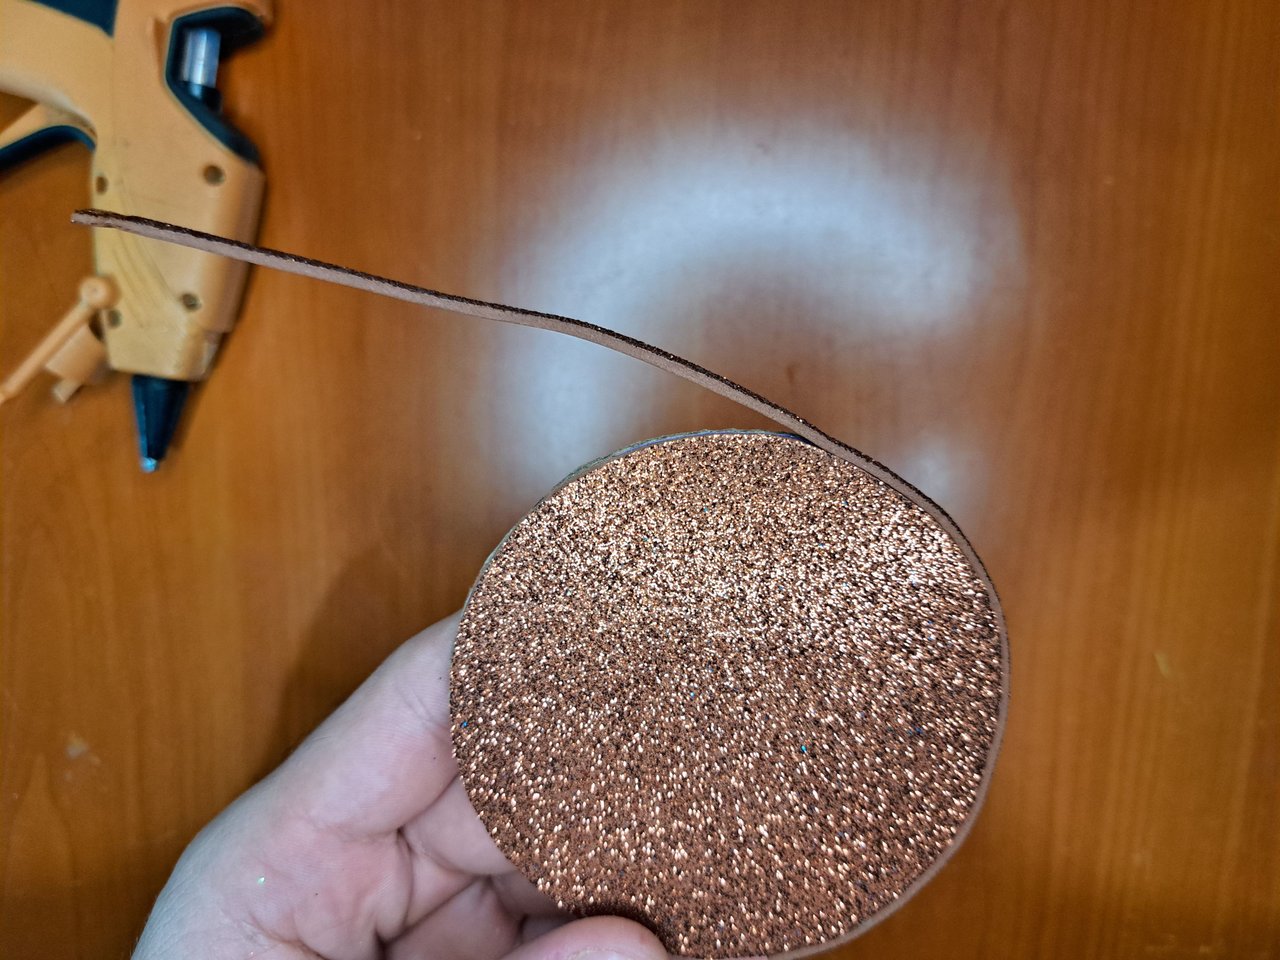
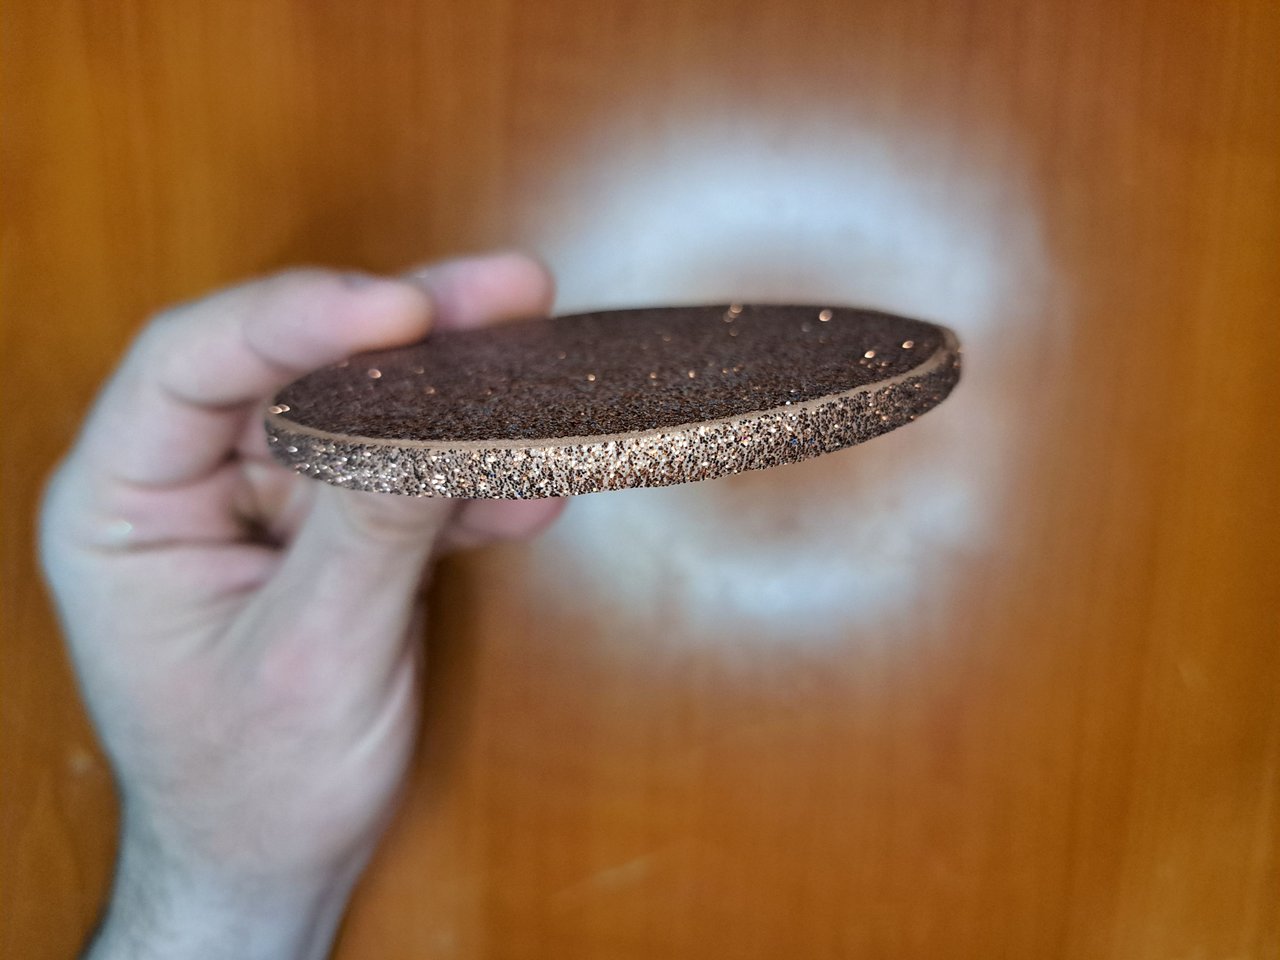
4️⃣ A 9 cm diameter circumference is marked on the cardboard piece using a compass. The circumference will be glued in frosted carmelite fomi and the excess will be trimmed. Finally, cut out a thin strip of frosted carmelite fomi, which will be glued around the base to cover the edges of the cardboard.
En la pieza de cartón se marcará una circunferencia de 9 cm de diámetro utilizando el compás. La circunferencia se pegará en fomi carmelita escarchado para luego recortar el excedente. Por último, se recortará una tira fina de fomi carmelita escarchado, la cual se pegará alrededor de la base para cubrir los bordes del cartón.
 |
 |
 |
 |
 |
 |
 |
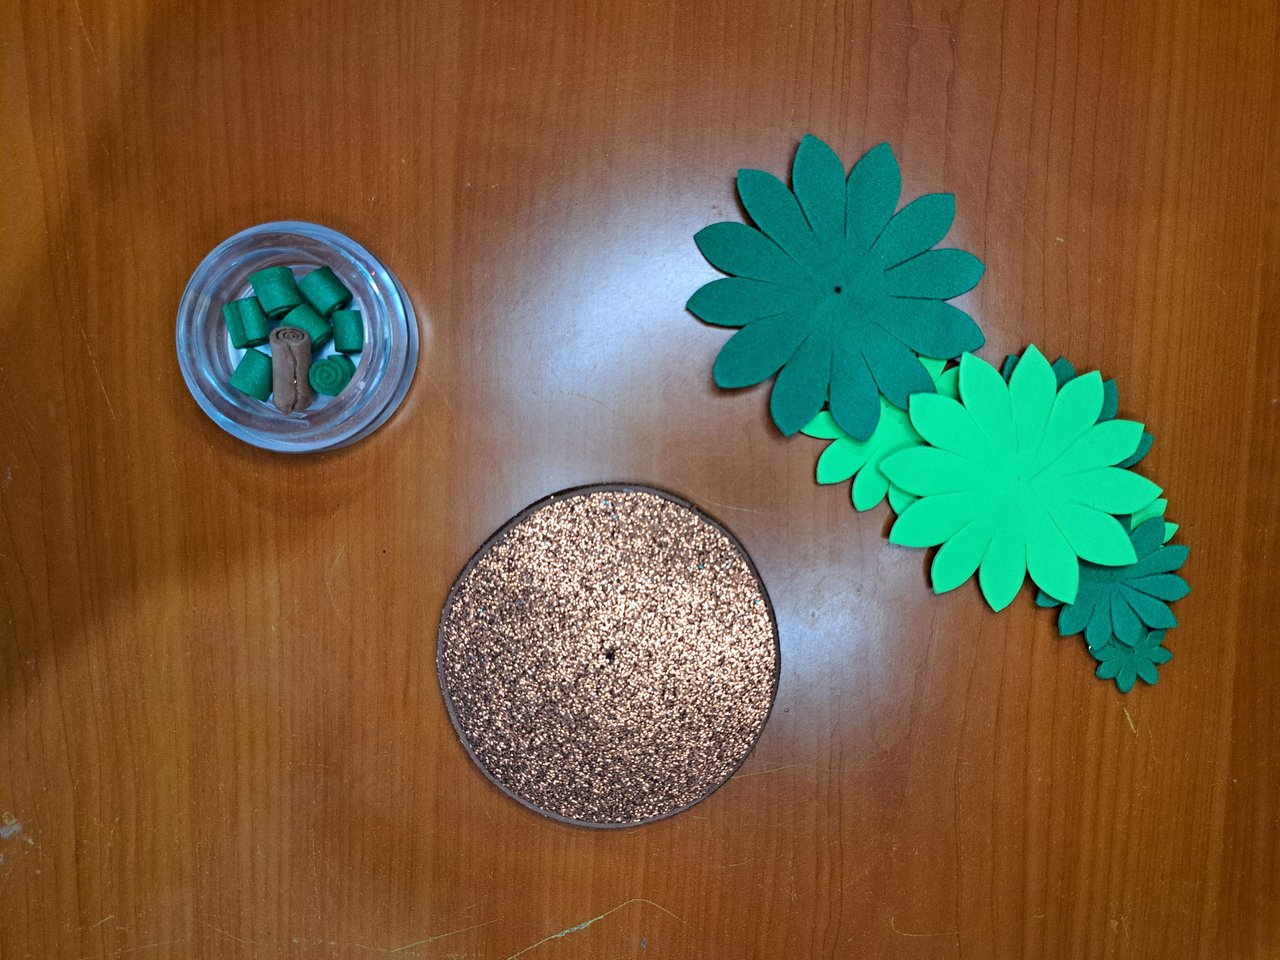
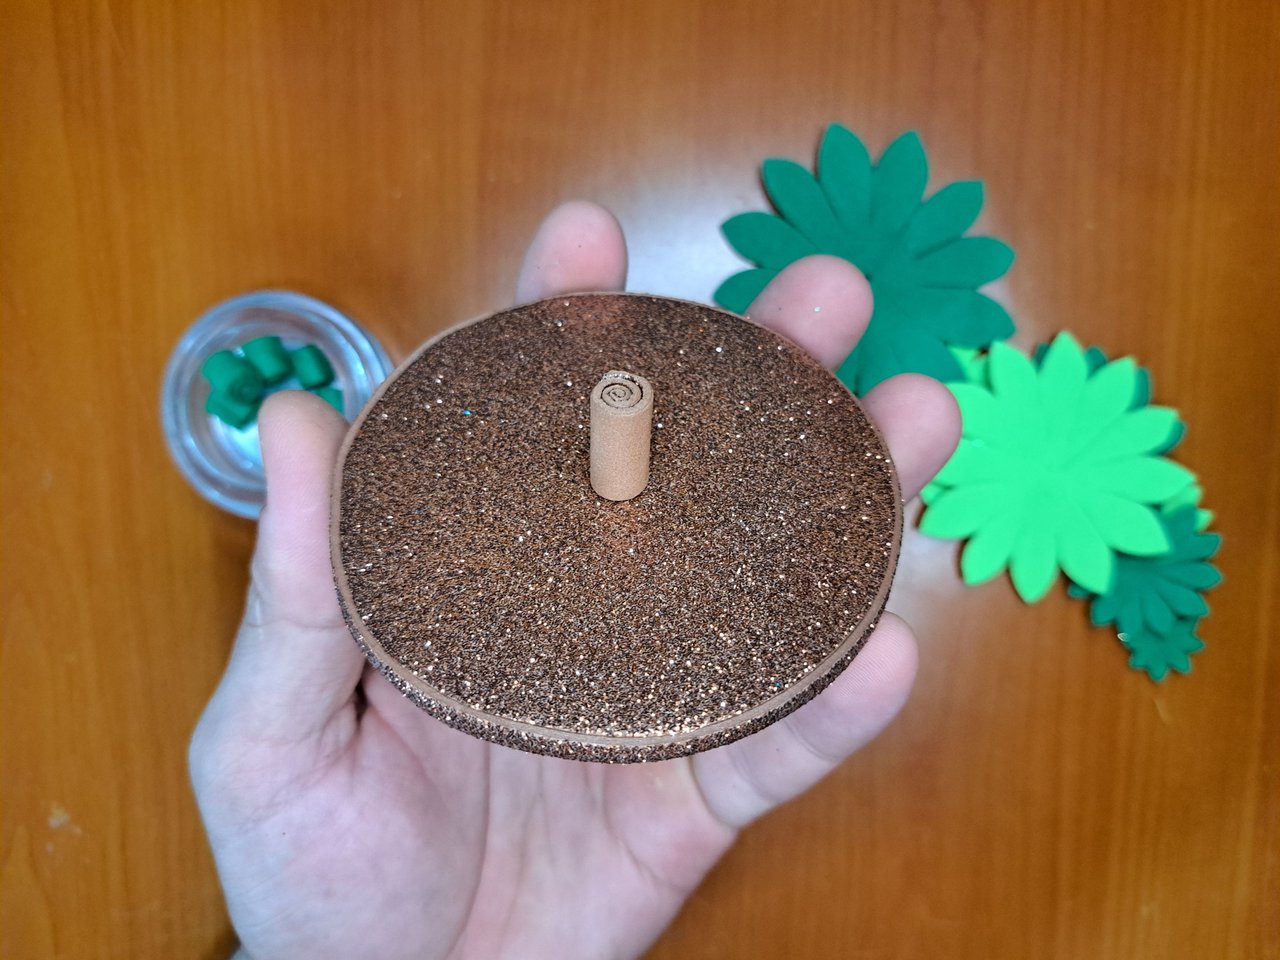
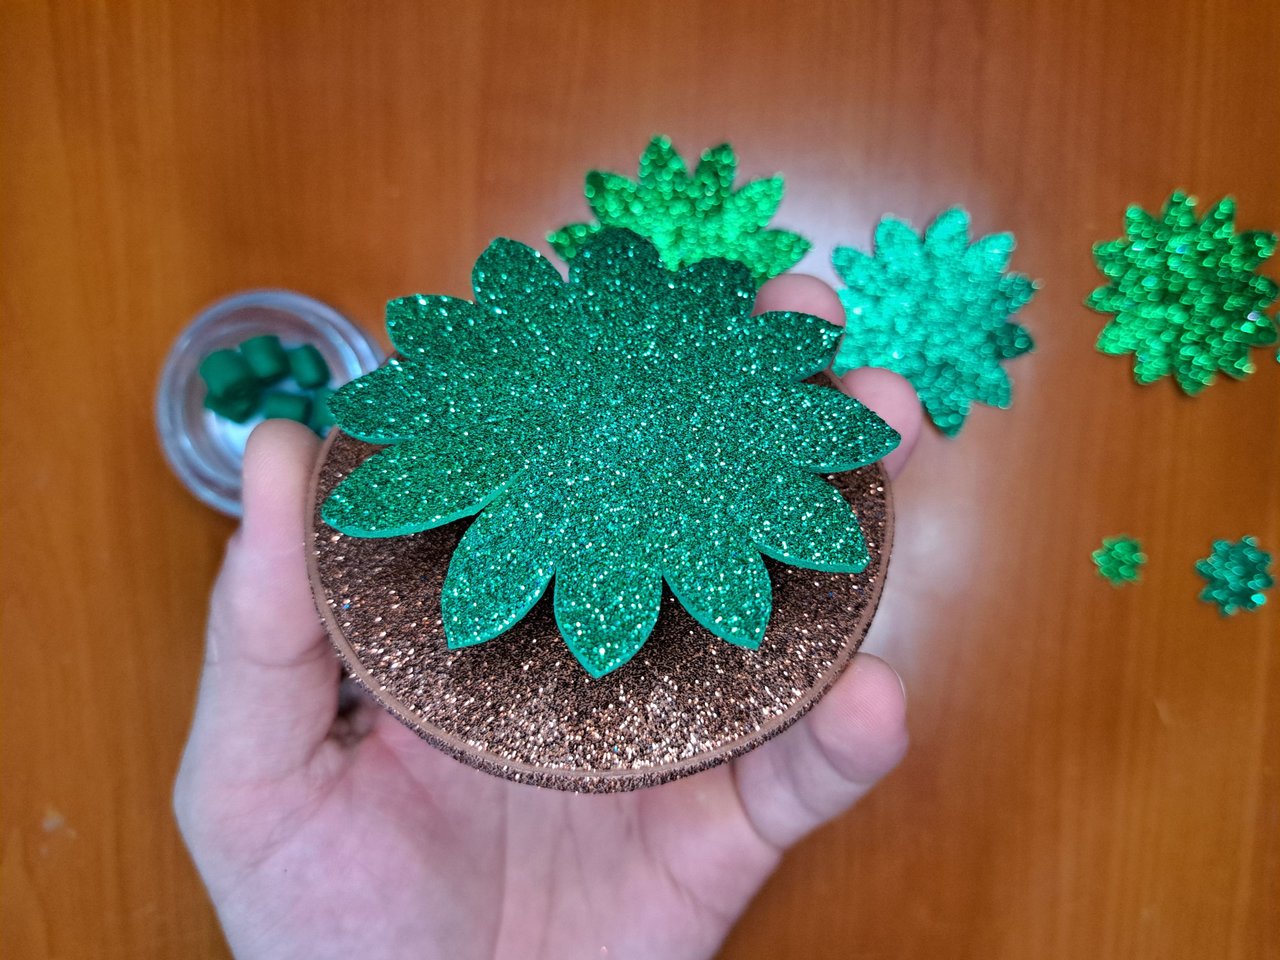
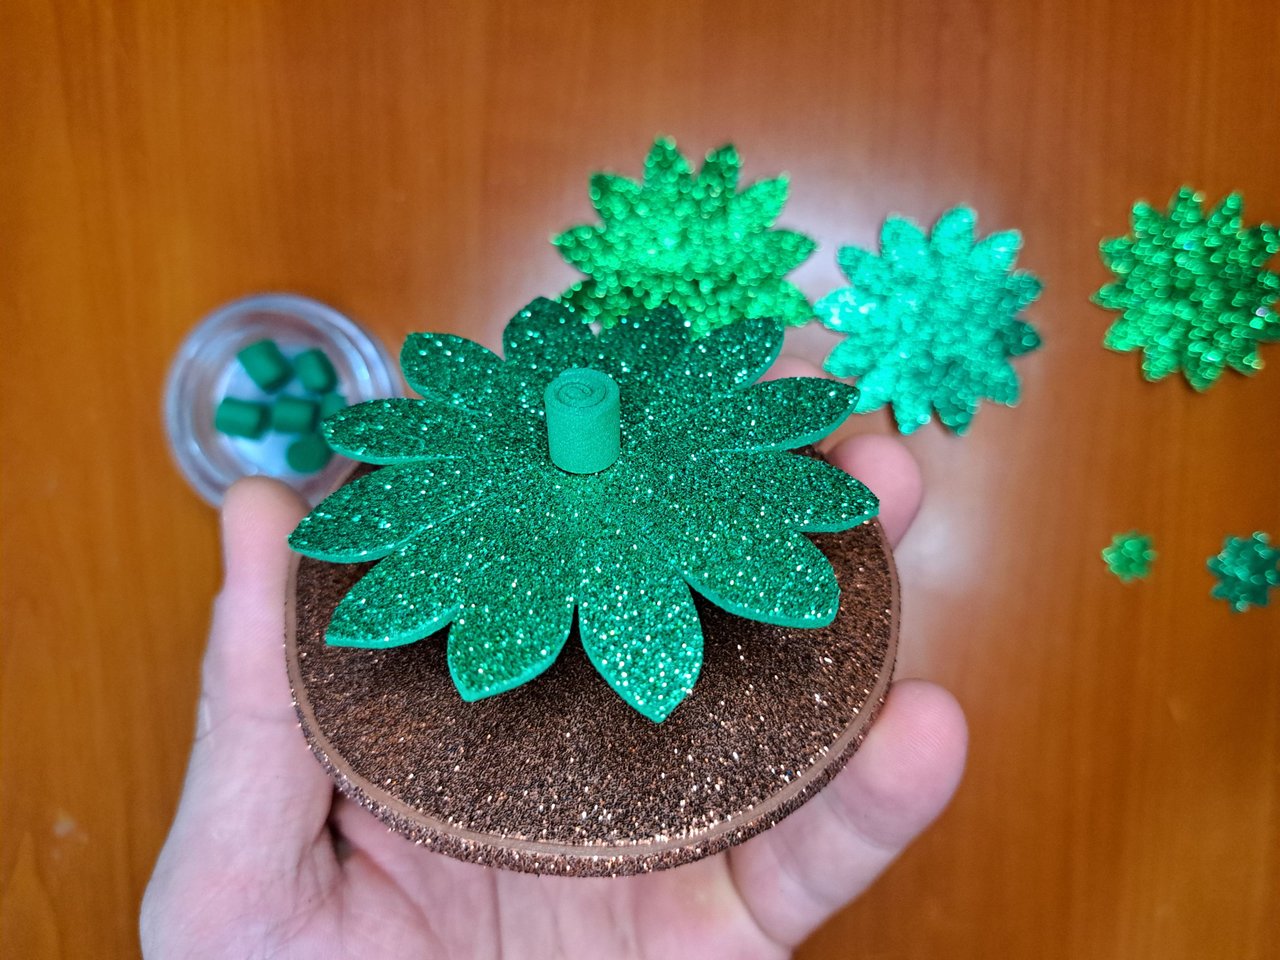
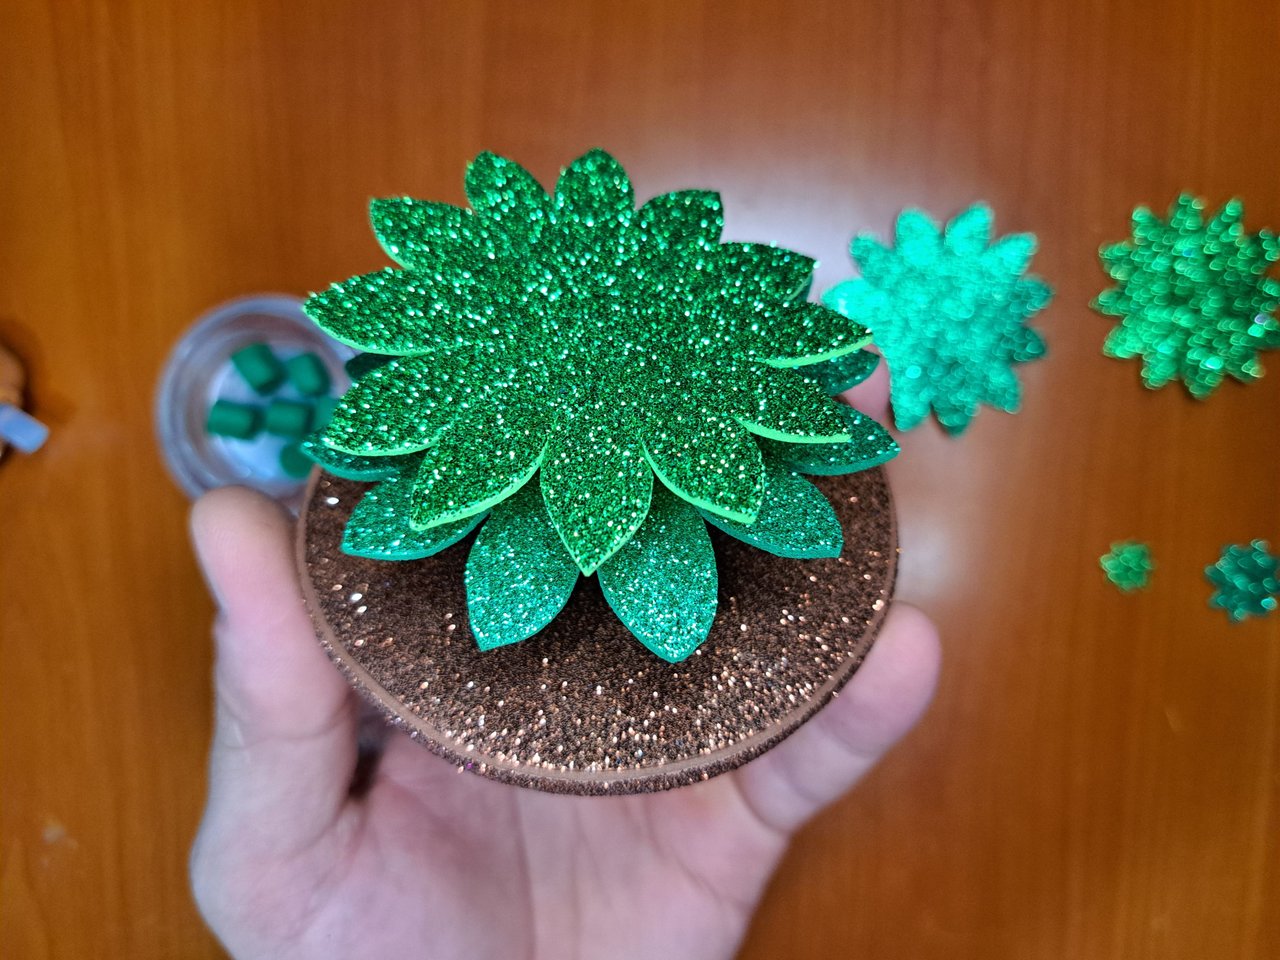
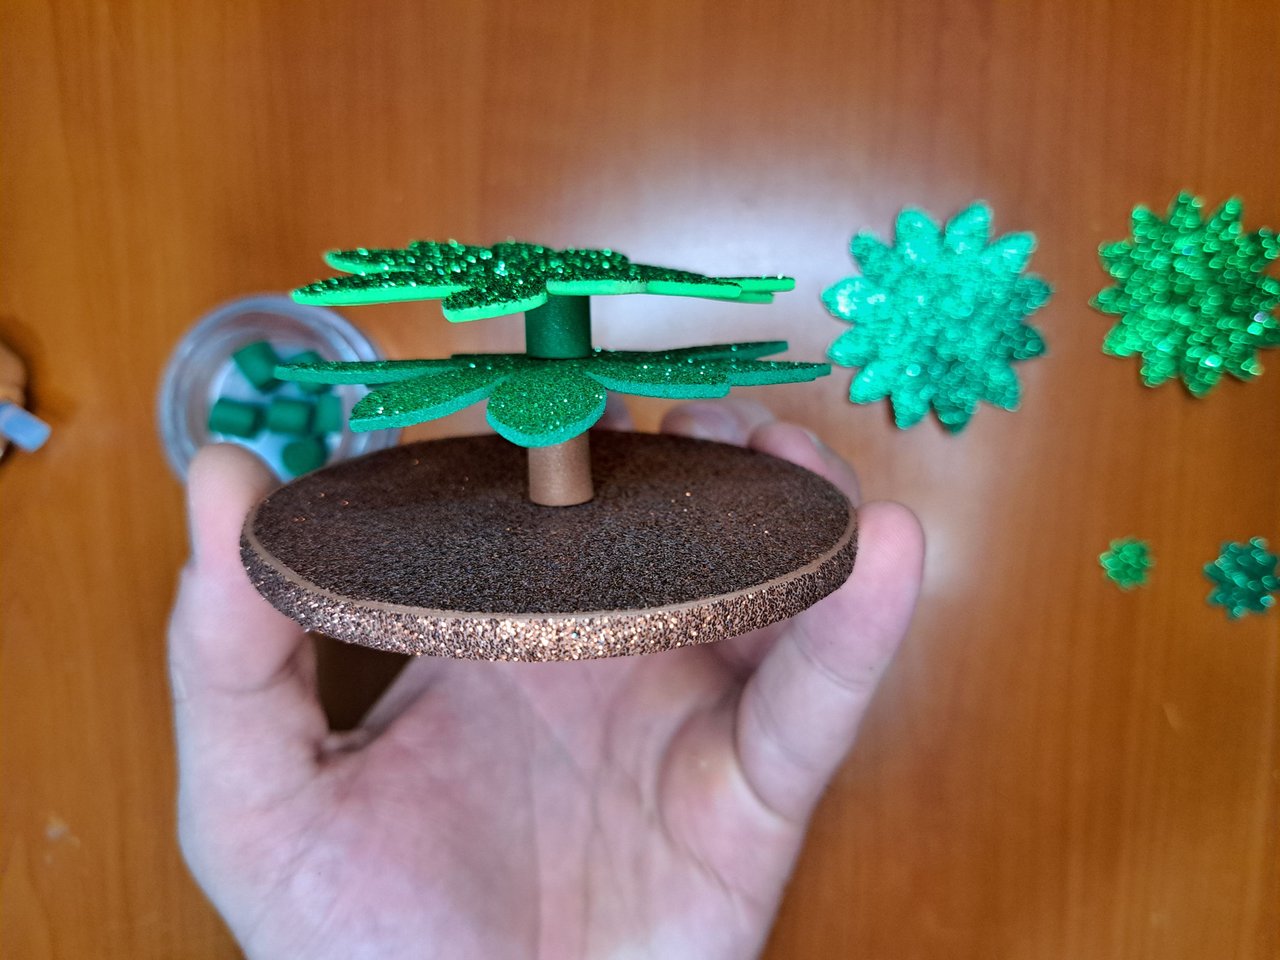
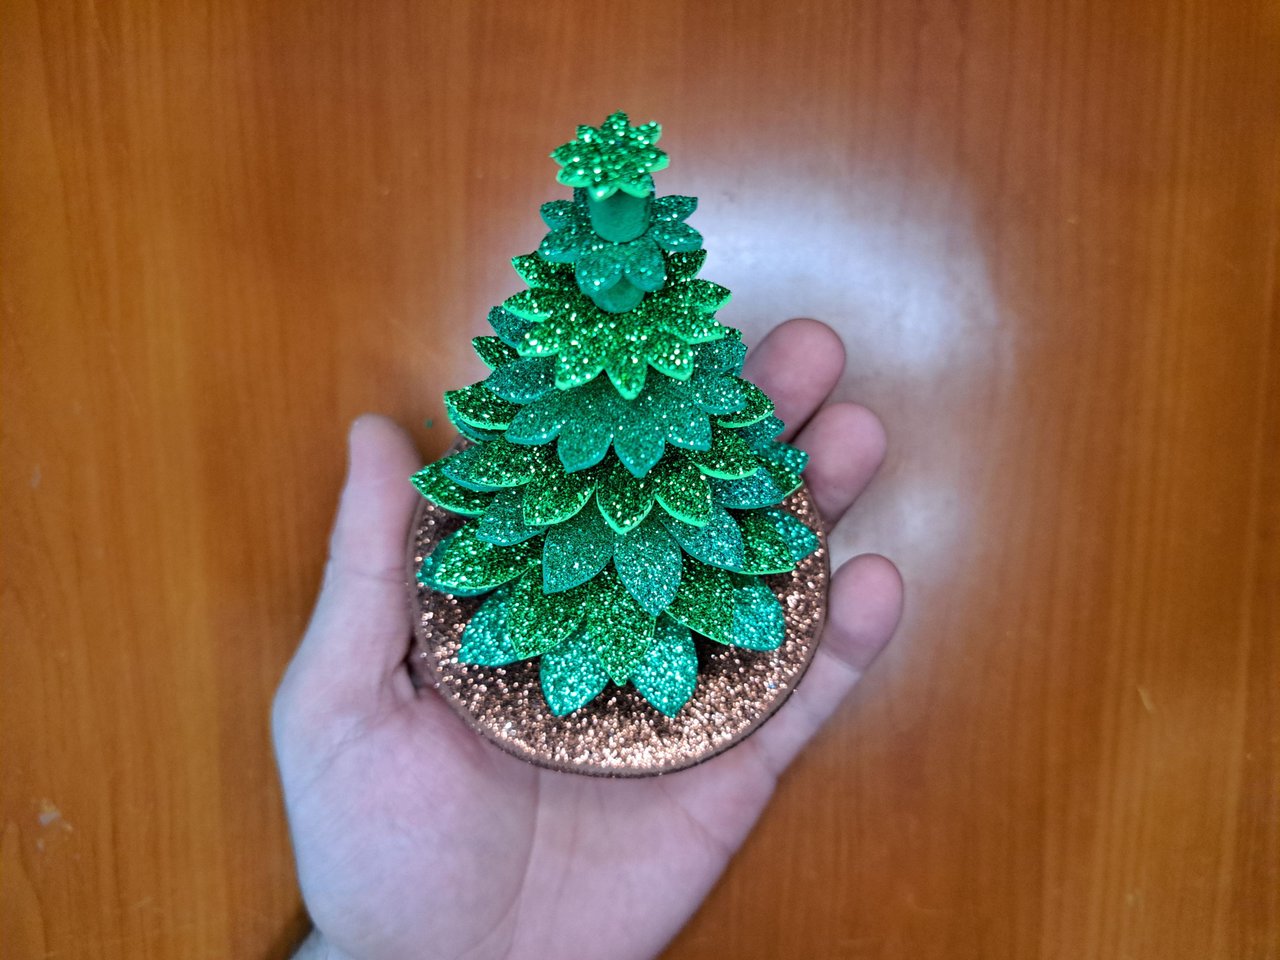
5️⃣ The pieces that would make up the main structure of the tree are ready, so we will begin to assemble it. The caramel stem fragment should be glued right in the middle of the base. The first layer of foliage, which is also the largest, will be glued on top of the stem. Repeat the process layer by layer until you reach the last one.
Ya estarían listas las piezas que conformarían la estructura principal del arbolito, así que se comenzará a armar. Se debe pegar el fragmento de tallo caramelo justo en el medio de la base. Encima del tallo se pegará la primera capa de follaje, que también es la más grande. Se repetirá el proceso capa a capa hasta llegar a la última.
 |
 |
 |
 |
 |
 |
 |
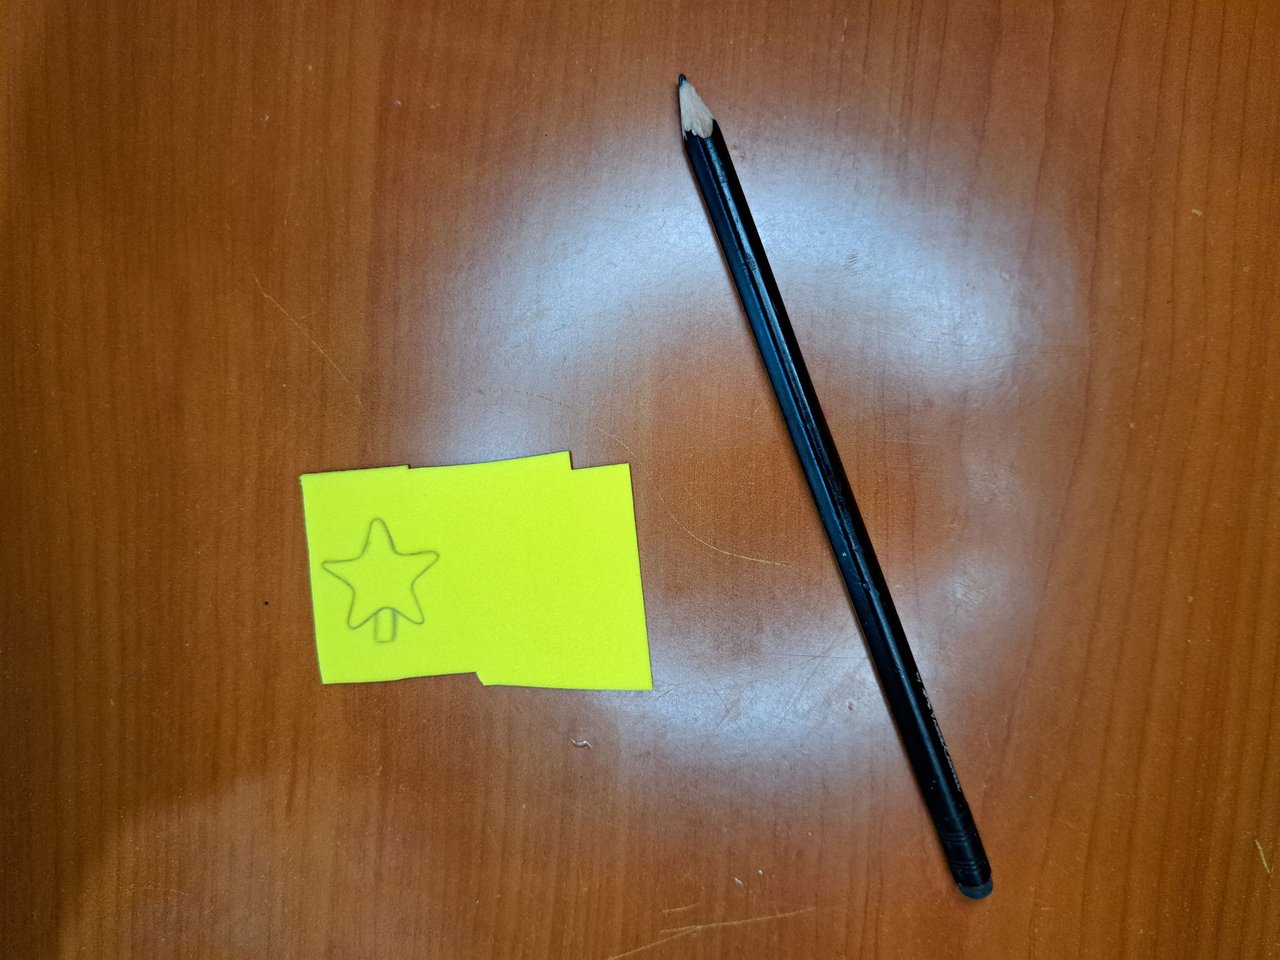
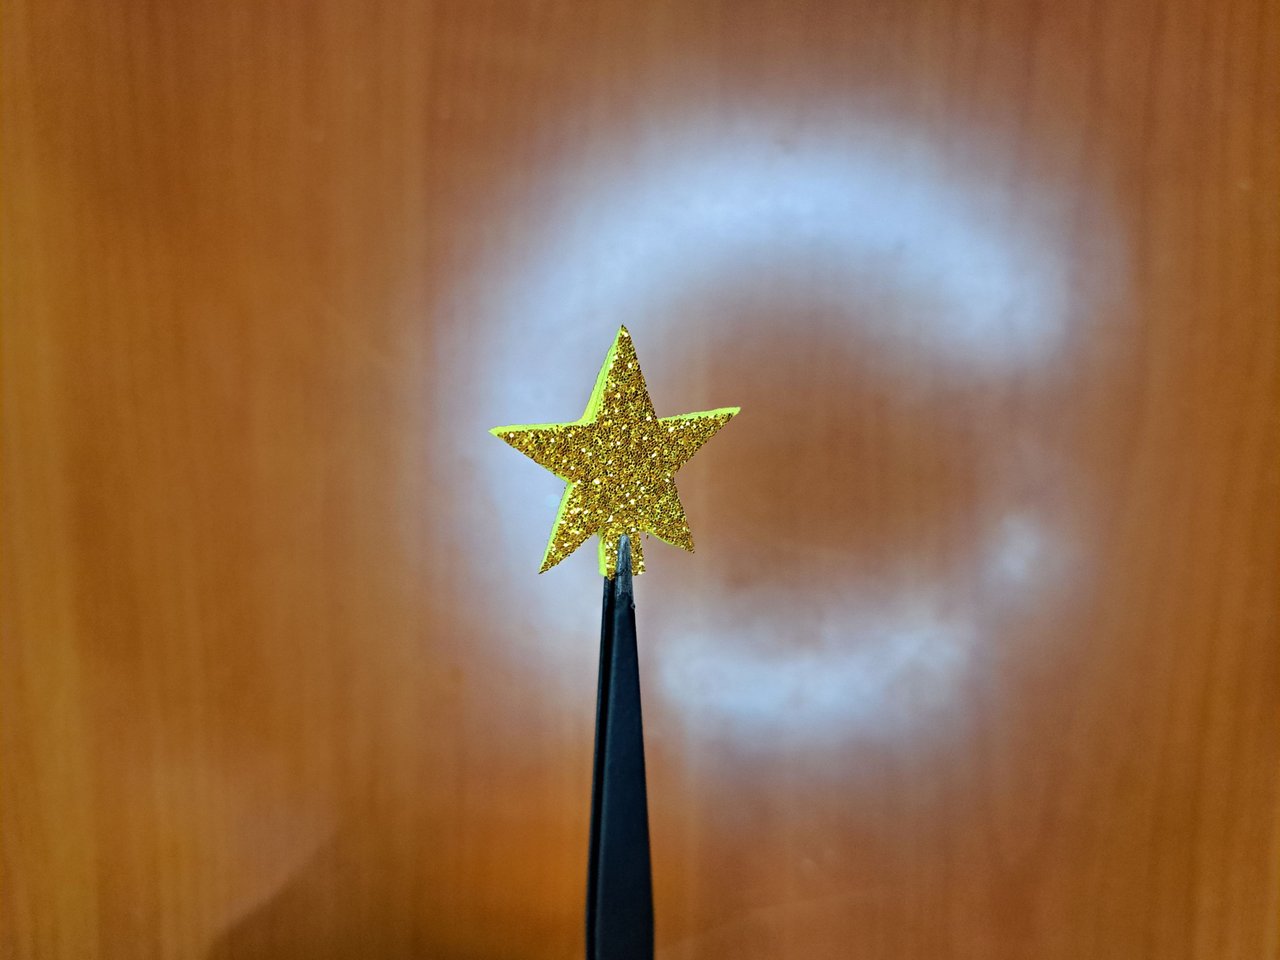
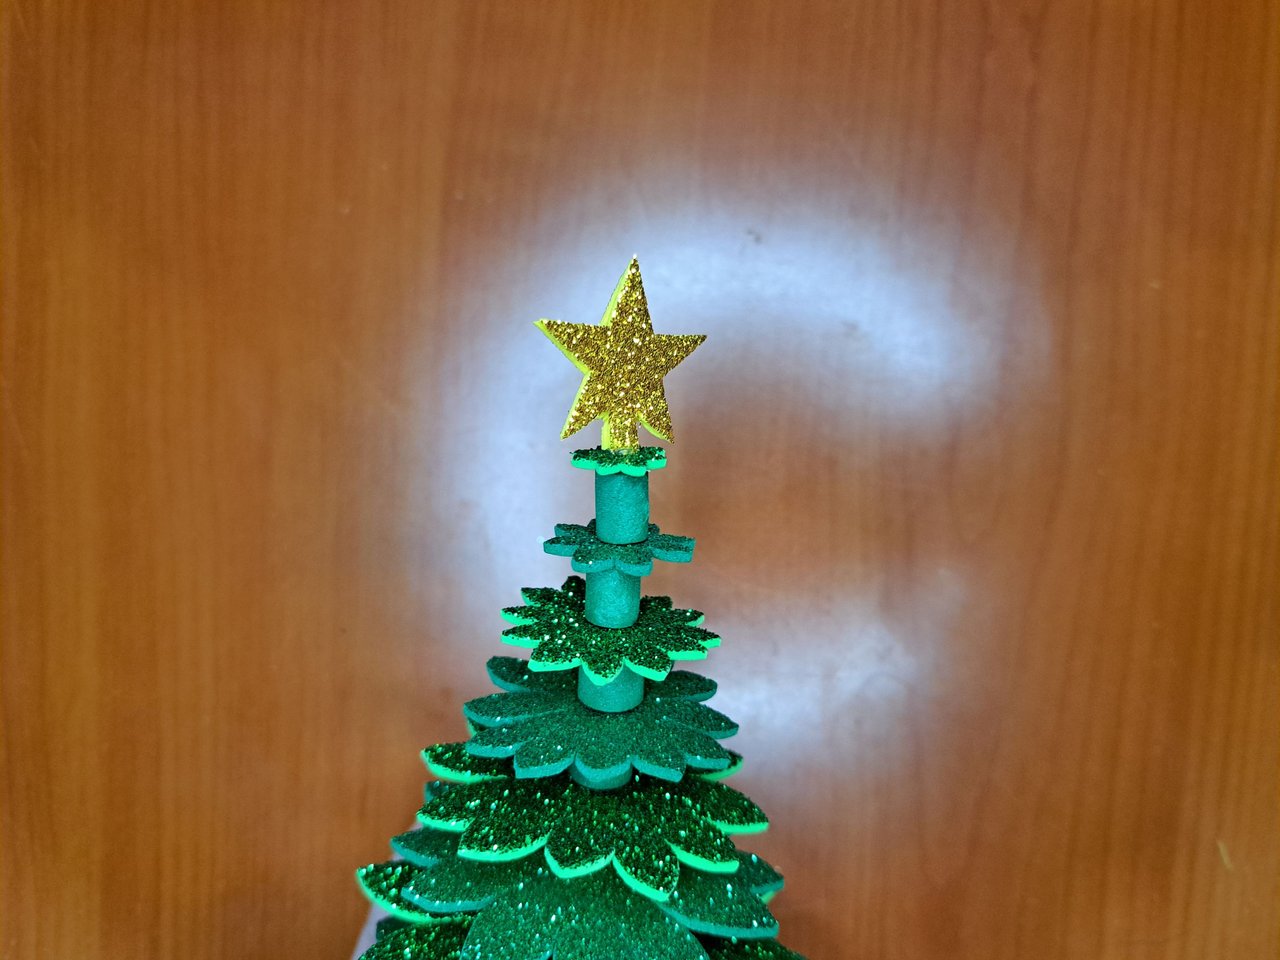
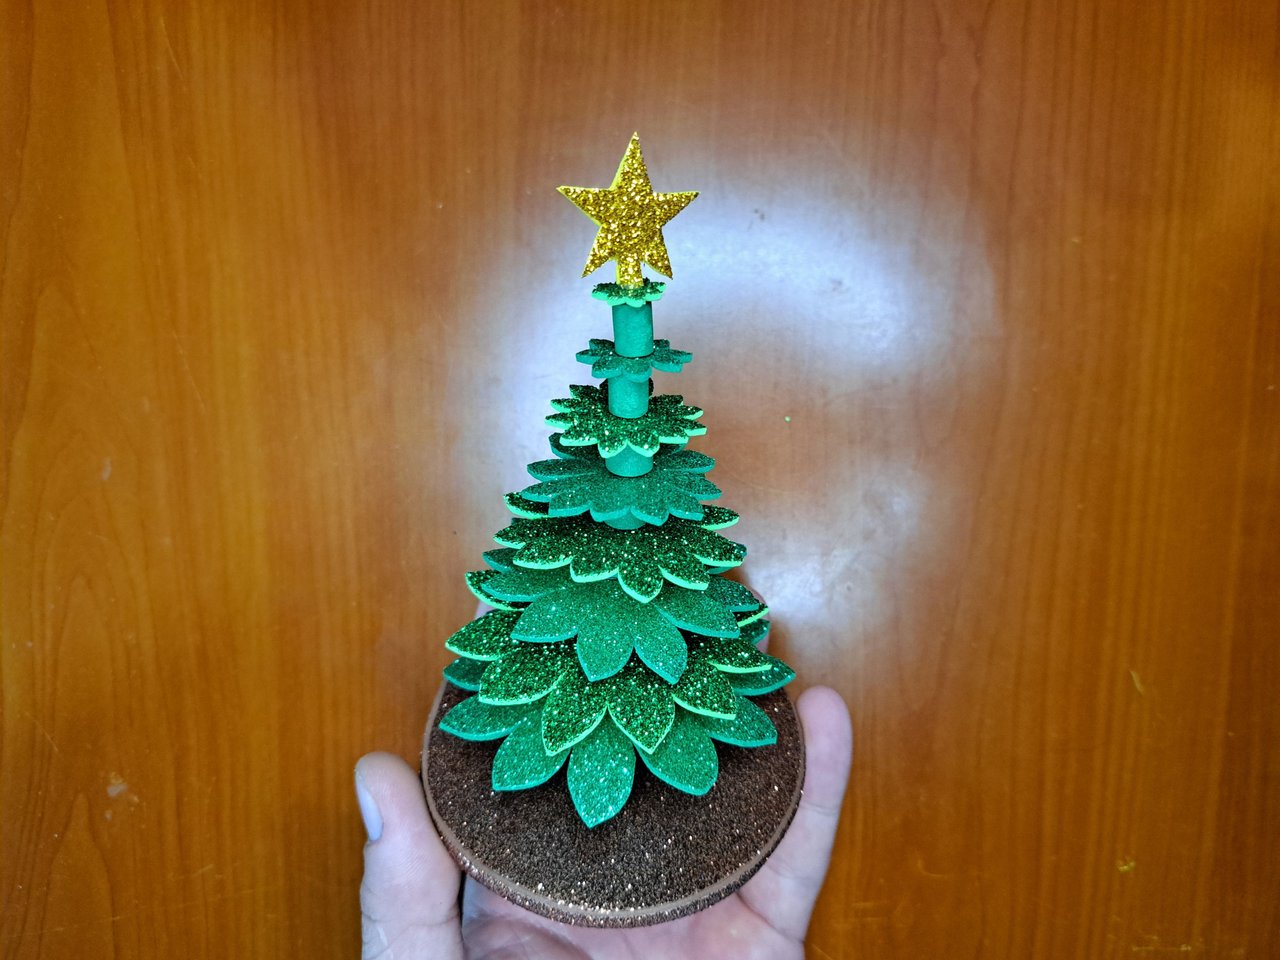
6️⃣ Right at the top of the tree, a gold star will be placed and marked and cut out of a sheet of gold frosted fomi. The star will be cut out double to glue it face to face, so that it is gold on both sides, no matter the angle from which it is viewed.
Justo en la punta del árbol se colocará una estrella dorada que se marcará y recortará en una lámina de fomi escarchado dorado. La estrella se recortará doble para pegarla cara con cara, de modo que quede el dorado en ambos lados, sin importar el ángulo desde el que se mire.
 |
 |
 |
 |
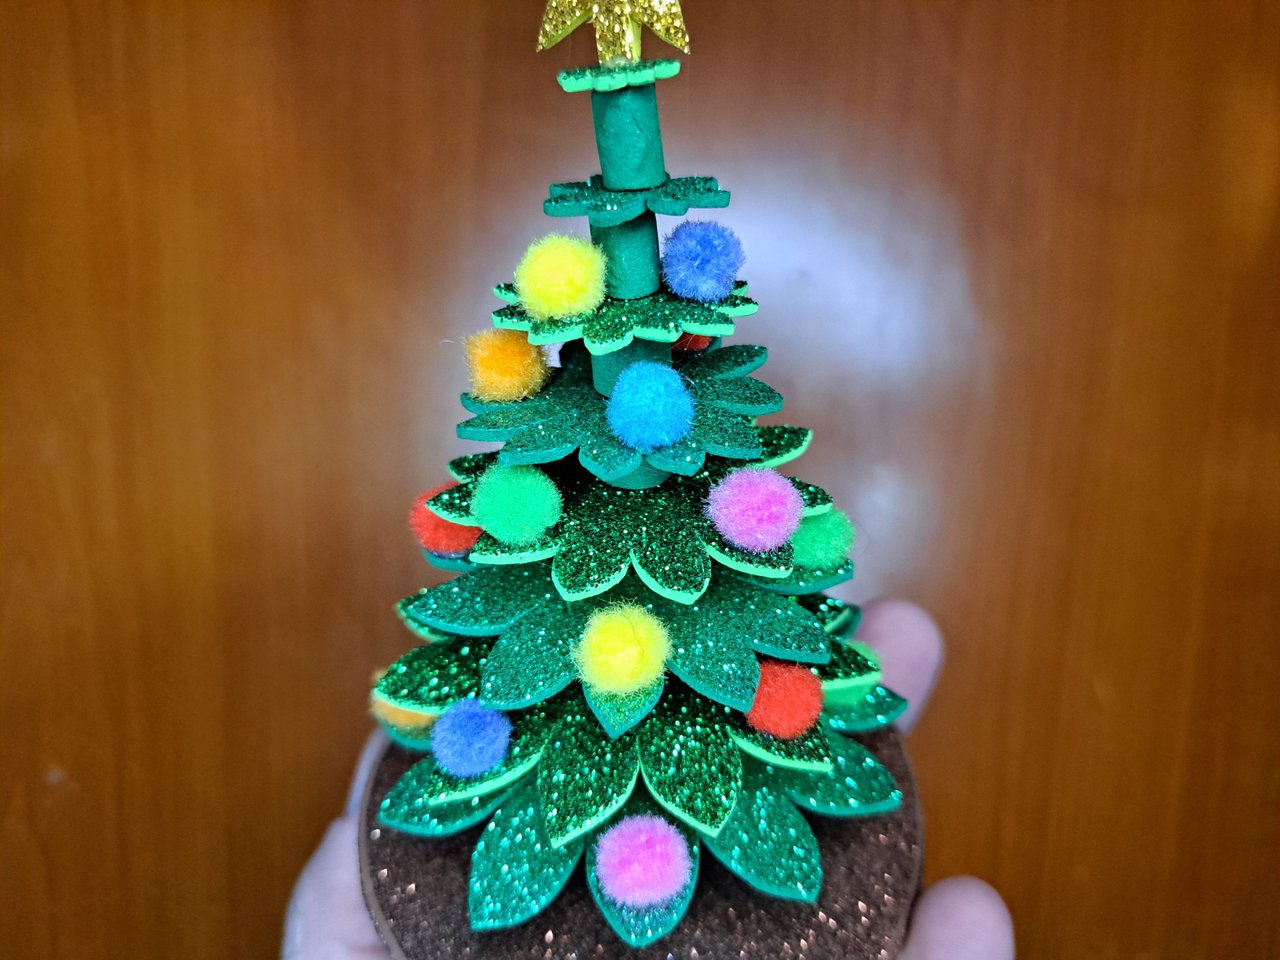
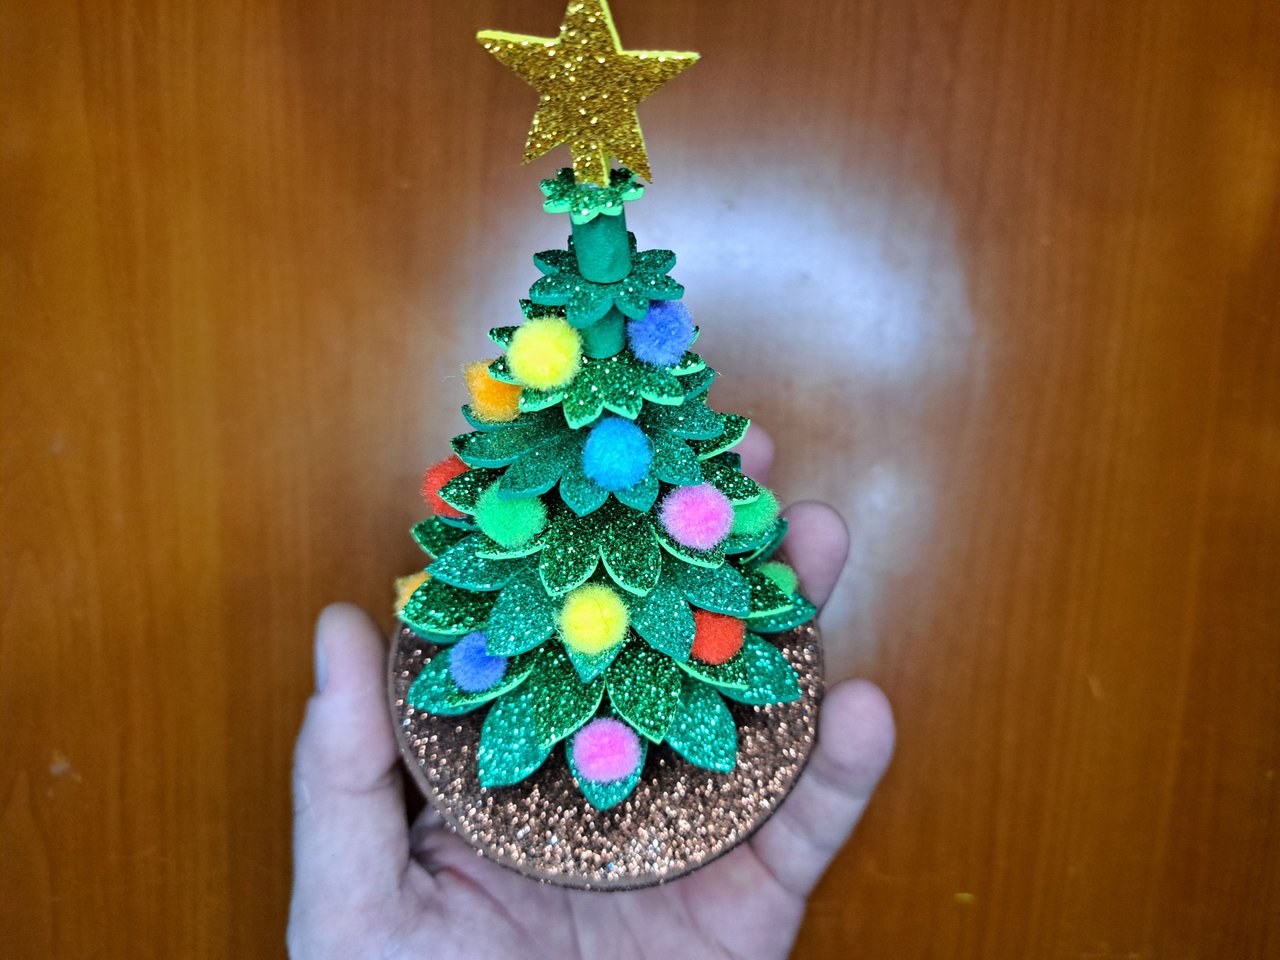
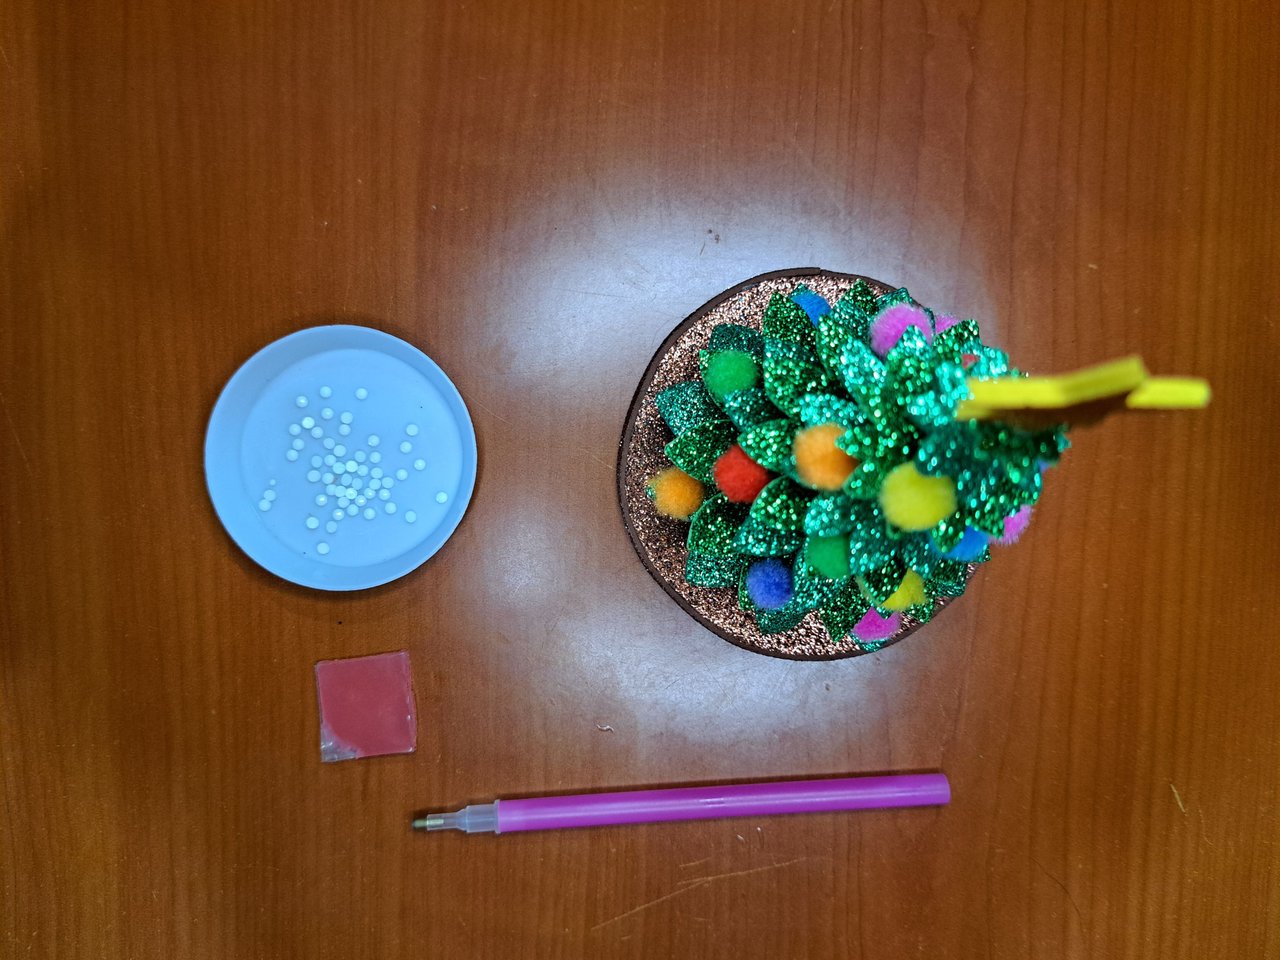
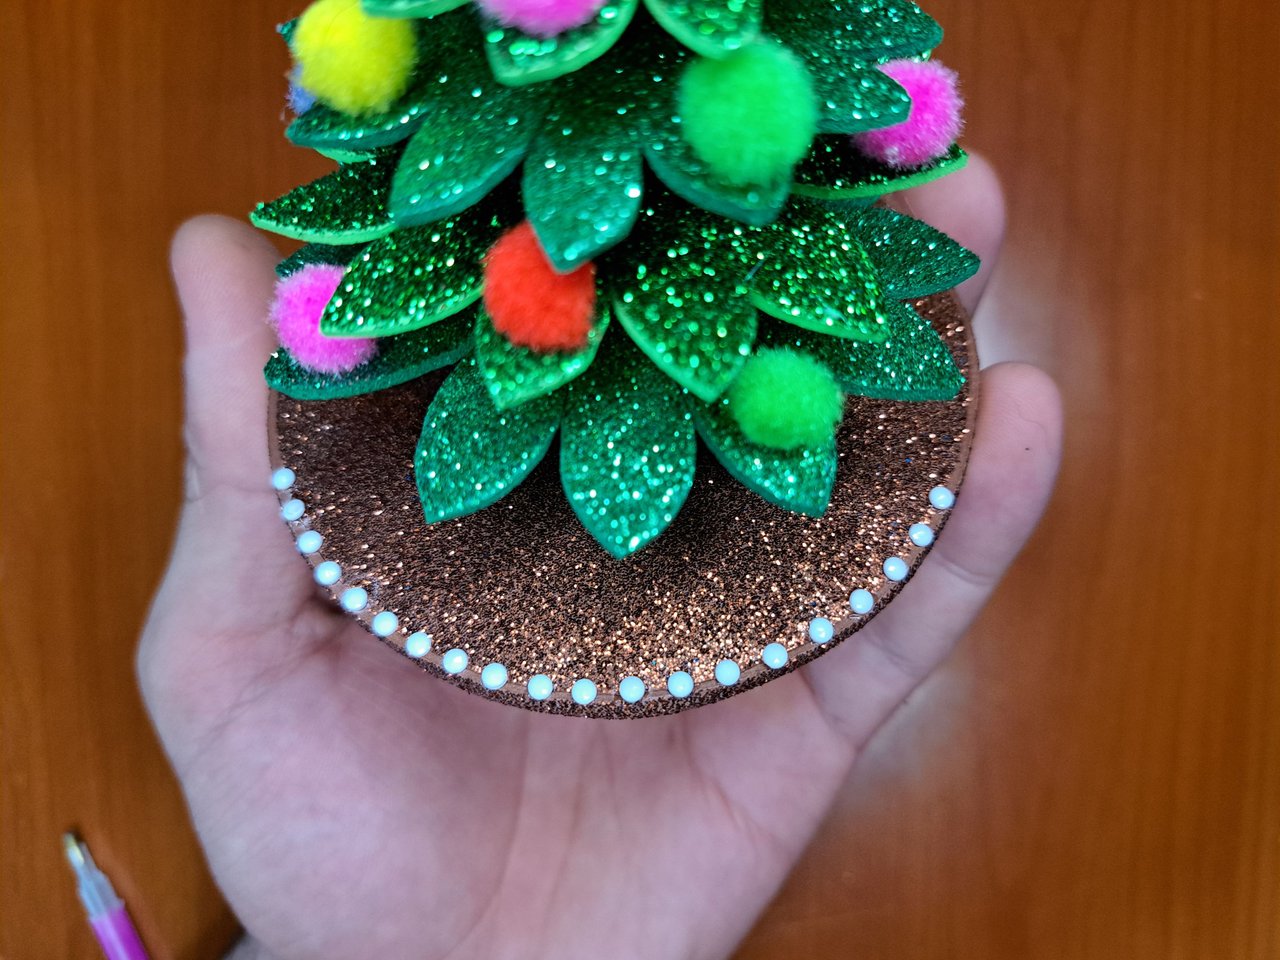
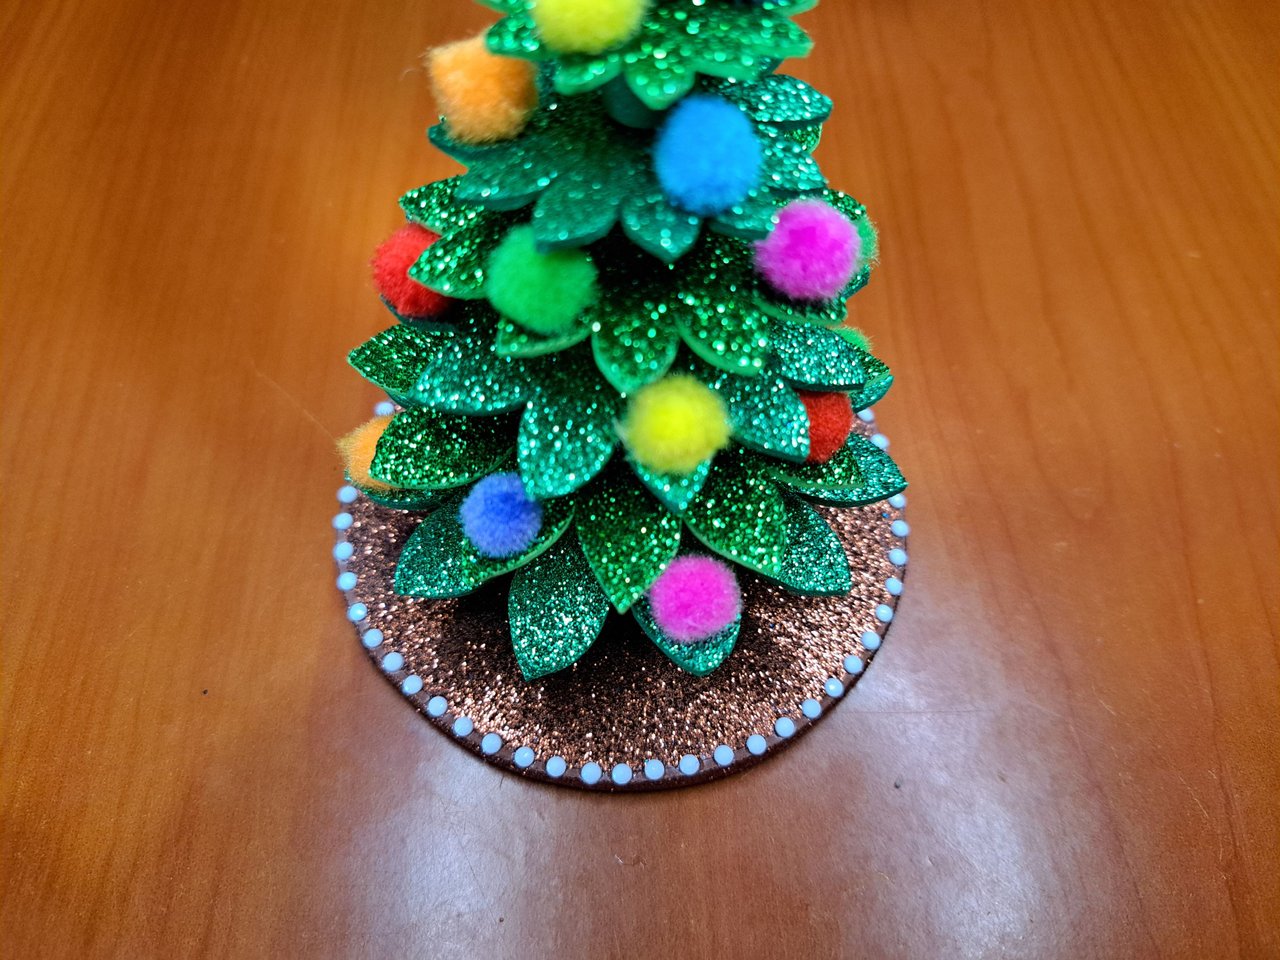
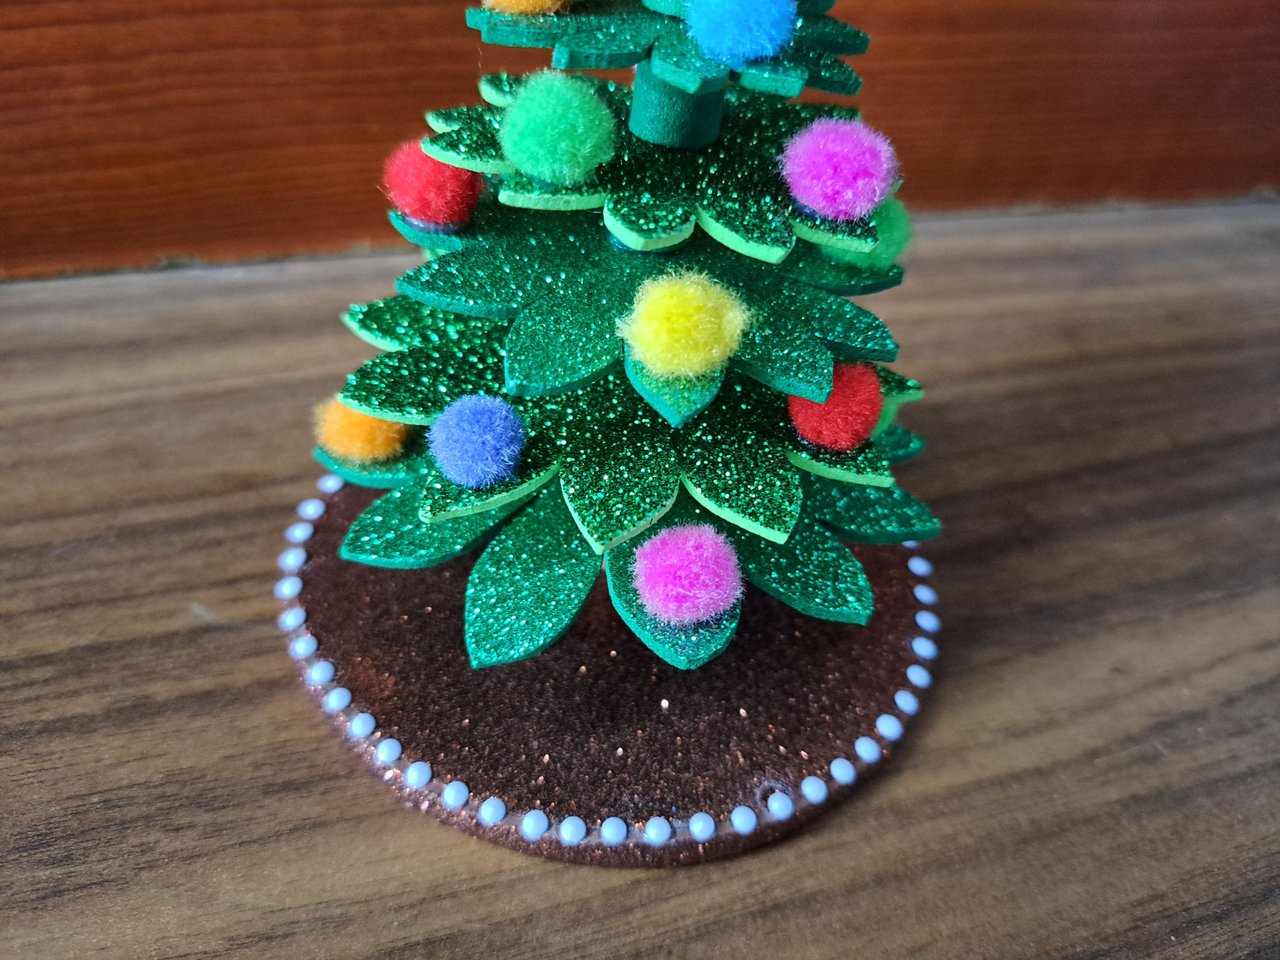
7️⃣ Finally, we will use the colored pompoms to place them interspersed in each of the layers that make up the foliage of the tree. With a clever distribution of the pompoms, we will make them look like small Christmas decorations hanging from the branches of the tree. The white semi-pearls will also be glued around the entire base to give it a more eye-catching finish.
Para finalizar, se utilizarán los pompones de colores para colocarlos intercalados en cada una de las capas que componen el follaje del árbol. Con una distribución inteligente de los pompones, lograremos que parezcan pequeñas decoraciones navideñas colgadas de las ramas del árbol. También se pegarán las semi-perlas blancas alrededor de toda la base para darle un acabado más llamativo.
 |
 |
 |
 |
 |
Finished Work // Trabajo Terminado
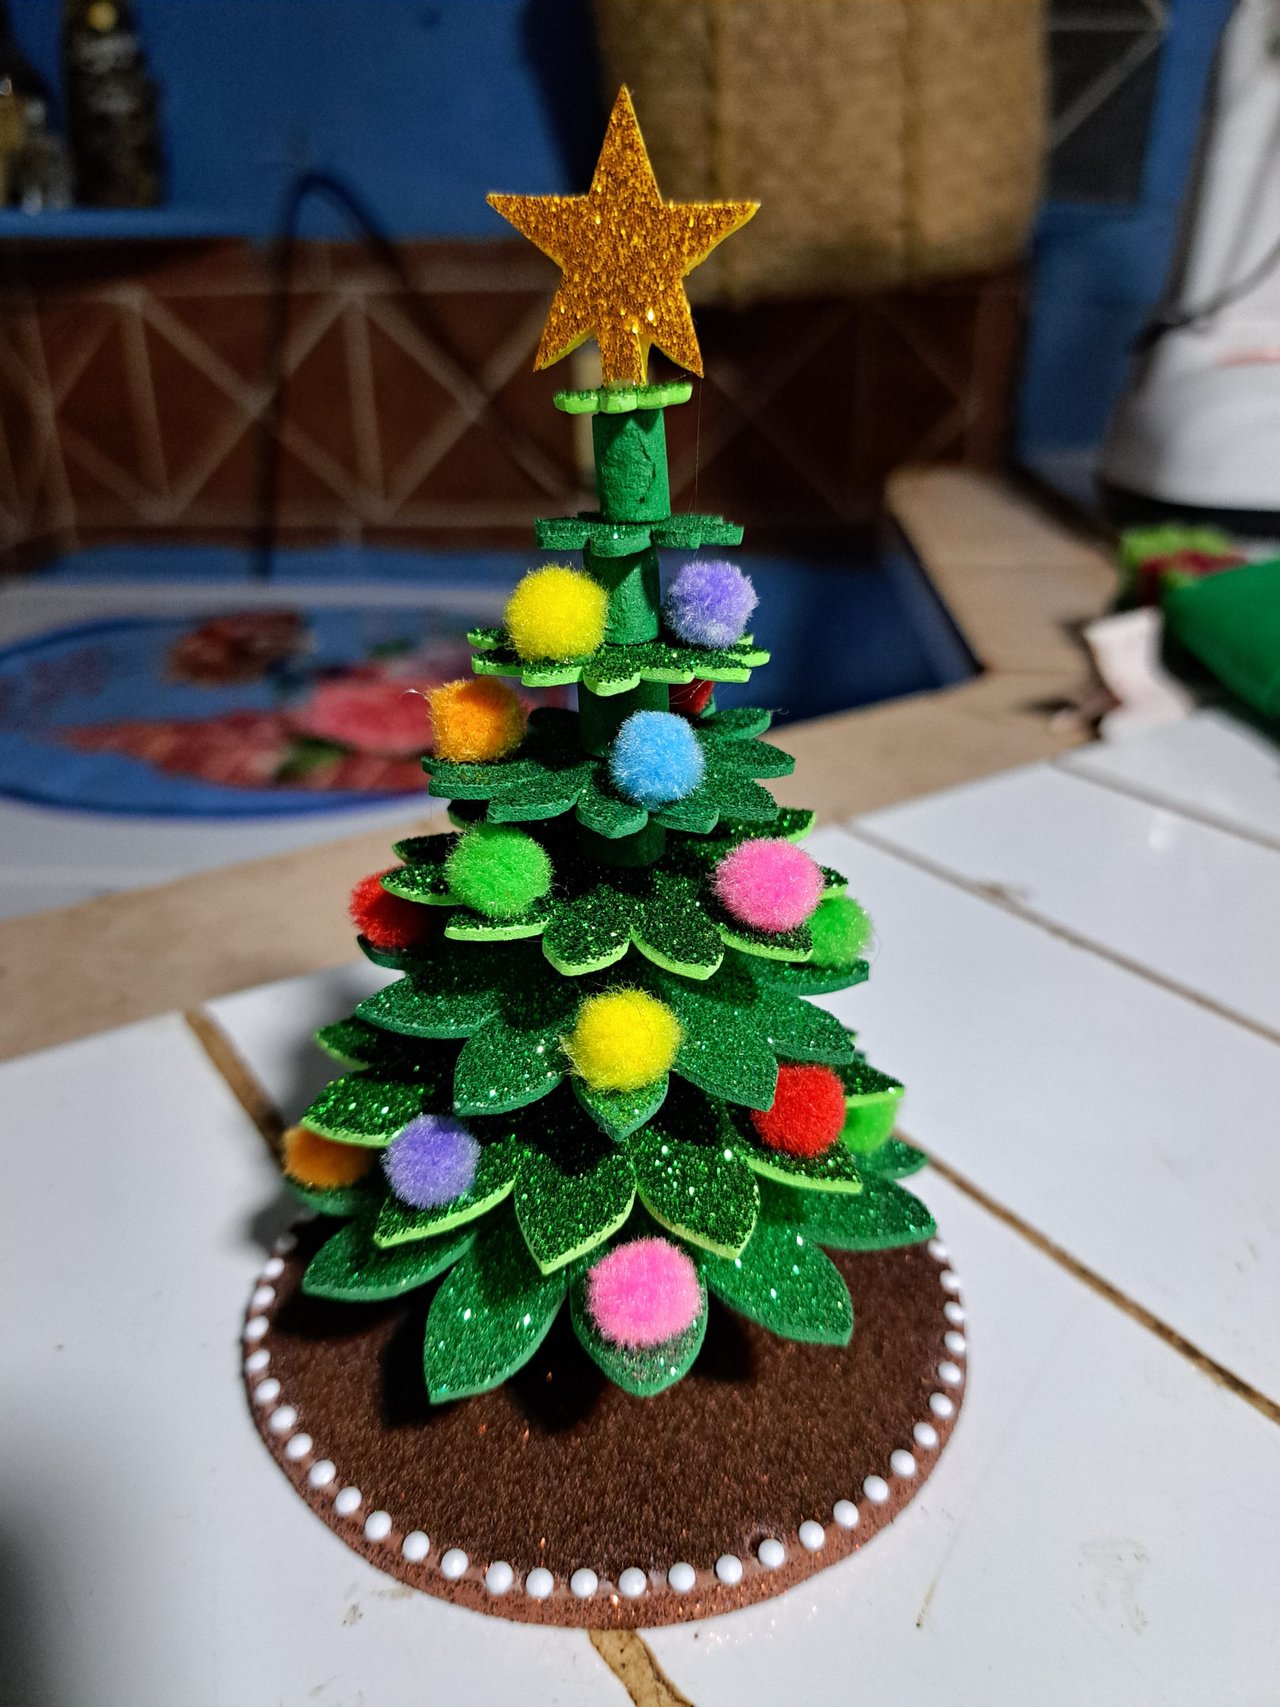
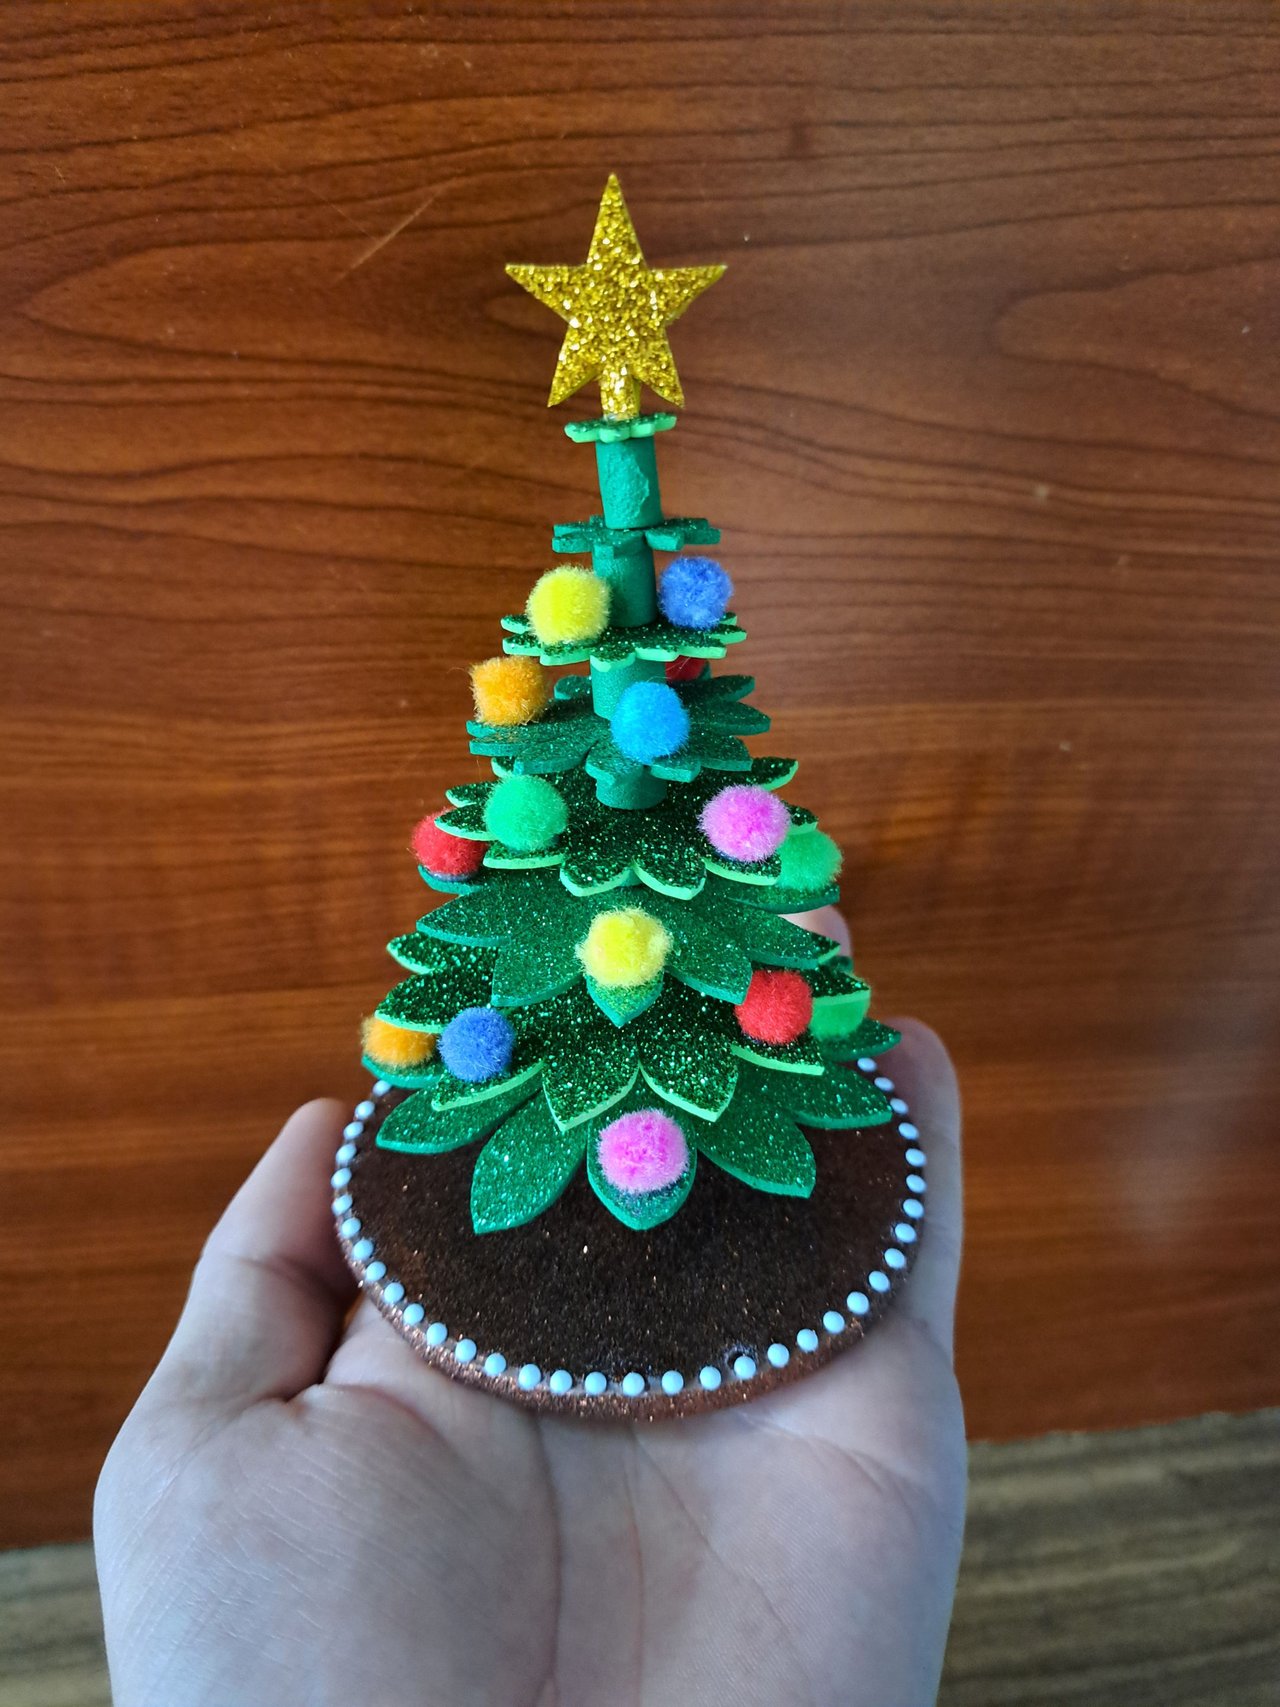
That's all for this time. I hope you liked both the tree and the creative process and that you are encouraged to make your own to decorate your home or give it as a gift to someone special. Without further ado, I say goodbye, but not before wishing you a happy and prosperous day. Bye.
Esto sería todo por esta vez. Espero que te haya gustado tanto el arbolito como el proceso creativo y te animes a realizar el tuyo propio para adornar tu hogar o regalarlo a alguien especial. Sin más que agregar, me despido, no sin antes desearles una feliz y próspera jornada. Chao.
 |
 |
 |
 |
 |

Thank you very much for reading my post. If you liked it, please leave a comment and consider following me so you don't miss my next posts. I'd love to know your opinion and your thoughts about the topic I discussed in this post, see you in the next one!

Credits and Resources // Créditos y Recursos
Cover page created in Canva
Translated by DeepL
Images captured with my Samsung Galaxy A53


Cover page created in Canva
Translated by DeepL
Images captured with my Samsung Galaxy A53


I could not miss this post, just now I need a small decorative Christmas tree and I had not thought that maybe I can do it myself, I may try, I just need to buy a compas 😅 Hey, it has turned out very nice and with the natural shine of the frost ❤️ Another great quality work that enhances DIYHub, thank you very much for that my dear...
Thank you so much for supporting my content, I really appreciate it. Don't let the lack of any tools or materials stop you from making a mini Christmas tree. Remember that there are no excuses for not having one. Greetings and blessings.
Este árbol mini ha tenido más admiración en casa que el árbol de navidad grande 😁, todo el que llega a la casa se deslumbra al ver tanta chulería en una pieza tan pequeña.
Así mismo. Solo le falta un poco más de tamaño para ponerle algunas luces y así llame más la atención.
This is such a brilliant piece, pocket friendly and beautiful. Thanks for walking us through the process of making a mini tree, well done.
Thank you very much. I always try to explain as much as possible and give alternatives to materials and techniques.
Súper lindo, otra de las tantas maravillas😍
Mini maravilla. Muchas gracias amiga 🥰