
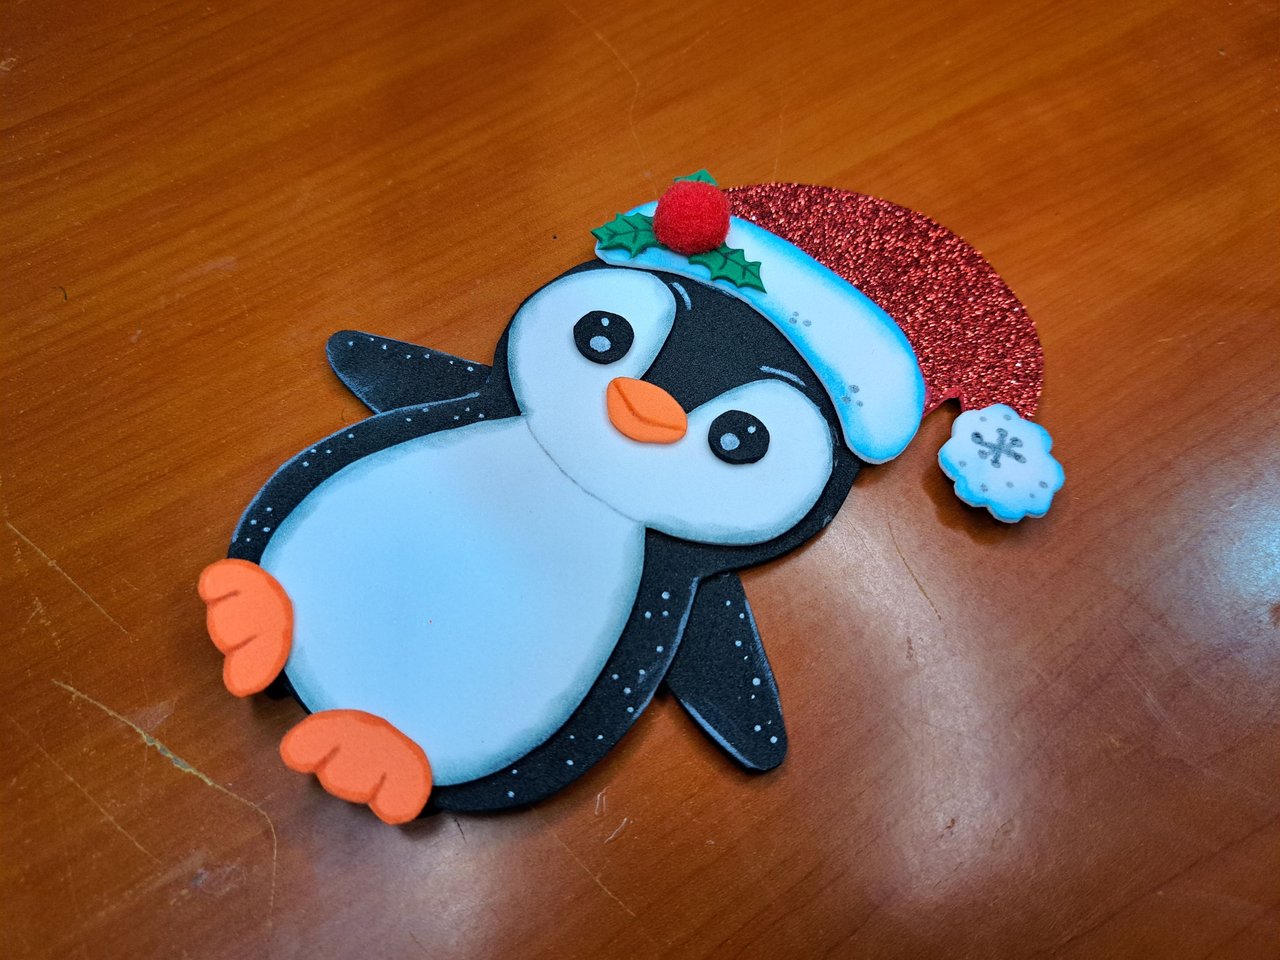
Greetings, community of creators. I was recently told a story about a penguin who wanted to work delivering presents at Christmas along with Santa Claus. When I heard this, I burst out laughing, for if true, it would be extremely difficult for him to make his wish come true. But the story didn't end there; apparently, the penguin was determined and, dressed only in a Christmas hat, was preparing to cross the world from pole to pole to reach the Christmas bases of operations at the North Pole.
The truth is that we will never know if the penguin succeeded in fulfilling his dream; although if any Christmas gift smells like sardines, we can be sure that he did, because that gift was placed there by his little flippers. In honor of this brave and determined penguin, I created the craft I share with you below.
Saludos, comunidad de creadores. Hace poco me contaron una historia de un pingüino que quería trabajar repartiendo regalos en Navidad junto con Santa Claus. Al oír esto, me eché a reír, pues en caso de ser cierto, le sería sumamente difícil hacer realidad su deseo. Pero la historia no termina ahí; al parecer, el pingüinito estaba decidido y, vestido solamente con un gorro navideño, se preparaba para cruzar el mundo de polo a polo y llegar a las bases de operaciones navideñas en el Polo Norte.
La verdad es que nunca sabremos si el pingüino logró cumplir su sueño; aunque si algún regalo navideño tiene olor a sardinas, podemos asegurar que sí lo logró, pues ese regalo fue colocado ahí por sus pequeñas aletas. En honor de este valeroso y decidido pingüino, creé la manualidad que les comparto a continuación.
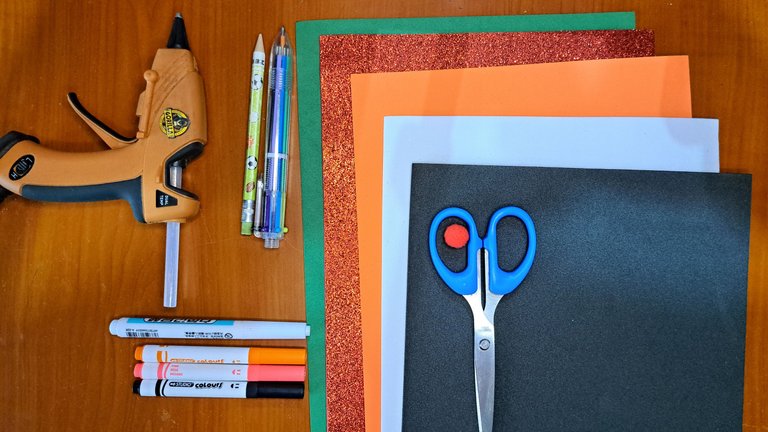
Materials // Materiales
| ✔️ Red frosted fomi | ✔️ Fomi escarchado rojo |
| ✔️ Frosted white, black, orange and green frosted fomi | ✔️ Fomi escarchado blanco, negro, naranja y verde |
| ✔️ Small red pompom | ✔️ Pompón rojo pequeño |
| ✔️ Markers of different colors | ✔️ Marcadores de diferentes colores |
| ✔️ Scissors | ✔️ Tijera |
| ✔️ Hot silicone | ✔️ Silicona caliente |
Step by step // Paso a paso
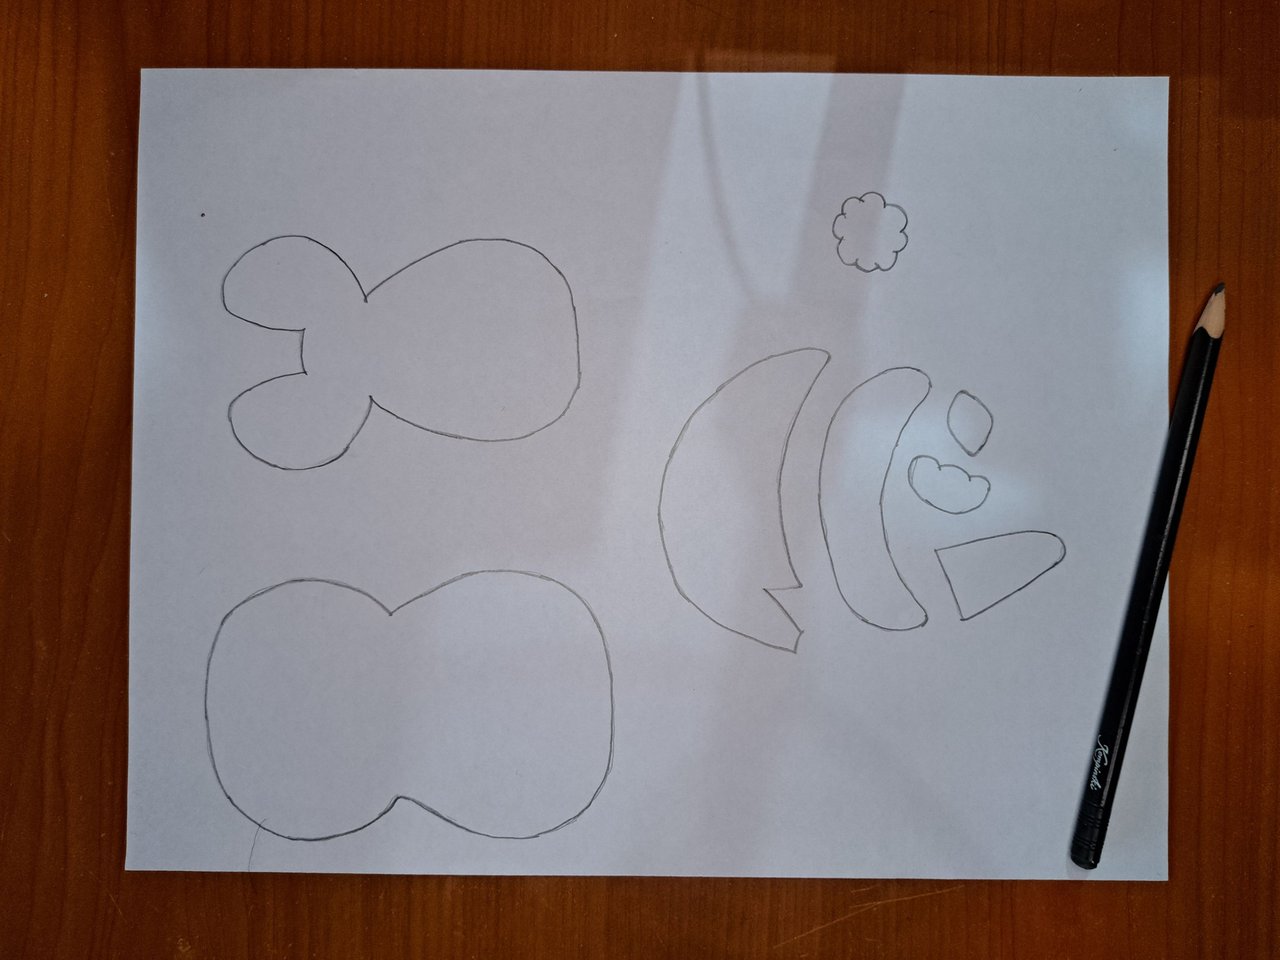
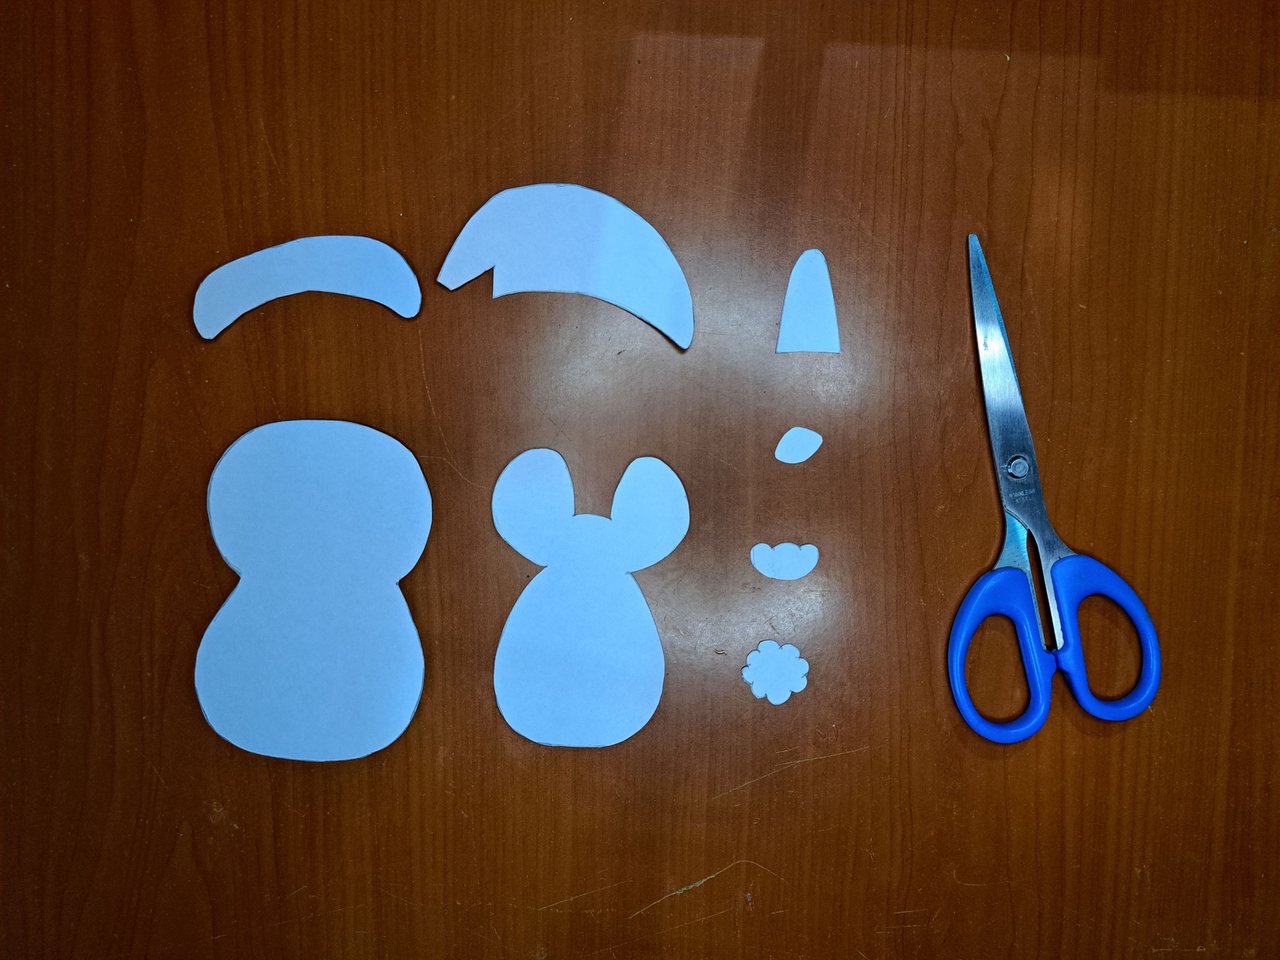
1️⃣ As usual with this type of crafts, the first thing I did was to cut out the molds of each of the pieces that make up the penguin-shaped ornament.
Como ya es costumbre con este tipo de manualidades, lo primero que hice fue recortar los moldes de cada una de las piezas que conforman el adorno con forma de pingüino.
 |
 |
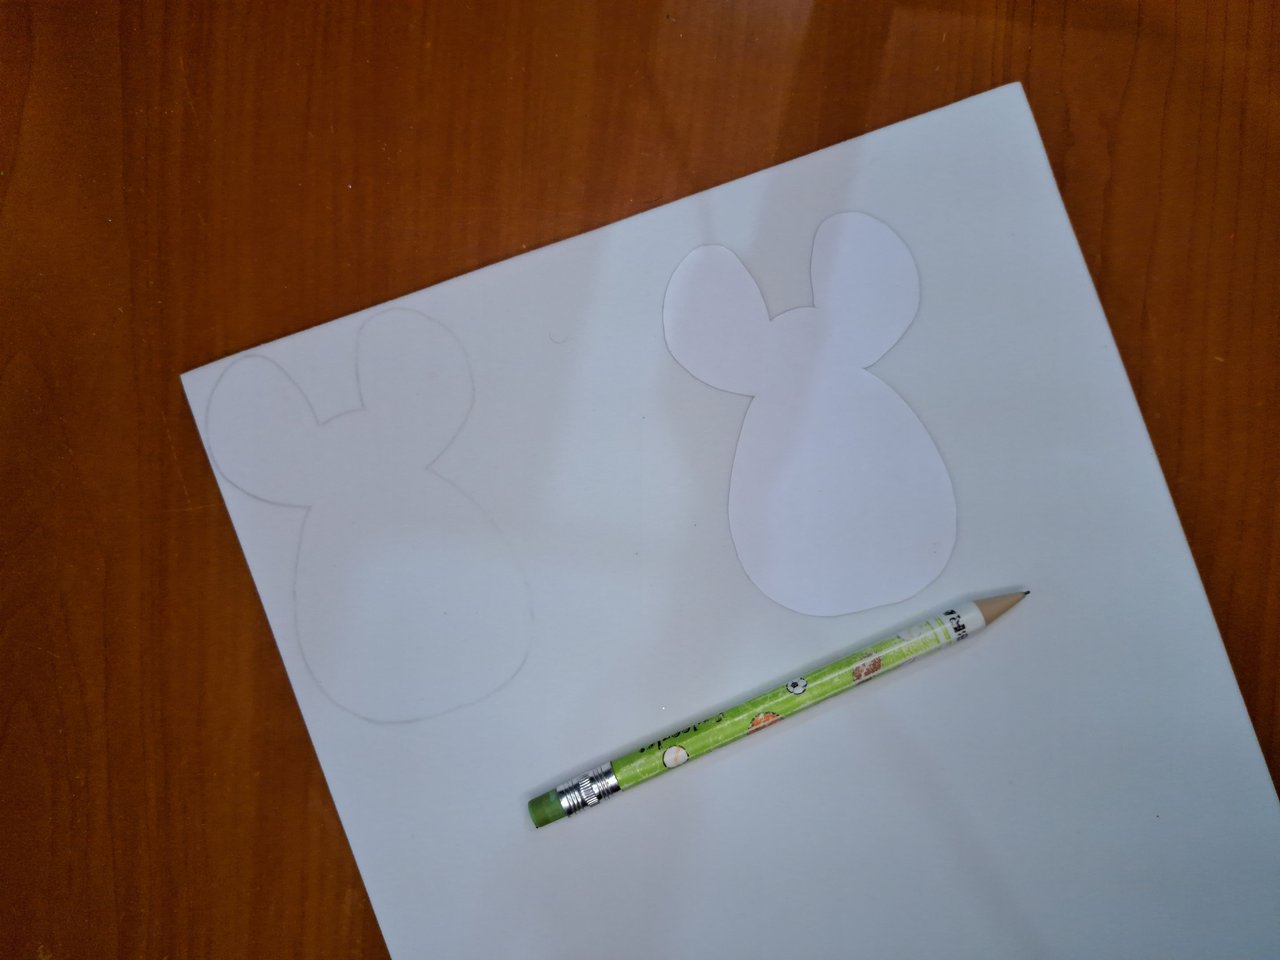
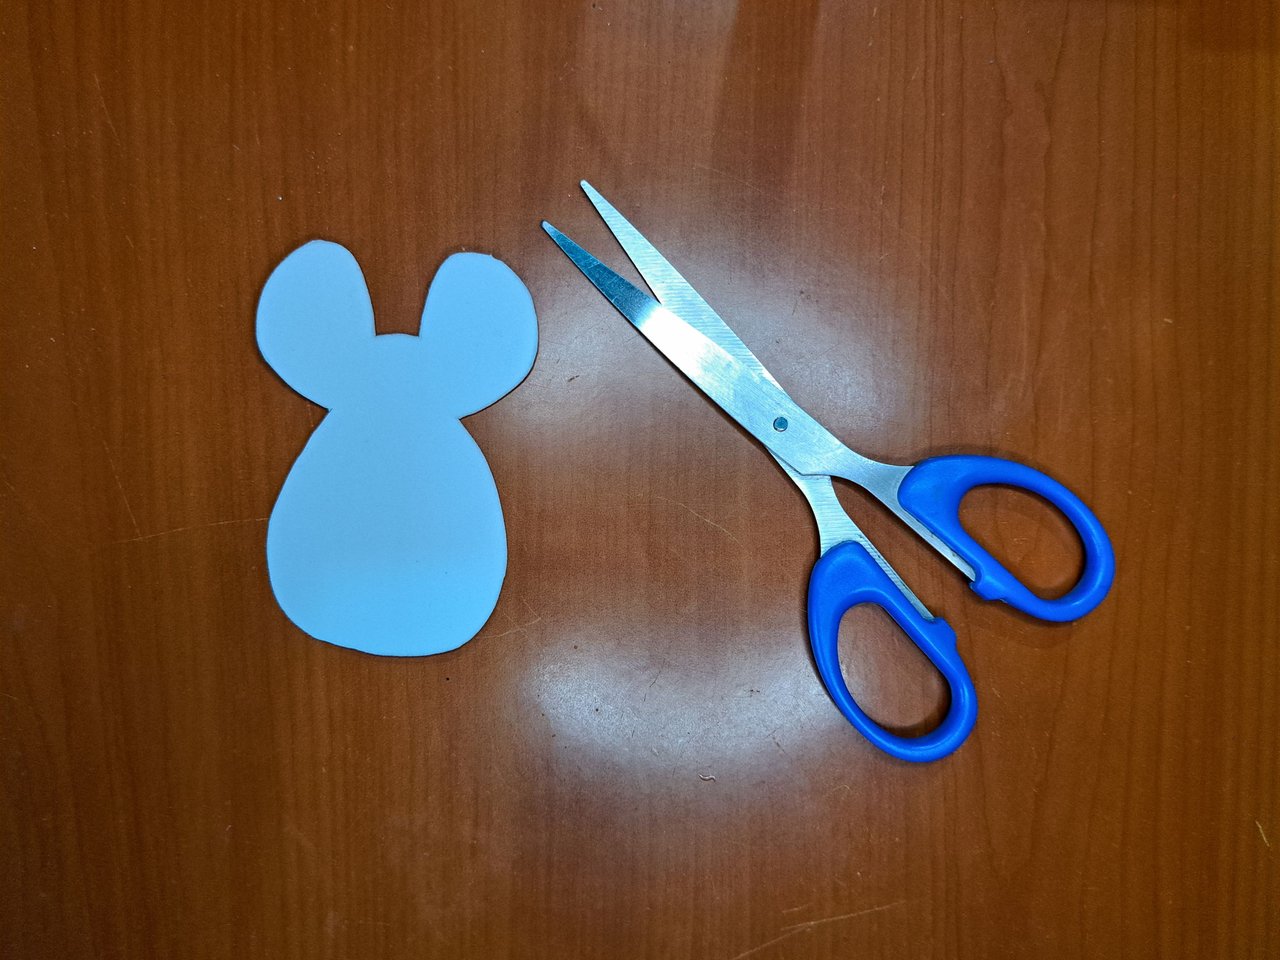
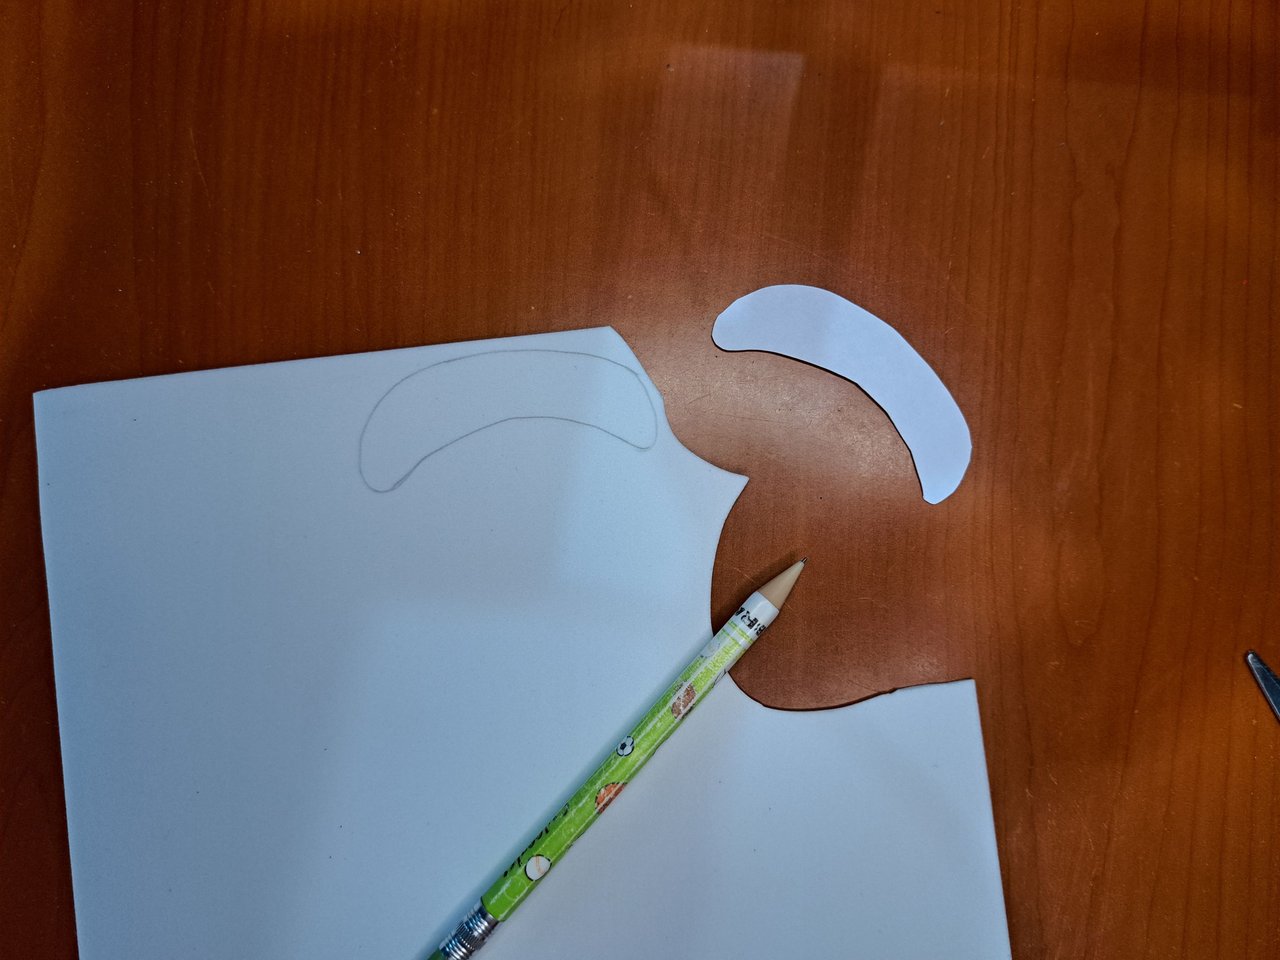
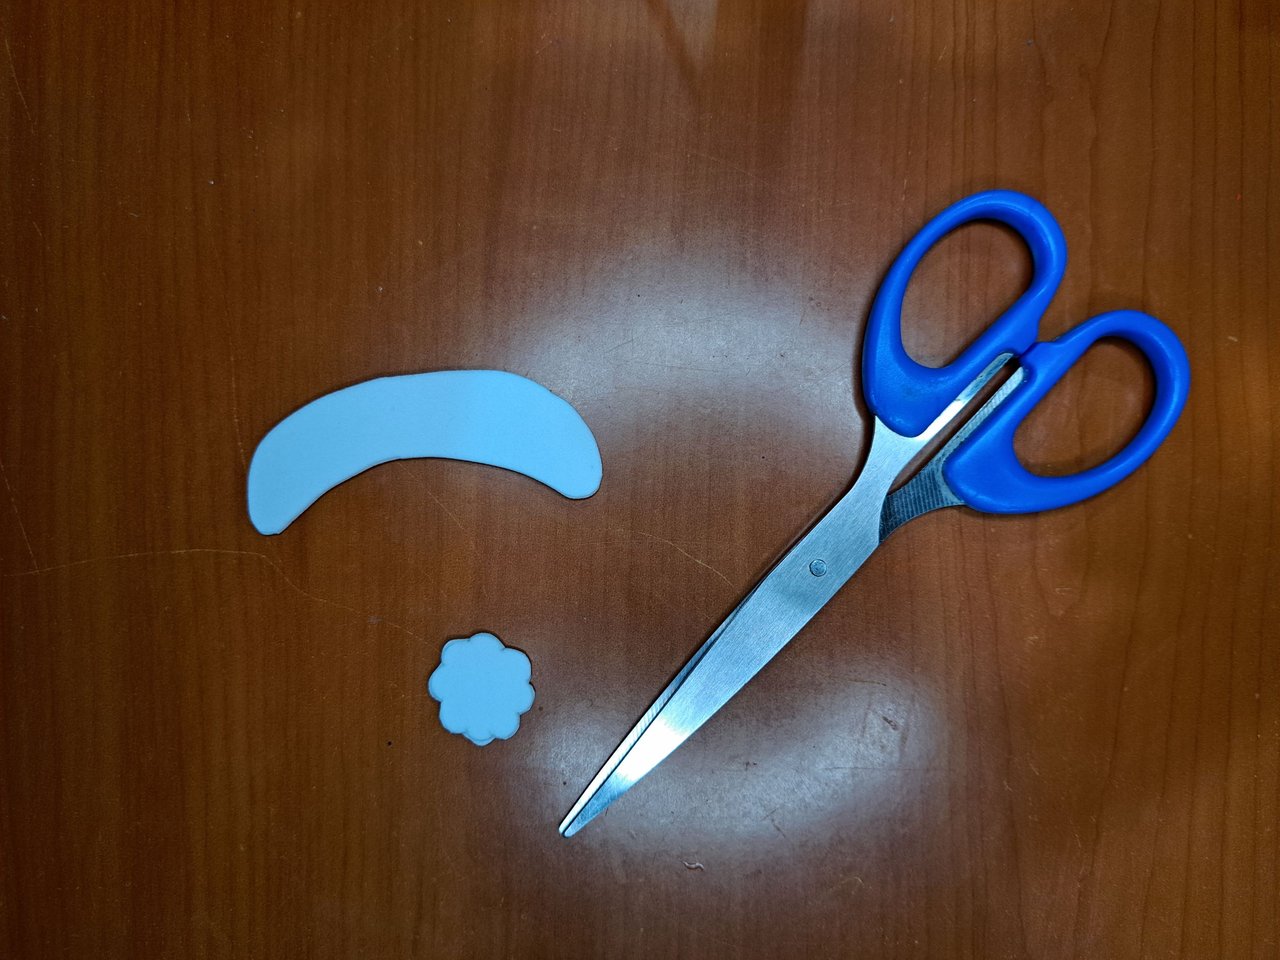
2️⃣ Once the molds were cut out, I used the templates of the white areas to mark and cut them out. These areas correspond to the front of the body and the plush areas of the Christmas hat.
Una vez que los moldes estuvieron recortados, utilicé las plantillas de las zonas blancas para marcarlas y recortarlas. Dichas zonas corresponden a la parte frontal del cuerpo y las zonas felpudas del gorro navideño.
 |
 |
 |
 |
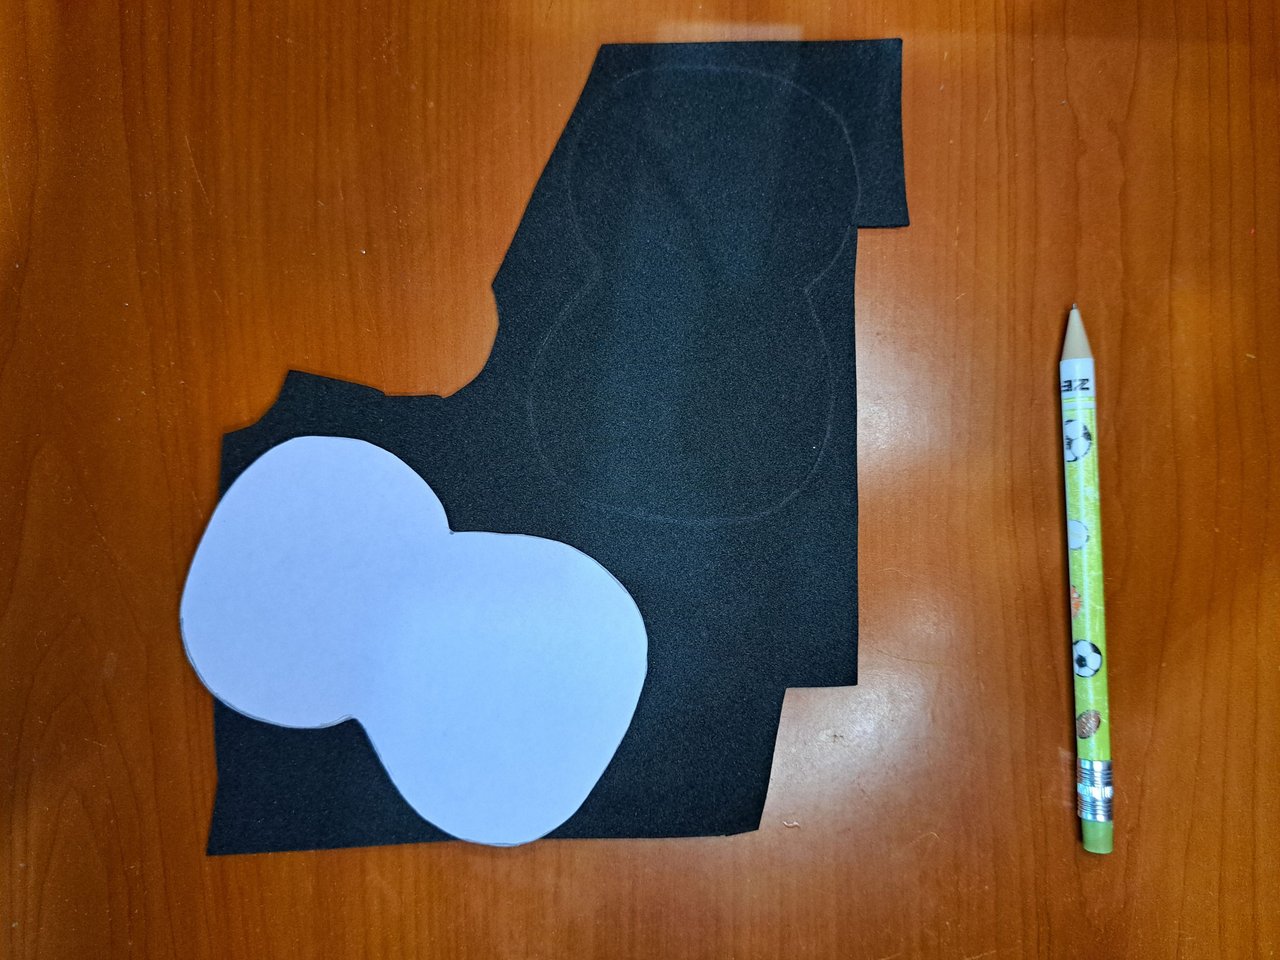
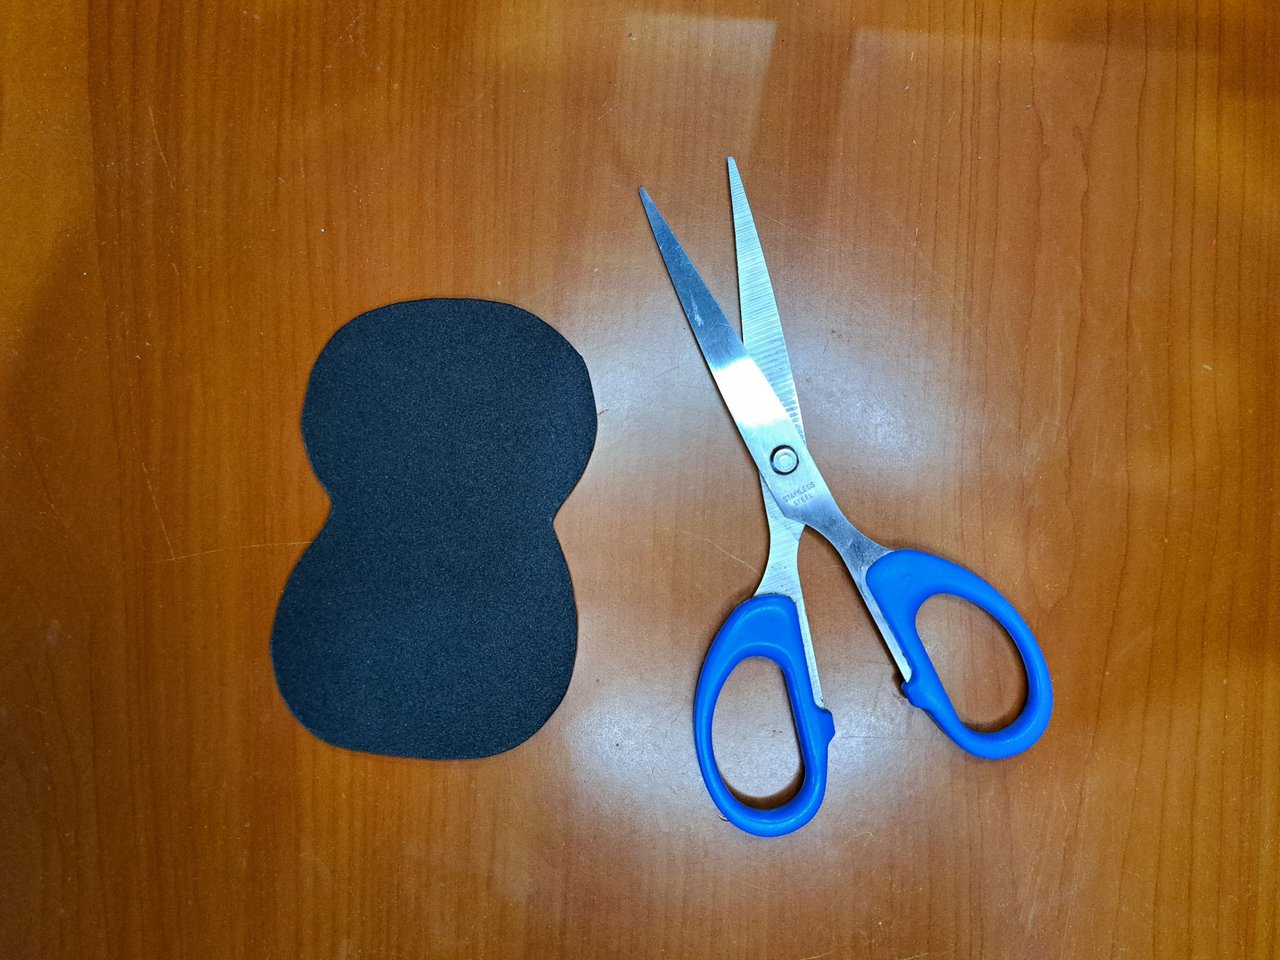
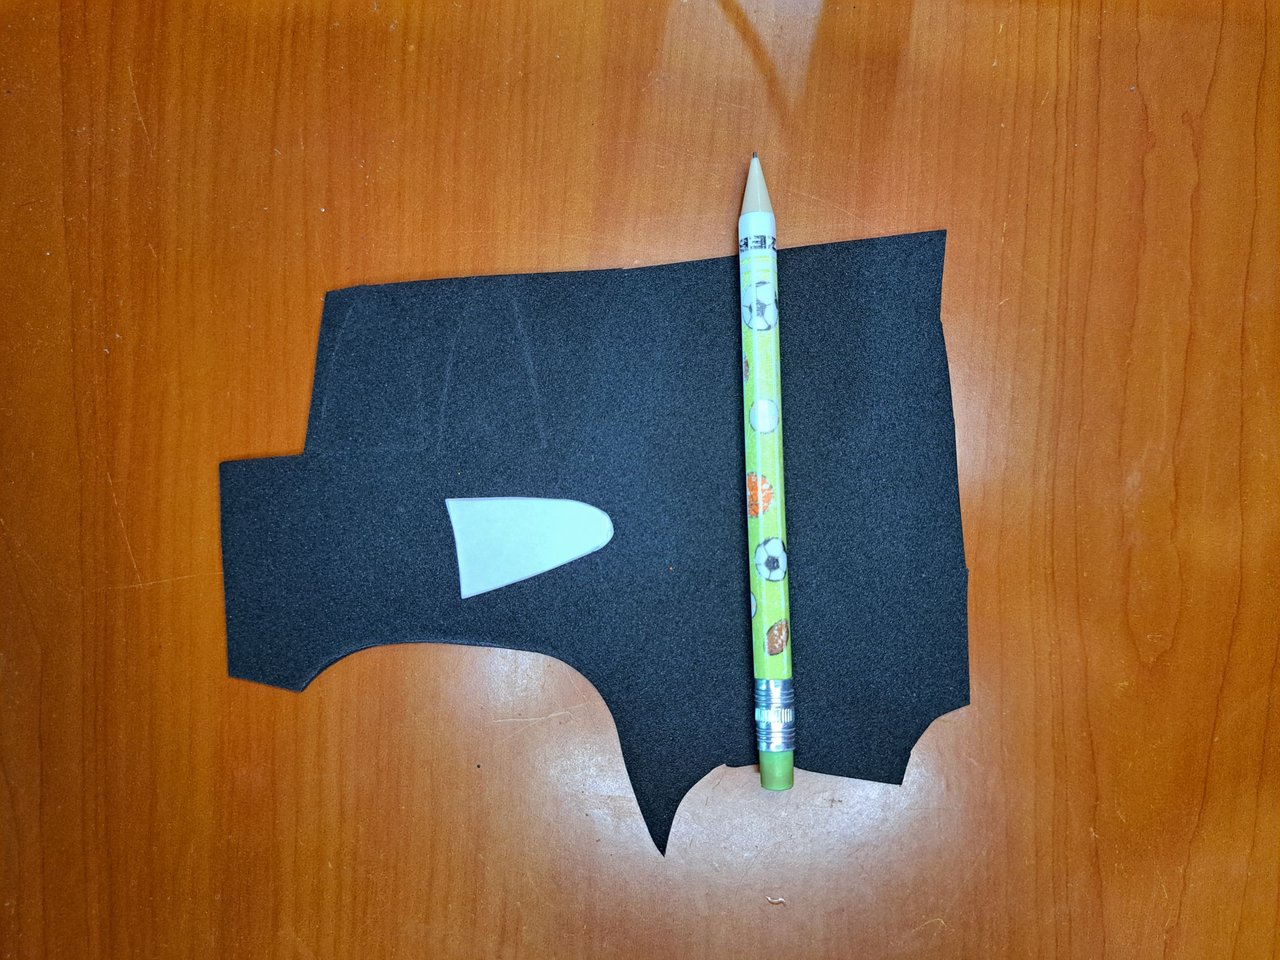
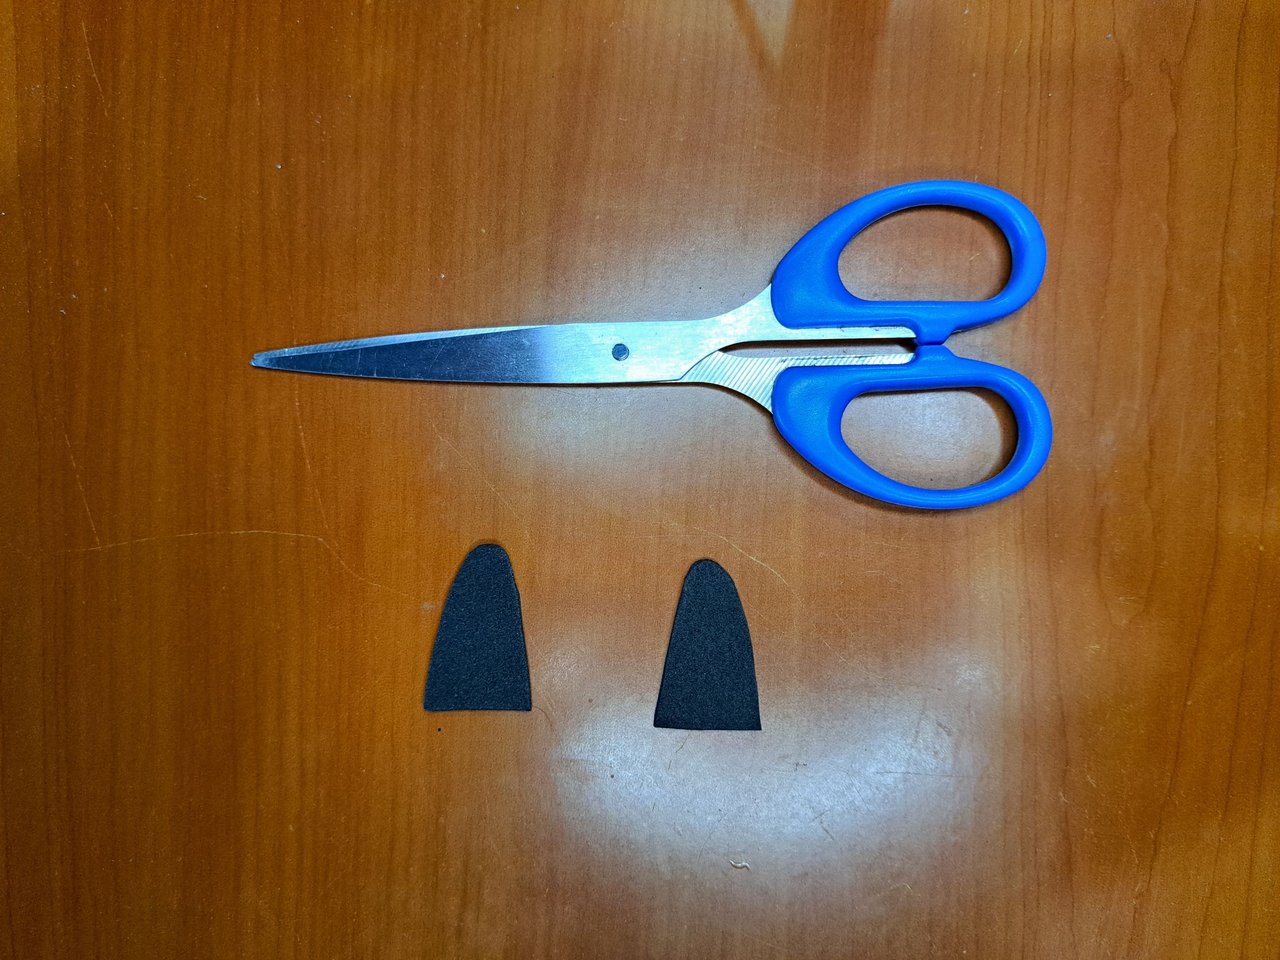
3️⃣ Next, I did the same, but using black fomi to mark and cut out the back area of the body and the two fins. The two fins are the same and that is why both fins and legs have only one template, as they will be cut out double.
A continuación, hice lo mismo, pero utilizando fomi negro para marcar y recortar la zona trasera del cuerpo y las dos aletas. Las dos aletas son iguales y es por eso que tanto las aletas como las patas tienen una sola plantilla, pues se recortarán dobles.
 |
 |
 |
 |
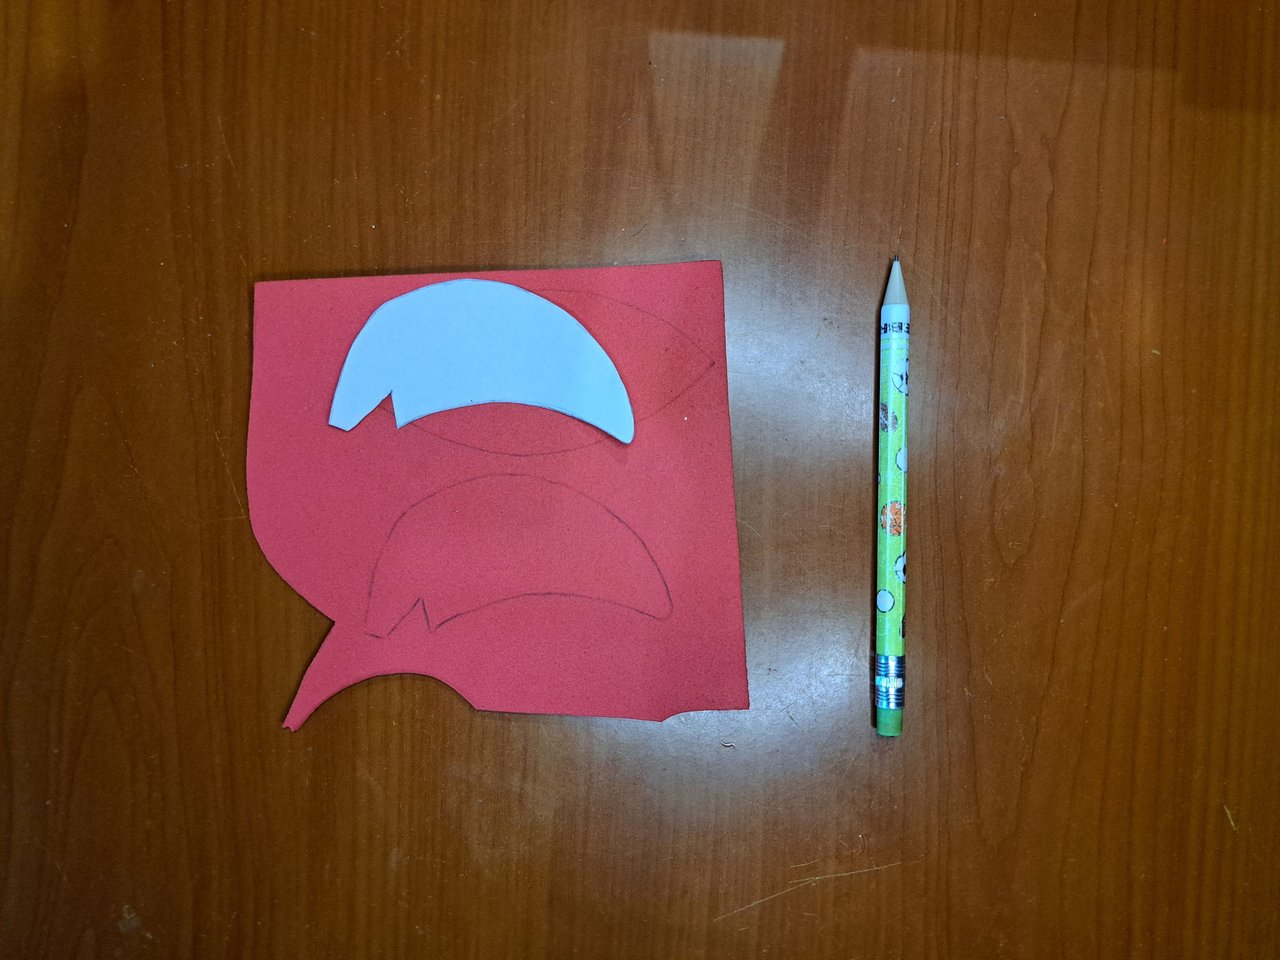
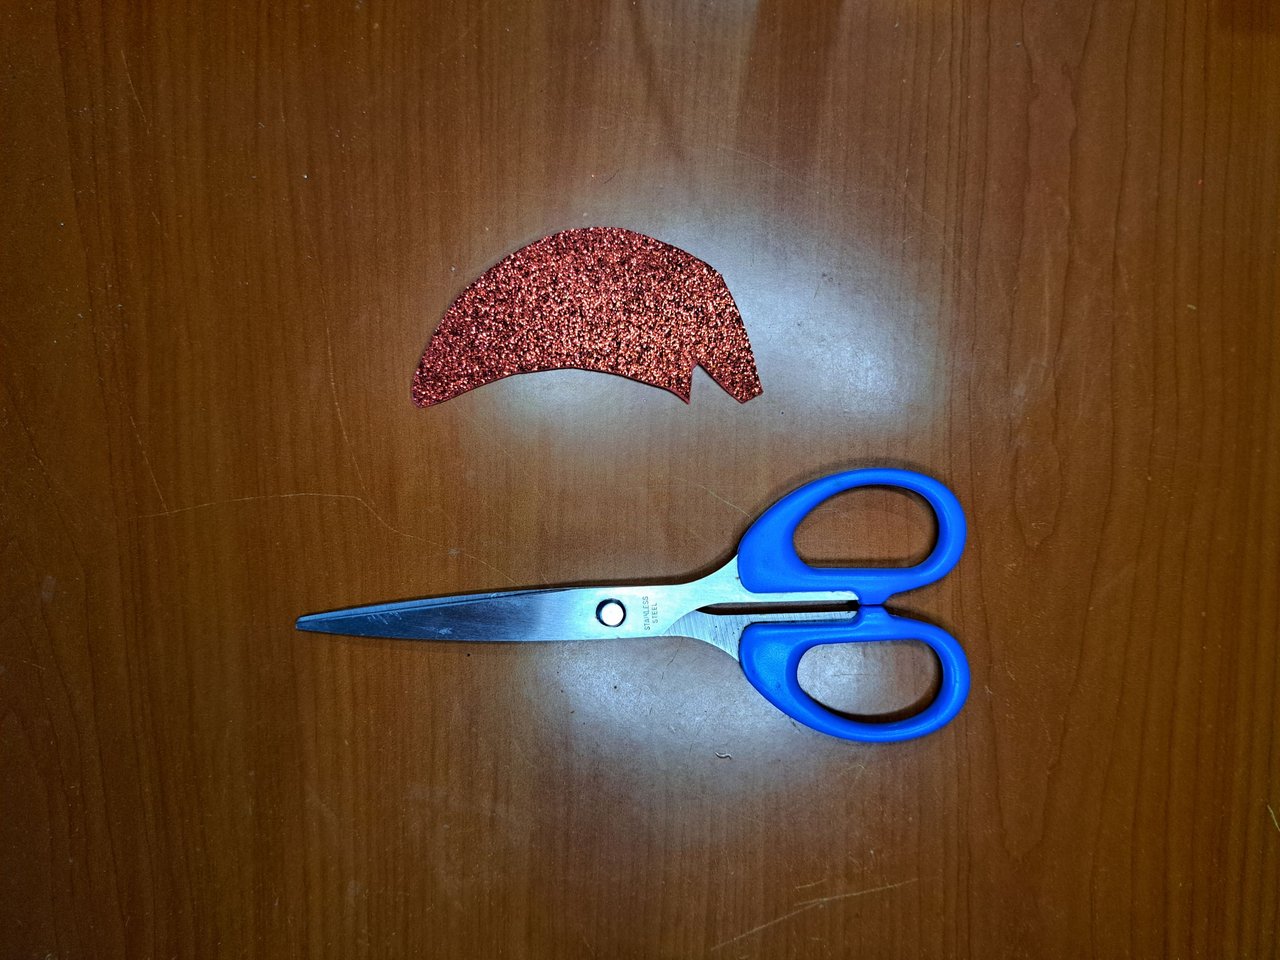
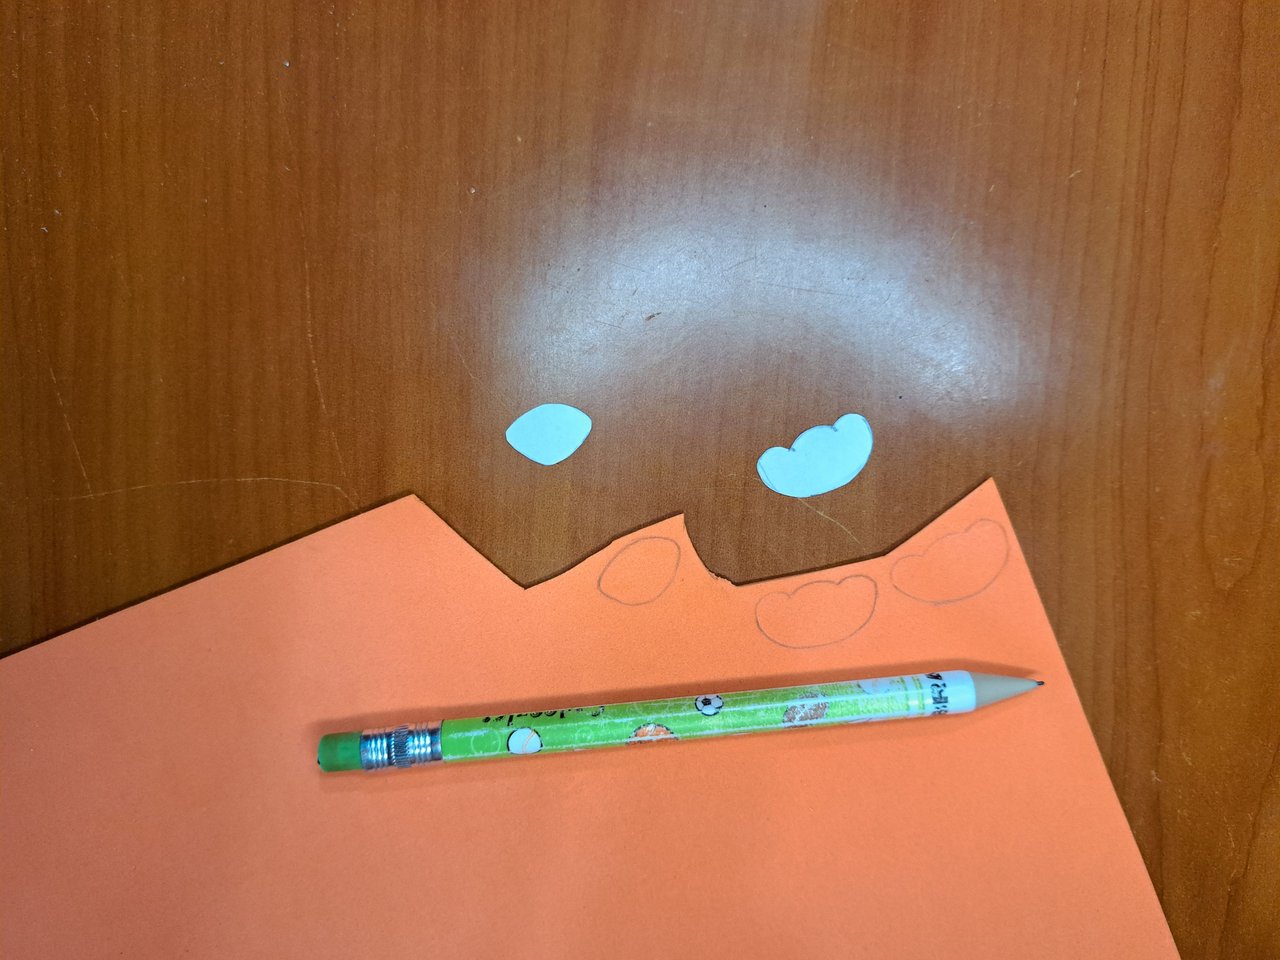
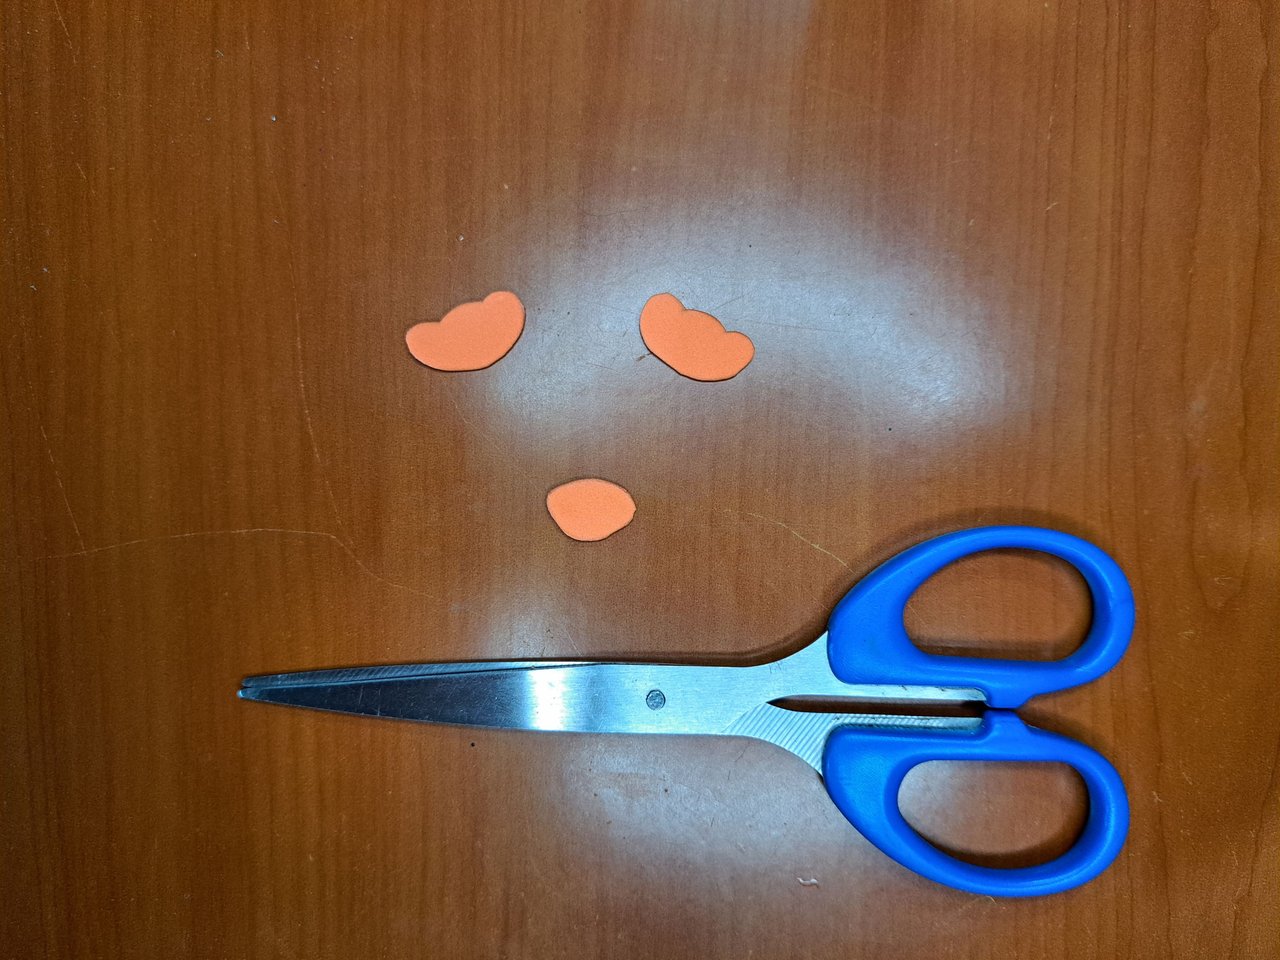
4️⃣ I marked and cut out the silhouette of the hat out of red frosted fomi. At the same time I cut out the shape of the legs and the beak in orange fomi.
En fomi rojo escarchado marque y recorte la silueta del gorro. A la vez en fomi naranja recorté la forma de las patas y el pico.
 |
 |
 |
 |
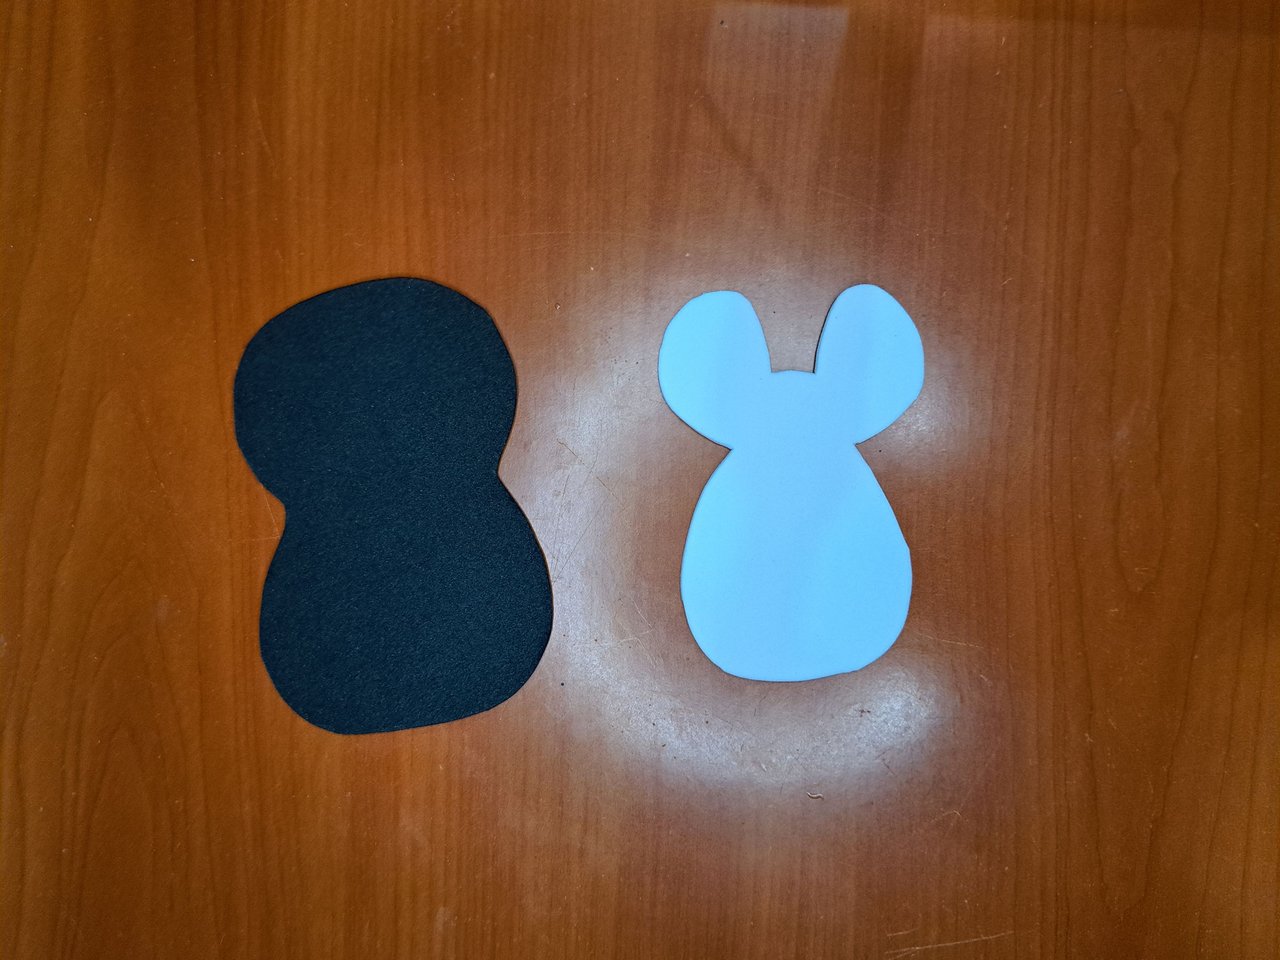
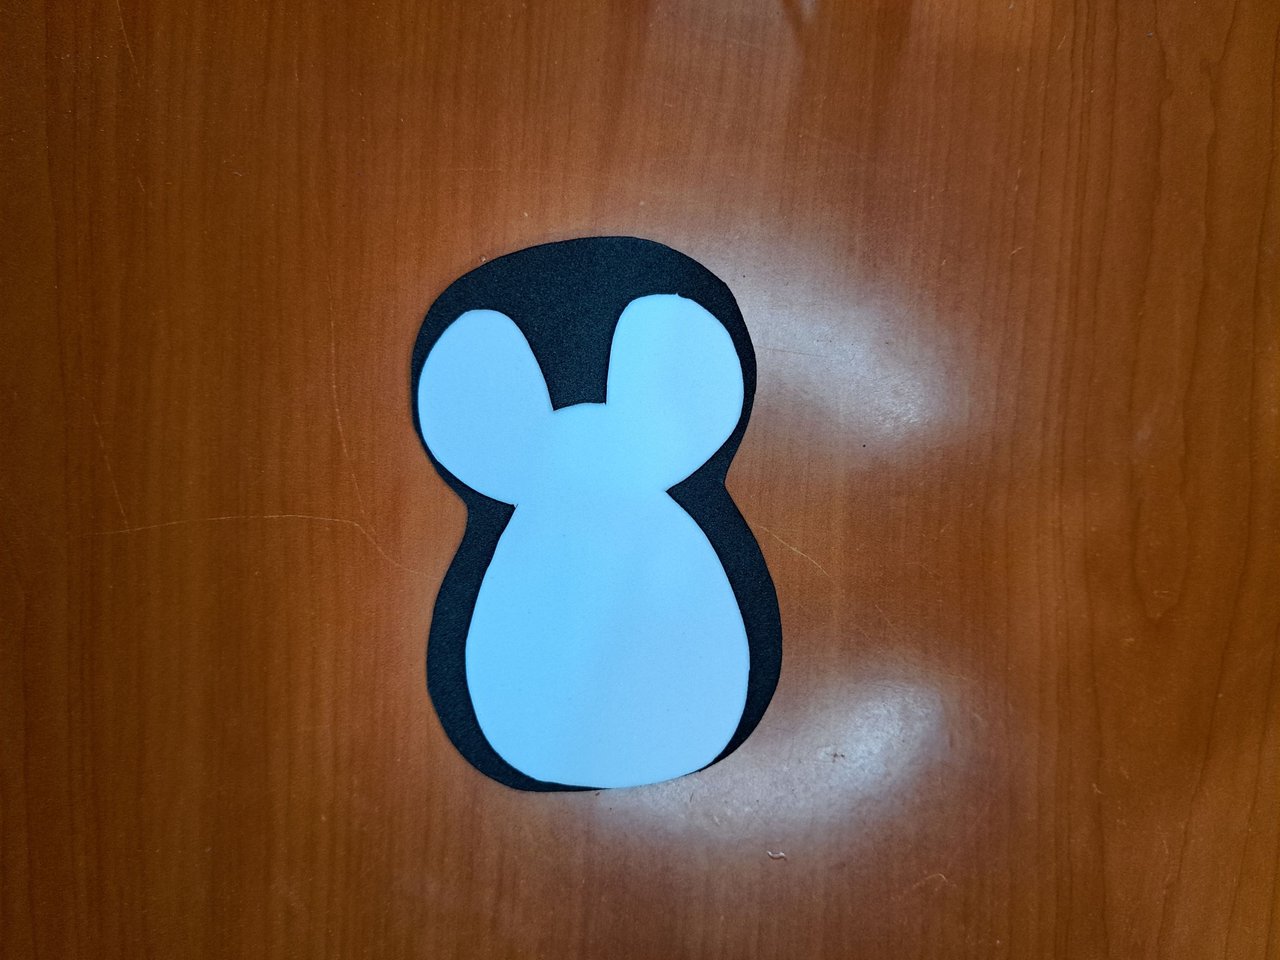
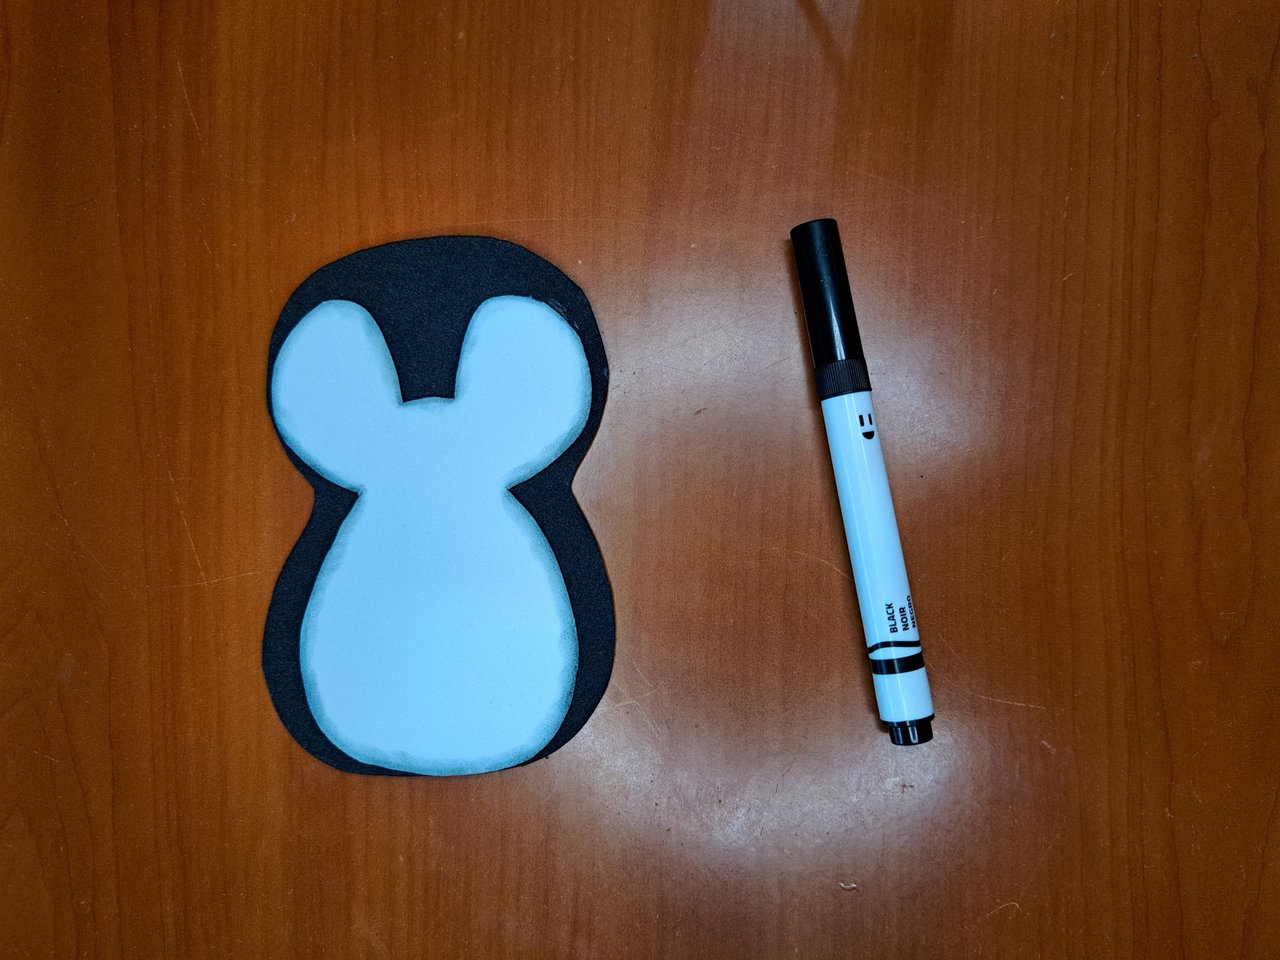
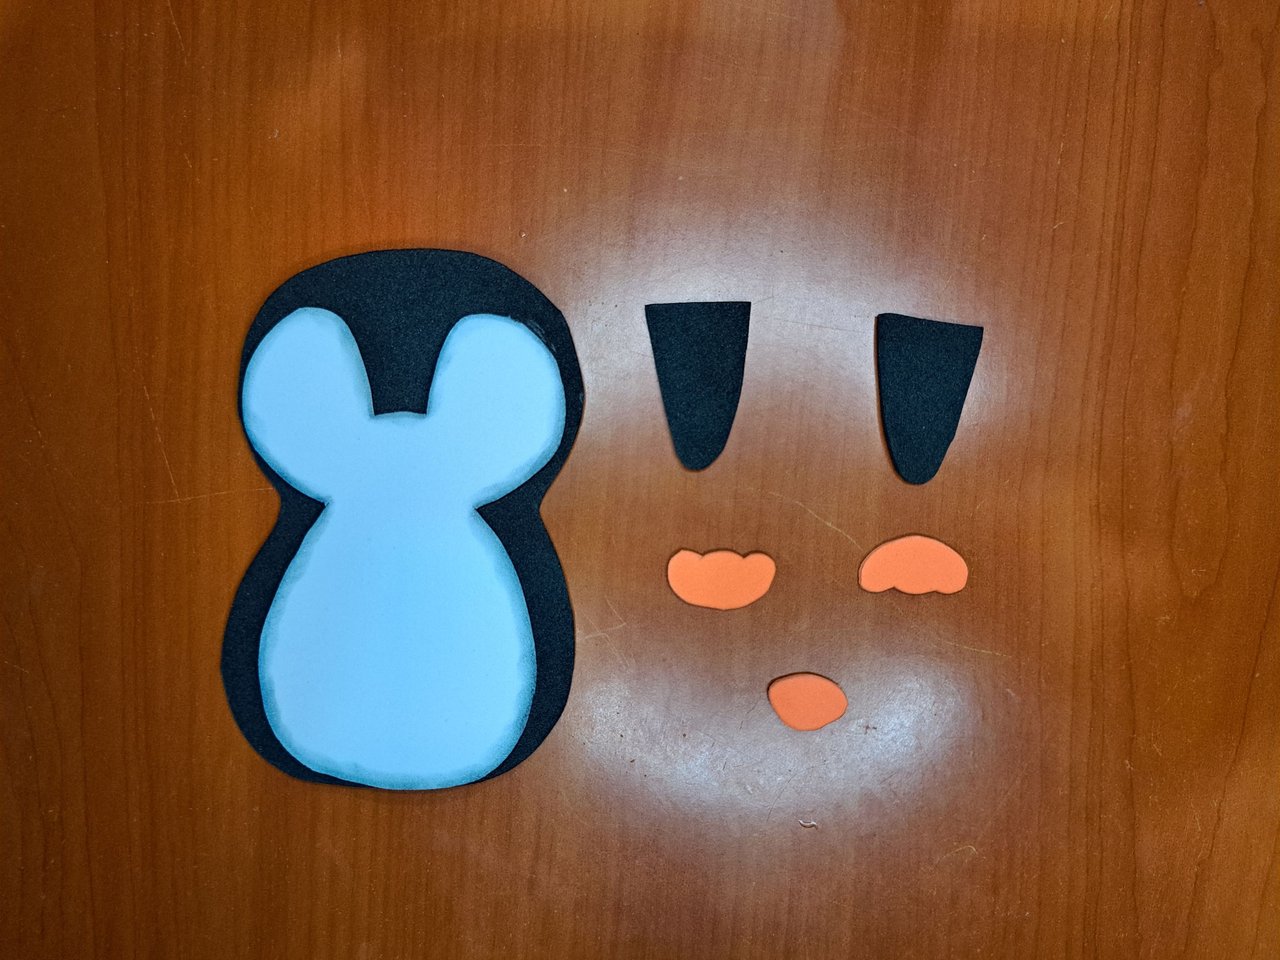
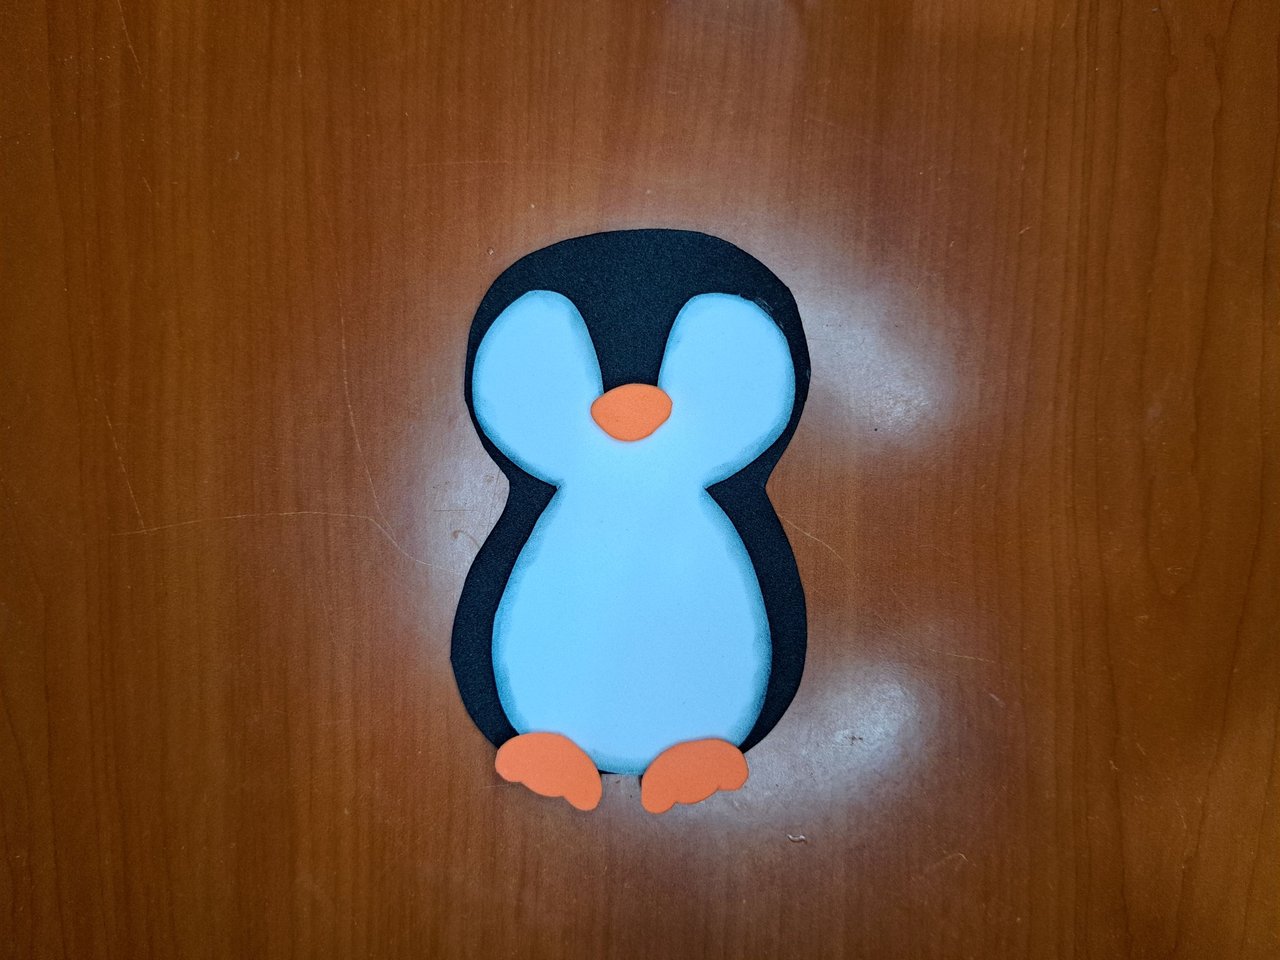
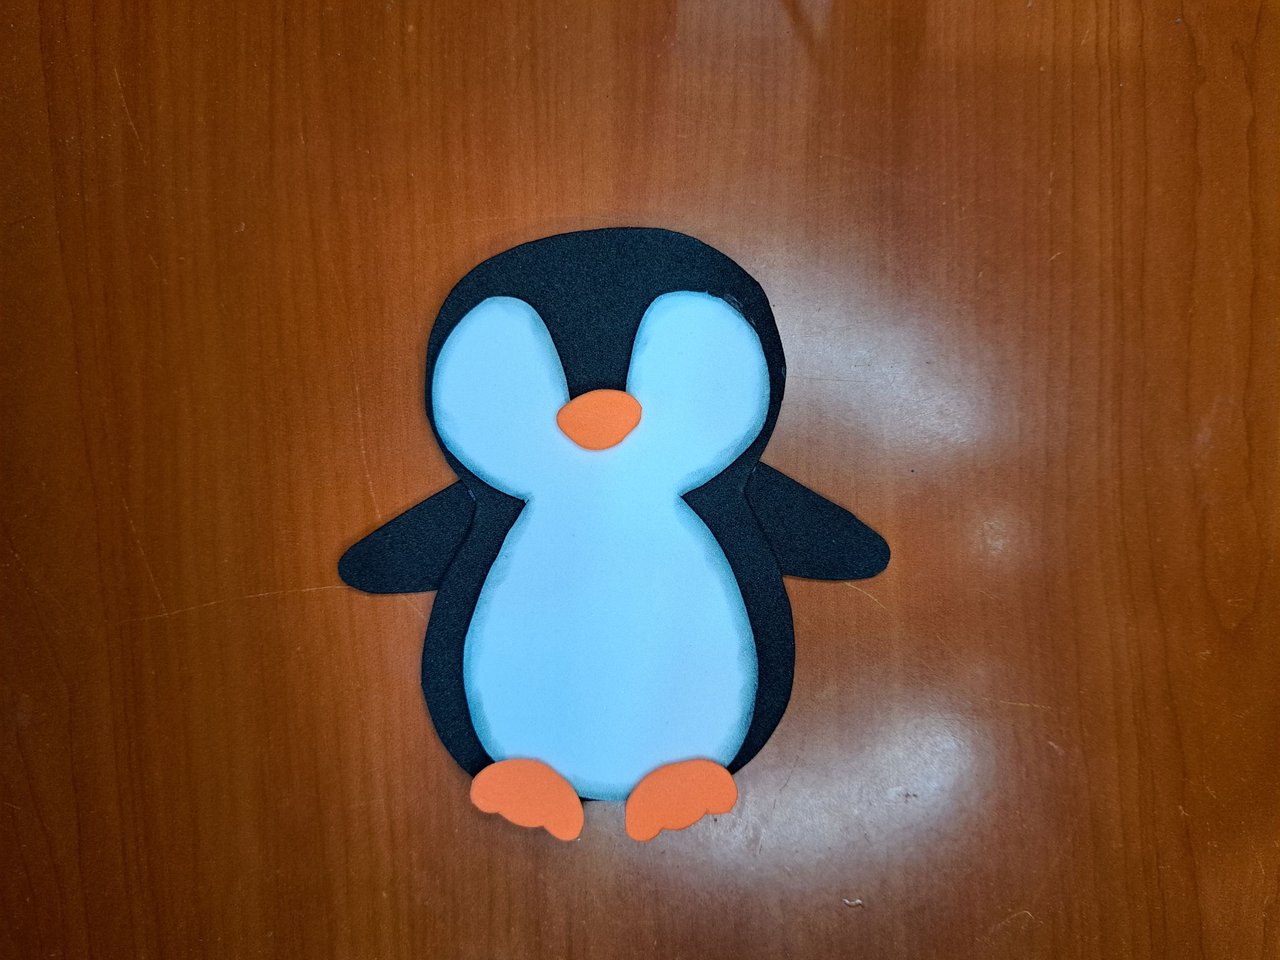
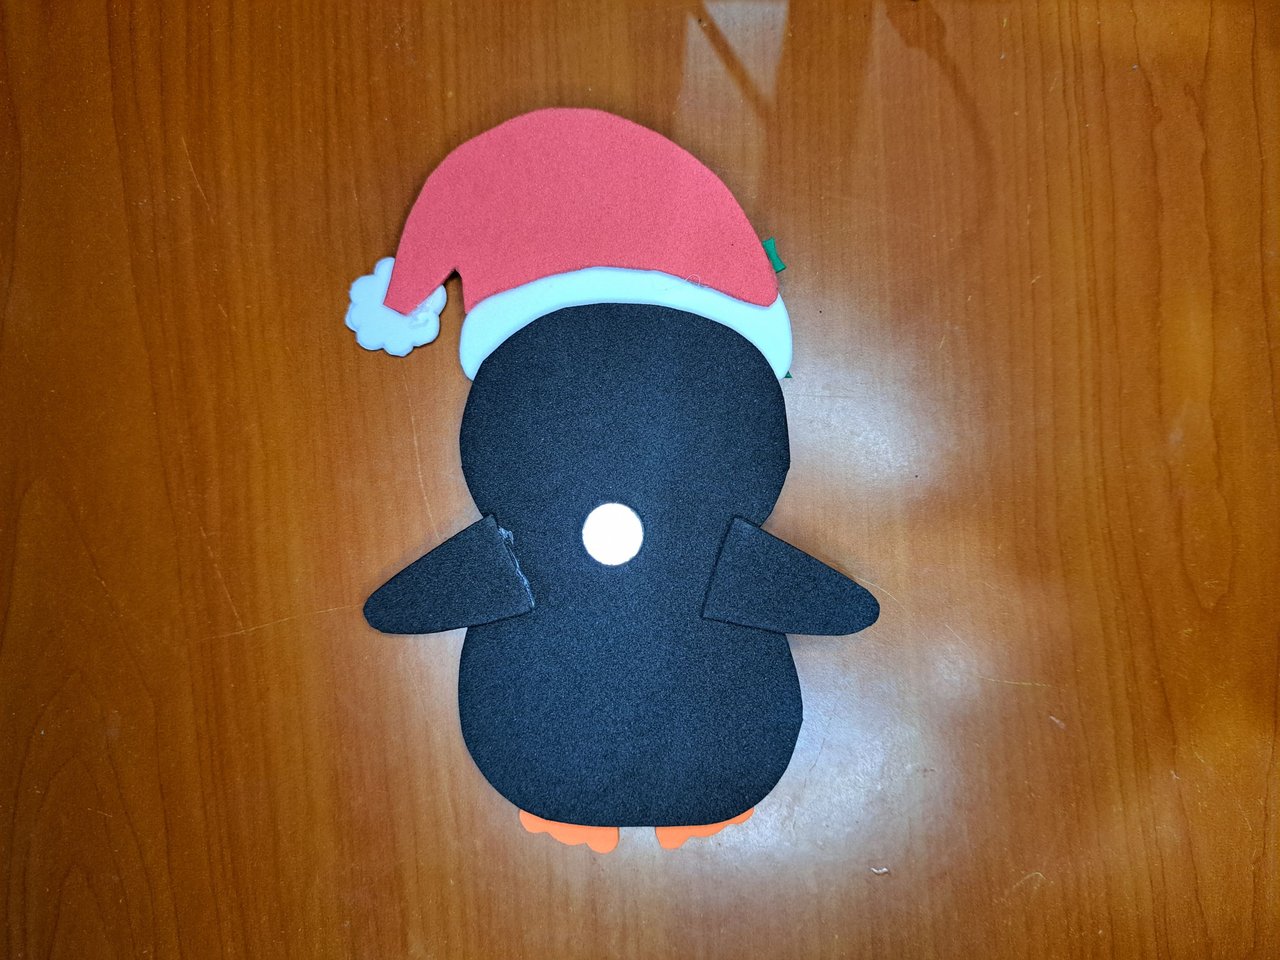
5️⃣ With all the pieces cut out, I could start gluing them on top of each other to form the penguin. I started by gluing the two larger pieces that make up the body. I used a black marker to smudge the entire edge of the white area to create volume. Next, I glued on the beak, legs and flippers. I also used some orange around the legs and to mark the mouth.
Con todas las piezas recortadas, ya pude empezar a pegarlas una encima de otras para formar al pingüino. Empecé pegando las dos piezas más grandes que conforman el cuerpo. Utilicé un marcador negro para difuminar todo el borde del área blanca y crear volumen. Seguidamente, pegué el pico, las patas y las aletas. También utilicé un poco de color naranja alrededor de las patas y para marcar la boca.
 |
 |
 |
 |
 |
 |
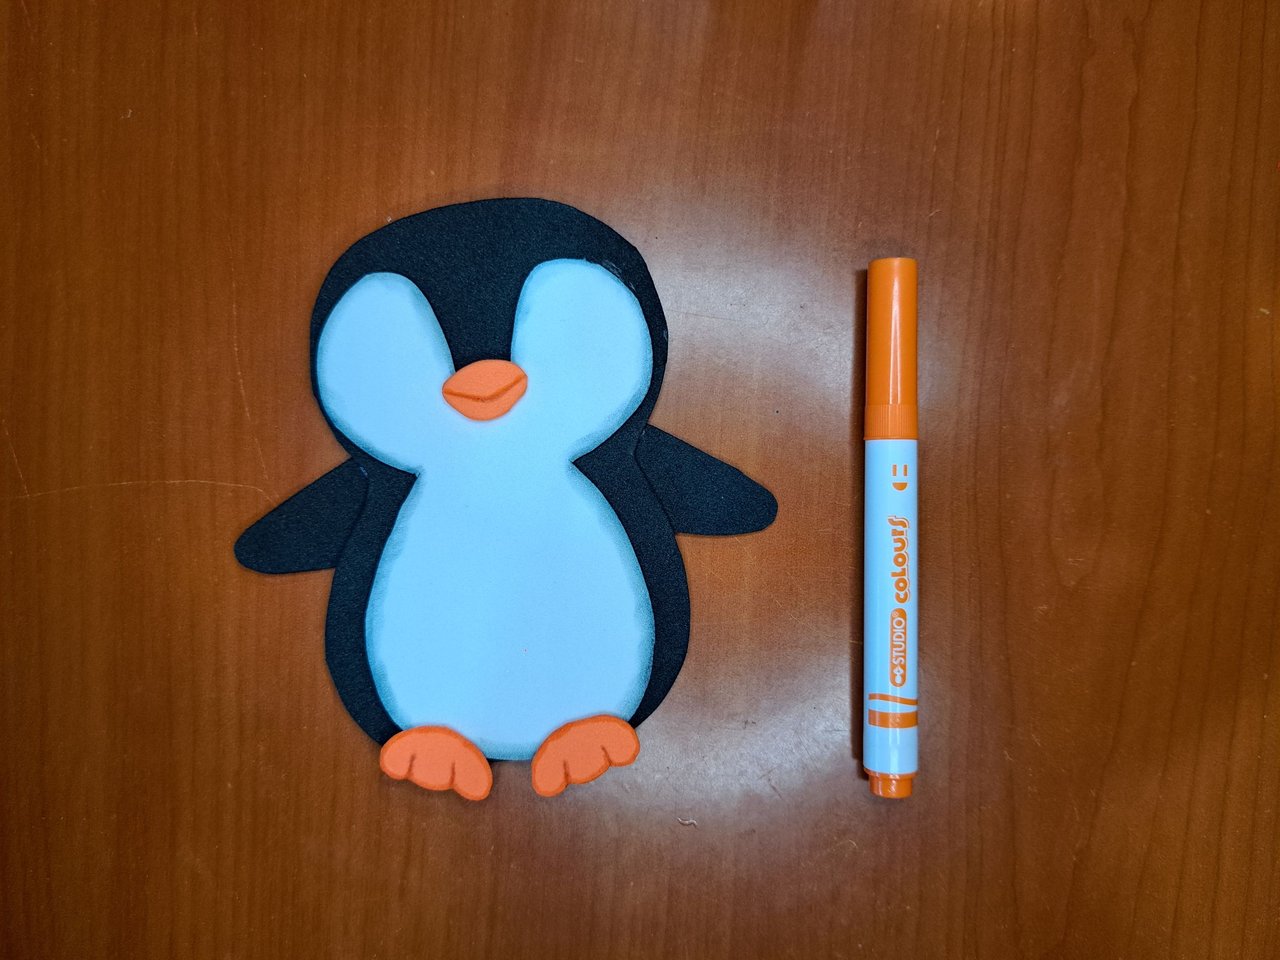 |
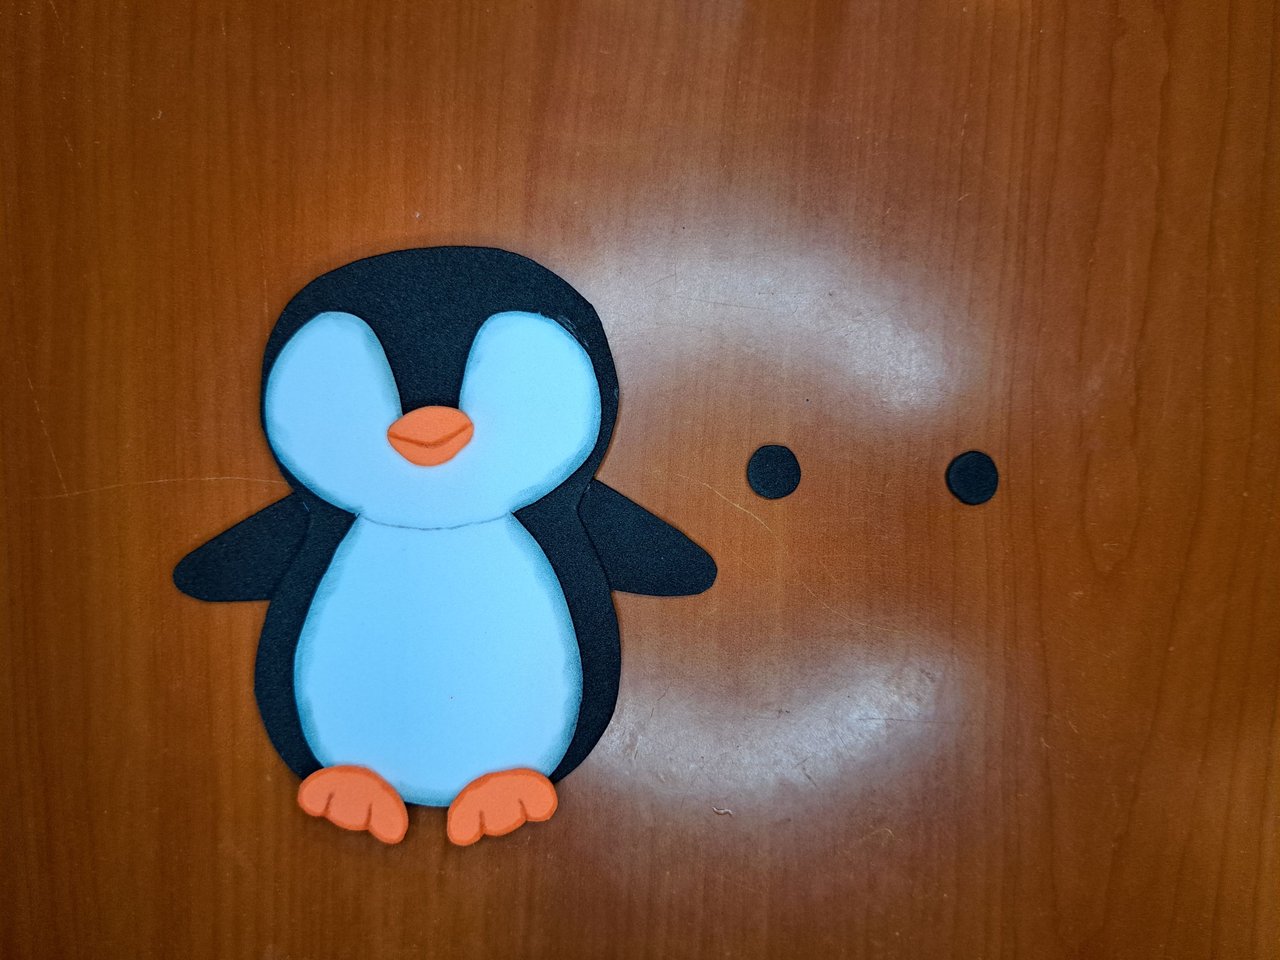
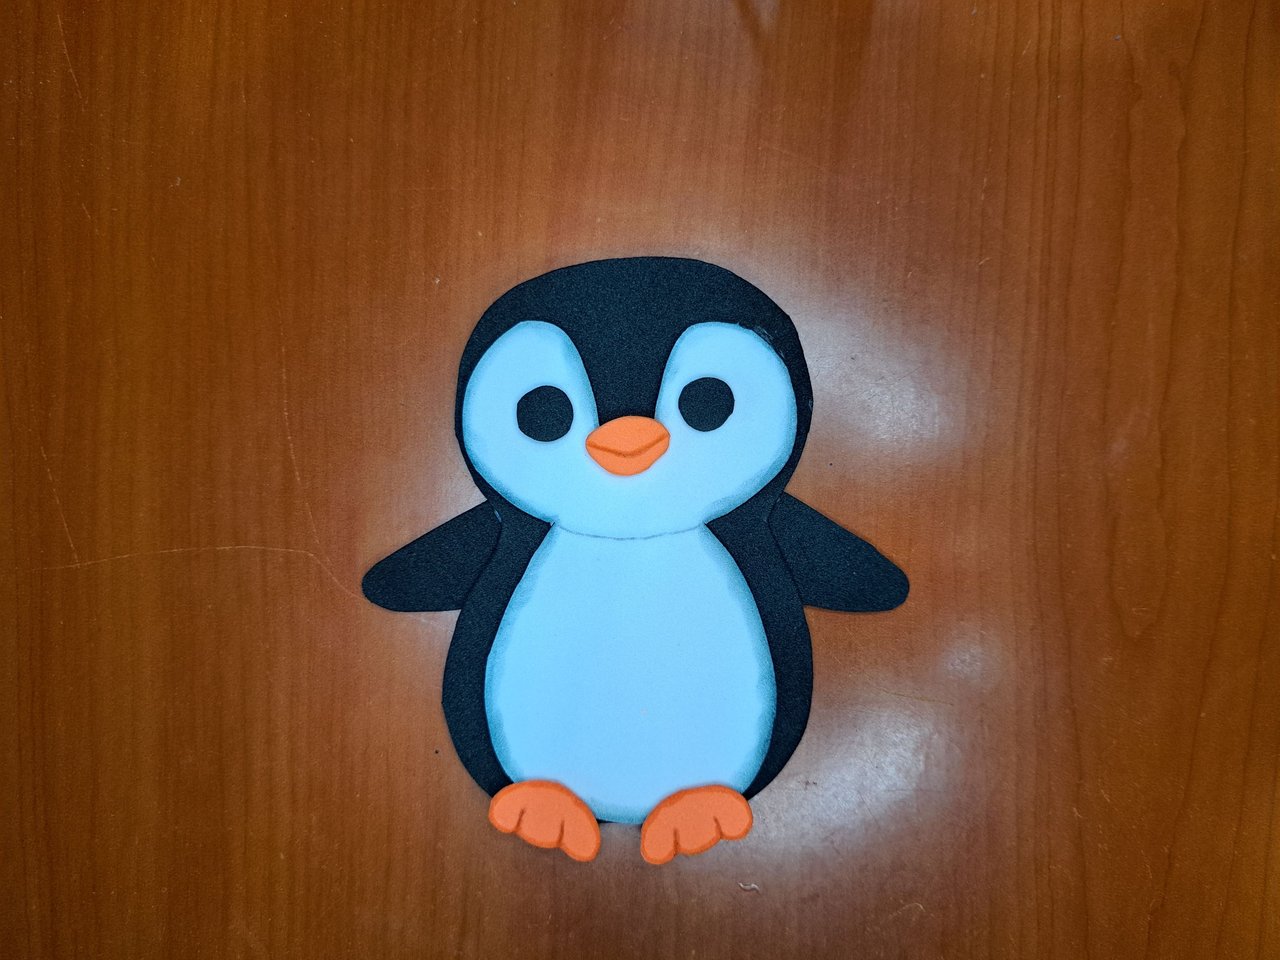
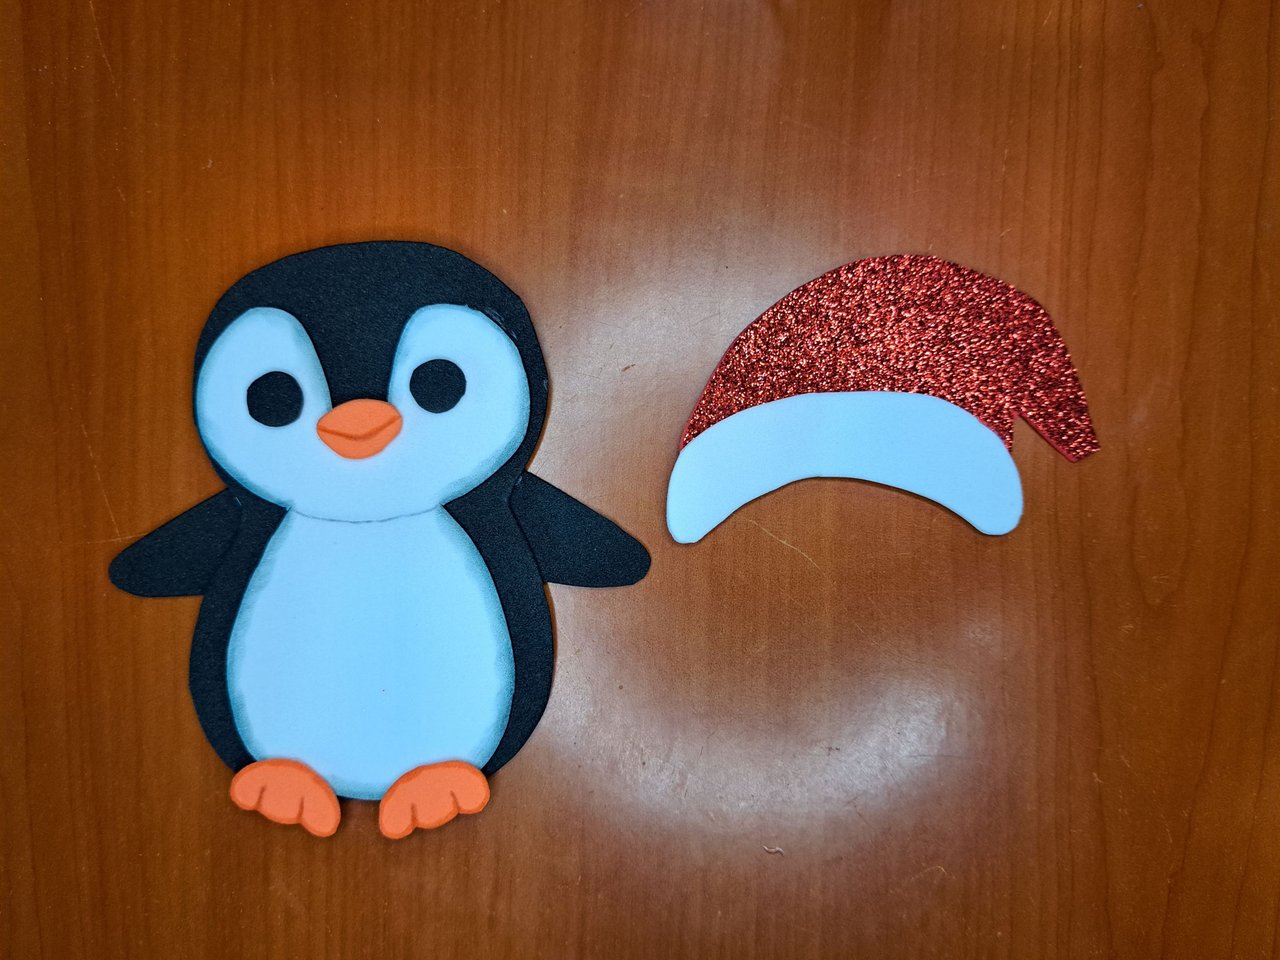
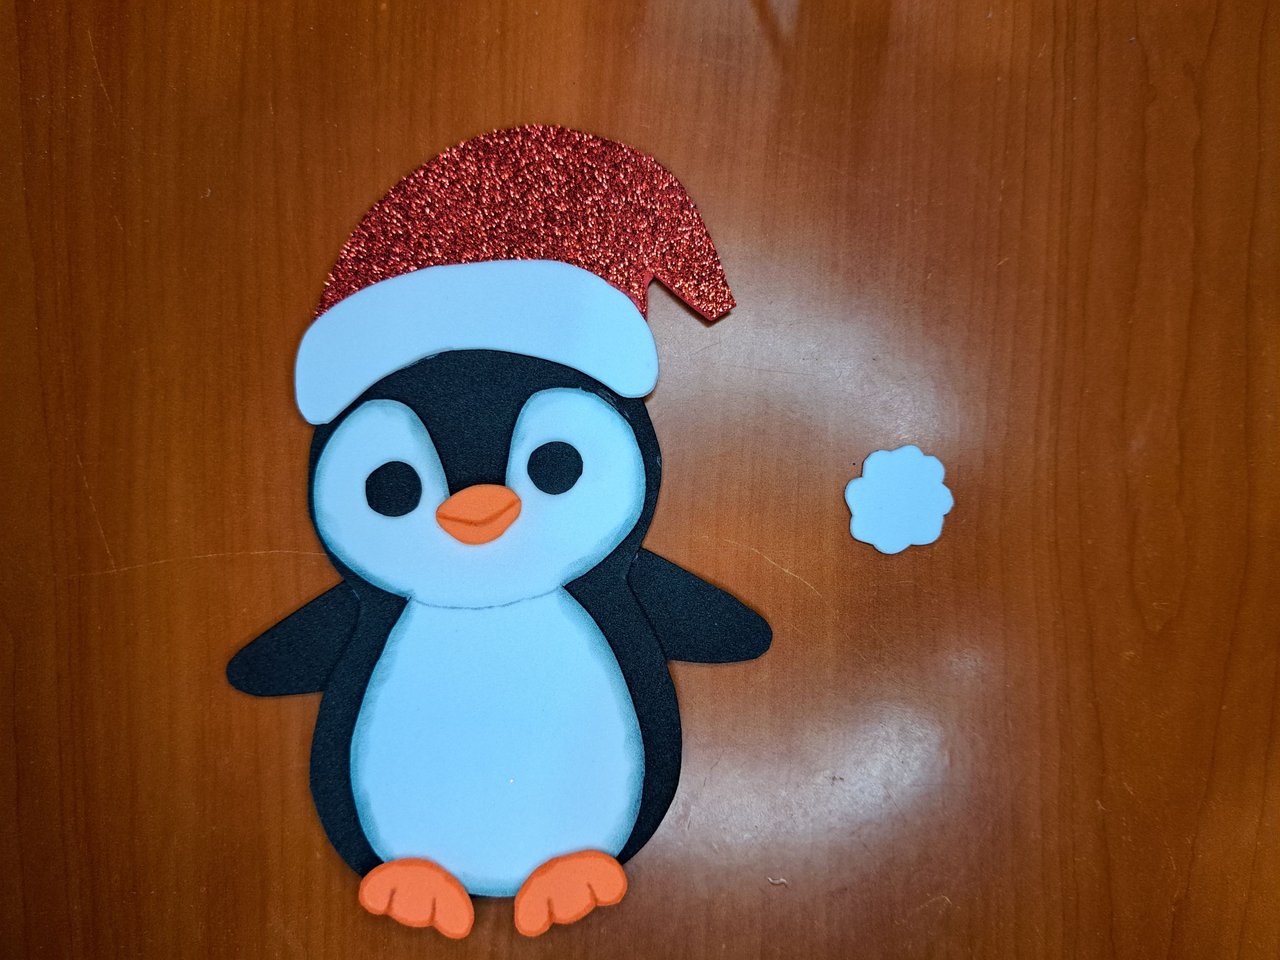
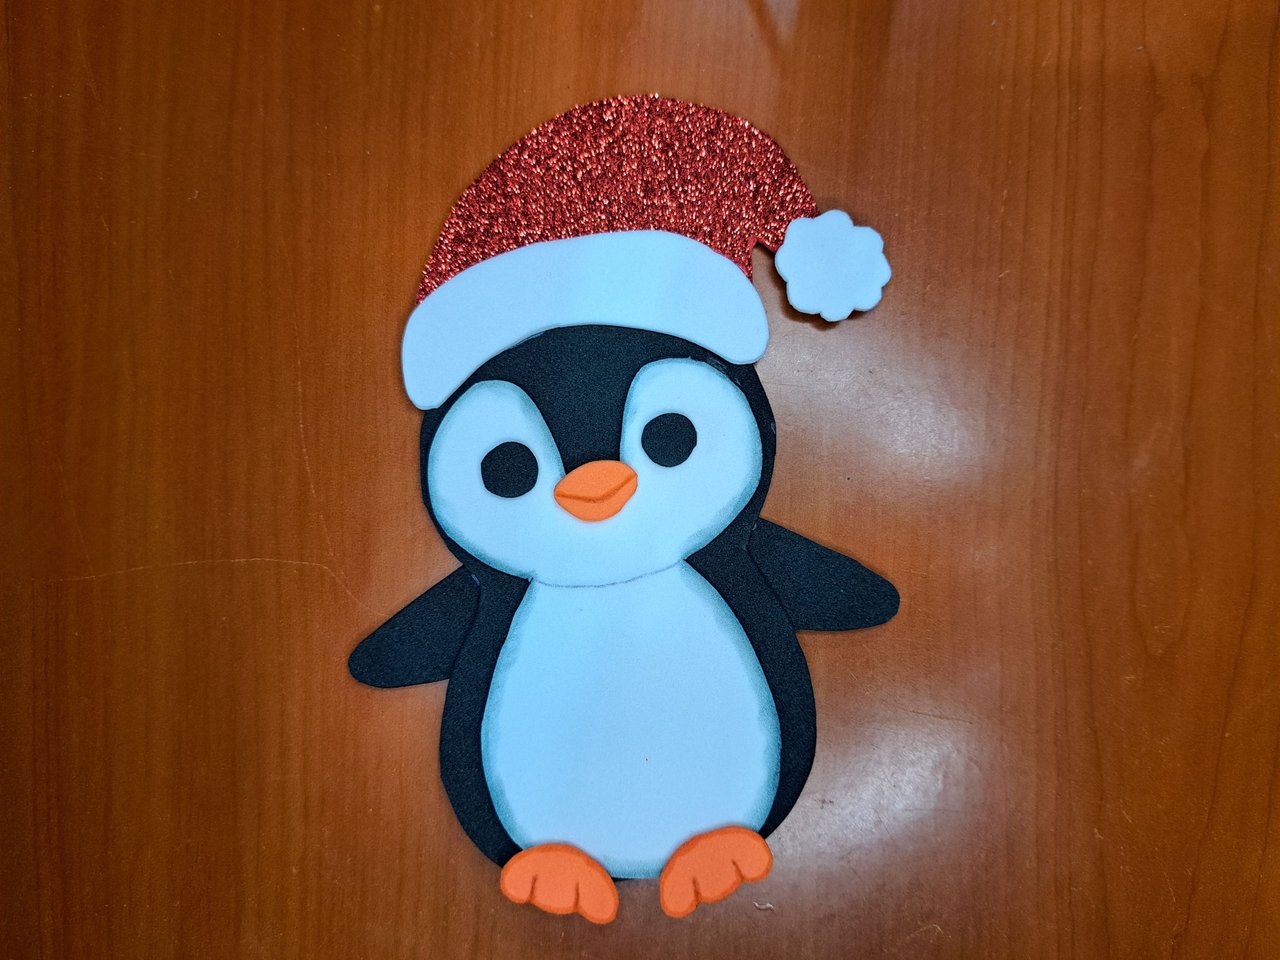
6️⃣ For the eyes, I used the lid of one of the markers and so I marked and cut out two small circles in black fomi. After gluing the eyes, I also glued the hat on top of the head along with its doormat border and pompom, both made with white fomi.
Para los ojos, utilicé la tapa de uno de los marcadores y así marque y recorte dos círculos pequeños en fomi negro. Luego de pegar los ojos, pegué también el gorro encima de la cabeza junto con su borde felpudo y pompón, ambos hechos con fomi blanco.
 |
 |
 |
 |
 |
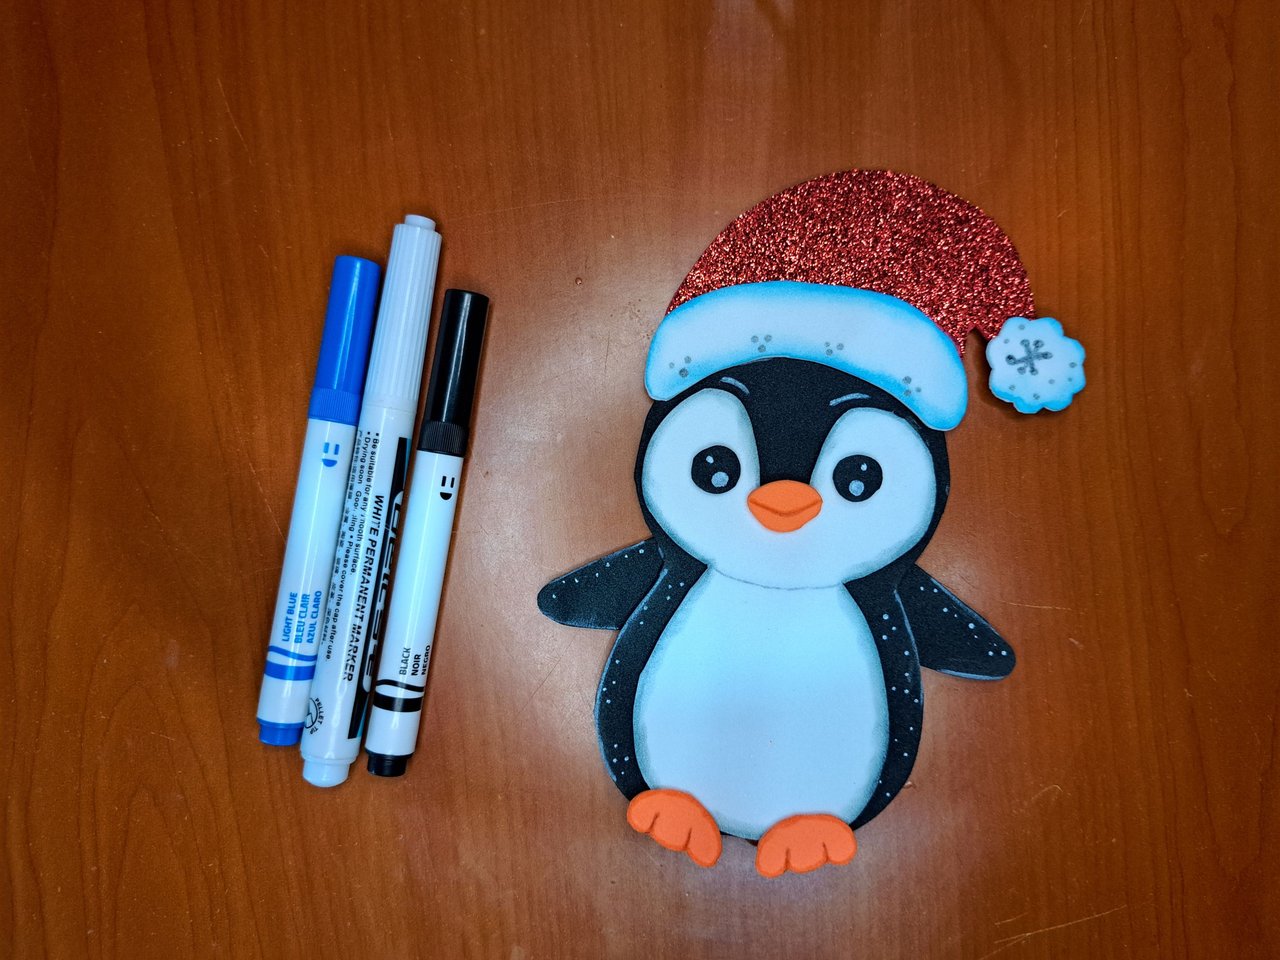
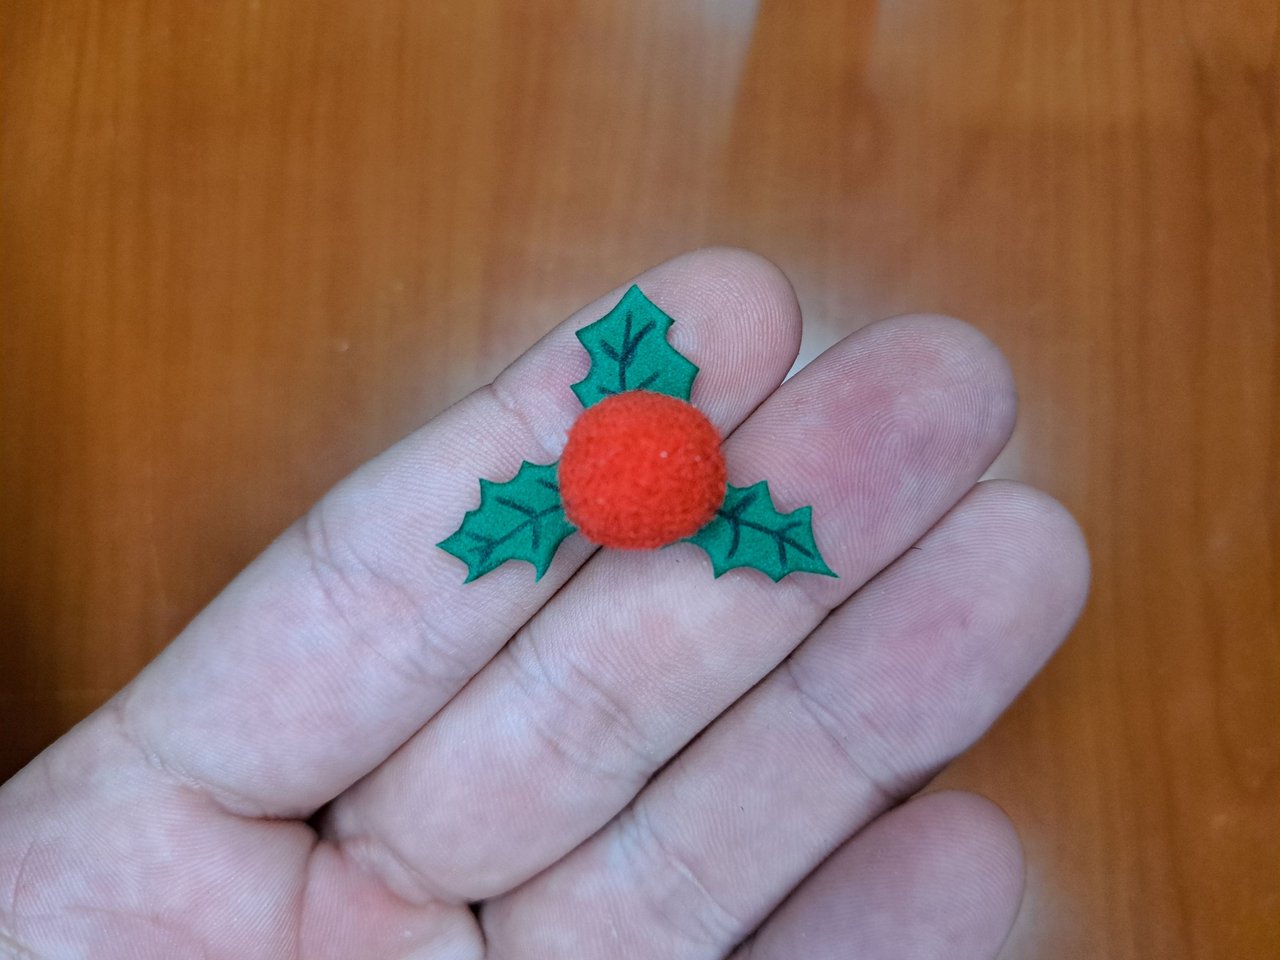
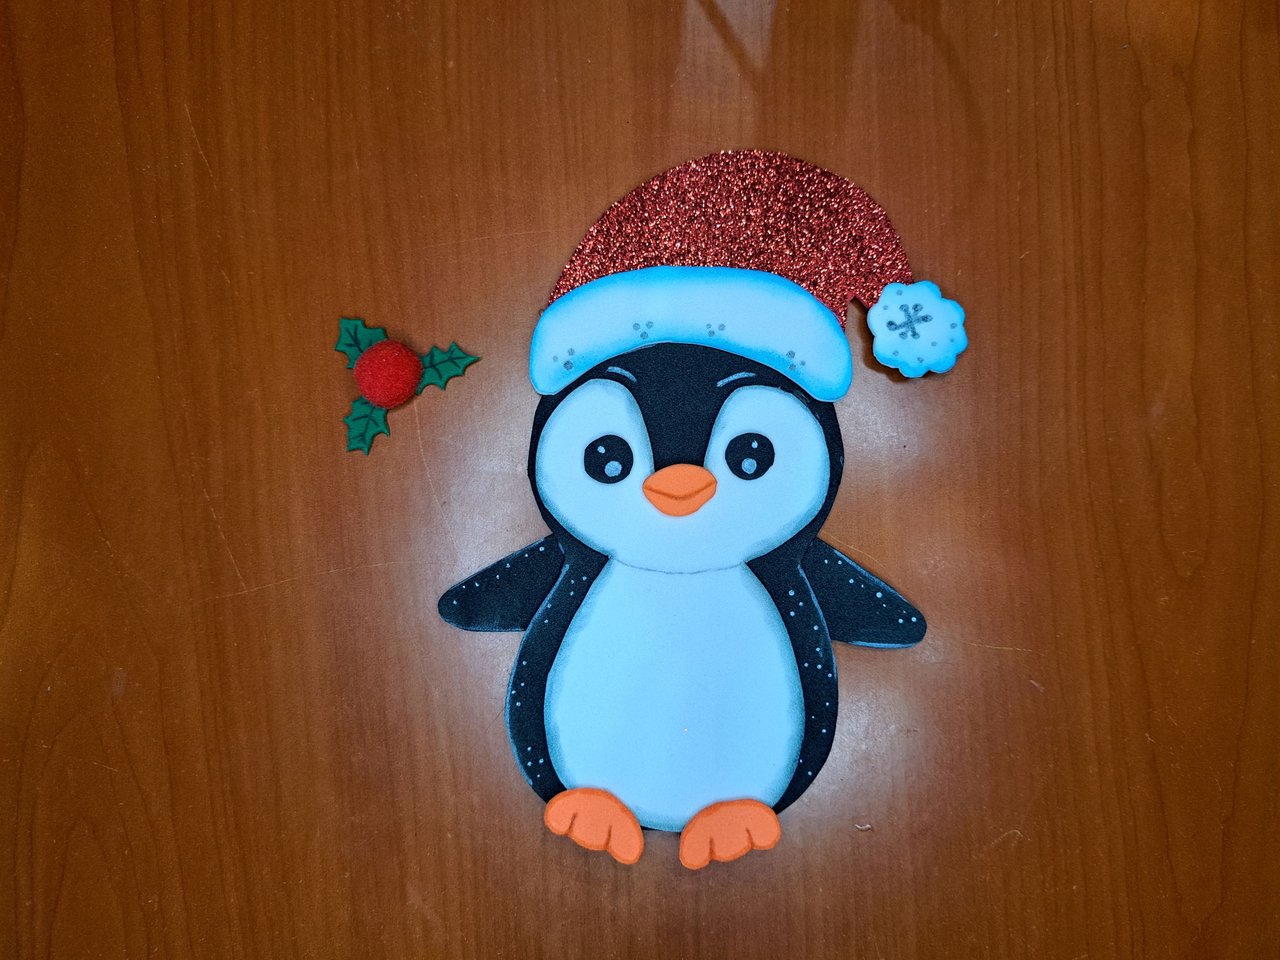
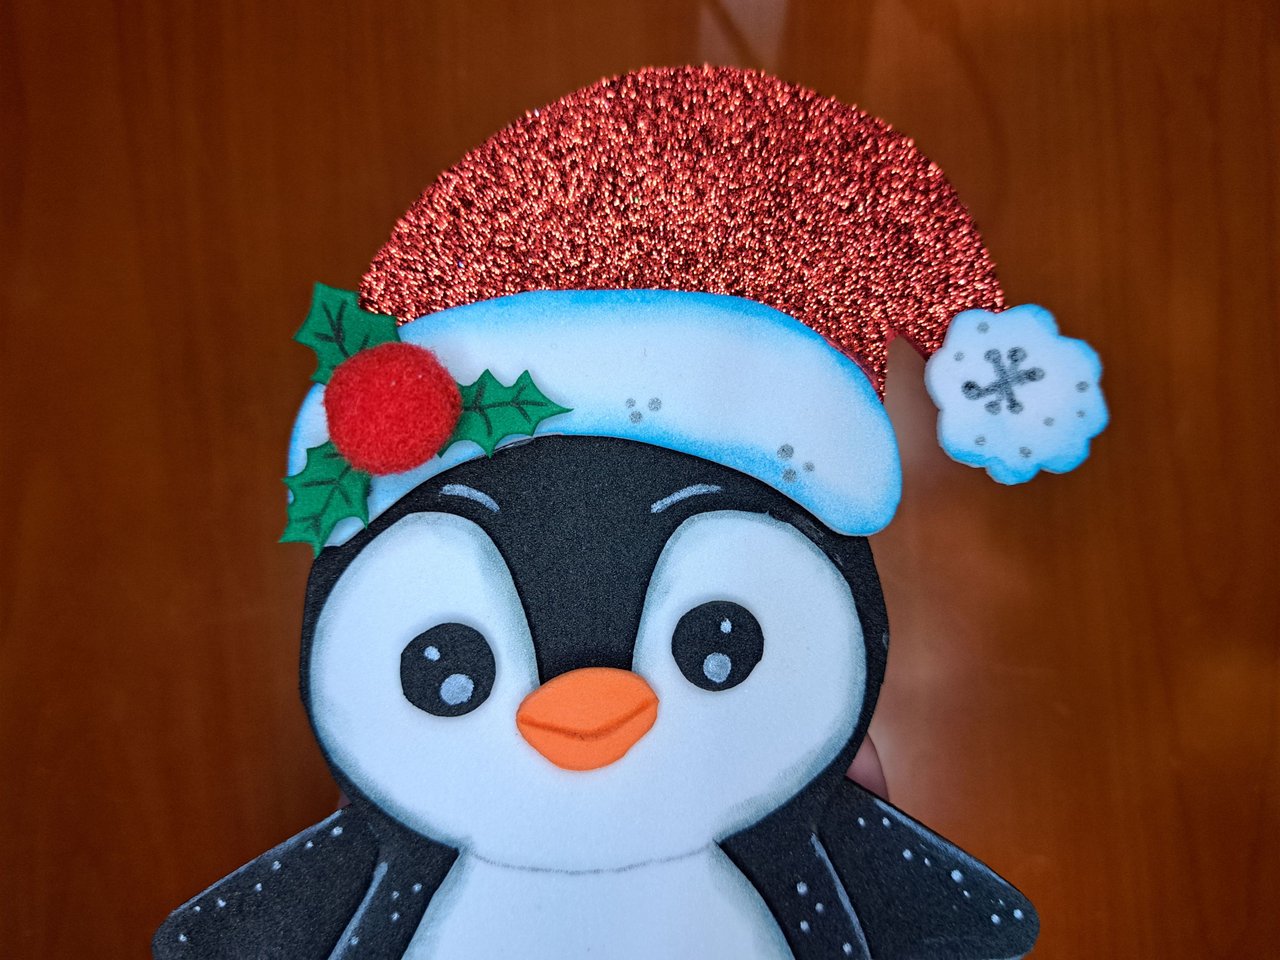
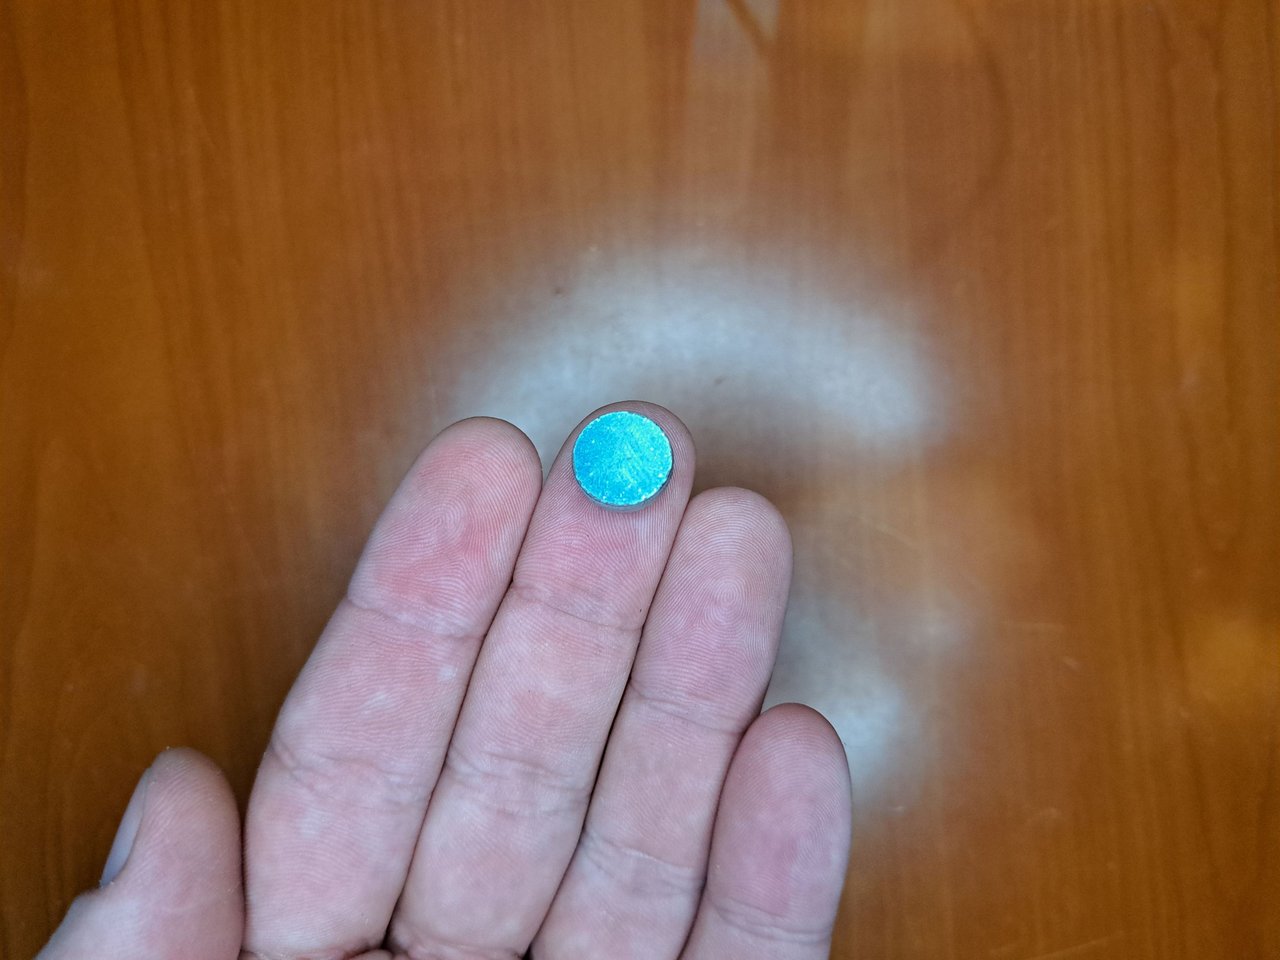
7️⃣ To finish, I added some details to give the ornament some life. I used white, blue and black markers to add edge lighting and some shadows. I created a mistletoe ornament using plain green fomi and a red pom pom doormat. At the end, I added a magnet to stick it to any metal surface. Remember that the magnet can be replaced with double-sided tape so the ornament can be glued to any surface.
Para finalizar, agregué algunos detalles para darle un poco de vida al adorno. Utilicé marcadores blancos, azul y negro para añadir iluminación a los bordes y algunas sombras. Creé un adorno de muérdago utilizando fomi verde liso y un pompón felpudo rojo. Al final, le agregué un imán para pegarlo en cualquier superficie metálica. Recuerden que el imán puede ser sustituido por una cinta de doble cara y así el adorno podrá ser pegado a cualquier superficie.
 |
 |
 |
 |
 |
 |
 |
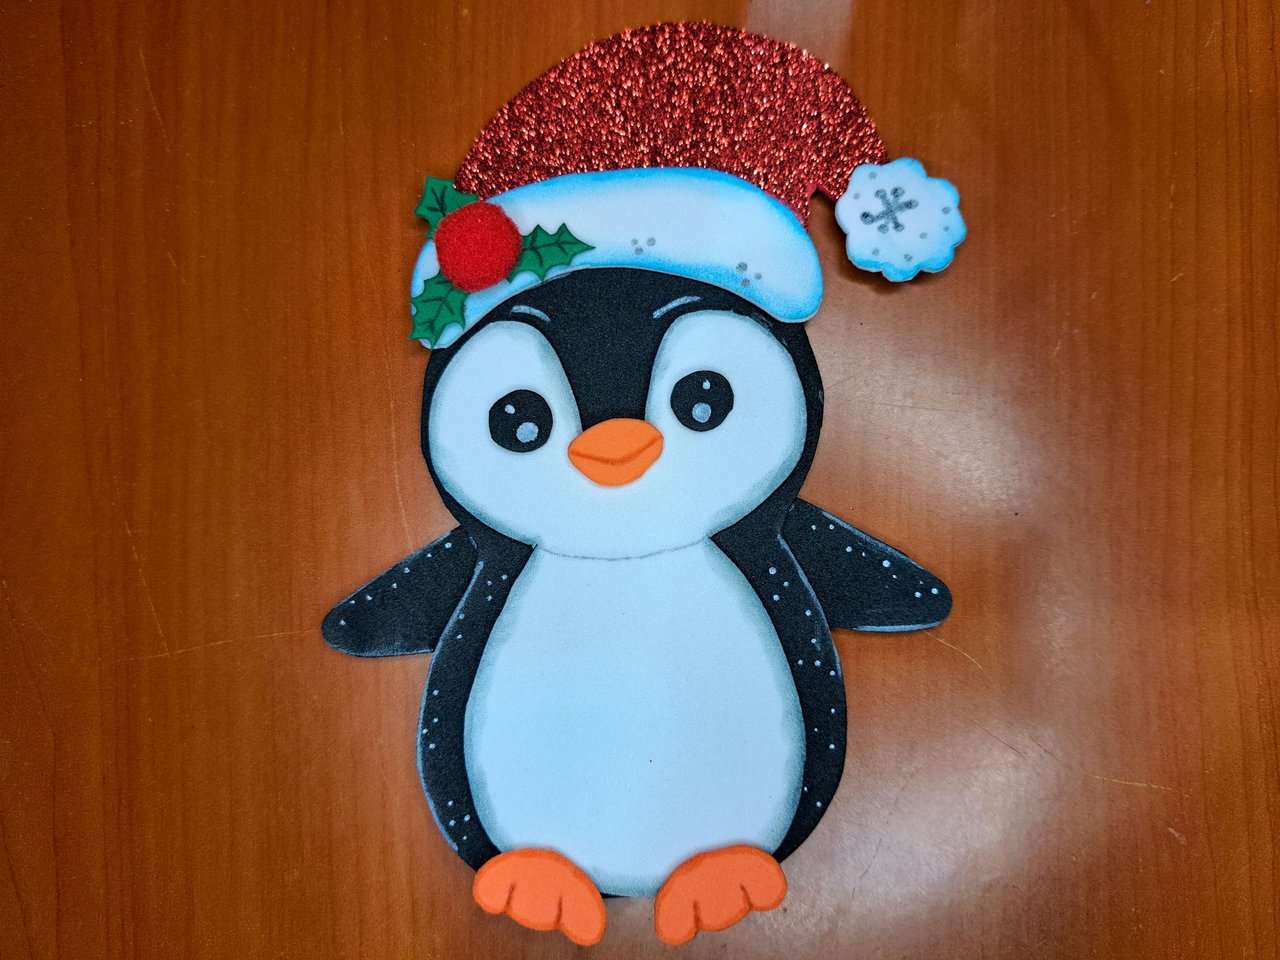
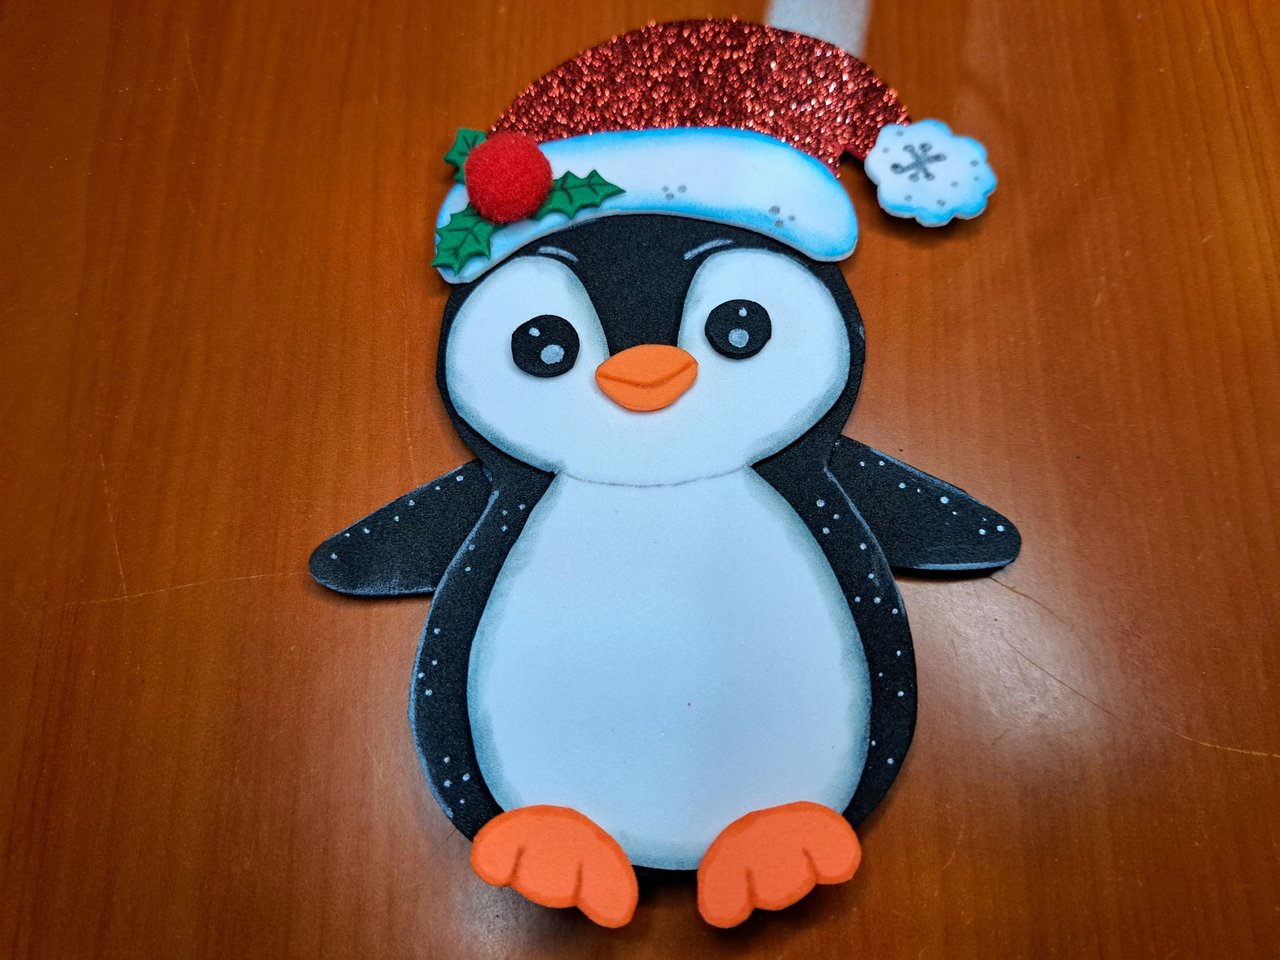
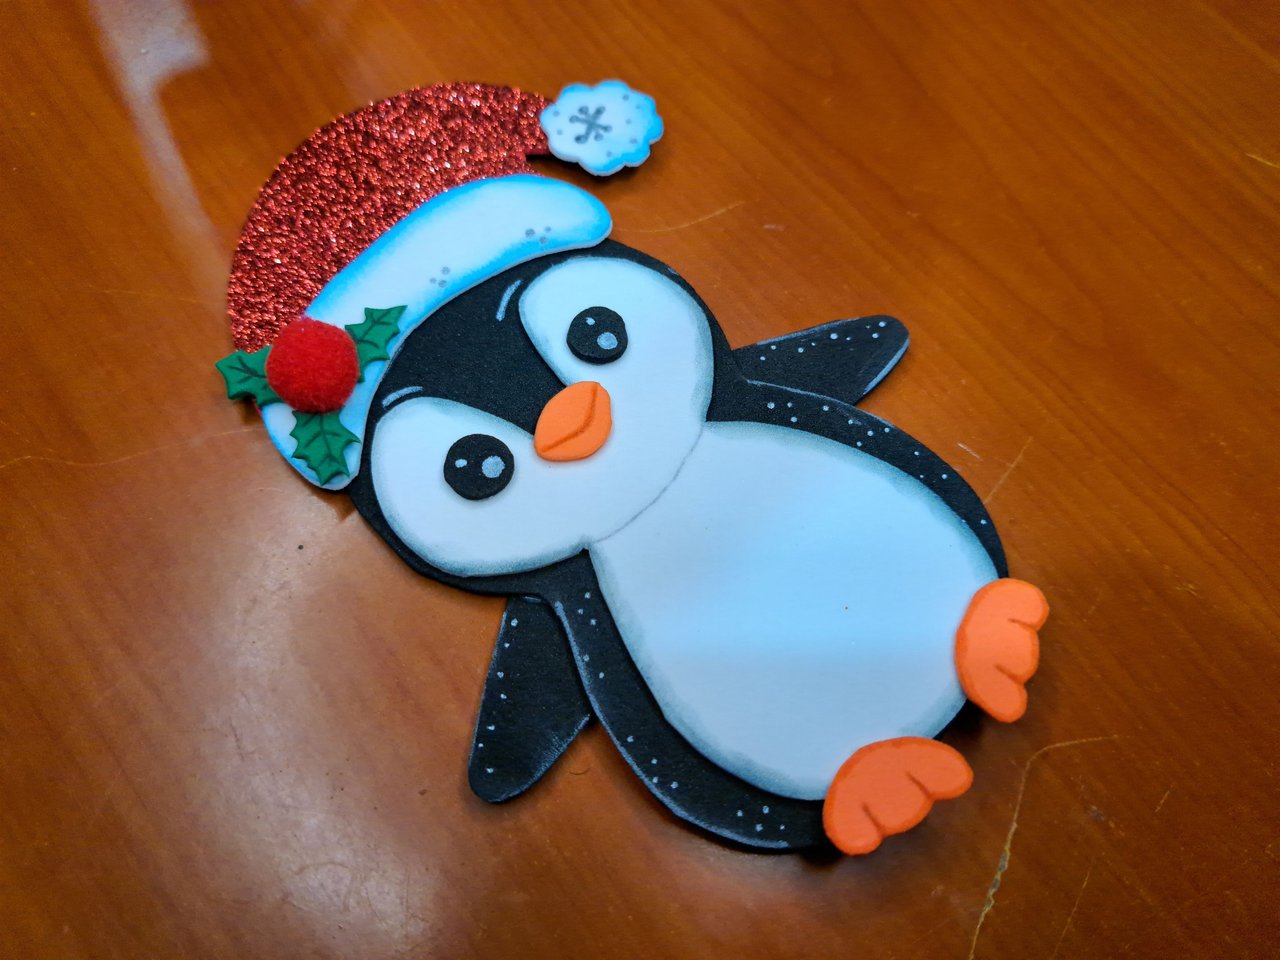
Finished Work // Trabajo Terminado
And this is the end of today's craft. I hope with all my heart that you liked it, since I really enjoyed creating it. Before I say goodbye, I ask you to leave me in the comments any suggestions or questions regarding the tutorial and the craft, because I am happy to read and respond.
Y hasta aquí la manualidad del día de hoy. Espero de todo corazón que te haya gustado, ya que yo disfruté muchísimo creándola. Antes de despedirme, te pido que me dejes en los comentarios cualquier sugerencia o duda respecto al tutorial y la manualidad, pues estoy encantado de leerte y responder.
 |
 |
 |
 |

Credits and Resources // Créditos y Recursos
Cover page created in Canva
Translated by DeepL
Images captured with my Samsung Galaxy A53

Si algo me gusta de un buen trabajo con este noble material, son los acabados. Me encanta como respetas los bordes resaltando con un color diferente ☺️... Buen trabajo
!discovery 45
A veces los pequeños detalles son los que marcan la diferencia. Gracias por el apoyo.
This is really cute and it looks like it would have been easy to make, but I am sure it requires a special skill. :)
 Follow Eceny's curation trail to earn better APR on your own HP. : )
Sending Love and Ecency Curation Vote!
Thanks for the support 🤗
This post was shared and voted inside the discord by the curators team of discovery-it
Join our Community and follow our Curation Trail
Discovery-it is also a Witness, vote for us here
Delegate to us for passive income. Check our 80% fee-back Program
Uyyyy que bonito 🤗🤗🤗. Esta precioso, me encantó.
El próximo te lo llevo para que lo pongas en algún lugar de la casa.
Super adorable. Que lindo.
Gracias amiga 🥰
Demasiado adorable este pingüino y su linda historia.💙
Muchísimas gracias 🤗. Gracias por comentar.
Es todo un placer querido @edeyglezsosa 🤗
❤️❤️❤️
🙂
So adorable