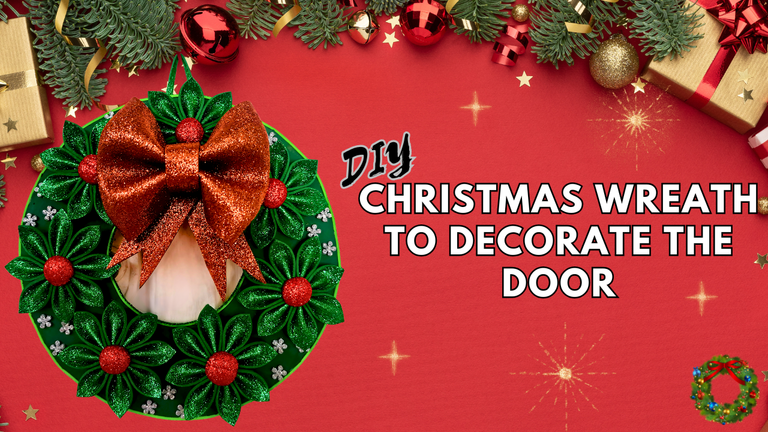
Greetings friends of the community.
Once again I have the pleasure of sharing with you another of my Christmas creations, although this time it is not a decoration for the tree. The thing is that I had been so focused on making decorations for my tree that I forgot that there are other parts of my house that also need a festive touch.
That's why today I bring you a tutorial in which I will show you step by step how to make a Christmas wreath to decorate the front door of a house. This decoration is not only used to welcome visitors, but it has deeper meanings such as eternal life, given its circular shape. So if you want to enjoy the beauty and spiritual benefits of this ornament, I invite you to join me in the following tutorial.
Saludos amigos de la comunidad.
Una vez más tengo el placer de compartirles otras de mis creaciones navideñas, aunque en esta ocasión no es una decoración para el árbol. El caso es que me había centrado tanto en hacer decoraciones para mi arbolito que me olvidé de que hay otras partes de mi casa a las que también hay que darle un toque festivo.
Es por eso que hoy les traigo un tutorial en el cual les mostraré paso a paso cómo elaborar una corona navideña para decorar la puerta principal de una casa. Esta decoración no solo se utiliza para dar la bienvenida a los visitantes, sino que tiene significados más profundos como el de la vida eterna, dado su forma circular. Así que si quieres gozar de la belleza y los beneficios espirituales de este adorno, te invito a acompañarme en el siguiente tutorial.
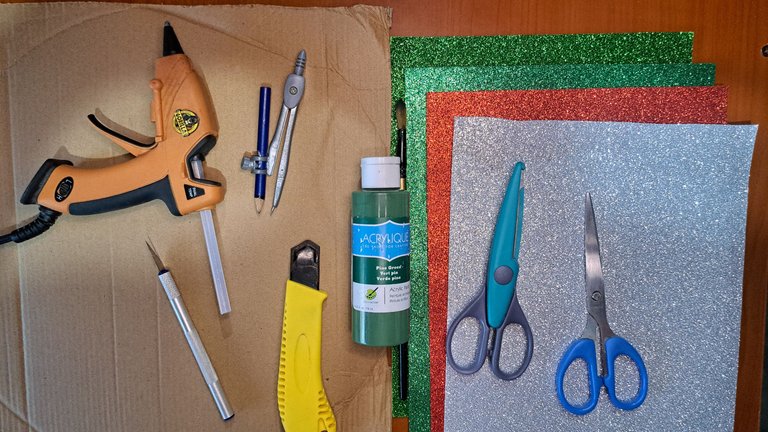
Materials // Materiales
| ✔️ Green, red, carmelite, and silver frosted fomi | ✔️ Fomi escarchado verde, rojo, carmelita y plateado |
| ✔️ Recycled cardboard | ✔️ Cartón reciclado |
| ✔️ Green paint | ✔️ Pintura verde |
| ✔️ Brush | ✔️ Pincel |
| ✔️ Straight and crimped cutting scissors | ✔️ Tijeras de corte recto y ondulado |
| ✔️ Cutter and milling tool | ✔️ Cúter y herramienta de tallado |
| ✔️ Hot silicone | ✔️ Silicona caliente |
Step by step // Paso a paso
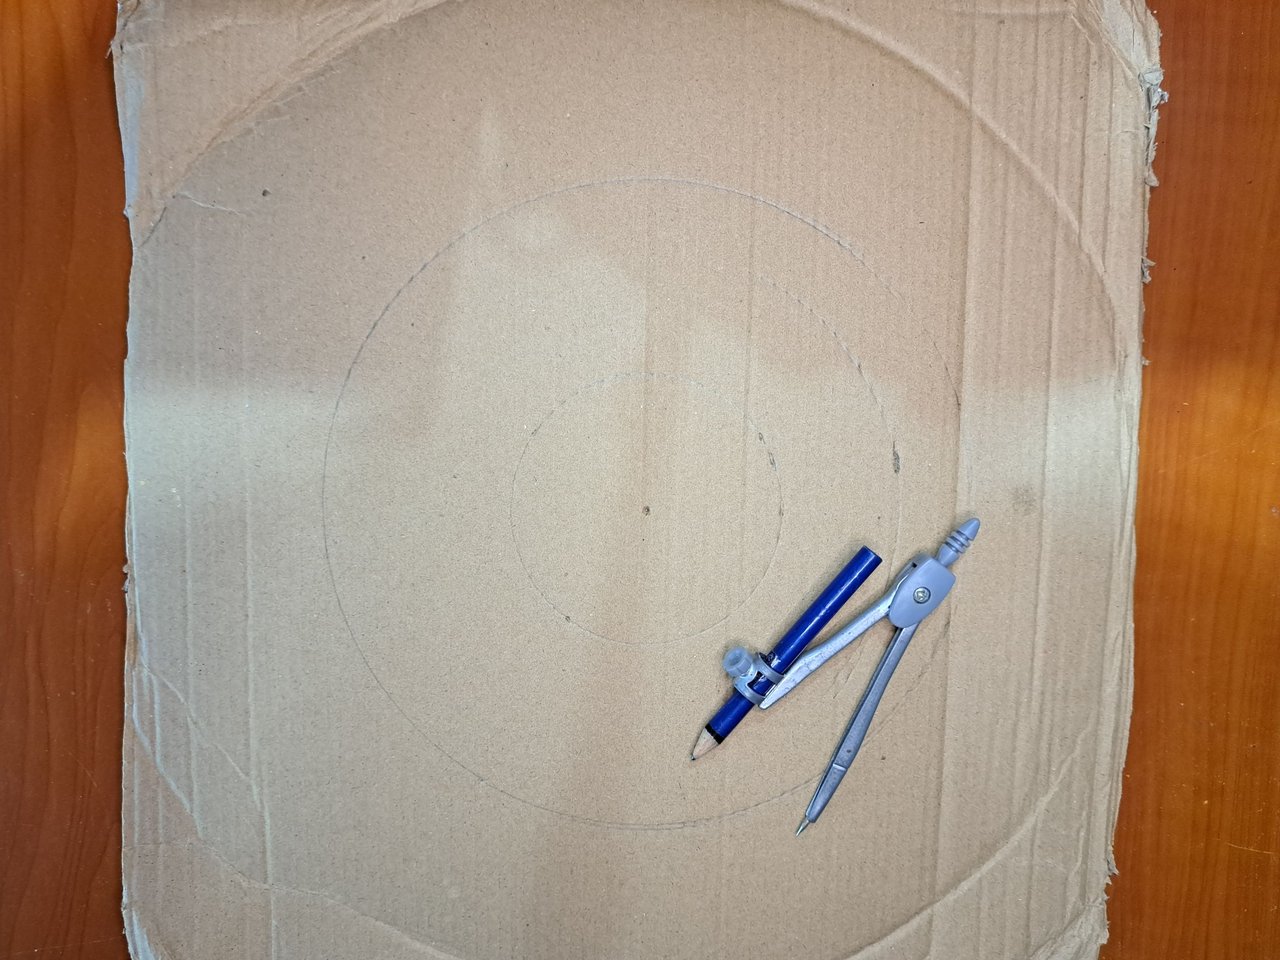
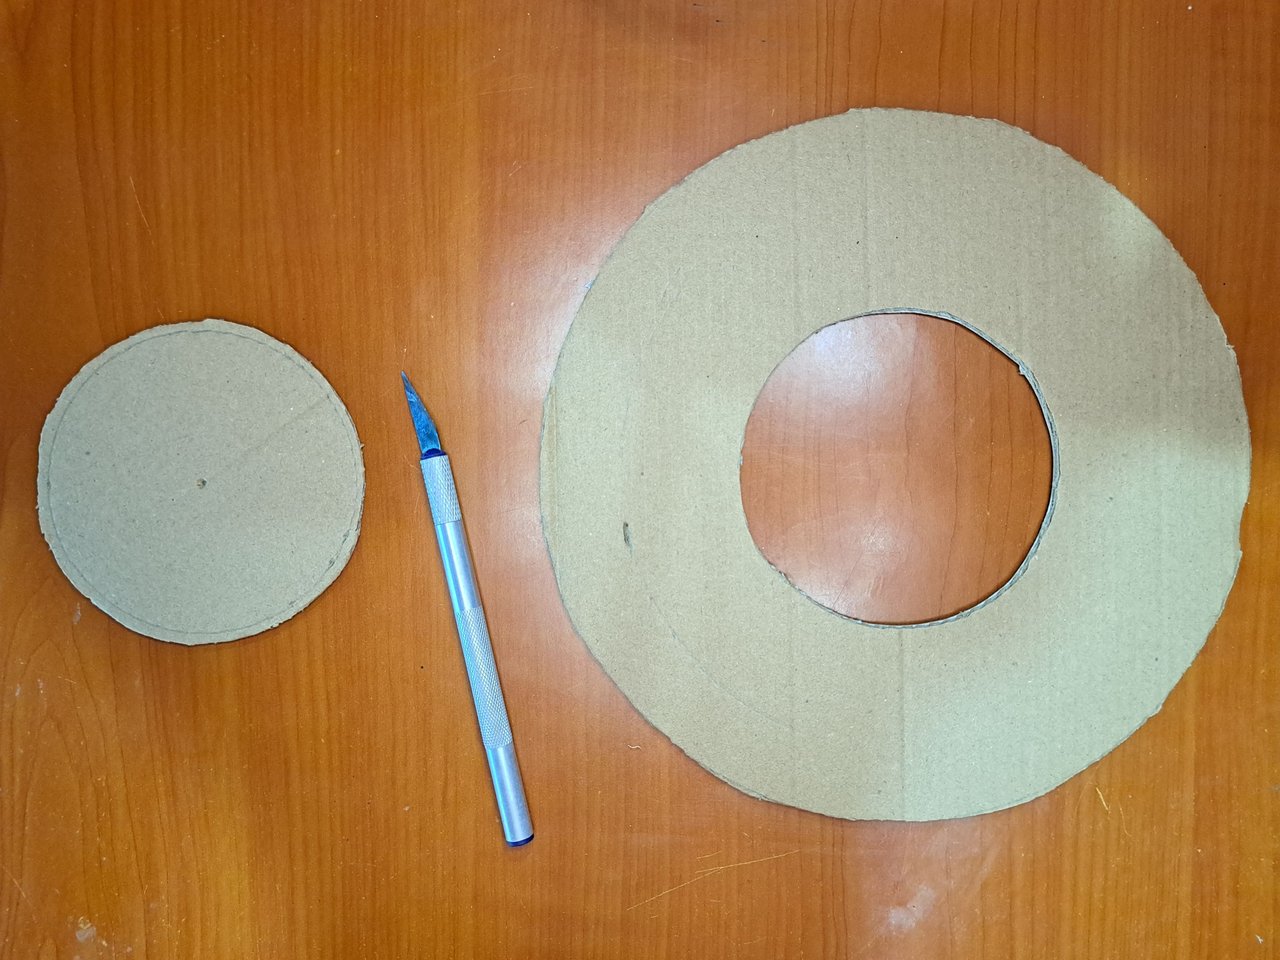
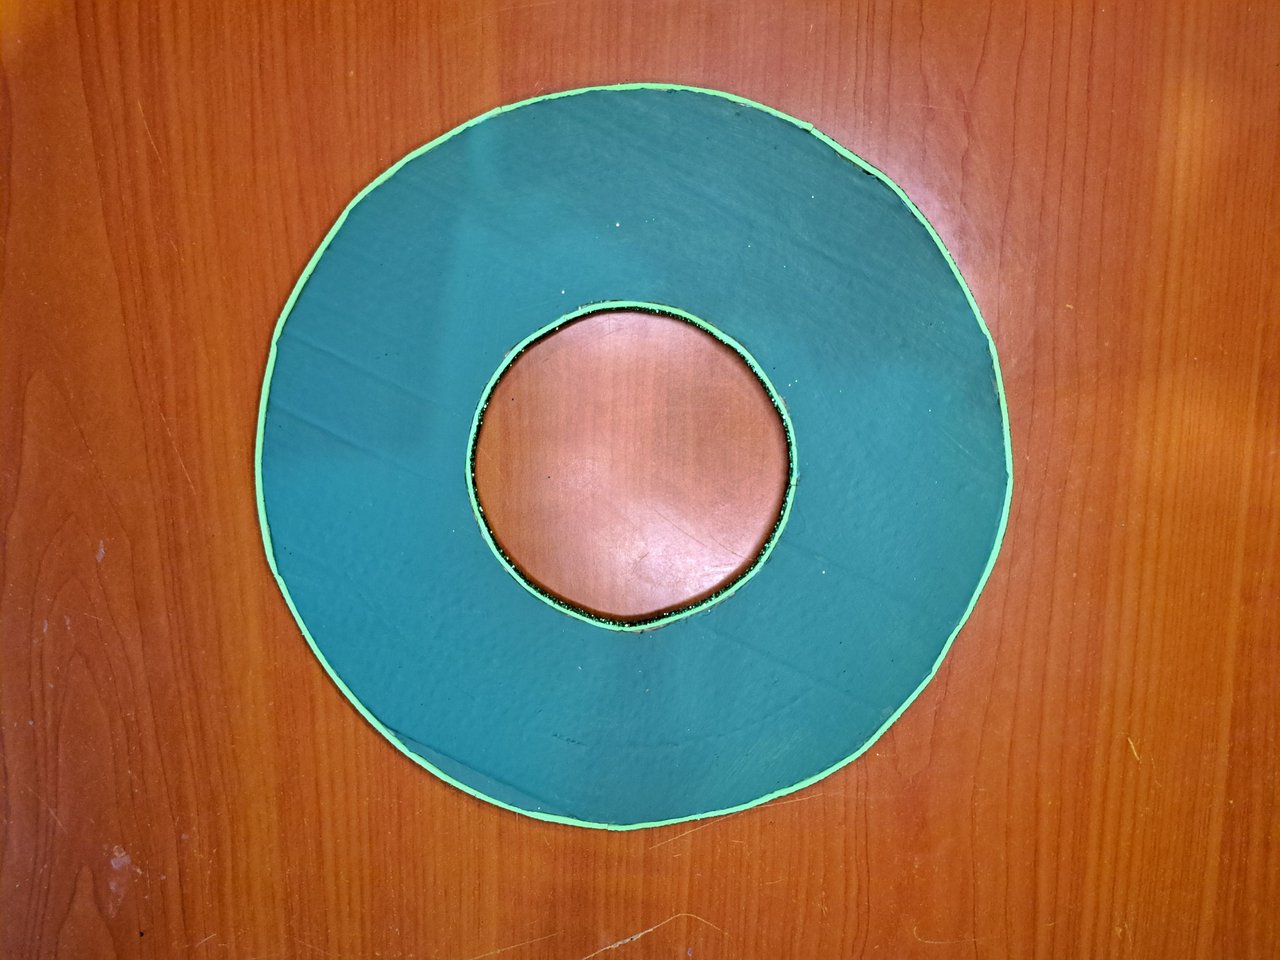
1️⃣ The first thing I did was to mark and cut out the base of the ornament, which is made up of two circles: a large and a small one, which are 20 cm and 9 cm in diameter, respectively.
Lo primero que hice fue marcar y recortar la base del adorno, el cual está formado por dos circunferencias: una grande y una pequeña, las cuales tienen 20 cm y 9 cm de diámetro, respectivamente.
 |
 |
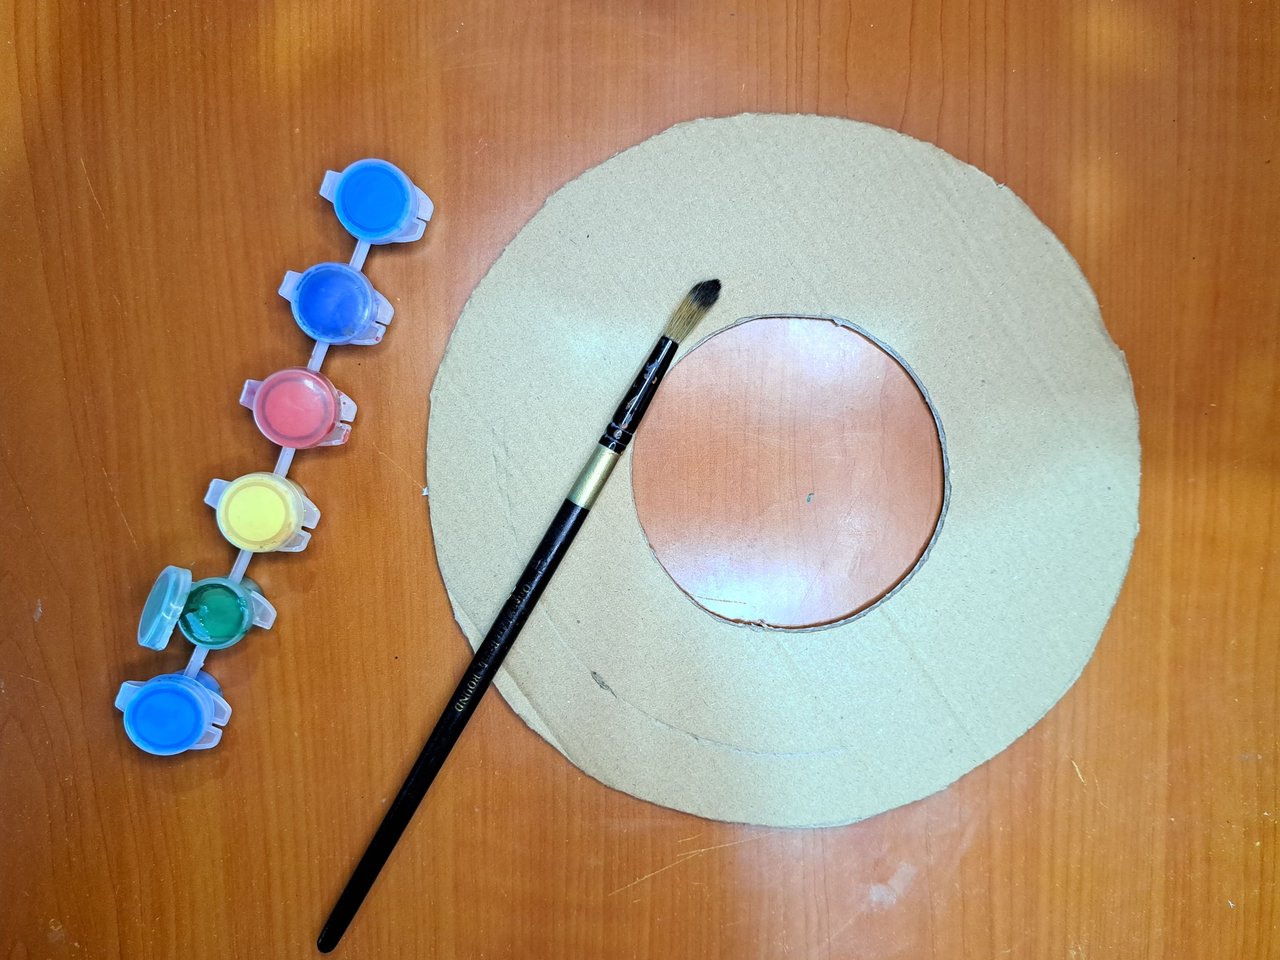
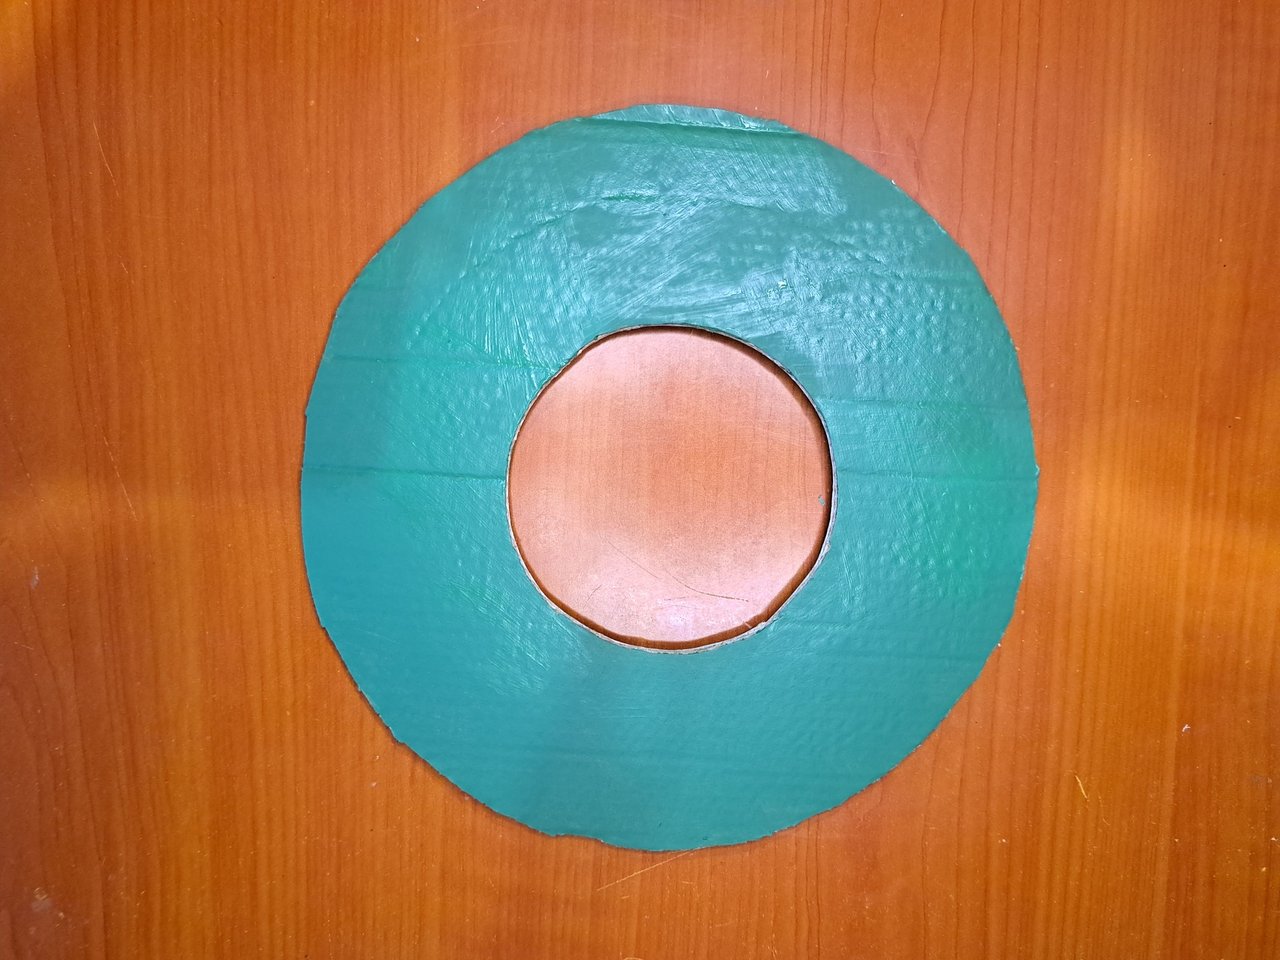
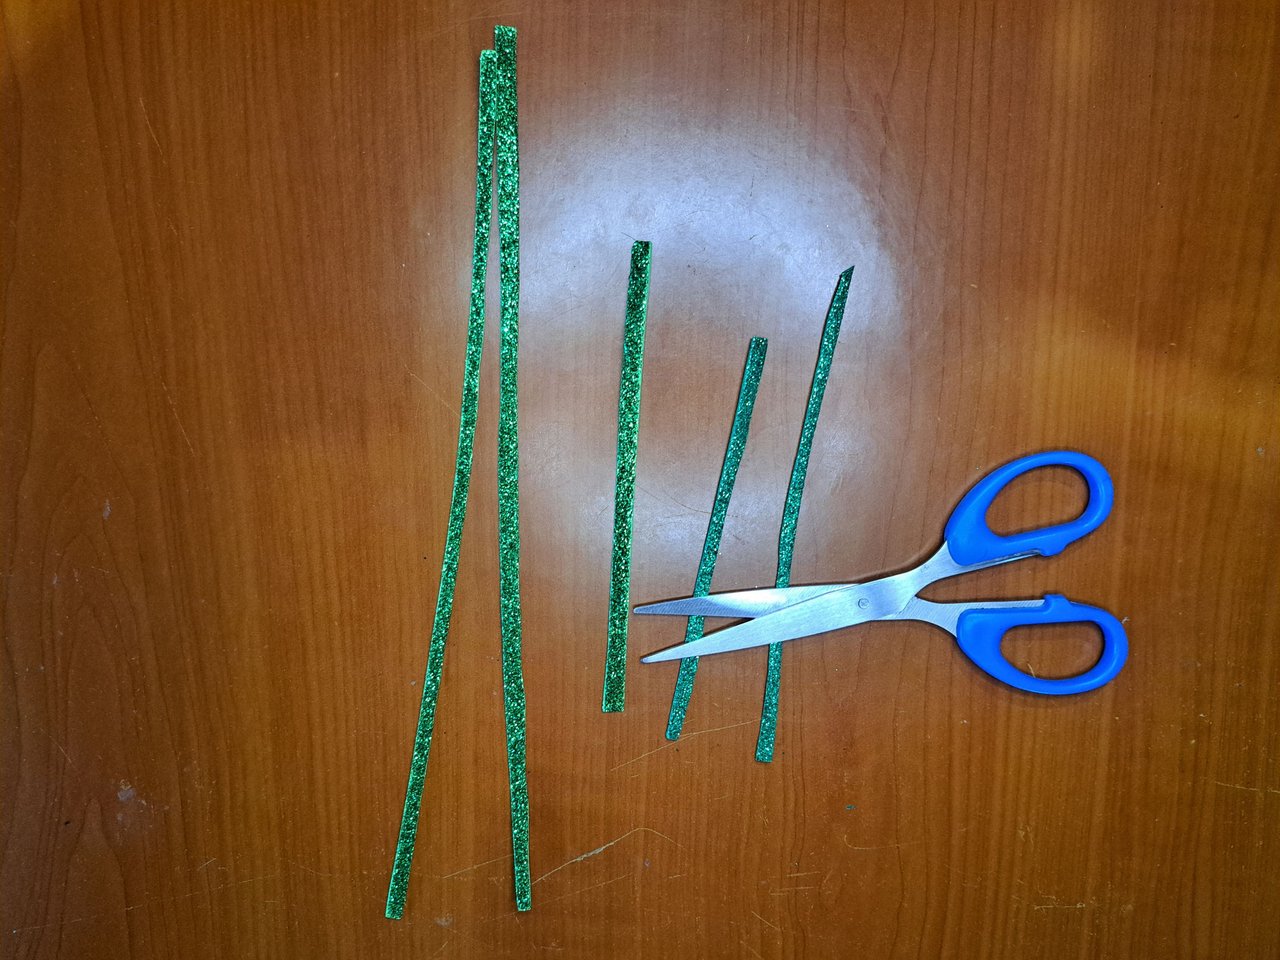
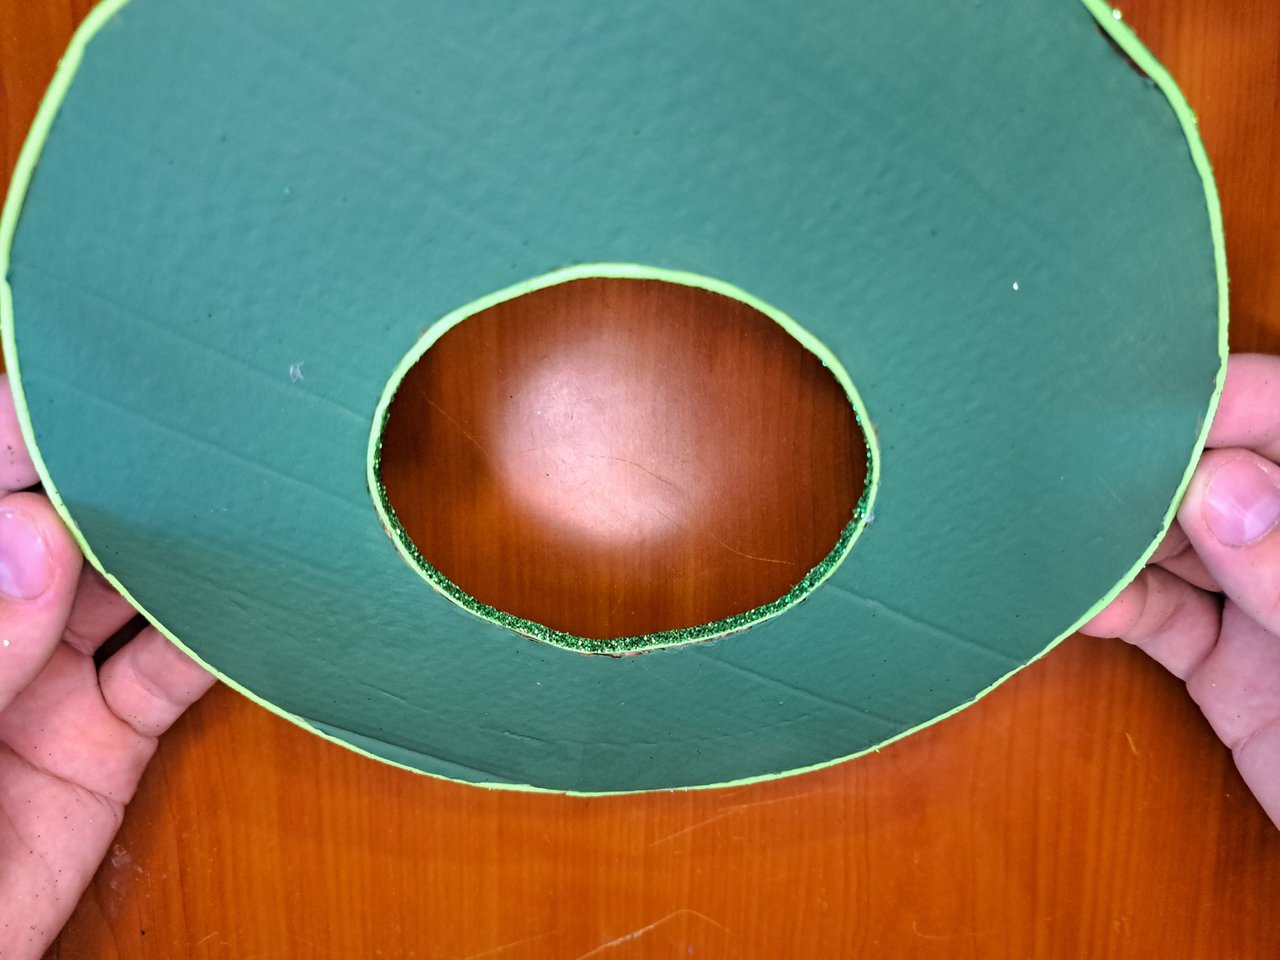
2️⃣ Then I painted both sides of the cardboard using green paint and a paintbrush. Once dry, I cut out several strips of green frosted fomi with a width of 0.5 cm, which I glued all around the inside and outside edge of the hoop.
Luego pinté las dos caras del cartón utilizando pintura verde y un pincel. Una vez seco, recorté varias tiras de fomi escarchado verde con una anchura de 0.5 cm, las cuales pegué por todo el borde interior y exterior del aro.
 |
 |
 |
 |
 |
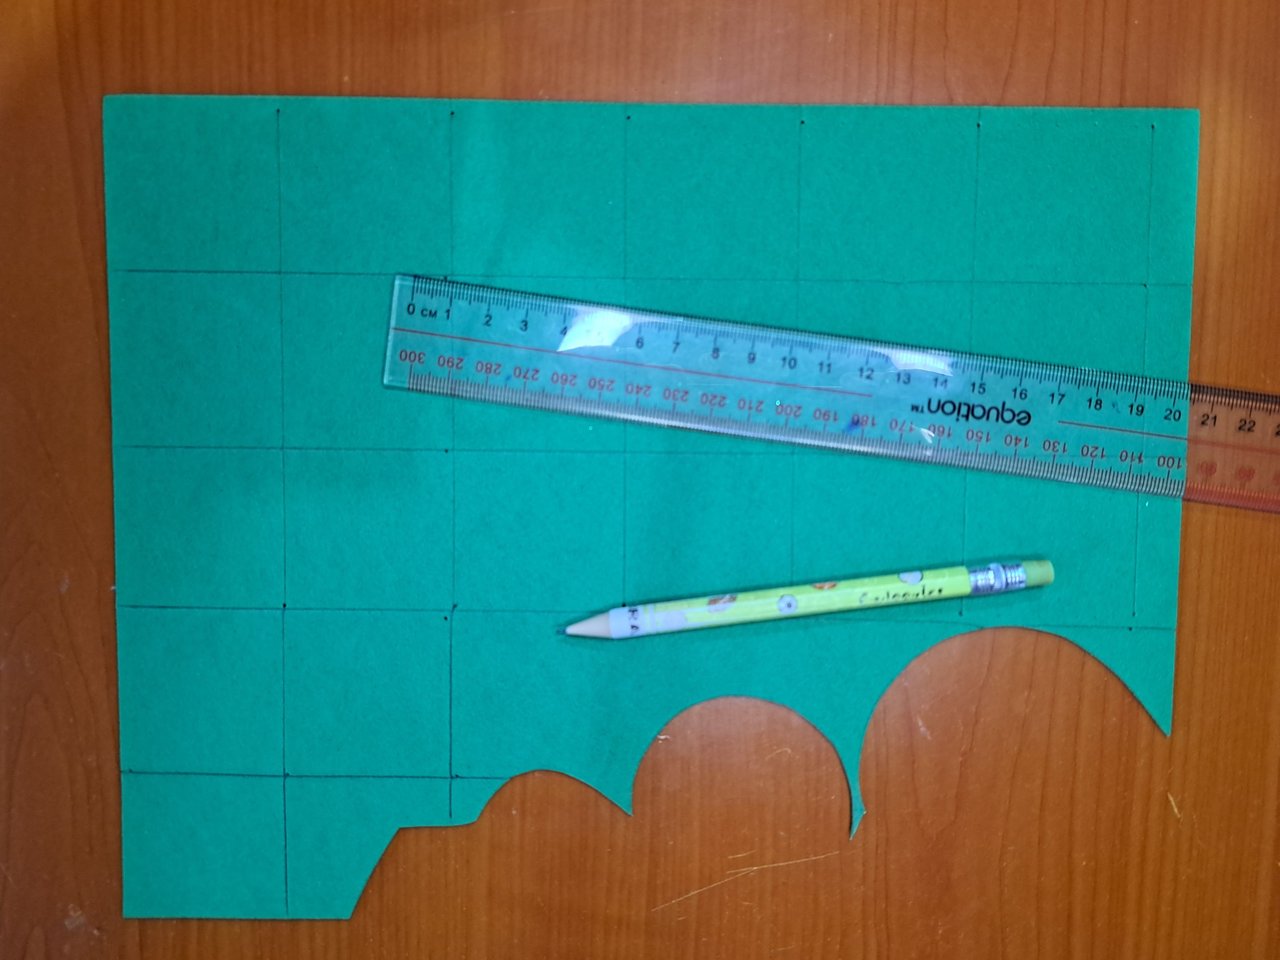
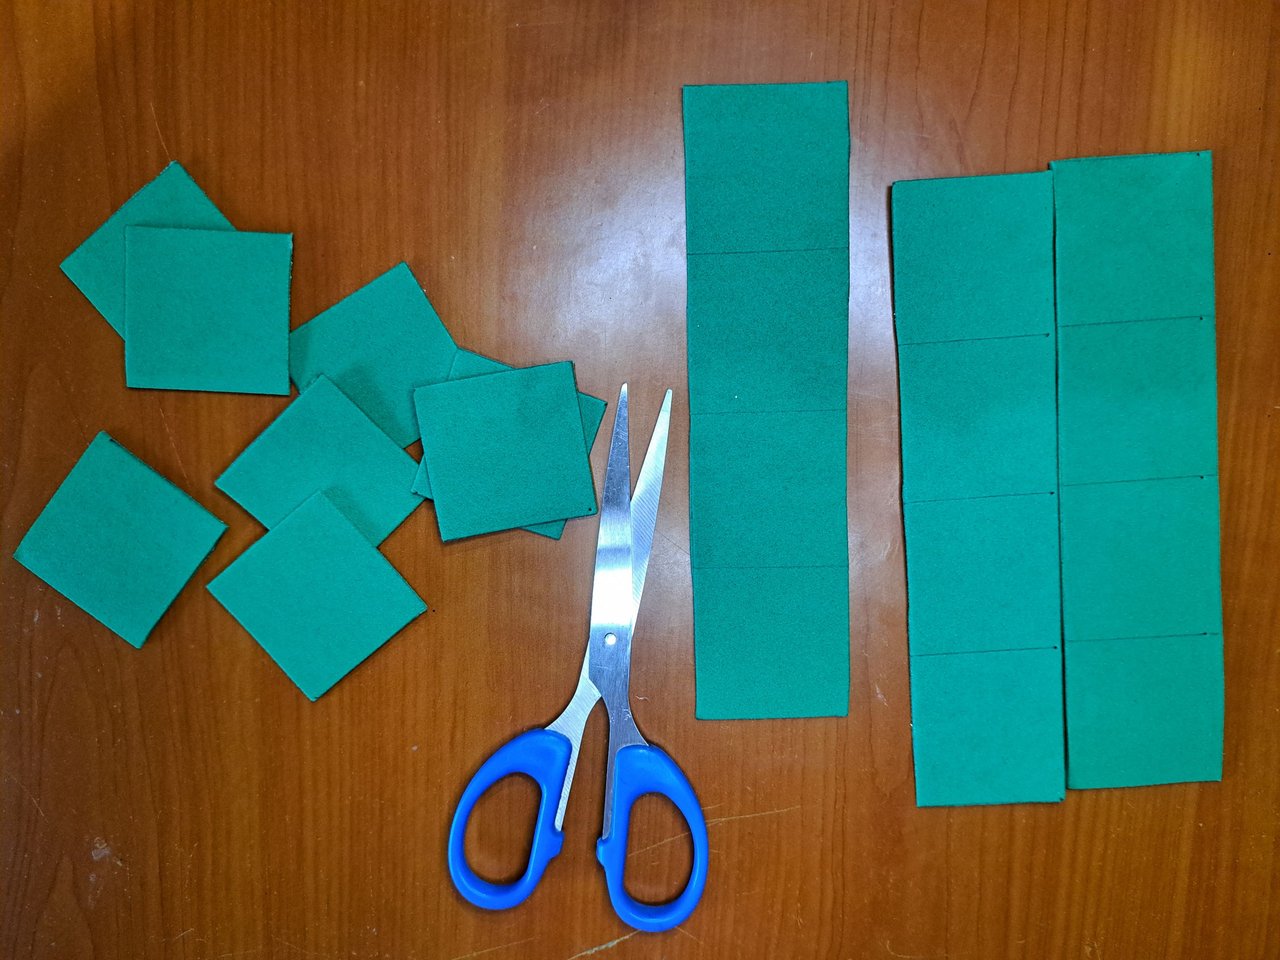
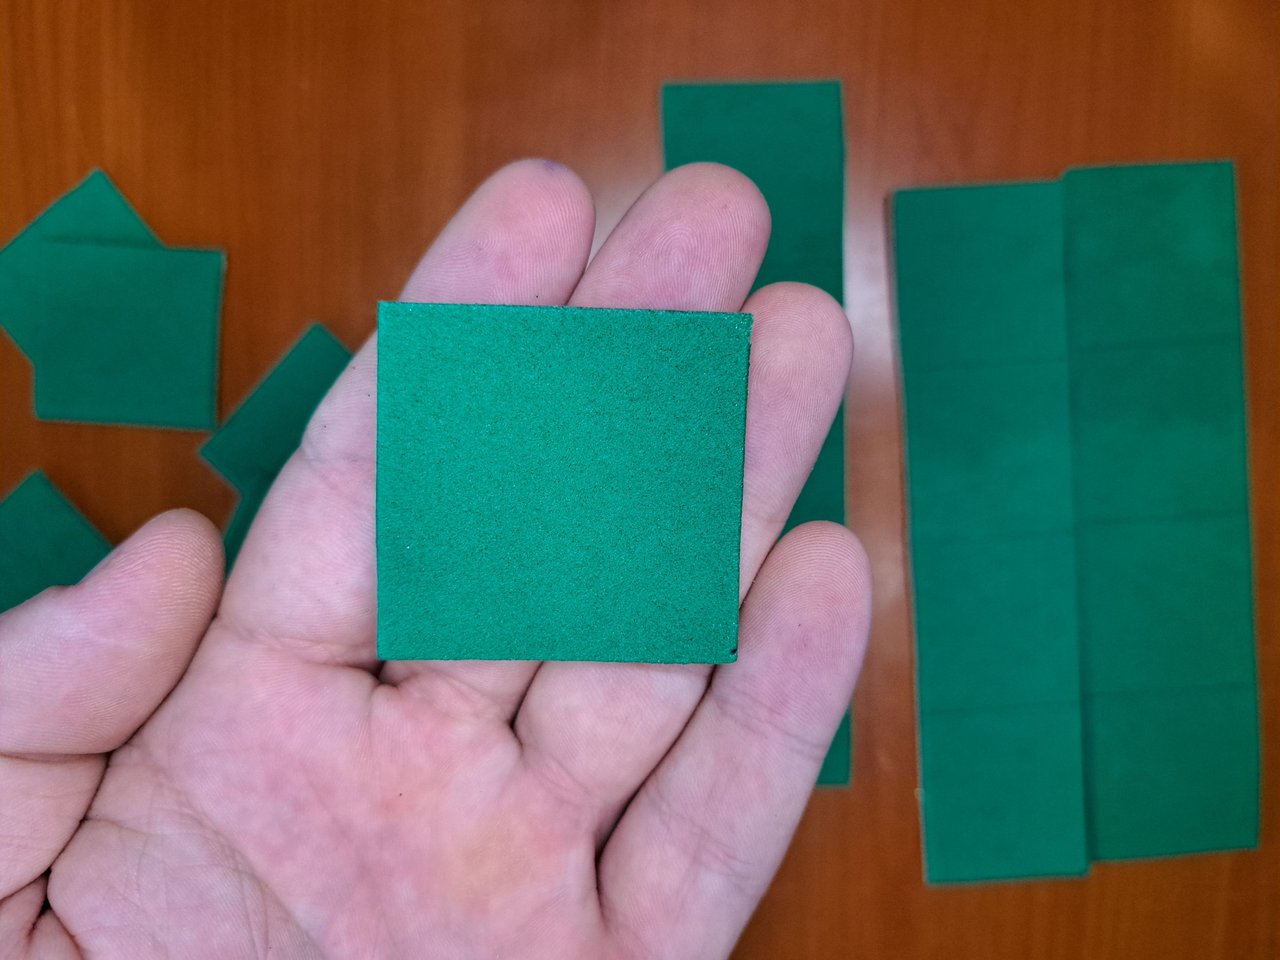
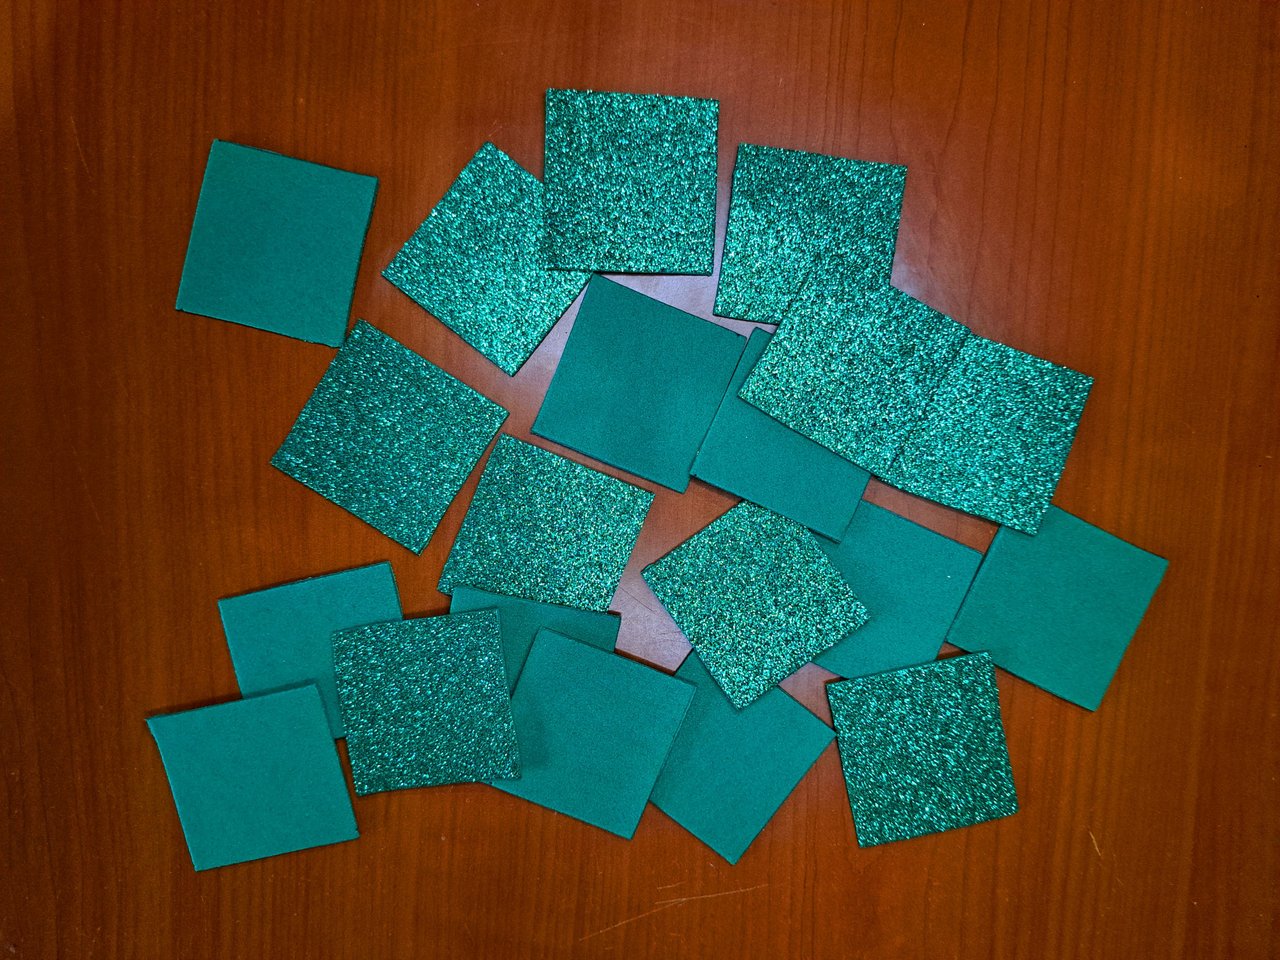
3️⃣ On a sheet of frosted green fomi, I marked and cut out several pieces of 4.5 cm x 4.5 cm. Here I digress, because the brightness of the fomi sometimes plays tricks on my camera lens, so I apologize if in some of the photos there is some blur.
En una lámina de fomi verde escarchado, marqué y recorté varias piezas de 4.5 cm x 4.5 cm. Aquí hago un paréntesis, pues el brillo del fomi a veces me juega malas pasadas con el lente de la cámara, así que me disculpo si en algunas de las fotos hay algún desenfoque.
 |
 |
 |
 |
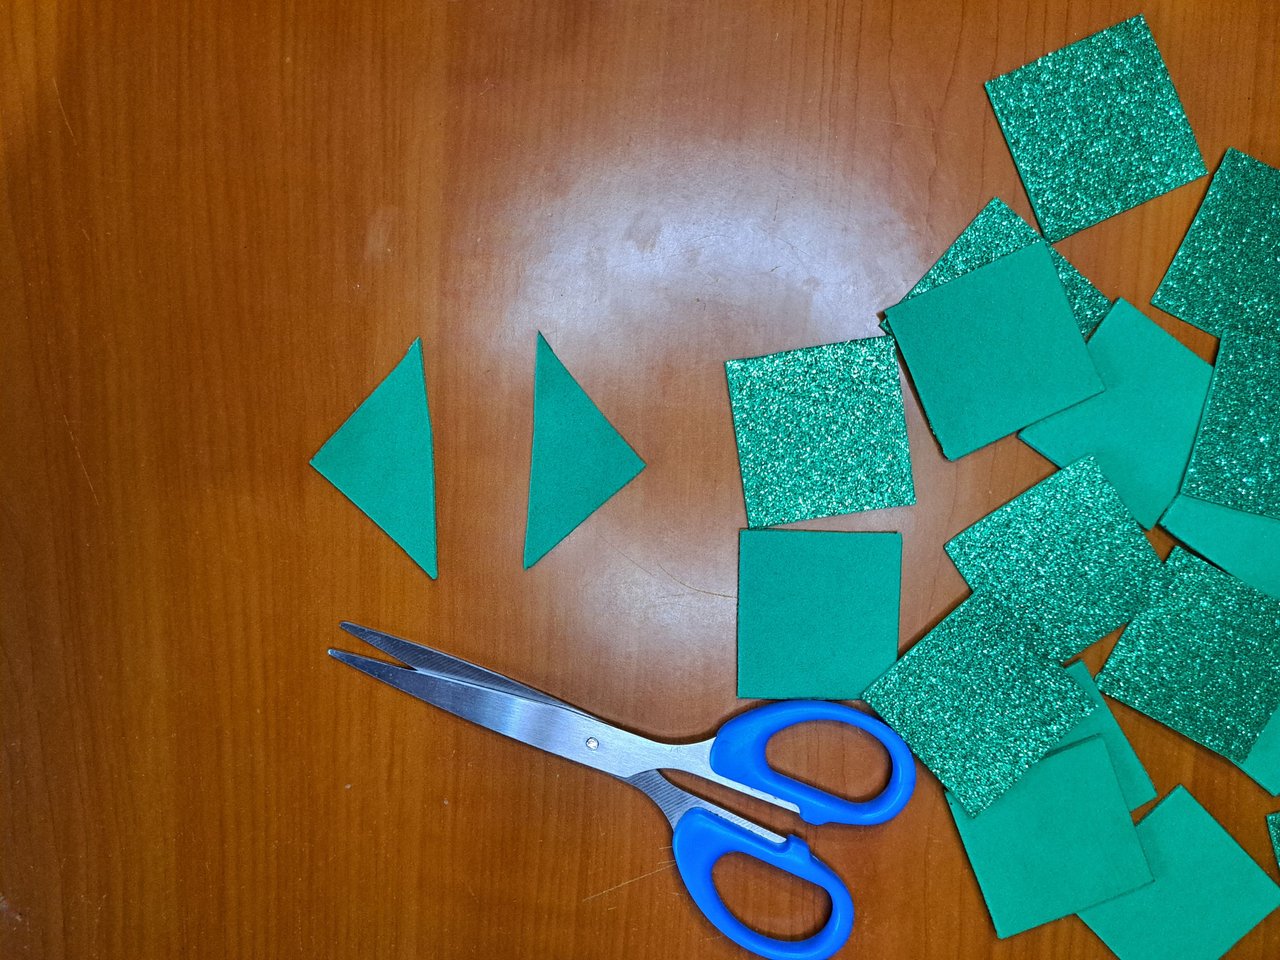
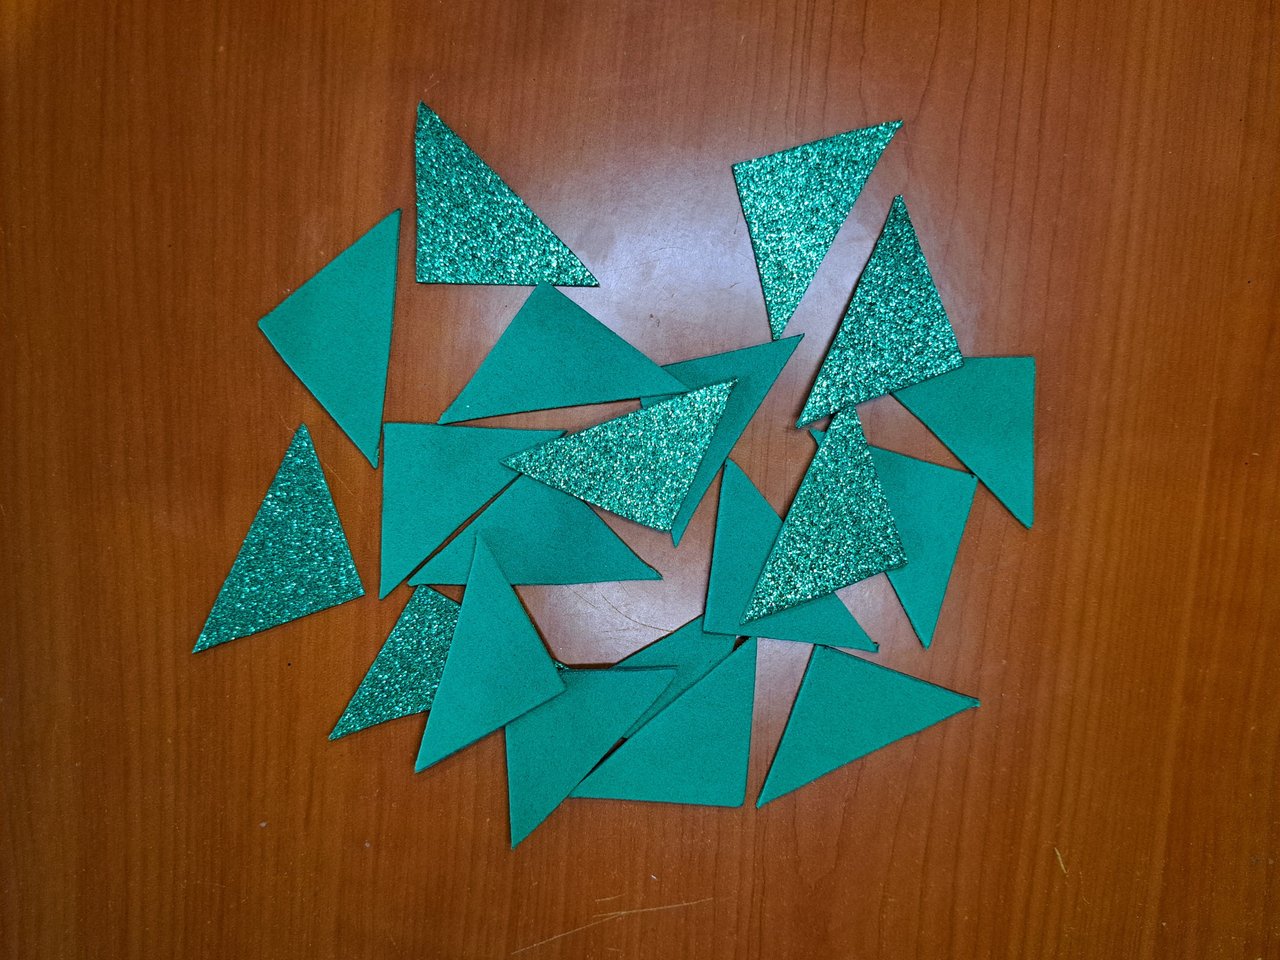
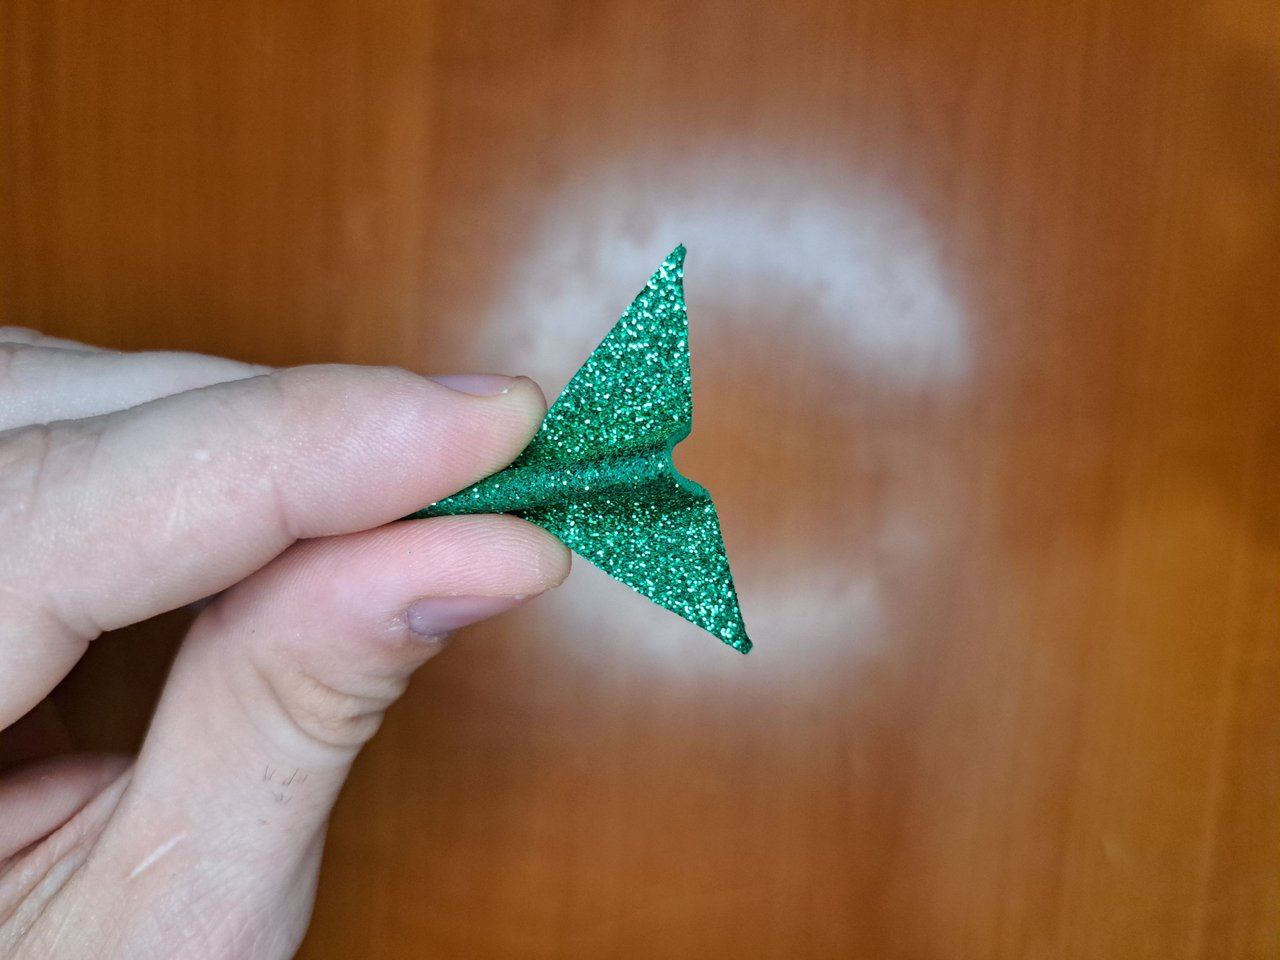
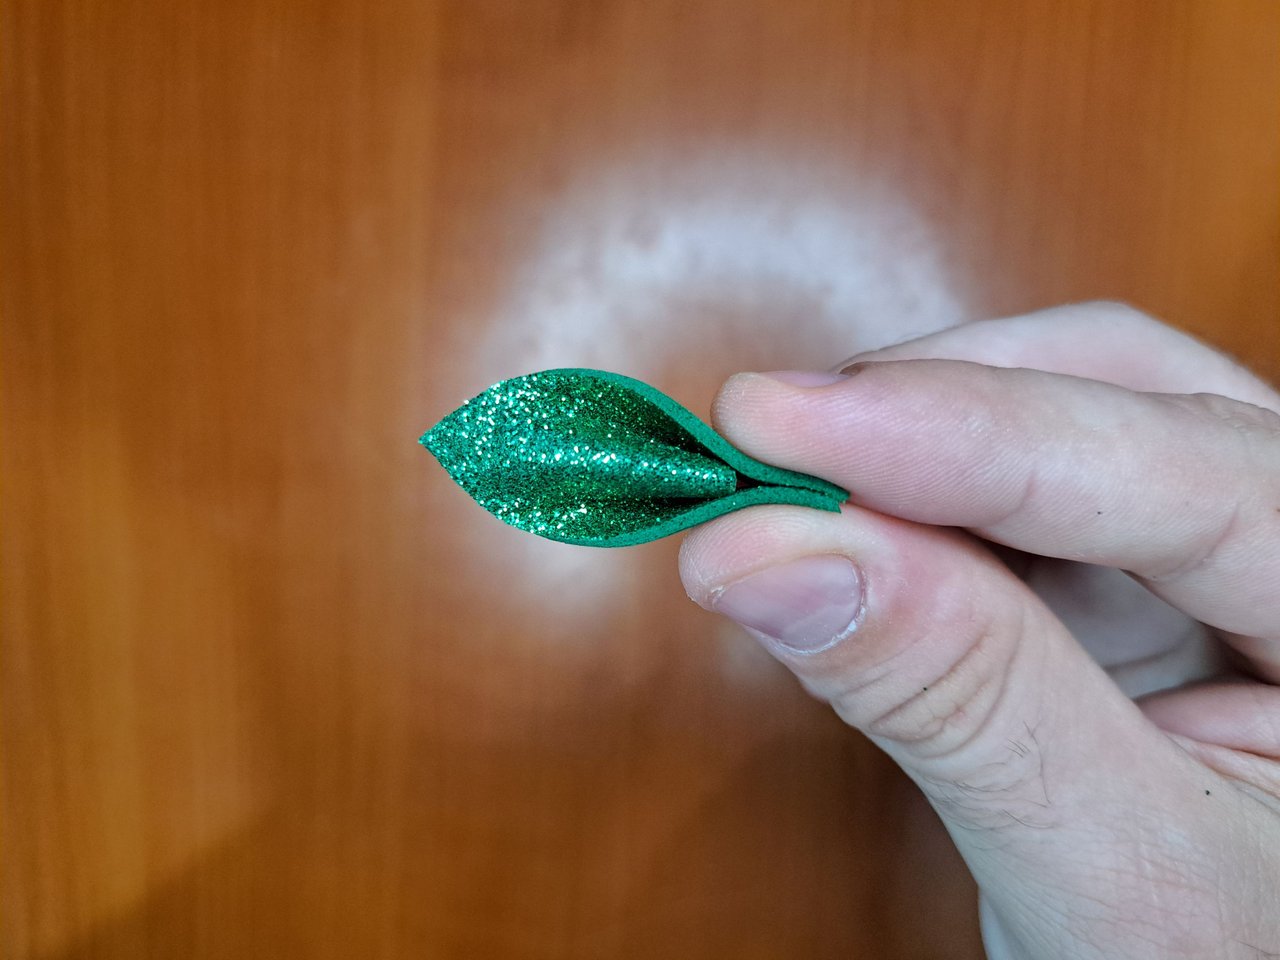
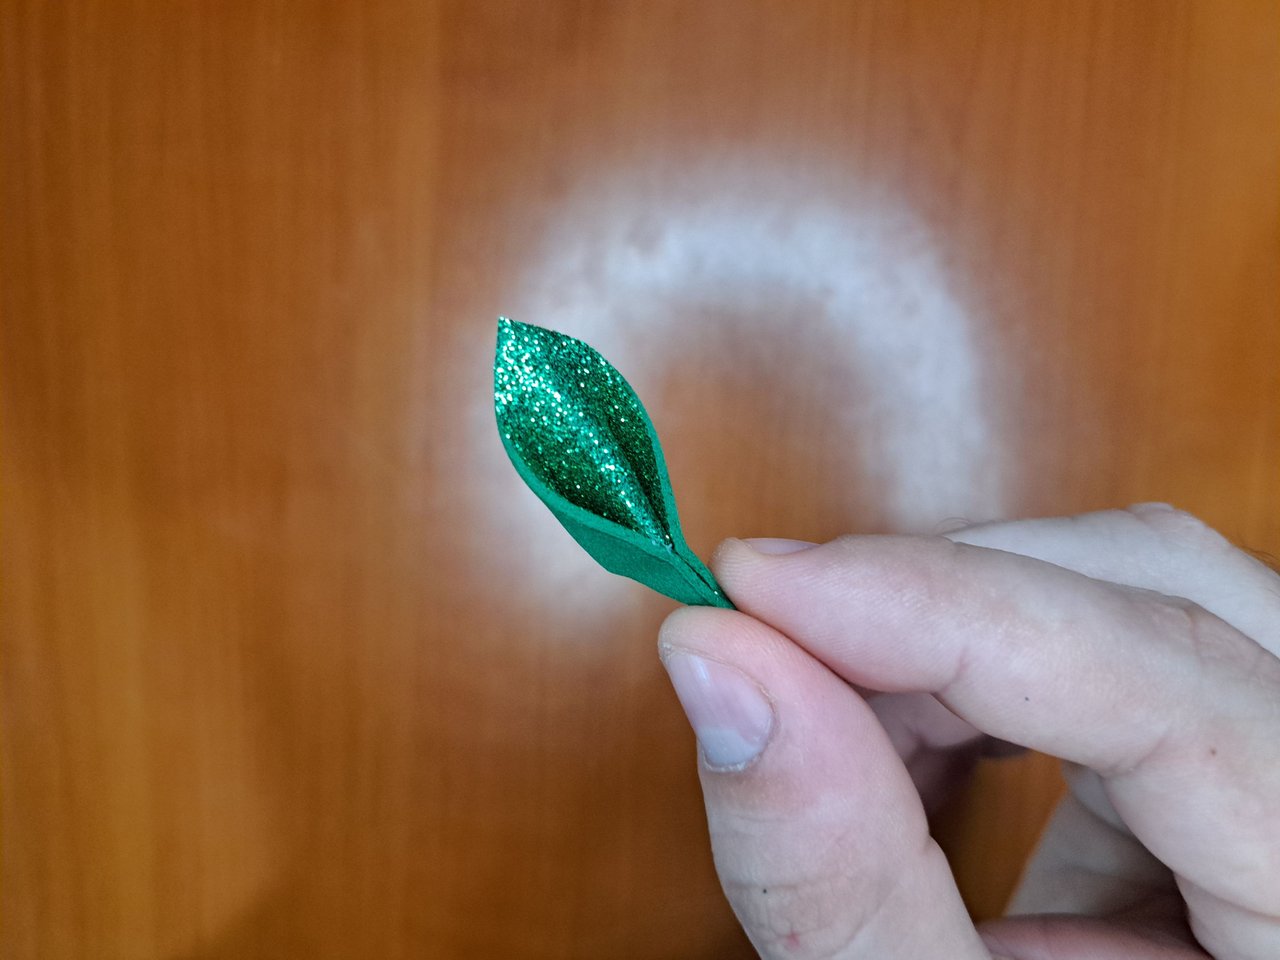
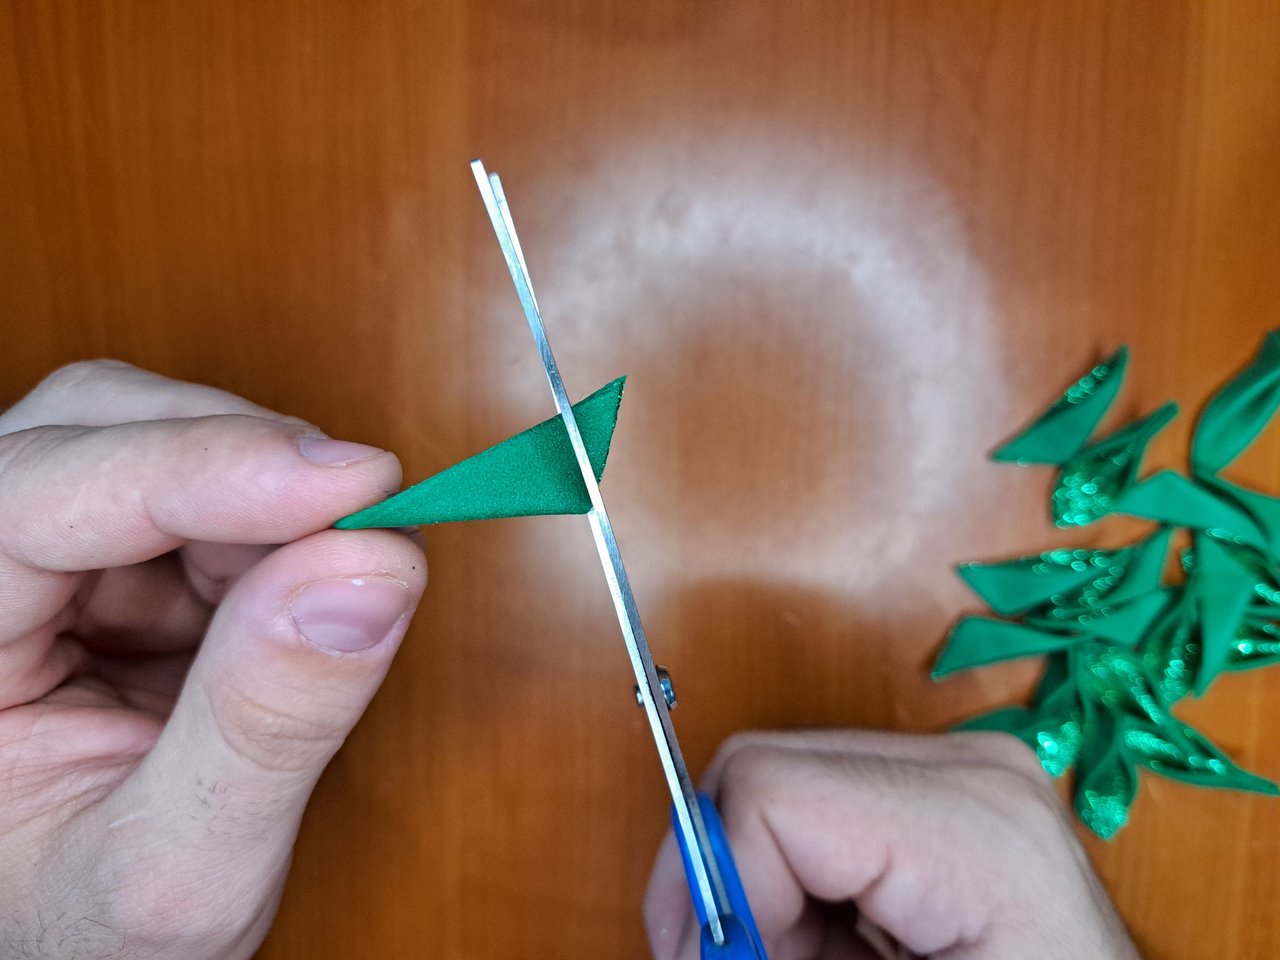
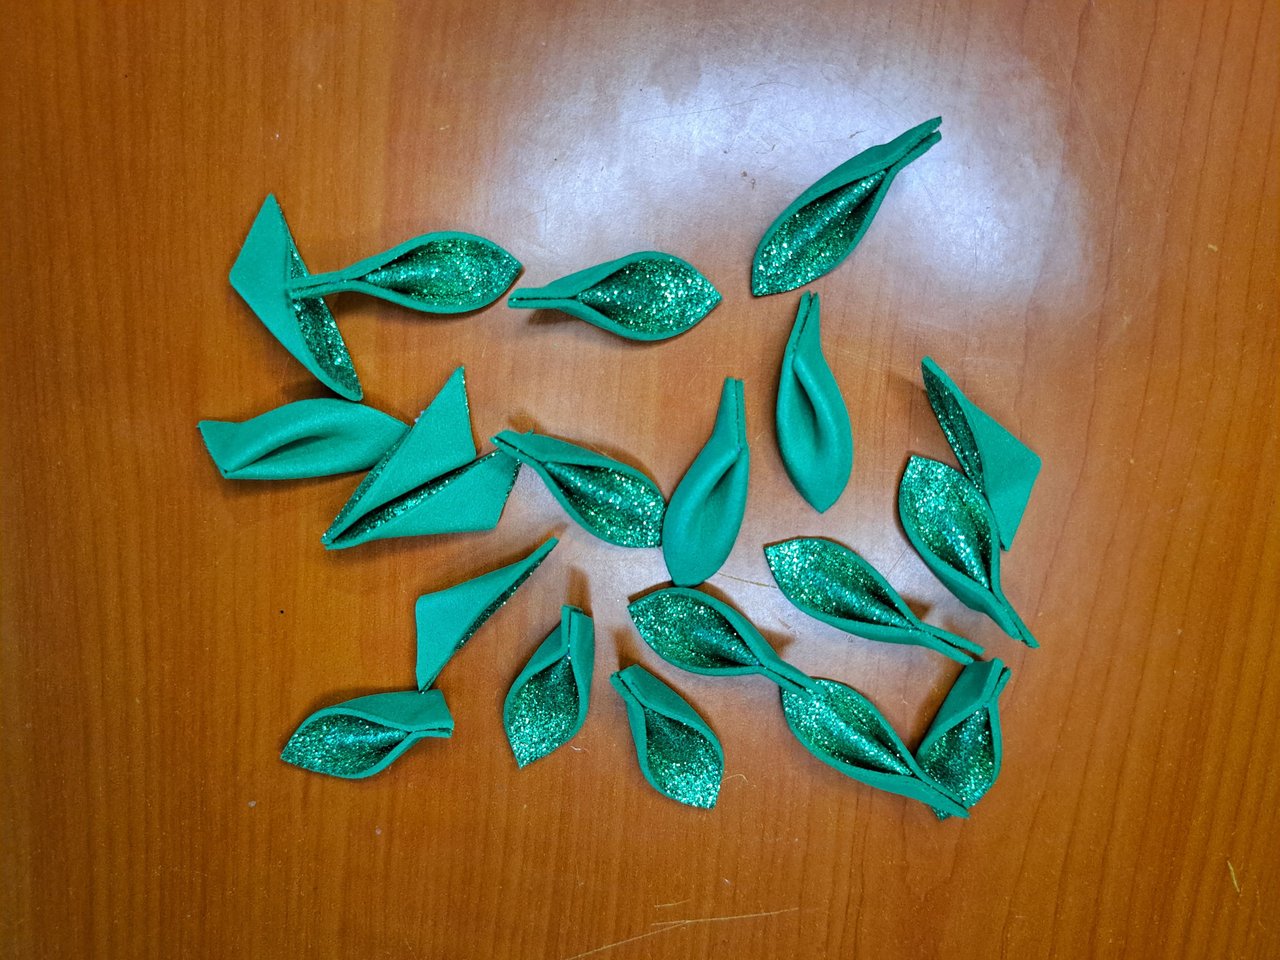
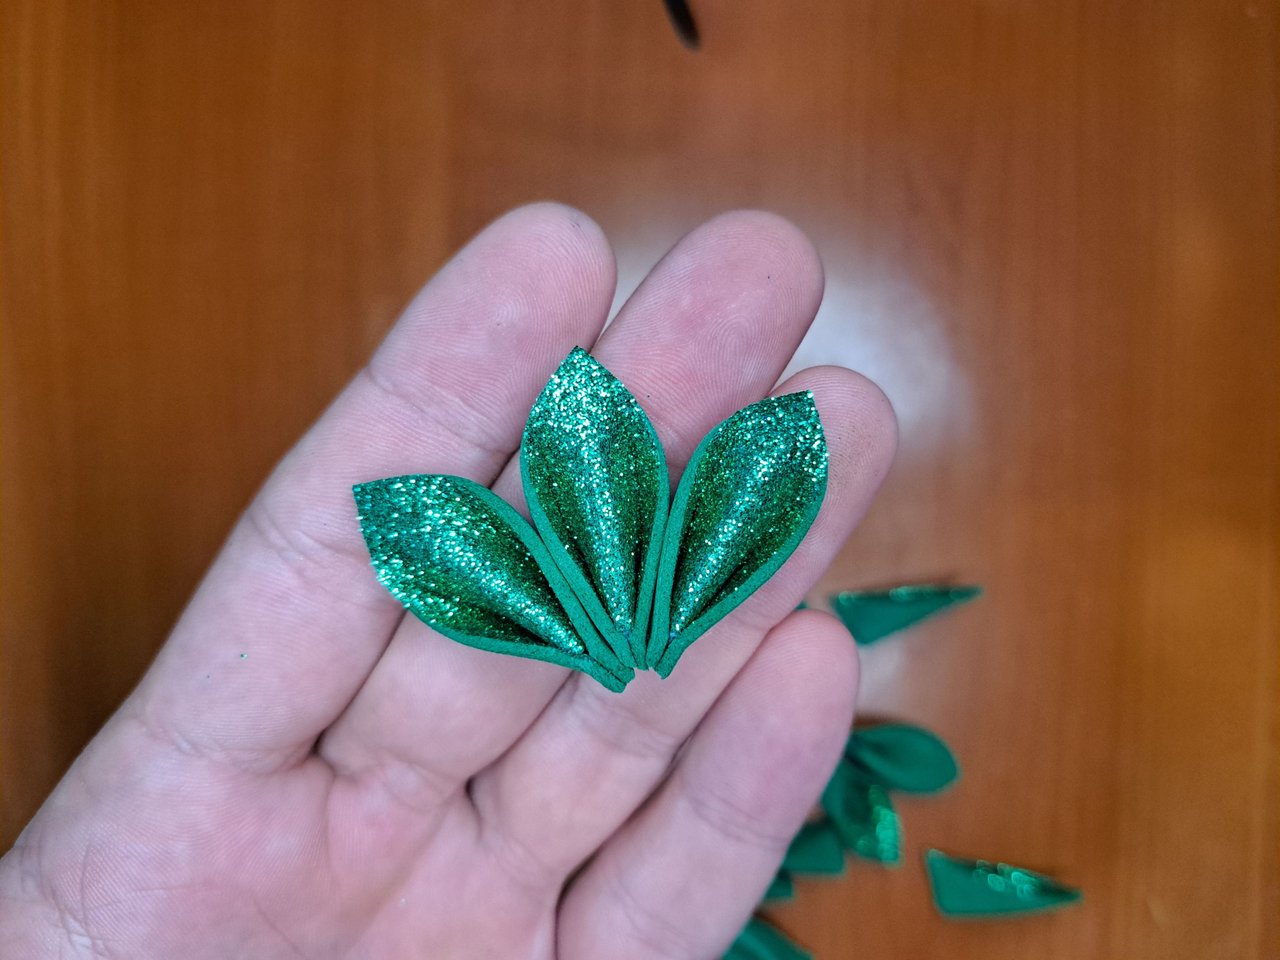
4️⃣ I cut each of the square fomi pieces in half diagonally. With the new triangle-shaped pieces, I made the petals of the star flowers. The petals are made by folding the triangles in half and gluing the tips up, then folding them to the opposite end. For better reference, see the images.
Cada una de las piezas cuadradas de fomi las corté a la mitad diagonalmente. Con las nuevas piezas en forma de triángulo, hice los pétalos de las flores estrella. Los pétalos se hacen doblando a la mitad los triángulos y pegando las puntas hacia arriba, luego doblándolas al extremo contrario. Para mejor referencia, ver las imágenes.
 |
 |
 |
 |
 |
 |
 |
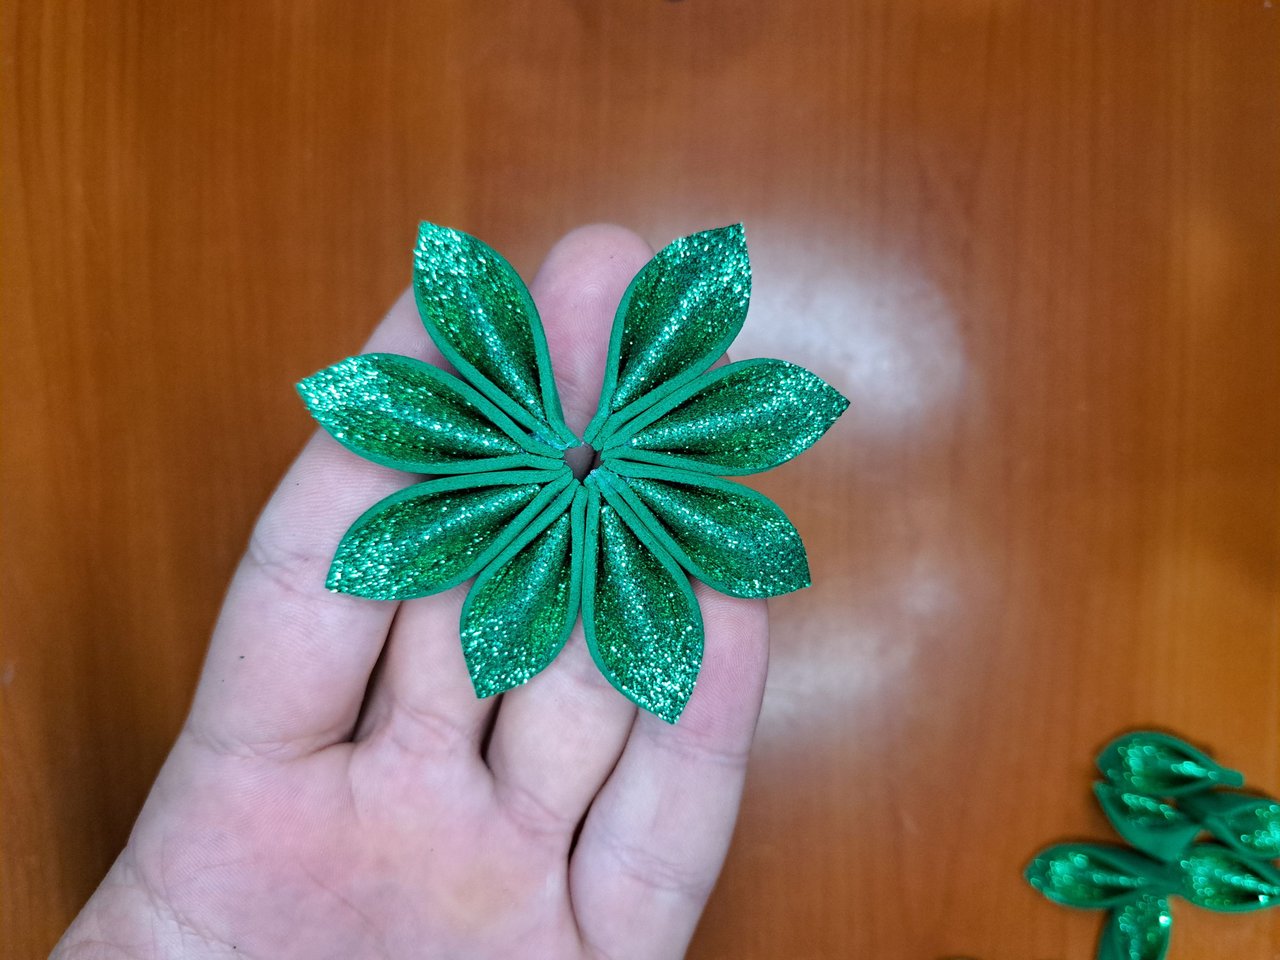
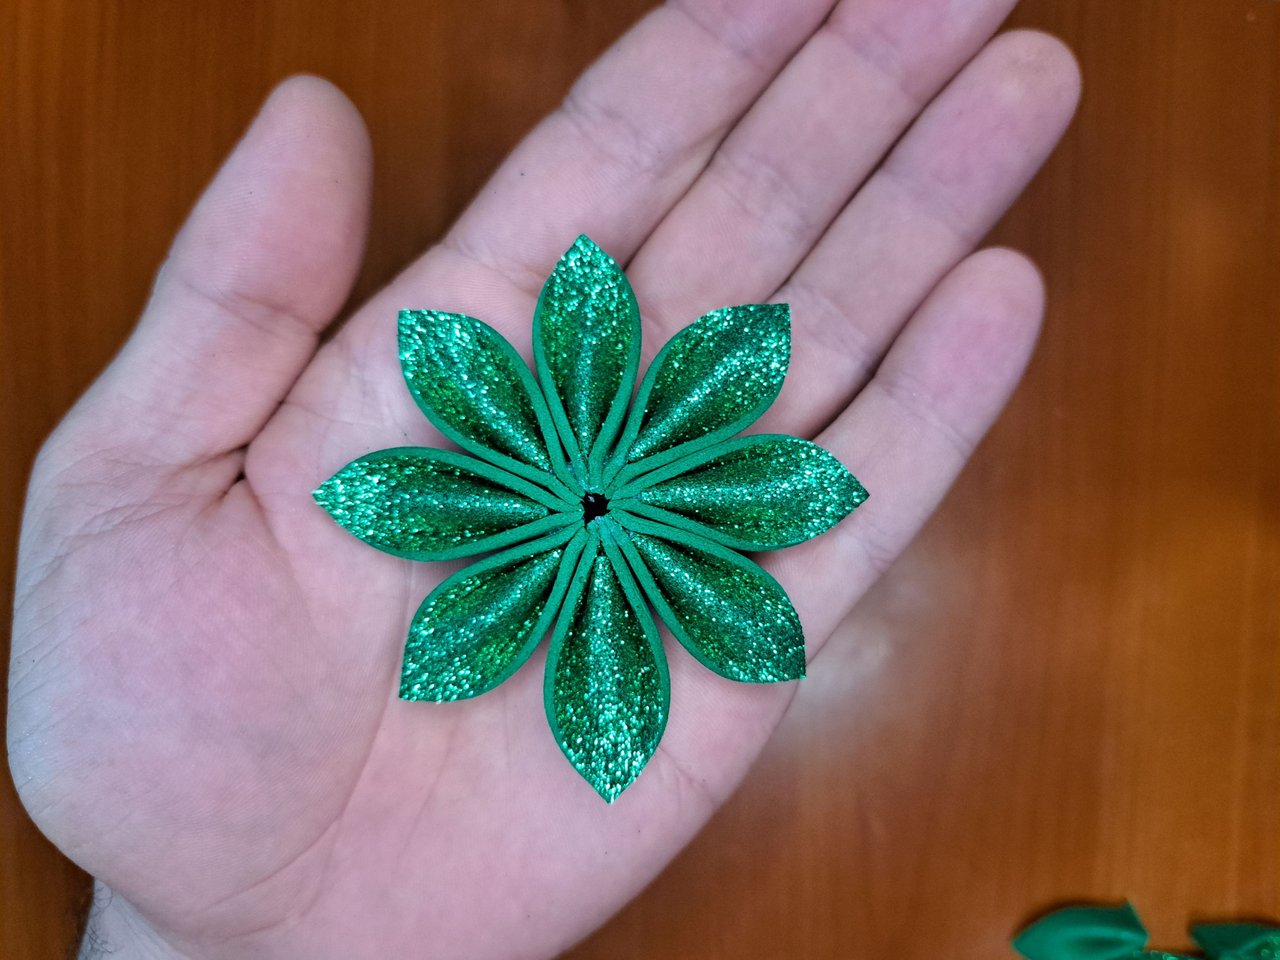
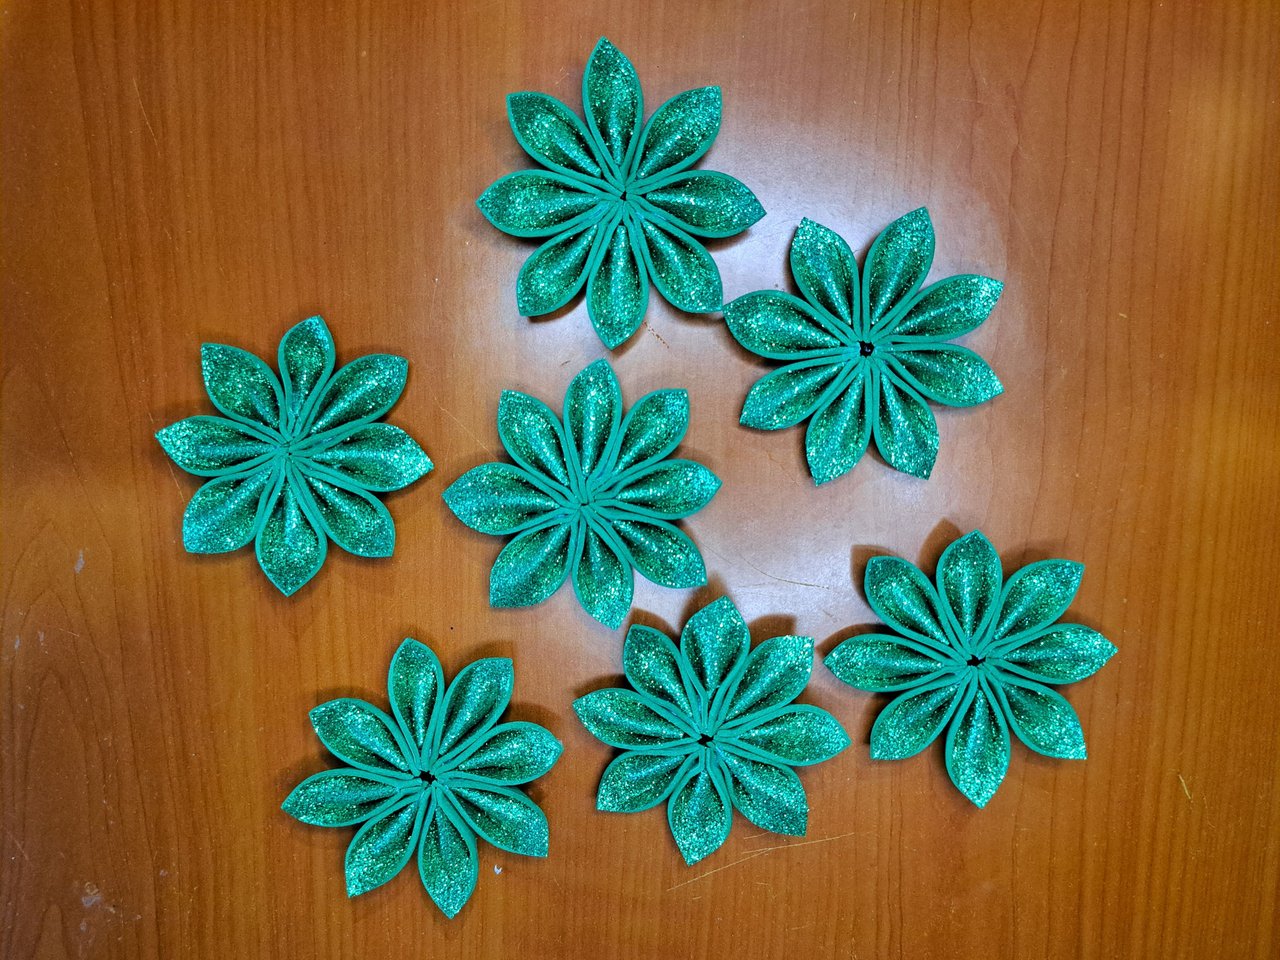
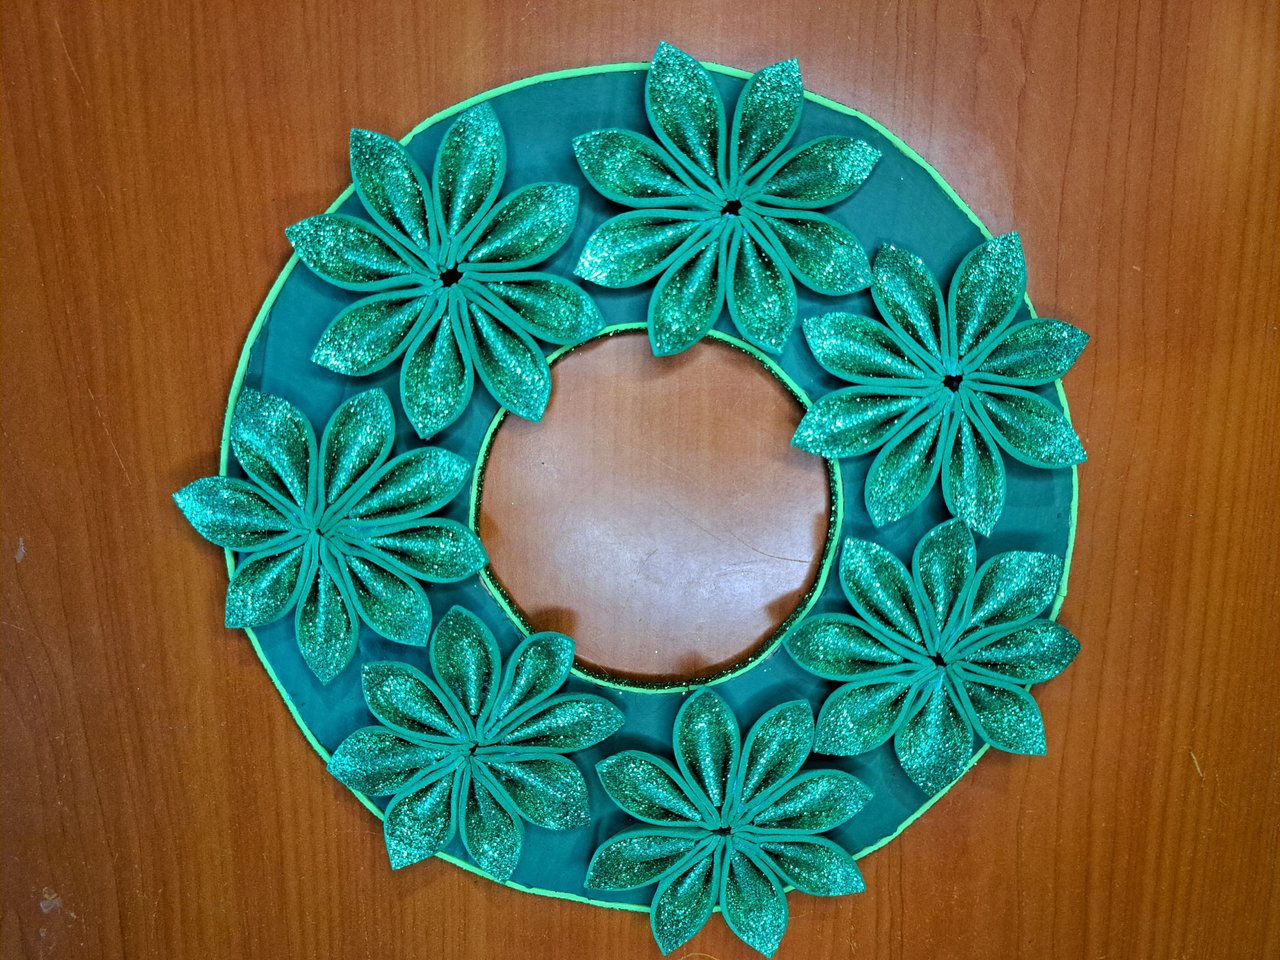
5️⃣ Once the petals were ready, I glued them at the base in groups of 8 to form the star-shaped flowers. The ornament has 7 flowers and each flower has 8 petals, so 56 triangles or 28 squares of fomi would be needed. It is very important to keep these numbers in mind so as not to waste material.
Una vez los pétalos estuvieron listos, los pegué por la base en grupos de 8 para formar las flores estrelladas. El adorno lleva 7 flores y cada flor lleva 8 pétalos, así que se necesitarían 56 triángulos o 28 cuadrados de fomi. Es muy importante tener en cuenta estos números para no desperdiciar material.
 |
 |
 |
 |
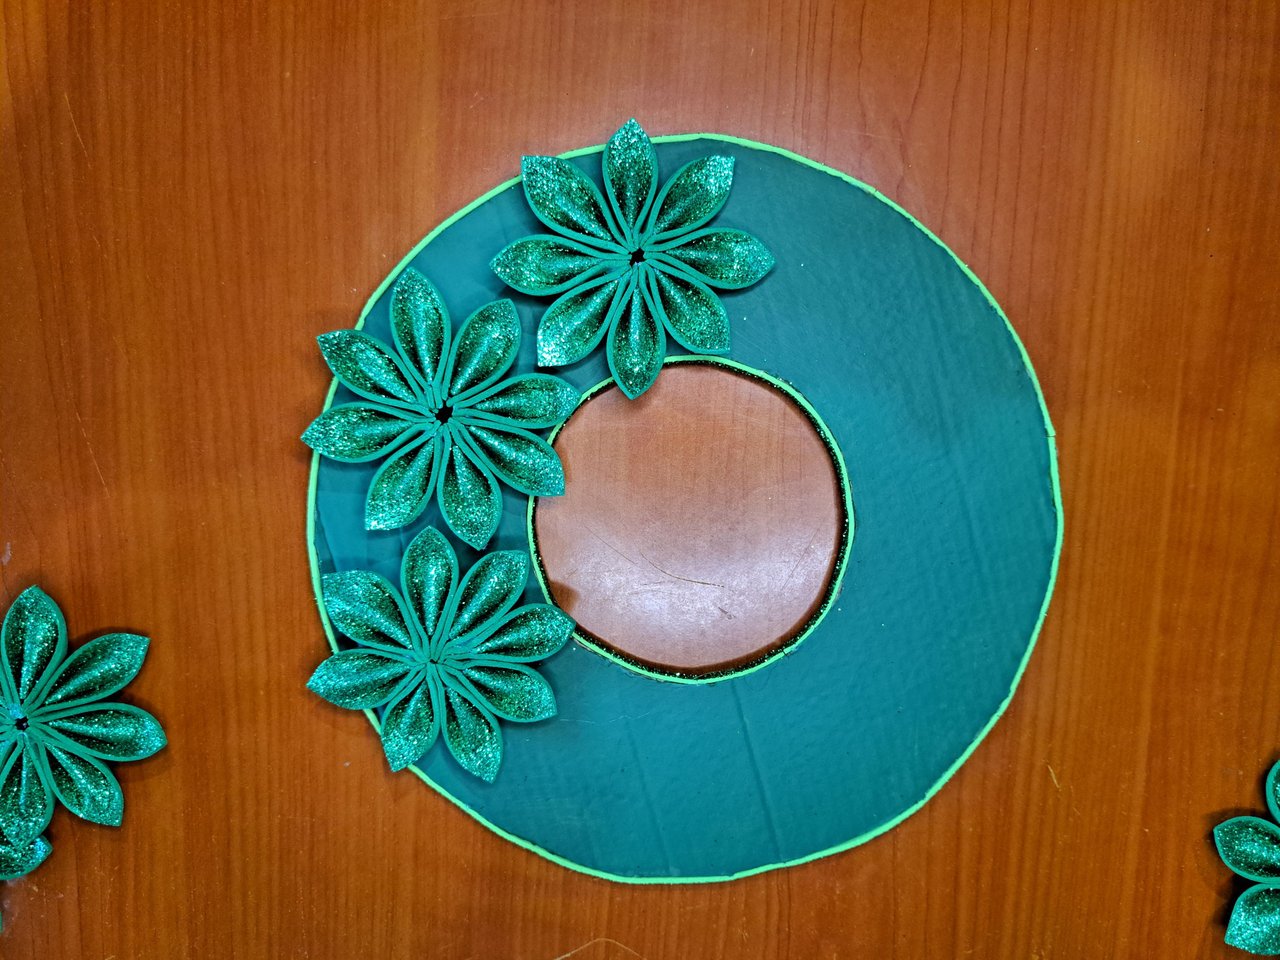
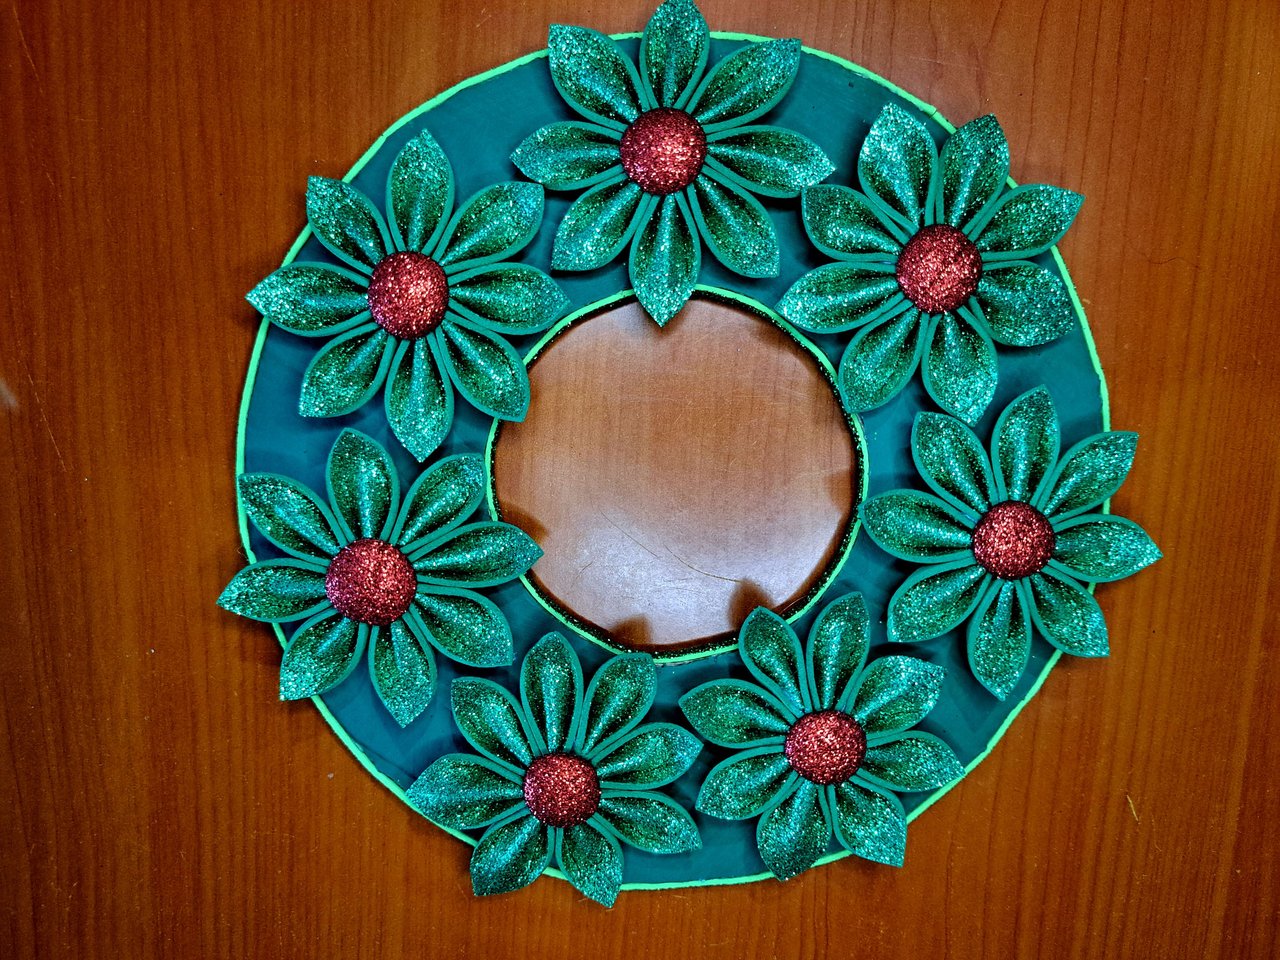
6️⃣ Next, I glued each of the flowers around the hoop in such a way that they cover the entire area of the hoop. The position of each one of the flowers must be very clear so that, after gluing, there are no different spaces between each one of them.
A continuación, pegué cada una de las flores alrededor del aro de forma tal que cubran toda el área del aro. Hay que tener bien clara la posición de cada una de las flores para que, luego de pegadas, no queden espacios diferentes entre cada una de ellas.
 |
 |
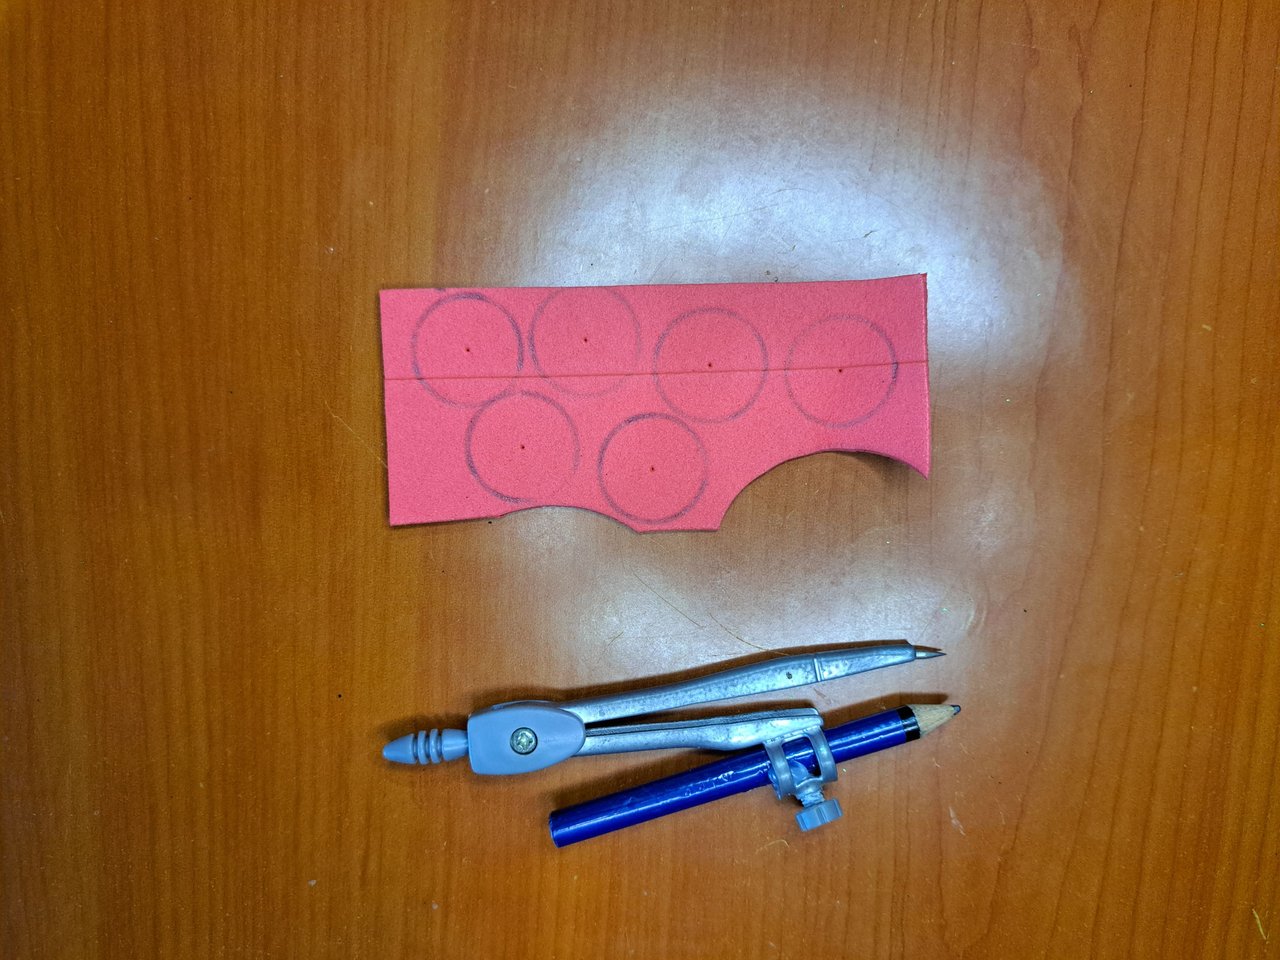
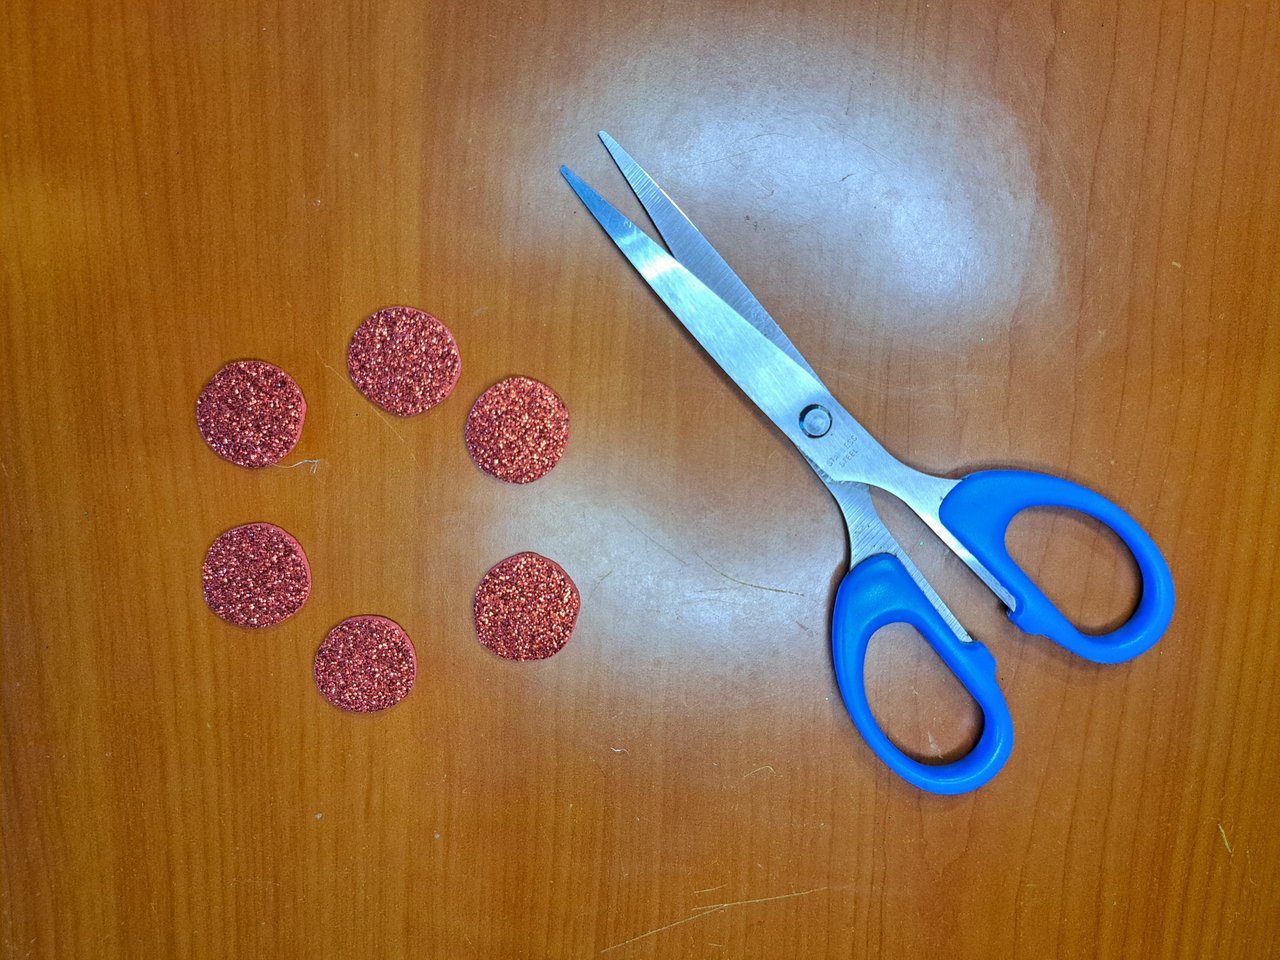
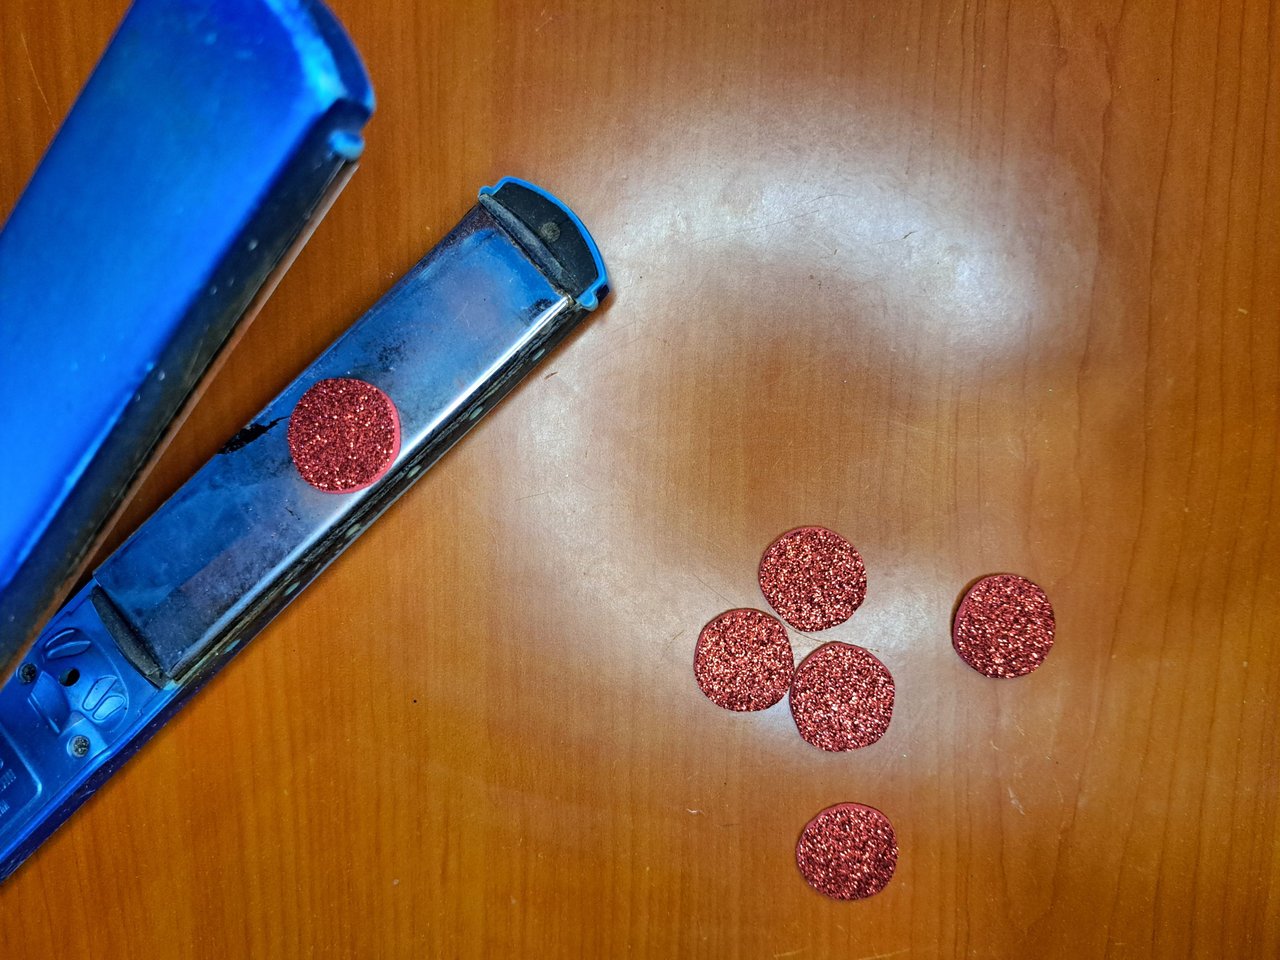
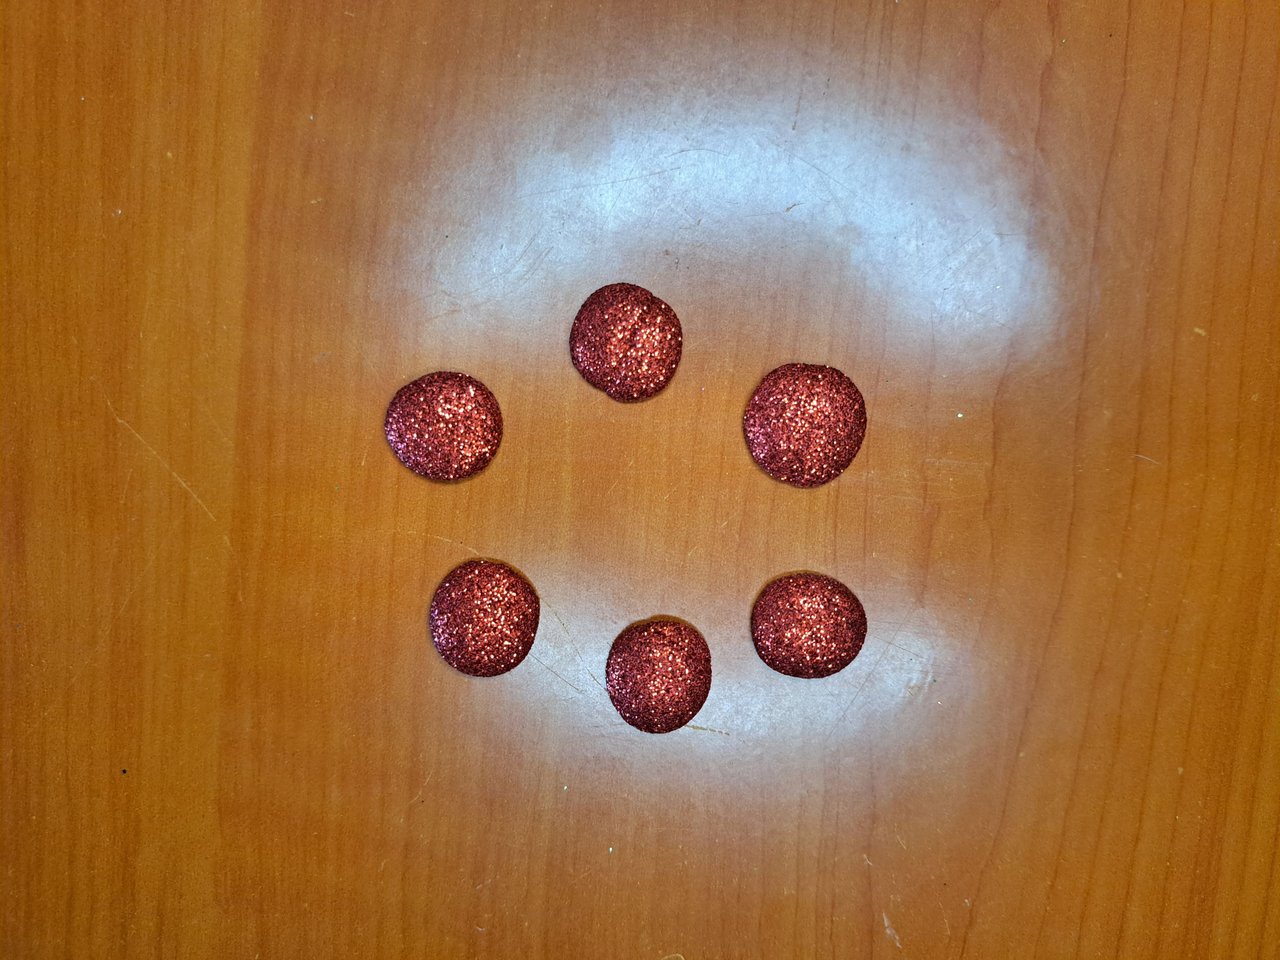
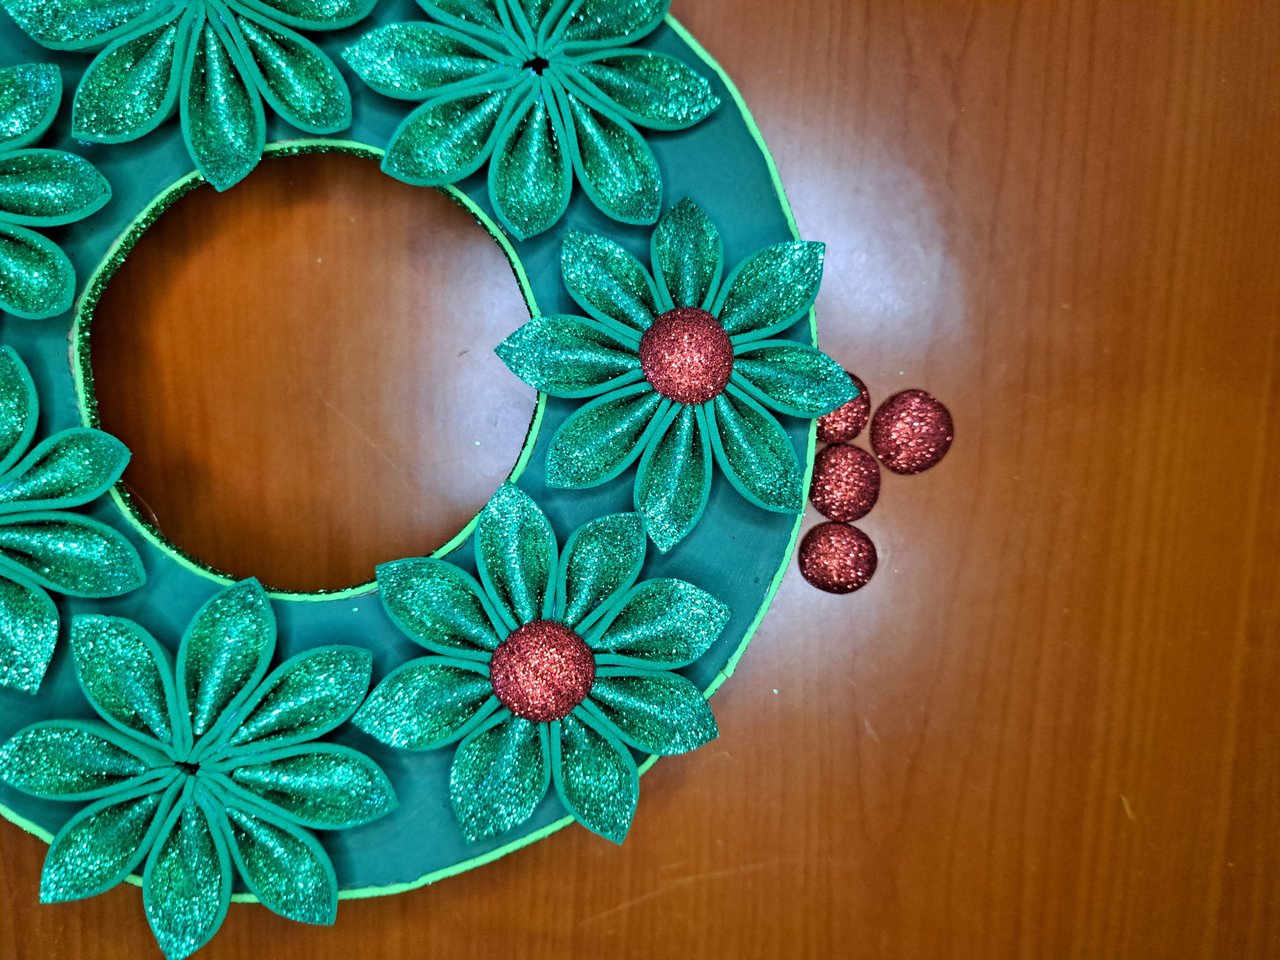
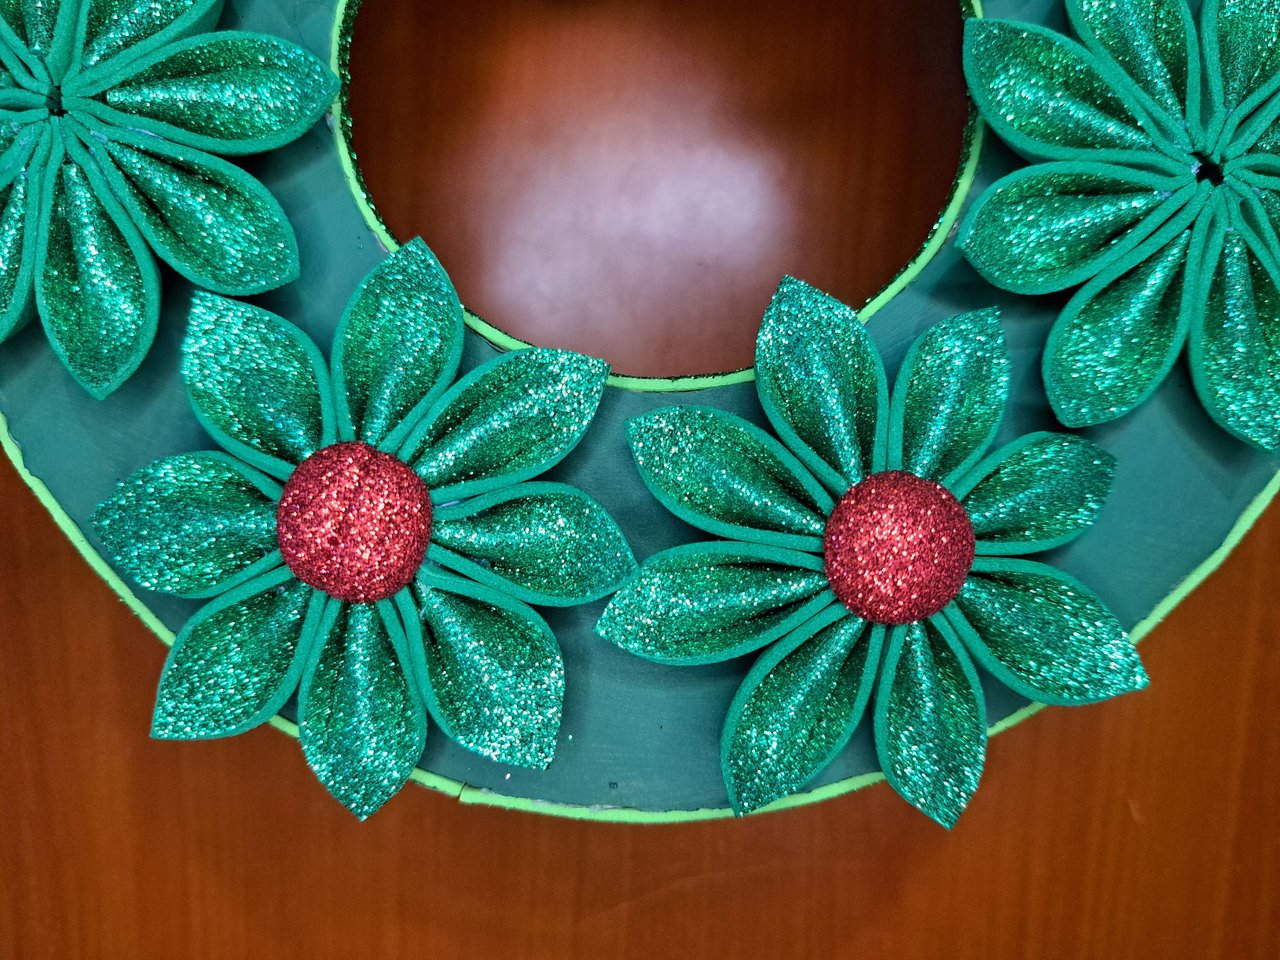
7️⃣ On a piece of frosted red fomi, I marked and cut out small circles of 2 cm in diameter. Each of these circles underwent a thermoforming process, which made them acquire a rounded shape. Then I glued them in the center of each of the flowers.
En una pieza de fomi rojo escarchado, marqué y recorté pequeños círculos de 2 cm de diámetro. A cada uno de estos círculos los sometí a un proceso de termoformado, el cual hizo que adquirieran una forma redondeada. Luego los pegué en el centro de cada una de las flores.
 |
 |
 |
 |
 |
 |
 |
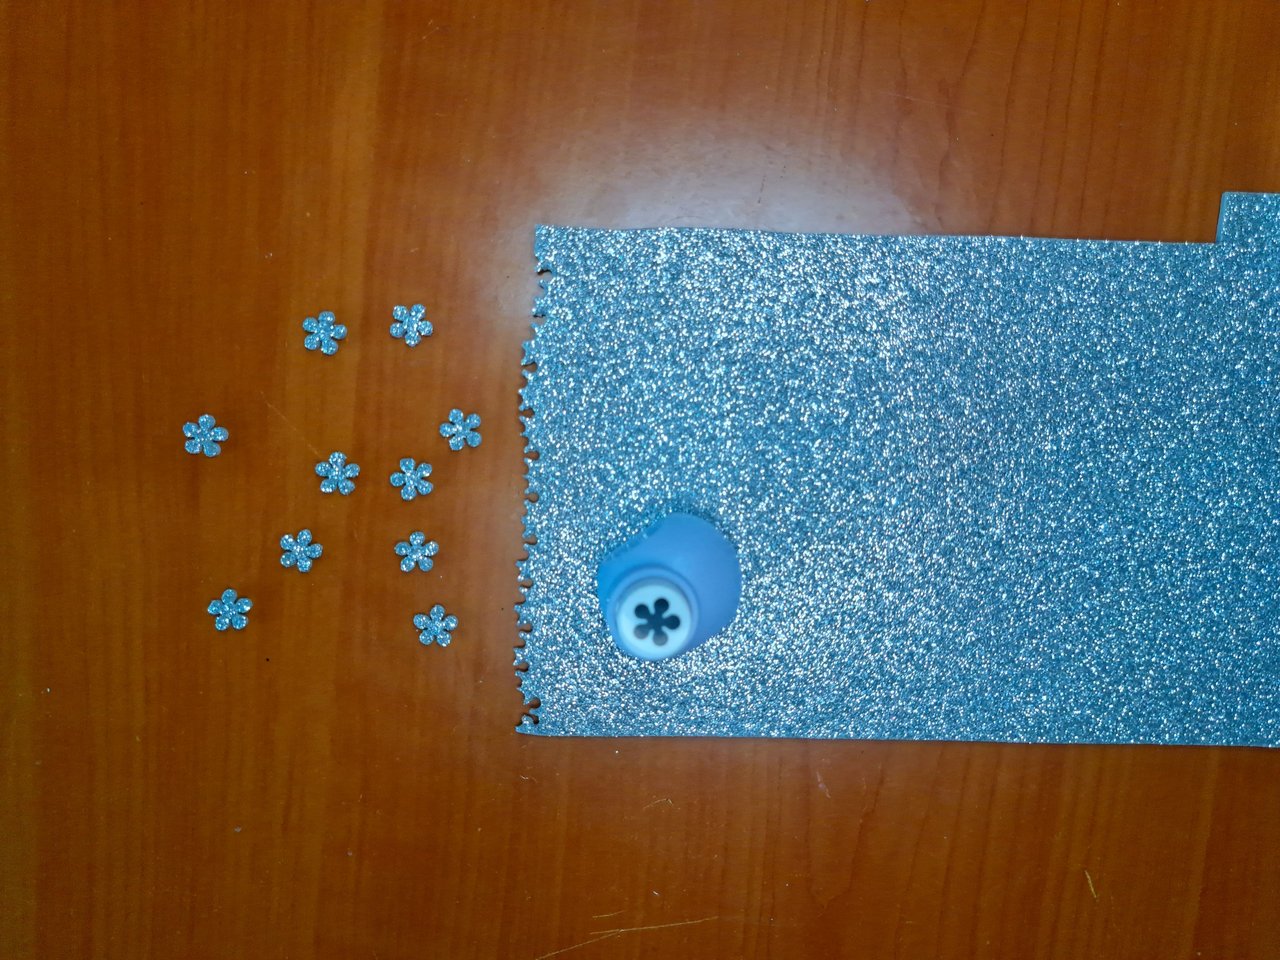
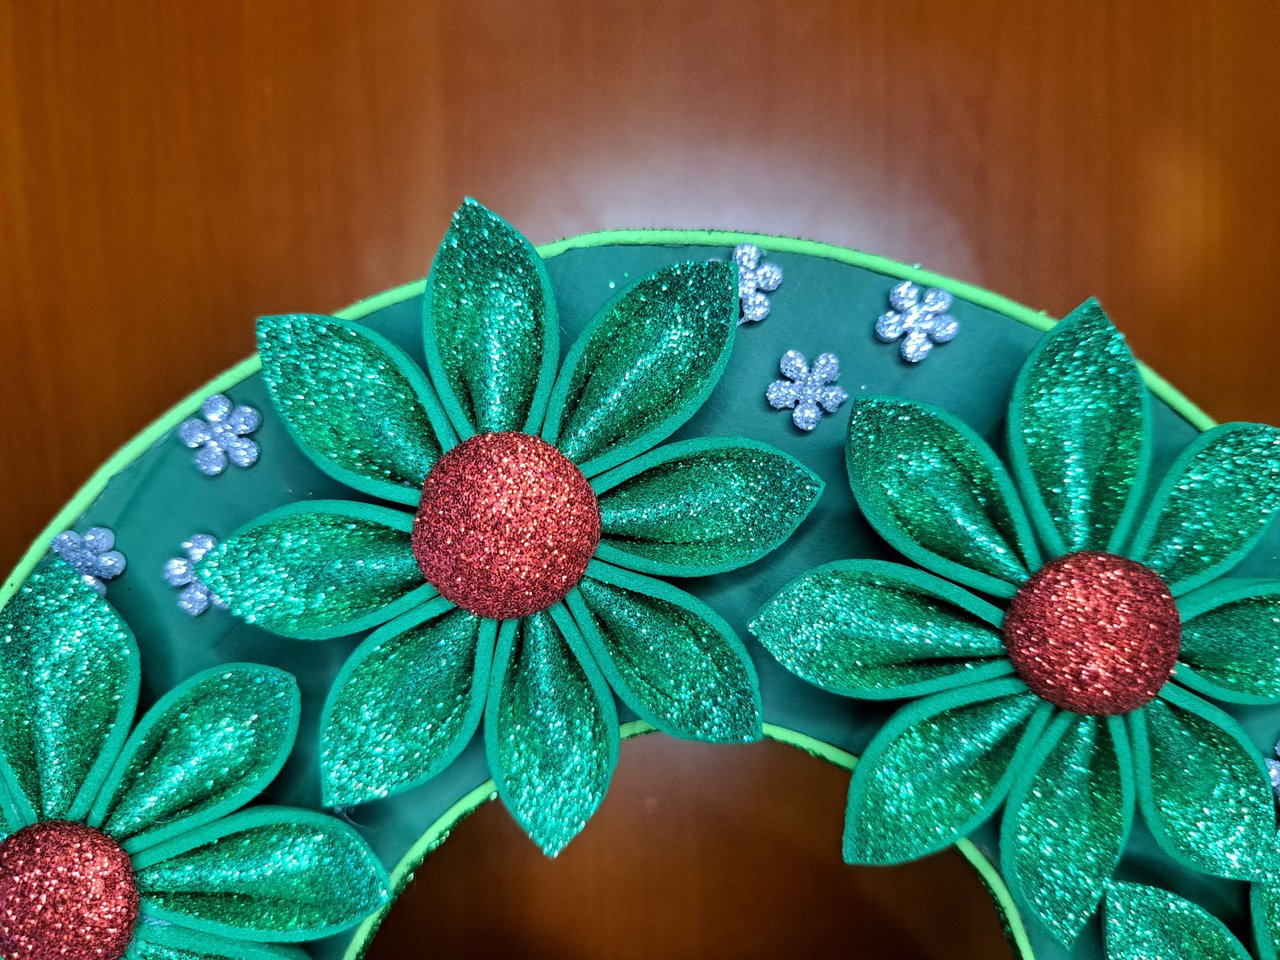
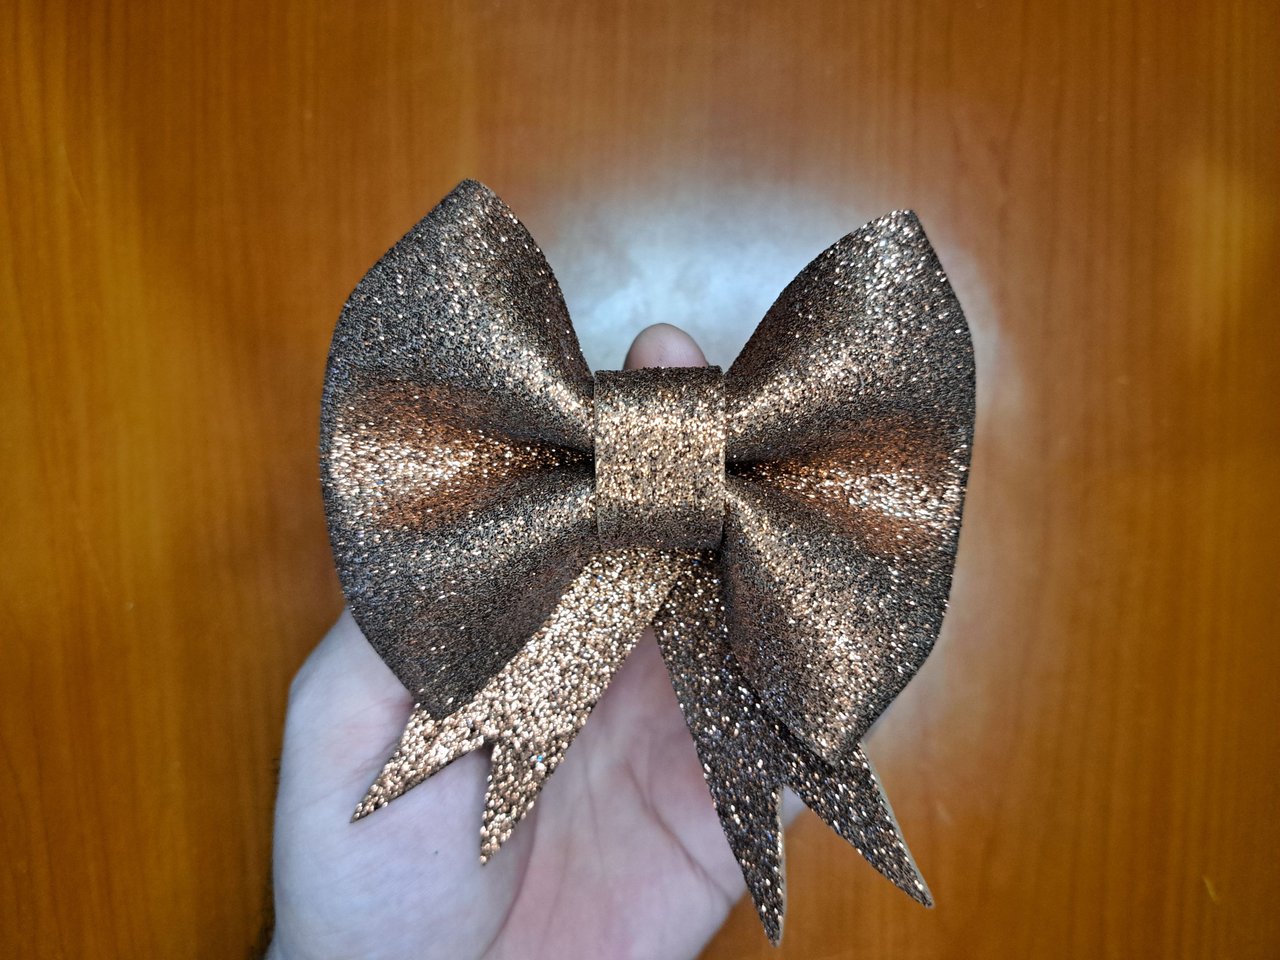
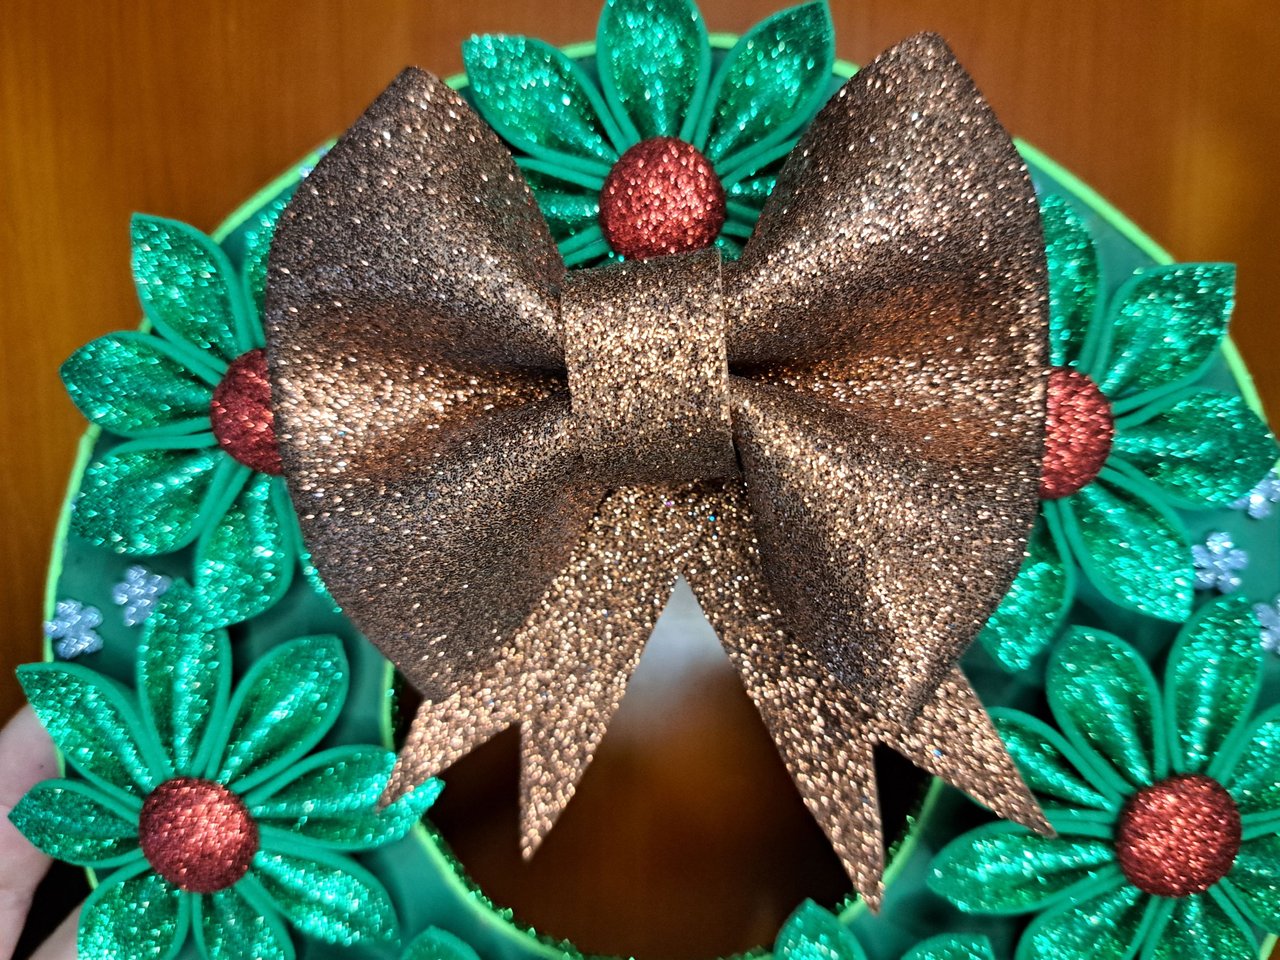
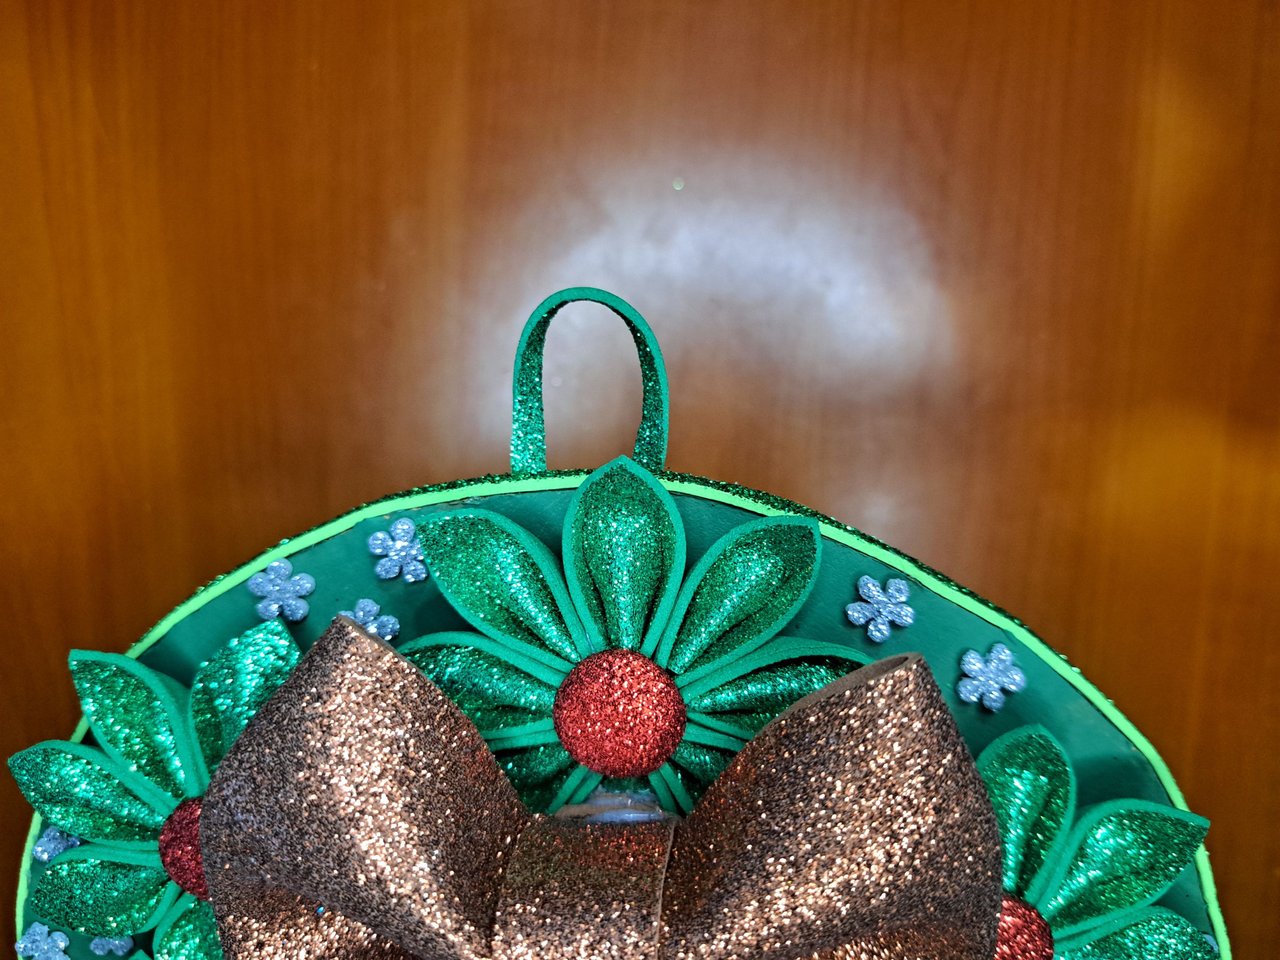
8️⃣ I used the silver frosted fabric to cut out small flowers, which I glued 3 at a time in the spaces between the green flowers. On the inside top I added a huge ribbon of carmelite frosted fabric and, to finish, I used one of the strips of plain green fabric to make a bow, which I glued to the top of the ornament.
Utilicé el fomi escarchado plateado para recortar pequeñas flores, las cuales pegué de 3 en 3 en los espacios que quedan entre las flores verdes. En la parte superior interna agregué un enorme lazo de fomi escarchado carmelita y, para finalizar, utilicé una de las tiras de fomi verde sobrio para hacerle un lazo, el cual pegué en la parte superior del adorno.
 |
 |
 |
 |
 |
 |
 |
Finished Work // Trabajo Terminado
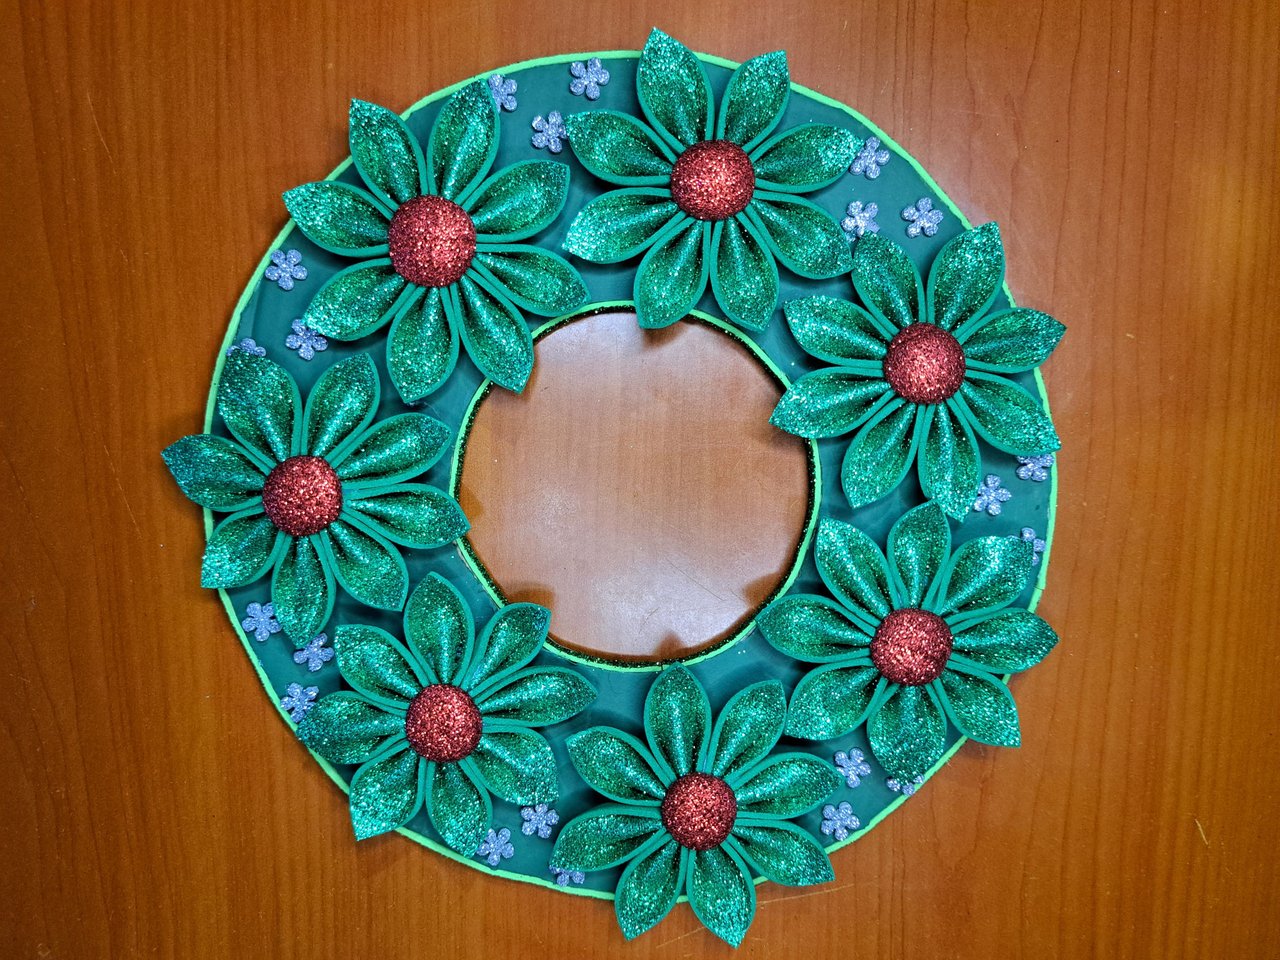
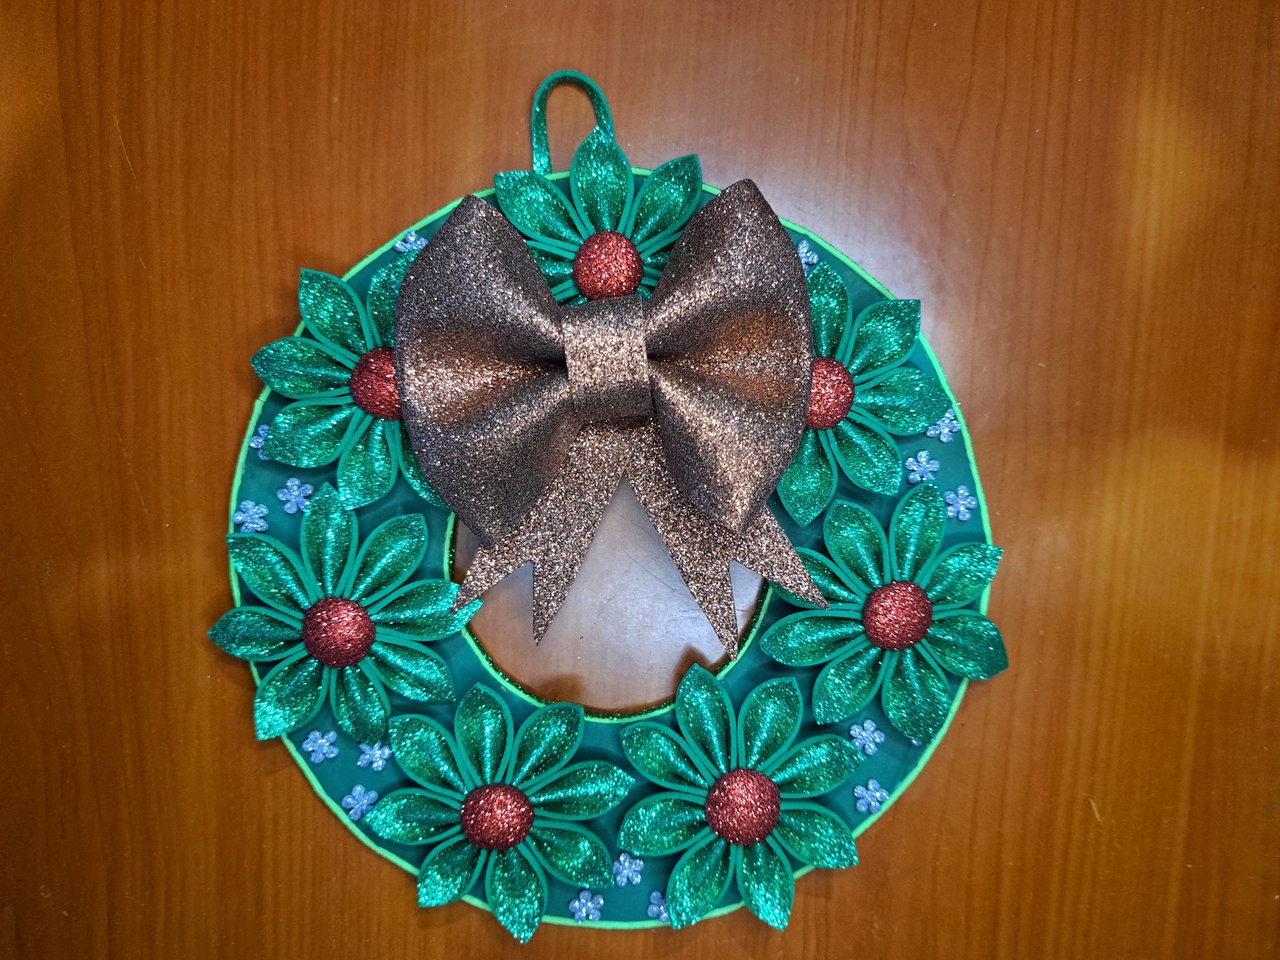
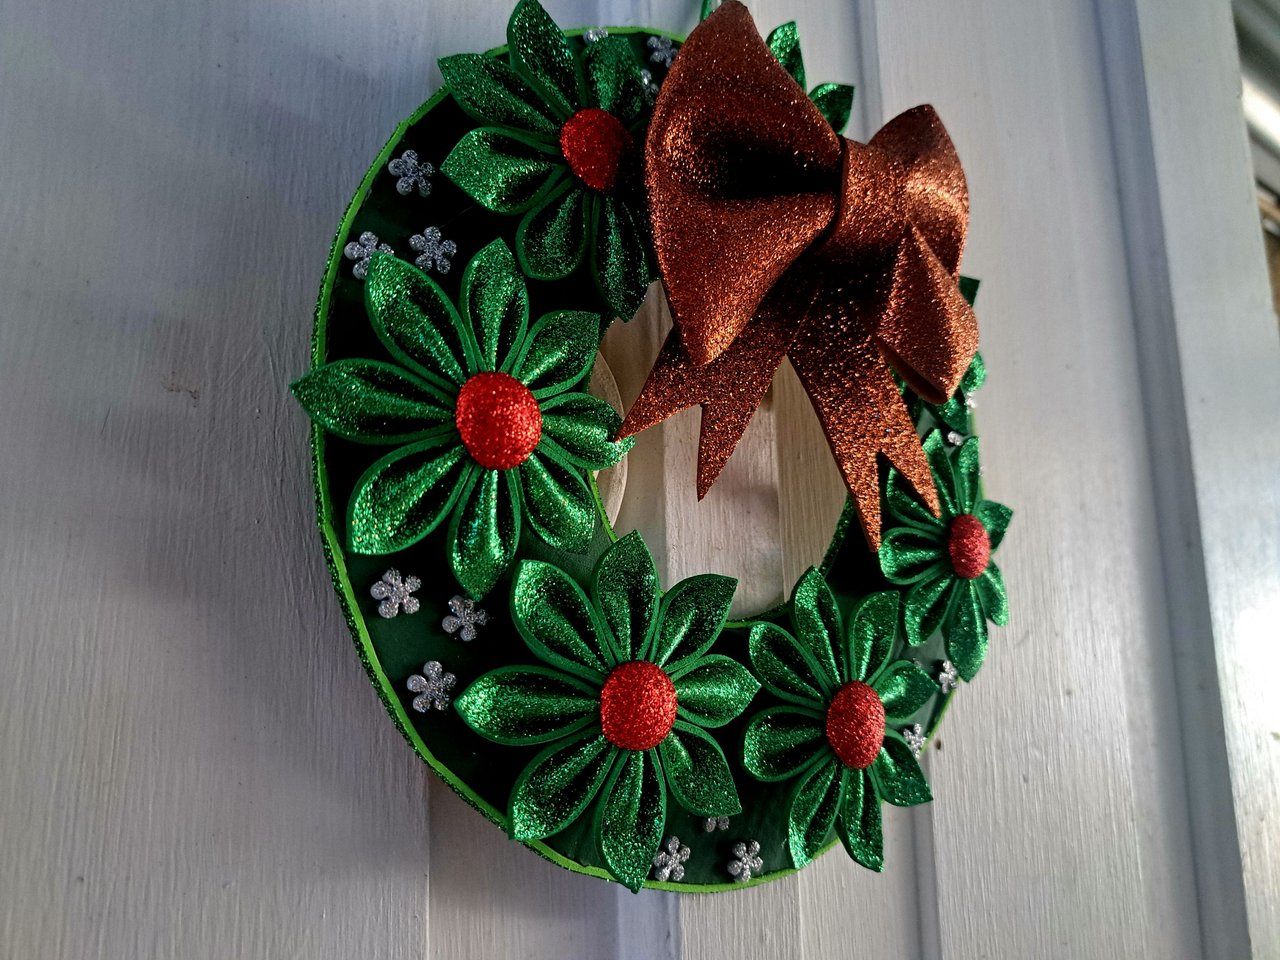
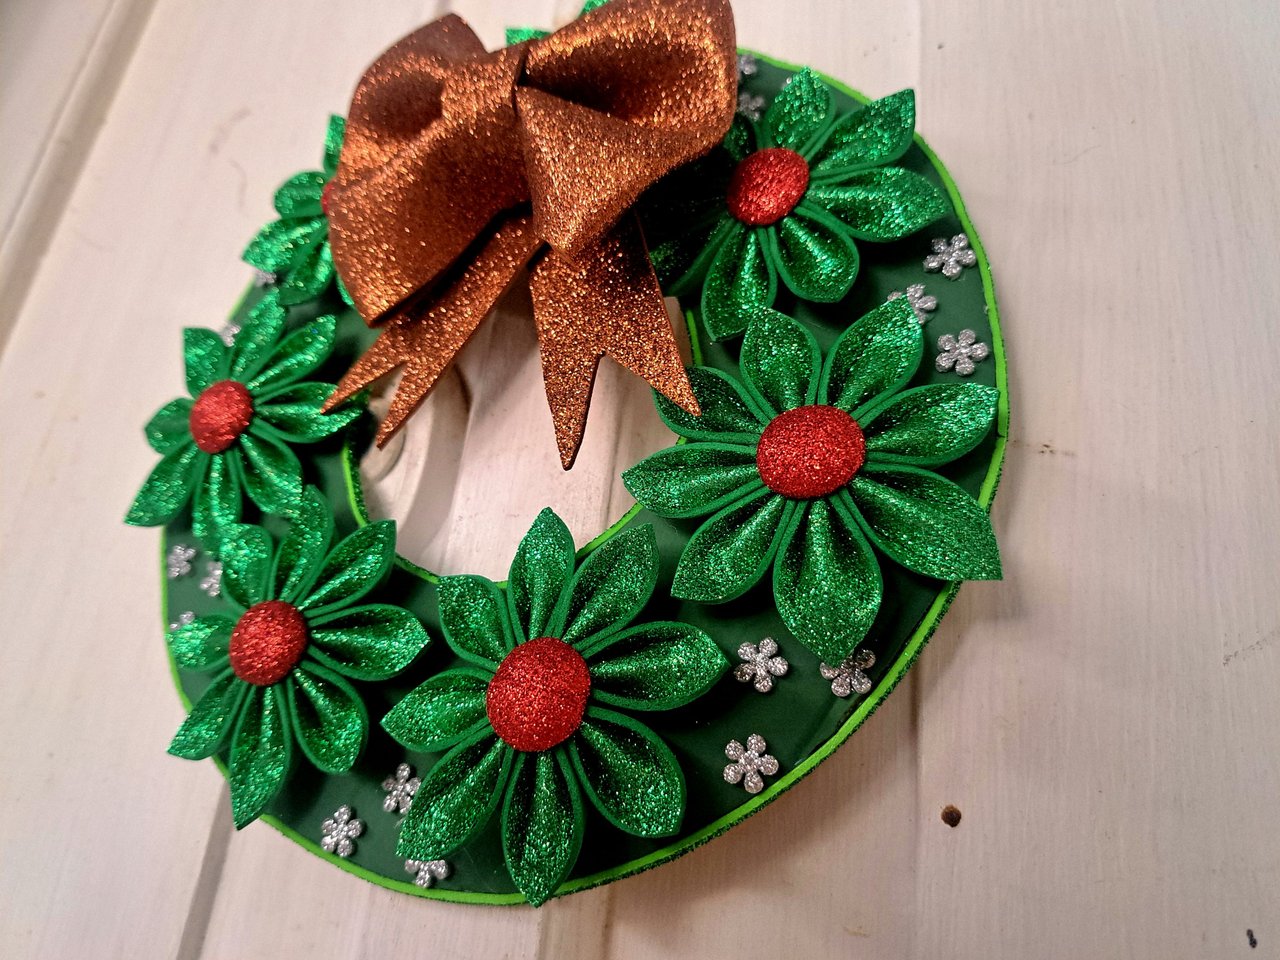
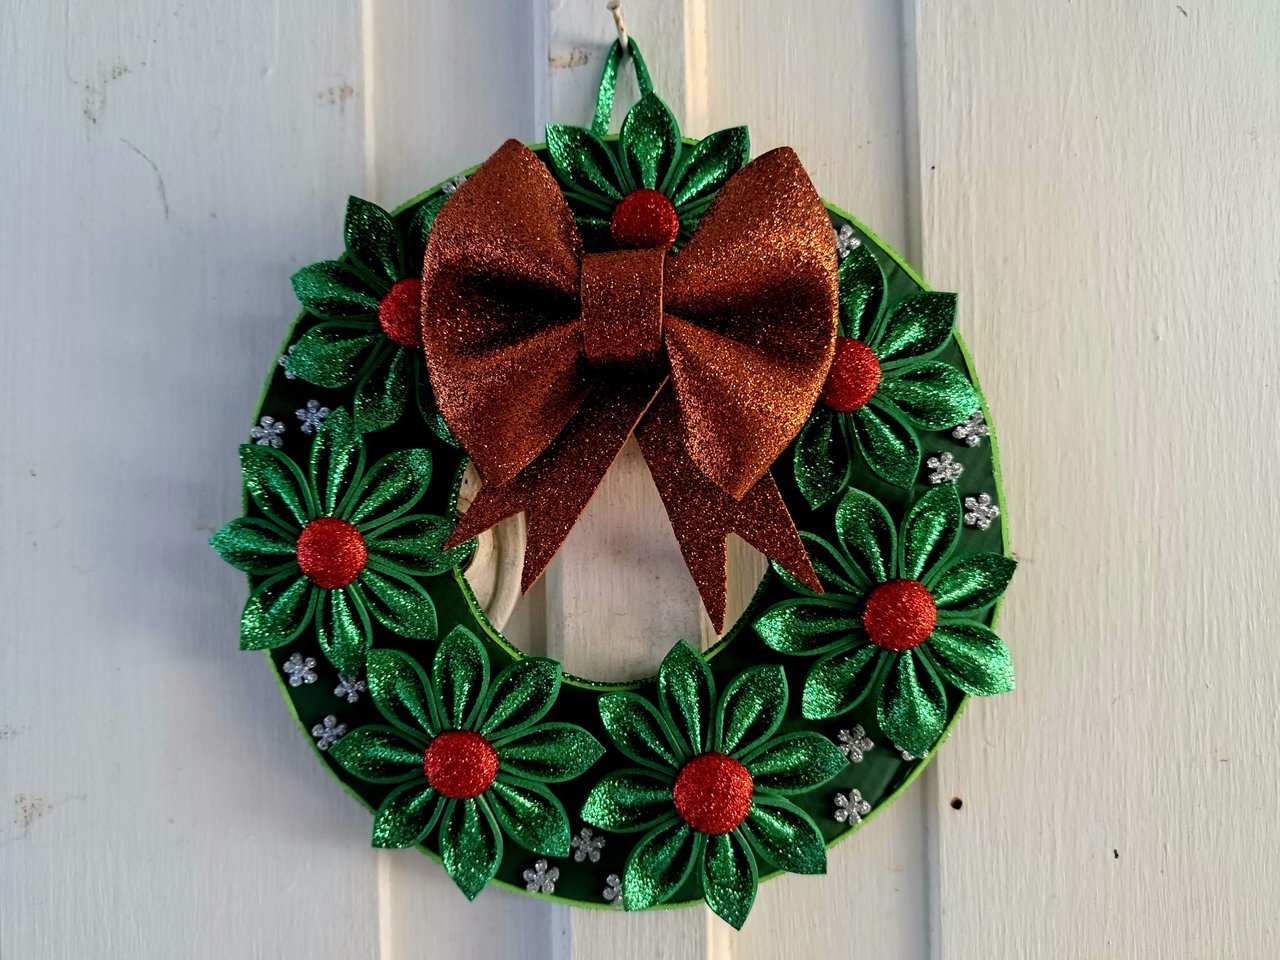
And so our Christmas wreath would be ready. I hope you liked the creation process, as well as the final result. There are some considerations to take into account, such as that to make the silver floats I used a hole punch, which makes my work much easier, but you can perfectly do them with scissors or even, instead of flowers, cut out small snowflakes. Without further ado, I bid you all a happy and prosperous day. Ciao.
Y así estaría lista nuestra corona navideña. Espero que te haya gustado el proceso de creación, así como el resultado final. Hay que tener algunas consideraciones, tales como que para hacer las flotantes plateadas utilicé una perforadora, la cual facilita mucho mi trabajo, pero perfectamente se pueden hacer con tijeras o incluso, en vez de flores, recortar pequeños copos de nieve. Sin más que agregar, me despido deseándoles a todos una feliz y próspera jornada. Chao.
 |
 |
 |

Thank you very much for reading my post. If you liked it, please leave a comment and consider following me so you don't miss my next posts. I'd love to know your opinion and your thoughts about the topic I discussed in this post, see you in the next one!

Credits and Resources // Créditos y Recursos
Cover page created in Canva
Translated by DeepL
Images captured with my Samsung Galaxy A53

Cover page created in Canva
Translated by DeepL
Images captured with my Samsung Galaxy A53

Quedó bien bonita me gustaron las Flore citas mucho
Me alegra mucho saber que te gustó.
Always amazed with the meticulous details of your crafts, everything looks very professional, you work with passion and we appreciate that at DIYHub. Thank you for being part of our community.
Thank you for giving us a space to develop new creative ideas.
Hola hola.
¡Precioso tu trabajo! Además algo laborioso. Reconozco que aún no me atrevo a realizar manualidades con foami. Malgastaría material, pero me encanta todo lo que se puede hacer con él.
Por cierto al ver cada pieza doblada que muestras recordé un perfil que recién sigo en otra red y te lo quiero compartir. Es lo más novedoso que he visto este año y me encanta. Se trabaja con papel. ¿Te atreves a sacar una muestra? 🤔
Gracias por compartir tus bellas creaciones.
https://www.facebook.com/share/19Wa2T589R/
Muchísimas gracias por tan bello comentario. Hace algún tiempo hice una manualidad a pequeña escala utilizando una técnica parecida, pero no quedó tan bello como la que me compartes.
Con un poco de práctica se logra. Yo no tengo tanta paciencia 😃 ni tantas hojas 😔 ¡Que tengas un lindo día!
Igualmente 🤗
This is just so beautiful
You did an amazing job
Thank you very much 🤗