Hello friends hivers, receive a warm greeting.
I am happy to share with you in this interesting community @Diyhub, a community that invites us to create and enjoy crafts. Undoubtedly the manual activities allow us to connect with what we like, spend different moments and detach a little from the daily routine.
This year I am focused on filling my space with everything that I like and adds to my life, crafts is one of them, it is the best therapy that I can do and give myself every day.
These carnations that I share with you today, have been a nice touch to place somewhere at home, they are easy to make, do not require many materials and in a few minutes you have beautiful carnations to brighten up our spaces.
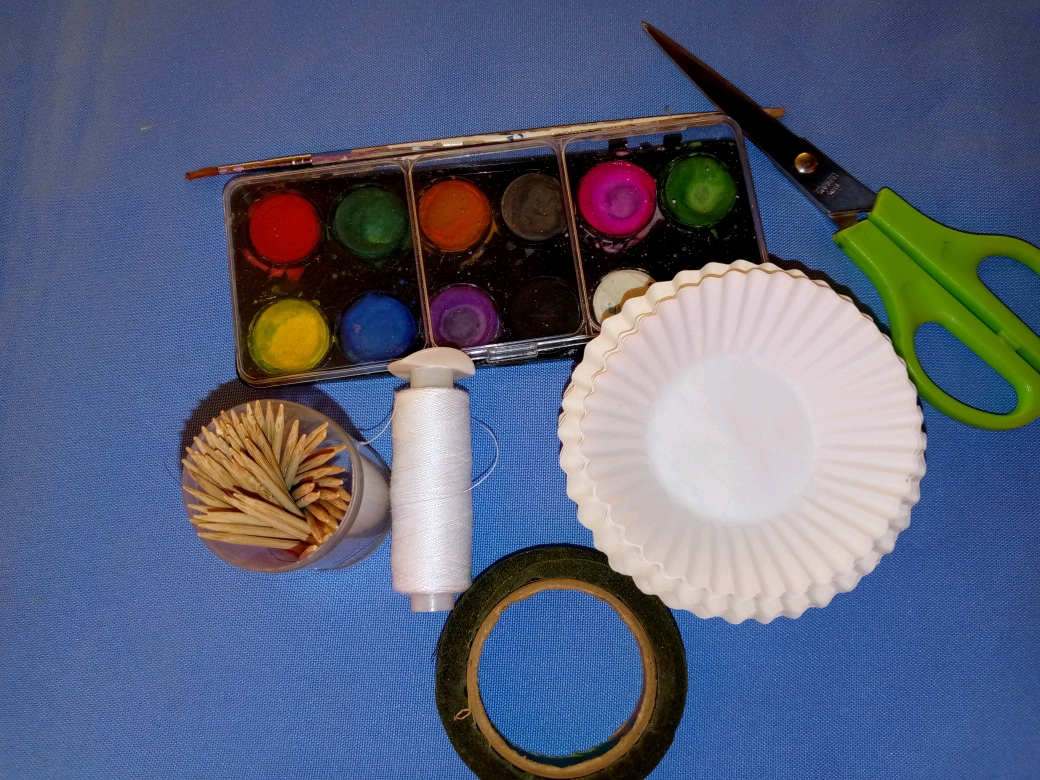
Materials :
- Number 12 flowerpots
- Watercolors
- Brush
- Thread
- Scissors
- Floratape
- Wooden sticks
Elaboration Step by Step
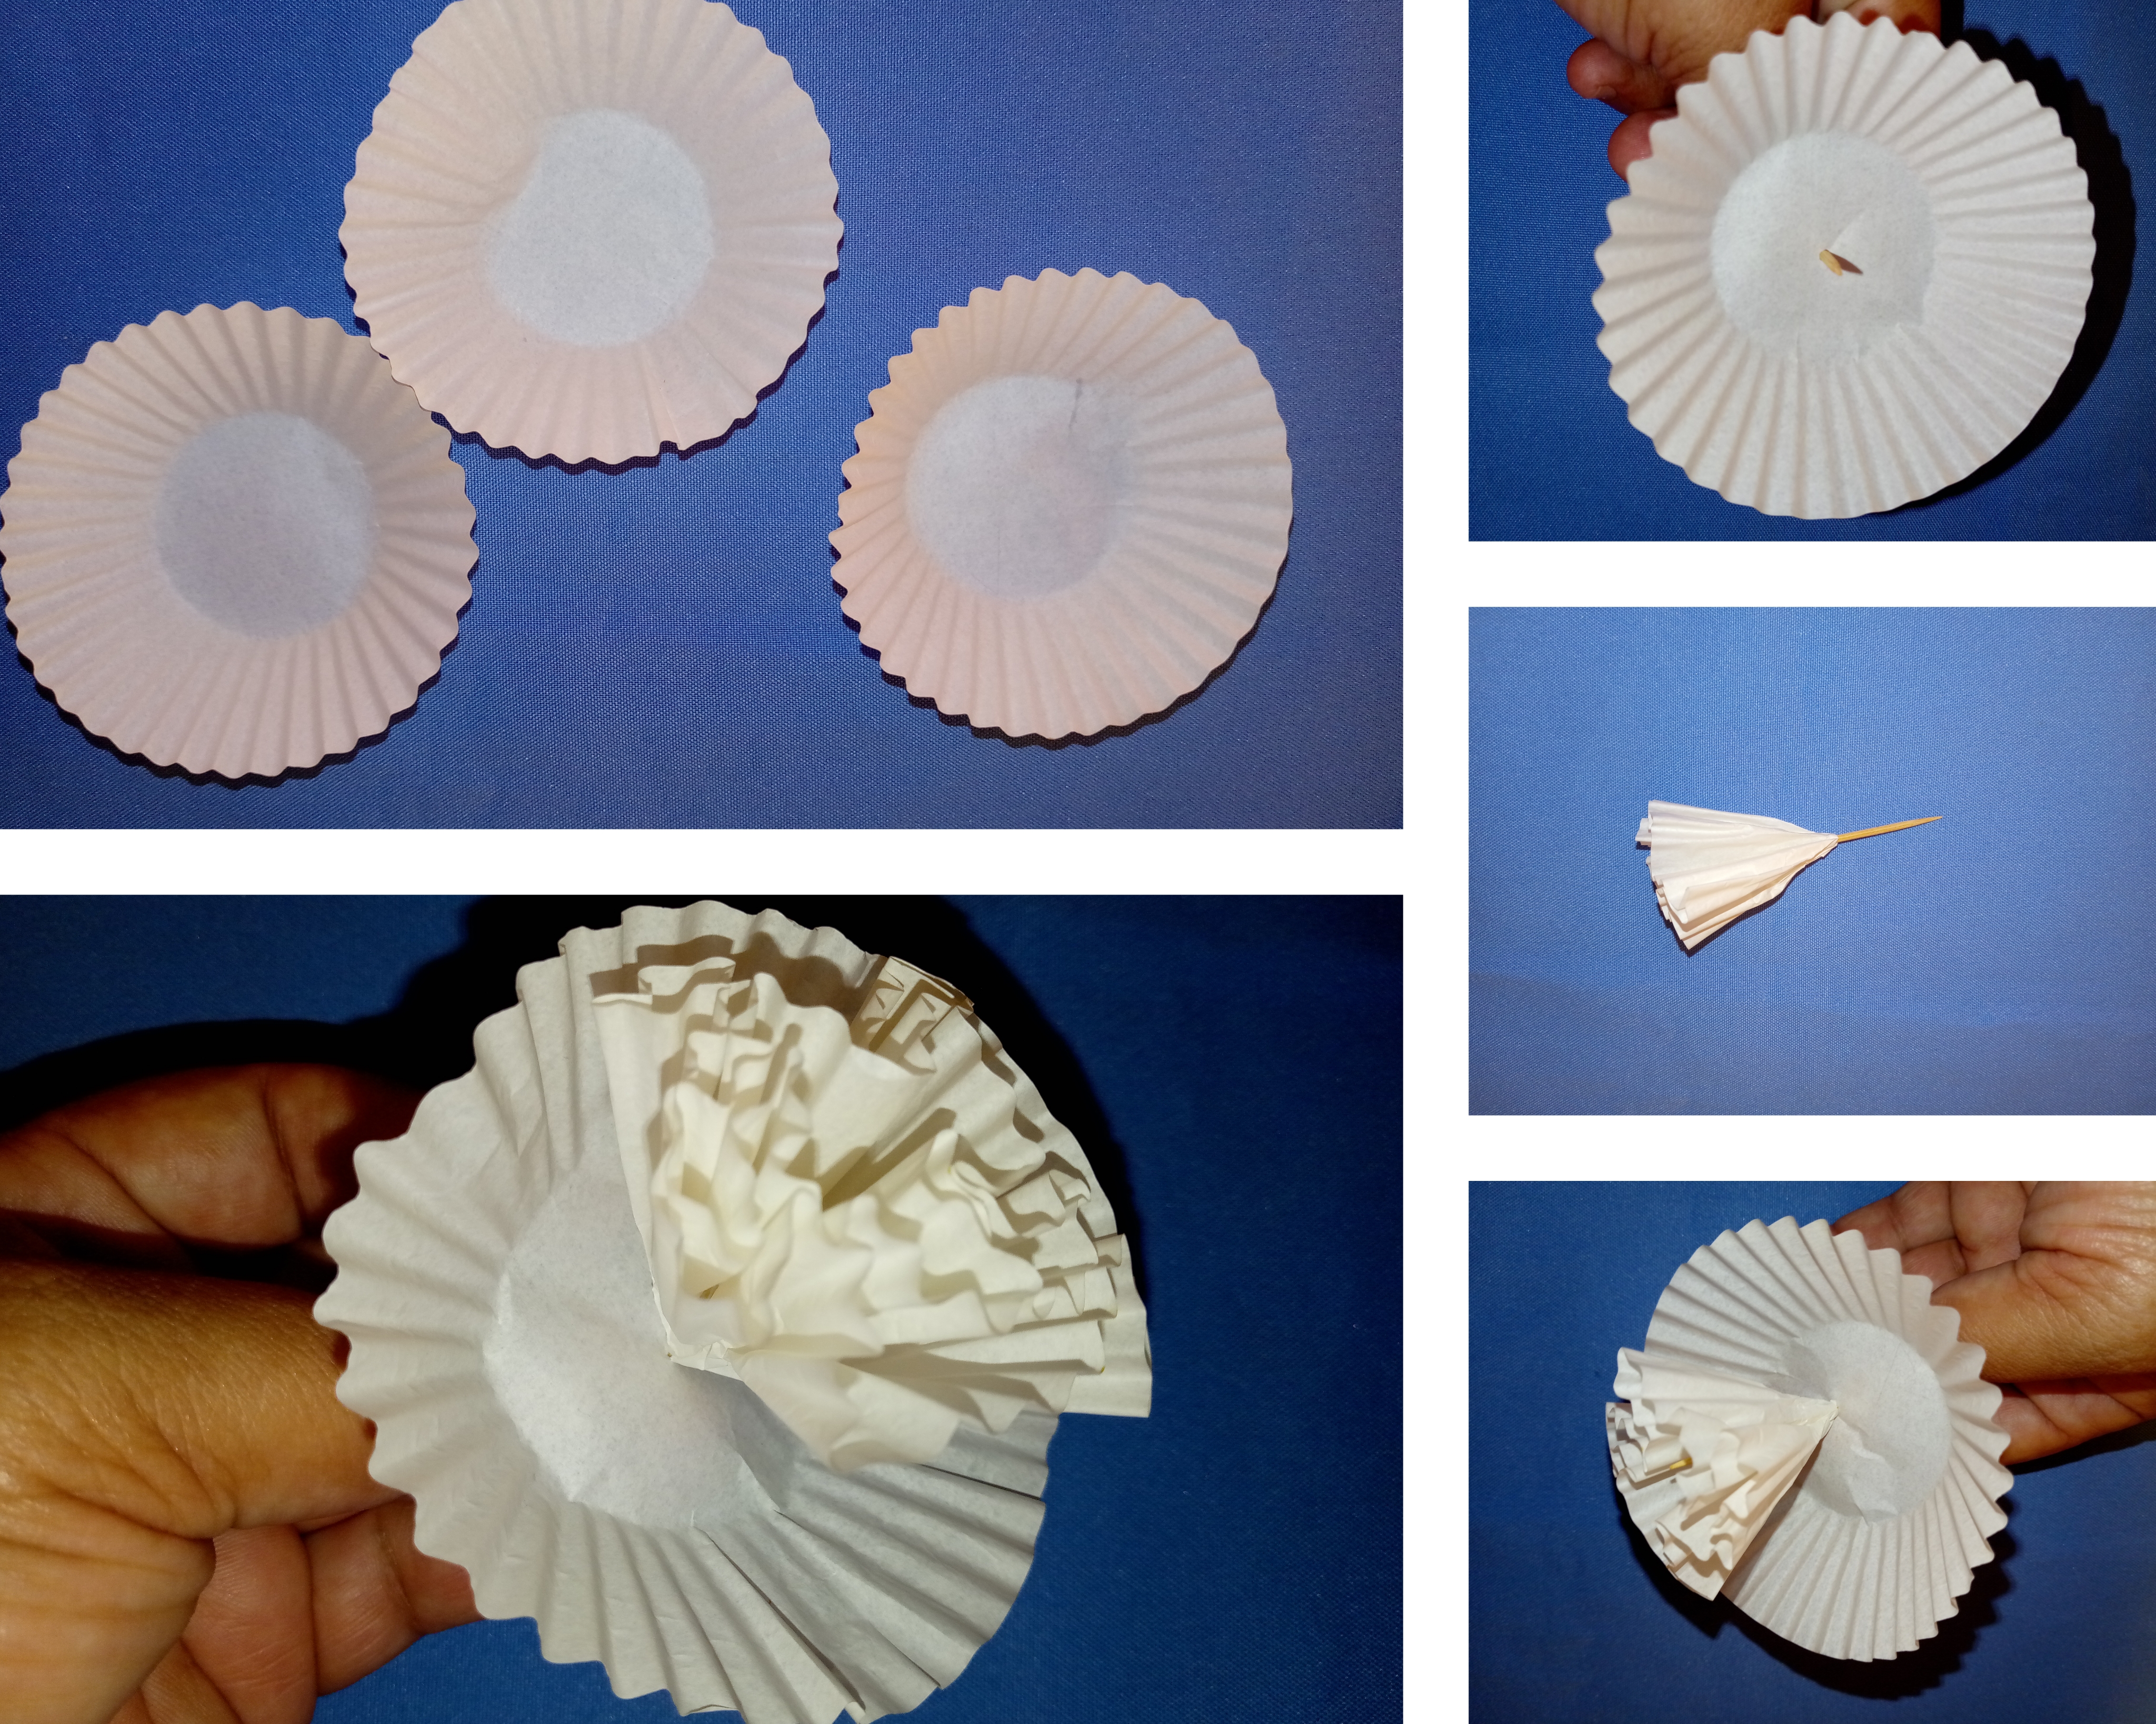
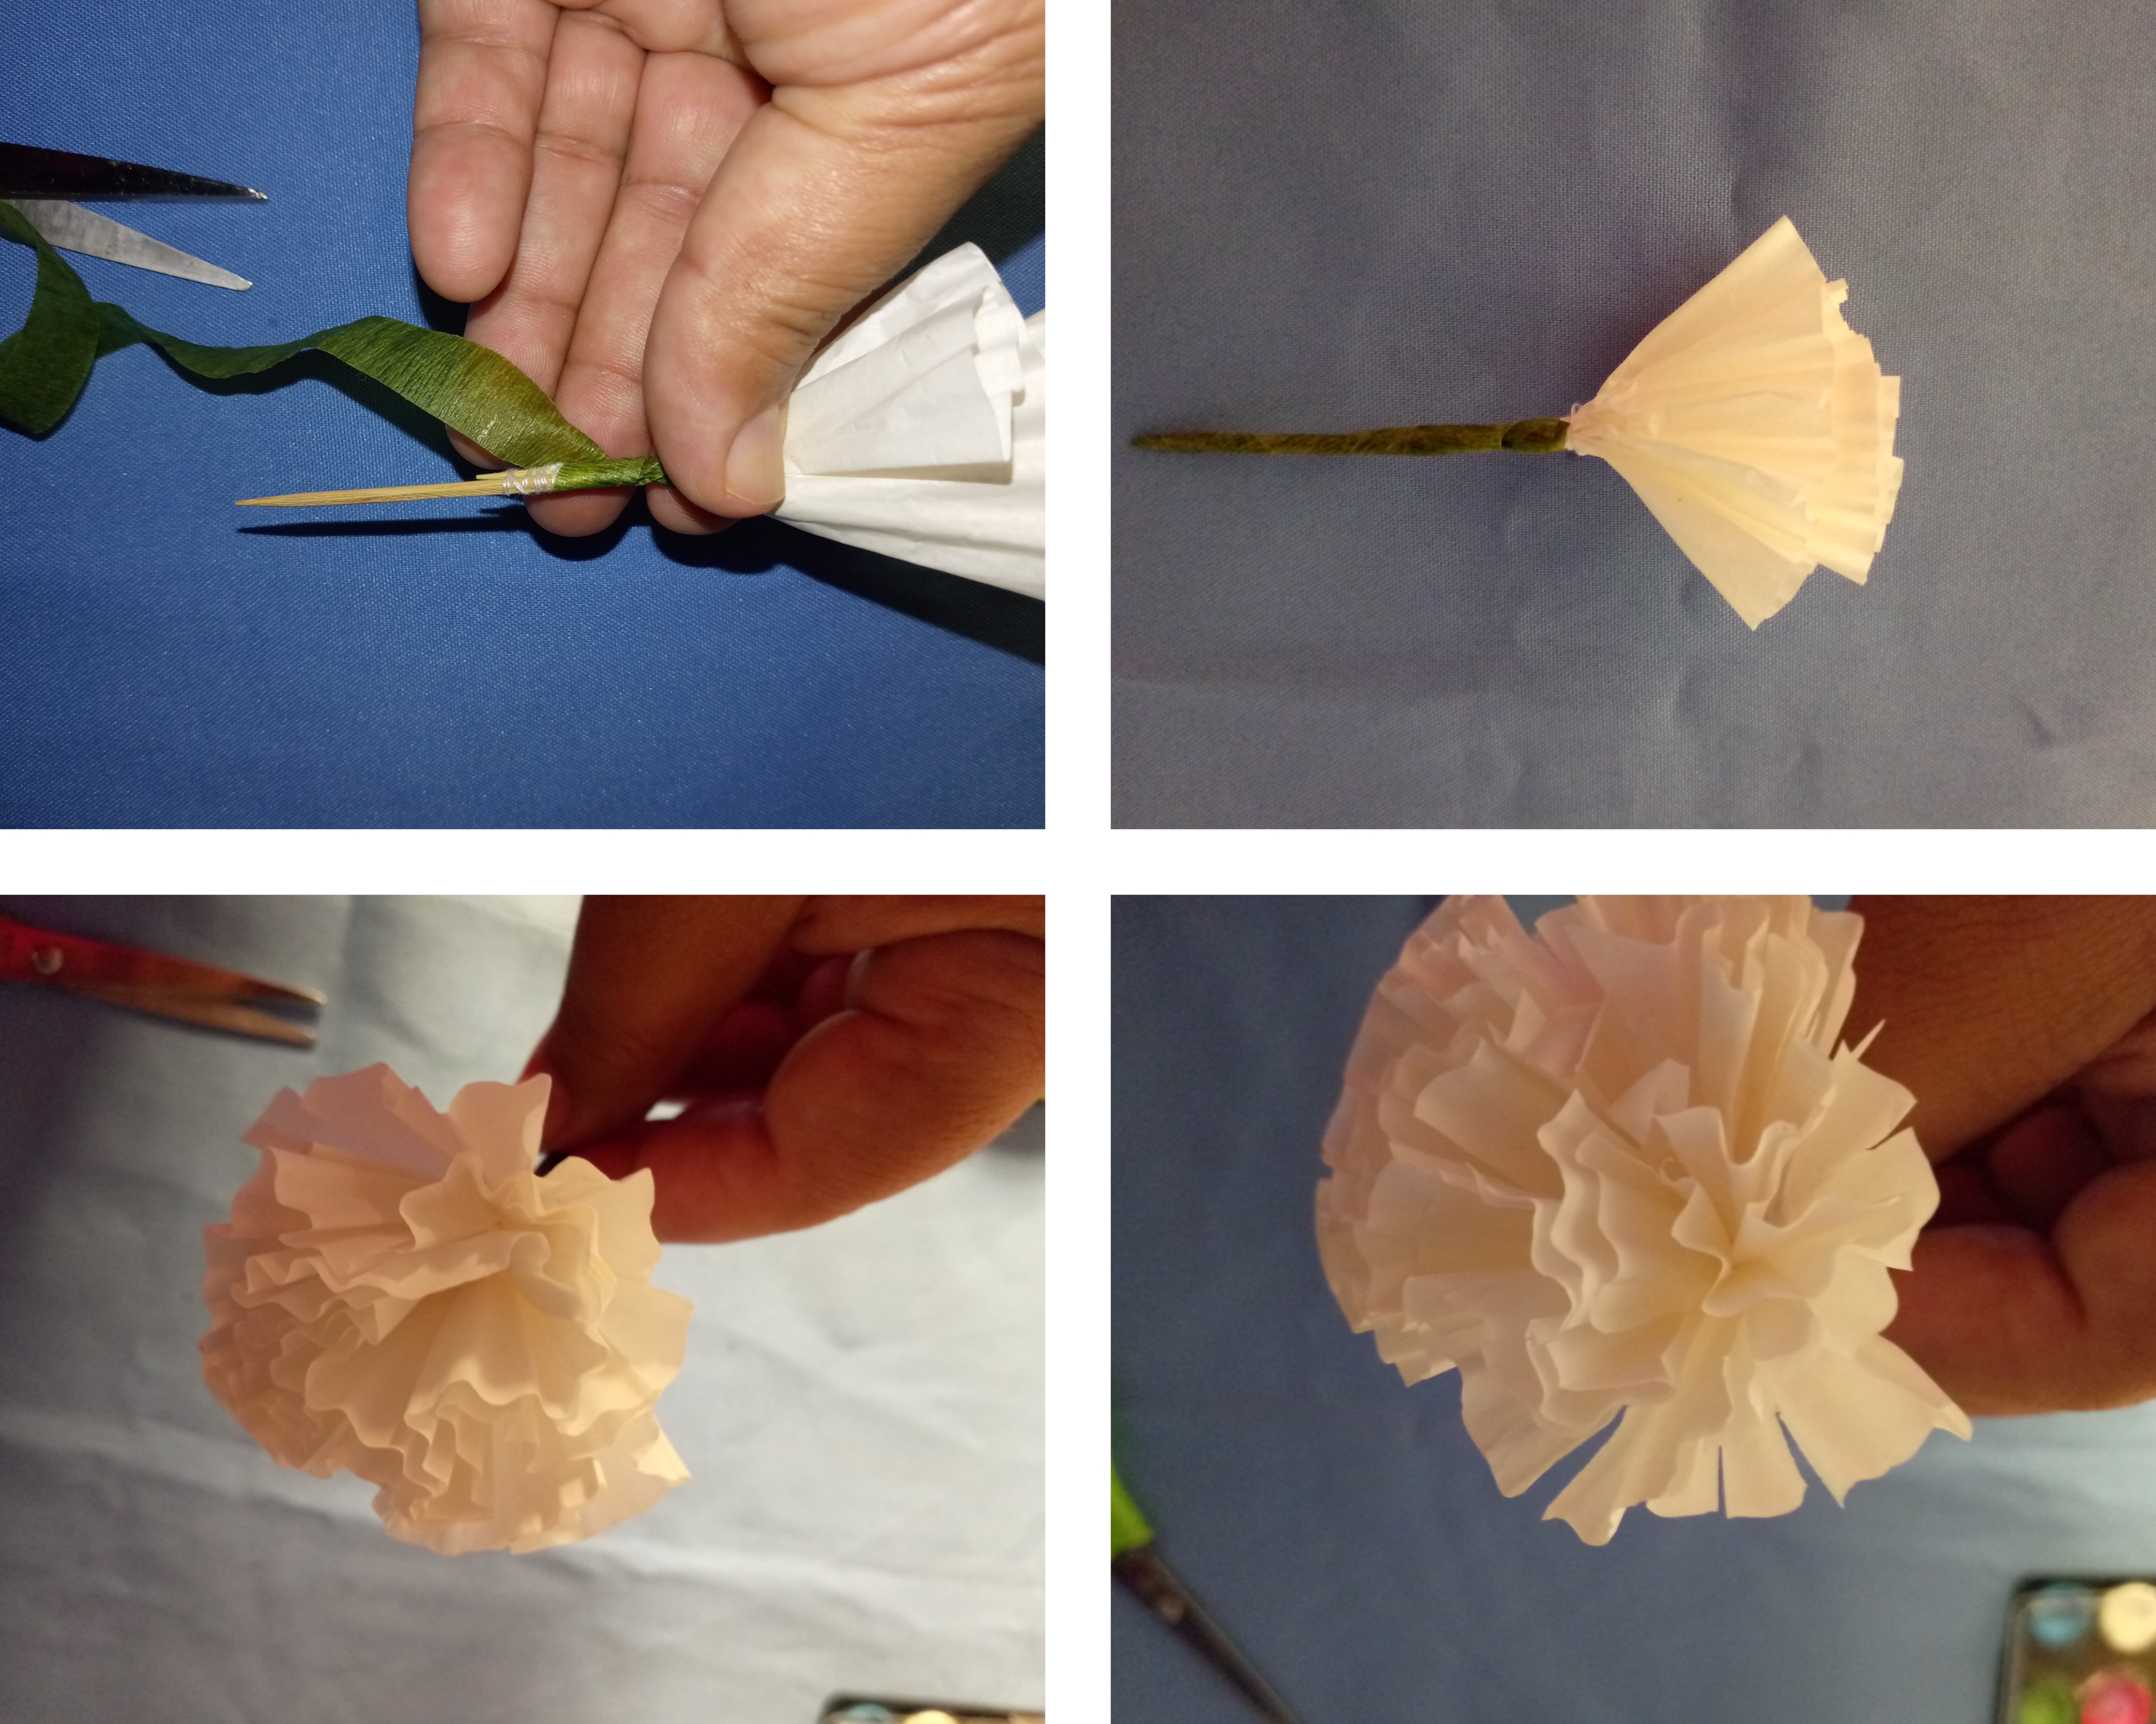
To make the carnations I used three layers, I started taking a layer I introduced a toothpick in the center and closed it giving shape to the flower, the idea is that the toothpick serves as a center to give the shape. Progressively I placed the second and third layer giving the shape and keeping the same size or the same height.
After I had the three layers I pressed them against the toothpick and tied them with double thread, I gave it several turns to tie it, with the same thread I attached another toothpick, I gave it several turns to tie it well and then I cut the excess thread.
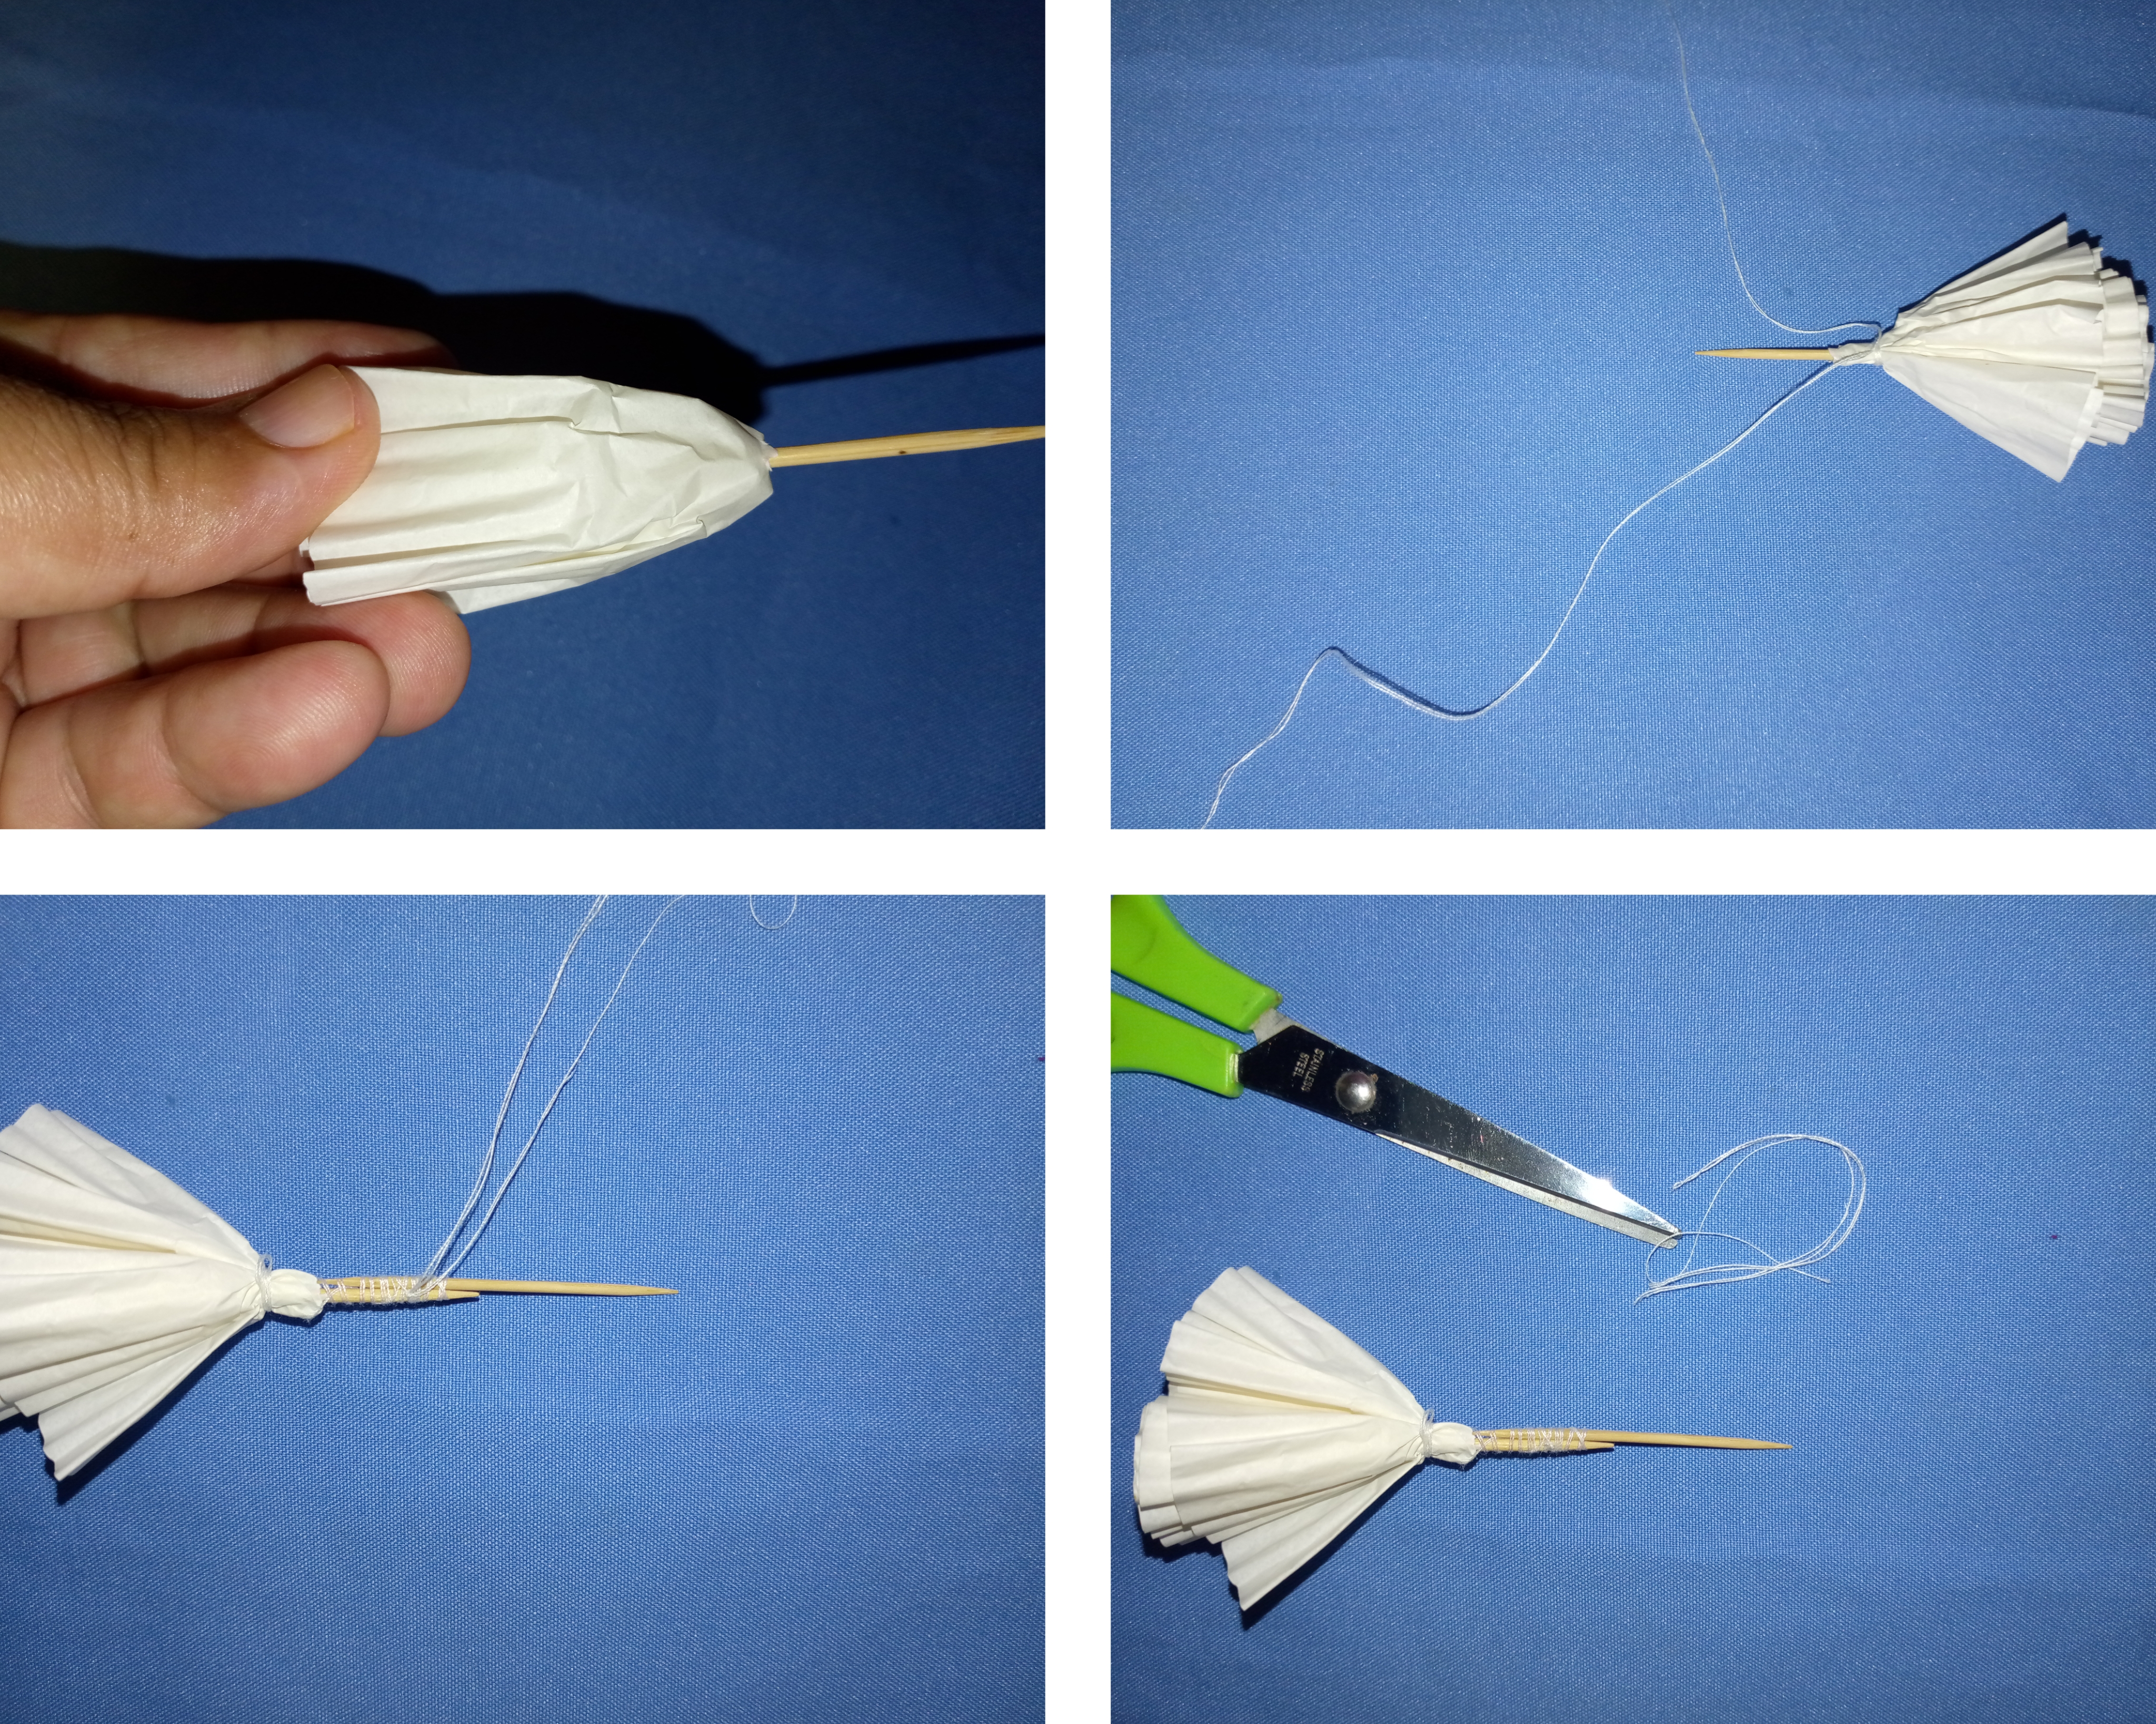
I used floratape to cover the stems of the flowers, then with the scissors I made small cuts vertically to the carnations.
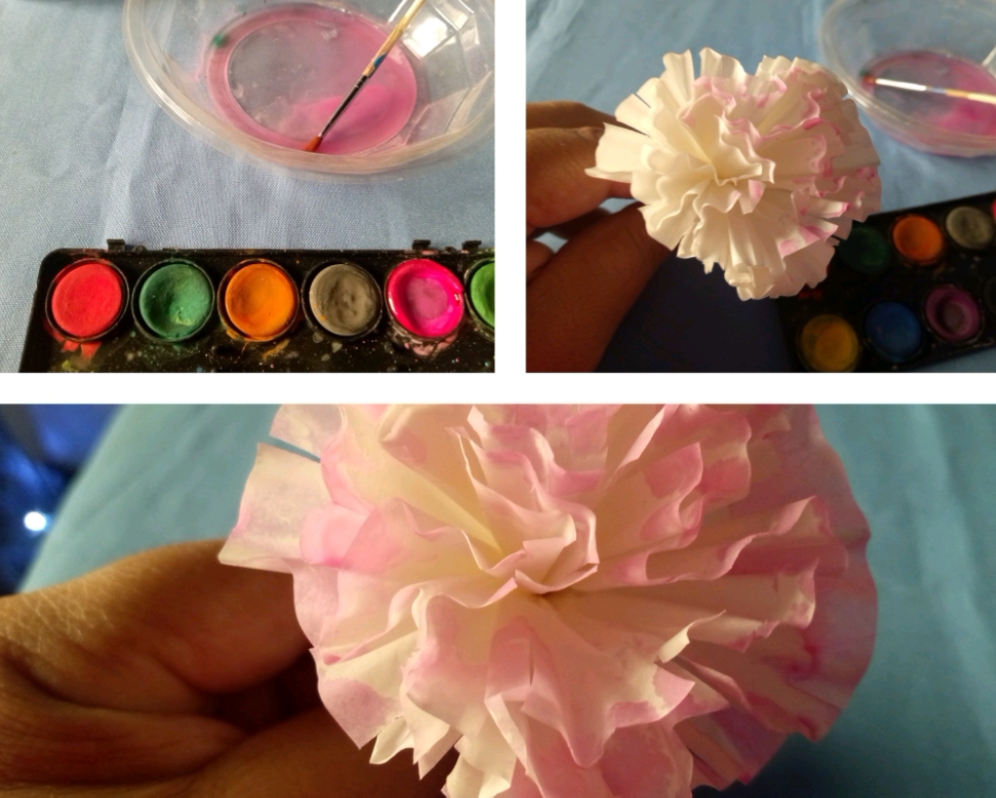
Then I matted the carnations, for this I used watercolor diluted in water, I just gave a few soft touches on the edges of the flower.
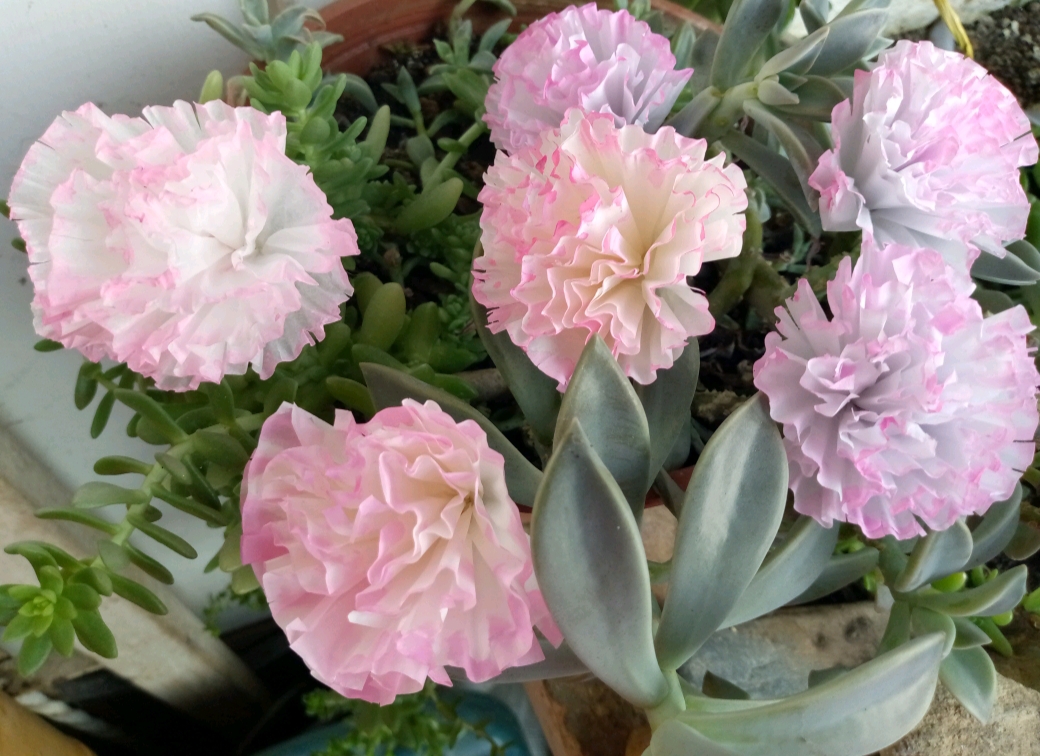
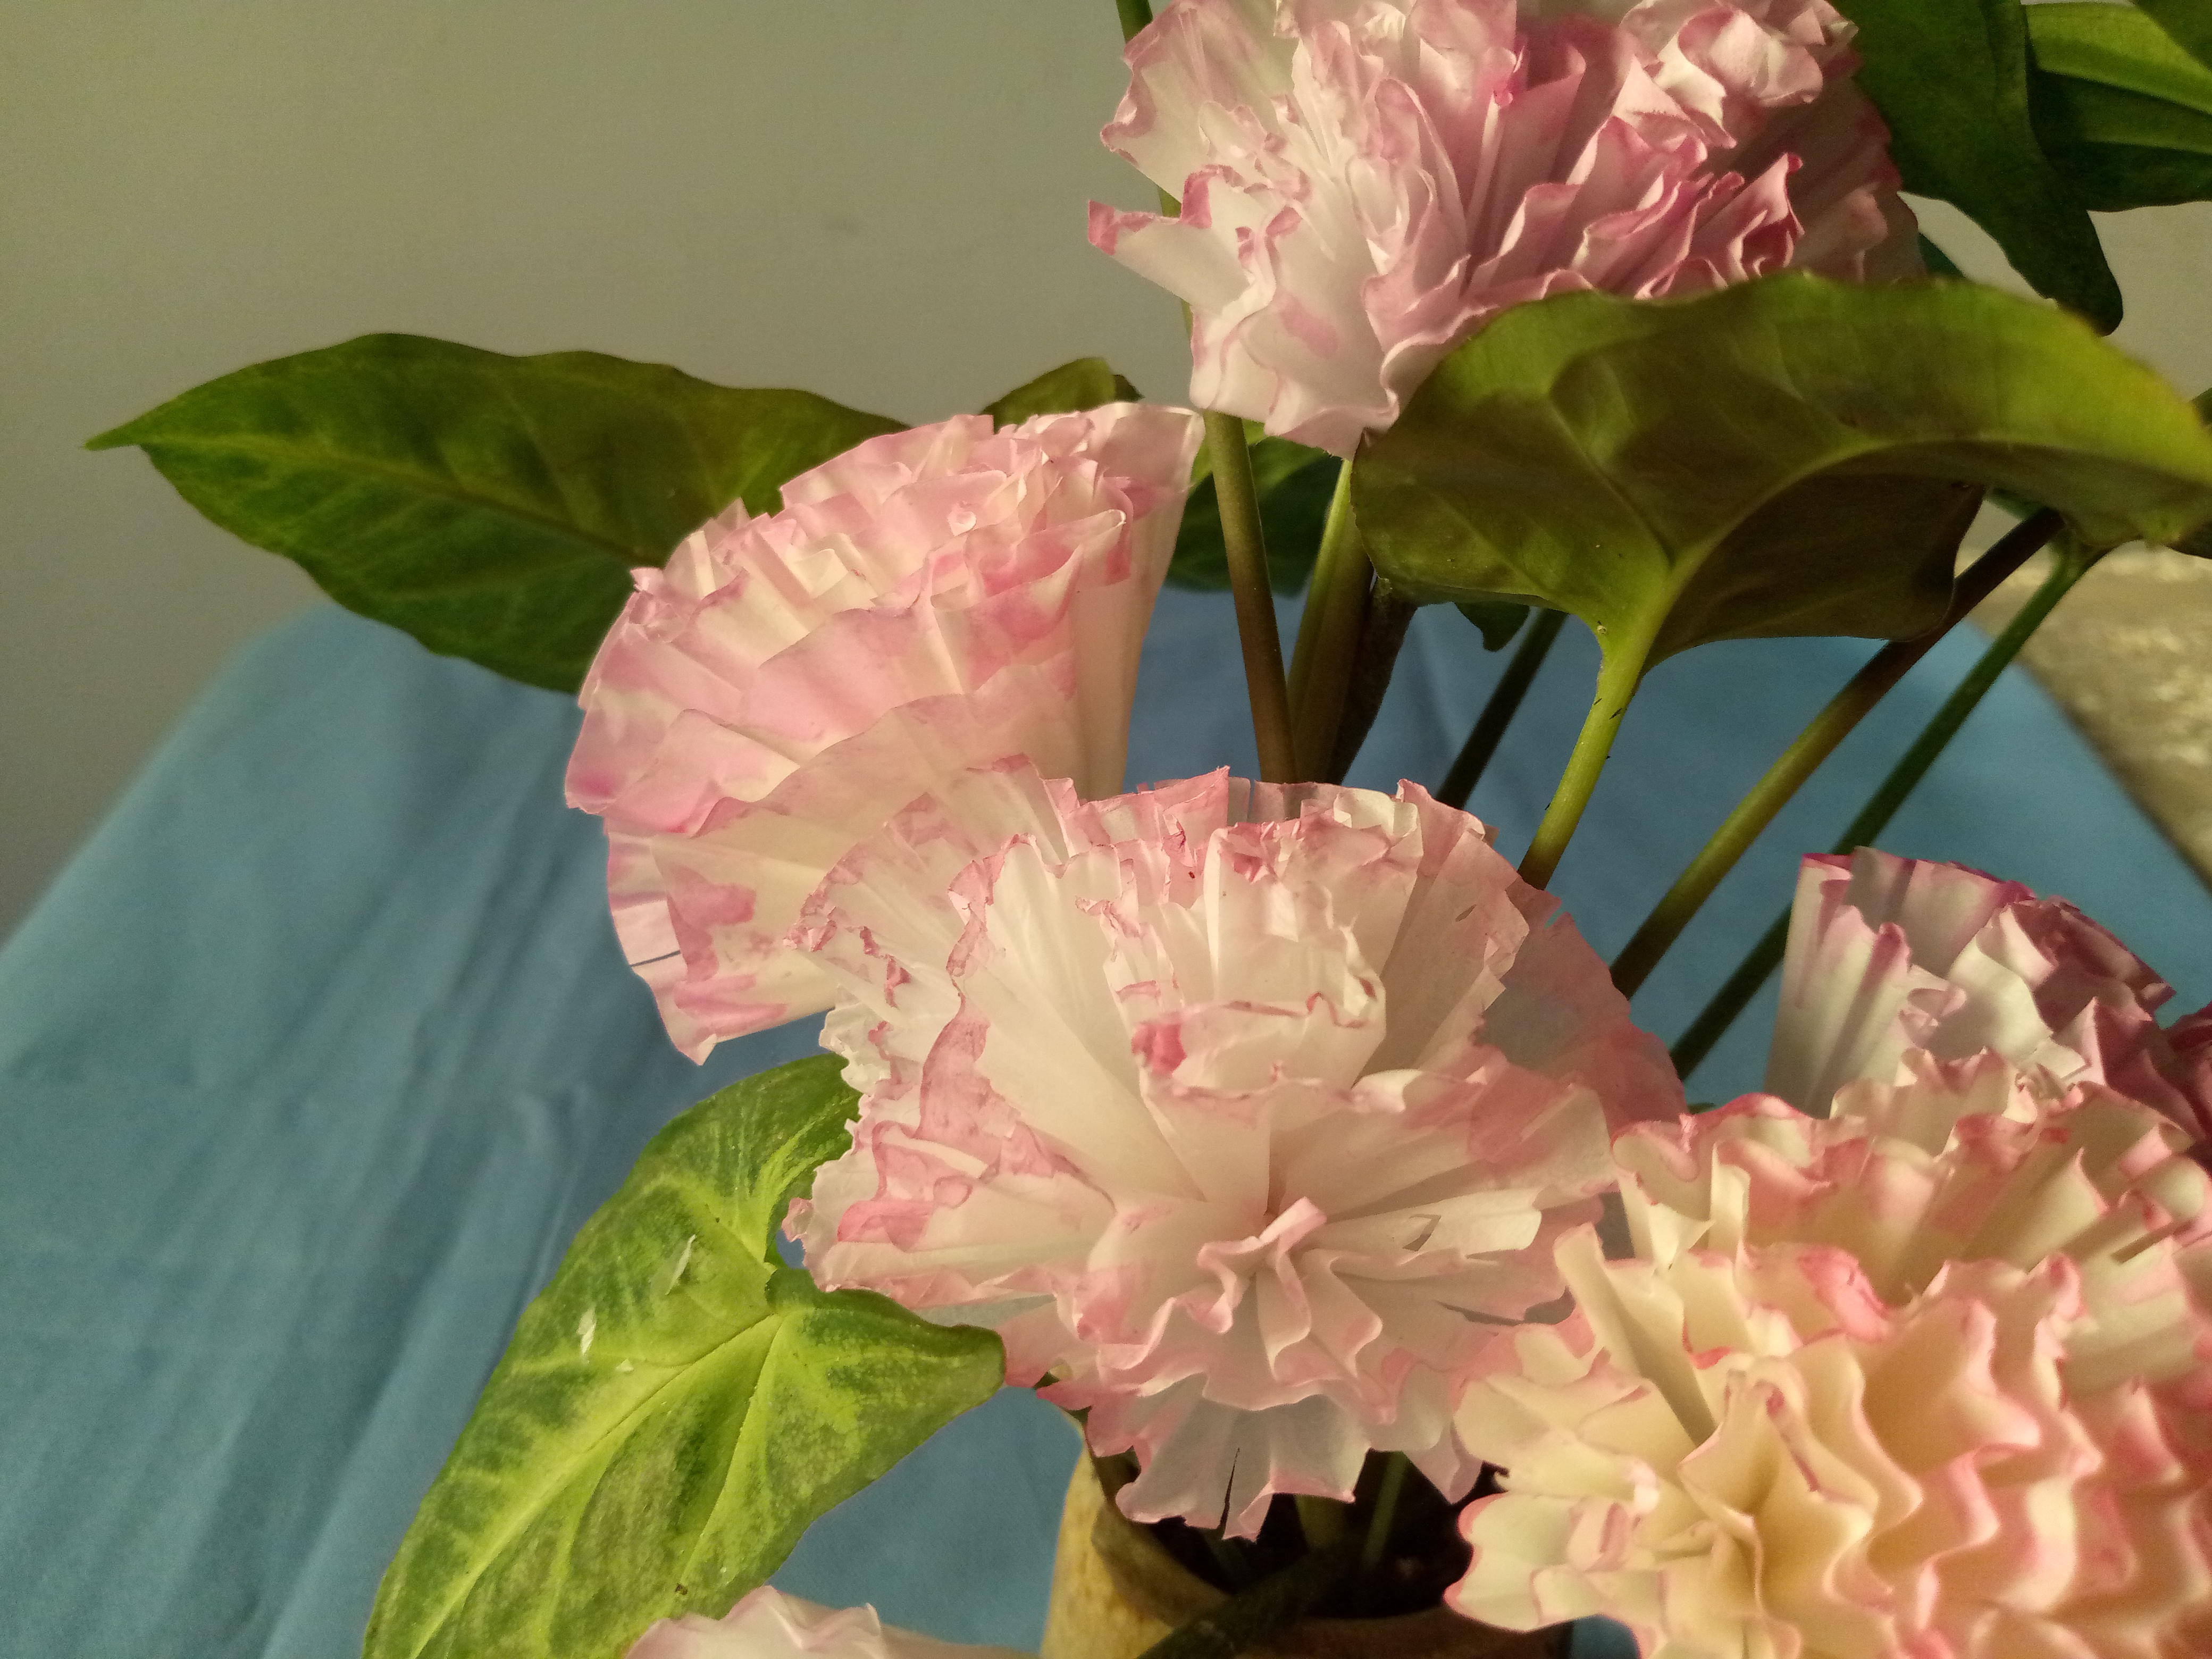
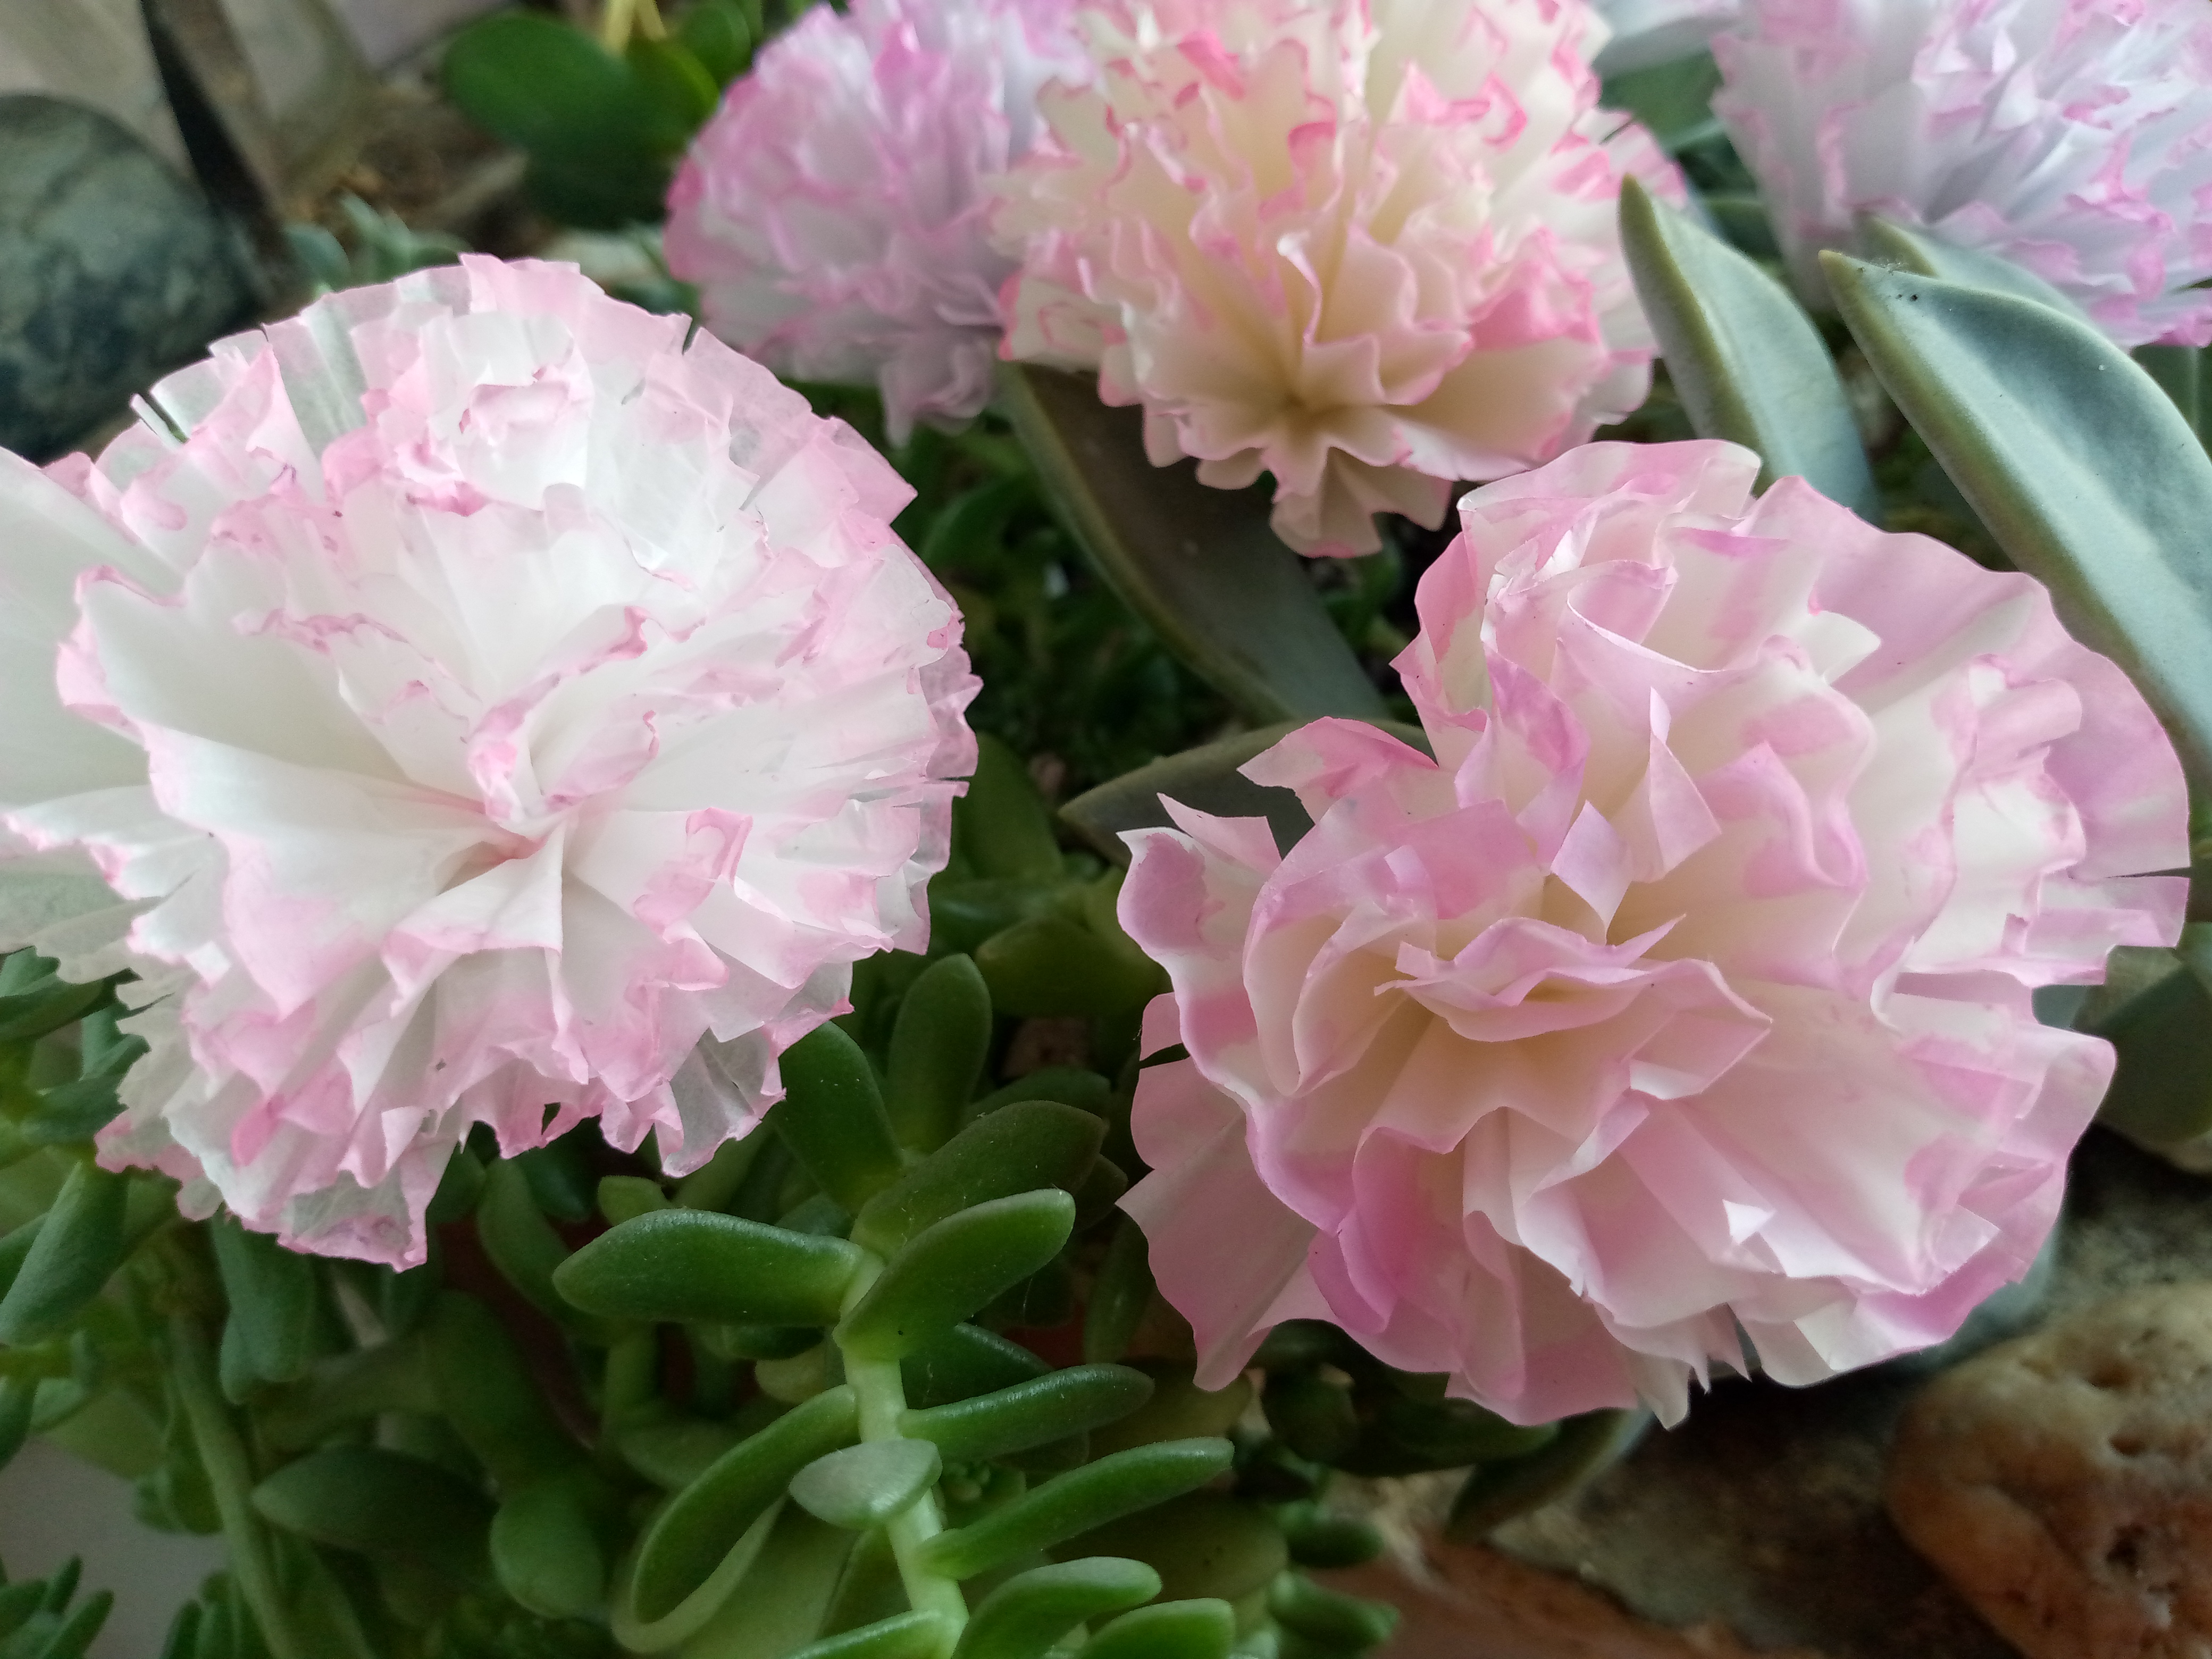
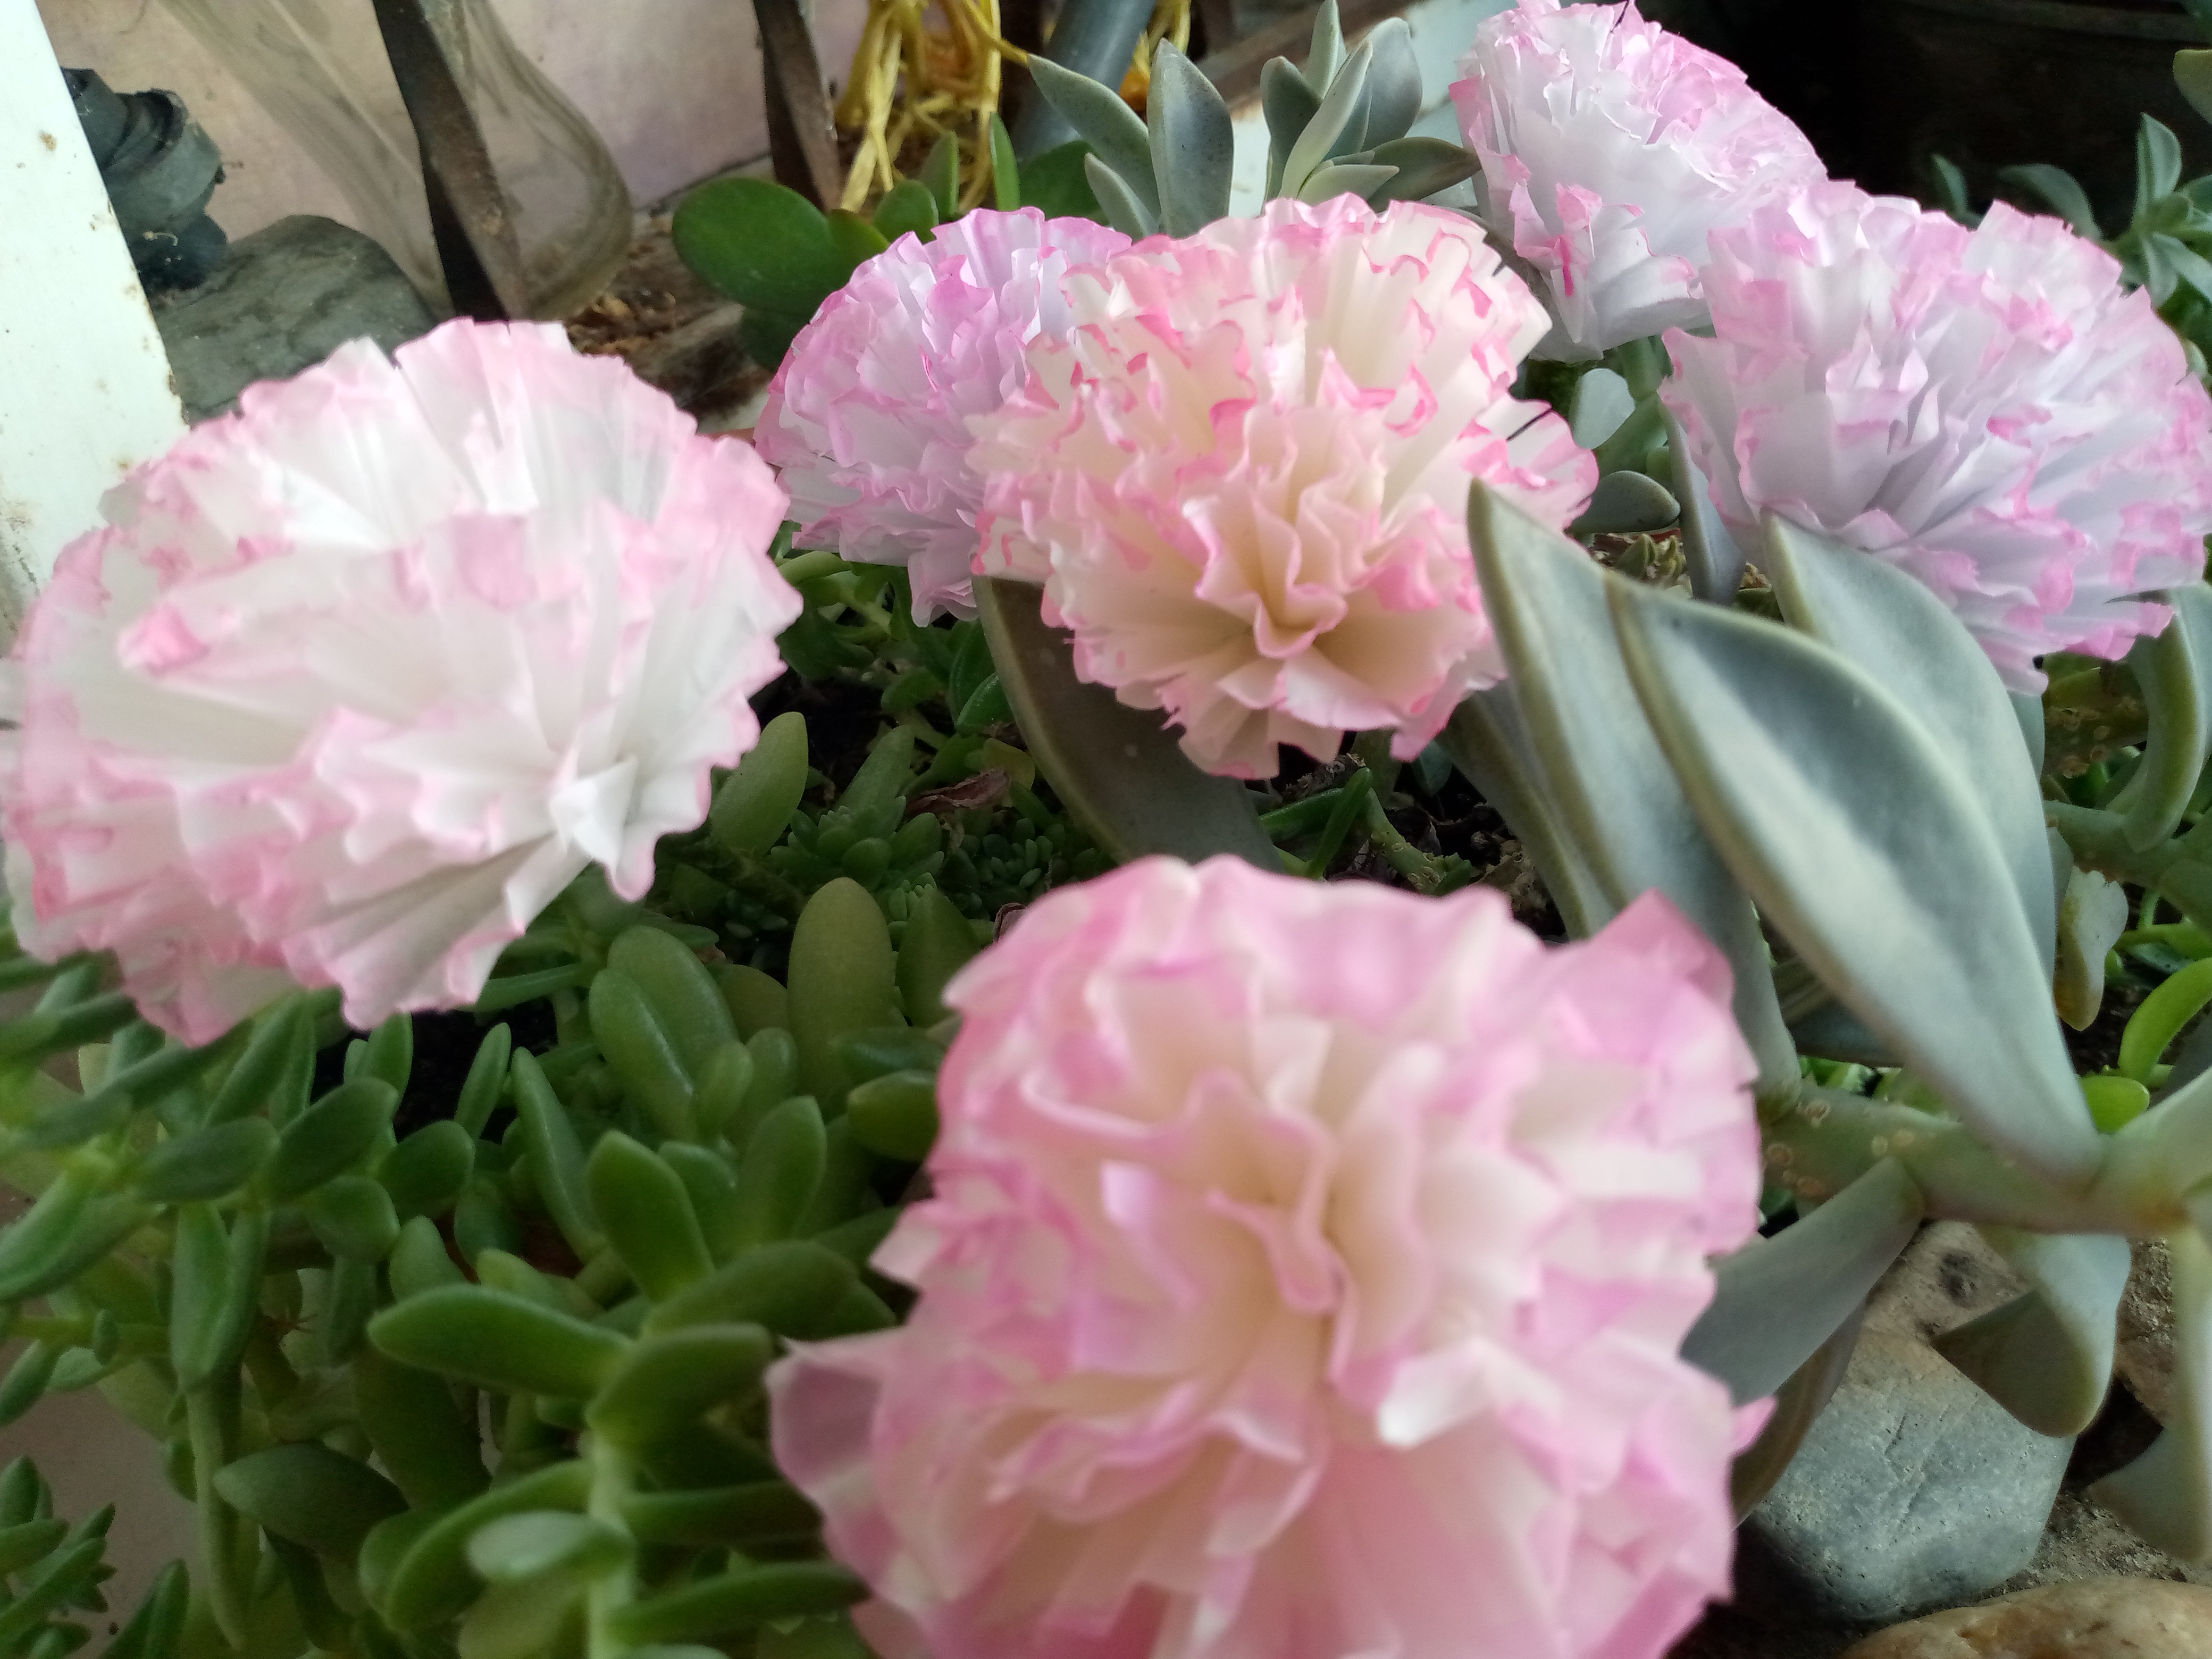
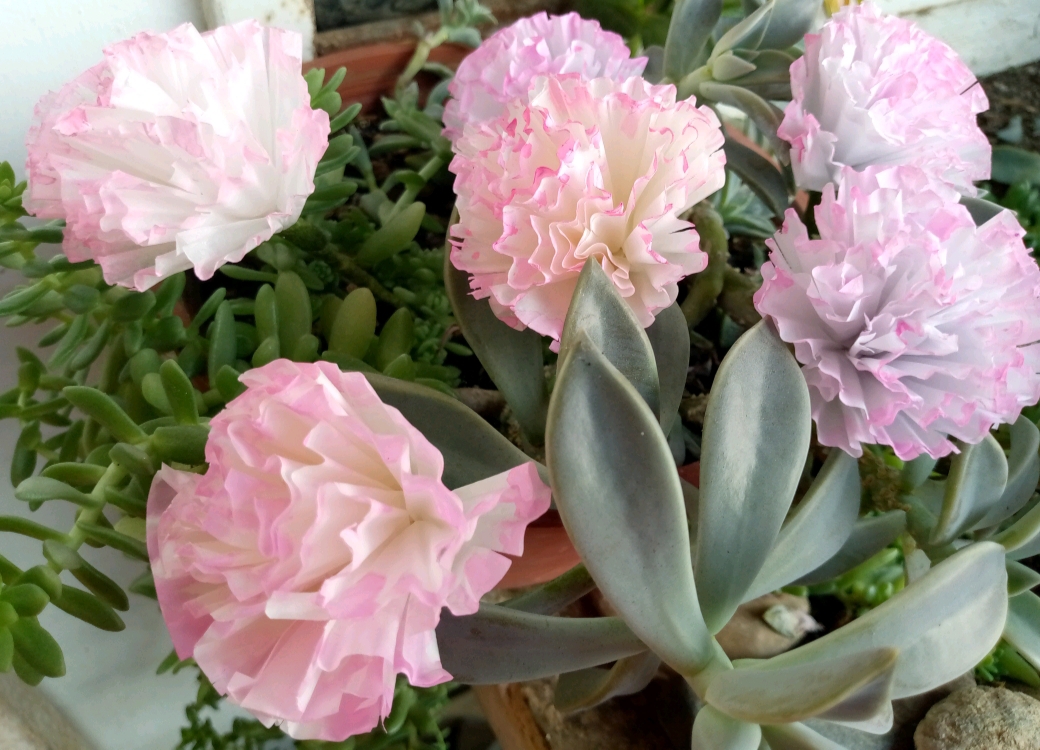
This is how the carnations look integrated to a plant.
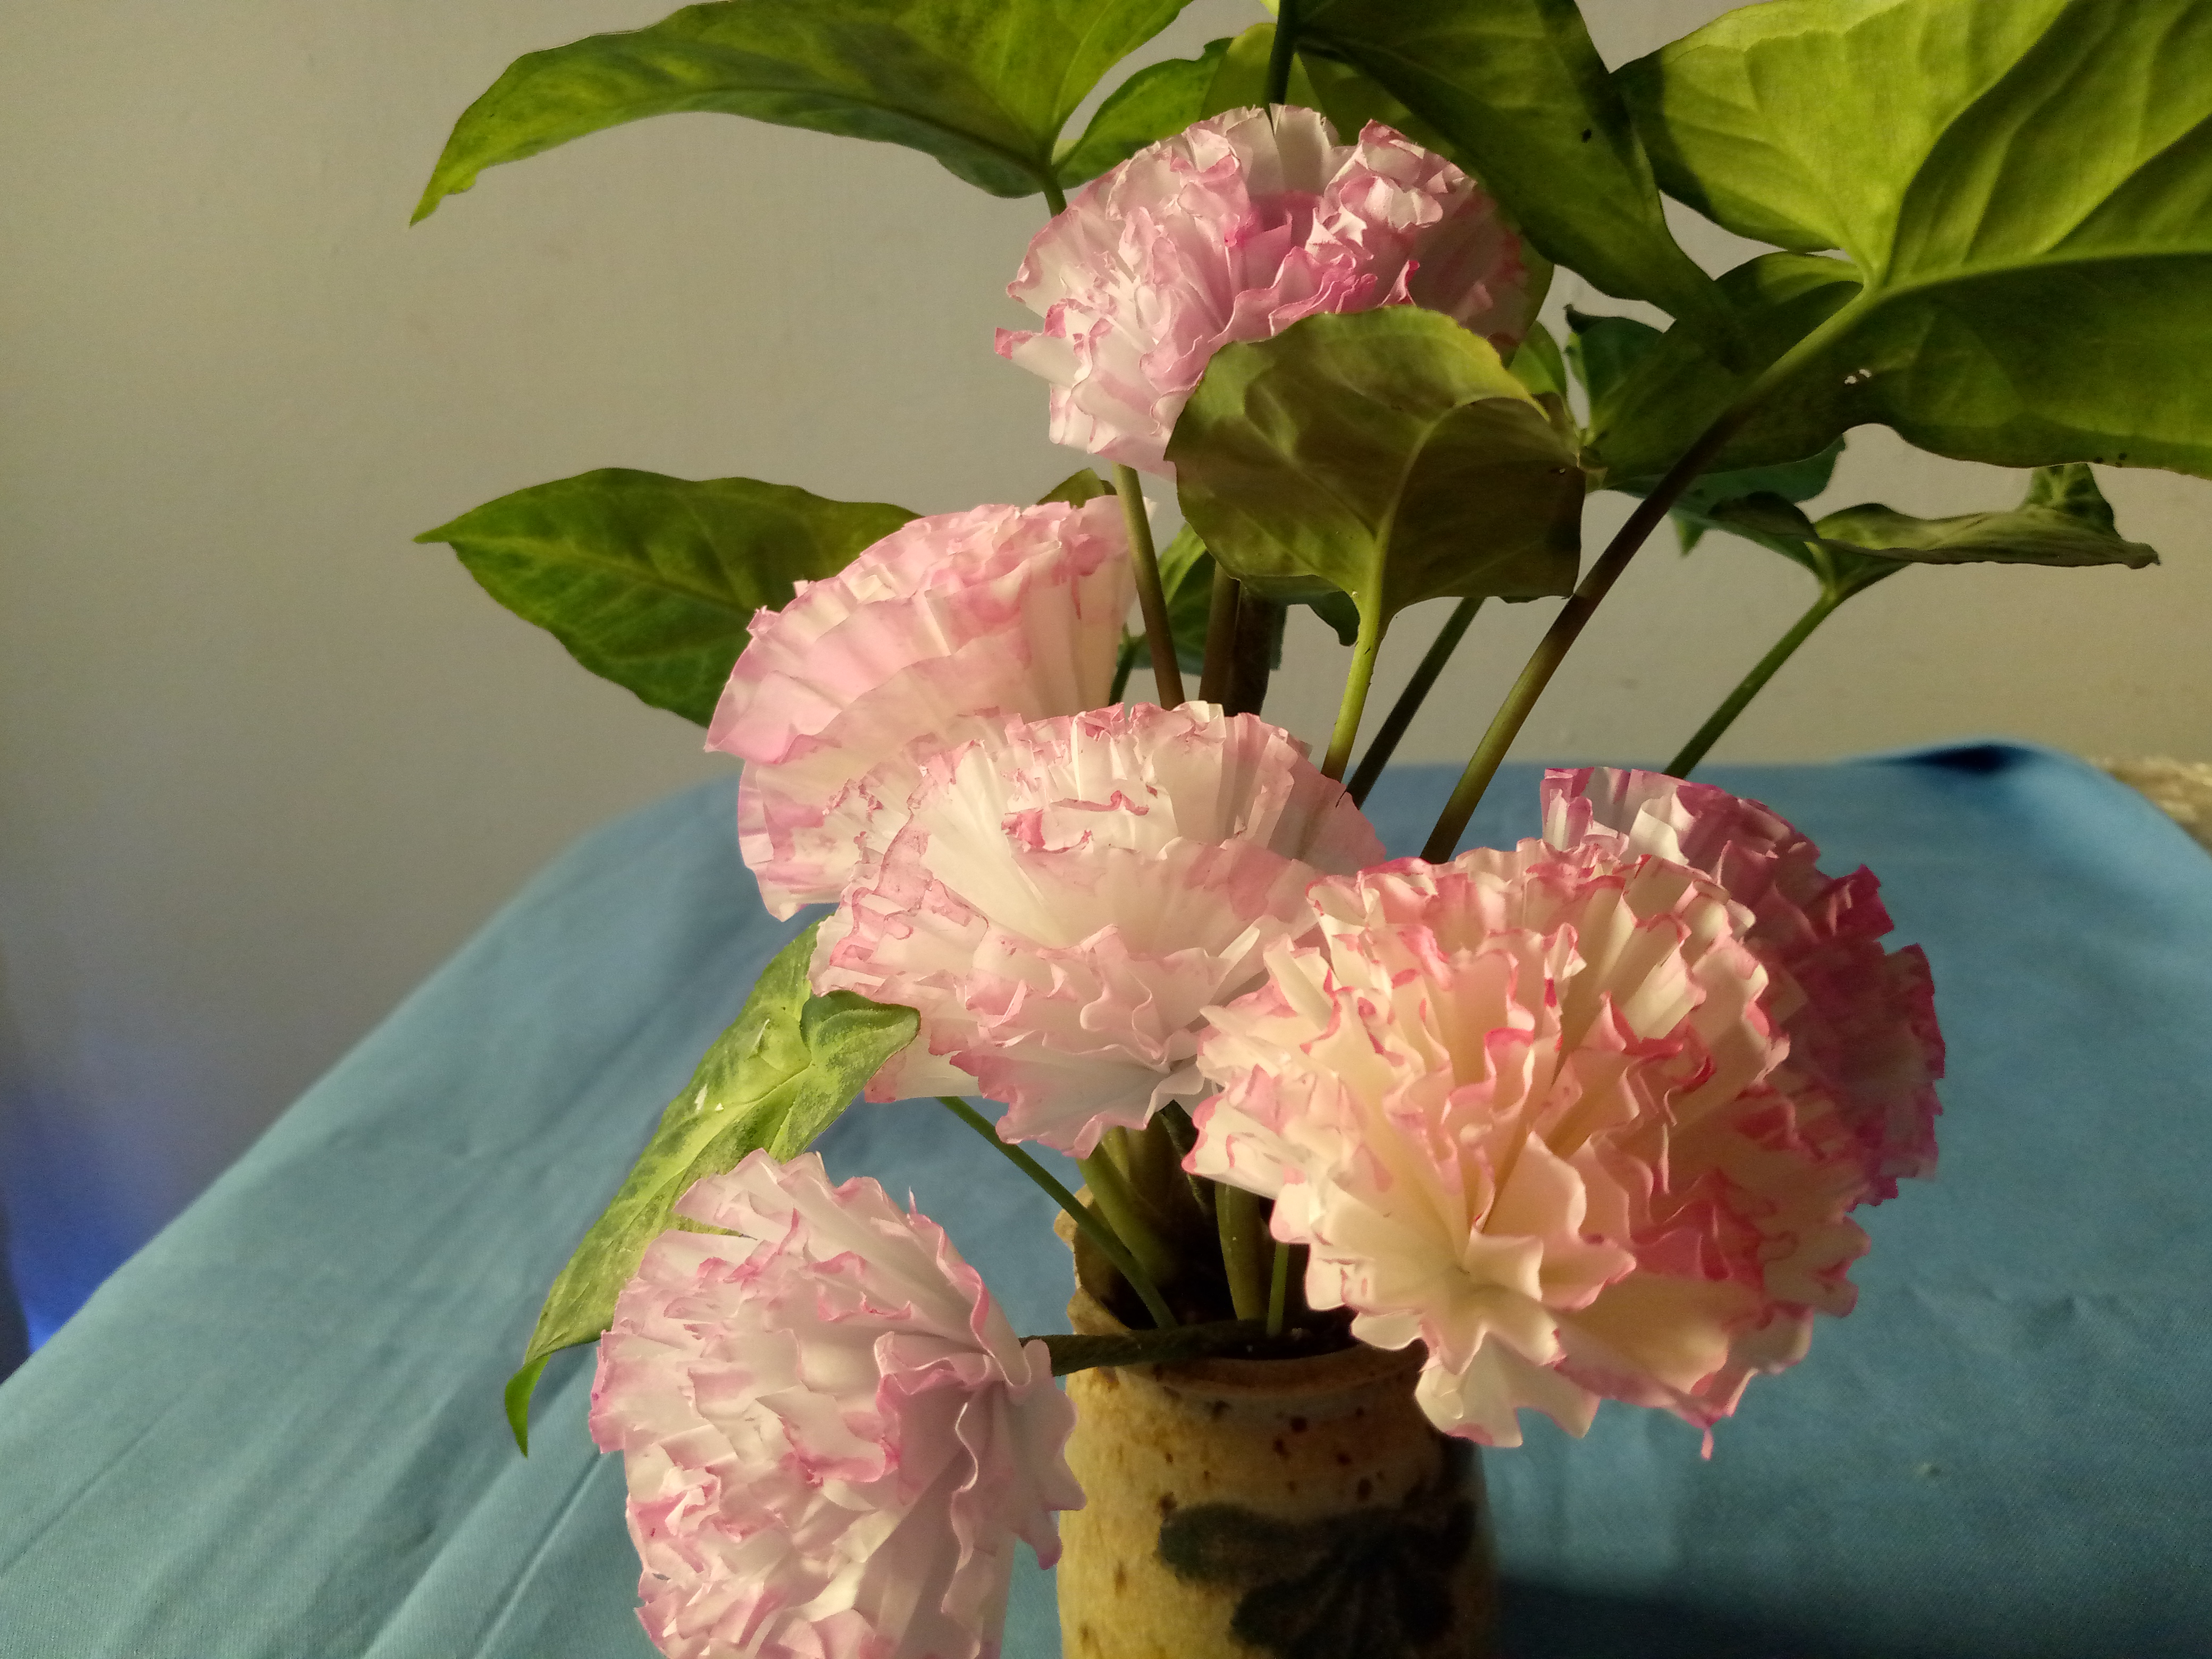
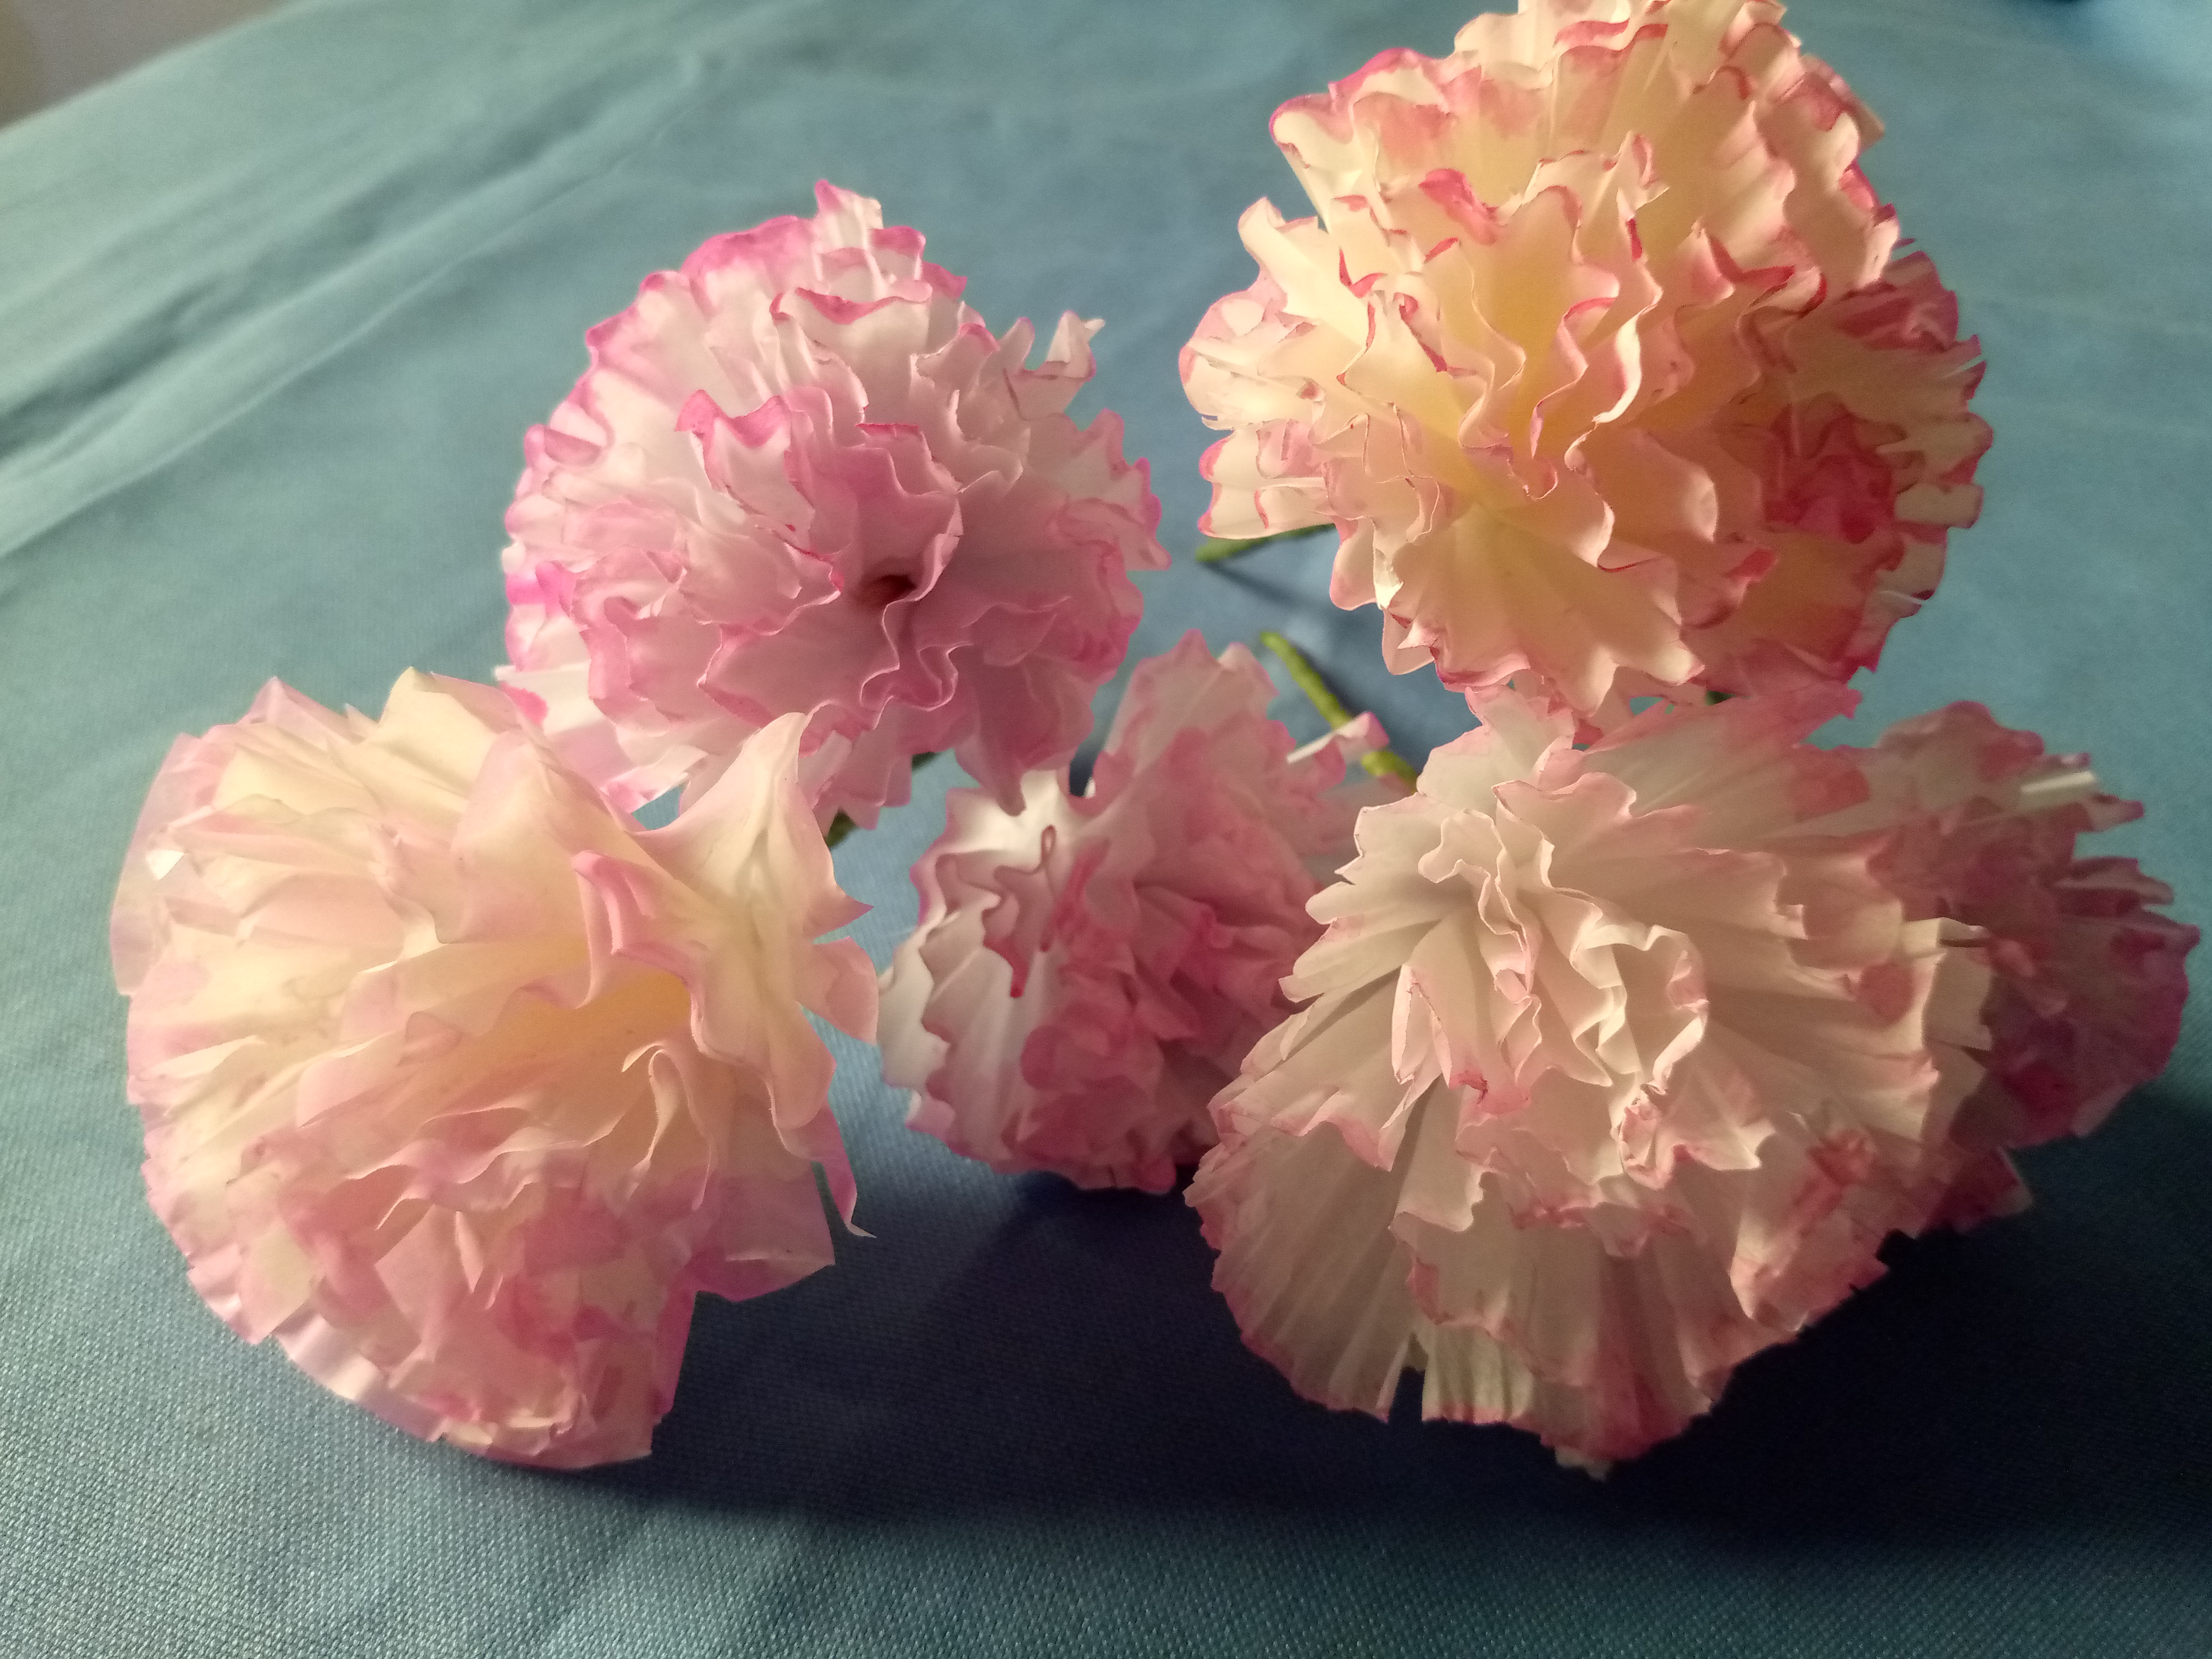
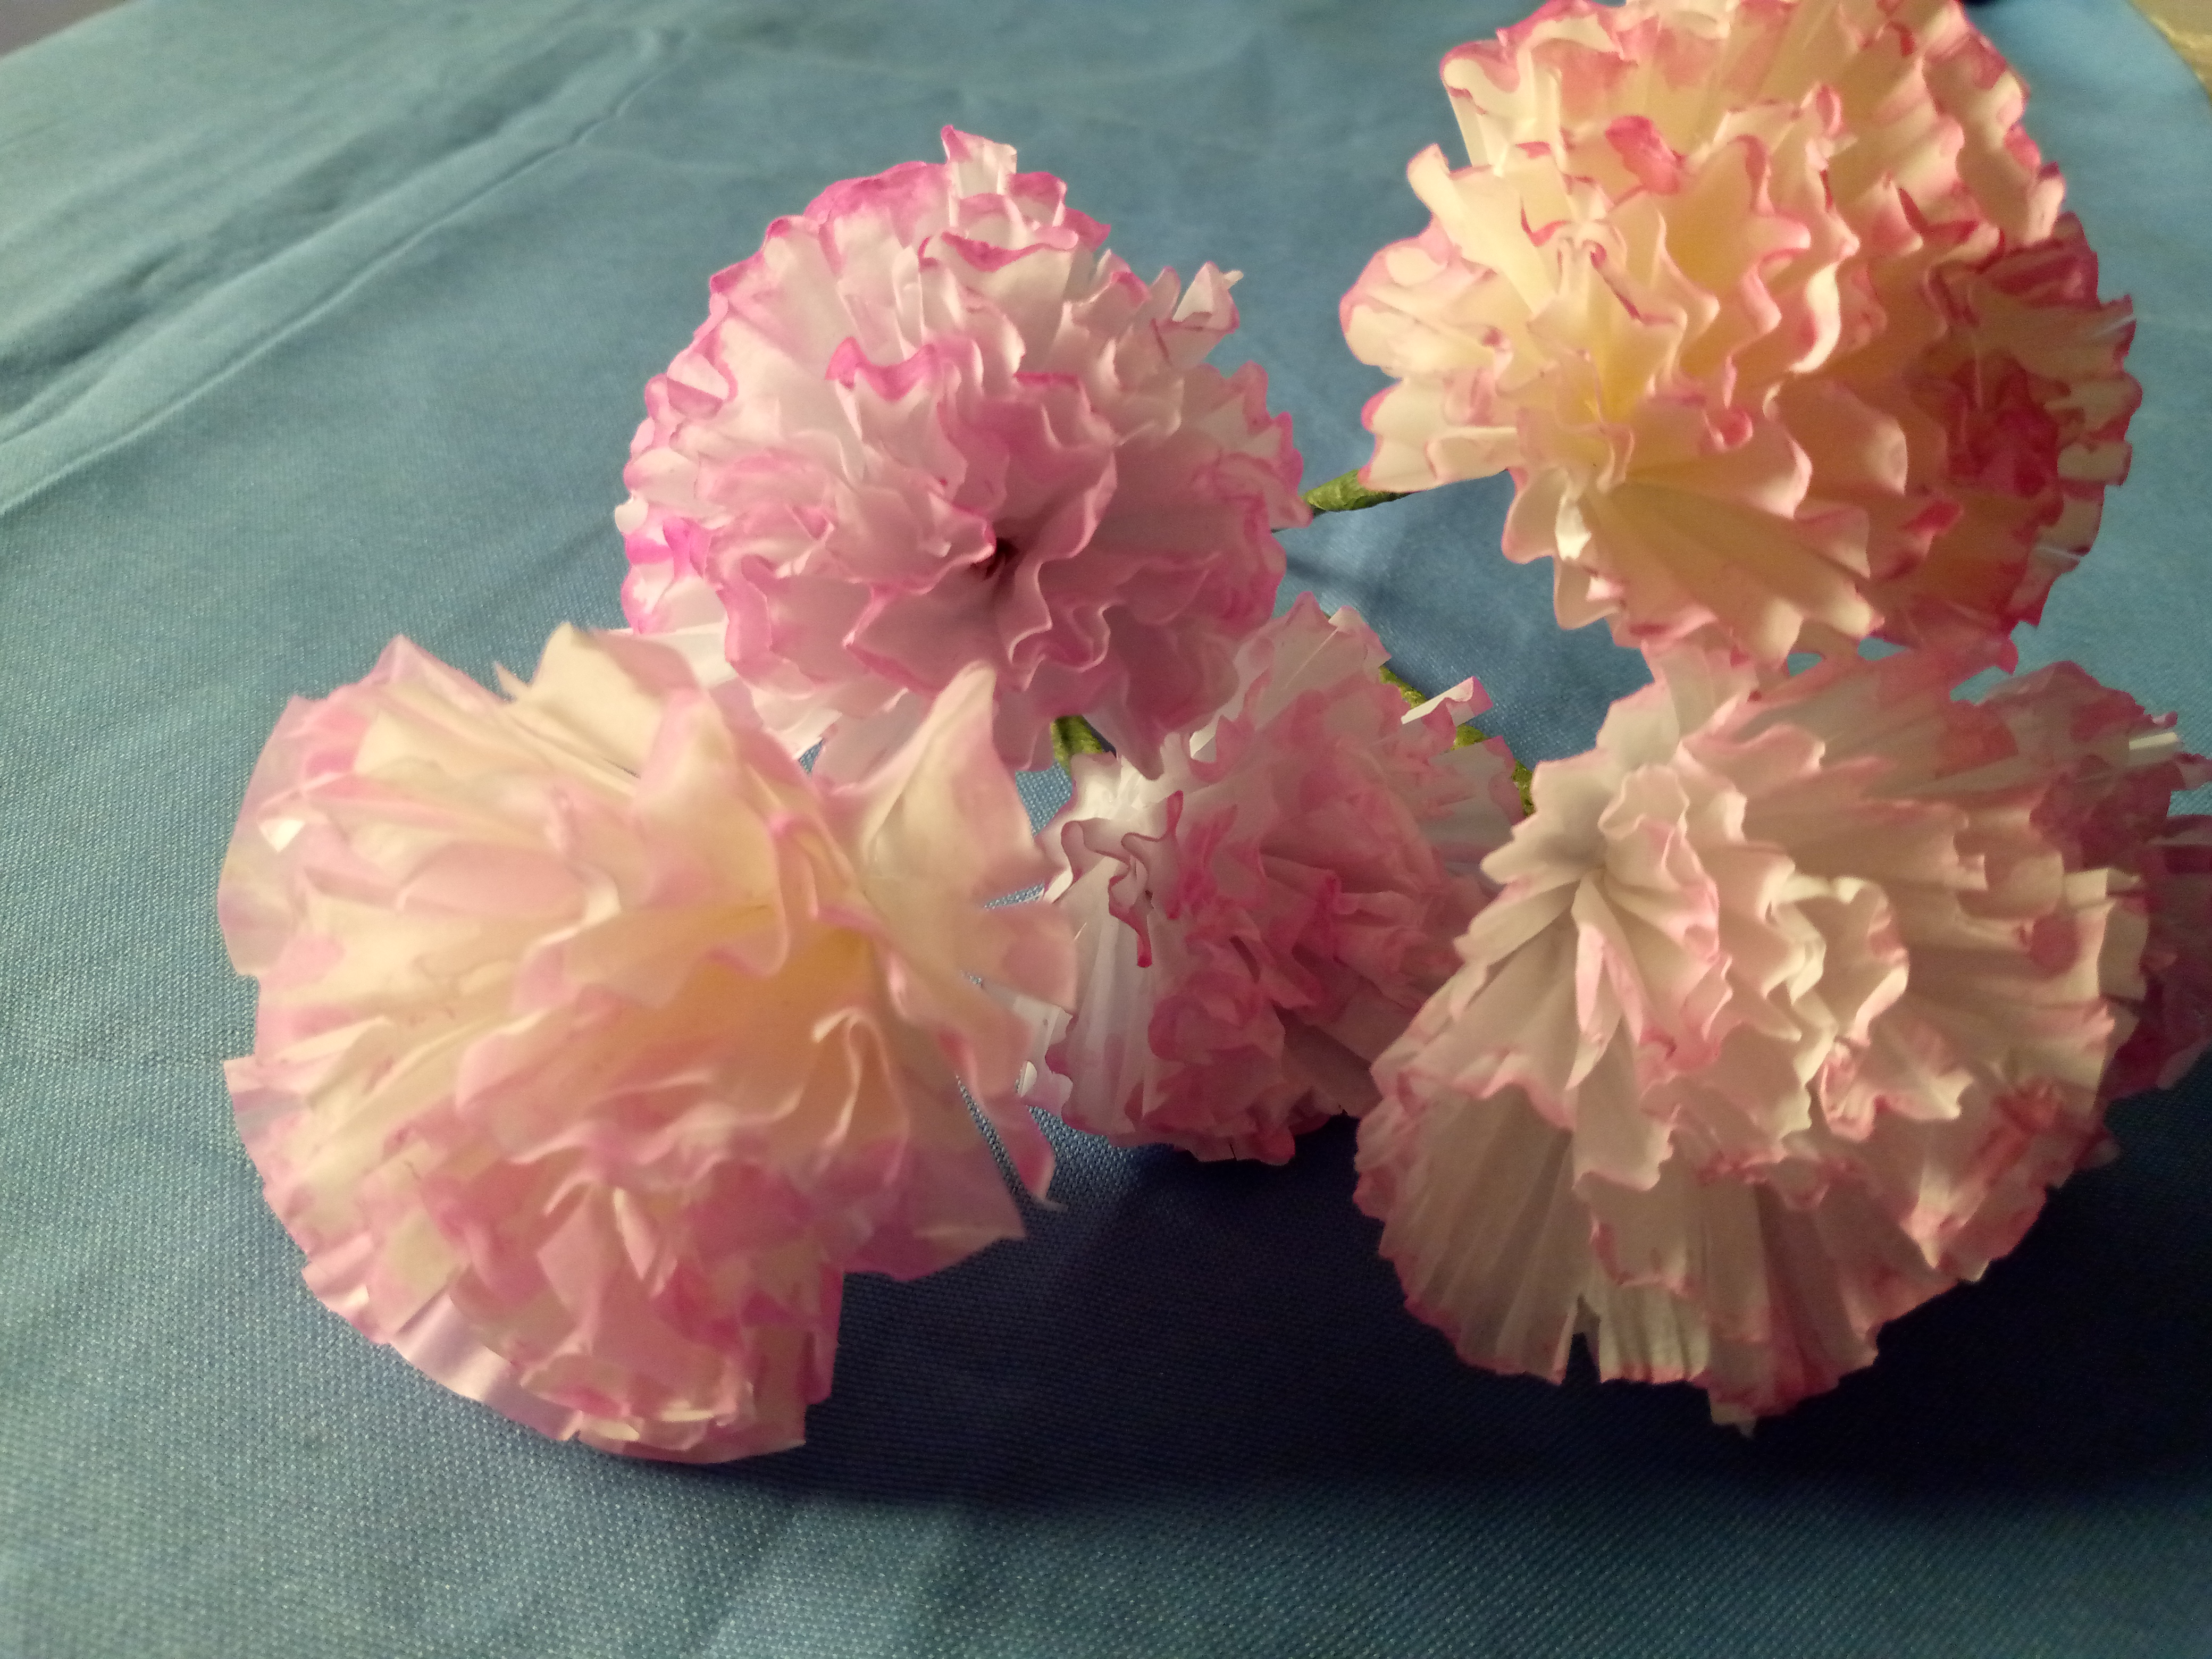
Here they are alone, forming a bouquet
Here I show them in a plant that I have in the garden of my house, they look different because of the contrast of the natural light.
Life is Art...
Thanks for reading me. See you in @dorada's next post.
Images captured with mobile device tecno pova
Translation

Español
Hola amigos hivers, reciban un cordial saludo.
Estoy feliz de compartir con ustedes en esta interesante comunidad @Diyhub, una comunidad que nos invita a crear y disfrutar de las manualidades. Sin duda alguna las actividades manuales nos permiten conectarnos con lo que nos gusta , pasar momentos diferentes y desligarnos un poco de la rutina diaria.
Este año vengo enfocada en llenar mi espacio con todo lo que me gusta y suma a mi vida, las manualidades es una de ellas, es la mejor terapia que puedo realizar y regalarme cada día.
Estos claveles que les comparto hoy, me han resultado un toque lindo para colocar en algún lugar del hogar, son fáciles de elaborar, no requieren muchos materiales y en pocos minutos se tiene unos hermosos claveles para alegrar nuestros espacios.

Materiales
- Capacillos número 12
- Acuarelas
- Pincel
- Hilo
- Tijera
- Floratape
- Palillos de madera

Elaboración Paso a Paso
Para realizar los claveles utilicé tres capacillos, comencé tomando un capacillo le introduje un palillo en el centro y lo cerré dando forma a la flor, La idea es que el palillo sirva de centro para dar la forma. Progresivamente coloqué el segundo y tercer capacillo dando la forma y manteniendo el mismo tamaño o la misma altura.

Luego de tener los tres capacillos los presioné contra el palillo y los até con hilo doble, le di varias vueltas para atarlo, con el mismo hilo uní otro palillo de dientes, le di varias vueltas para unirlo bien y luego corté el excedente de hilo.

Utilicé floratape para cubrir los tallos de las flores, luego con la tijera hice pequeños cortes de manera vertical a los claveles.

Luego maticé los claveles, para ello utilicé acuarela diluída en agua, solo di unos toques suaves en los bordes de la flor.

Así lucen los claveles integrados a una planta


Aquí están solos, formando un ramillete


Aquí se los muestro en una planta que tengo en el jardín de mi casa, se observan diferentes por el contraste de la luz natural.


la Vida es Arte...
Gracias por leerme. Nos encontraremos en el próximo post de @dorada
Imágenes capturadas con dispositivo móvil tecno pova
Traducción

No le voy a mentir... A simple viste pensé que eran flores naturales. Les quedaron muy bellas. Tiene usted un don exquisito para las manualidades.
Hola @alto96, gracias por su lindo comentario, lo aprecio. Saludos y bendiciones.
This is creative, looks just like a real flower, god I loved seeing this! Thank you for sharing!
Me encantó @dorada sin duda los haré... maravillosos!
Saludos, bendiciones y éxitos
Se ven bien bonitos me gustan
Nothing beats adorning our spaces with our hand made crafts. These are so pretty friend, well done and thanks for sharing.
mom, your work is amazing, it really looks like real flowers♥️