I have been preparing some things at home, in a few days I resume my studies, already the last year of my university career, which I am enjoying at this stage of my life, it is a different experience from my previous studies where it coexists with my daily dynamics.
Every year I change my notebooks, with the same excitement that children do in their school years, and of course my pencil case cannot be missing, when I consider necessary I replace it. This time I made a very simple pencil case, it takes only a few minutes to make, I took into consideration the necessary size to store pencils and markers, which I use regularly.
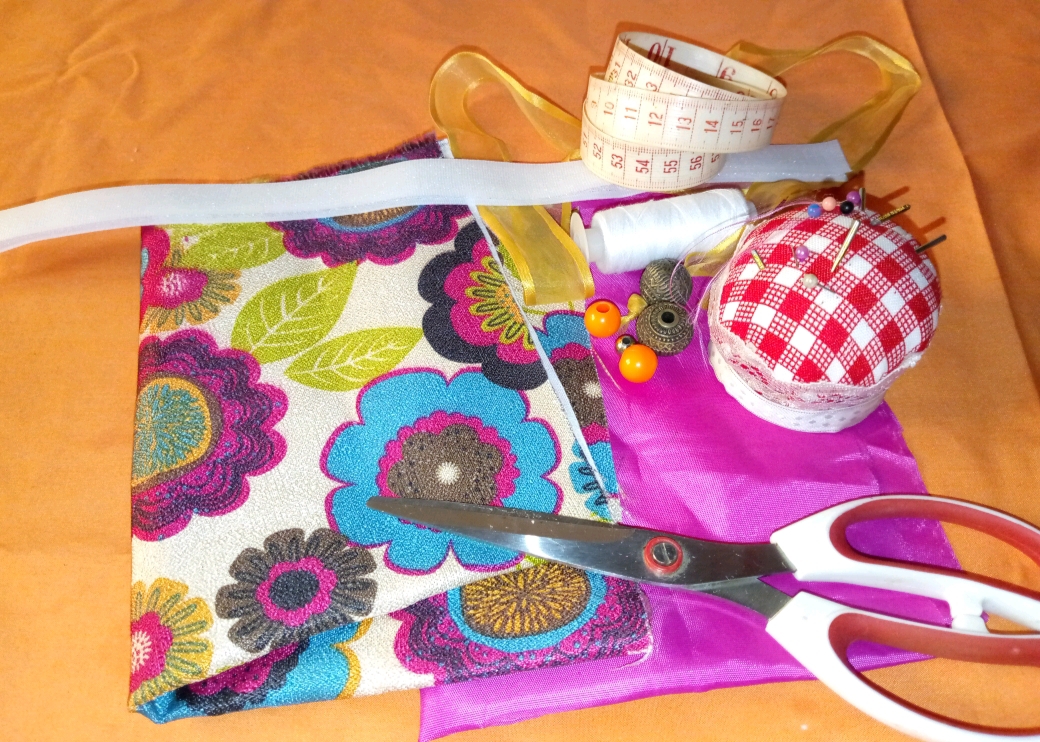
Materials
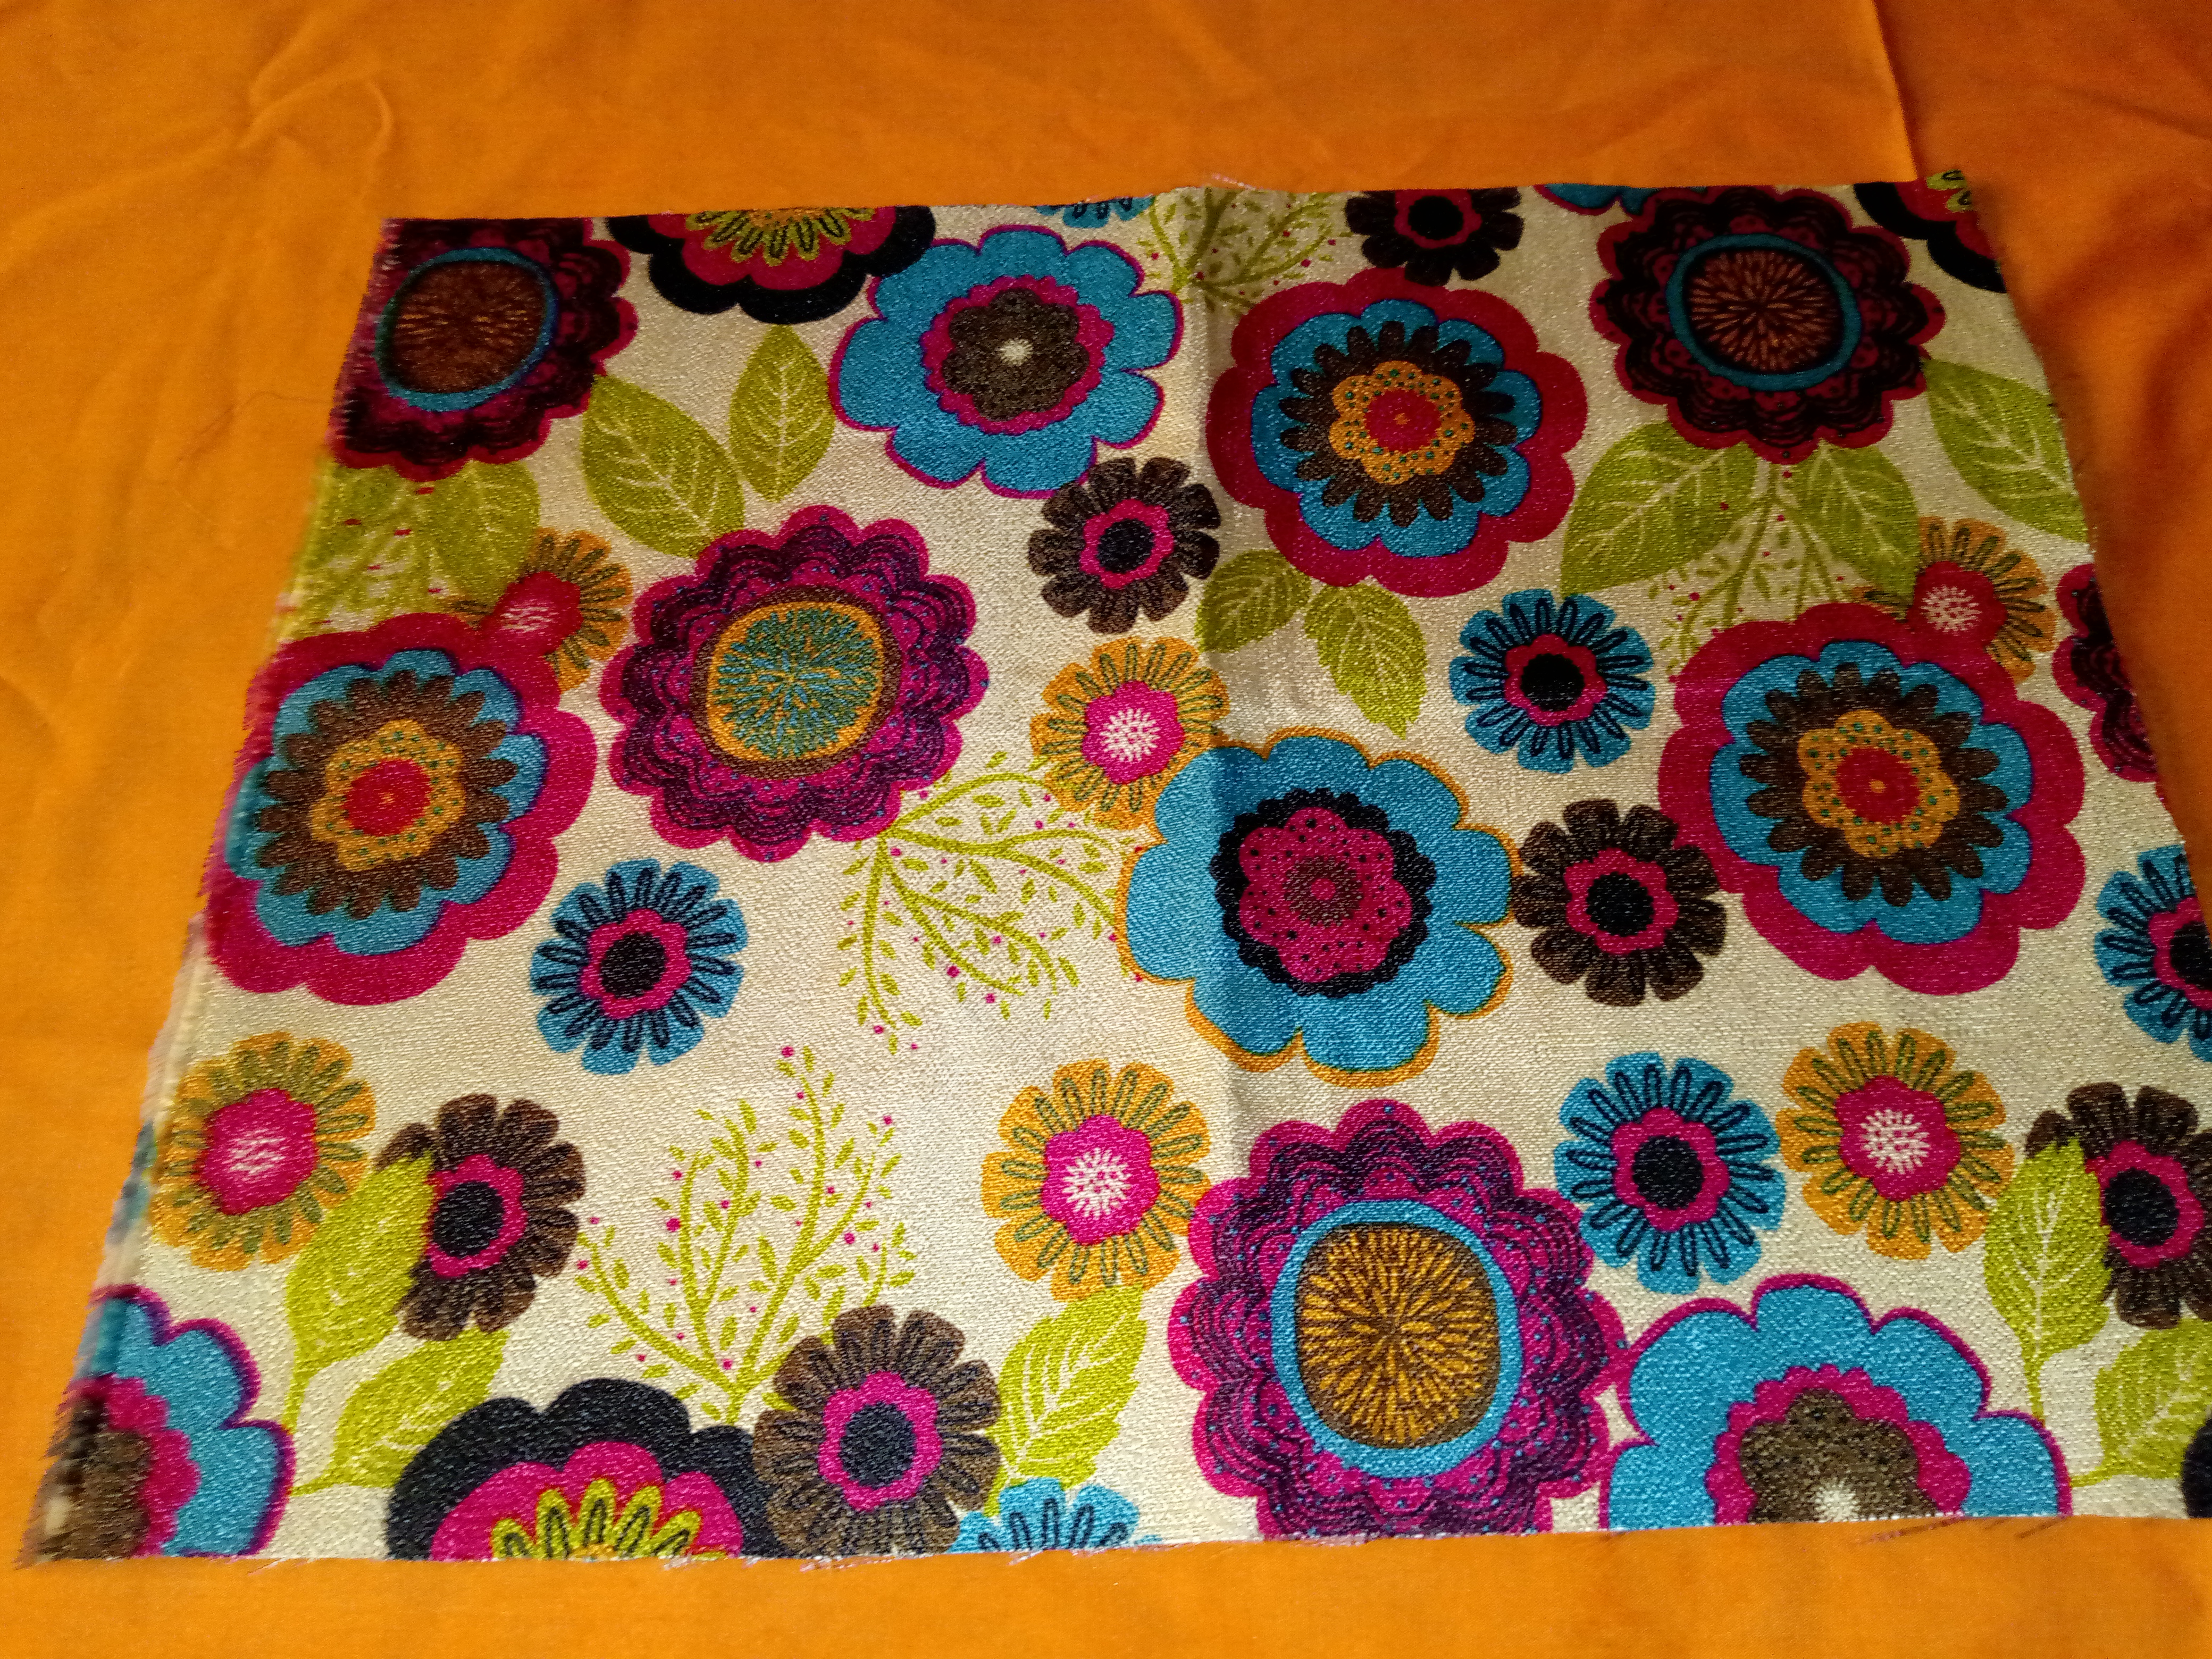
- A piece of printed fabric of 40cms x 33 Cms
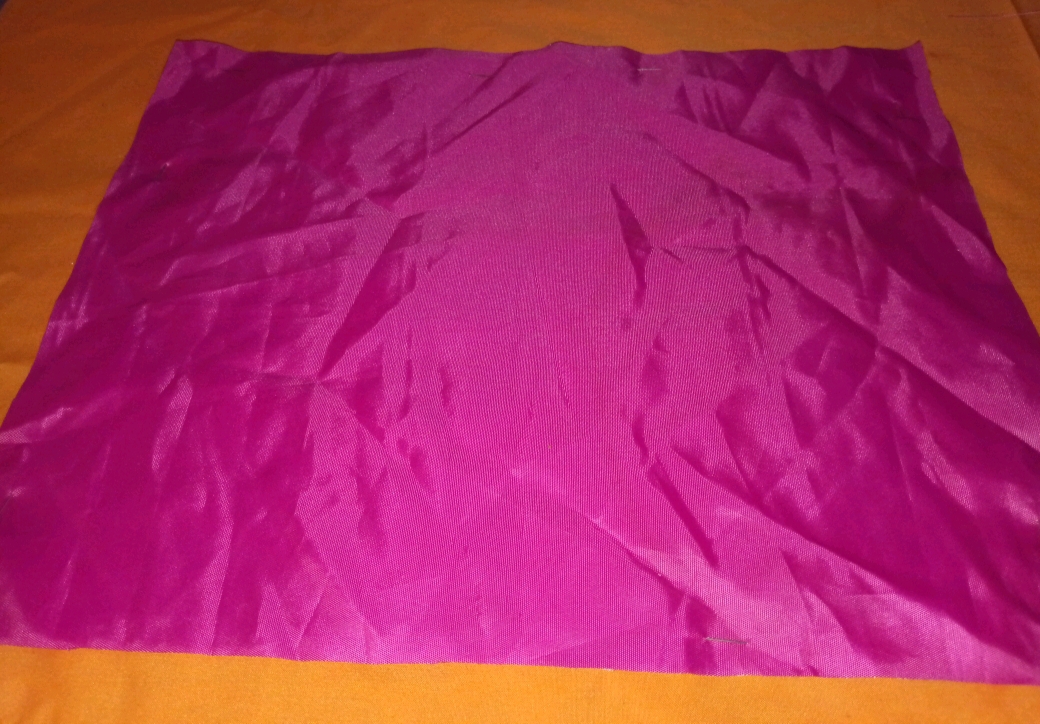
- One piece of unicolor fabric 40cms x 33 Cms
- A piece of satin ribbon
- Some decorative spheres
- Scissors
- Thread
- Tape measure
- Pins
Elaboration
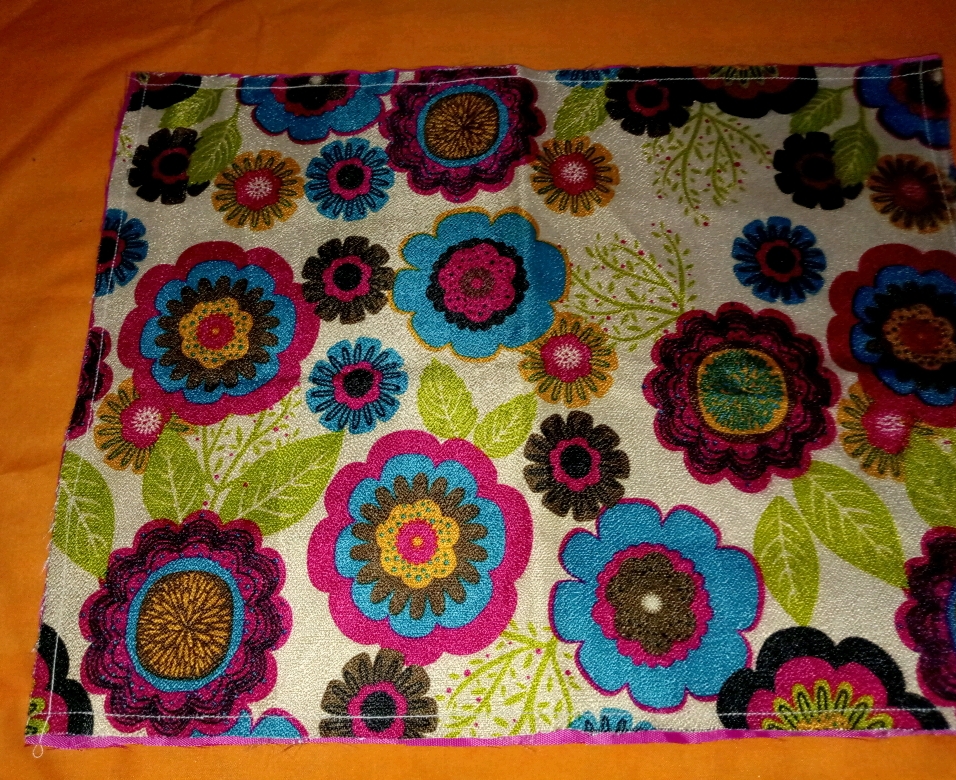
As I indicated in the materials I used both pieces of fabric of 40cms by 33 cms, to make the pencil case I started by placing both pieces of fabric back to back and sewed a straight seam along the edge
Then on the back side I closed it with magic pins, for which I measured 6 cms on both ends, after fixing it with the pins I sewed them straight.

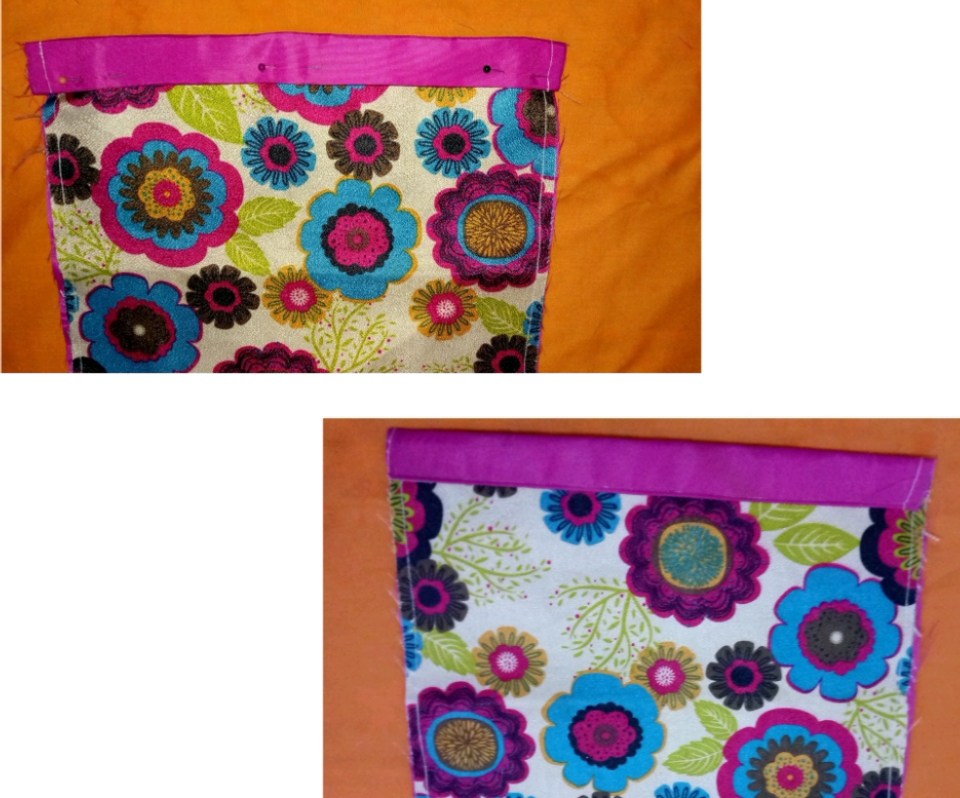
I folded the unicolor fabric to make the top edge of the pencil case, first pinning it and then sewing a straight seam along both edges.
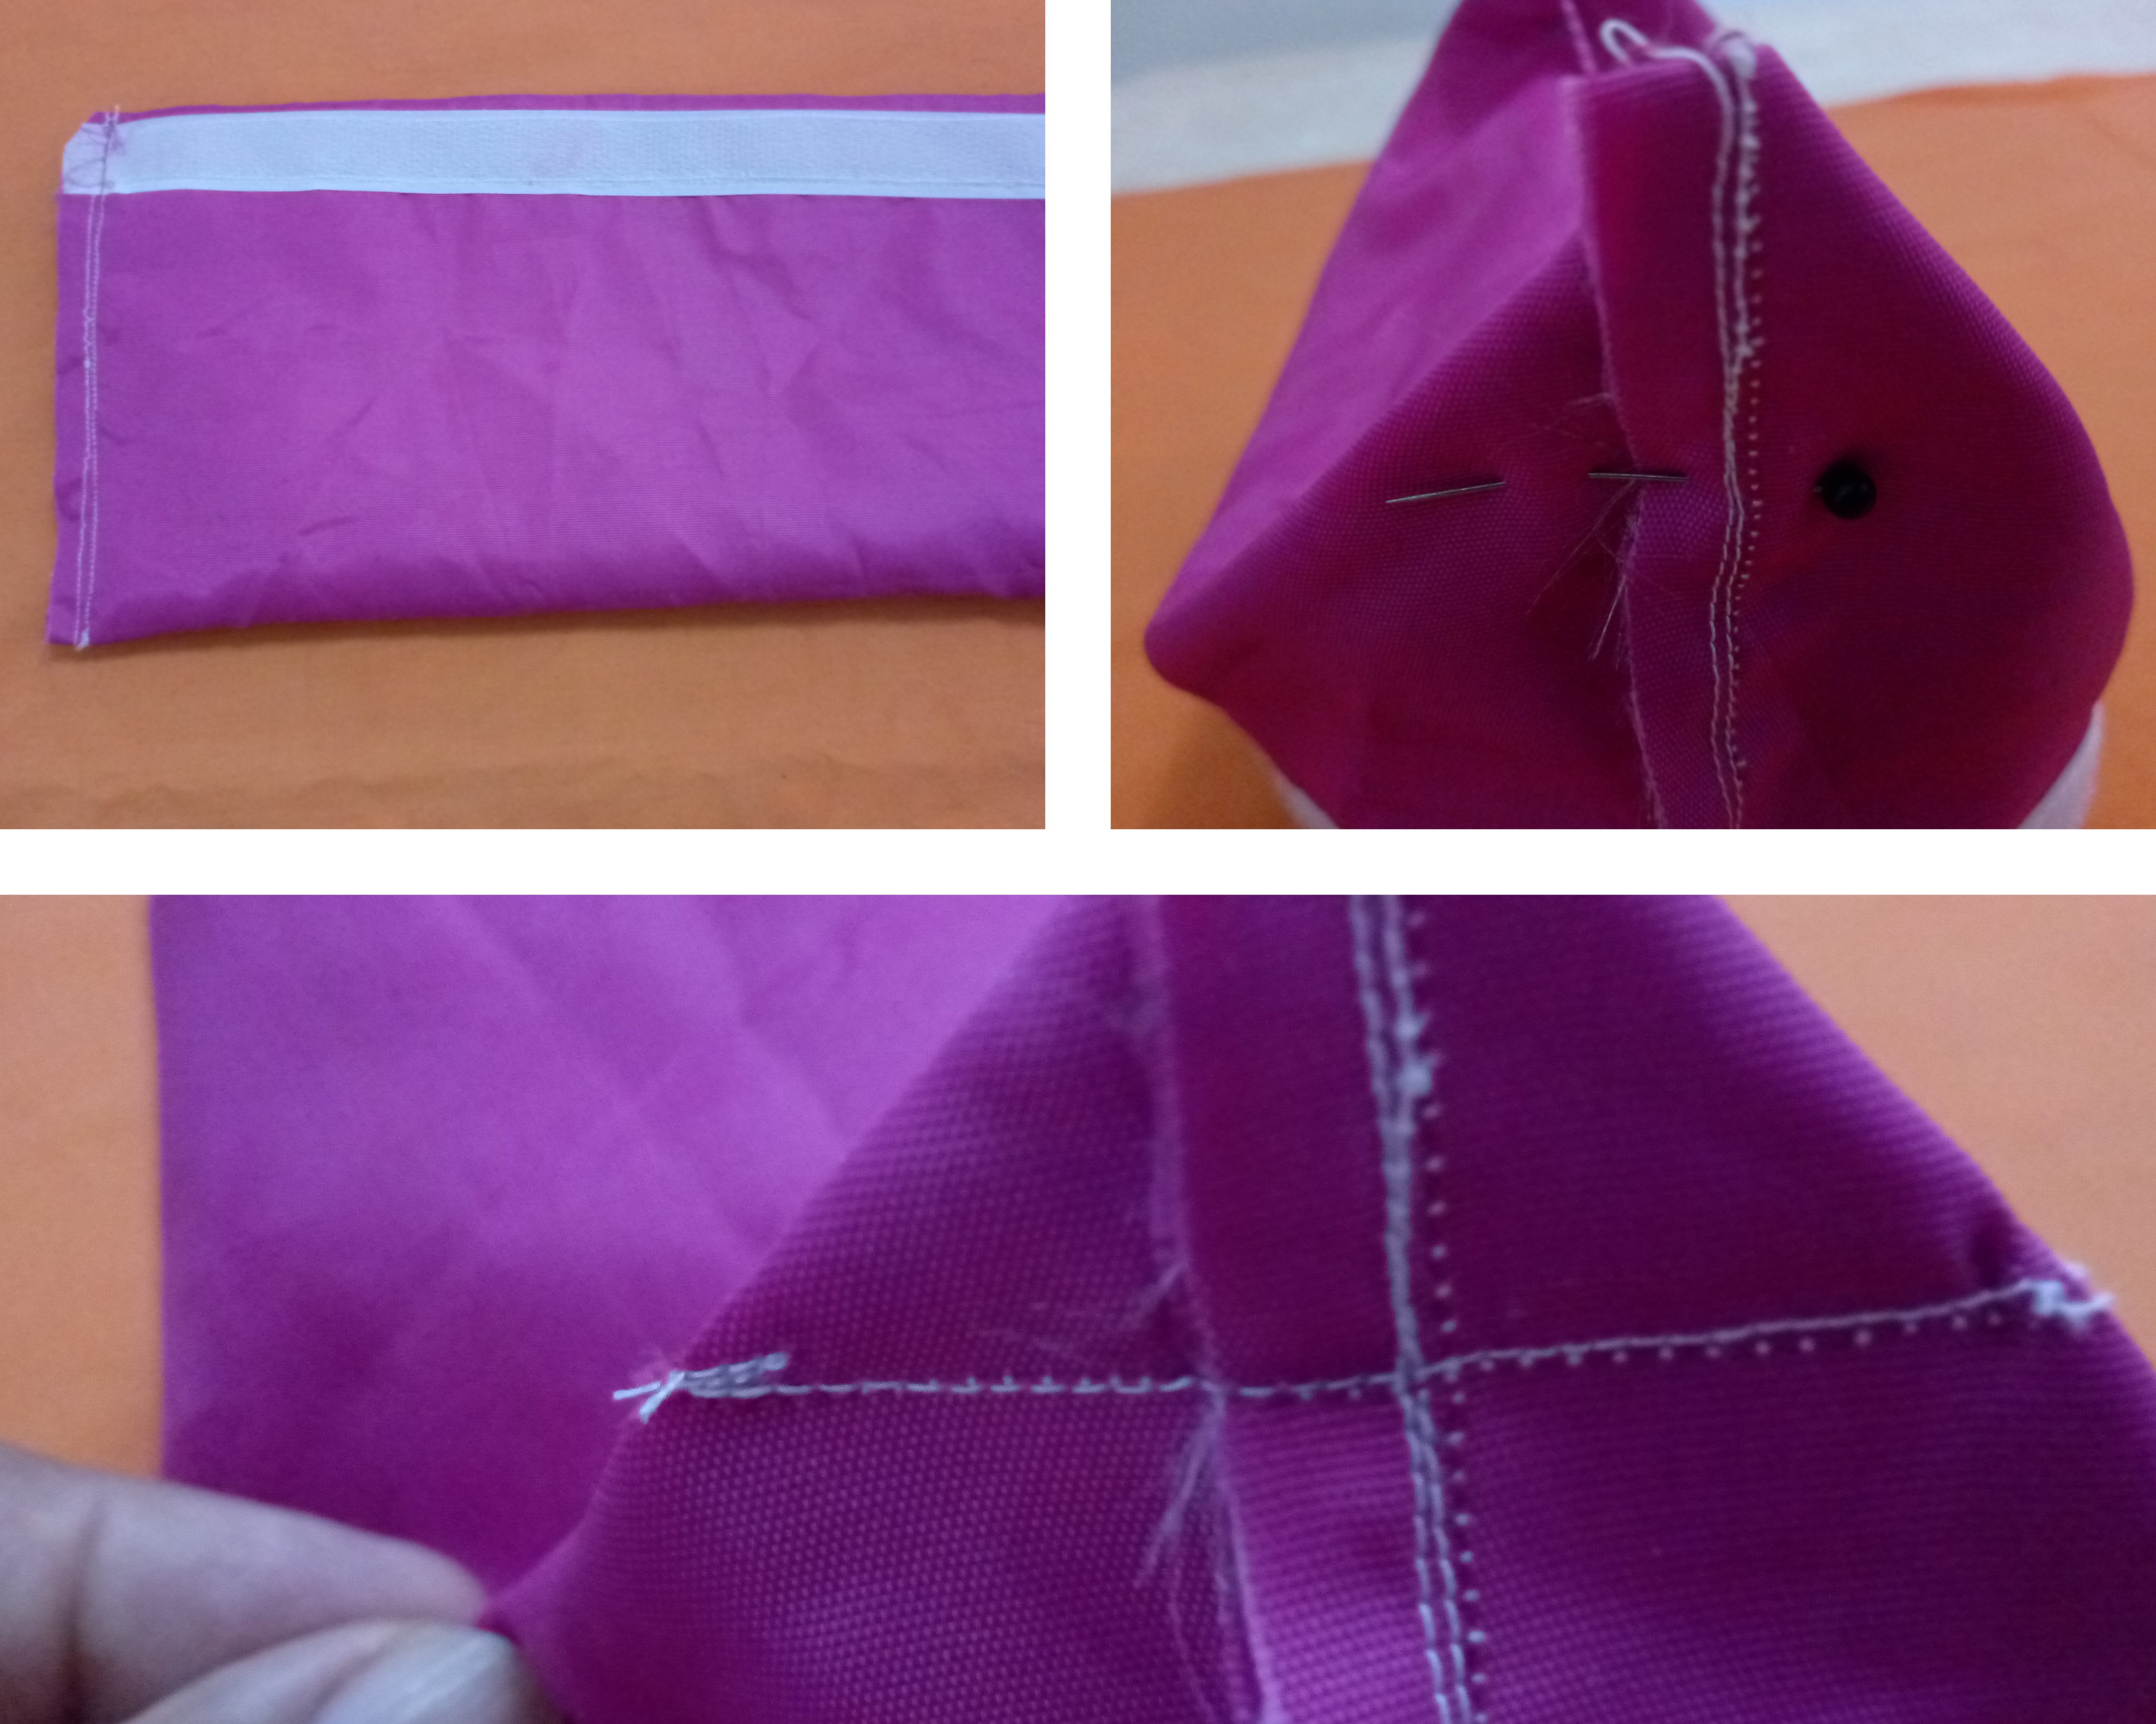
On the reverse side of the fabric I sewed the sides to close the pencil case, then measured 3 cm on the bottom to create more depth.
With the satin ribbon and some spheres I made a pendant to decorate the pencil case, I joined it with some thread stitches.

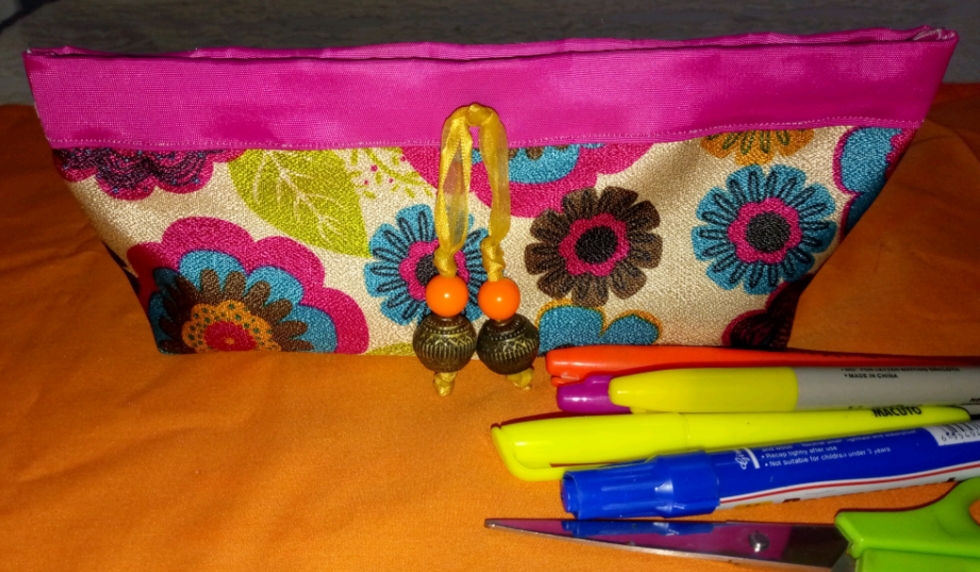
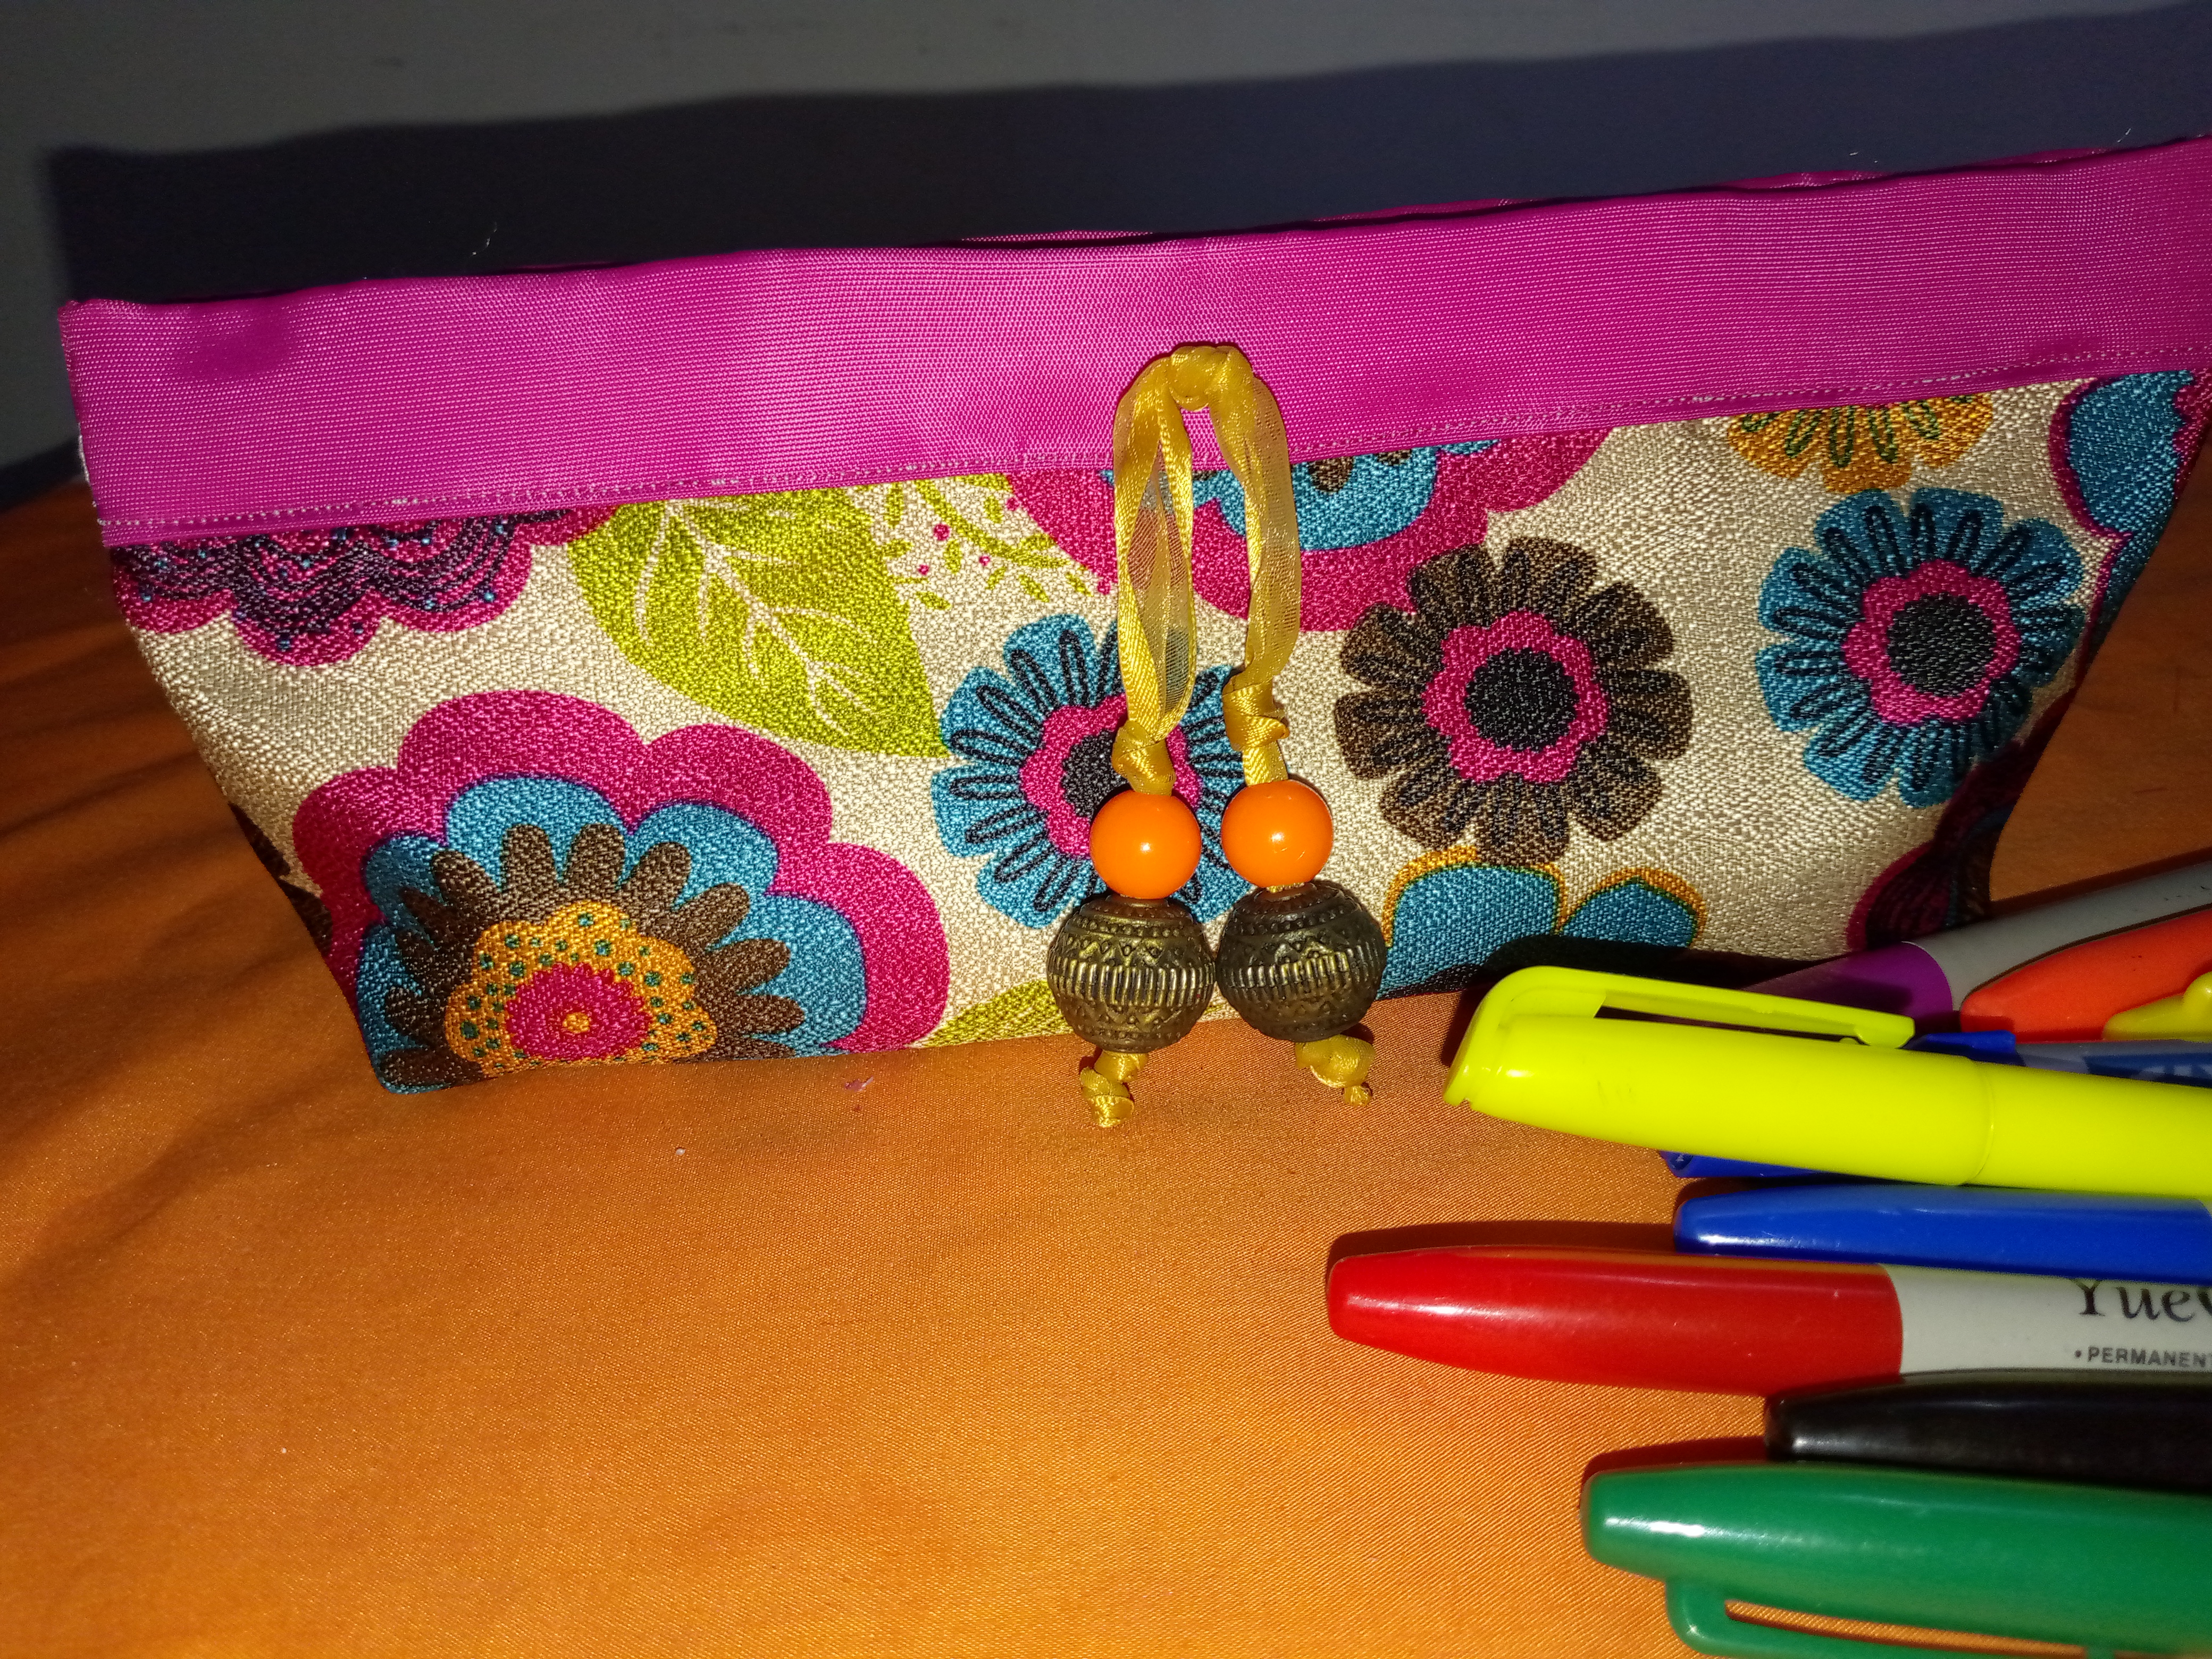
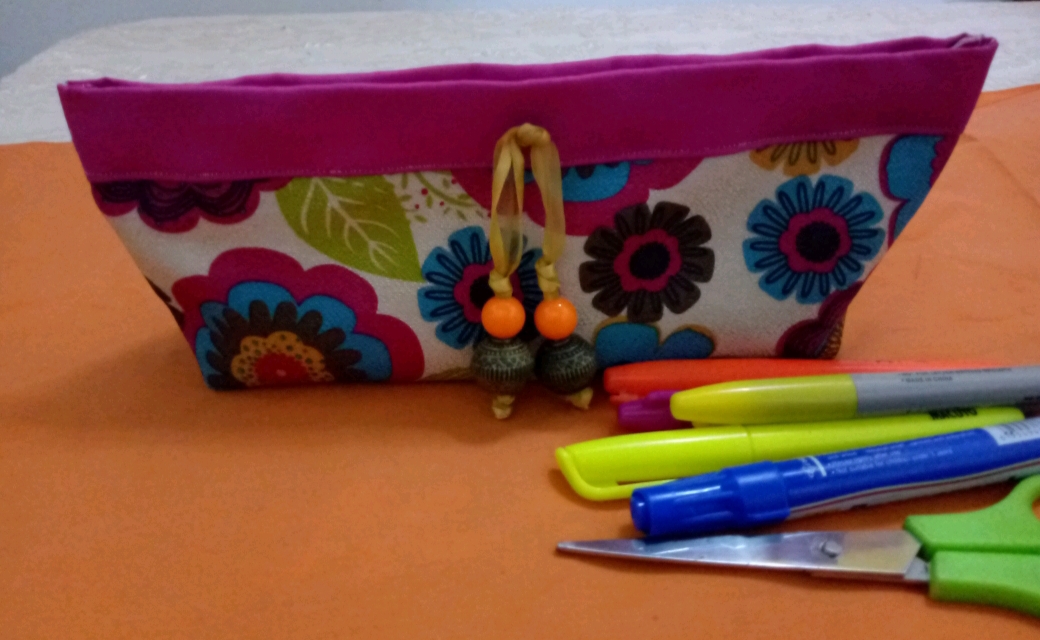
This is how my pencil case turned out...
I liked the result, it has a practical size and good capacity.

Life is Art...
Thanks for reading me. See you in the next @dorada post.
Images captured with tecno pova mobile device.
Translation

Español
He estado preparando algunas cosas en casa, en pocos días retomo mis estudios, ya el último año de mi carrera universitaria, la cual estoy disfrutando en esta etapa de mi vida, es una experiencia distinta a mis anteriores estudios dónde coexiste con mi dinámica diaria.
Cada año cambio de libretas, con la misma emoción que lo hacen los niños en su etapa escolar, y por supuesto no puede faltar mi cartuchera, cuando considero necesario la sustituyo. En esta ocasión realicé una cartuchera bastante sencilla, se elabora en pocos minutos, tomé en consideración el tamaño necesario para poder guardar lápices y marcadores, los cuales utilizo con regularidad.

Materiales:
- Un trozo de tela estampada de 40cms x 33 Cms
- Un trozo de tela unicolor de 40cms x 33 Cms
- Un trozo de cinta de raso
- Algunas esferas decorativas
- Tijera
- Hilo
- Cinta métrica
- Alfileres

Elaboración
Como ya les indiqué en los materiales utilicé ambos trozos de tela de 40cms por 33 cms, para elaborar la cartuchera comencé colocando ambos trozos de tela revés con revés y pasé una costura recta por todo el borde


Luego por la parte posterior lo cierre mágicos mágicos para lo cual medi 6 cms en ambos extremos, luego de fijarlo con los alfileres les pasé costura recta.

La tela unicolor la doblé para realizar el borde superior de la cartuchera, primero la fijé con alfileres para luego pasar una costura recta por ambos bordes.

Por el revés de la tela cosí los laterales para cerrar la cartuchera, luego medi 3 Cms en la parte inferior para crear más profundidad.

Con la cinta de raso y algunas esferas realicé un colgante para decorar la cartuchera, lo uni con algunas puntadas de hilo.

Así quedó mi cartuchera...
Me gustó el resultado, tiene un tamaño práctico y buena capacidad.


La Vida es Arte...
Gracias por leerme. Nos encontraremos en el próximo post de @dorada
Imágenes capturadas con dispositivo móvil tecno pova
Traducción

¿ᴺᵉᶜᵉˢᶦᵗᵃˢ ᴴᴮᴰ? ᵀᵉ ˡᵒ ᵖʳᵉˢᵗᵃᵐᵒˢ ᶜᵒⁿ @ruta.loans
Sending Love and Ecency Curation Vote!
 Follow Eceny's curation trail to earn better APR on your own HP. : )
It is stylish, lovely, and charming. It looks great. Love its color. It is good to see how you made this. Well done!