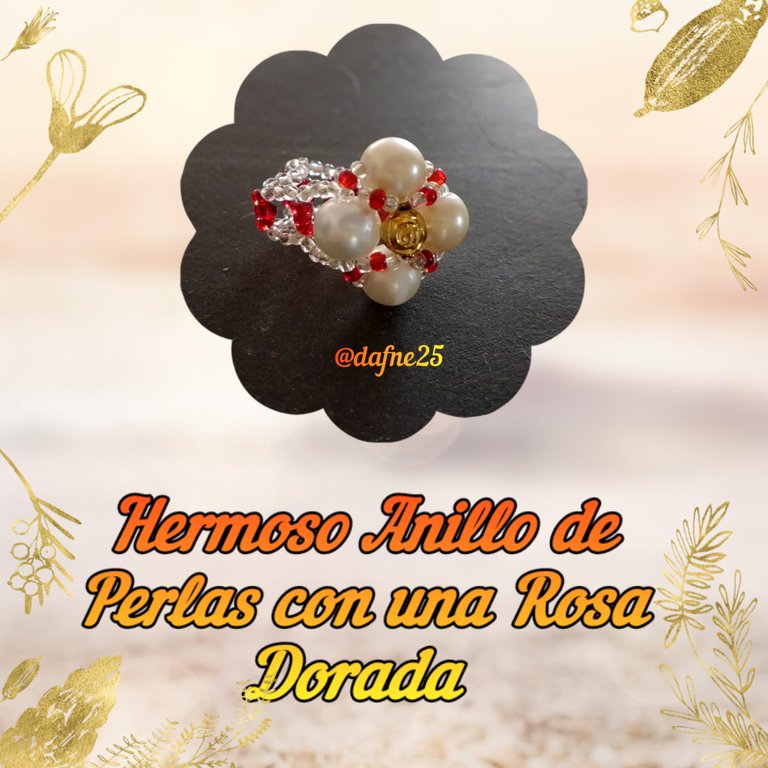

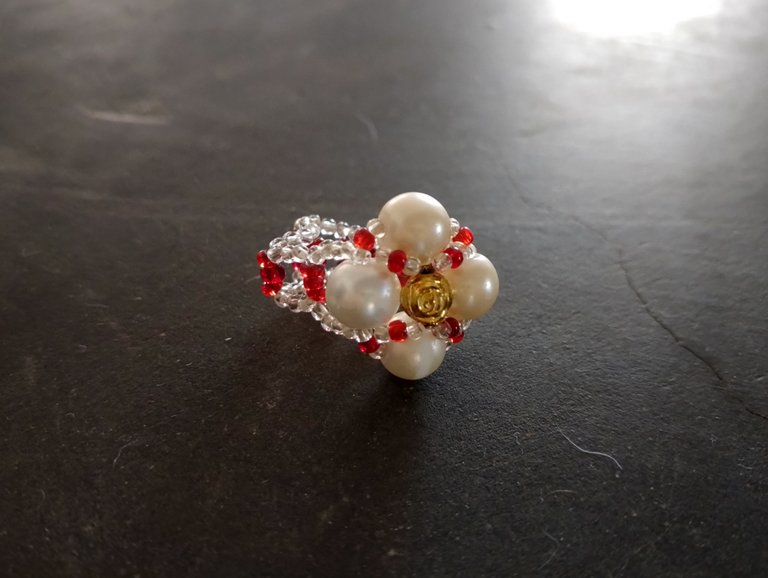
Buenas tardes queridos amigos de Hive y DiyHub, cómo están?, espero que estén muy bien y que hayan tenido y disfrutado de este bello día en el cual inicia una nueva semana de trabajo. En este día les quiero compartir un tutorial para hacer este sencillo pero hermoso anillo de perlas cuyo centro de atención es la rosa dorada que se encuentra en el centro de las perlas y el color rojo de las mostacillas. Este anillo es muy fácil de hacer y sinceramente también es muy rápido, en lo que uno más se tarda es en hacer el largo de la cadena del anillo.
Los Materiales que vamos a necesitar son:
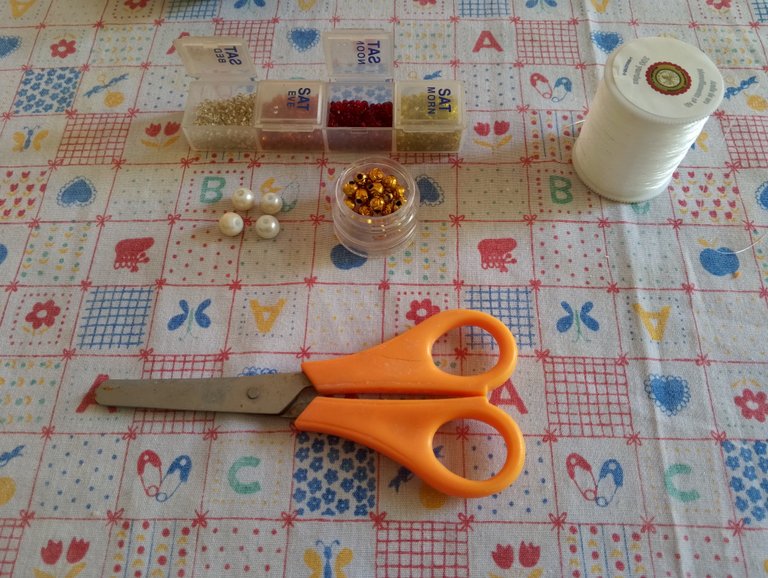
Mostacillas de color rojo
Mostacillas transparentes
Cuenta en forma de rosa de color dorado
1 mt de nylon 0,3
Procedimiento

En el nylon vamos a insertar una mostacilla transparente, una mostacilla de color rojo, una mostacilla transparente, una perla de color blanco, una mostacilla transparente, una mostacilla de color rojo, una mostacilla transparente, una perla de color blanco, una mostacilla transparente, una mostacilla de color rojo, una mostacilla transparente y cruzamos por una perla de color blanco. Repasamos todo este círculo dos veces más para asegurarlo bien.
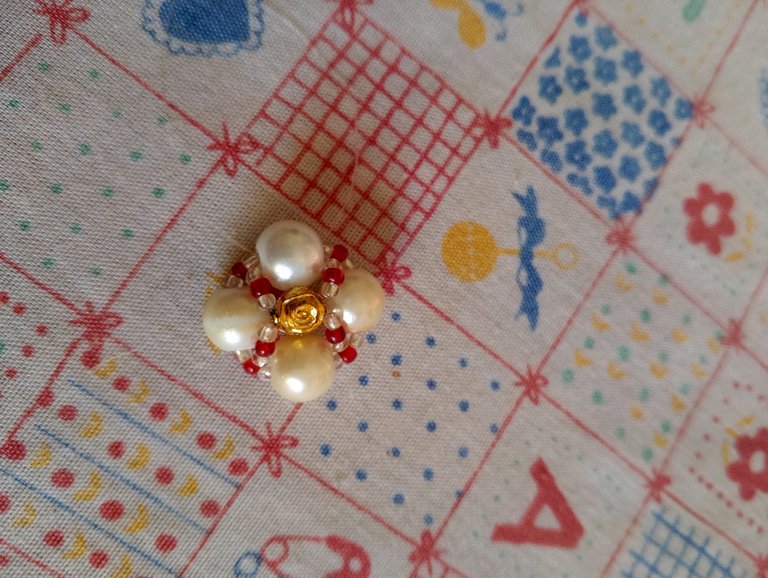
Ahora en cada nylon insertamos una mostacilla transparente, una mostacilla de color rojo, una mostacilla transparente y cruzamos por la cuenta en forma de rosa de color dorado, volvemos a añadir en cada nylon una mostacilla transparente, una mostacilla de color rojo, una mostacilla transparente y cruzamos por la perla de color blanco que se encuentra en el frente.

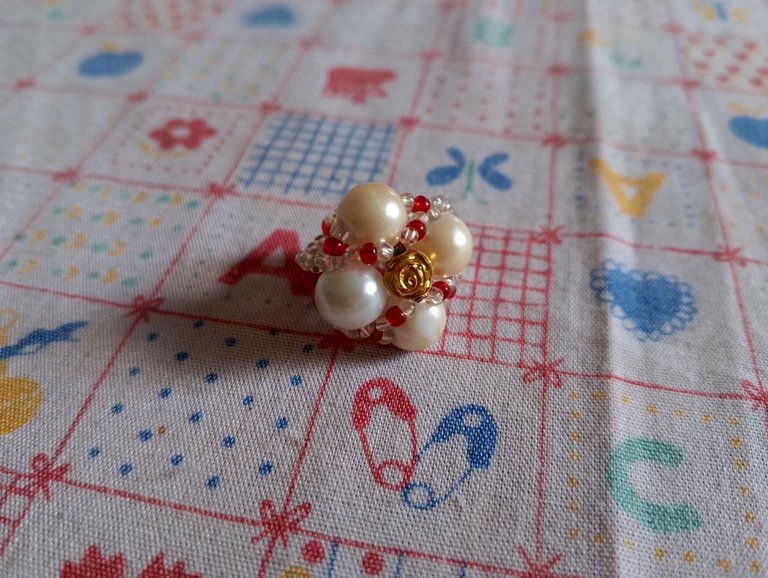
Por último vamos a hacer la cadena del anillo, para esto en cada nylon insertamos 4 mostacillas transparentes y cruzamos por tres mostacillas de color rojo, añadimos en cada nylon 3 mostacillas transparentes y volvemos a cruzar por tres mostacillas de color rojo. Seguimos insertando en cada nylon 3 mostacillas transparentes y cruzando por 3 mostacillas de color rojo hasta conseguir un largo que rodee nuestro dedo. Luego añadimos en cada nylon 4 mostacillas transparentes y pasamos uno de los nylon por la perla de enfrente para poder hacer un nudo doble. Cortamos el nylon que nos ha sobrado y listo, tenemos un nuevo anillo para estrenar.
Hasta la próxima 👋
Créditos
Traductor: App DeepL
Editores de fotos usado: editor de fotos Canva y FotoCollage

Good afternoon dear friends of Hive and DiyHub, how are you, I hope you are very well and that you have had and enjoyed this beautiful day in which begins a new work week. Today I want to share with you a tutorial to make this simple but beautiful pearl ring whose center of attention is the golden rose in the center of the pearls and the red color of the beads. This ring is very easy to make and honestly it is also very fast, what one takes the longest is to make the length of the chain of the ring.
The Materials we are going to need are:

Red beads
Transparent beads
Gold colored rose-shaped bead
1 mt of nylon 0,3
Procedure

In the nylon we are going to insert a transparent bead, a red bead, a transparent bead, a white bead, a transparent bead, a transparent bead, a red bead, a transparent bead, a white bead, a transparent bead, a transparent bead, a red bead, a transparent bead, a transparent bead and cross through a white bead. We go over this whole circle two more times to secure it well.

Now in each nylon we insert one clear bead, one red colored bead, one clear bead and cross through the gold colored rose shaped bead, we add again in each nylon one clear bead, one red colored bead, one clear bead and cross through the white colored bead on the front.

Finally we are going to make the chain of the ring, for this in each nylon we insert 4 transparent beads and cross by three red beads, we add in each nylon 3 transparent beads and cross again by three red beads. We continue inserting in each nylon 3 transparent beads and crossing by 3 red beads until we get a length that surrounds our finger. Then we add in each nylon 4 transparent beads and we pass one of the nylons through the bead in front of us to make a double knot. We cut the nylon that we have left over and ready, we have a new ring to use for the first time.


Until next time 👋
Credits
Translator: App DeepL
Photo editors used: Canva photo editor and FotoCollage
que hermoso, está sencillo de hacer, lindo trabajo!
what a beautiful, simple to do, nice job!
Muchas gracias 👍
Wow this is so lovely friend, you did an amazing job. Thanks for sharing this with us.