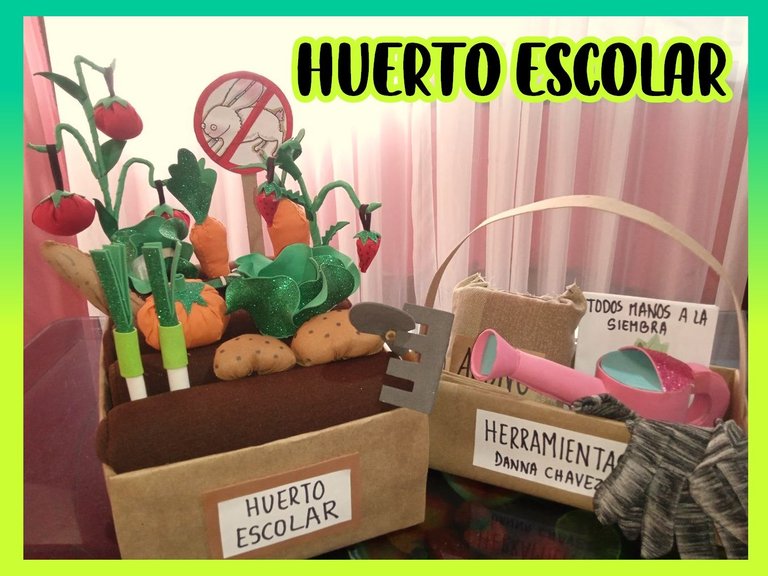
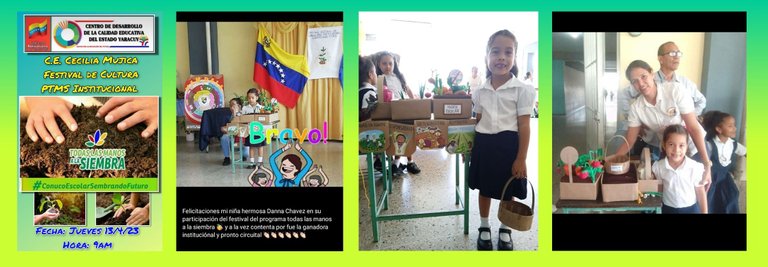
Buen día amigos de hive el dia de hoy les quiero mostrar como yo elabore este proyecto escolar para mi niña, quien tubo una defensa en el Festival Institucional " Todas las manos a la Siembra". siendo esta la ganadora a nivel institucional de dicho festival.
La verdad me siento muy orgullosa de mi pequeña tubo un buen desenvolvimiento en la defensa de su proyecto, se robo los aplausos de todos los alumnos del colegio así como del jurado y de sus padres por supuesto haciéndole barra...😊
Pues les muestro el paso a paso de como lo hice...
Good morning friends of hive today I want to show you how I developed this school project for my girl, who had a defense in the Institutional Festival "All hands to planting". being the winner at the institutional level of the festival.The truth is that I feel very proud of my little girl, she had a good performance in the defense of her project, she stole the applause of all the students of the school as well as the jury and her parents of course making her bar ...😊
Well I show you the step by step of how I did it....

- 🍅 2 metros de papel Kraft
- 🍆 Foamis de Color verde, blanco, Rosado, Gris.
- 🥕 Retazos de Tela color marron, Rojo, Naranja.
- 🥔 1 media panti color piel (Reciclada).
- 🍓 3 Hojas Blancas.
- 🍠 Recortes de Alimentos y Plantas (Reciclados).
- 🍉 2 Cajas grandes (Recicladas).
- 🍊 1 Caja de sandalias (Reciclada).
- 🌿 1 Varilla de bambú fina.
- 🌱 1 Par de Guantes (Reciclados).
- 🌽 1 Lata pequeña (Reciclada).
- 🍅 3 Tipos de Semilla.
- 🍆 Lamina de Goma Espuma (Reciclada).
- 🥕 Hilo Color Marrón.
- 🥔 Silicon Barra.
- 🍓 Pistola de Silicon.
- 🍠 Silicon Liquido.
- 🍉 2 Ganchos de Ropa Grandes.
- 🍊 Tijera.
- 🌿 Regla.
- 🌱 Exacto.
- 🌽 Relleno.
- 🍅 Pabilo color Amarillo.
- 🍅 2 meters of Kraft paper
- 🍆 Green, white, Pink, Gray Foamis.
- 🥕 Brown, Red, Orange Fabric Scraps.
- 🥔 1 skin-colored pantyhose (Recycled).
- 🍓 3 White Sheets.
- 🍠 Food and Plant Clippings (Recycled).
- 🍉 2 Large Boxes (Recycled).
- 🍊 1 Box of sandals (Recycled).
- 🌿 1 Fine bamboo stick.
- 🌱 1 Pair of Gloves (Recycled).
- 🌽 1 Small Can (Recycled).
- 🍅 3 Types of Seed.
- 🍆 Foam Rubber Sheet (Recycled).
- 🥕 Brown Thread.
- 🥔 Silicon Bar.
- 🍓 Silicon gun.
- 🍠 Liquid Silicon.
- 🍉 2 Large Clothes Hangers.
- 🍊 Scissors.
- 🌿 Rule.
- 🌱 Exactly.
- 🌽 Filling.
- 🍅 Yellow wick.

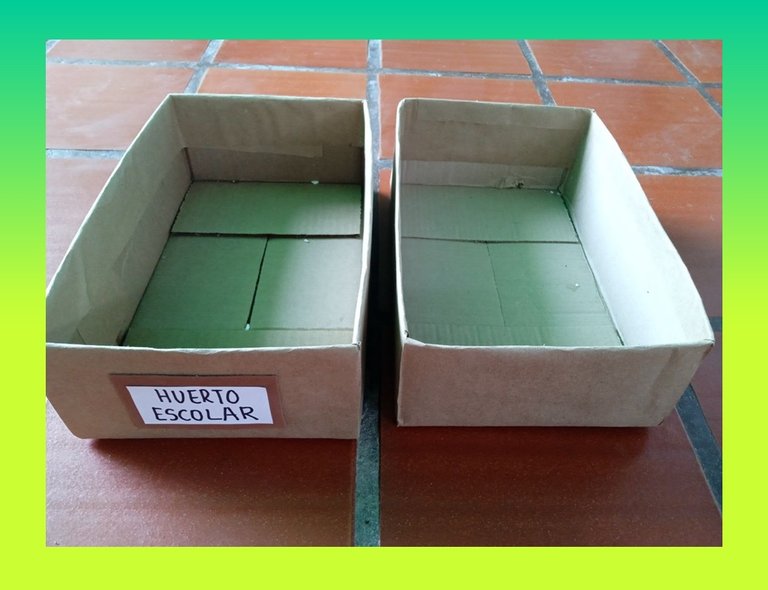
🍅 PASO 1: Tome dos Cajas grandes y las forre con papel kraft, estas median 33cm de largo por 21cm de ancho y 10,5cm de alto. Una vez listas las reserve.
🍅 STEP 1: Take two large boxes and line them with kraft paper, they measure 33cm long by 21cm wide and 10,5cm high. Once ready, set them aside.
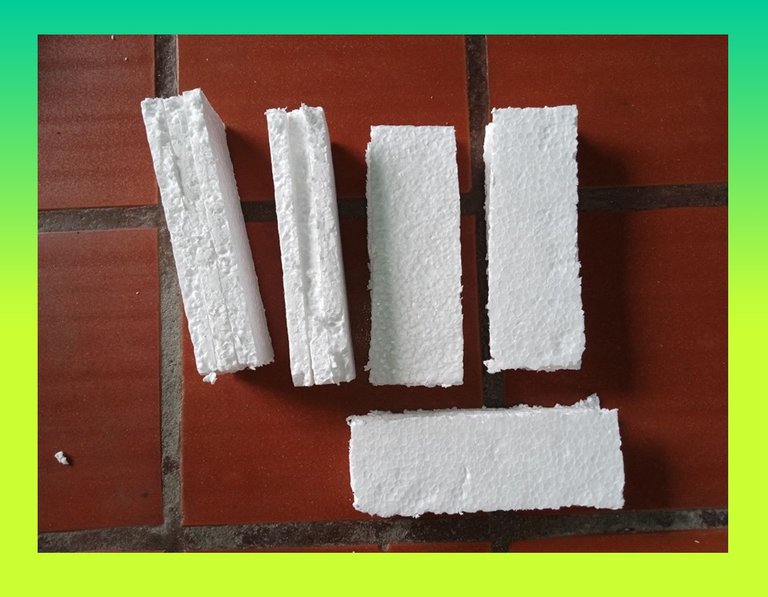
🍆 PASO 2: Con los trozos de Anime hice cinco bloques de 19,5cm de largo por 4cm de ancho.
STEP 2: With the pieces of Anime I made five blocks of 19.5cm long by 4cm wide.
🍓 PASO 3: Con la ayuda de un patrón de 20cm por 20cm corte cinco piezas de la lamina de goma espuma y los pegue a los bloques de anime que ya había cortado.
🍓 STEP 3: With the help of a 20cm by 20cm stencil cut five pieces from the foam rubber sheet and glue them to the anime blocks I had already cut.

Una vez pegados los introduje en la caja grande que ya tenia lista para probar si estos encajaban bien.
Once glued, I put them in the big box I already had ready to test if they fit well.
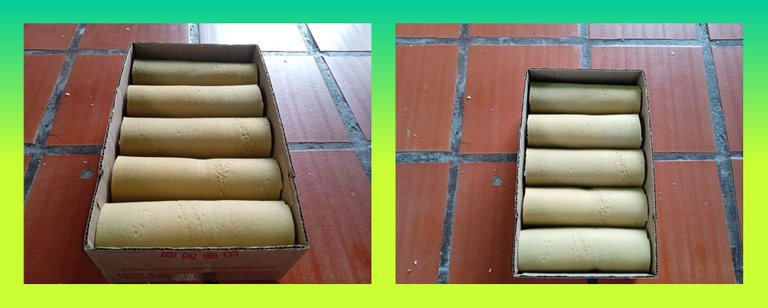
🥕 PASO 4: Tome la tela de color marrón la verdad les cuento que este fue en algún momento un mono que había guardado ya hace mucho tiempo y pues se me presento esta ocasión de necesitar este tipo de tela y no tenia dinero para comprarla así que decidí tomar este y usarlo para esto. Tome el patrón de 20cm por 20cm y corte cinco piezas de este así como también corte diez piezas de mi otro patrón.
🥕 STEP 4: I took the brown fabric, the truth is that this was at some point a monkey that I had saved a long time ago and I had no money to buy it so I decided to take this one and use it for this. I took the 20cm by 20cm pattern and cut five pieces from it as well as ten pieces from my other pattern.

🥔 PASO 5: Con mis piezas ya cortadas comencé a cocer por las orillas, una vez terminada forre mis cubos de anime y goma espuma y los volví a introducir en la caja para ver si quedarían justos y listo reserve mi caja nuevamente con los cubos ya dentro.
🥔STEP 5: With my pieces already cut I started to bake around the edges, once finished I lined my anime and foam rubber cubes and put them back in the box to see if they would fit and ready, I reserved my box again with the cubes already inside.

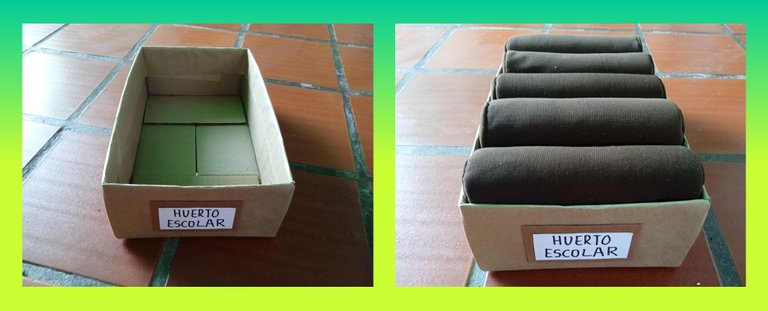
🌽 PASO 6: Tome la otra caja grande ya forrada con papel kraft la medí y corte una pieza de anime del mismo ancho y largo de esta caja.
Una vez que tuve la pieza le hice con el anime y la goma espuma cinco montañitas o surcos simulando el modelo que anteriormente ya había hecho con la otra caja. esto lo tuve que hacer así ya que no contaba con suficiente tela ni goma espuma para armar cinco cubos mas como los anteriores y pues una vez que lo arme no se veía tan mal que digamos...😁
A esta base le abrí tres huecos pequeñitos en los cuales les pondría después lo que serian la maleza.
🌽 STEP 6: I took the other big box already lined with kraft paper, measured it and cut a piece of anime the same width and length of this box.Once I had the piece I made with the anime and the foam rubber five little mountains or grooves simulating the model I had previously made with the other box. I had to do this because I didn't have enough fabric or foam rubber to make five more cubes like the previous ones and once I put it together it didn't look so bad...😁.
To this base I opened three small holes in which I would put later what would be the weeds.
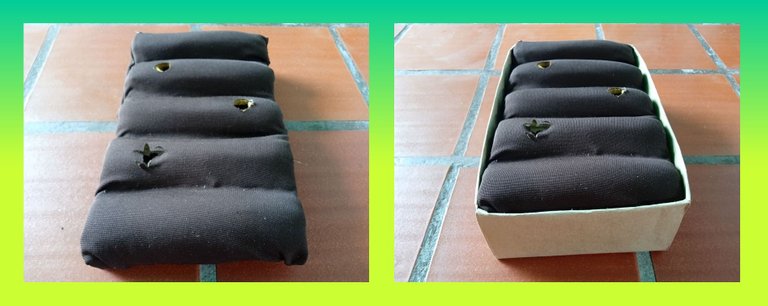
🌿 PASO 7: Ya armadas mis dos bases o cajas principales comencé a elaborar los componentes o materiales de estos Huertos.
Tome una lata Reciclada y la forre con mi foami de color rosado así como también forme un embudo y un cono pequeño para armar y darle forma a la jarra. también corte las piezas de anime, cartón y foami y arme el aza de la jarrita y así quedo.
🌿 STEP 7: Once my two main bases or boxes were assembled, I began to elaborate the components or materials of these gardens.I took a recycled can and lined it with my pink foami and also formed a funnel and a small cone to assemble and shape the jar. I also cut the pieces of anime, cardboard and foami and assembled the jar's handle and that's how it looked.

🌱 PASO 8: Tome la tela color naranja y foami verde y con mis patrones corte las piezas, una vez cortadas comencé a coserlas de un lado, luego tome el relleno y lo introduje dentro de la pieza la cantidad suficiente para darle forma de zanahoria, coci la parte superior y listo ya tenia formada mis dos zanahorias. Tome el foami verde y corte cuatro piezas en forma de hojas, las pase por la plancha para darles una mejor forma y las pegue a las zanahorias y listo así quedaron.
🌱 STEP 8: Take the orange fabric and green foami and with my patterns I cut the pieces, once cut I started sewing them on one side, then I took the stuffing and put it inside the piece enough to give it the shape of a carrot, I sewed the top part and that was it, I had my two carrots. I took the green foami and cut four pieces in the shape of leaves, put them through the iron to give them a better shape and glued them to the carrots and that's all.


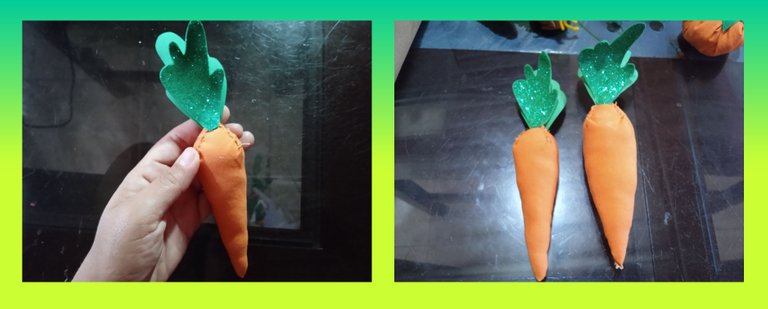
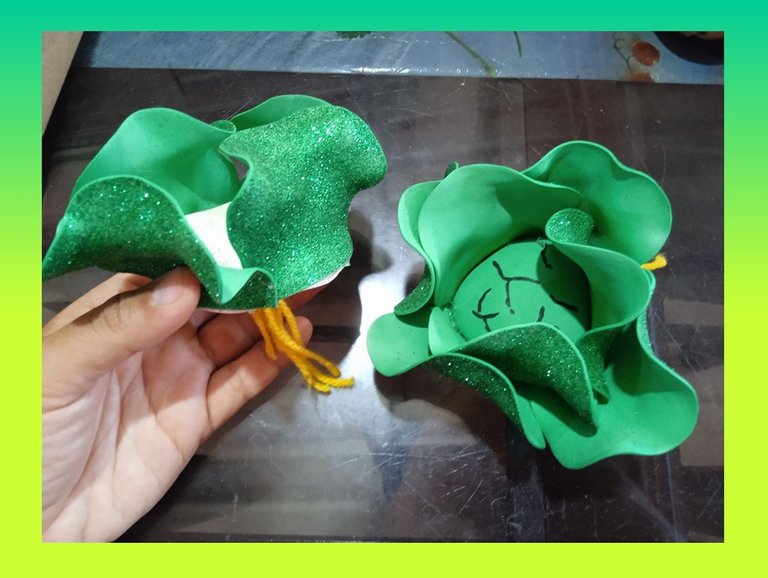
🍅 PASO 9: Con el foami verde y blanco y con la ayuda de mis patrones corte 11 piezas en forma de hoja y 1 pieza circular de foami verde y otra pieza circular de foami blanco, tome todas las piezas y las pase por la plancha caliente, esto para moldearlas a la forma deseada. Una vez ya listas comencé a pegarlas tome 7 piezas de forma de hoja y las fui pegando a la pieza circular verde dándole forma de lechuga.
Del mismo modo tome las otras 4 piezas y las pegue al circulo blanco dándole forma de coliflor, les agregue en la parte baja tiras de diferentes tamaños de pabilo de color amarillo simulando las raíces de estos vegetales quedando de esta manera...
🍅 STEP 9: With the green and white foami and with the help of my patterns I cut 11 leaf-shaped pieces and 1 circular piece of green foami and another circular piece of white foami, I took all the pieces and passed them through the hot plate, this to mold them to the desired shape. Once ready I began to glue them together, I took 7 leaf-shaped pieces and glued them to the green circular piece, giving it the shape of a lettuce.In the same way I took the other 4 pieces and glued them to the white circle giving it the shape of a cauliflower, I added strips of different sizes of yellow wick at the bottom, simulating the roots of these vegetables....

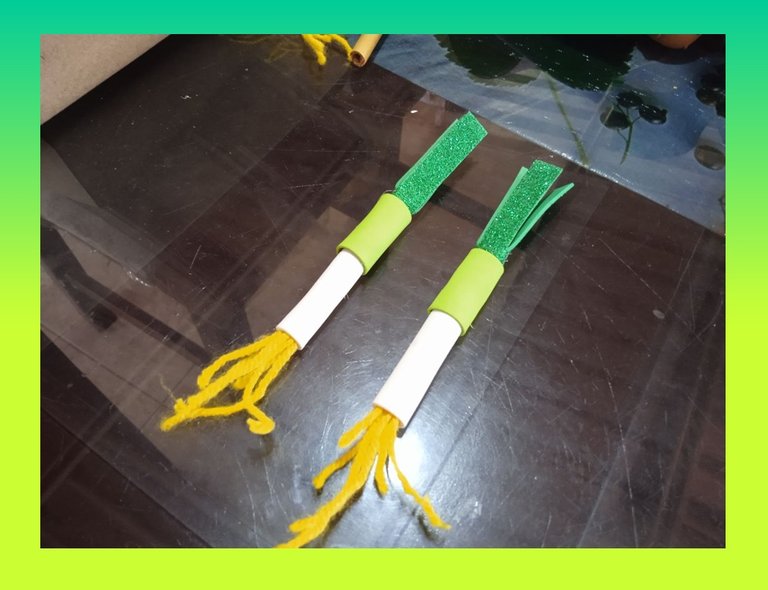
🥒 PASO 10: Tome el foami blanco, verde claro y verde oscuro, corte 2 tiras de cada color, así como también corte 2 piezas de tiras de diferentes tamaños de pabilo color amarillo.
Tome las 2 tiras de foami oscuro y le hice varios cortes seguidos y enrolle y pegue armando 2 tubos pequeños, lo mismo hice con la tira blanca la enrolle con las tiras de pabilo pegadas dentro y forme dos tubitos. con el silicón caliente pegue ambos tubitos y los forre en el centro con la tira de foami verde claro así dándole forma de puerros.
🥒 STEP 10: Take the white, light green and dark green foami, cut 2 strips of each color, as well as cut 2 pieces of different sized strips of yellow wick.Take the 2 strips of dark foami and make several cuts in a row and roll and glue them together to form 2 small tubes, the same thing I did with the white strip I rolled it with the wick strips glued inside and formed two small tubes. With the hot silicone I glued both tubes and lined them in the center with the strip of light green foami giving it the shape of leeks.

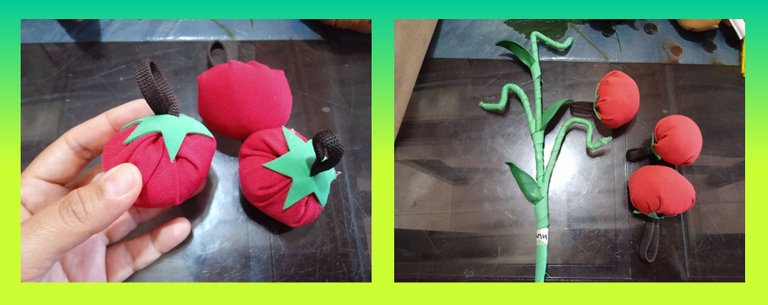
🍉 PASO 11: Con la tela de color rojo corte circulos de 14cm por 14cm y los fui llenando de relleno en su centro y fui cociendo al mismo tiempo para darle la forma de tomates así como también corte tres piezas en forma de estrella para simular las hojitas de estos y les pegue tiras para poderlos colgar.
La planta de estos la elabore con un gancho para ropa lo corte con una piqueta y le di forma en las puntas para poder colgar los tomates. Corte tiras largas de foami color verde y fui forrando mi estructura de planta así como también corte y pegue tres hojas pequeñas.
Quedando la planta de esta forma...
🍉 STEP 11: With the red fabric I cut circles of 14cm by 14cm and I filled them with stuffing in the center and I was cooking at the same time to give them the shape of tomatoes and I also cut three pieces in the shape of a star to simulate the leaves of these and I glued strips to hang them.The plant of these I made with a clothes hanger cut it with a pickaxe and gave it shape at the ends to hang the tomatoes. I cut long strips of green foami and lined my plant structure as well as cut and glued three small leaves.
The plant looked like this....
🍒 PASO 12: Así pues fui elaborando cada Hortaliza, Frutas y Verduras para formar este Huerto se los muestro ya elaborados...
🍒 STEP 12: So I was elaborating each Vegetable, Fruits and Vegetables to form this Garden I show them already elaborated....

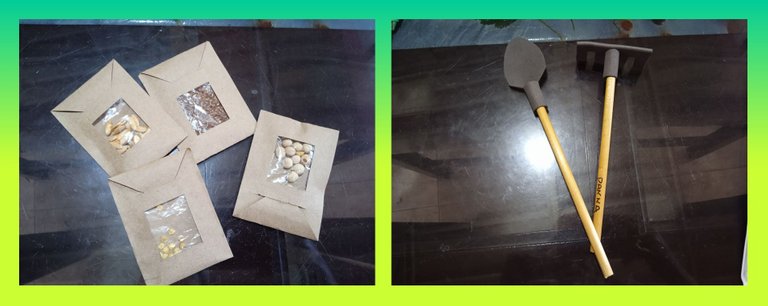
🍠 PASO 13: Una vez que tuve listas las Hortalizas, Frutas y Verduras procedí a elaborar las herramientas que llevarían estos Huertos.
Les muestro como quedaron...
🍠 STEP 13: Once I had the Vegetables, Fruits and Vegetables ready, I proceeded to elaborate the tools that would be used in these Gardens.I show you how they turned out...

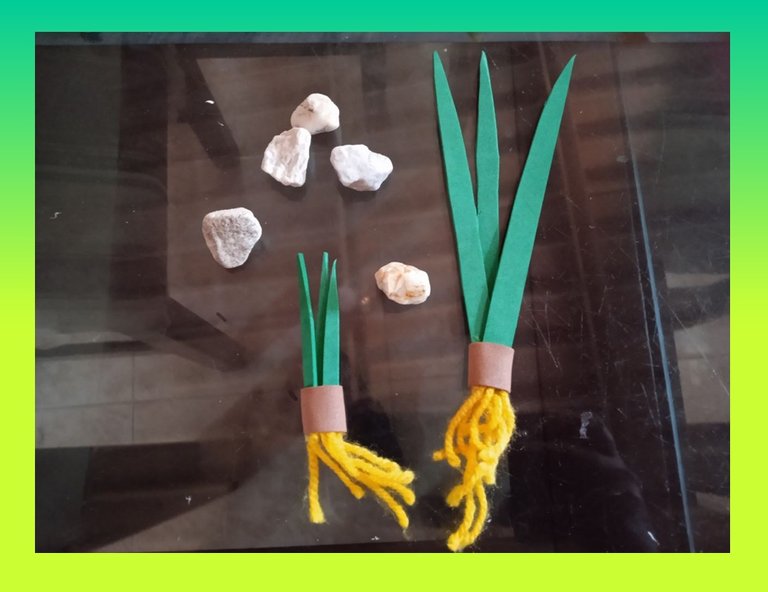
También elabore la Maleza y recolecte algunas piedras ya que parte de la exposición de mi niña ella dramatizo la preparación y limpieza del terreno del huerto.
I also made the Weed and collected some stones as part of my girl's exhibit she dramatized the preparation and clearing of the garden plot.
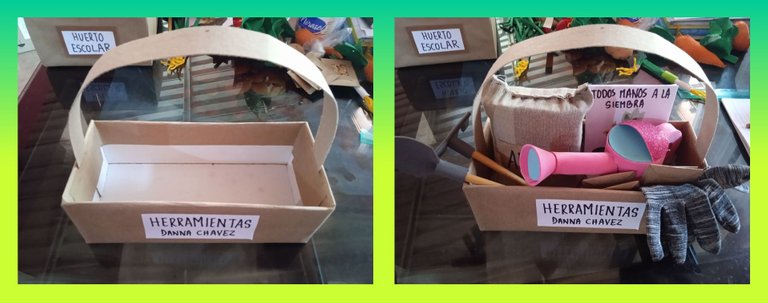
🍊 PASO 14: Para trasladar y guardar las herramientas de estos huertos, elabore una cesta o caja tomando una caja de sandalias reciclada, la forre con papel Kraft y le pegue una asa de cartón, quedando así...
STEP 14: To move and store the tools for these gardens, make a basket or box using a recycled sandal box, line it with Kraft paper and glue a cardboard handle to it....
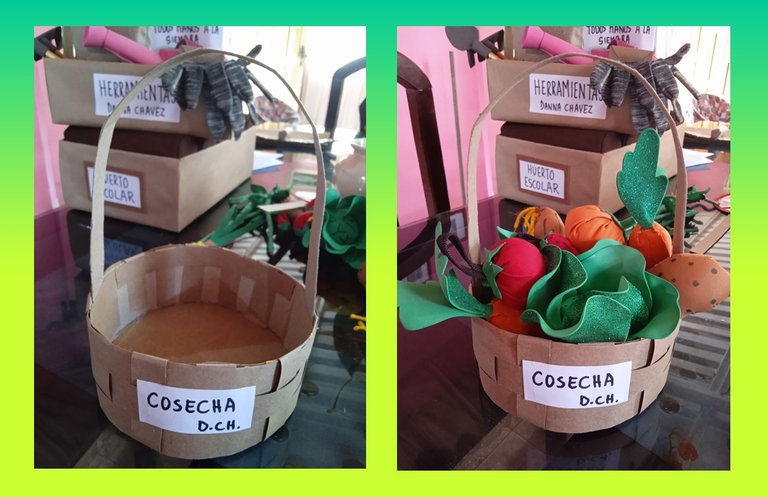
🍋 PASO 15: En la dramatización que mi niña hizo tenia que recolectar las hortalizas, frutas y verduras así que le elabore una cesta tejida con papel kraft y cartón.
🍋 STEP 15: In the dramatization my child made, she had to collect the vegetables, fruits and greens, so I made her a woven basket with kraft paper and cardboard.
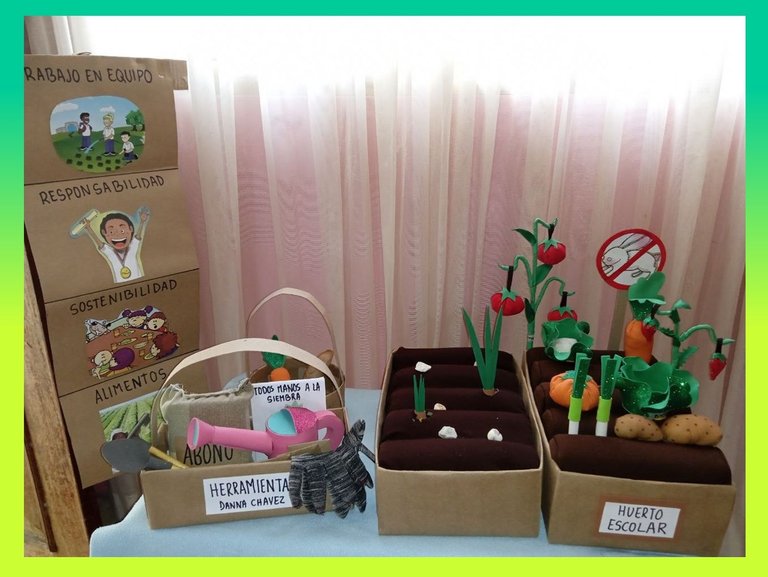
Así de esta manera fue como elabore este lindo proyecto escolar para mi niña sobre el Huerto Escolar.
This is how I created this nice school project for my little girl about the School Garden.

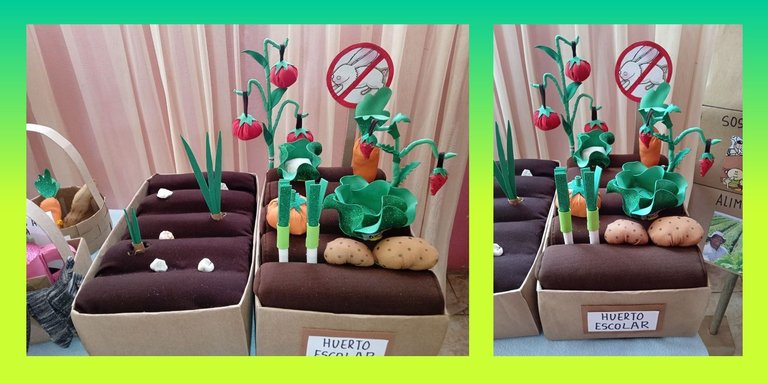
Gracias por Leerme...
Espero les guste.
Las fotos son de mi Autoria.
Un Gran Abrazo...😊
Thanks for reading me... I hope you like it. The photos are of my Autoria. A Big Hug...😊

Es un trabajo genial. En mas de una ocasión me ha tocado hacer estas mamualidades con mi prima y ciertamente es genial cuandk ves cómo quedan.
Te invito a comentar las publicaciones de tus compañeros de hive, así apoyas y das ánimo con otros en la plataforma.
!discovery 35
hola @gaboamc2393 me alegra que le guste, muy agradecida por su invitación, gracias por su apoyo y consejos..😉. Si es genial cuando terminas un proyecto y vez el resultado final y mas aun cuando lo haces con mucho cariño y amor... 😊
The last scene was really mesmerizing, your creativity and ideas really impressed me, great action.
@semarekha thank you very much for your support, it was a work that I really elaborated with a lot of love for my little girl, I'm glad she likes it, a big hug....
Great craft you have got, smart kid, thanks for making her happy. Sending you ❤️❤️❤️
@elizabeth2323 thank you very much I'm glad you like it, big hug...😊
You are welcome
This post was shared and voted inside the discord by the curators team of discovery-it
Join our Community and follow our Curation Trail
Discovery-it is also a Witness, vote for us here
Delegate to us for passive income. Check our 80% fee-back Program
thank you very much...😊
Very creative, good job done.
Thank you very much...😊
Congratulations @carmenarteaga! You have completed the following achievement on the Hive blockchain And have been rewarded with New badge(s)
Your next target is to reach 1750 upvotes.
You can view your badges on your board and compare yourself to others in the Ranking
If you no longer want to receive notifications, reply to this comment with the word
STOPCheck out our last posts:
Support the HiveBuzz project. Vote for our proposal!
thank you very much...😁
All good @carmenarteaga! You have what it takes to achieve this new goal on Hive! Keep it up!
Just saw something mind blowing, combining great ideas with great creativity.
Thank you very much, I'm glad you like it....😊
Your content has been voted as a part of Encouragement program. Keep up the good work!
Use Ecency daily to boost your growth on platform!
Support Ecency
Vote for new Proposal
Delegate HP and earn more
Thank you very much...👍
Esto está bellisimo, Soy de las mamás pro manualidades, es hermoso poder enseñar a los niños que las cosas las podemos hacer con nuestras manos.
así es @andreasalas como mamas nos llena de mucho orgullo poder ver como nuestros pequeños aprenden grandes habilidades...mi niña le encanta crear y ayudarme cuando elaboramos manualidades...gracias por tu apoyo, un gran abrazo...😊