Hola, espero tengan un bonito día, hoy les quiero mostrar como recicle unos frascos de vidrio y los decore y transforme en algo muy bonito para decorar mi hogar.
Les Muestro...
Hello, I hope I have a nice day, today I want to show you how to recycle some glass jars and decorations and transform them into something very nice to decorate my home.I show you...
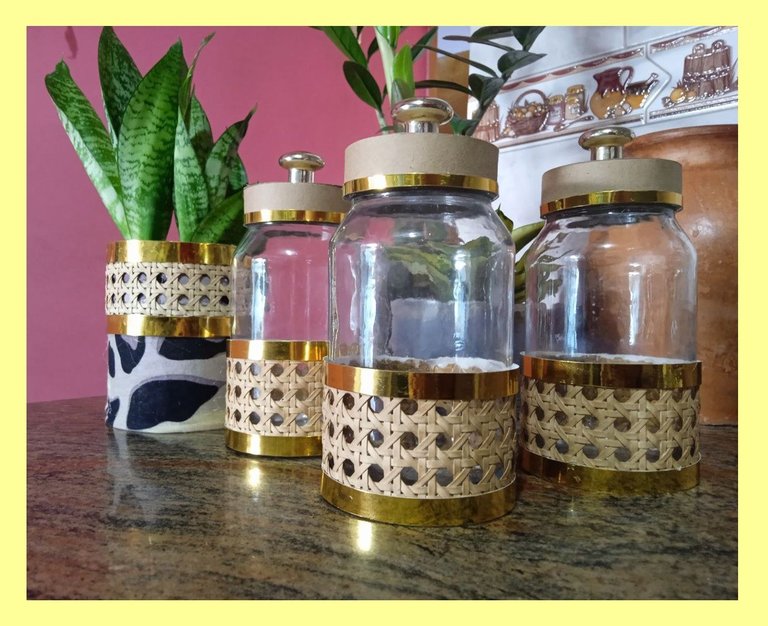

- 🔅 3 Frascos de Vidrio (reciclados).
- 🔅 Lamina Tejida (reciclada).
- 🔅 Cartón.
- 🔅 3 Manijas Doradas (Recicladas).
- 🔅 1 Lamina de Cartulina Dorada.
- 🔅 1 Lamina de Cartulina Kraft.
- 🔅 Lápiz.
- 🔅 Silicón en Barra.
- 🔅 Pistola de Silicon.
- 🔅 Regla.
- 🔅 Tijera.
- 🔅 3 (Recycled) Glass Jars.
- 🔅 Lamina Tejida (reciclada).
- 🔅 Cardboard.
- 🔅 3 Golden Handles (Recycled).
- 🔅 1 Golden cardboard sheet.
- 🔅 1 Kraft Cardboard Sheet.
- 🔅 Pencil.
- 🔅 Silicone Sticks.
- 🔅 Silicon Gun
- 🔅 Ruler
- 🔅 Scissors

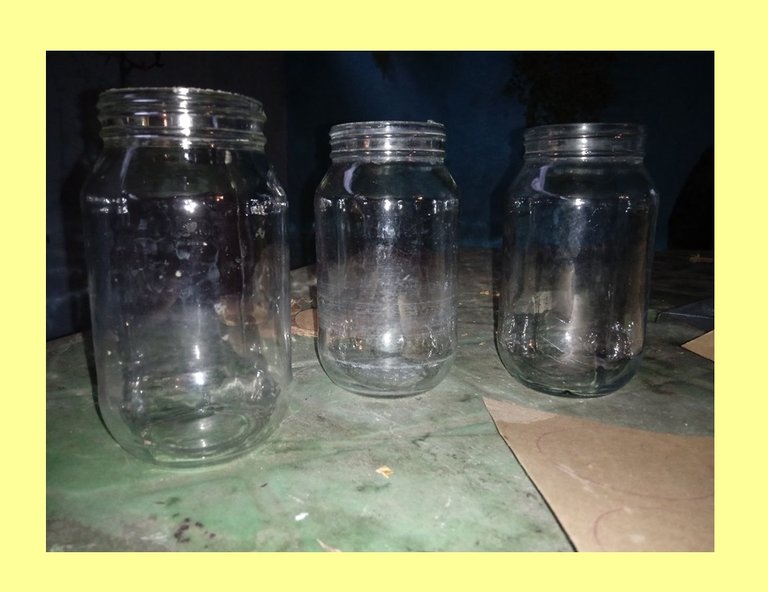
🔅 PASO 1: Lo primero que hice fue lavar y Secar bien mis tres frascos de vidrio.
🔅 STEP 1 The first thing I did was to wash and dry my three glass jars thoroughly.
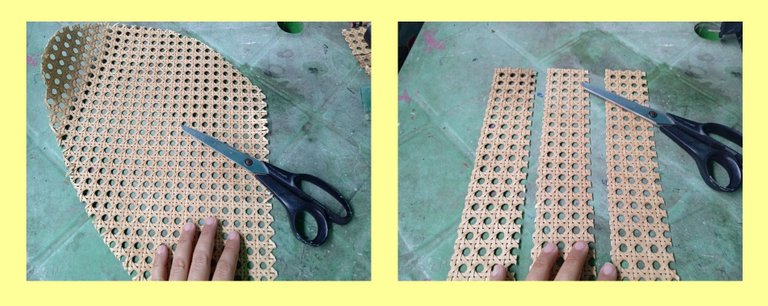
🔅 PASO 2: Tome la lamina tejida, la verdad no se como se llama 😁, esta la recicle de la cabecera de una cama que tuve cuando era una niña y pues vi el tejido muy bonito así que lo use para esto. procedí a cortar tres tiras de 5,5 cm de ancho por 29 cm de largo, las reserve para luego mas adelante pegarlas a los tarros de vidrio.
🔅 STEP 2: Take the woven sheet, I really don't know what it's called 😁, this is the recycled one from the headboard of a bed that I had when I was a girl and I saw the very pretty fabric so I used it for this. I proceeded to cut three strips of 5.5 cm wide by 29 cm long, I reserved them to later glue them to the glass jars.
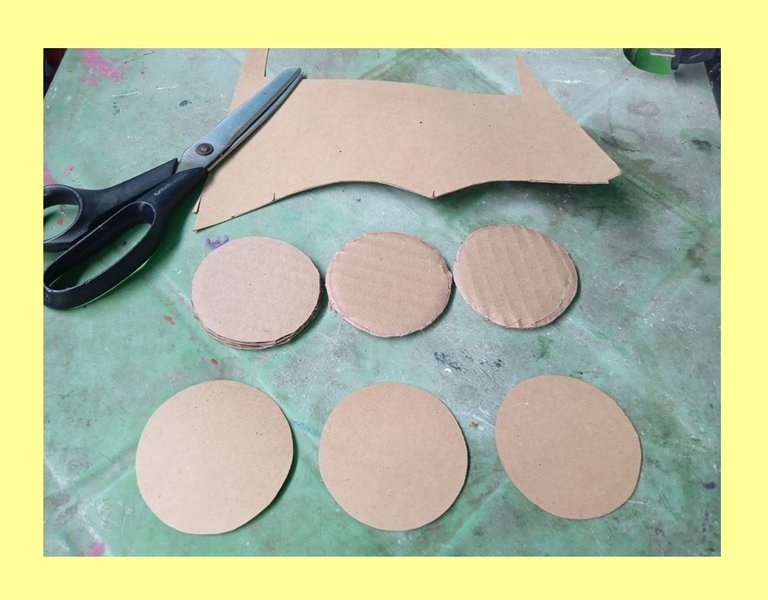
🔅 PASO 3: Dibuje en el cartón tres circulos del tamaño de la boca de mis tarros de vidrio y los corte he hice lo mismo con la cartulina Kraft.
🔅 STEP 3: I drew on the cardboard three circles the size of the mouth of my glass jars and I cut them and I did the same with the Kraft cardboard.
🔅 PASO 4: Corte 3 tiras de la cartulina Kraft de 2 cm de ancho por 22 cm de largo y cada una la pegue por toda la orilla de cada uno de los circulos de cartón.
🔅 STEP 4: Cut 3 strips of Kraft cardboard 2 cm wide by 22 cm long and glue each one to the entire edge of each of the cardboard circles.

🔅 PASO 5: Con los circulos de cartulina kraft los pegue en la parte de arriba del circulo de cartón para formar la tapa para cada tarro.
🔅 STEP 5: With the kraft cardboard circles, glue them to the top of the cardboard circle to form the lid for each jar.
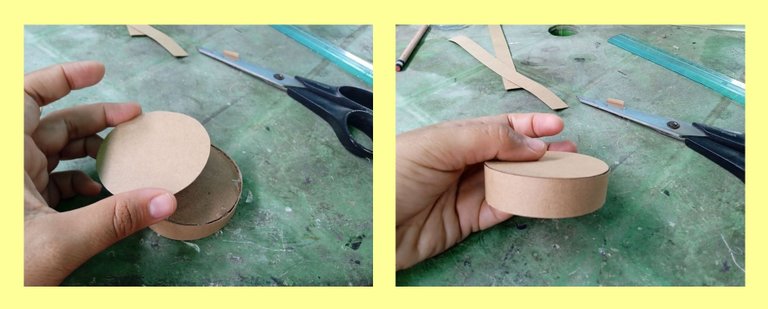
🔅 PASO 6: Tome las tres manijas Doradas recicladas y las pegue en el centro de cada una de las tapas que ya había elaborado.
🔅 STEP 6: Take the three recycled Golden handles and glue them in the center of each of the lids that you have already made.

🔅 PASO 7: tome los frascos y les pegue las tiras que corte anteriormente de la lamina tejida.
🔅 STEP 7: take the jars and glue the strips that you previously cut from the woven sheet to them.
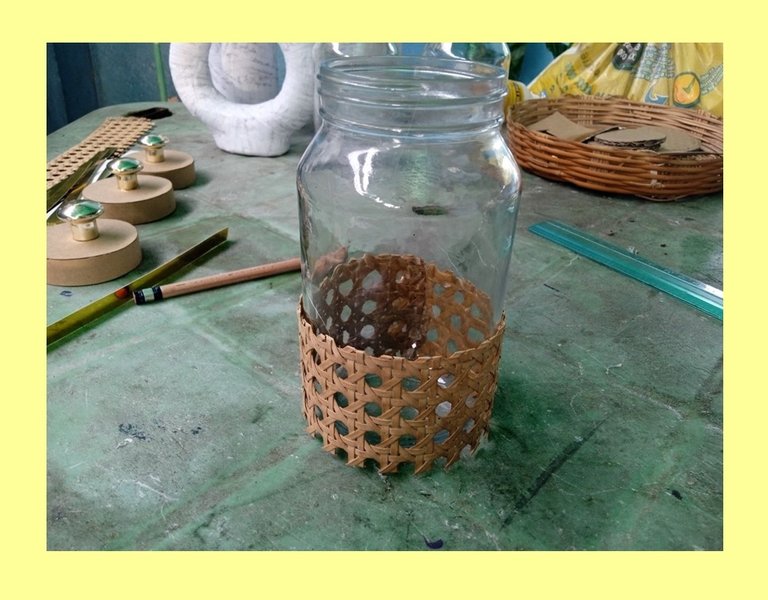
🔅 PASO 8: De la lamina dorada corte 6 tiras de 1 cm de ancho por 29 cm de largo, así como también corte 3 tiras de 0,50 mm de ancho por 29 cm de largo y las seis tiras de 1cm las tome y pegue 2 tiras en cada frasco una en la parte de arriba de la tira tejida y la otra en la parte baja de la misma. del mismo modo pegue las tiras de 0,50mm en la parte baja de la tapa que ya había elaborado antes para los frascos.
🔅 STEP 8: Cut 6 strips of 1 cm wide by 29 cm long from the gold foil, as well as cut 3 strips of 0.50 mm wide by 29 cm long and take the six 1 cm strips and glue them 2 strips in each jar, one at the top of the woven strip and the other at the bottom of it. In the same way, glue the 0.50mm strips on the bottom of the lid that you had already made before for the jars.
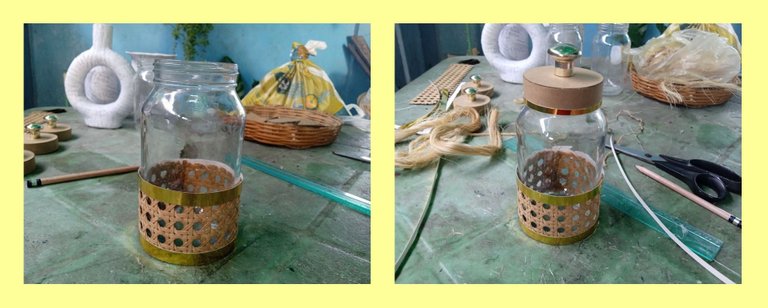
Mi gente así fue como Decore estos Frascos de Vidrios dándoles una segunda oportunidad y usarlos para decorar mi hogar...
This is how my people decorated these glass jars, giving them a second chance and using them to decorate my home...
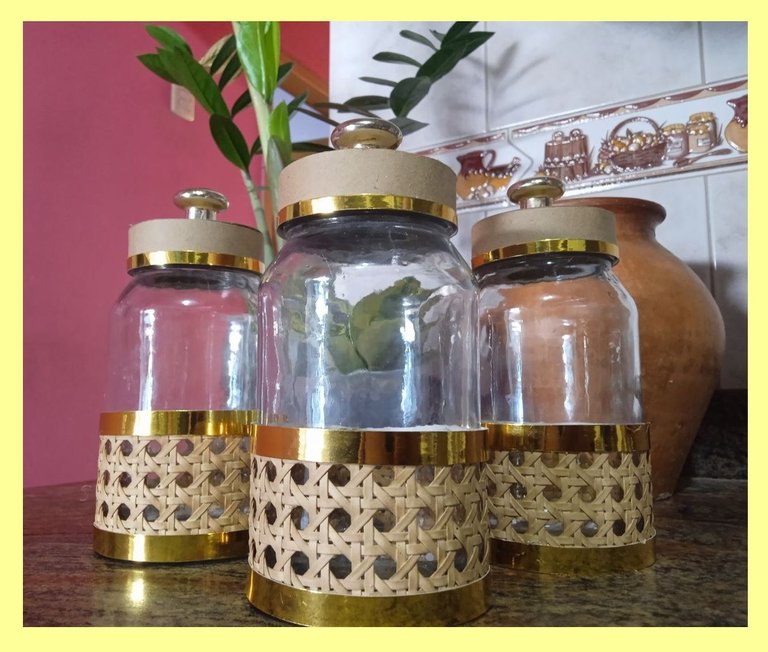
Gracias por Leerme...
Espero les Guste
Las Fotos son de mi Autoria.
Un Gran Abrazo...😊
Thanks for reading me...
I hope you like it
The Photos are my Authorship.
A Big Hug...😊

Congratulations @carmenarteaga! You have completed the following achievement on the Hive blockchain And have been rewarded with New badge(s)
Your next target is to reach 20 posts.
You can view your badges on your board and compare yourself to others in the Ranking
If you no longer want to receive notifications, reply to this comment with the word
STOPTo support your work, I also upvoted your post!
Check out our last posts:
Support the HiveBuzz project. Vote for our proposal!
thank you very much ...😊
You're making waves @carmenarteaga! Your first posts on Hive are already making an impact. Keep spreading the buzz!
BTW, please support our funding proposal and help us bring more fun and badges to Hive. Together we can make Hive a more exciting place!
All you need to do is to click on the "support" button on this page: https://peakd.com/proposals/248.
Thank you!
thank you very much, a big hug....😊
Something ordinary becomes extraordinary and interesting only when its wonderful decoration is possible, which you have done brilliantly.
@semarekha I'm glad you like it, thank you very much a hug....😊
Great thinking - creative solution, presented something beautiful with creativity.
thank you very much...😊
Un estilo muy elegante en los frasco para cocina u otra decoración
@leidys01 me alegra que le guste, muchísimas gracias un gran abrazo...😊