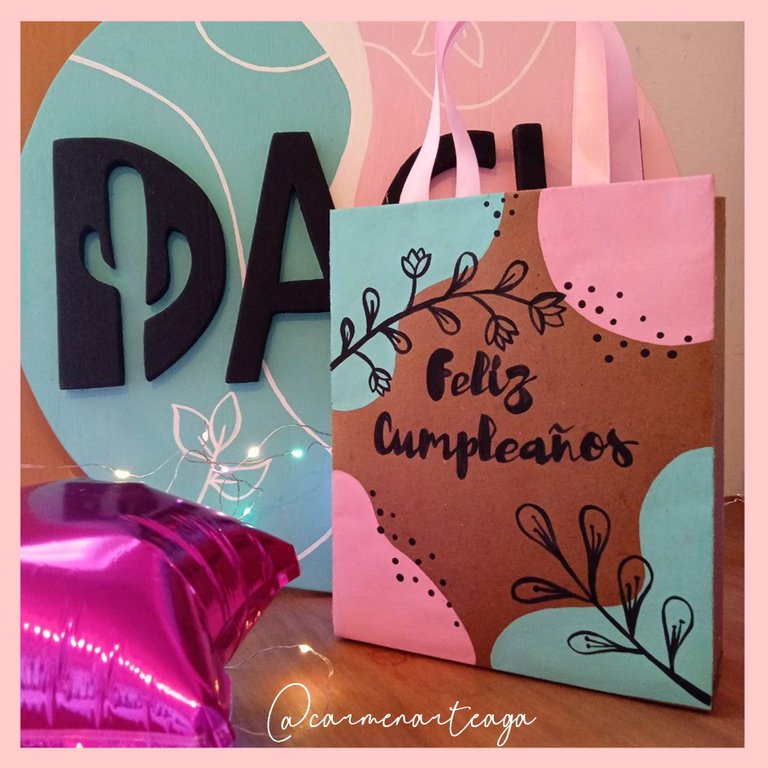
Hola, feliz Sábado, espero se encuentren bien, hoy les quiero compartir como elabore una Sencilla y linda bolsa para regalar.
Les Muestro como lo hice...
Hello, happy Saturday, I hope you are well, today I want to share how I made a simple and beautiful gift bag.I show you how I did it...

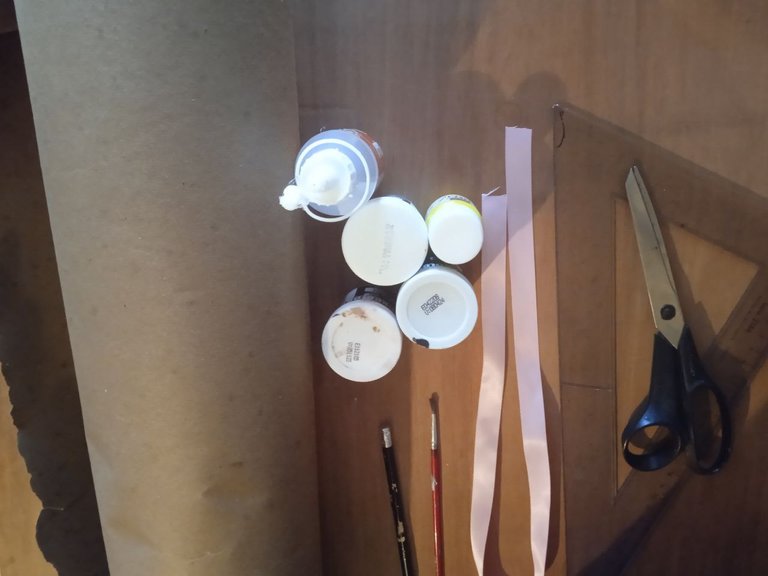
- Papel Kraft (Reciclado).
- Silicon Liquido.
- Pintura al Frio de (color Rosado).
- Pintura al Frio de (color Aguamarina).
- Pintura al Frio de (color Negro).
- 2 Pinceles.
- 60 cm de Cinta color Rosado.
- Regla.
- Lápiz Grafito.
- Tijera.
- Kraft Paper (Recycled).
- Liquid Silicon.
- Cold Paint (Pink).
- Cold Paint (Aquamarine color).
- Cold Paint (Black color).
- 2 Brushes.
- 60 cm of Pink Ribbon.
- Rule.
- Graphite pencil.
- Scissors.

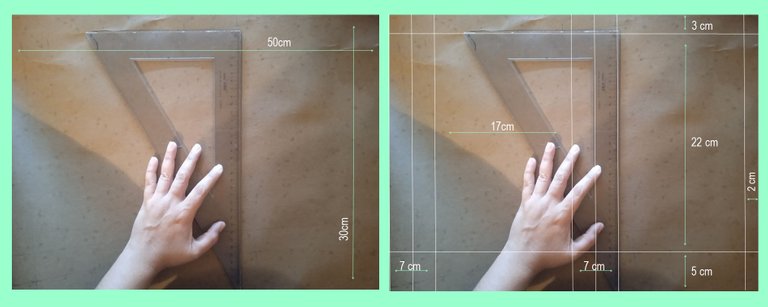
PASO 1: Para mi primer paso utilice el papel Kraft (reciclado) y con ayuda de una regla y lápiz dibuje un rectángulo con las medidas de 50 cm de ancho por 30 cm de alto. En ese mismo rectángulo trace las líneas para las divisiones de la bolsa.
STEP 1: For my first step I used Kraft paper (recycled) and with the help of a ruler and a pencil I drew a rectangle 50 cm wide by 30 cm high. In that same rectangle, draw the lines for the divisions of the bag.
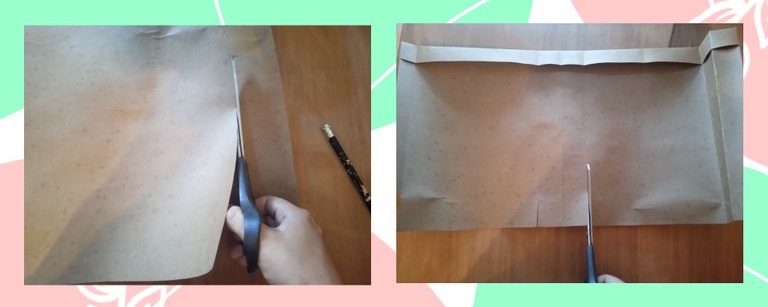
PASO 2: Después de marcar todas las líneas, tome mi tijera y comencé a cortar el rectángulo.
STEP 2: After marking all the lines, I took my scissors and began to cut out the rectangle.
PASO 3: Doble todas las líneas que ya había trazado anteriormente con ayuda de mi regla, esto con el fin de darle forma a mi bolsa.
STEP 3: Fold all the lines that I had previously drawn with the help of my ruler, this in order to shape my bag
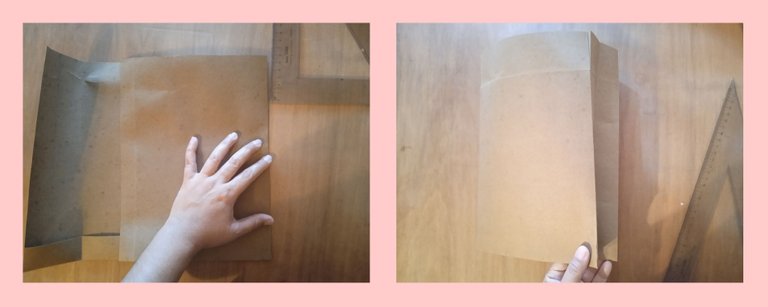
PASO 4: Continuando con el siguiente paso, pegue con silicón liquido la pestaña de 3 cm que anteriormente ya había doblado, así como también pegue ambas puntas de la bolsa.
STEP 4: Continuing with the next step, glue the 3 cm tab that you previously folded with liquid silicone, as well as glue both ends of the bag.
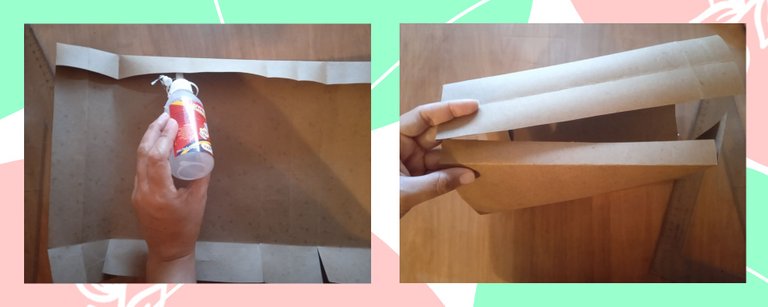
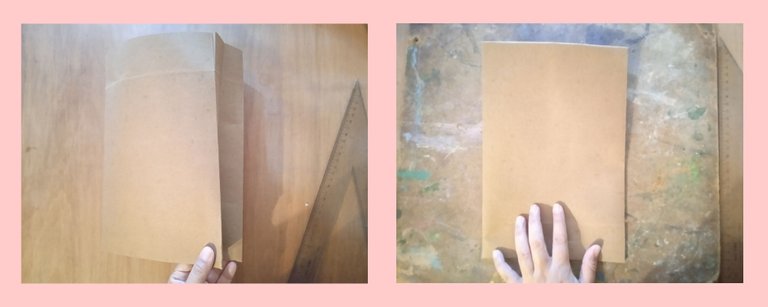
PASO 5: Una vez pegada las puntas de mi bolsa procedo a pintarla, realice un diseño sencillo aplicando los colores rosado y aguamarina.
STEP 5: Once the ends of my bag are glued, I proceed to paint it, make a simple design applying the pink and aquamarine colors.
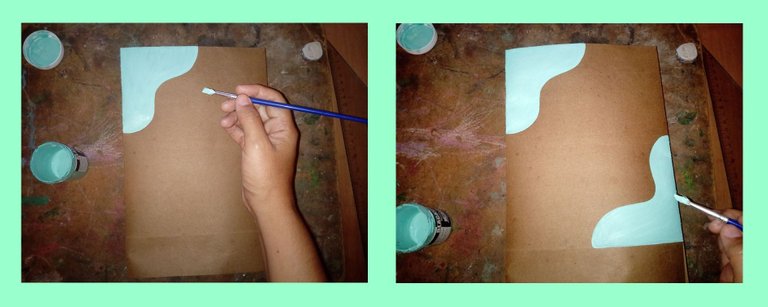
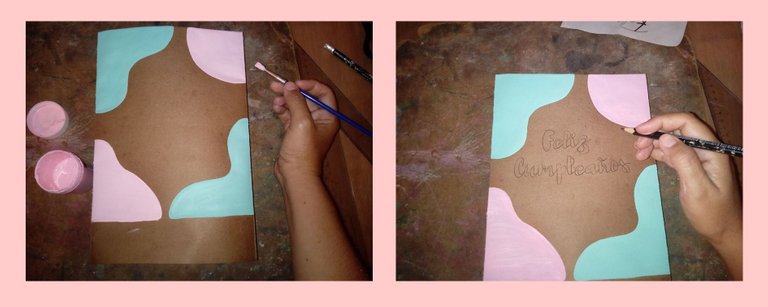
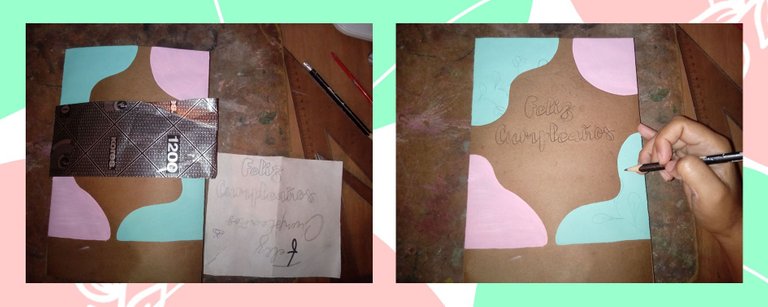
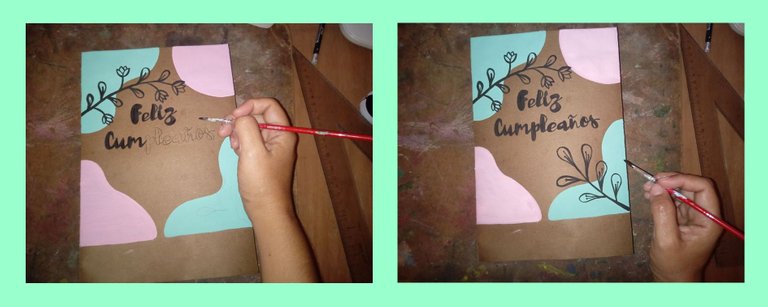
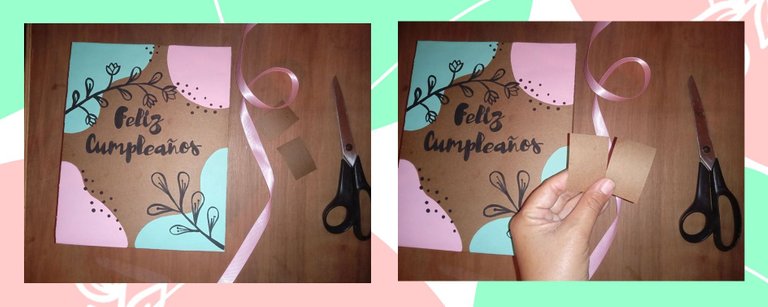
PASO 6: Después de pintarla, con ayuda de un trozo de papel carbón le escribí "Feliz Cumpleaños", así como también dibuje algunos detalles con el pincel y pintura al frio color negro.
STEP 6: After painting it, with the help of a piece of carbon paper I wrote "Happy Birthday" to it, as well as drawing some details with the brush and cold black paint.
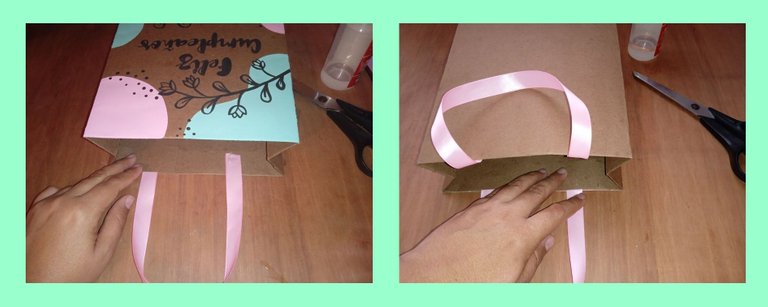
PASO 7: Ya pintada y seca la bolsa, y para culminar, pegue la parte baja de la misma, así como también procedí a cortar y pegar dos cintas de 30 cm cada una, pegando estas a la bolsa con cuatro recuadros de papel Kraft de 3 cm de alto por 5 cm de ancho previamente ya cortados, para darle mejor soporte a las asas para la bolsa.
STEP 7: The bag has been painted and dried, and to finish, I glued the lower part of it, as well as proceeded to cut and paste two 30 cm ribbons each, gluing these to the bag with four squares of Kraft paper of 3 cm high by 5 cm wide previously already cut, to give better support to the handles for the bag.
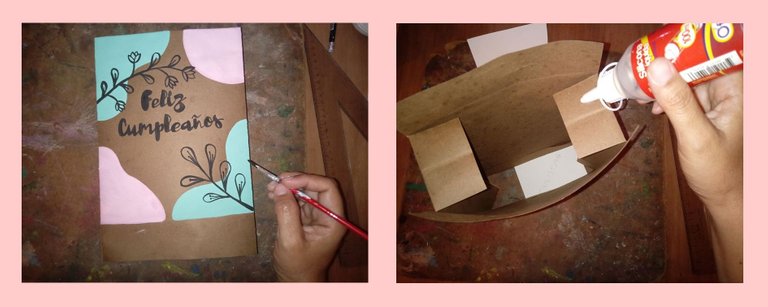
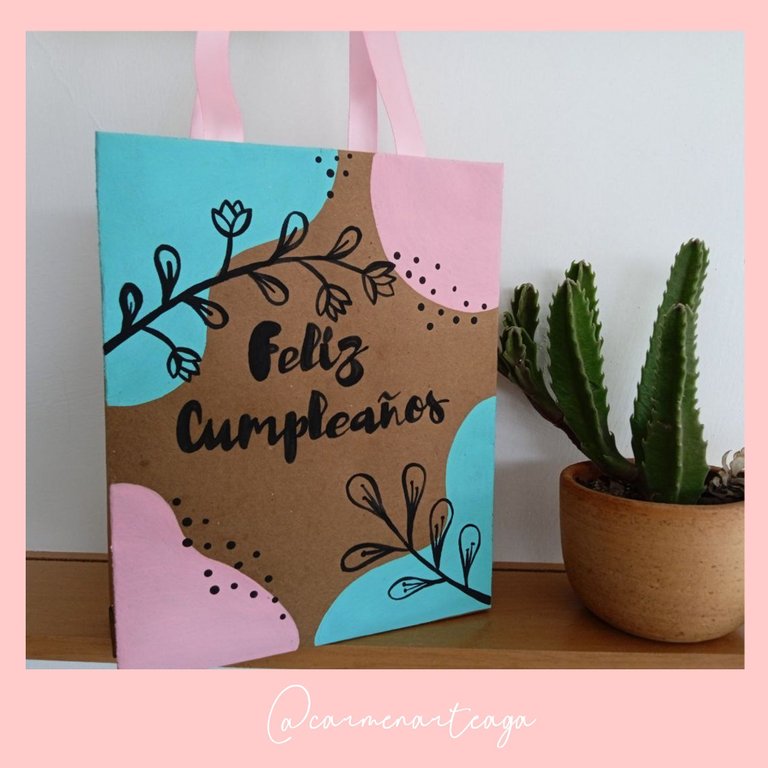
De esta manera es como he elaborado esta bolsa para regalo, sencilla y bonita para una ocasión especial.
y pues espero les guste mi creación. así quedo::::::
This is how I have made this gift bag, simple and beautiful for a special occasion. and I hope you like my creation. so I remain::::::
Gracias por Leerme!
Las fotos son de mi autoría
Tomadas con mi teléfono Redmi 9
Un gran Abrazo...
Thanks for reading me! The photos are my own Taken with my Redmi 9 phoneA big hug...

Thank you for sharing this post in the DIYHUB Community!
Your content got selected by our fellow curator sharminmim & you just received a little thank you upvote from us for your great work! Your post will be featured in one of our recurring compilations which are aiming to offer you a stage to widen your audience within the DIY scene of Hive. Stay creative & HIVE ON!
Please vote for our hive witness <3
thank you...😊
Congratulations @carmenarteaga! You have completed the following achievement on the Hive blockchain And have been rewarded with New badge(s)
Your next target is to reach 50 replies.
You can view your badges on your board and compare yourself to others in the Ranking
If you no longer want to receive notifications, reply to this comment with the word
STOPCheck out our last posts:
Support the HiveBuzz project. Vote for our proposal!
This is awesome. I love how you were able to achieve the gift bag. Again, the artistic work was another interesting tutorial.
Hello! Thank you very much I'm glad you liked the gift bag I made...😊
Una práctica bolsa hecha en casa para obsequiar a nuestros familiares y amigos, te quedó hermosa. Saludos!
hola! muchisimas gracias...saludos!😊
Te quedó preciosa. Me gustó mucho lo sencillo del paso a paso. Muy agradecida por esta idea que nos compartes.
!LADY
View or trade
LOHtokens.@tere.alv, you successfully shared 0.1000 LOH with @carmenarteaga and you earned 0.1000 LOH as tips. (1/1 calls)
Use !LADY command to share LOH! More details available in this post.
gracias me alegra que le guste, un gran abrazo...😊
The rewards earned on this comment will go directly to the people( @tere.alv ) sharing the post on Twitter as long as they are registered with @poshtoken. Sign up at https://hiveposh.com.
Muchísimas gracias...😊