This time I will share my creations to complete the previous post ( https://peakd.com/hive-189641/@cacasa26/utilizing-unused-powder-drink-bottles-to-make-aesthetic-wall-decorations )
Because I saw the pot I made yesterday was very empty. Finally I made origami flowers to complete it
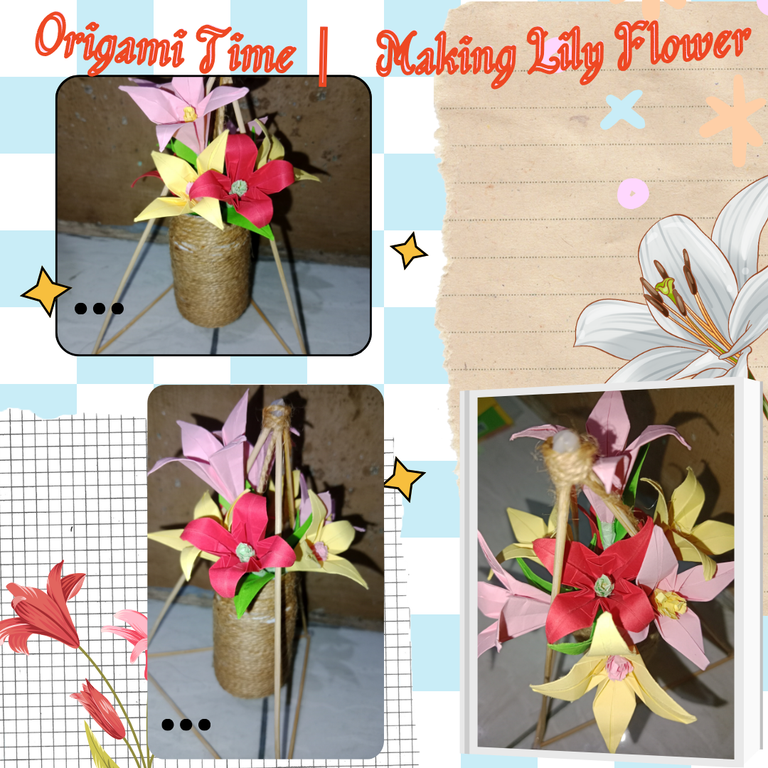
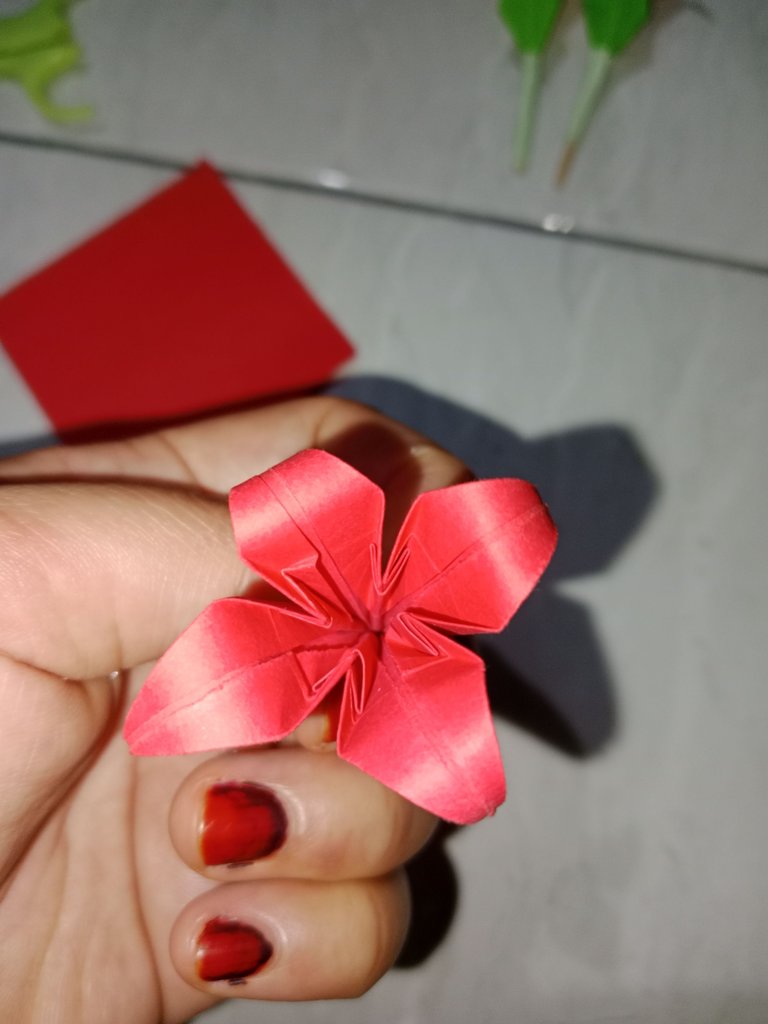
Lily flowers from origami paper this time will complete my house.
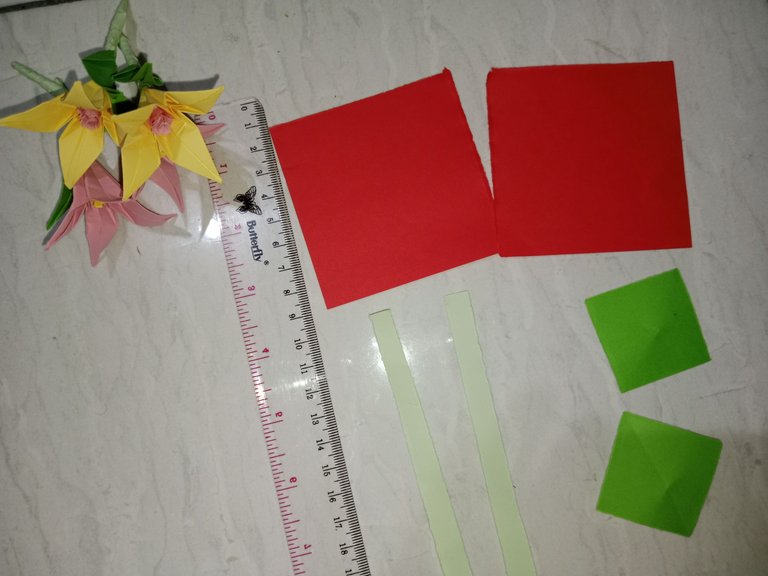
Materials needed:
- Origami paper size 8.5 x 8.5 cm (Lily Flower)
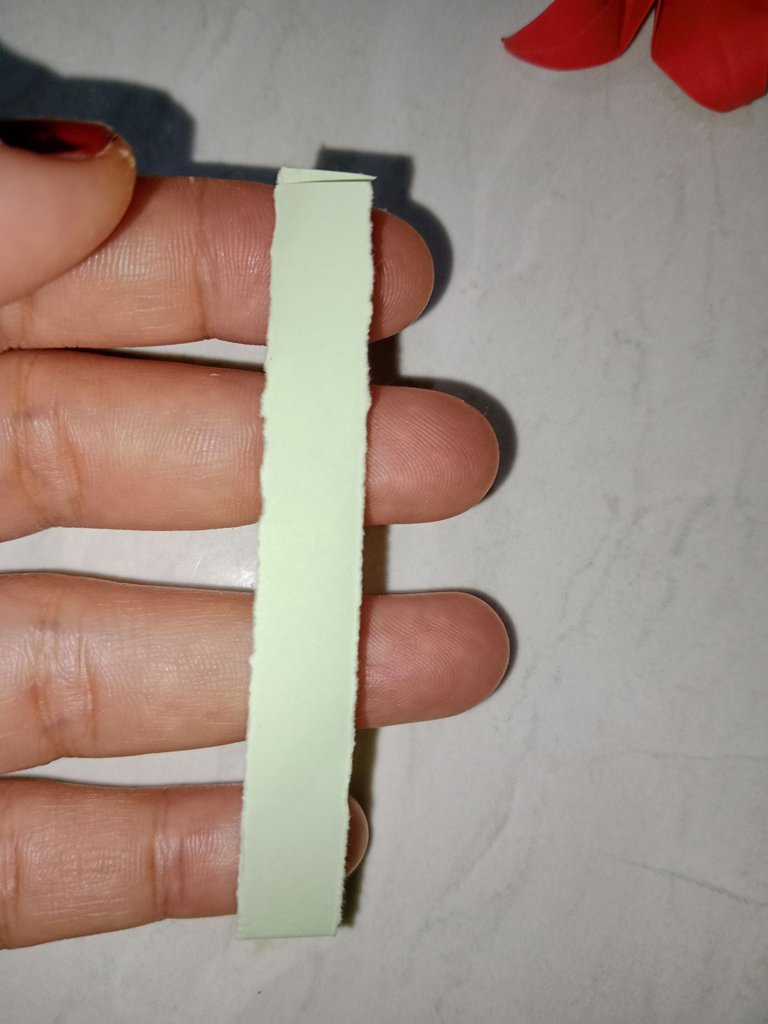
- Origami paper size 1 x 16 cm (For Stem Wrapping)
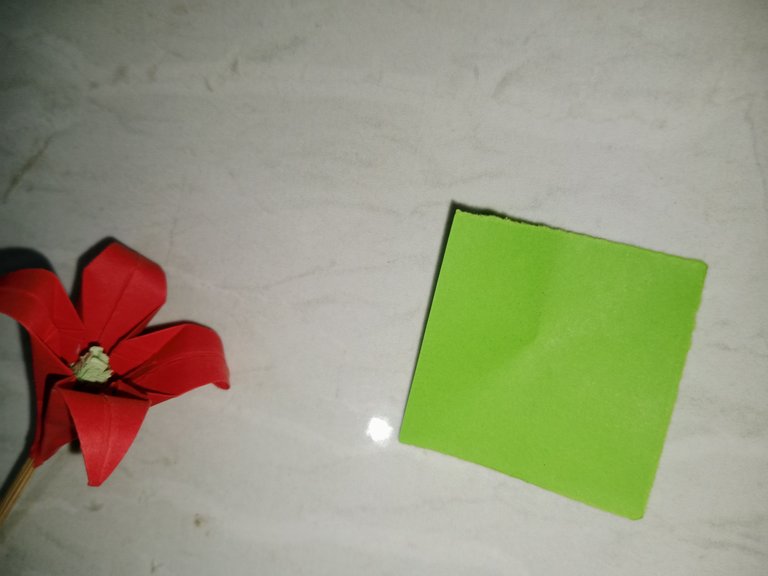
- Origami paper size 5 x 5 cm (Leaves)
- Paper Glue
- Satay Skewer (As Leaf Stem)
Instructions for Making:
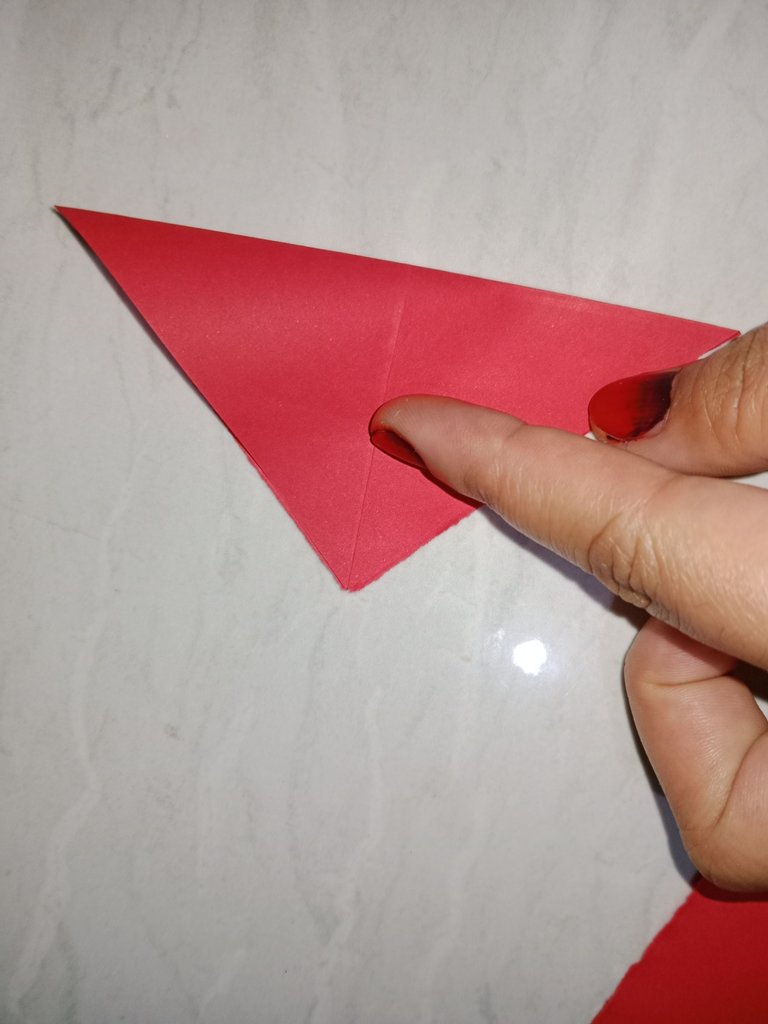
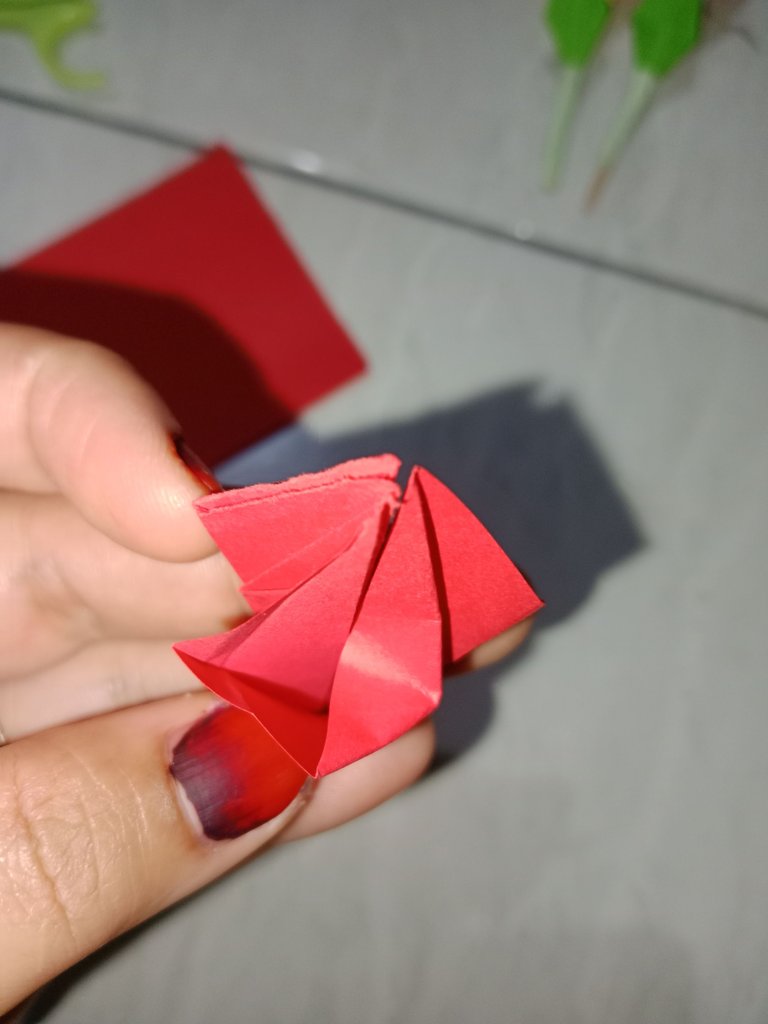
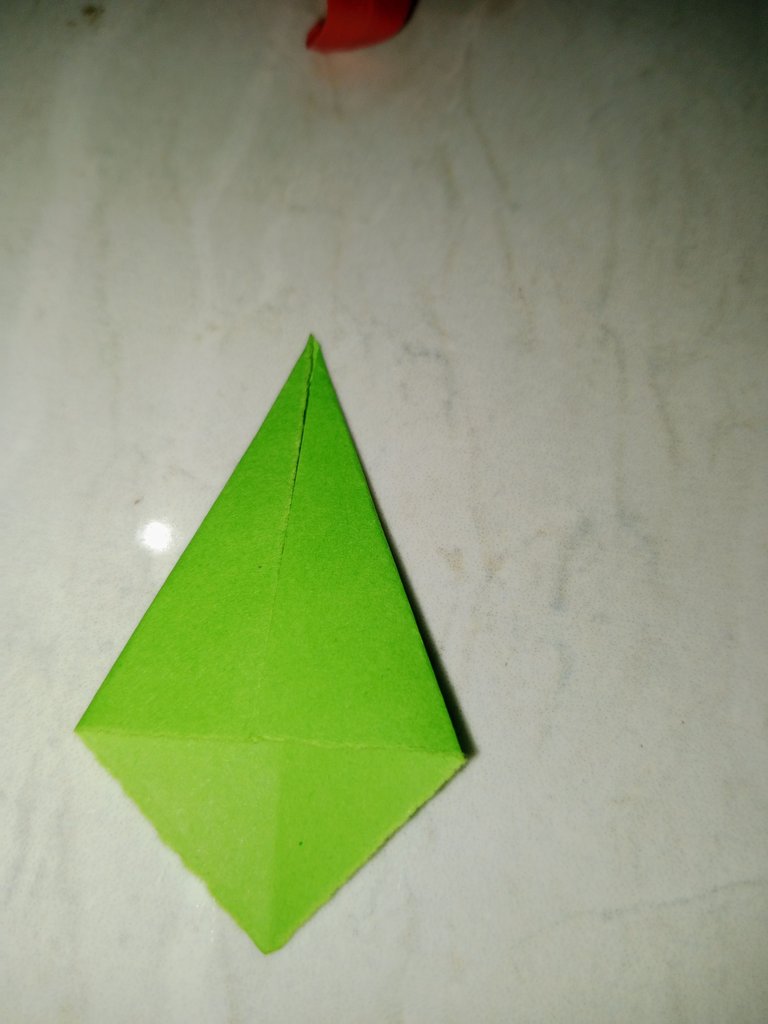
- Take an 8.5 x 8.5 origami paper. Then fold it into a triangle and do it on the other side. to produce a line pattern.
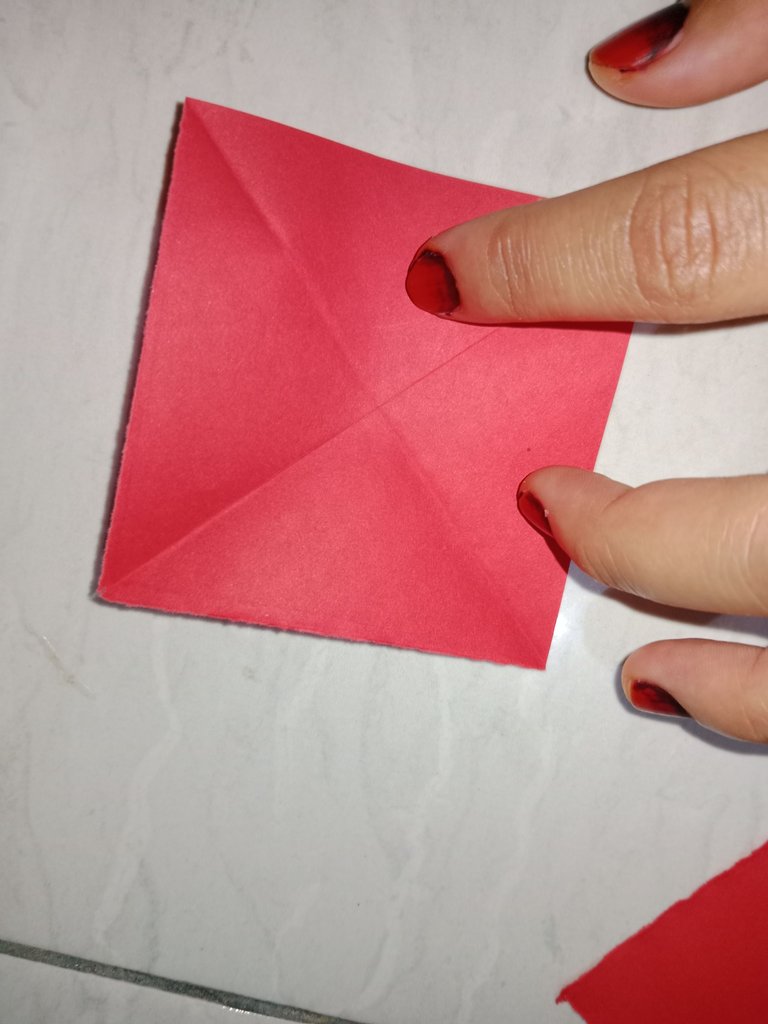
- After the crisscross pattern is formed, fold it back into a rectangle to produce a horizontal line.


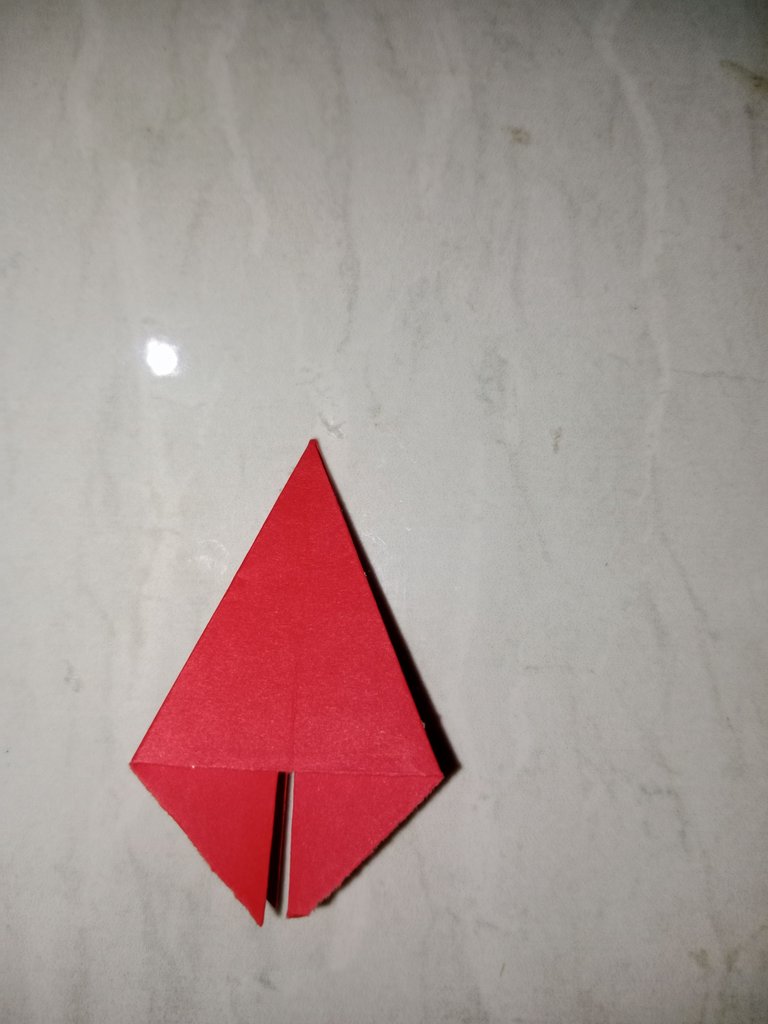
- The line pattern is formed, fold it like a diamond as shown in the picture.
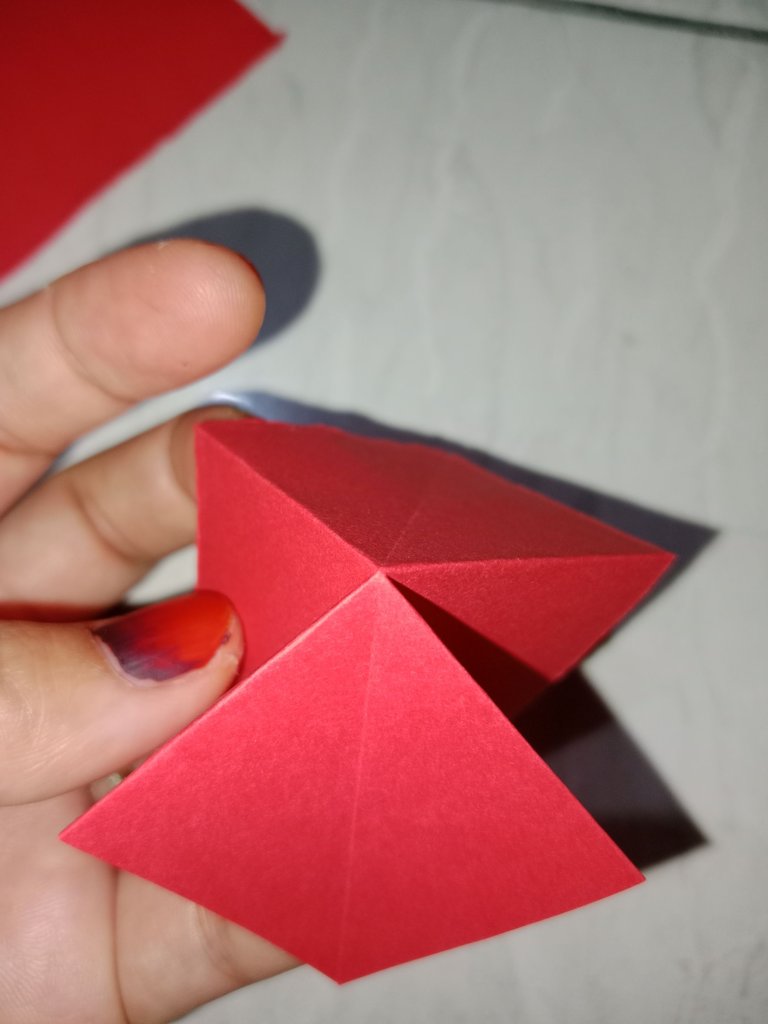
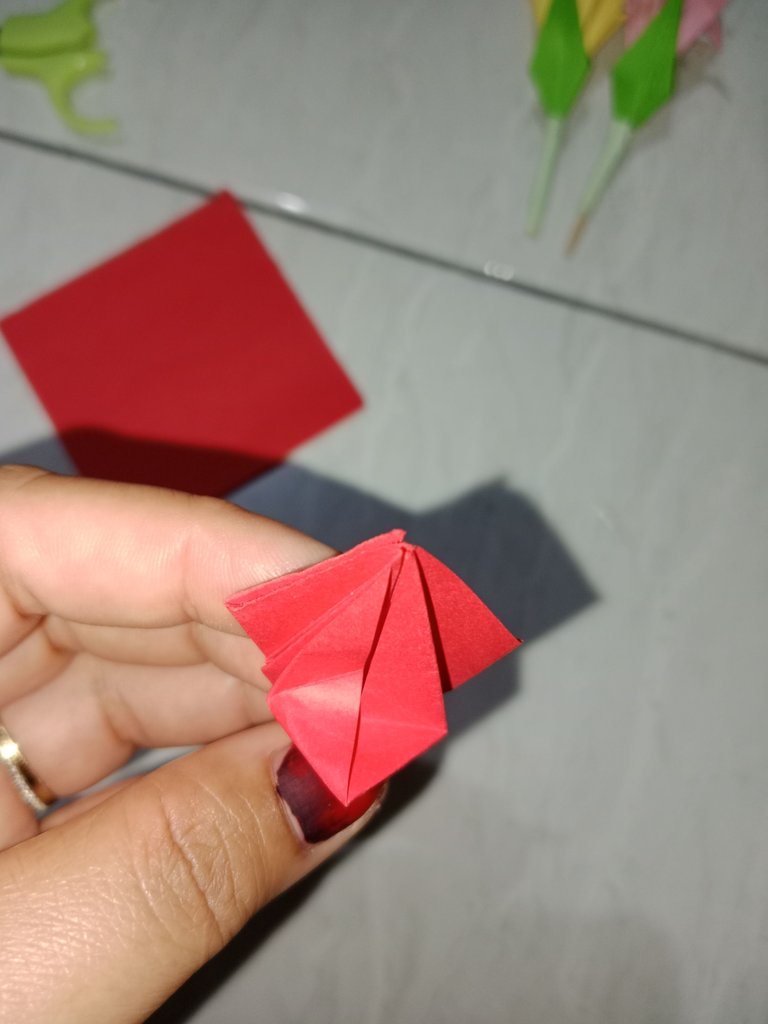
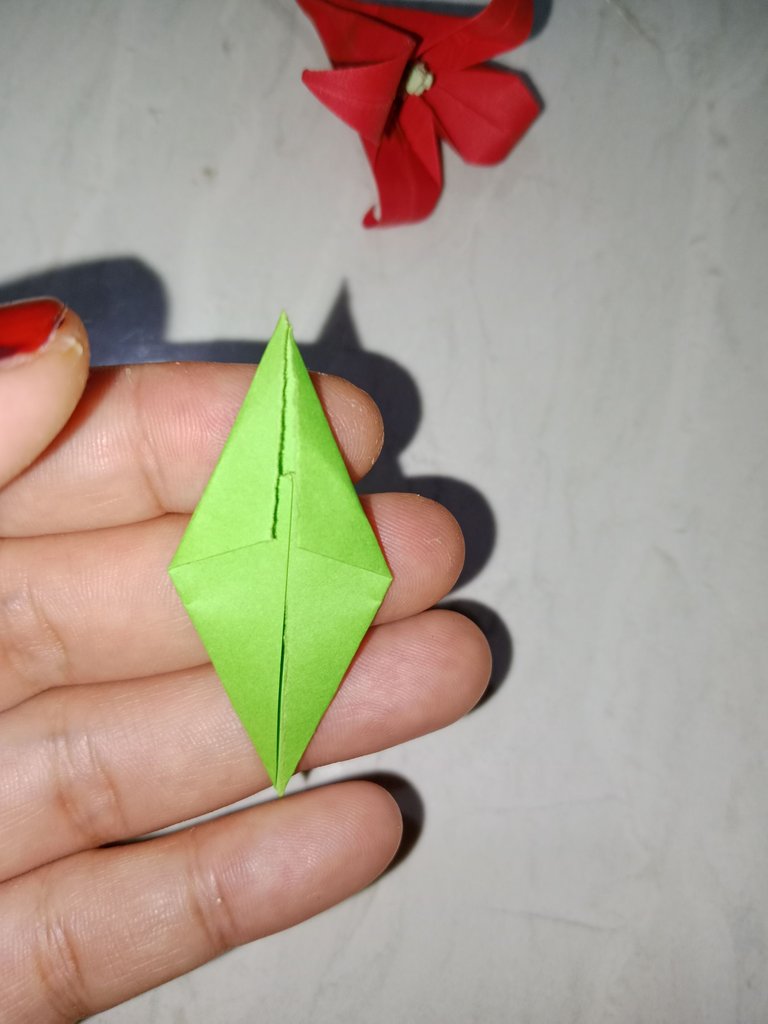
- take 1 side of the paper, then look like the picture. and do it for each side
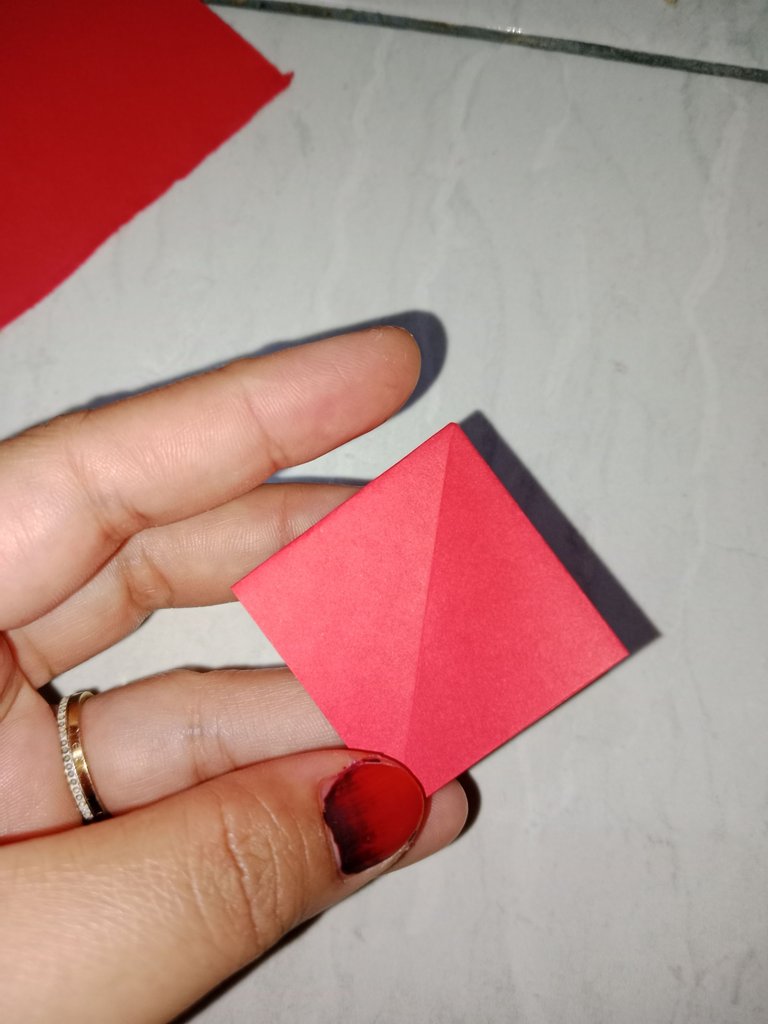
- Turn the paper over and fold it again like the picture.
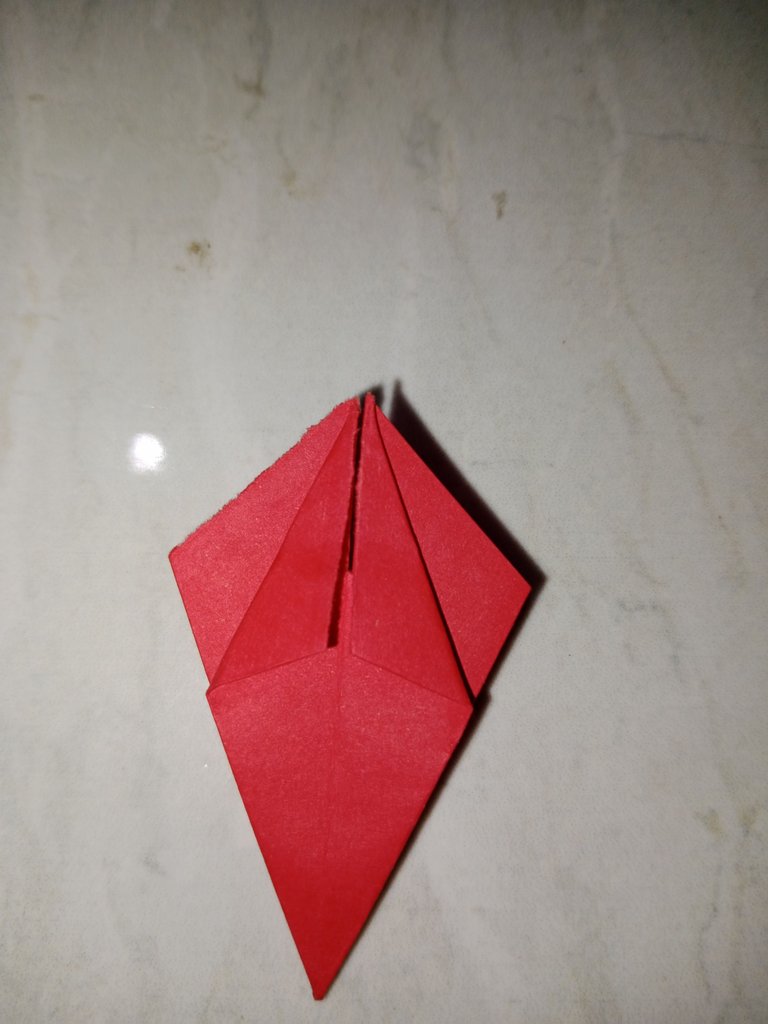

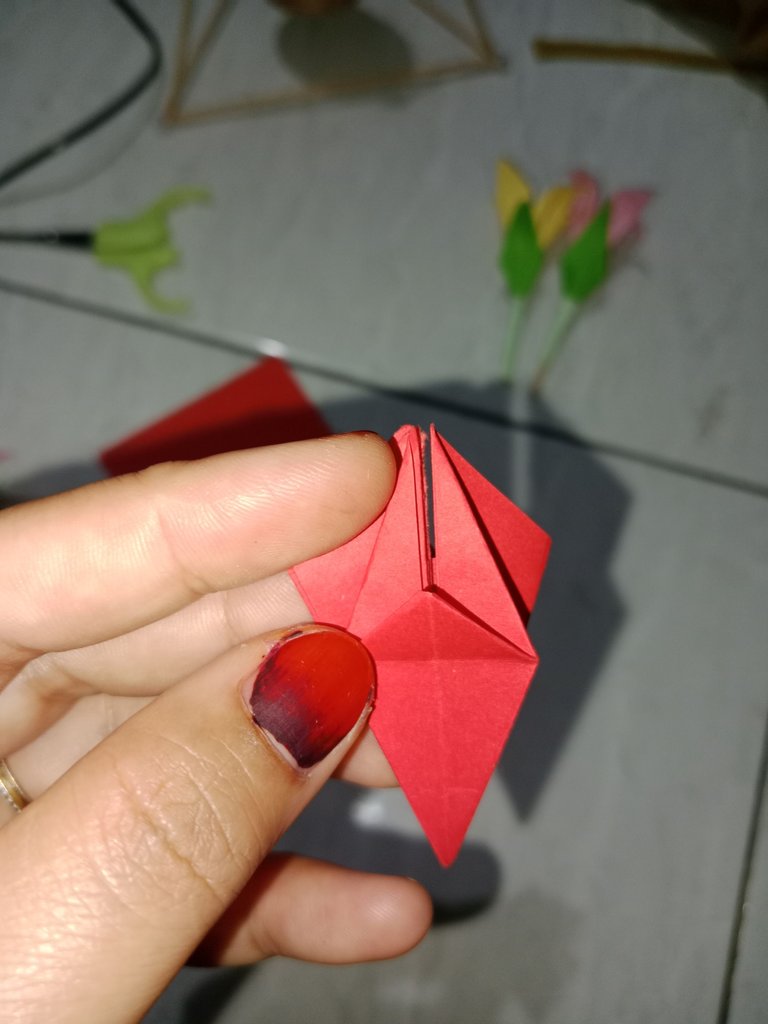
- Unfold the paper, then fold the pattern that was formed back to the inside.
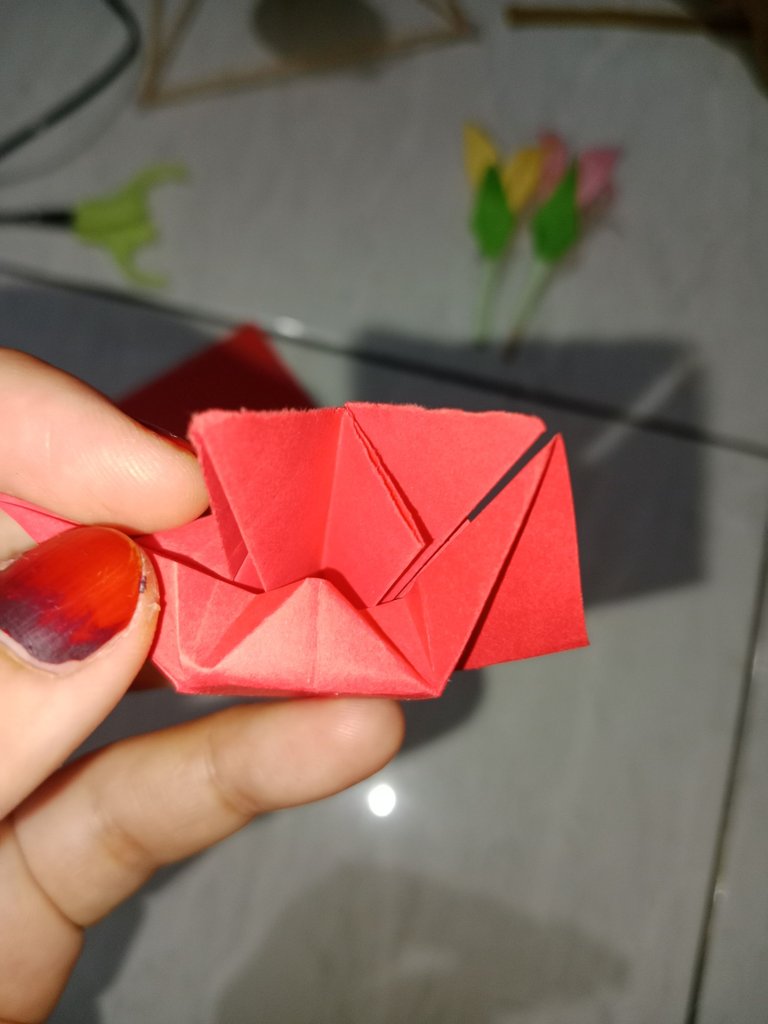

Repeat for all sides.
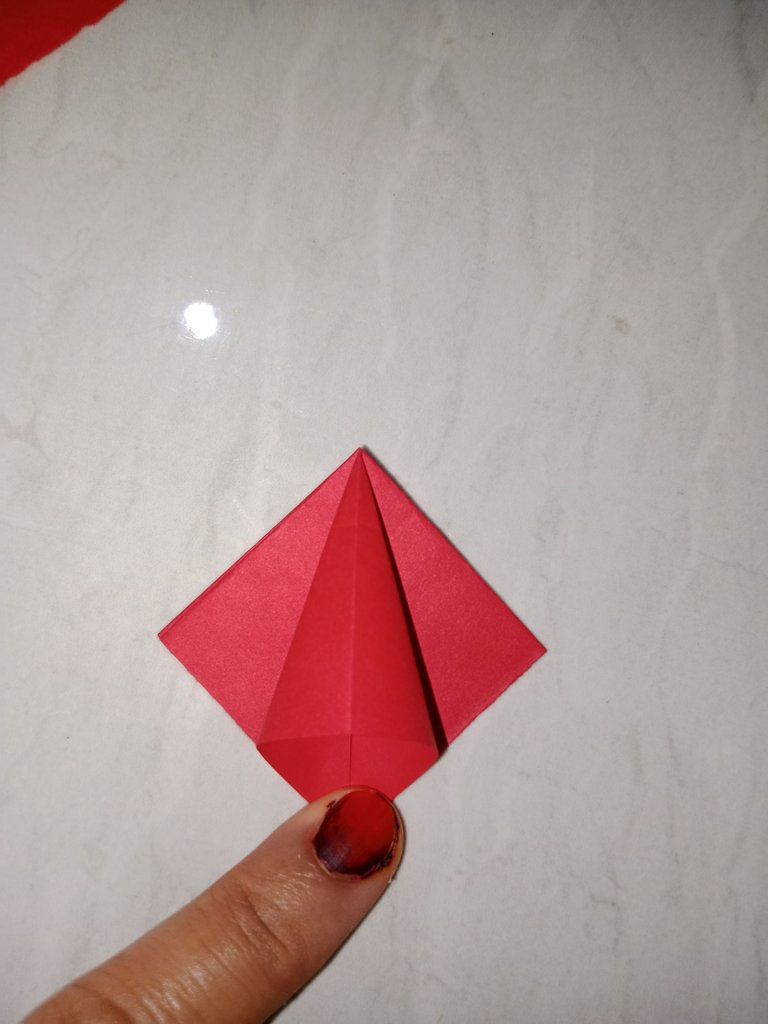
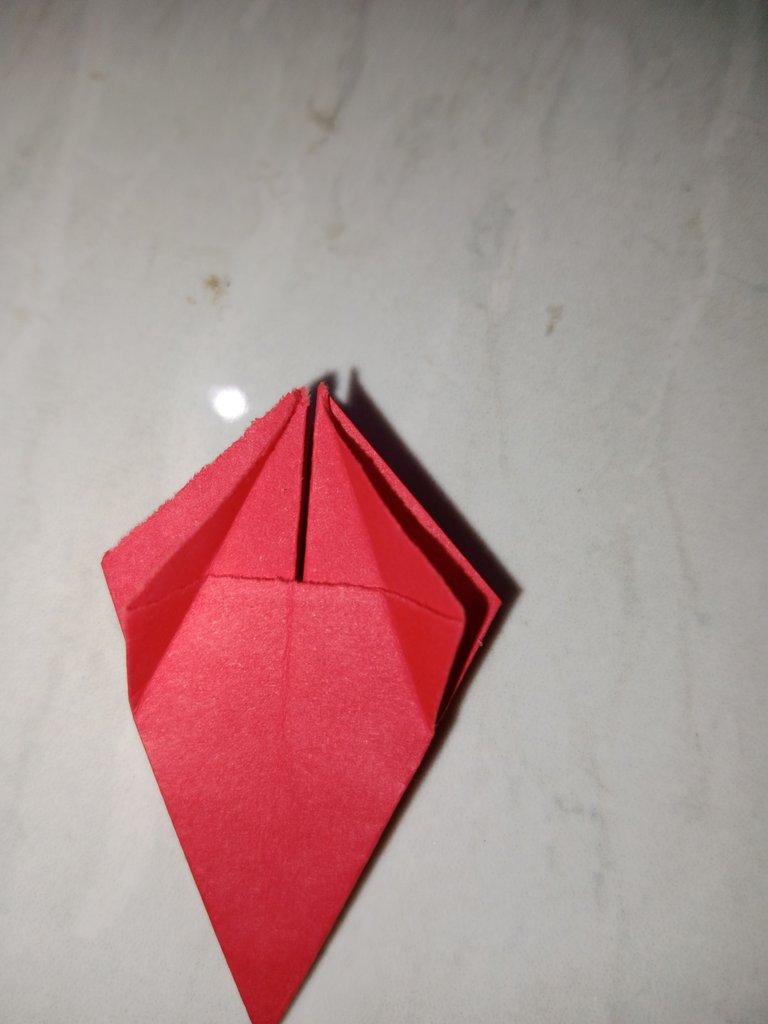
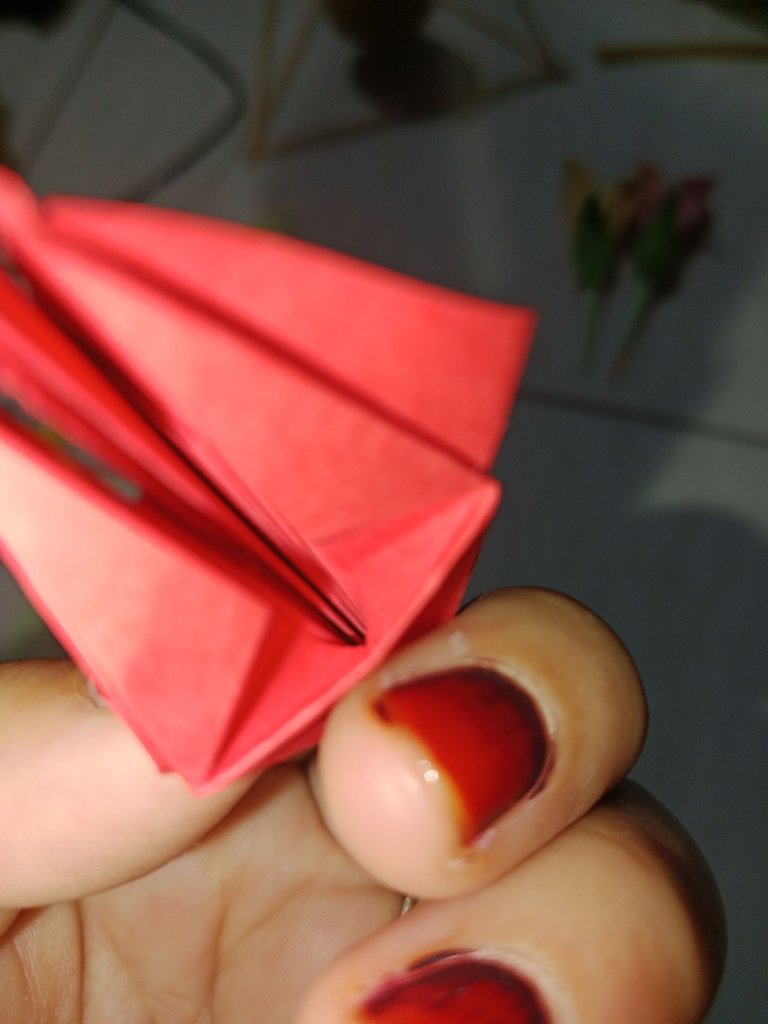
- Then turn it back, until the open paper is at the bottom.
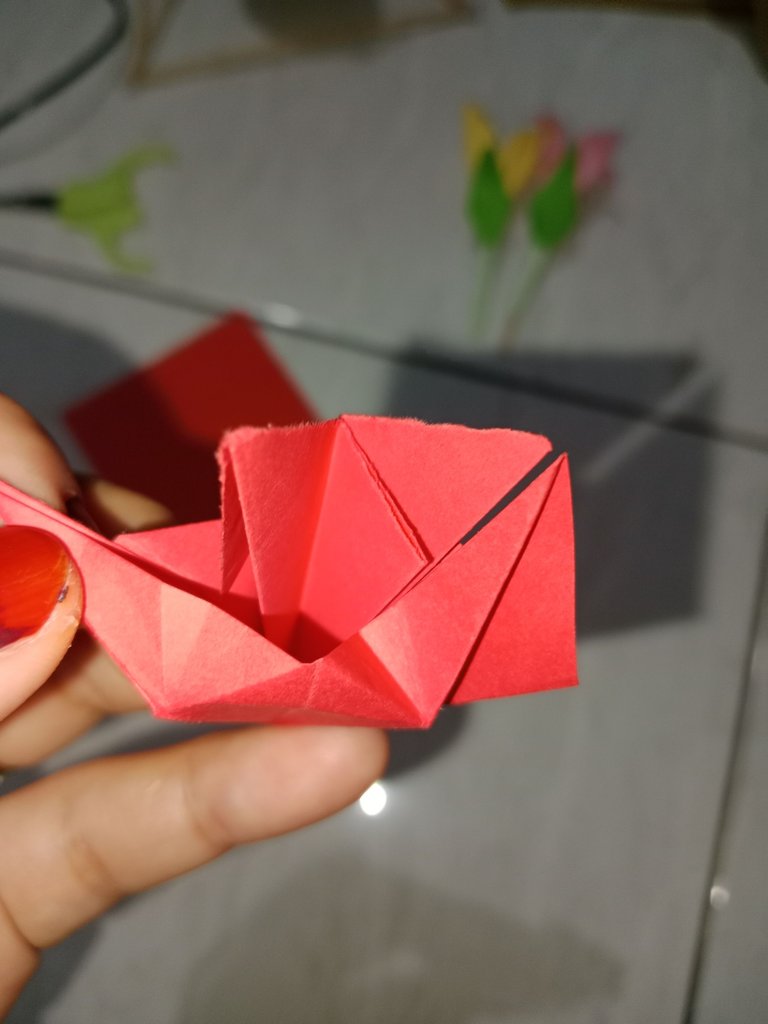
- After that, fold it back on all sides as shown.
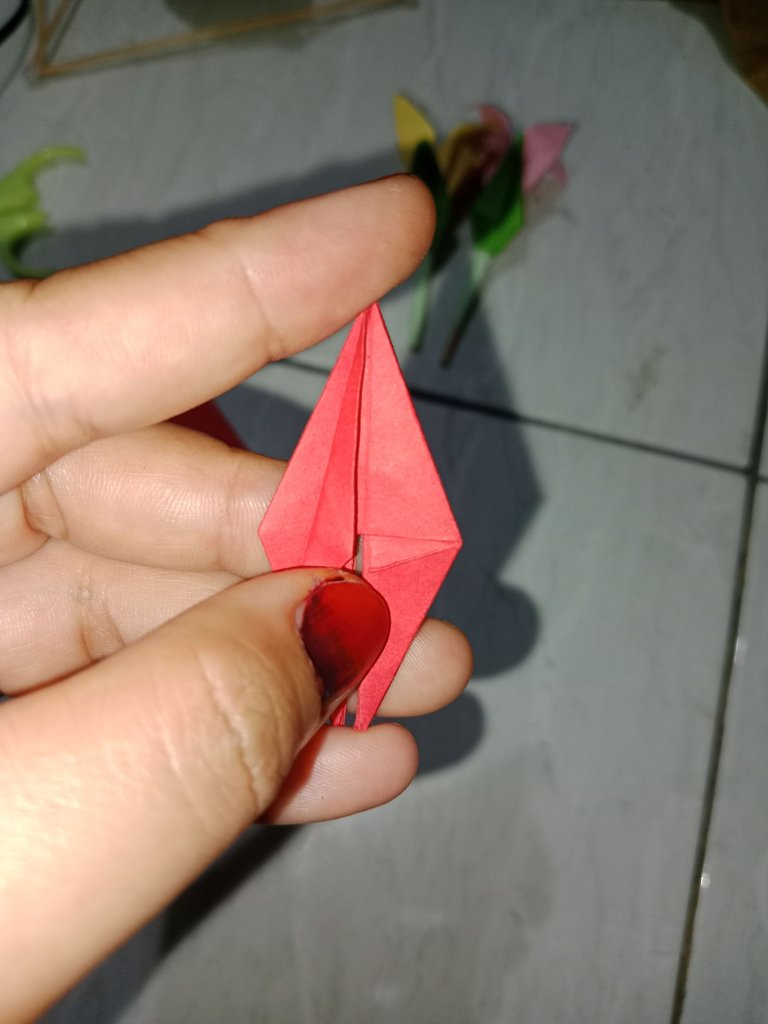
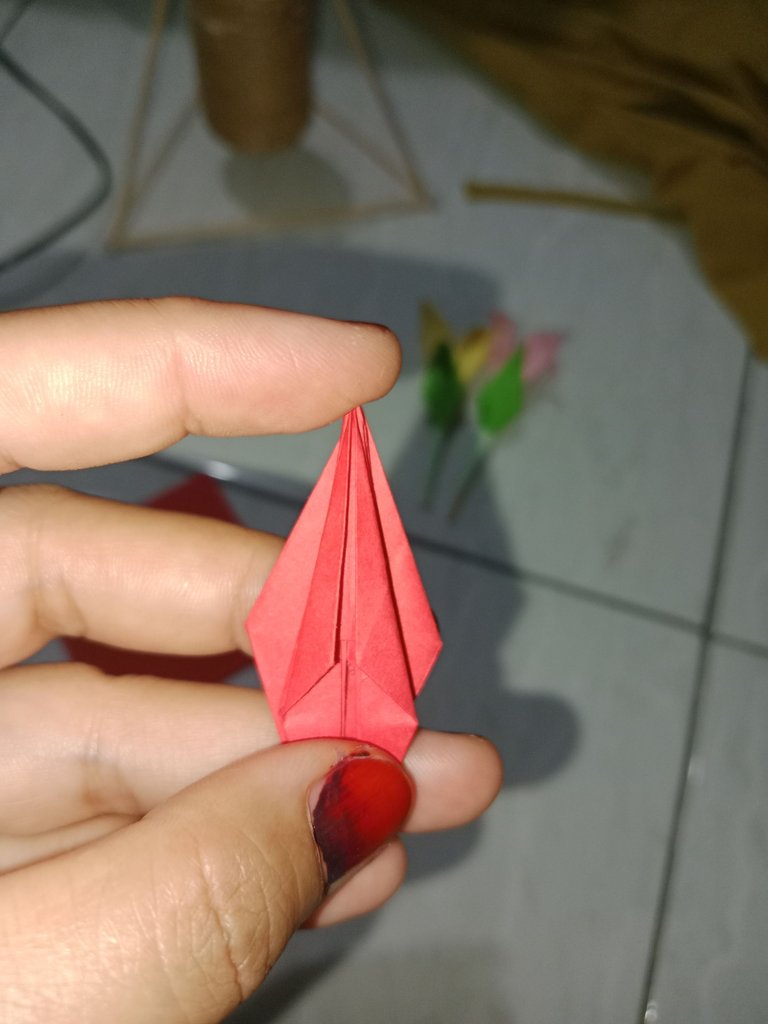
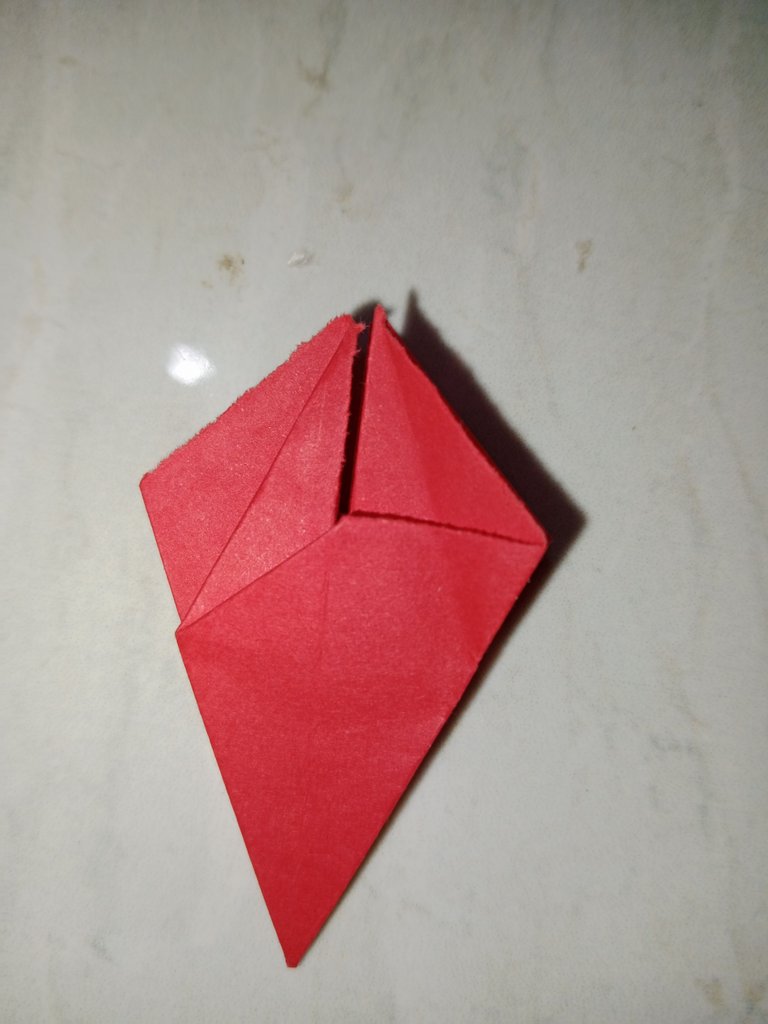
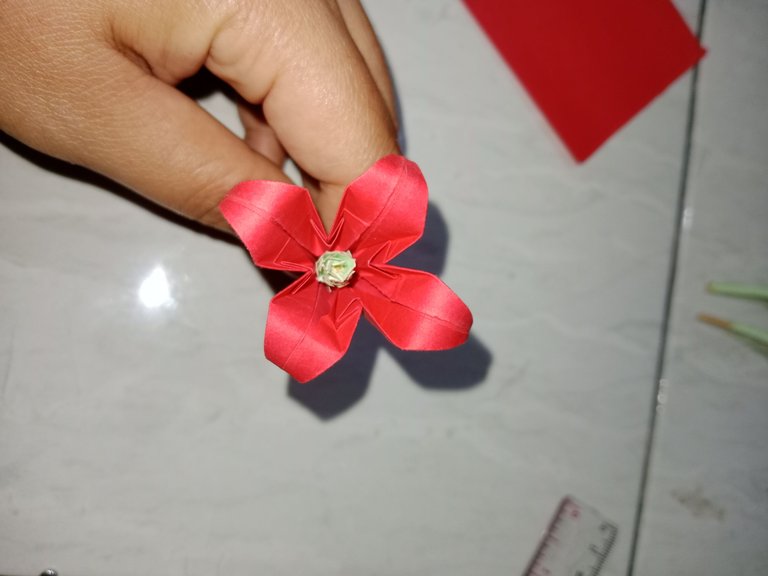
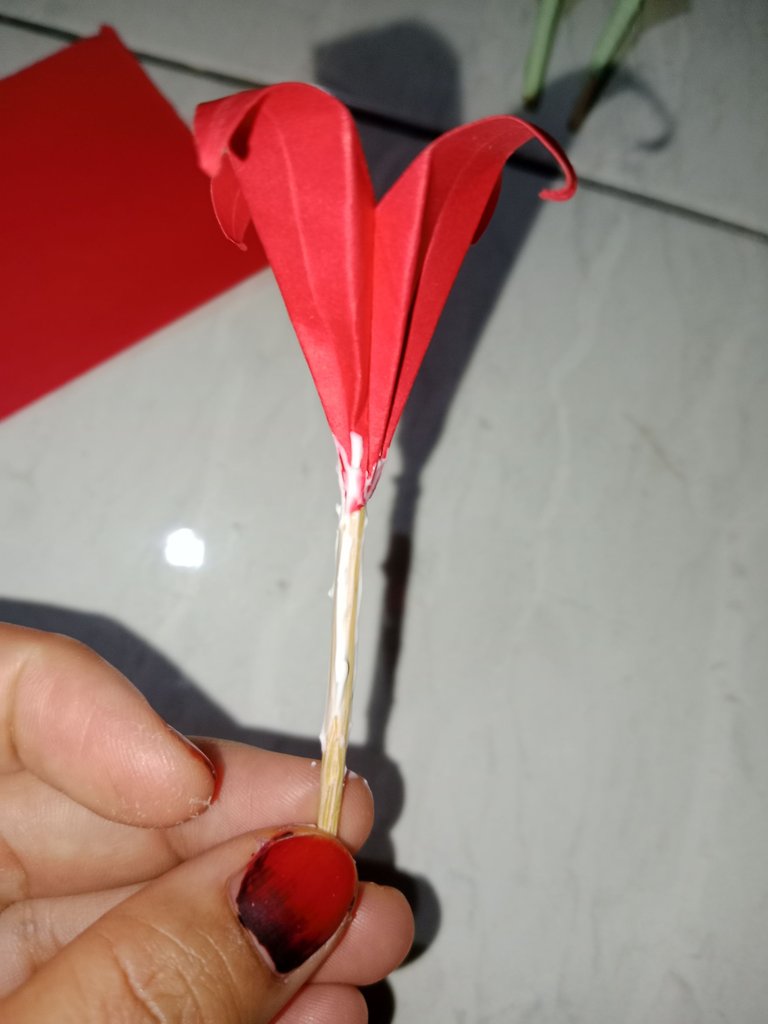
- Open the flower petals.

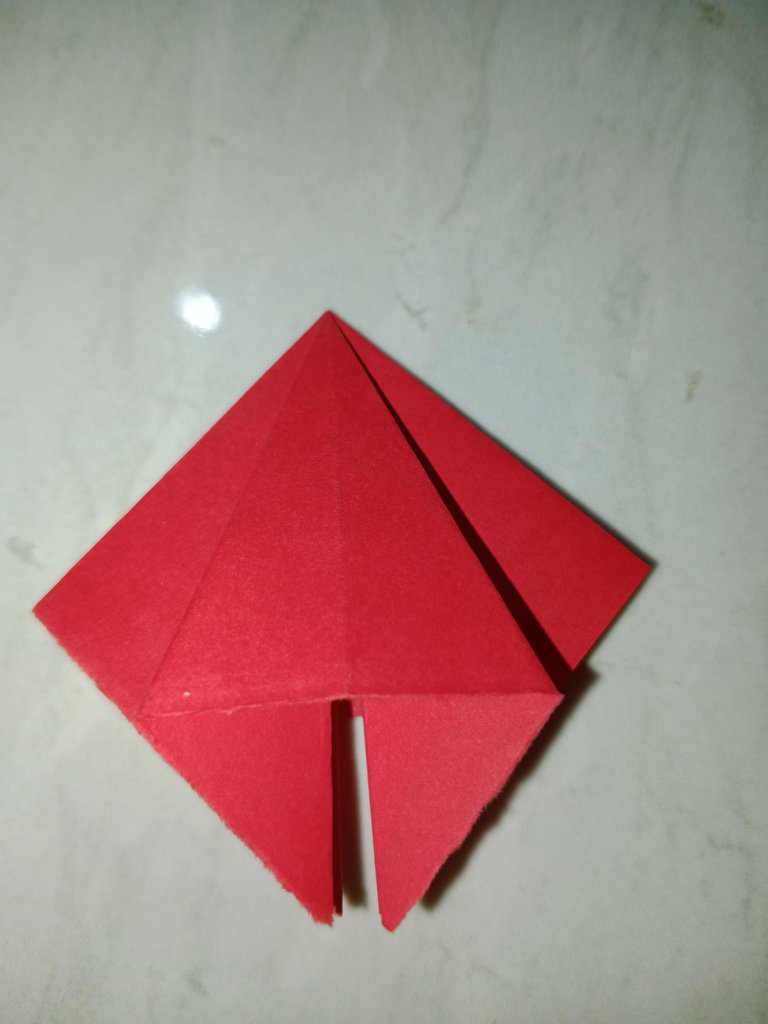
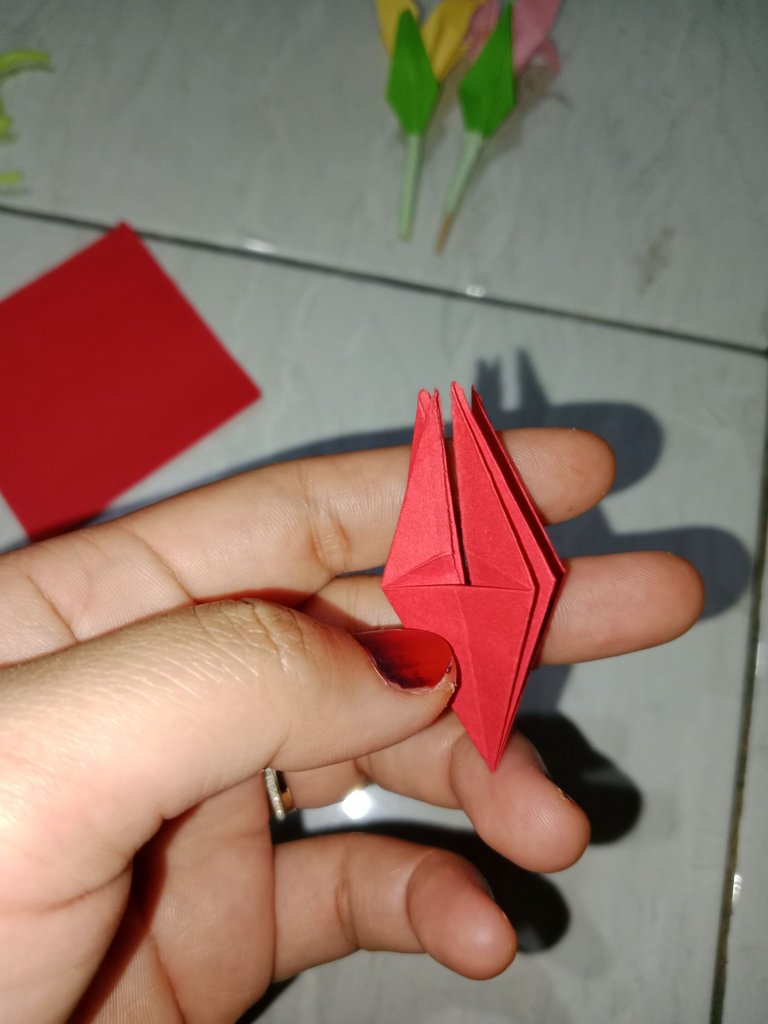
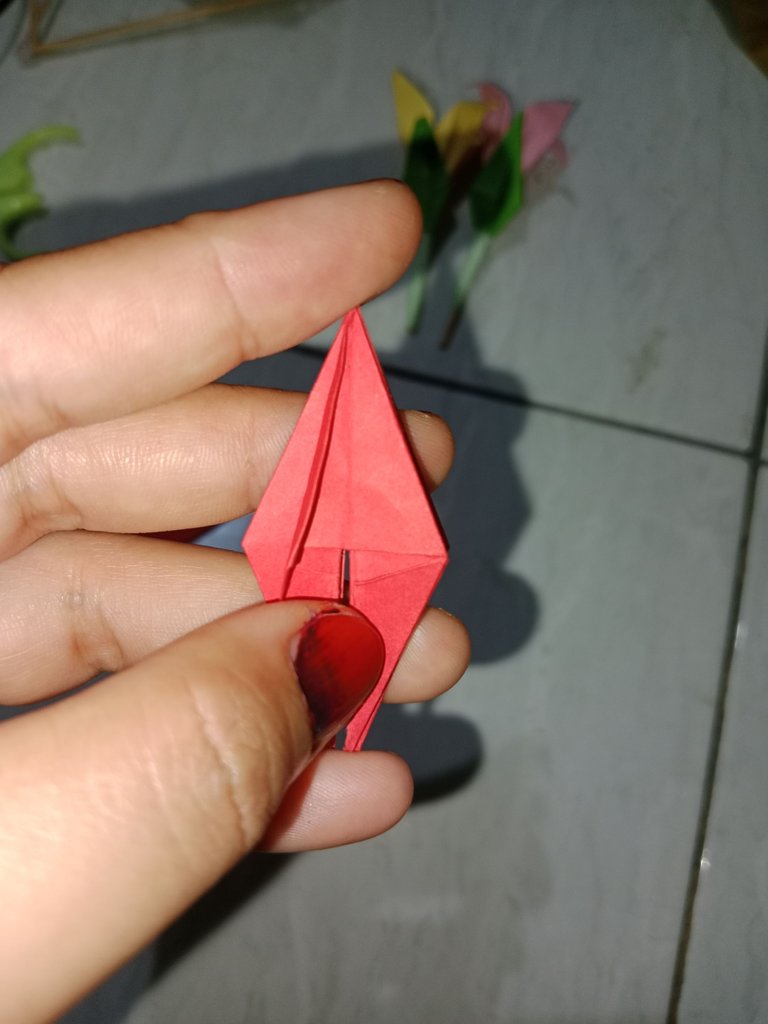
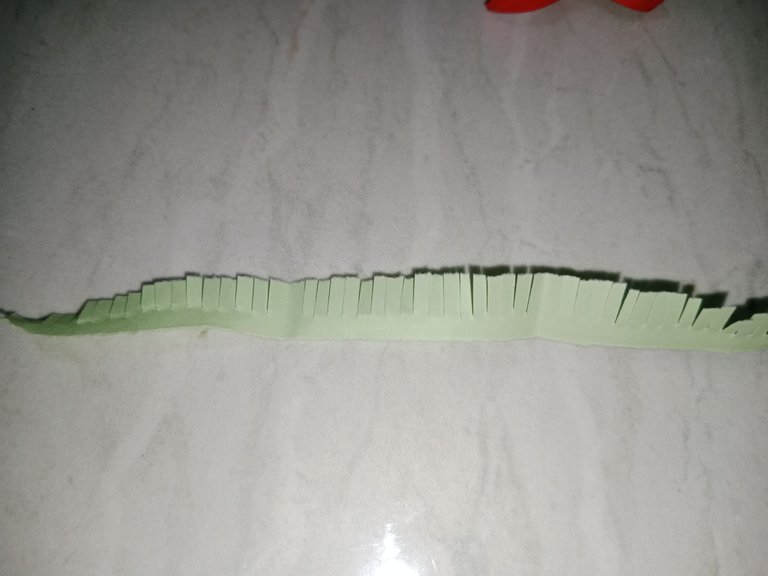
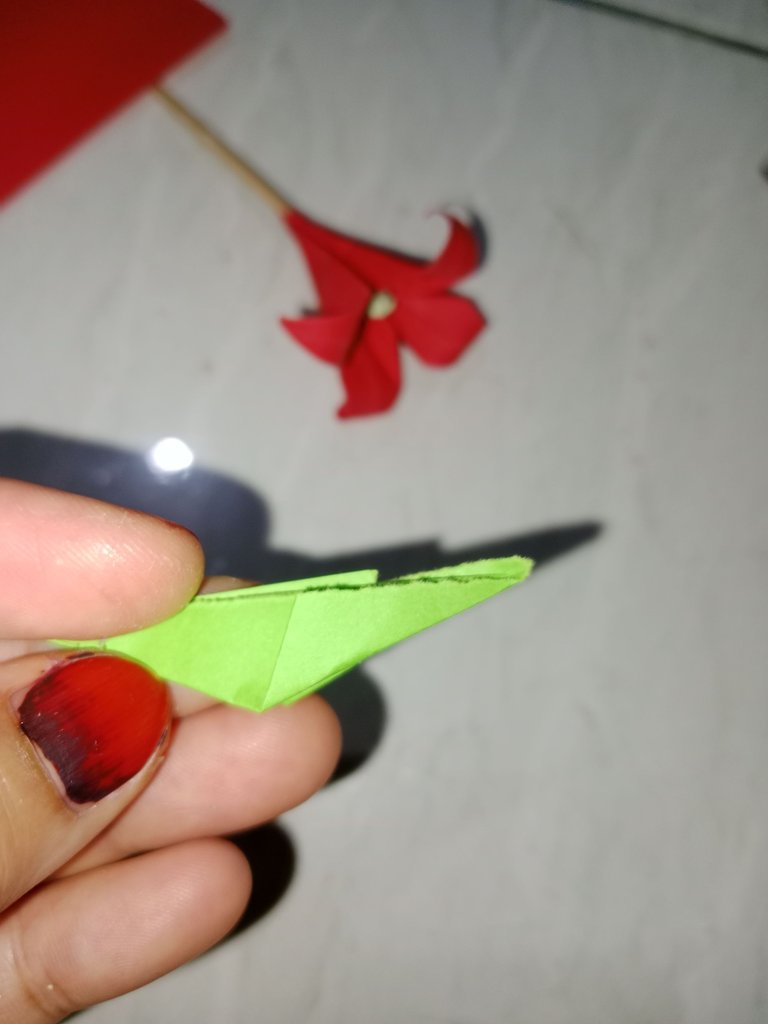
For the pistil part, here I used origami paper that is the same size as the origami leaves.
- Fold the paper, then cut it
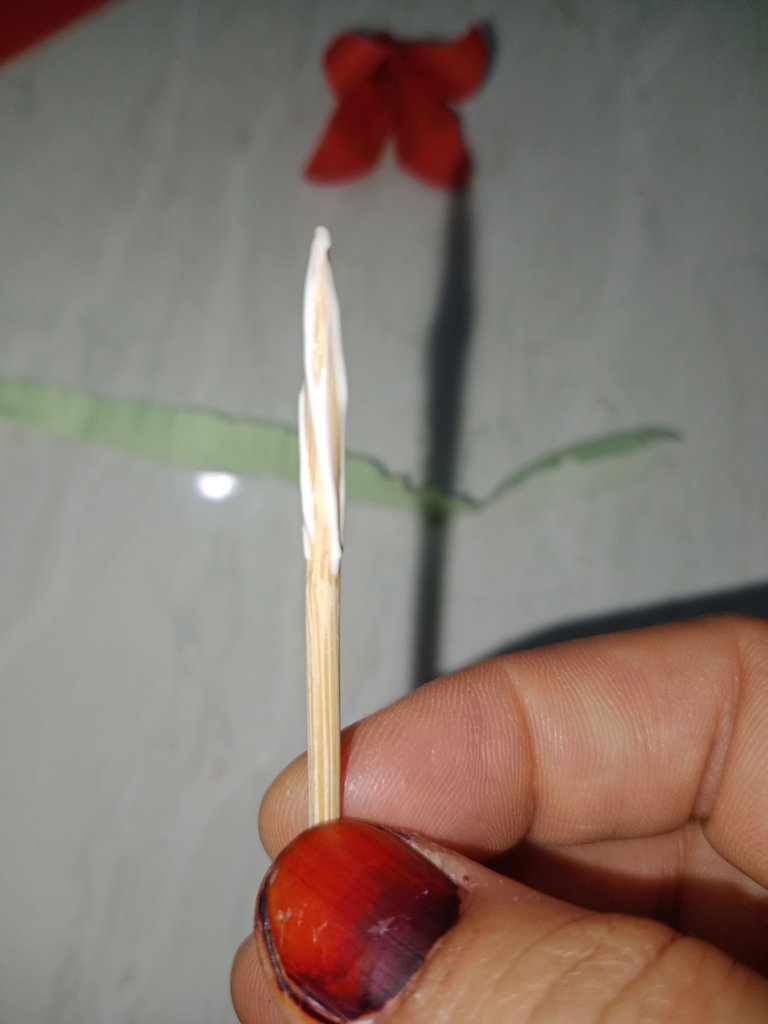
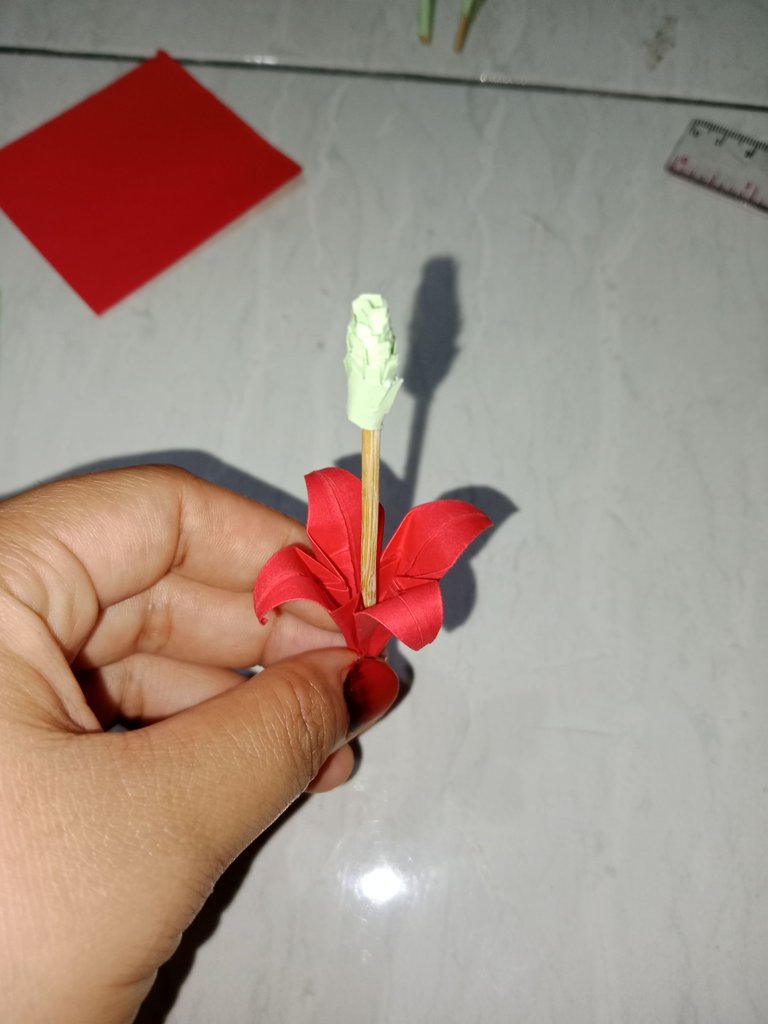
- Open the fold, then take the stick that has been given glue. and wind it until the paper runs out
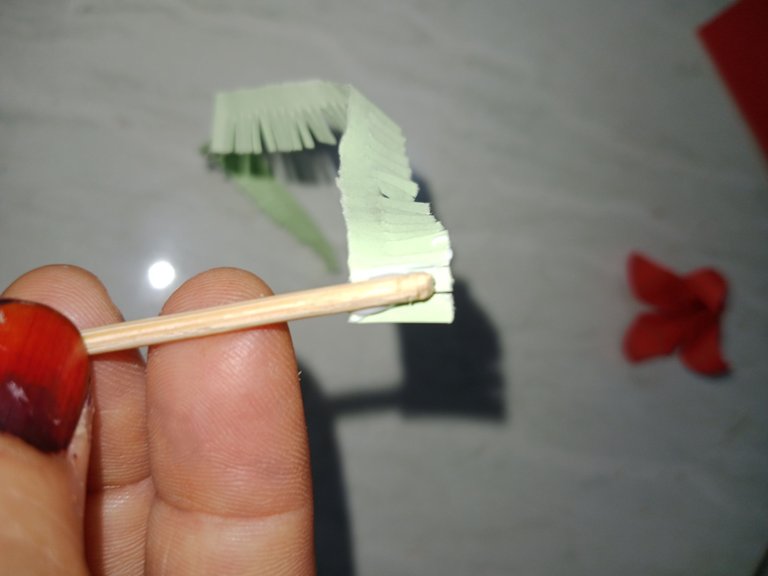
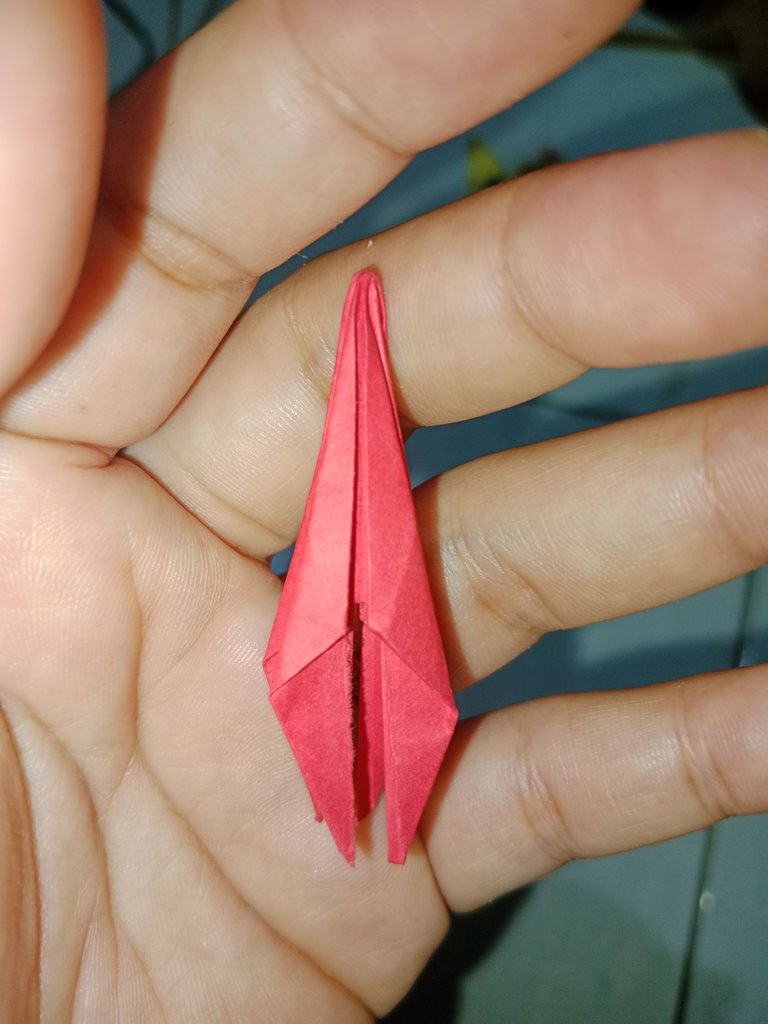
after the pistil is formed, Insert it into the flower that we made earlier.
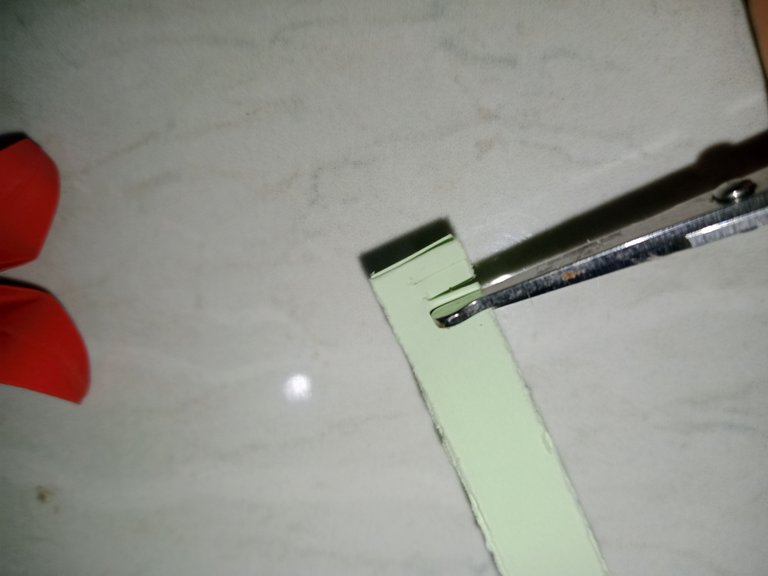
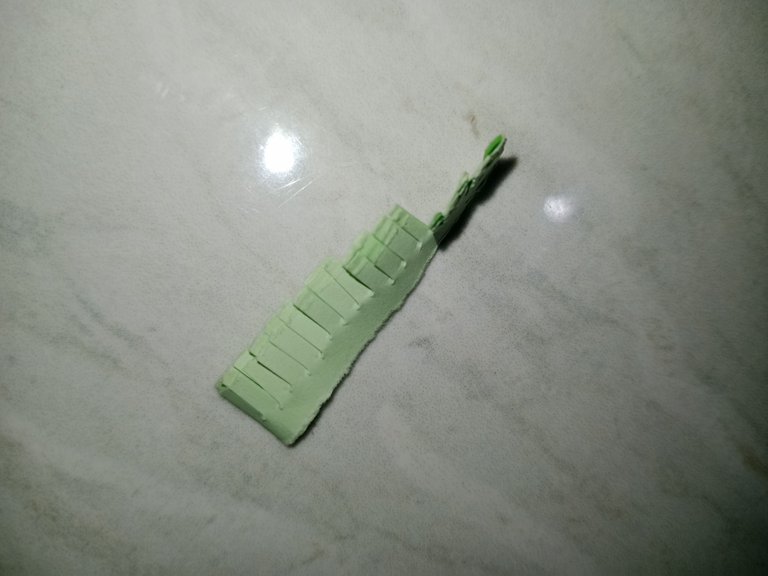
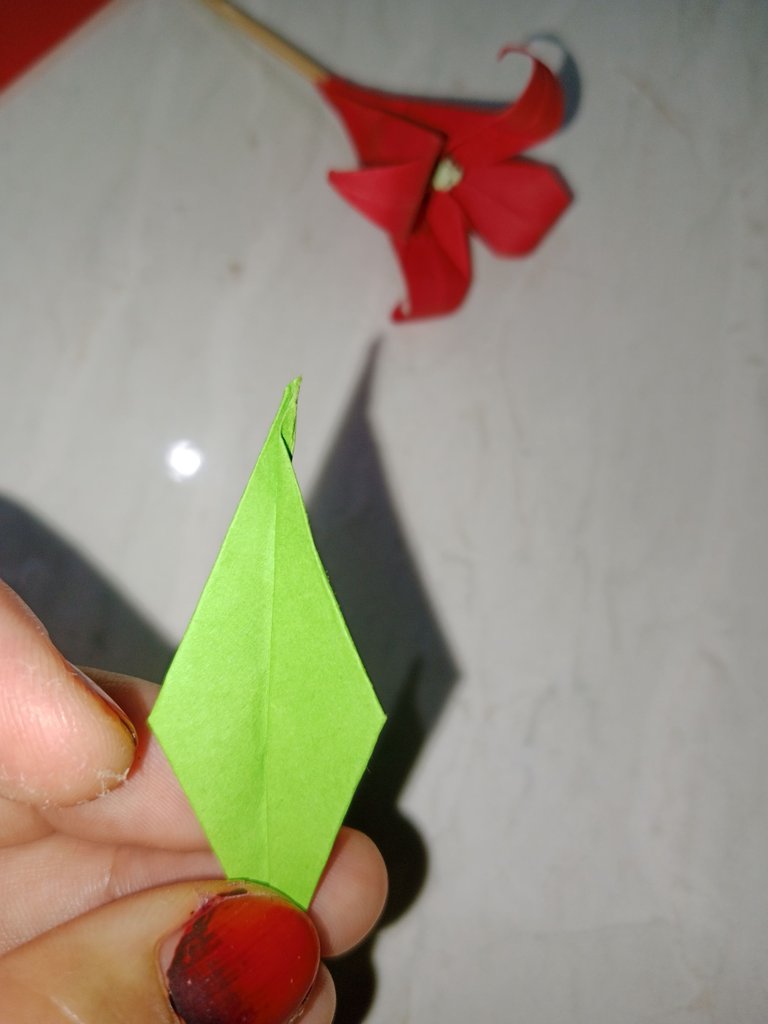
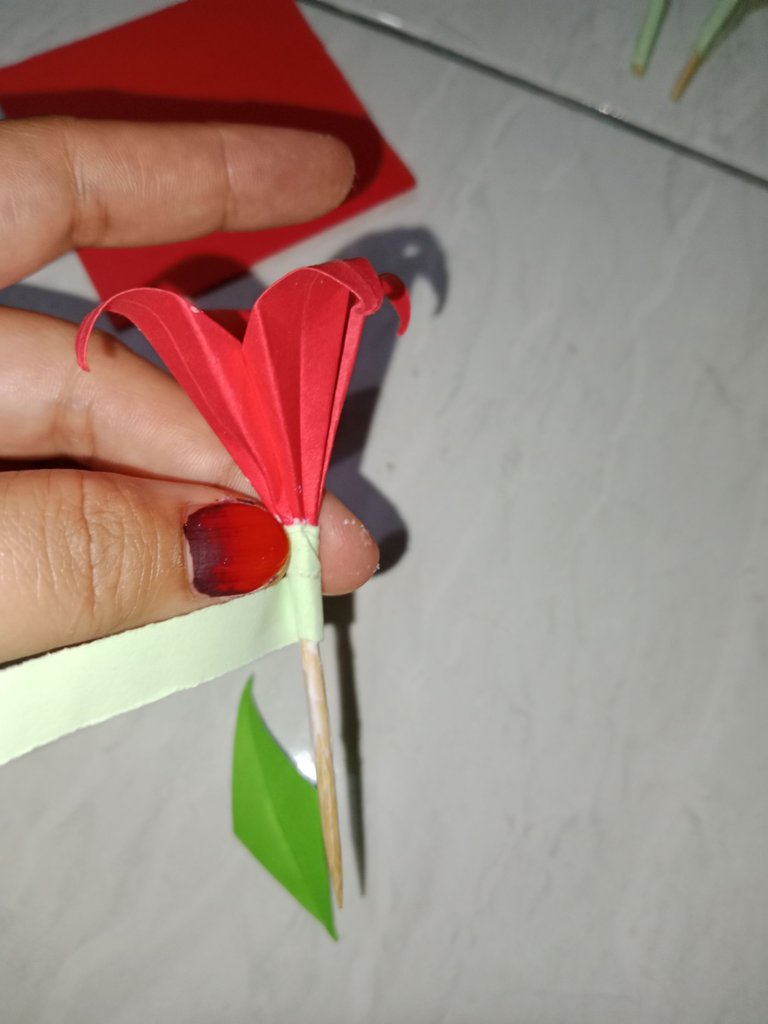
- Then we can move on to the leaf section, take the paper. and fold it into 2 to form a triangle.
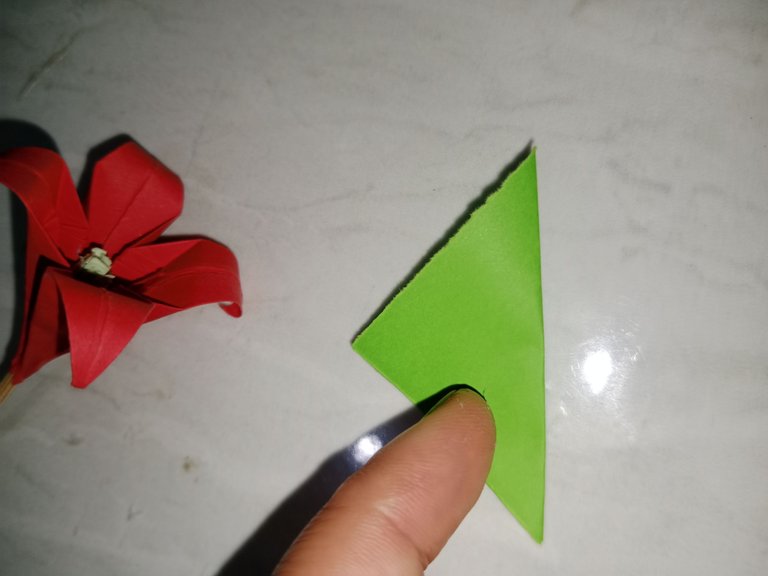
Then Fold as shown.

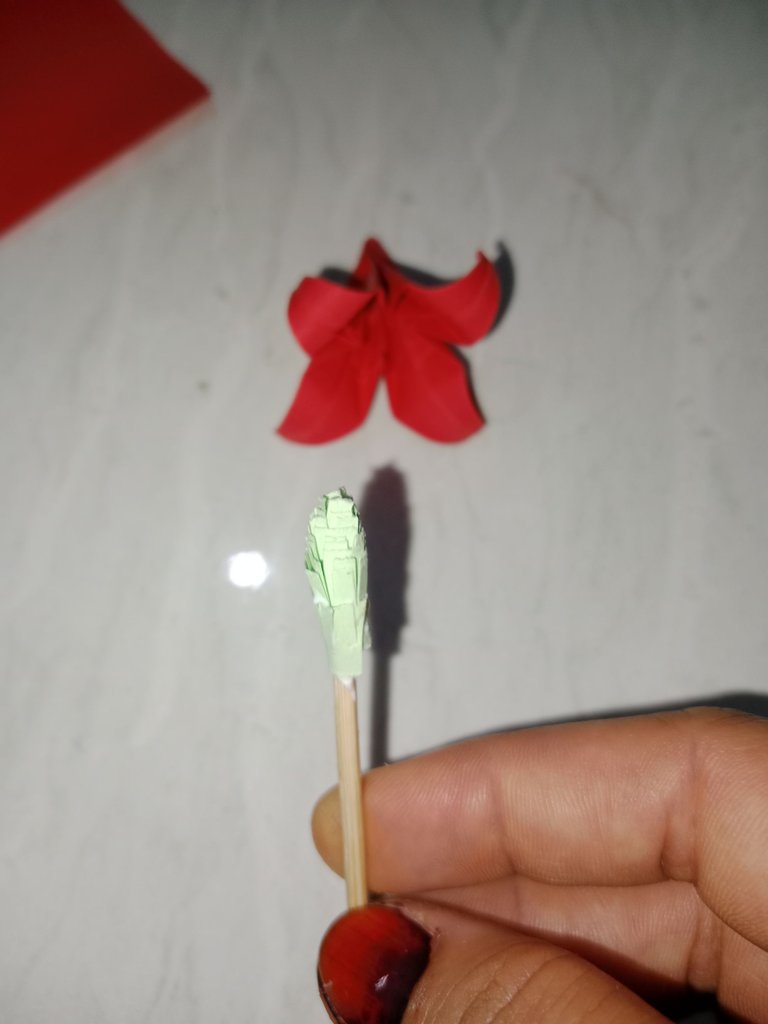
put glue on the flower stem. wrap the paper measuring 1 x 16 cm, then overlap with leaves and wrap again until the paper is wrapped around all the stems.
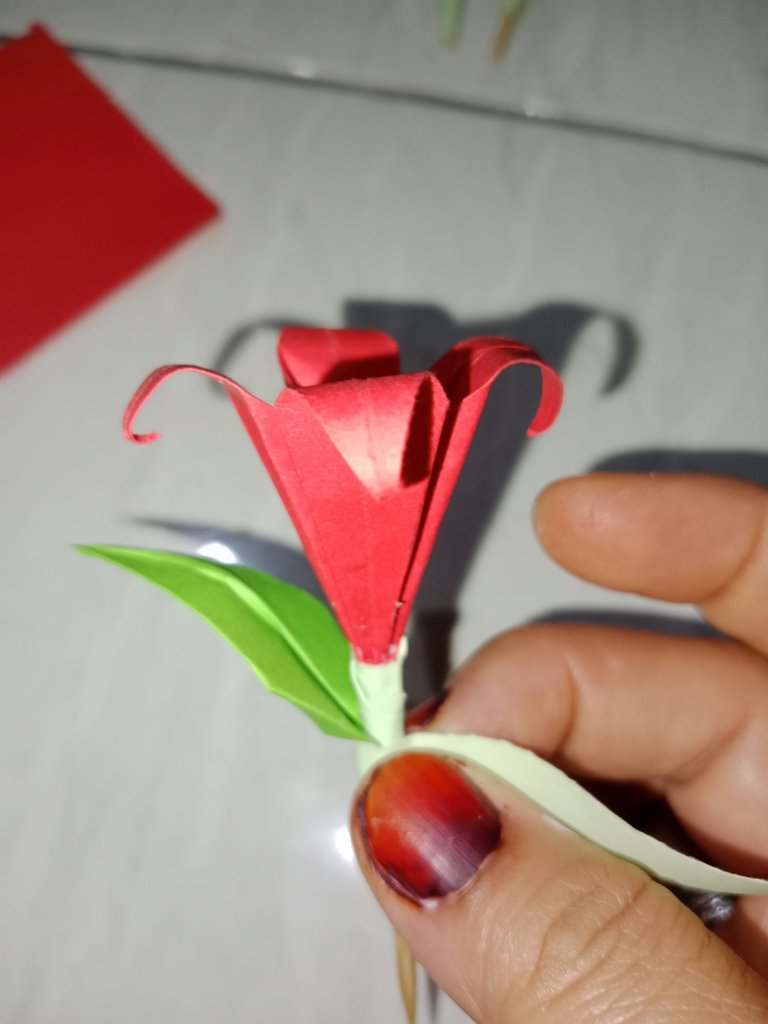
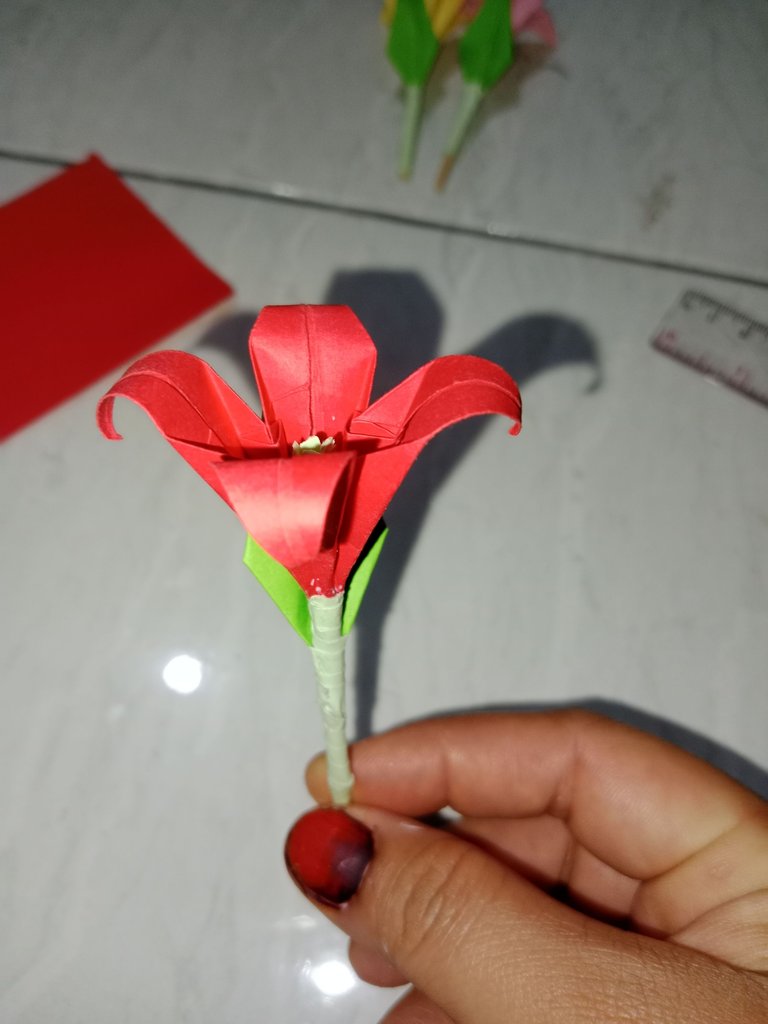
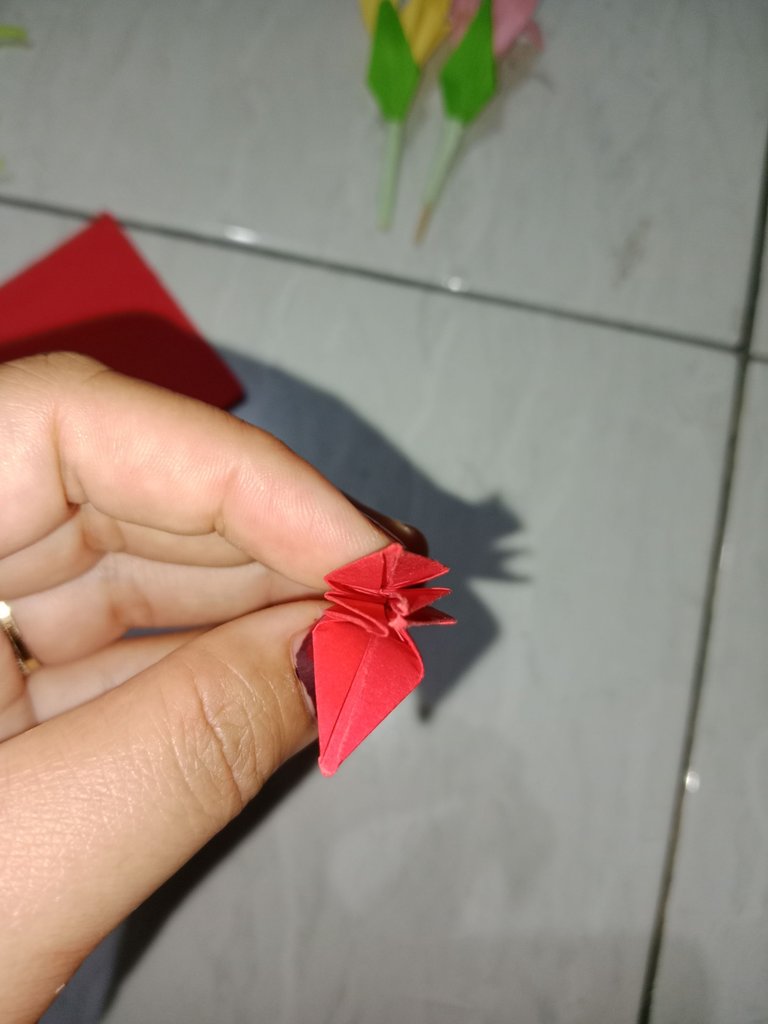
The flower is ready
The flowers I made earlier came in several colors.
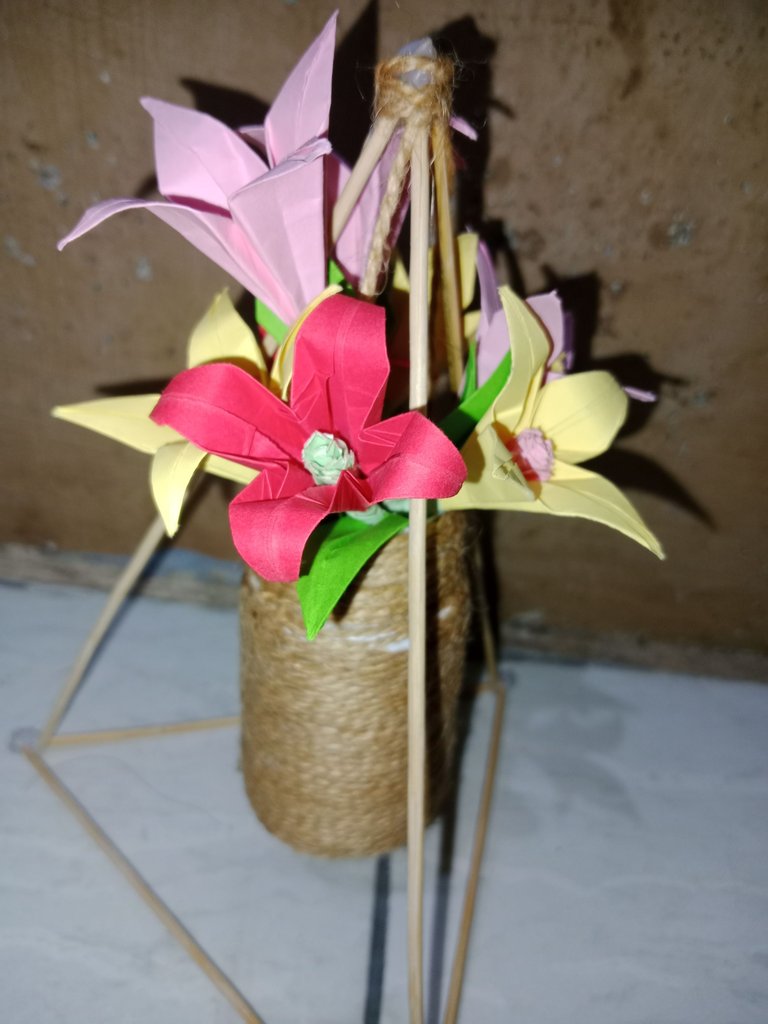
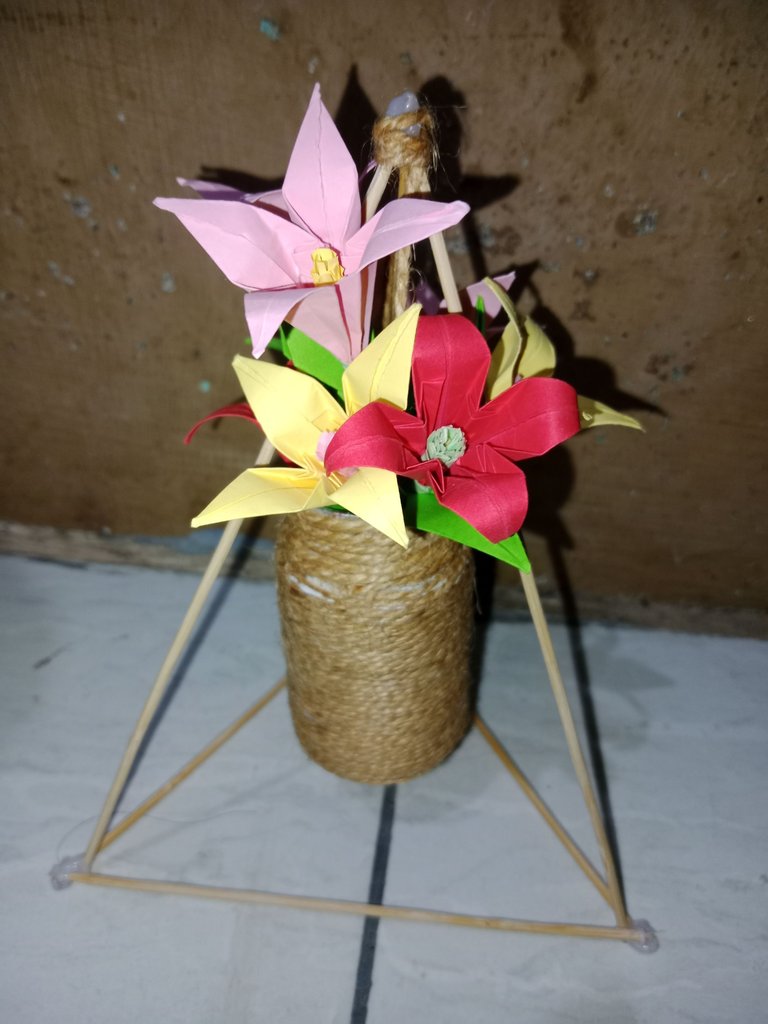
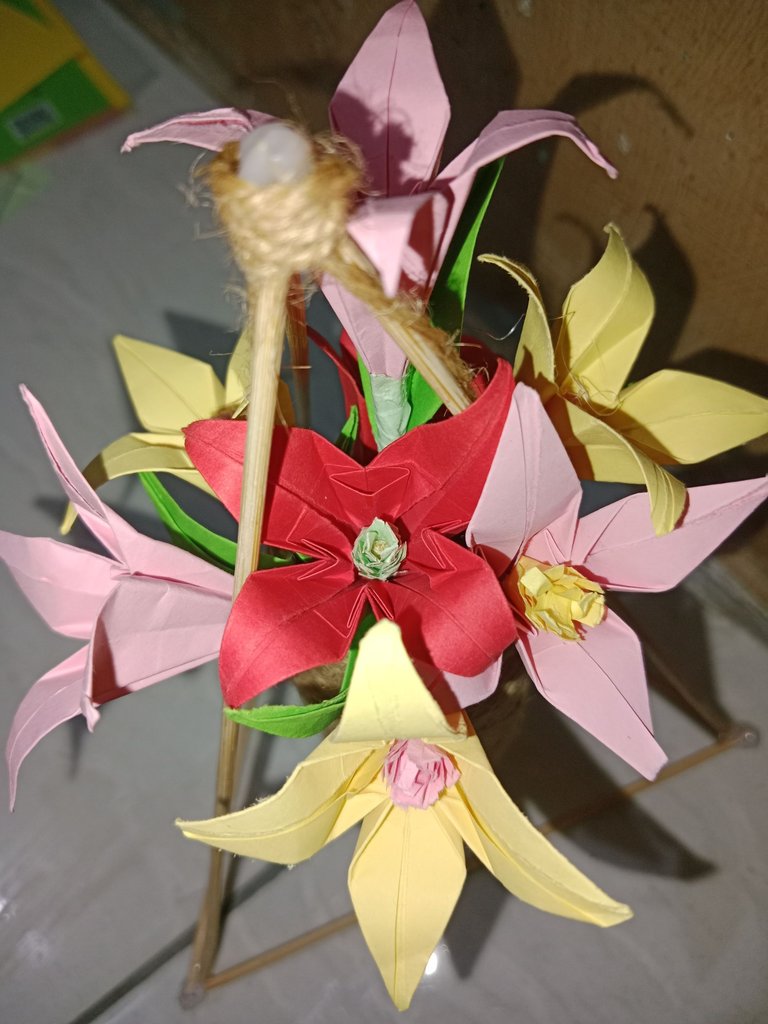
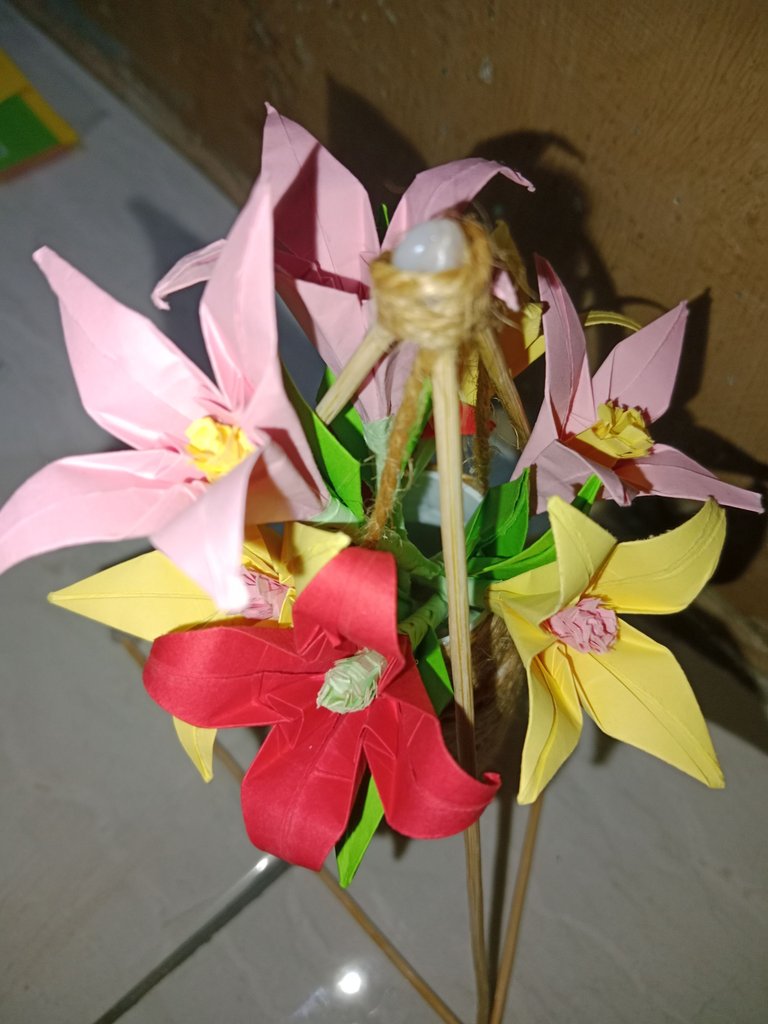
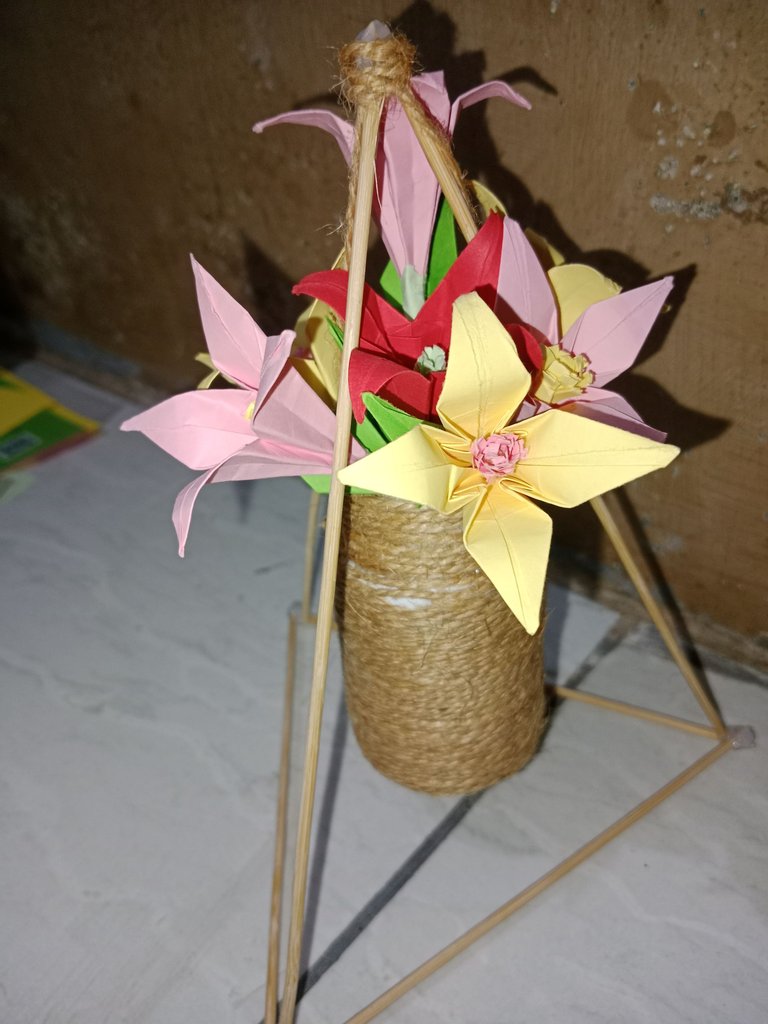
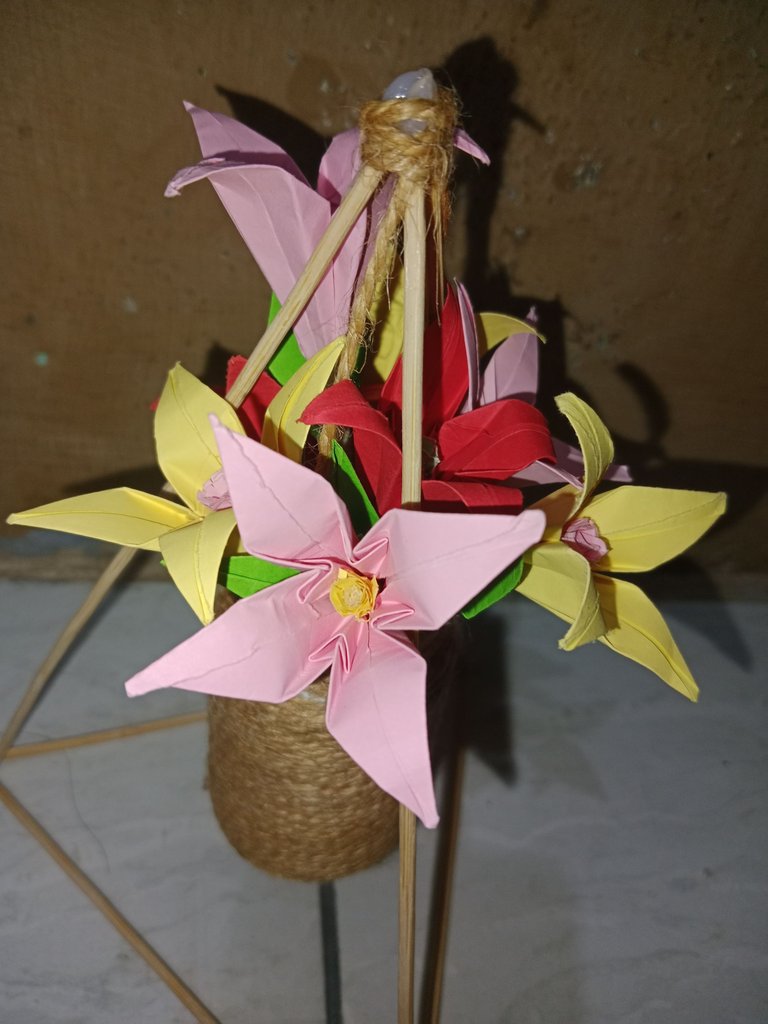
then I put the flowers in the flower pot that I made.
Hello This is Nisa, an amateur writer (I apologize if there are any errors in writing or in the wrong translation of words in writing, and I am very grateful that you have visited my blog. See you in other posts)

Thank you for sharing a great quality post in our DIYHub community, I really admire origami and those who demoninate it to perfection like you. I would like to suggest that you put together the pictures of each step in one image, it would be easier to appreciate for those who read you. You could make several images similar to the first one where you put together three photos in one; it is just a suggestion that would bring elegance and style to your post, but you are free to work in your own way 😉 Happy Weekend my friend!...
I am flattered by your compliments.. and thank you for the advice.. I will apply it in the next post.. thank you very much ❤
Delegasi 500 HP
Delegasi 300 HP
Delegasi 100 HP
Delegasi 50 HP
Terima kasihh ❣️
Lovely😊
Thank you dear! ❣️
Welcome🎉
It turned out so beautiful and lovely as well, am impressed with your work and keep it up
Haii.. Thank You very much ❣️
Your most welcome
Origami will always be a welcome art in our community, especially when it is done with such style and precision as in your case. Congratulations for a great job.
Haii.. Thank you for curated me ❣️❣️