Make sure to check out Part I by clicking here.
Recap
Last time we saw this instrument, it was getting inside the solera mould to finish its assembly. What you're about to see next is a summary of the process itself.
Assembly Anchors
Almost all strings instruments have these things we call heels. One is visible in the lower portion of the neck; the other isn't. That's because it goes in the lowest part of the instrument and it connects the sides, top and back.
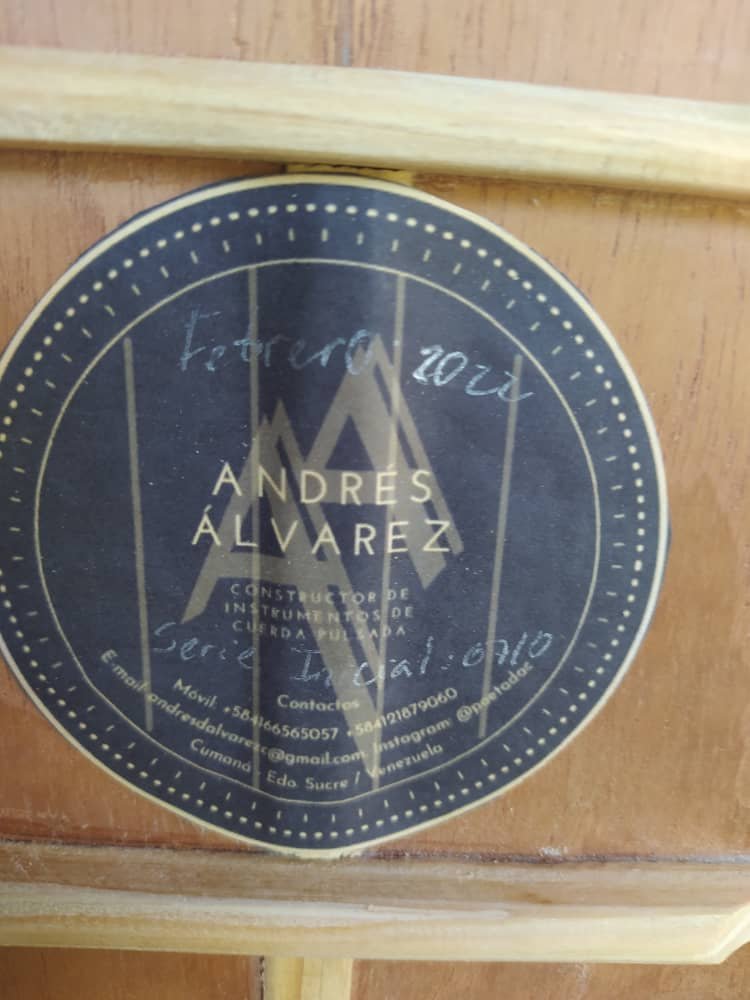
But before gluing the heel, we take the time to sign the instrument.
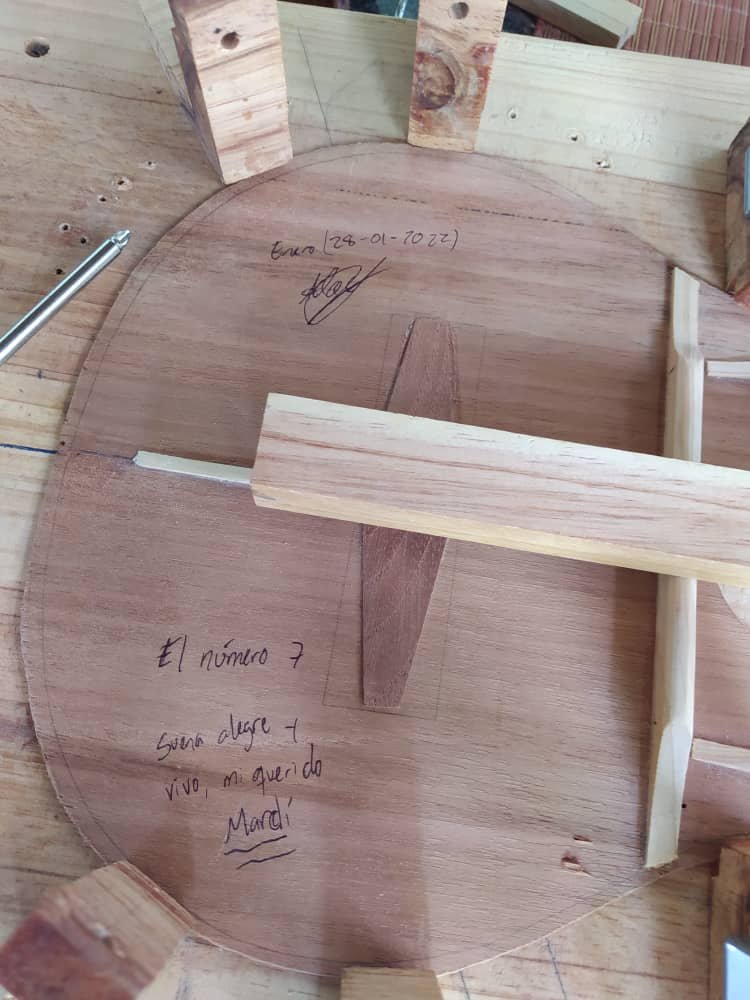
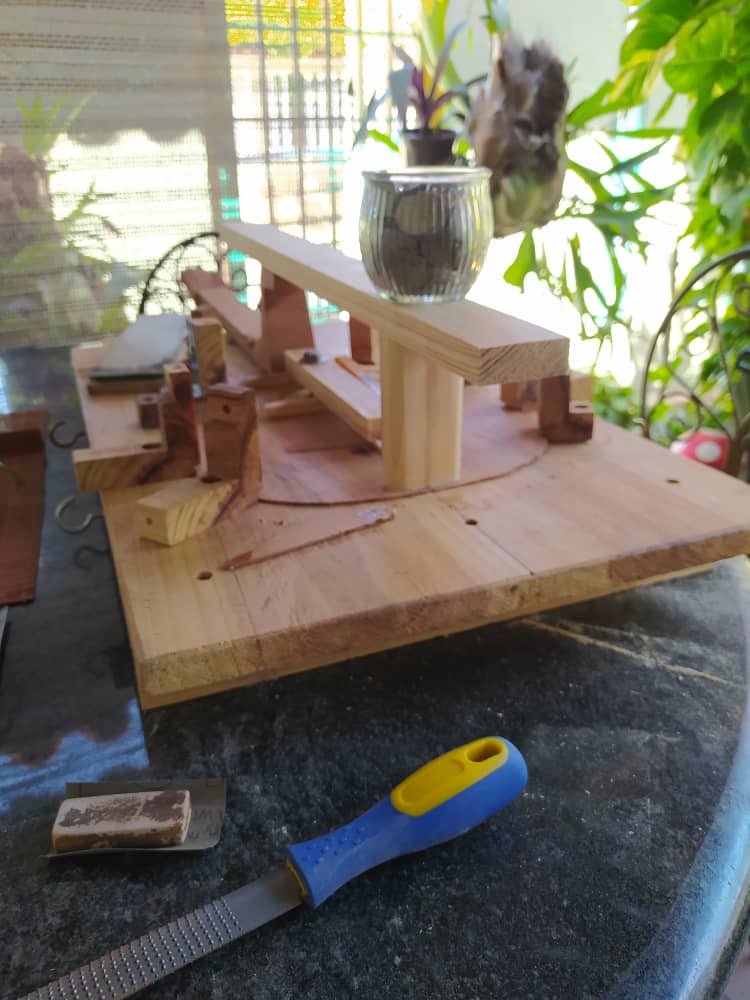
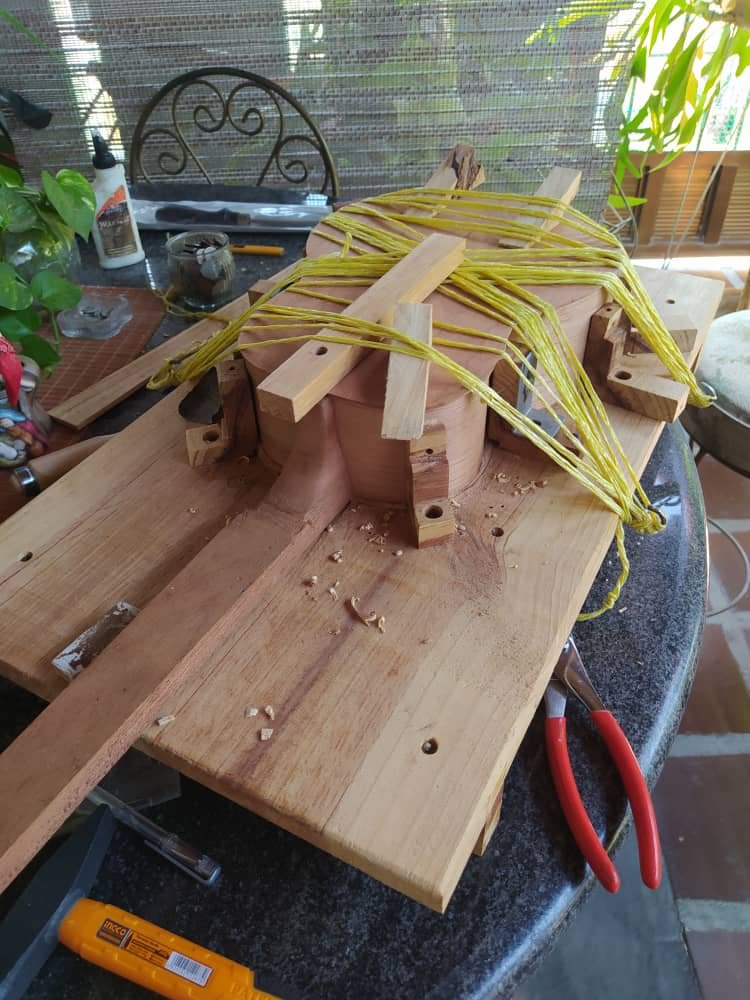
Here's a look at the gluing process. As you can see, the external heel is used as leverage to apply pressure to the internal one
Sides
This is the worst part of this process. Basically, the pieces needed to be thinned out to bend them. One of the sides broke and I had to stop for some time. When I got a replacement, it wasn't of the same kind of wood. But it matched the back. Good enough for me. I don't have picture bending the wood since it requires two hands. However, some pointers on the process are hydrating the wood long enough to the fibers bend with ease (this doesn't work the same in all types of woods, hard woods are tough to bend even when they are thin pieces). Also, you need to mark the length of each segment of curve. That helps you get the shape you need. When you're done, you might need to reduce the sides to make them match on the heel, but that's ok. It would be bad if the sides were too short.
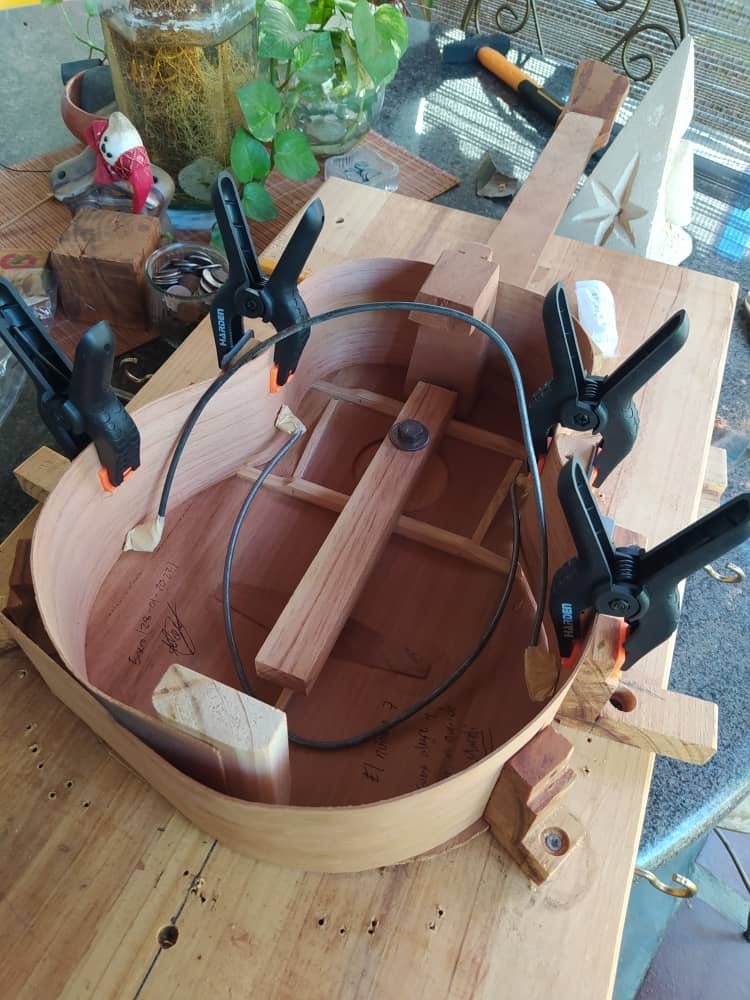
The clamps are an aid to hold the shape. Wood doesn't these shapes unless it is glued to something
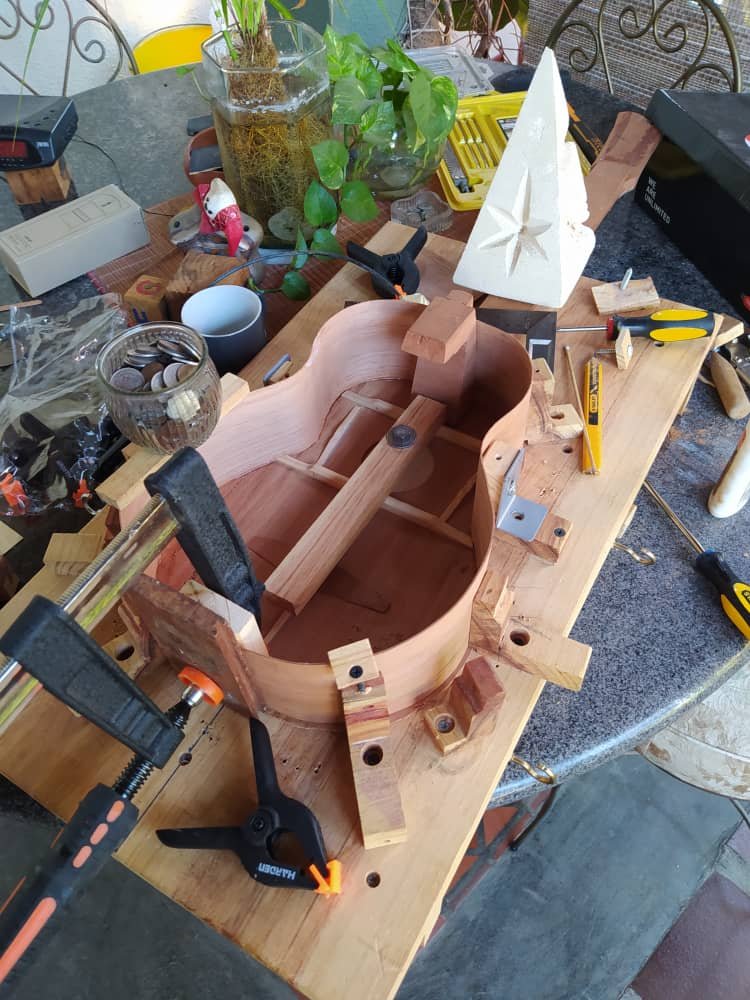
The gluing of the sides is done after trimming and sanding once we make sure the size is right.
Kerfing
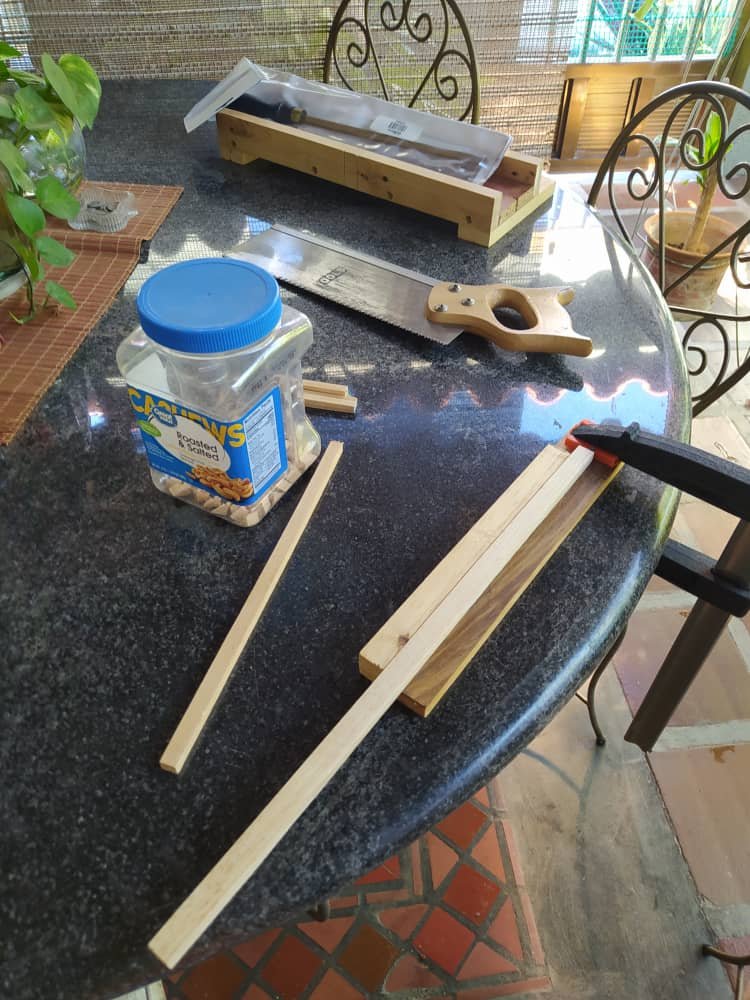
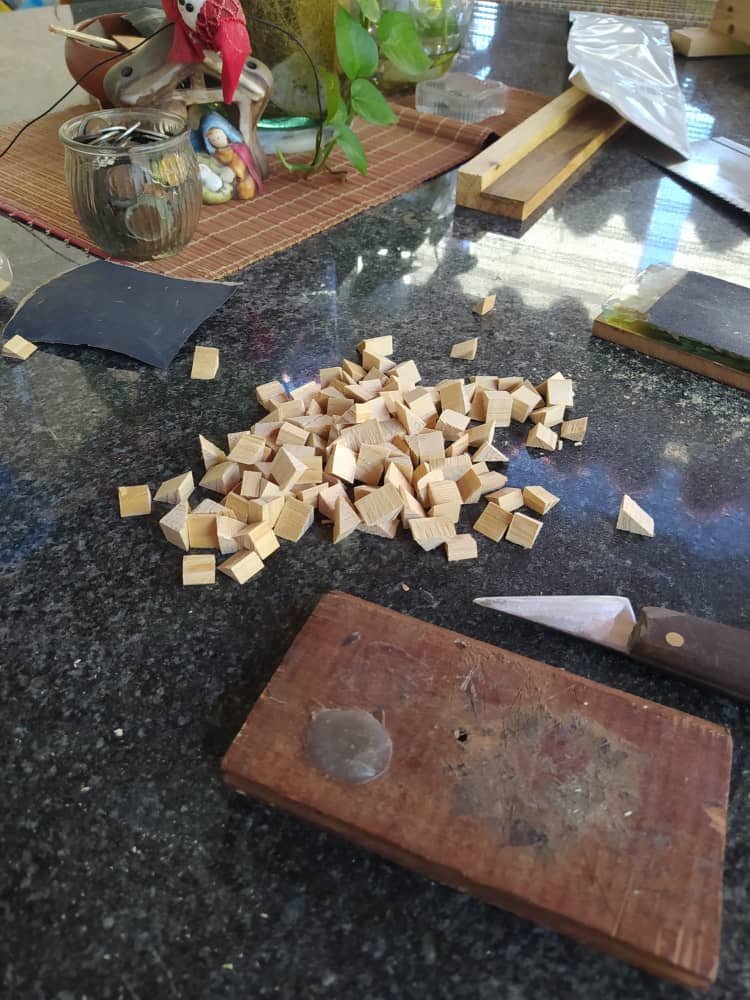
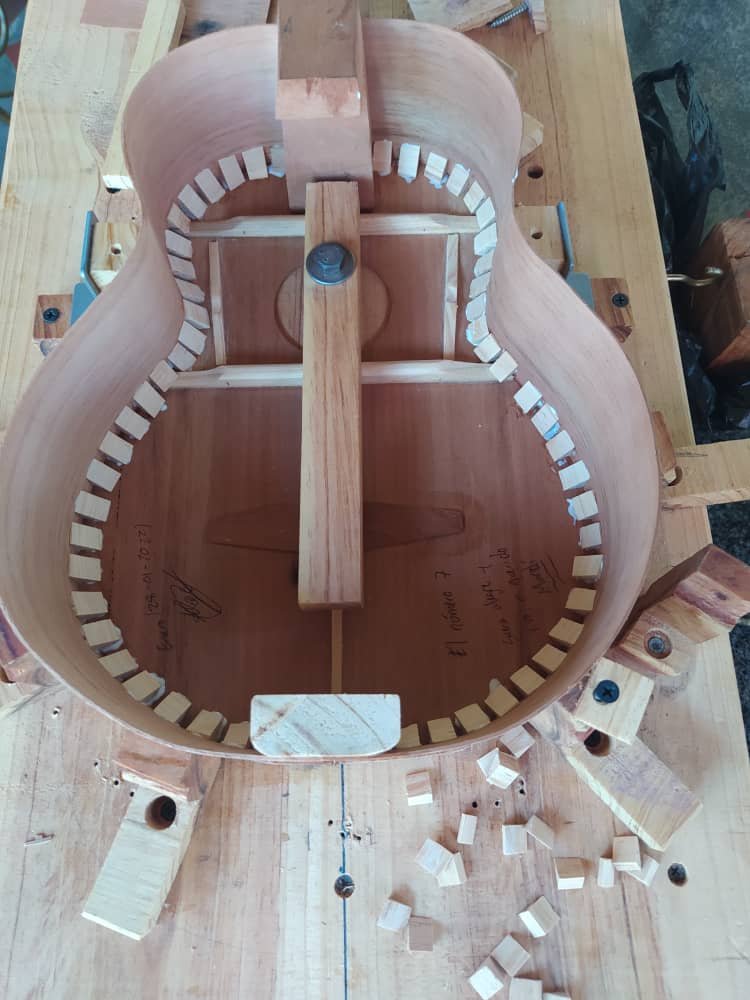
To help strengthen the union between sides and sound board, we need kerfing. In guitars, it is usually done with segments of wood that have been cut in order to make it flexible. Thus, these segments can adjust to the shape of the instrument. This is an older method. We cut each kerf from a block of wood, sand it and then glue it in place. It takes time to do all this. In other countries, people have the advantage of buying jars of kerfs. But that promotion isn't valid for Venezuela (unfortunately).
Reinforcing the sides
The sides are very thing and it would stand to reason that they are some of the weakest points in the whole structure. To prevent them from cracking if the instrument receives a hit, we need to reinforce them. There are two kinds of reinforcements for this. The first goes through its length. Its purpose is to widen the contact area of the sides and the back. The second goes along its width, strengthening key points.
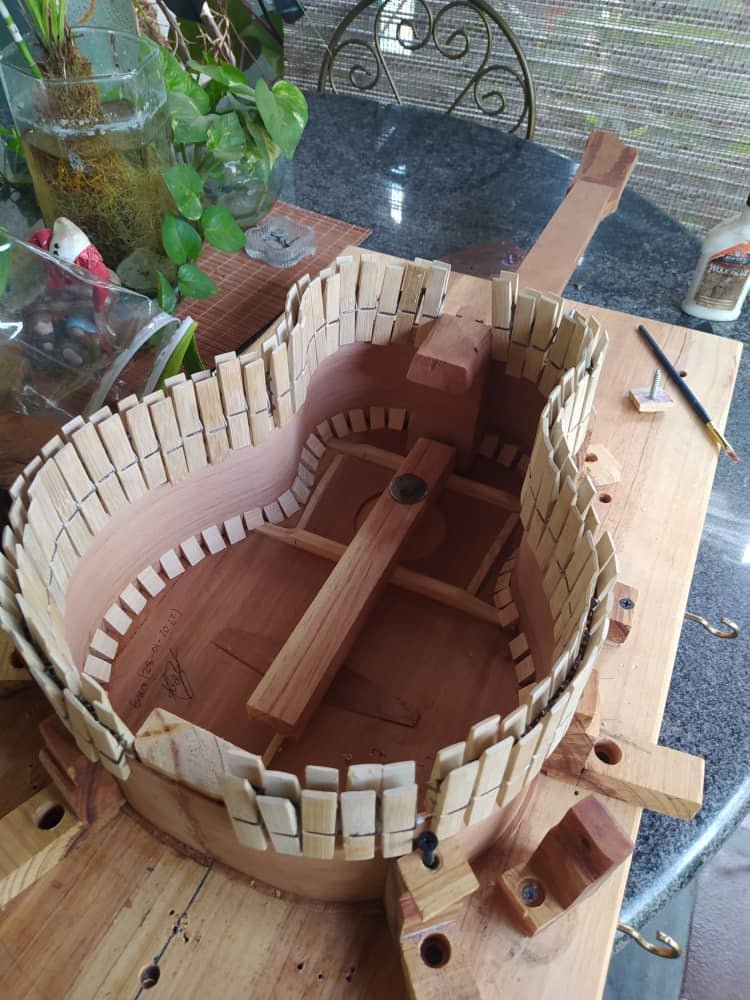
These are the first type
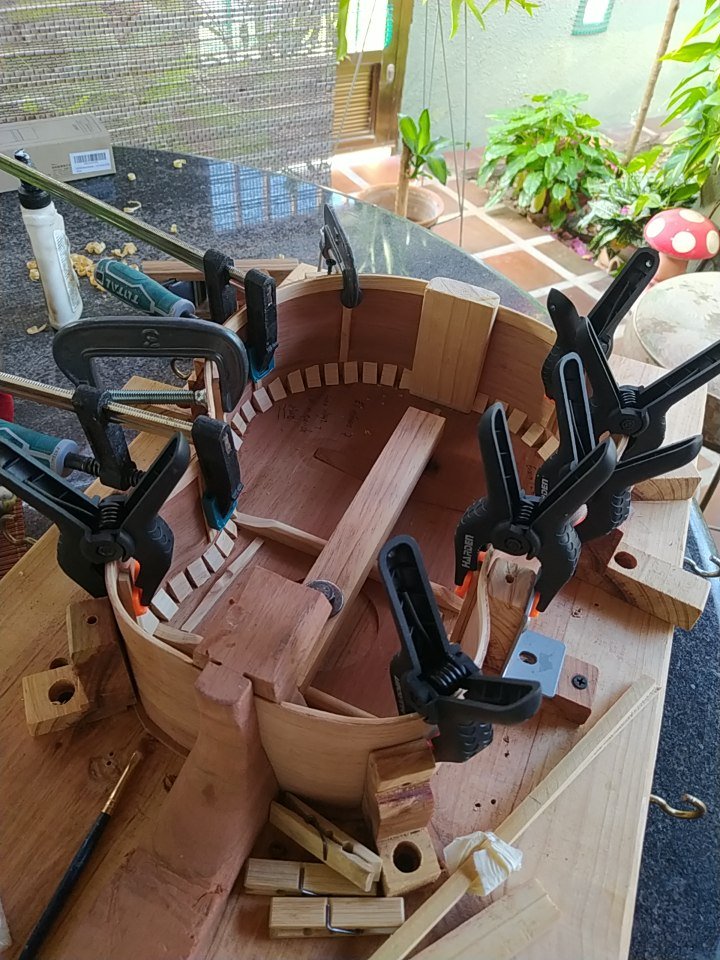
And this, the second.
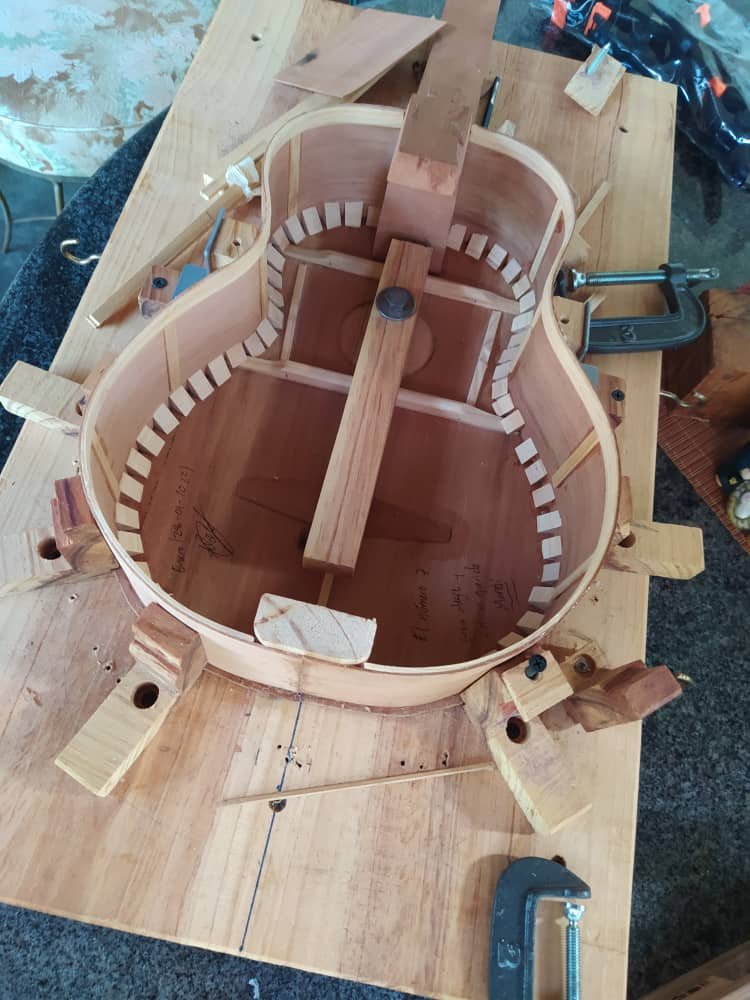
With these in place, we are almost ready to close the instrument.
Something new.
I was trying to get something new done here. You see, if the instrument has parallel surfaces, the sound it produces isn't the best. To prevent this and get a better sound, we make the back rounded. We make a ruler that has the radius we want for the curve. In my case, this is a soft 6000mm curve. But to make this fit, we need to transfer this measure to the sides. It is a difficult thing to do. But you can see an idea of it in the next picture.
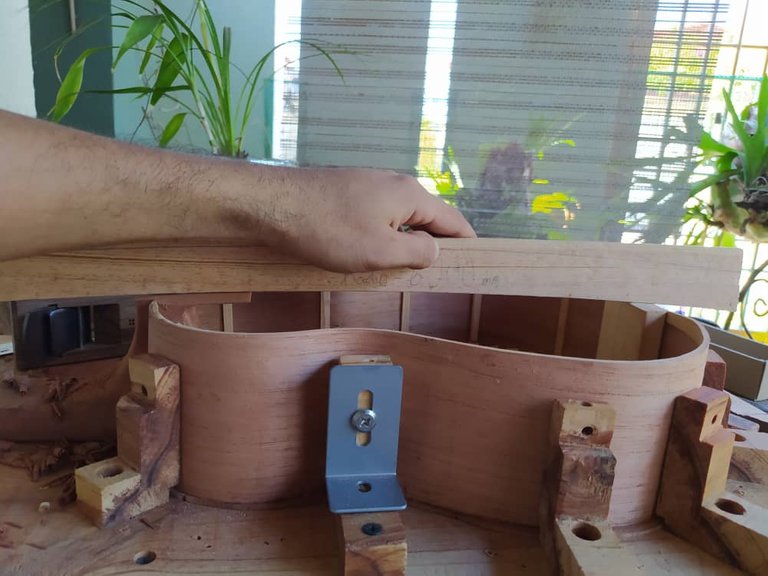
The idea being that each time we measure from one side to the other, the ruler must touch 3 points: the two sides and the heels. Think of it as a slope.
Closing up
With all these steps, we are ready to close this one up.
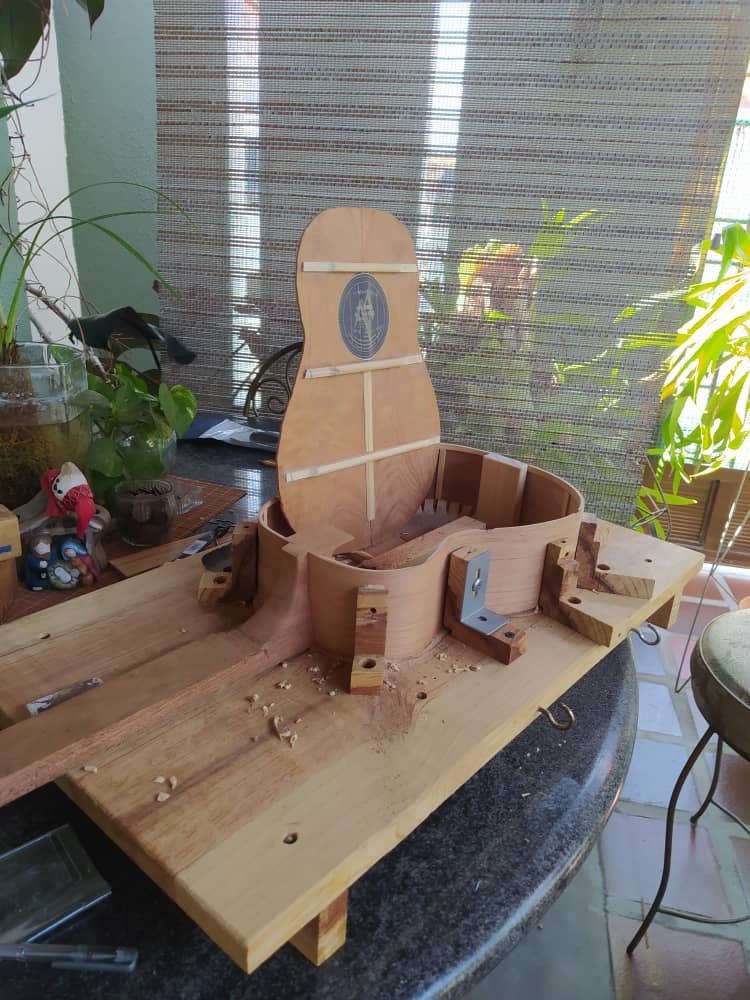
Fretboard
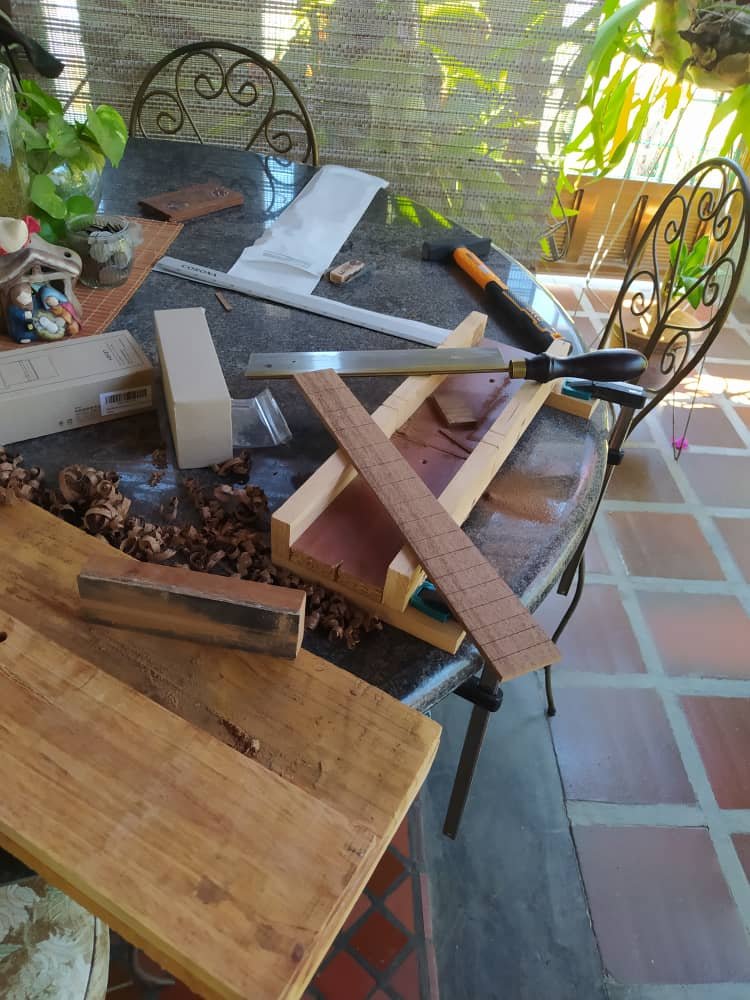
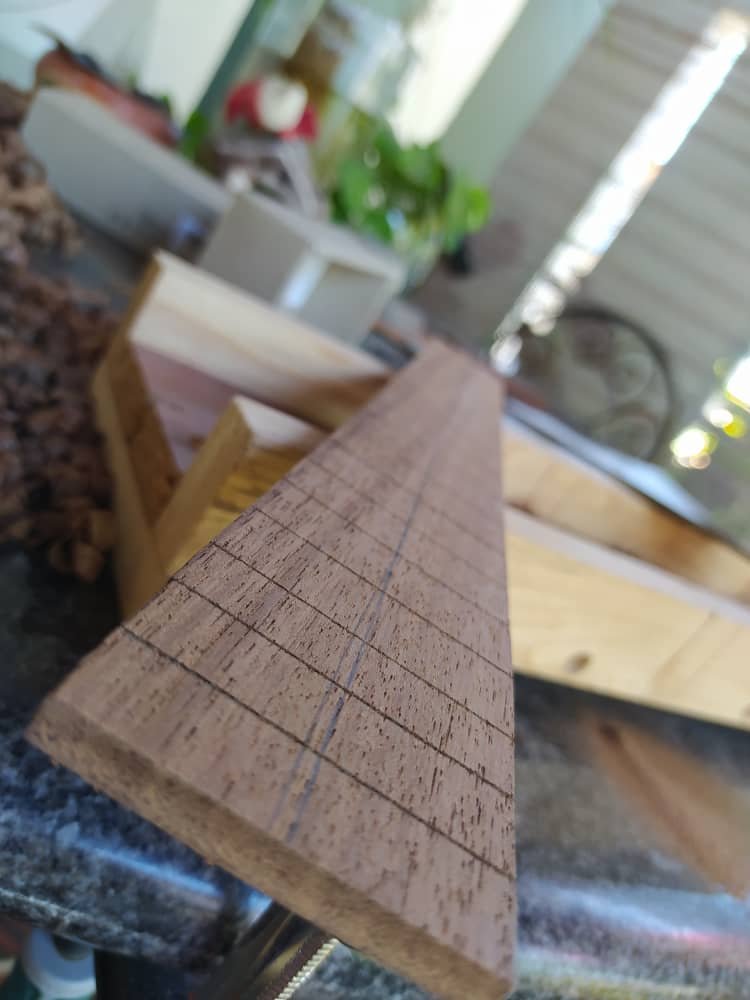
After the instrument is out of the mould, we can glue the fretboard onto it. But before that, we need to cut the slots and trim the sides to shape. To get it on the neck, we trace the middle section and align it with the lines on the neck.
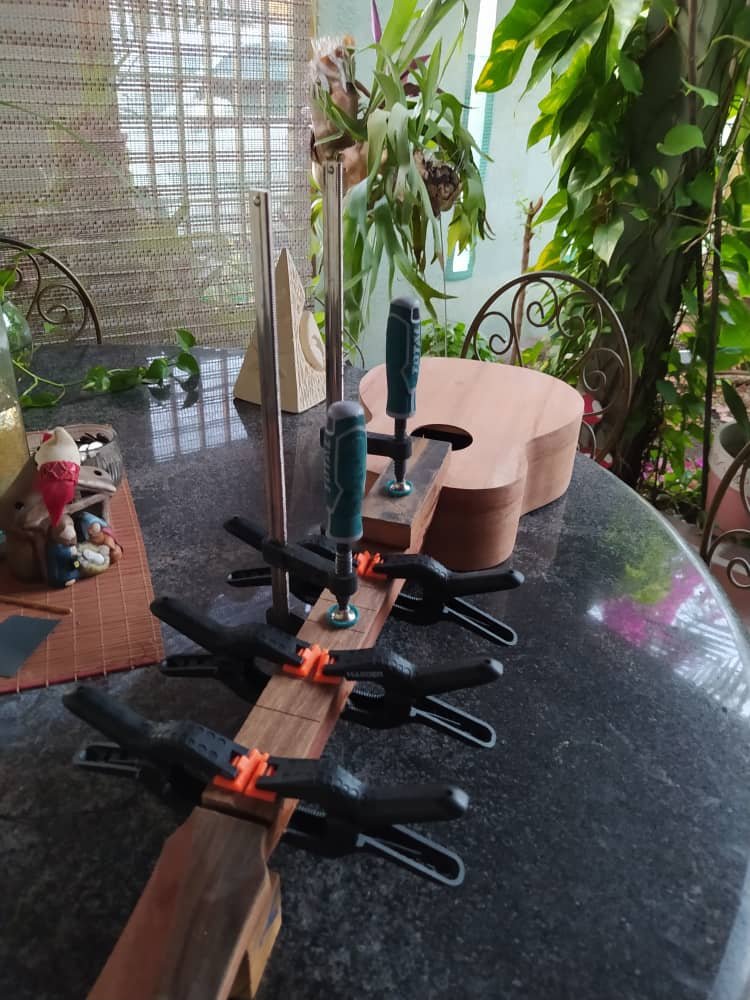
Strumming guard
Some of our creole guitars have this piece to protect the sound board from the constant erosion from the nails while strumming. The Venezuelan Cuatro is one of this instruments.
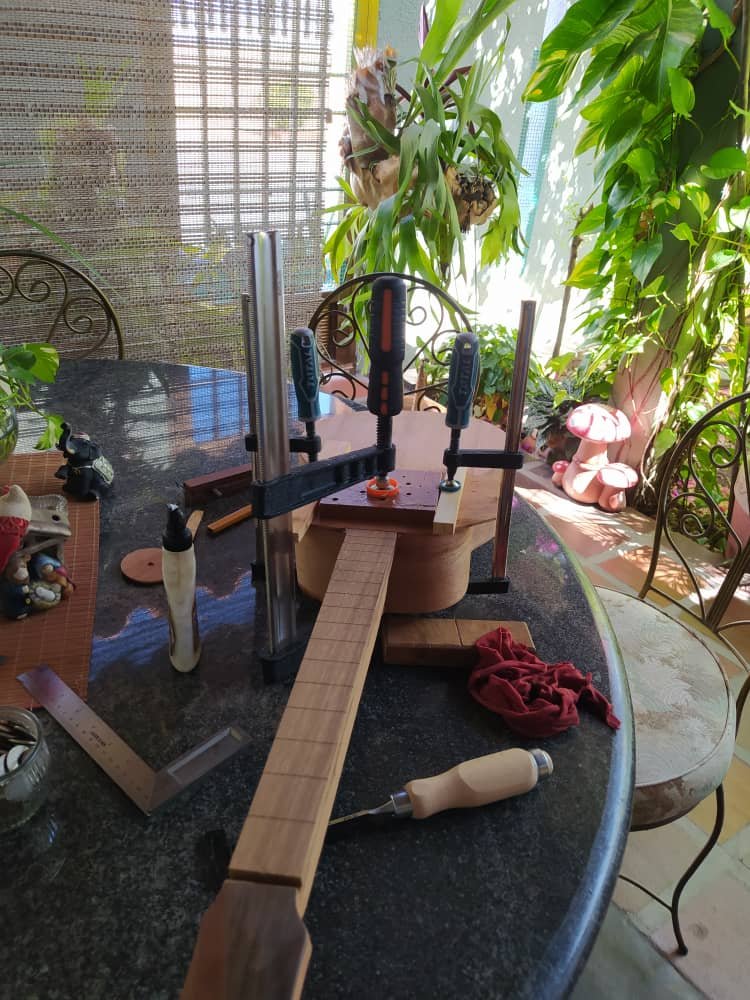
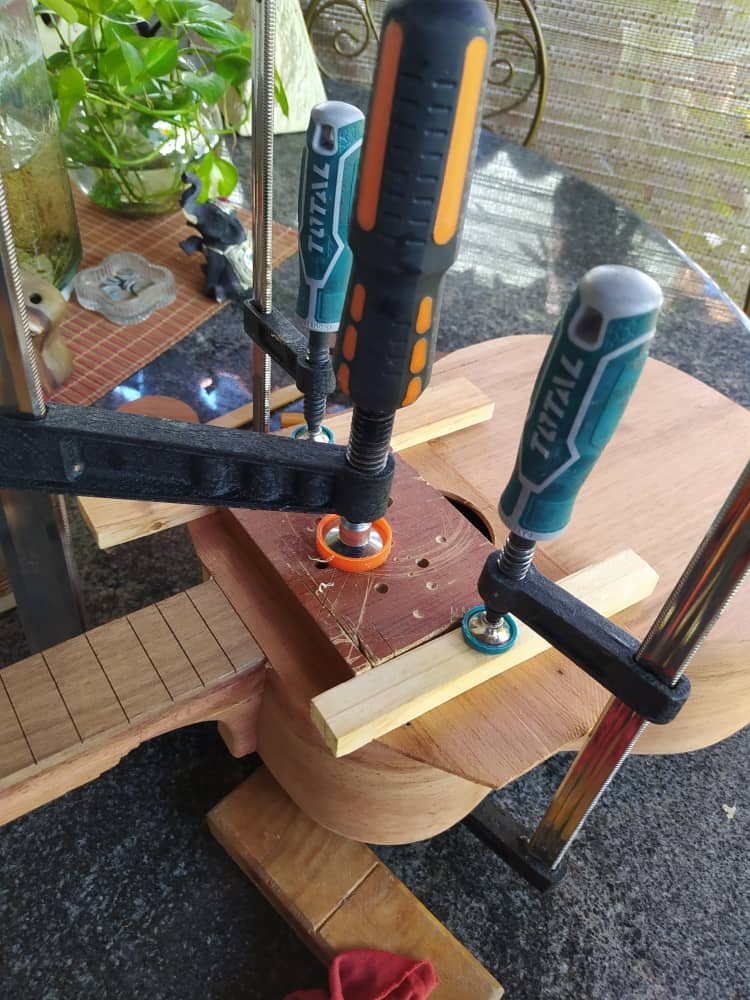
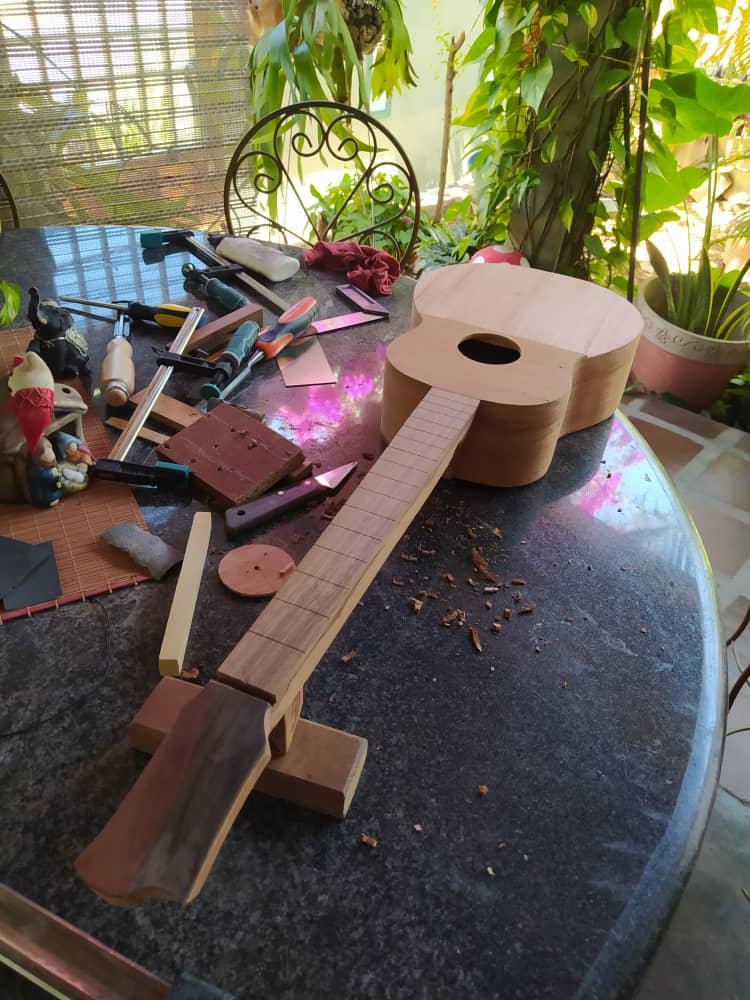
Sealing the fretboard
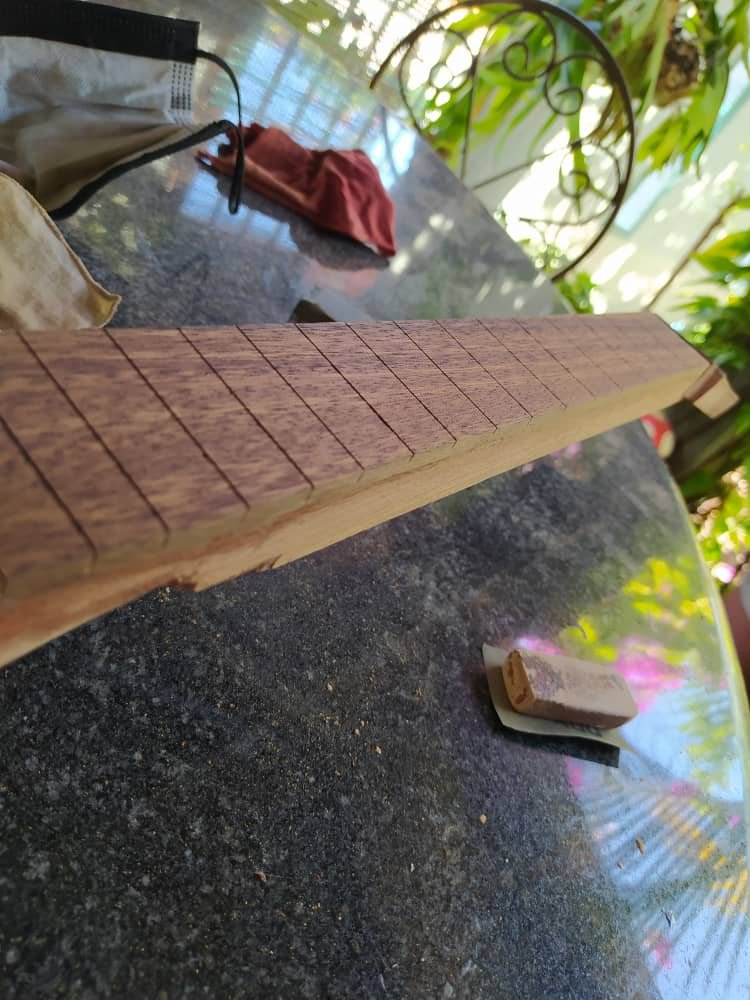
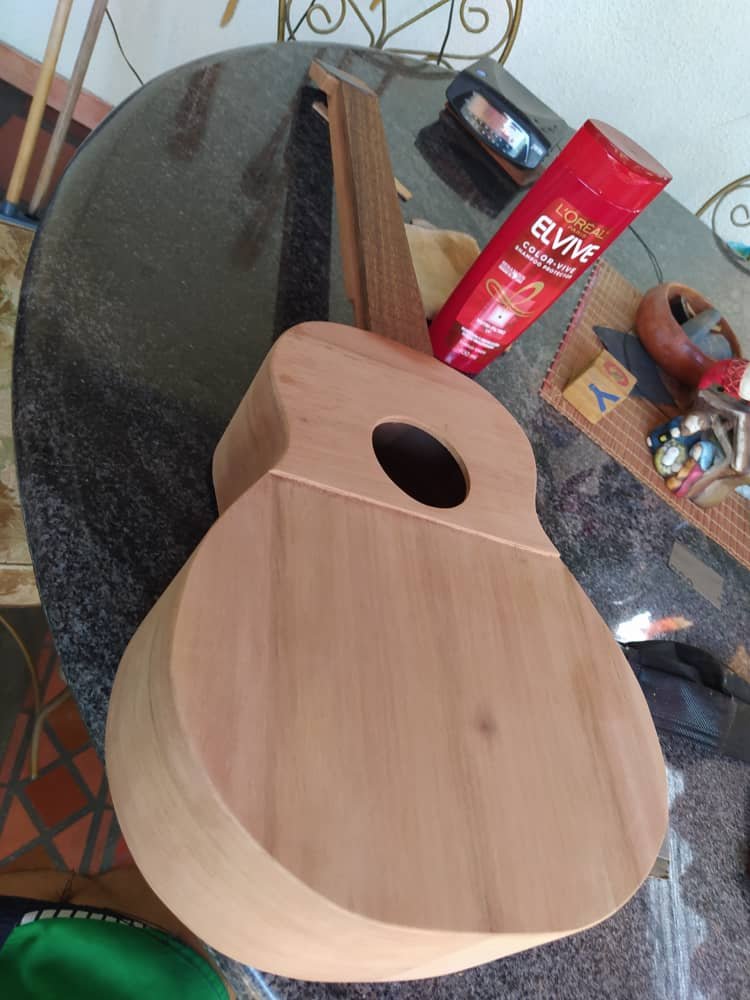
Before getting the frets in place, we need to seal the fretboard. There's many methods, here I'm using teak oil. Don't think I'm applying shampoo the the wood. The bottle helps keep the oil in a place and also use small doses.
Frets and Tuner Holes
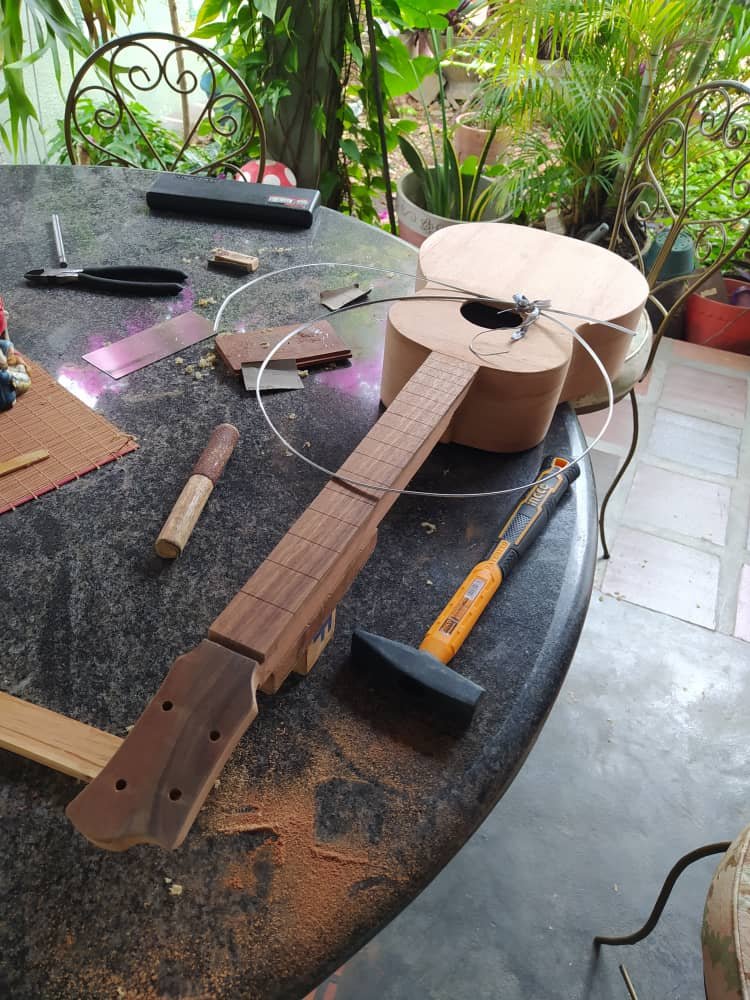
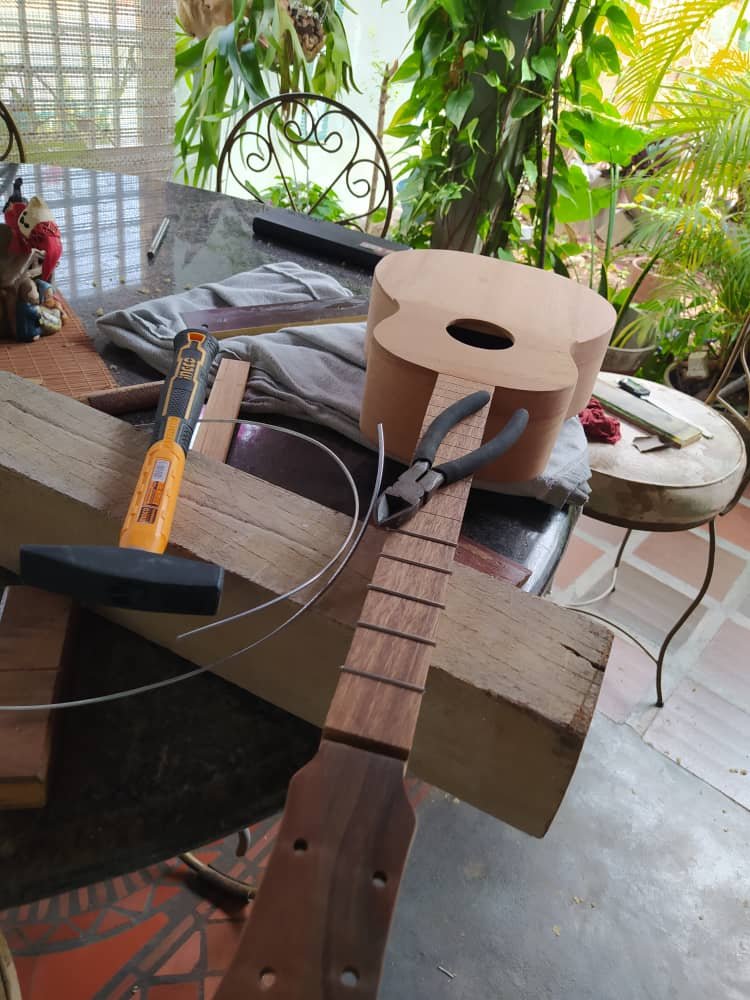
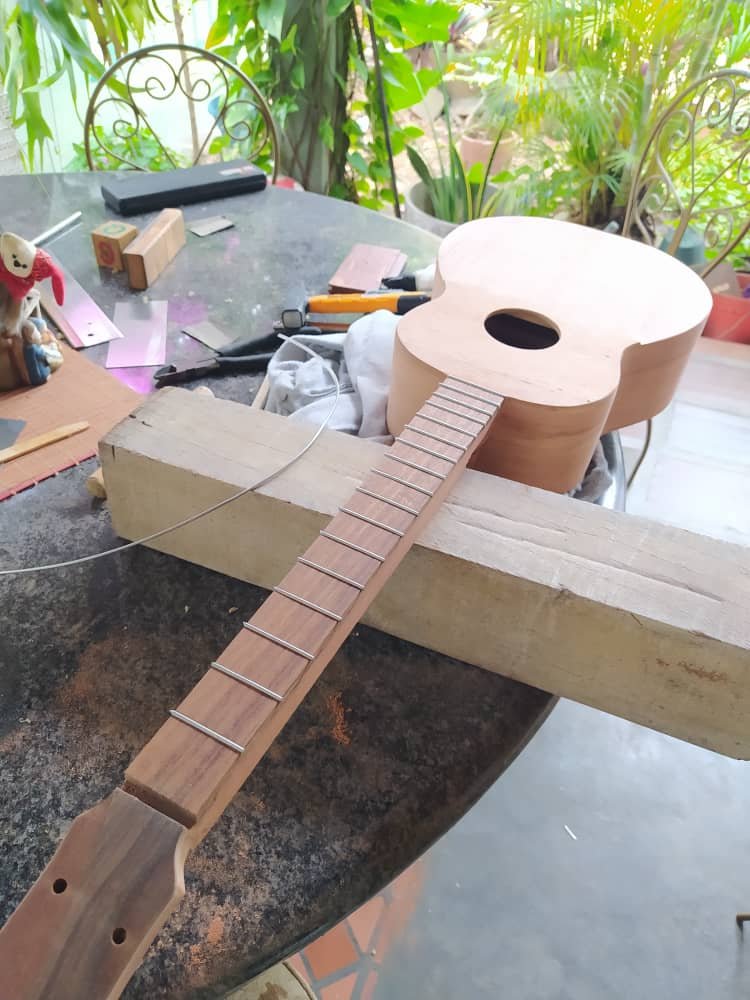
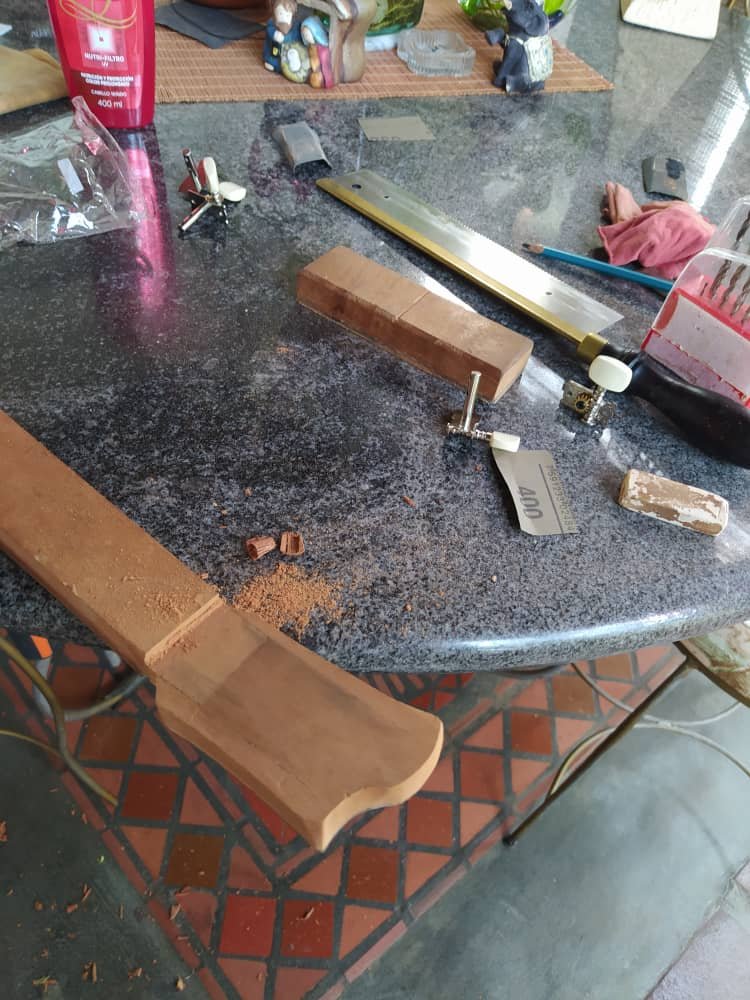
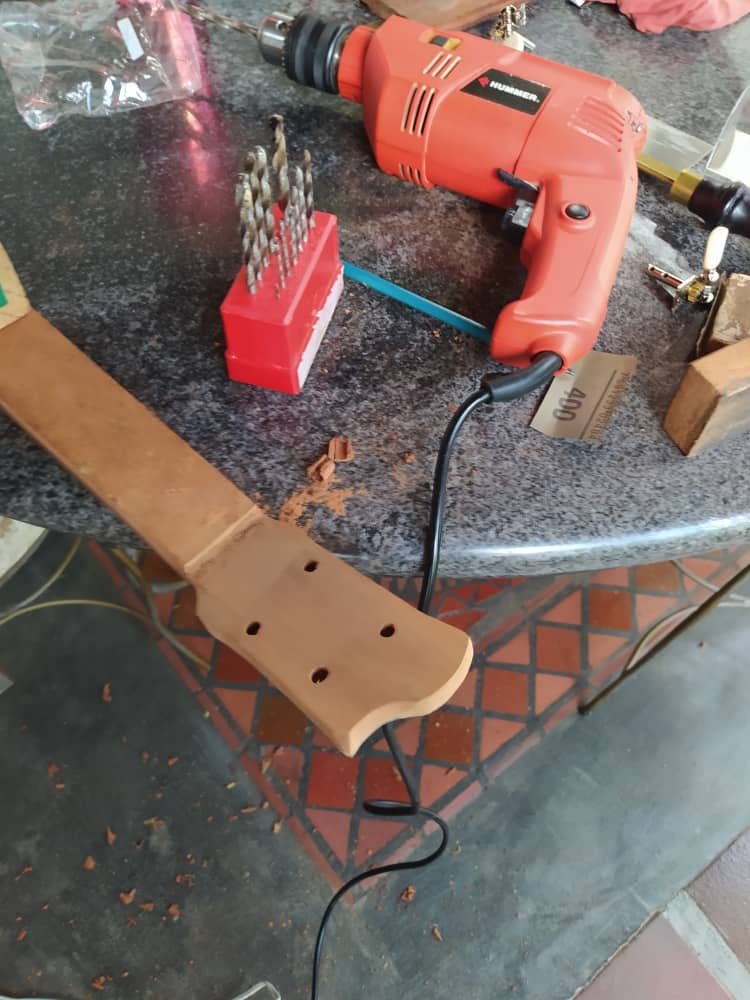
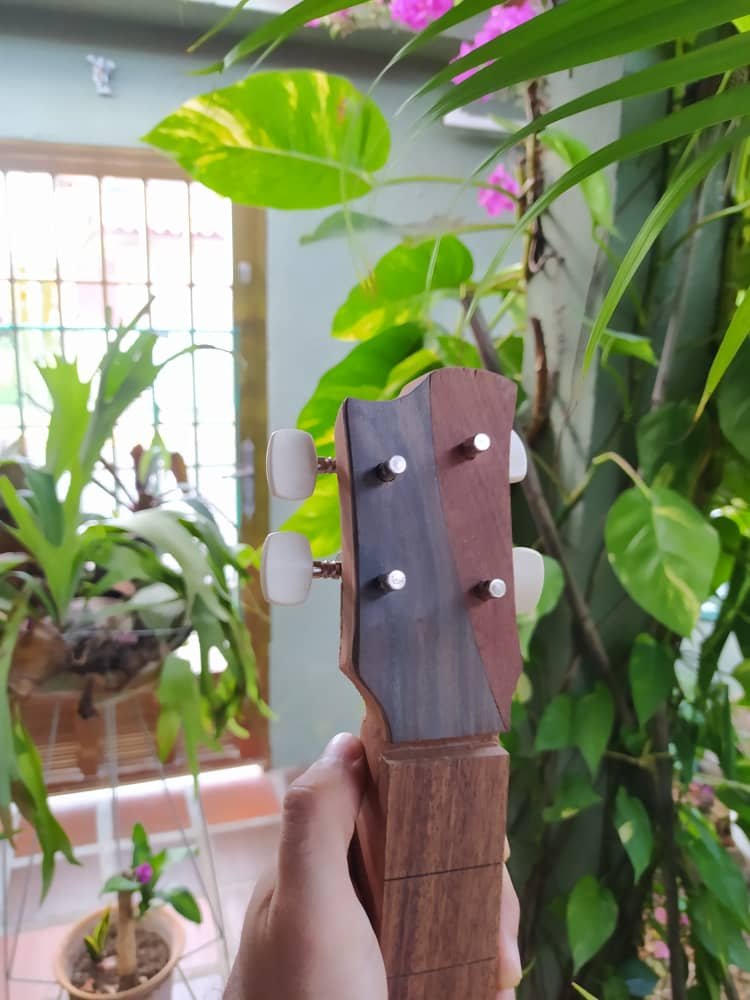
With almost every piece in place, we can get the frets on. We use a hammer and tap them in. We have to make sure we hammer them with care or we could break something. After placing them, we need to sand the sharp edges. We can also take the time to make the holes for the tuning machines.
Rounding the neck
Now that the frets are in place, we can round the neck. This helps with the aesthetics of the instrument and also makes it more comfortable for the musician.
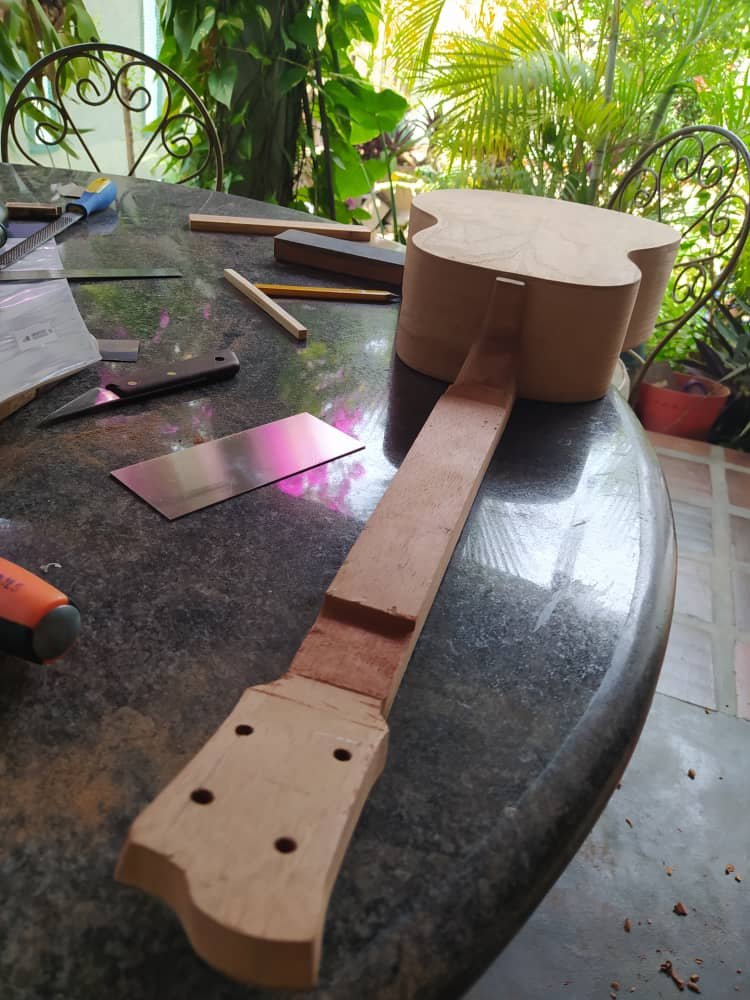
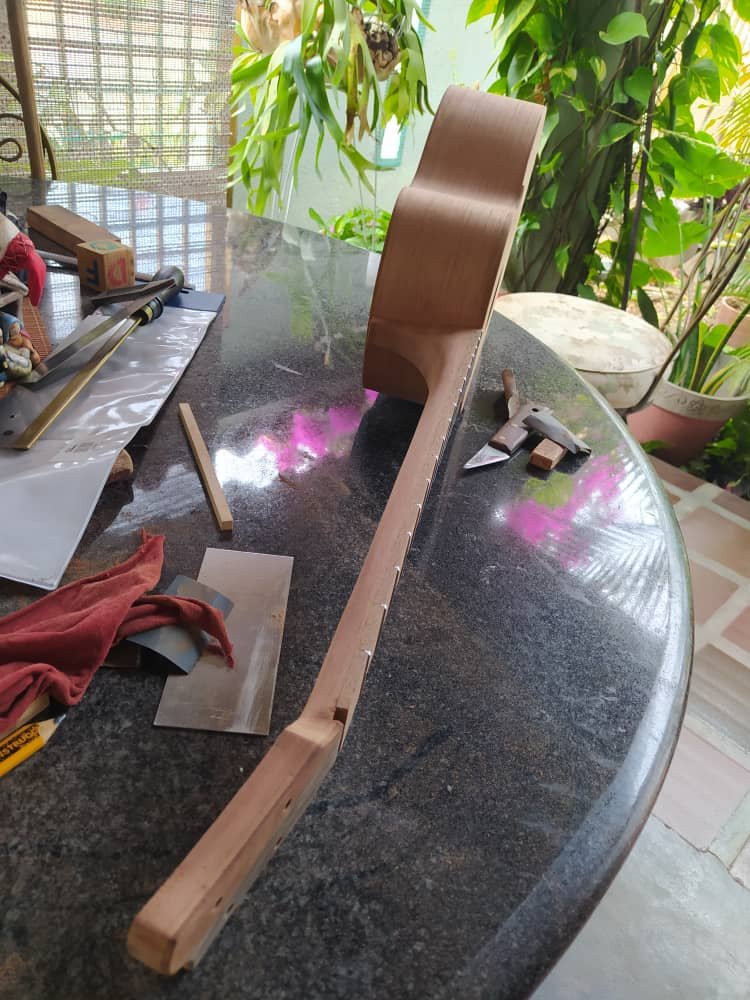
Sealing the instrument
We have come to the stage of sealing the pores of the wood. We need to sand the whole instrument going from thicker grits of sandpaper up to 360 grit. This gives us a smooth surface to apply our pore sealer.
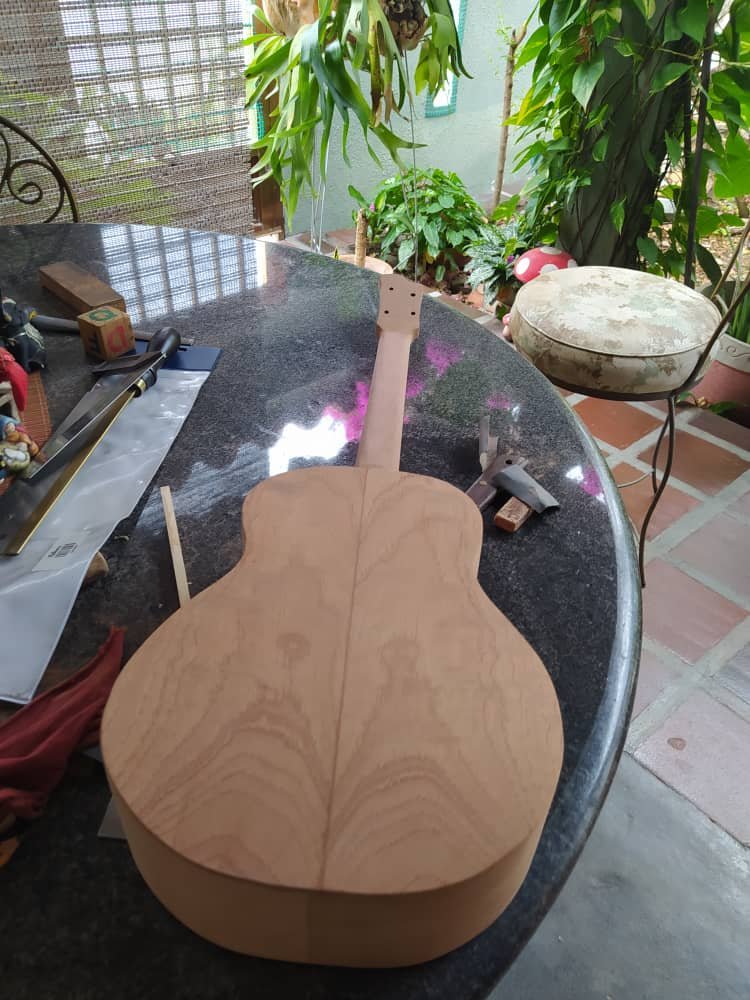
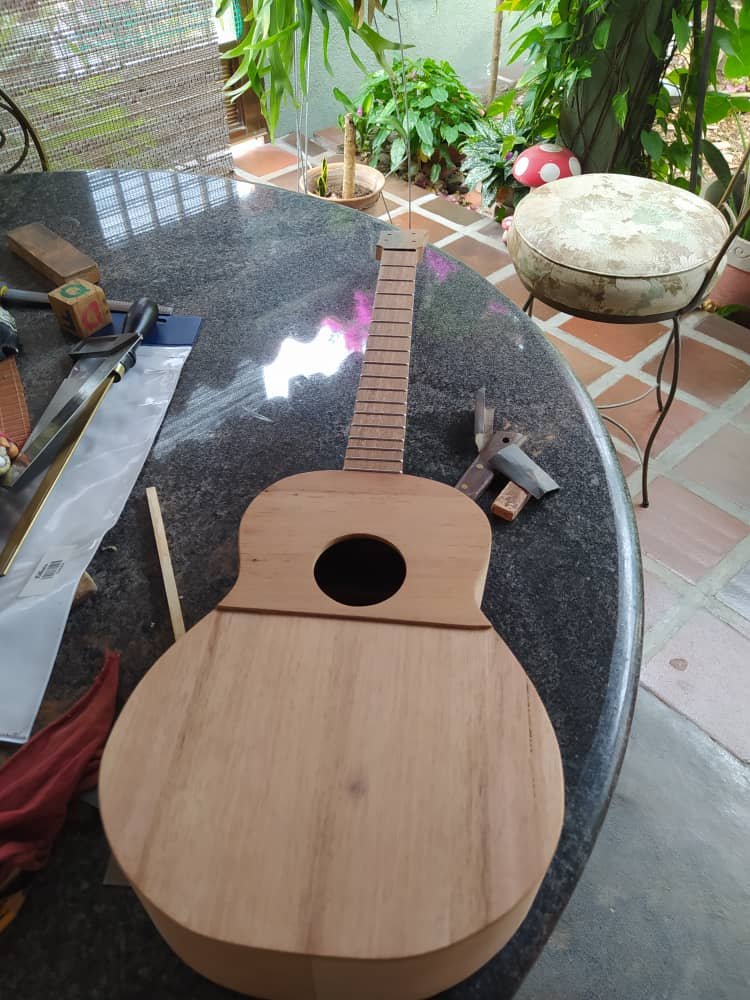
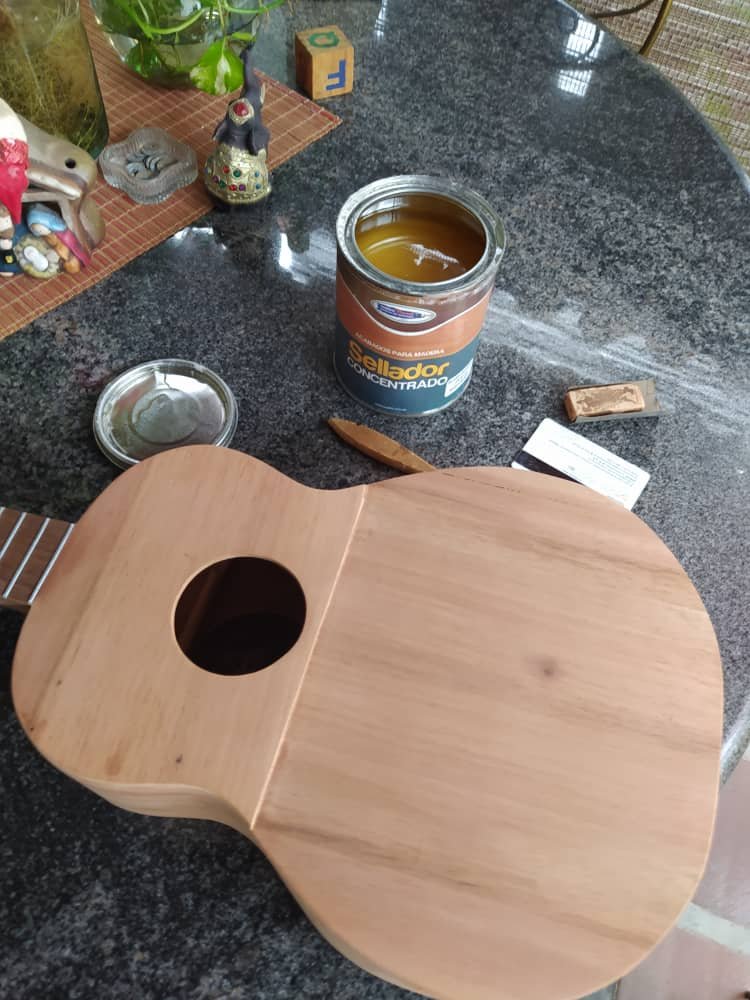
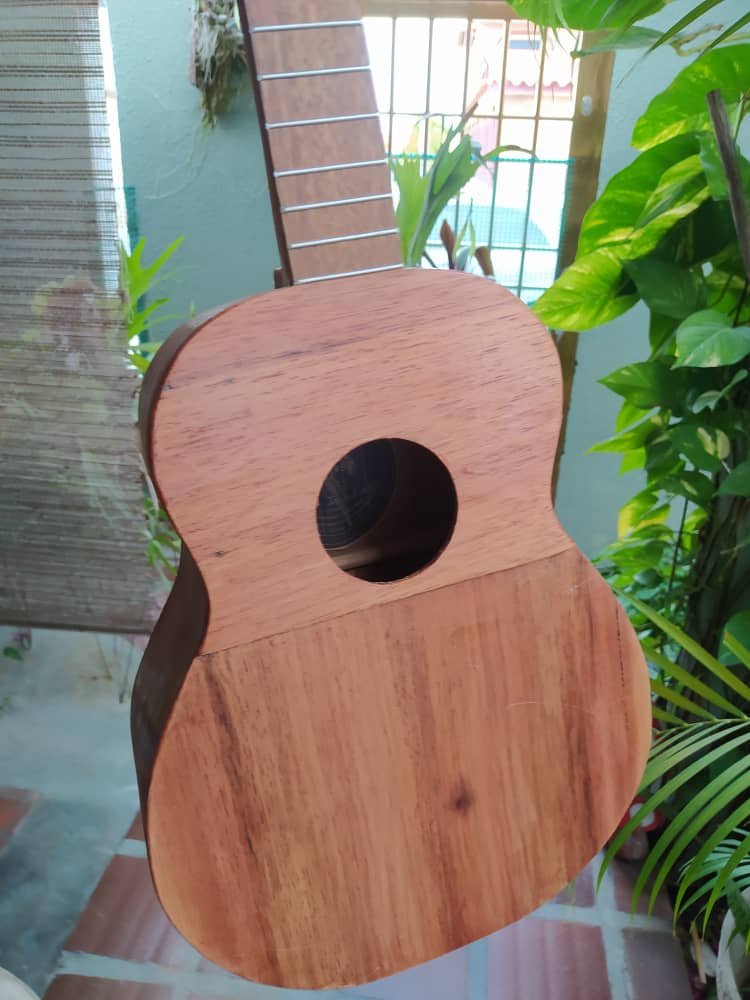
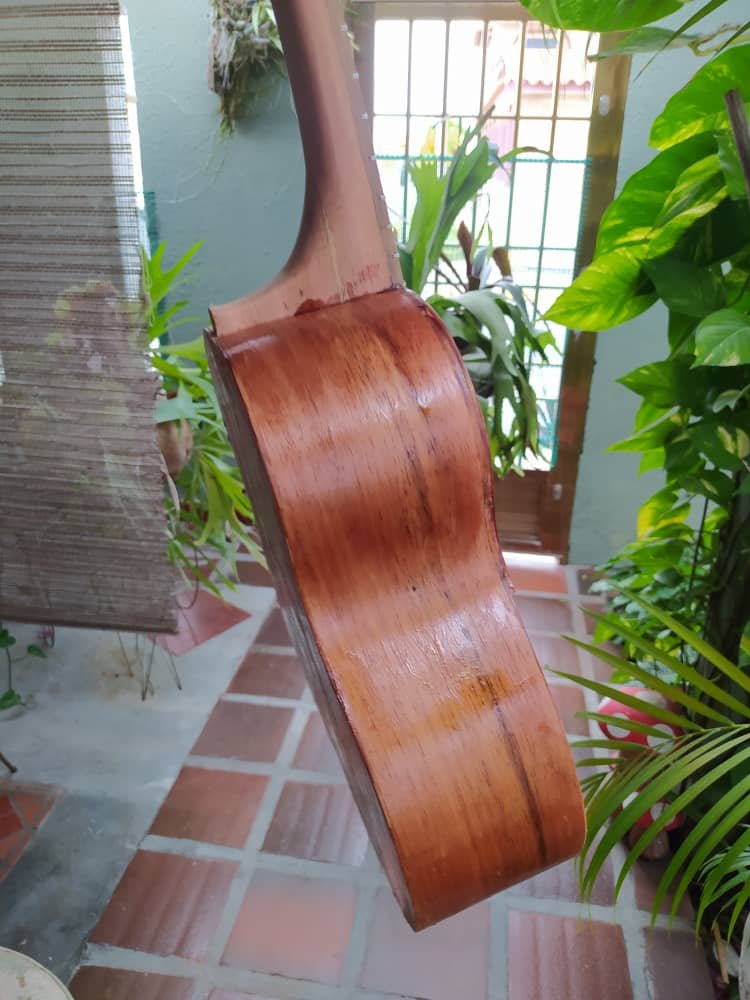
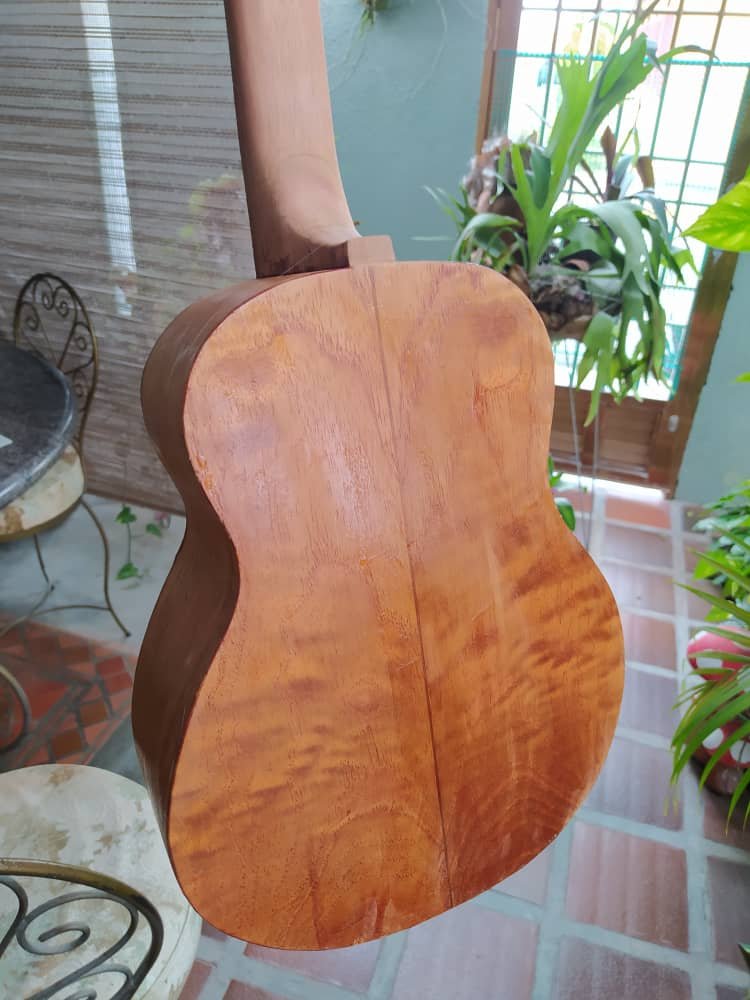
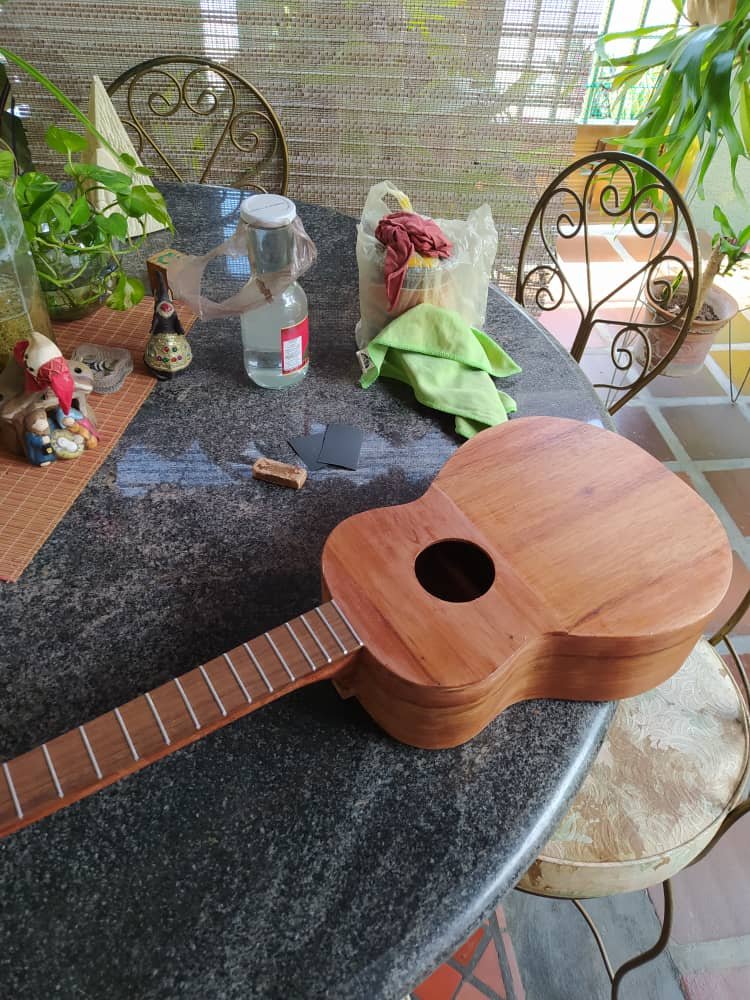
This is just the first round of sealant. After each hand, we need to let it dry and sand the whole instrument. The process is repeated until the surface of the instrument is ready to apply the finish.
Thank you for sharing this amazing post on HIVE!
Your content got selected by our fellow curator @rezoanulvibes & you just received a little thank you via an upvote from our non-profit curation initiative!
You will be featured in one of our recurring curation compilations and on our pinterest boards! Both are aiming to offer you a stage to widen your audience within and outside of the DIY scene of hive.
Join the official DIYHub community on HIVE and show us more of your amazing work and feel free to connect with us and other DIYers via our discord server: https://discord.gg/mY5uCfQ !
If you want to support our goal to motivate other DIY/art/music/homesteading/... creators just delegate to us and earn 100% of your curation rewards!
Stay creative & hive on!
Thanks a lot for your support!
Congratulations @bertrayo! You have completed the following achievement on the Hive blockchain and have been rewarded with new badge(s):
Your next target is to reach 69000 upvotes.
You can view your badges on your board and compare yourself to others in the Ranking
If you no longer want to receive notifications, reply to this comment with the word
STOPTo support your work, I also upvoted your post!
Check out the last post from @hivebuzz:
WOW!
🤣🤣🤣🤣🤣 eres un ARTISTA!!
Hago las veces! 🤣🤣🤣🤣