

Hello friends of #Hive and the @diyhub community, it's a pleasure to greet you. I hope you have a wonderful day. I'm sharing a new sewing project inspired by the characters of Splinterlands. It's a turquoise and gold placemat, taking inspiration from the colors of the character Scarred Llama Mage. He carries a rug with gold tassels and turquoise and fuchsia in the center. This placemat will match a tablecloth in the same colors, but instead of ruffles, it will have gold ribbon around the edges. It's a simple project to make and ideal for protecting tablecloths when serving food. I invite you to join me in the process.

Hola amigos de #Hive y comunidad @diyhub, es un placer saludarles, deseando que tengan un excelente día, les comparto un nuevo proyecto de costura inspirado en los personajes de Splinterlands, se trata de un individual color turquesa y dorado tomando como referencia los colores del personaje Scarred Llama Mage que lleva una alfombra con borlas doradas y en el centro los colores turquesa y fucsia, este individual hará juego con un mantel del mismo color, pero en lugar de colocarle volados, llevará una cinta dorada en los bordes, es un proyecto sencillo de hacer, e ideal para proteger los manteles cuando se sirve la comida, les invitan a acompañarme en el proceso de elaboración.


The materials used were:
Turquoise gabardine fabric
Gold taffeta fabric
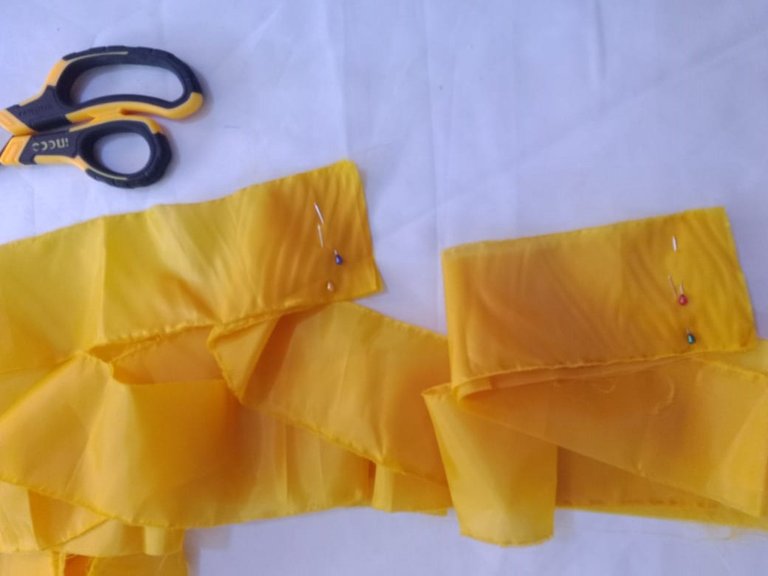
Pins
Scissors
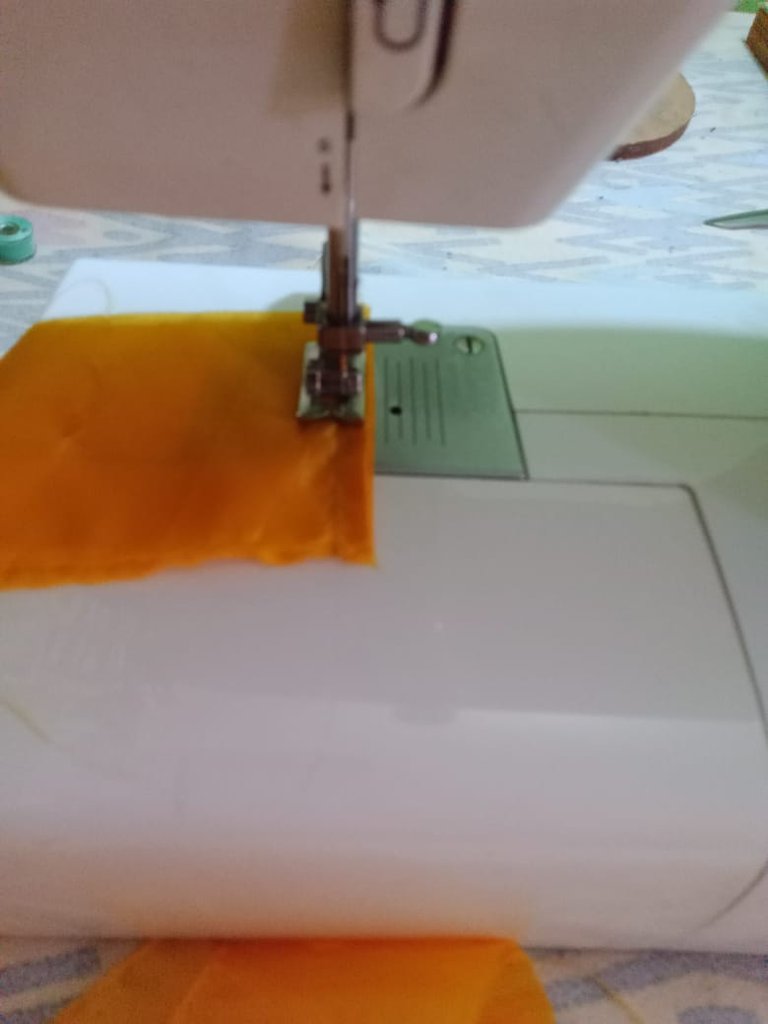
Sewing machine
Thread
Los materiales usados fueron:
Tela gabardina turquesa
Tela tafeta dorada Alfileres
Tijera
Máquina de coser
Hilo

Elaboration
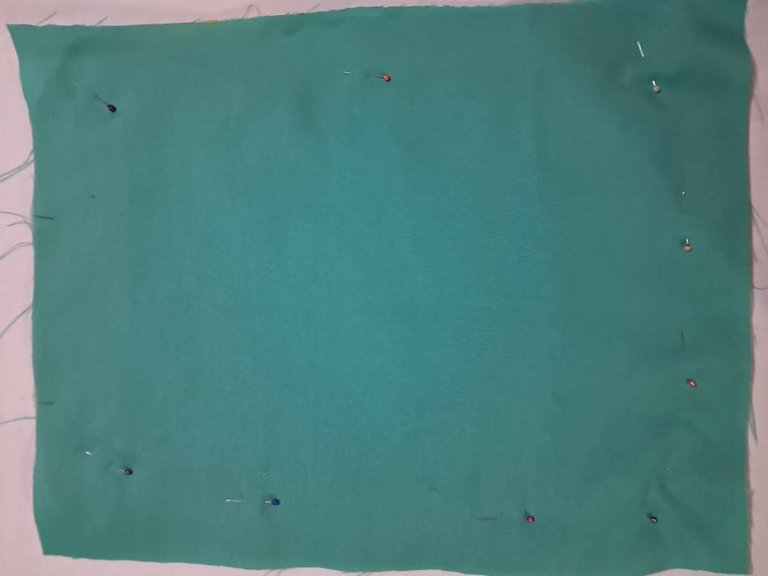
The first step was to cut three rectangles measuring 40 x 22 centimeters. One will be the lining, and the other two will form the front, as this will have straight seams for quilting.
Quilting allows the fabrics to remain firm and also adds a different style to the individual. Squares and diamonds are generally used for quilting, but to make it different I just passed six straight stitches that meet in the center to form a star or asterisk. These lines serve as decoration and also fix the main fabric and the center one.
Elaboración
El primer paso fue cortar tres rectángulos de 40 * 22 centímetros, uno de ellos será el forro y los otros formarán la parte delantera, ya que esta llevará costuras rectas para acolchar.
El acolchado permite que las telas queden firmes y además agregan un estilo diferente al individual, para acolchar se usan generalmente cuadrados y rombos, para hacerlo diferente solo pasé seis costuras rectas que coinciden en el centro hasta formar una estrella o asterisco, estas líneas sirven de adorno y también fija la tela principal y la del centro.

I also cut three 6-centimeter-wide strips to make the ruffles for the placemat. After cutting the strips, I placed them right sides together and joined them until I had 4.5 meters of ribbon.
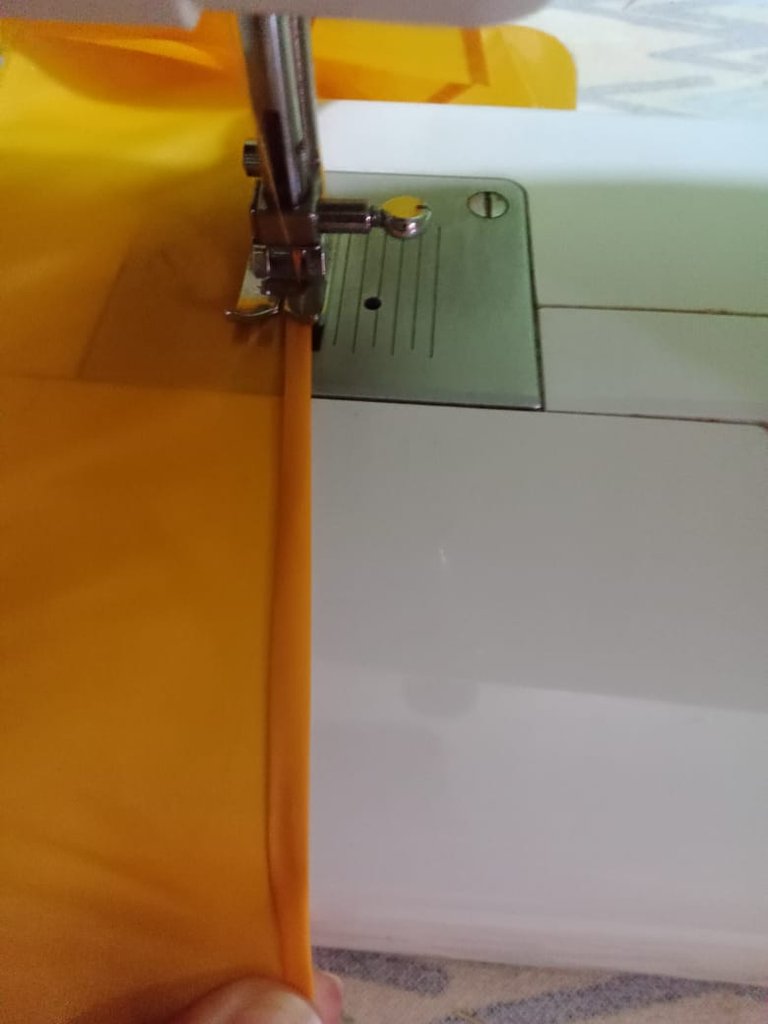
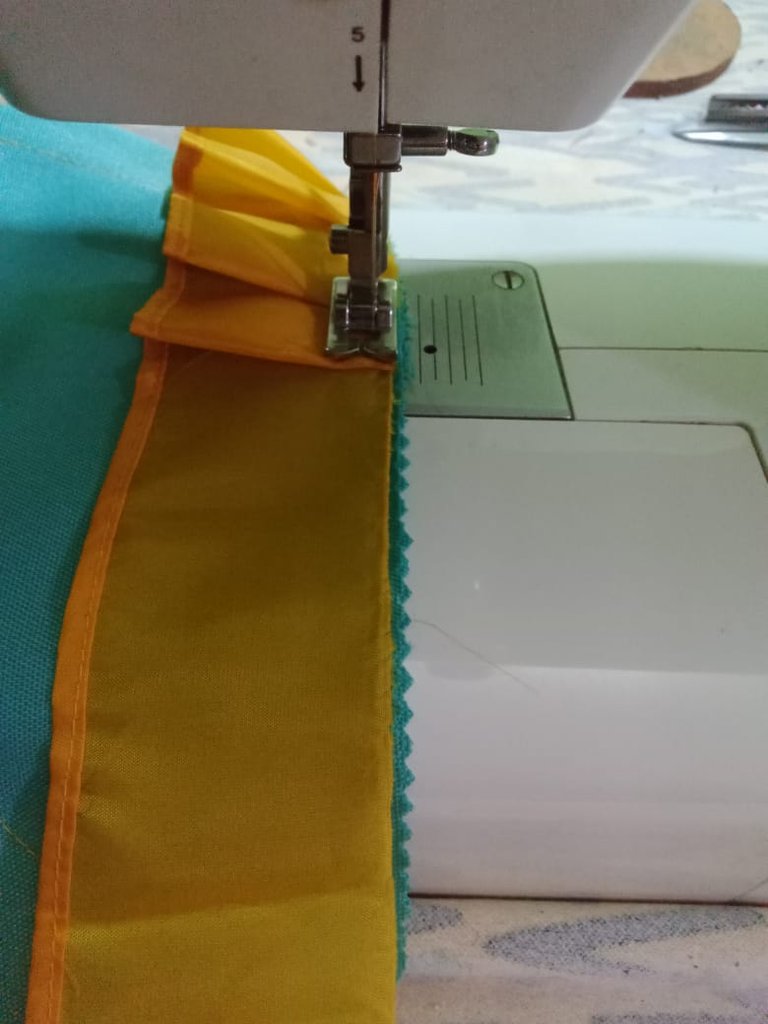
Once the ribbons were joined, the next step was to sew a hem of approximately 0.3 mm along the top edge.
Corté también tres tiras de 6 centímetros de ancho para hacer los volados, del individual, cortadas las tiras de las enfrenté por el derecho y uní hasta obtener 4.5 metros de cintas.
Unidas las cintas el siguiente paso fue coser un dobladillo en la parte superior de aproximadamente 0.3 mm.

Then I pinned the two rectangles that would form the main part of the placemat, sewed six straight seams in a star shape, and trimmed the excess fabric.
Luego sujeté con alfileres los dos rectángulos que serán la parte principal del individual, tracé seis costuras rectas, formando una especie de estrella y retiré el exceso de tela.


Next, I proceeded to attach the ruffle, placing the ribbon and fabric right sides together. I sewed pleats approximately 2.5 centimeters wide, continuing until the entire perimeter was covered.
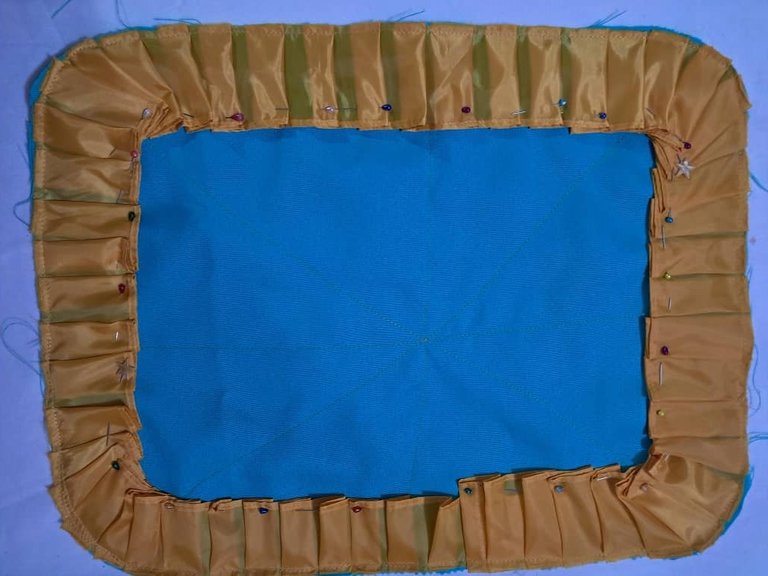
The sixth step was to attach the back piece. I pinned the ruffles to the top edge to make sewing easier and prevent them from folding or getting caught in the stitching. After pinning the ruffles, I placed both fabrics right sides together, pinned them, and sewed with a straight stitch, using the ruffle stitching as a guide.
Seguidamente procedí a colocar el volado o ruffle, enfrentando derecho con derecho la cinta y la tela, cosí haciendo tablones de aproximadamente 2.5 centímetros, continué hasta cubrir todo el contorno.
El sexto paso fue colocar la pieza posterior, sujeté con alfileres los ruffles en la parte superior, para que al momento de coser sea más sencillo y no se doblen o queden atascados con la costura, luego de colocar los alfileres en los ruffles enfrenté por el derecho ambas telas, fijé con alfileres y cosí con puntada recta, tomando como referencia la costura de los volados.


Once the sewing was finished, I carefully removed the excess fabric, took out the pins, turned the piece right side out, checked that the seams were in place, pinned them again, and closed the opening with a straight stitch. With these simple steps, a beautiful turquoise and gold placemat inspired by the characters of Splinterlands is finished.
Terminada la costura, retiré el exceso de tela con mucho cuidado saqué los alfileres, volteé la pieza, verifiqué que las costuras estuviesen en su lugar, coloqué alfileres y cerré la abertura con puntada recta, con estos sencillos pasos está terminado un hermoso individual en color turquesa y dorado inspirado en los personajes de Splinterlands


Placemats are the perfect accessory for holding plates and pitchers at mealtimes, preventing food scraps from staining the tablecloth. They're also useful for decorating the tablecloth and are often made to match it. If the tablecloth is patterned, you can make a solid color, or if it's patterned, you can use one of the patterned colors for the placemats and then trim the edges with the patterned fabric.
It's also recommended to add a waterproof layer in the center, as this prevents water or other liquids from seeping through to the table, providing greater protection. I didn't have any waterproof fabric on hand this time because it was used in a previous project, but adding a waterproof layer in the center is an excellent option. Alternatively, if you can find printed waterproof fabric at the store, you can use it directly to make the placemats. Simply place the two pieces right sides together, sew on bias tape, and you'll have a simple and useful placemat ready to go.
Los individuales son un accesorio perfecto para colocar los platos y jarras, al momento de comer y evitar así que los restos de comidas que quedan en la mesa manchen el mantel, también son útiles para decorar el mantel y regularmente se hacen a juego con este, cuando son estampados se puede hacer el mantel unicolor o si el mantel es estampado se puede tomar uno de los colores de este para hacer los individuales y colocar los bordes con la tela estampada del mantel.
También es recomendable, colocarle tela impermeable en el centro, ya que esta evita que el agua o los líquidos pasen a la mesa brindando así una mayor protección, en esta ocasión no tenía tela impermeable pues se usó en un proyecto anterior, pero es una excelente opción colocar tela impermeable en el centro, o si se consigue en la tienda telas impermeables con estampado, se pueden usar también directamente para hacer los individuales solo enfrentamos las dos piezas, se coloca un sesgo y así estará listo un sencillo y útil individual.
Blessings!
Bendiciones!
Hasta luego!
Translated with https://www.deepl.com/translator
              All images are my own.


   Todas las imágenes son de mi autoría.
Posted Using INLEO
Thanks for sharing this wonderful art of sewing with us in the form of beautiful style skills. It has a comfortable feeling to sit here.
Such a lovely comment. Well done
selected by @stevenson7
Thank you sir 👍
Hi @mdakash62, thanks for your kind comment! This project is great for protecting tables and tablecloths. I love the color combination; turquoise looks fantastic with gold.
Have a wonderful day!
Very good thank you friend.
Greetings!
Thank you for your support.
Delegate Tokens and HP to Fallen Angels to earn weekly rewards!
Delegate | Join to the guild
Thank you so much for your support.
quedo genial, un gran trabajo
It turned out great, great job
Saludos amiga, me alegra que te haya gustado, la combinación de colores es hermosa.
It is charming and beautiful. It is good to see each step of making this. Nice work! Keep it up!
selected by @rezoanulvibes
Greetings @diyhub and @rezoanulvibes, thank you for your support, it's a simple project to make and useful in the kitchen.
Quedo muy bonito 😊
Me alegra que te haya gustado, los colores se ven geniales 😍❤️
Saludos!
Thanks for sharing! - @cieliss

Thank you for your support.
Have a great weekend!