.jpg)
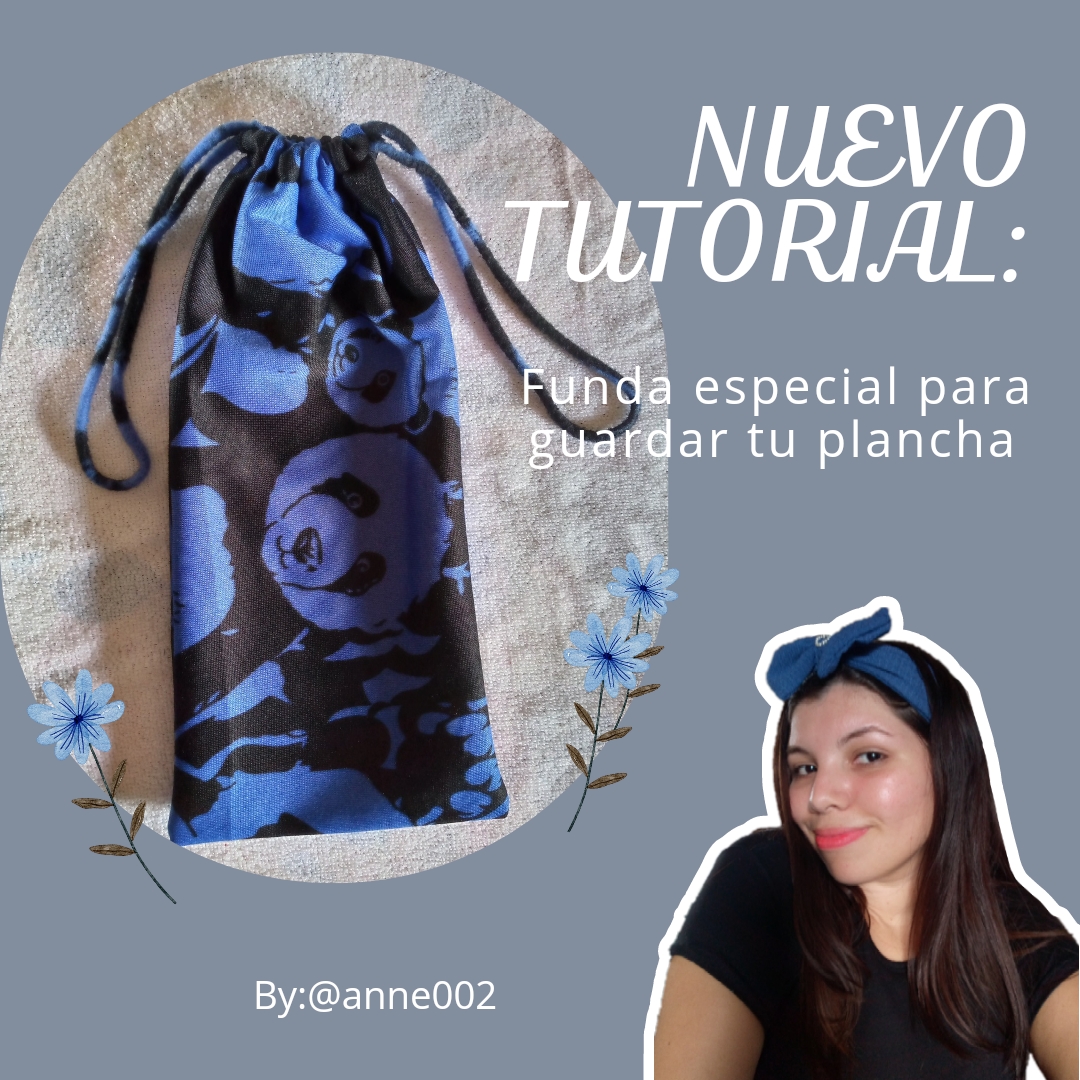
Hey friends, happy and beautiful night have you all, I was just finishing making this incredible and brilliant idea, if you are a girl, you have a hair straightener, you use it and you don't know where to store it, I will bring you this idea in five minutes 🤭💡yes, how to make and make with your hands this great super soft cover so that you can keep it without it getting damaged by not having a lining, or as in my case the previous lining was already damaged and I wanted to renew it, I learned how to do it much easier and today I will be giving you the techniques to do it if that is the case.
To make this cute cover I used a piece of fabric that I had saved, it is a thick pants fabric special for the cold or as we call it, monkey fabric, this fabric is super soft and fluffy on the inside so I said that it is special to make a lining for my iron since it is thick and it is also perfect so that the iron does not have so much contact with the surface and gets hit or damaged, so if you have a piece of this fabric believe me that this very soft and pretty lining will look great on you, so let's go straight to the materials and the process.
.jpg)
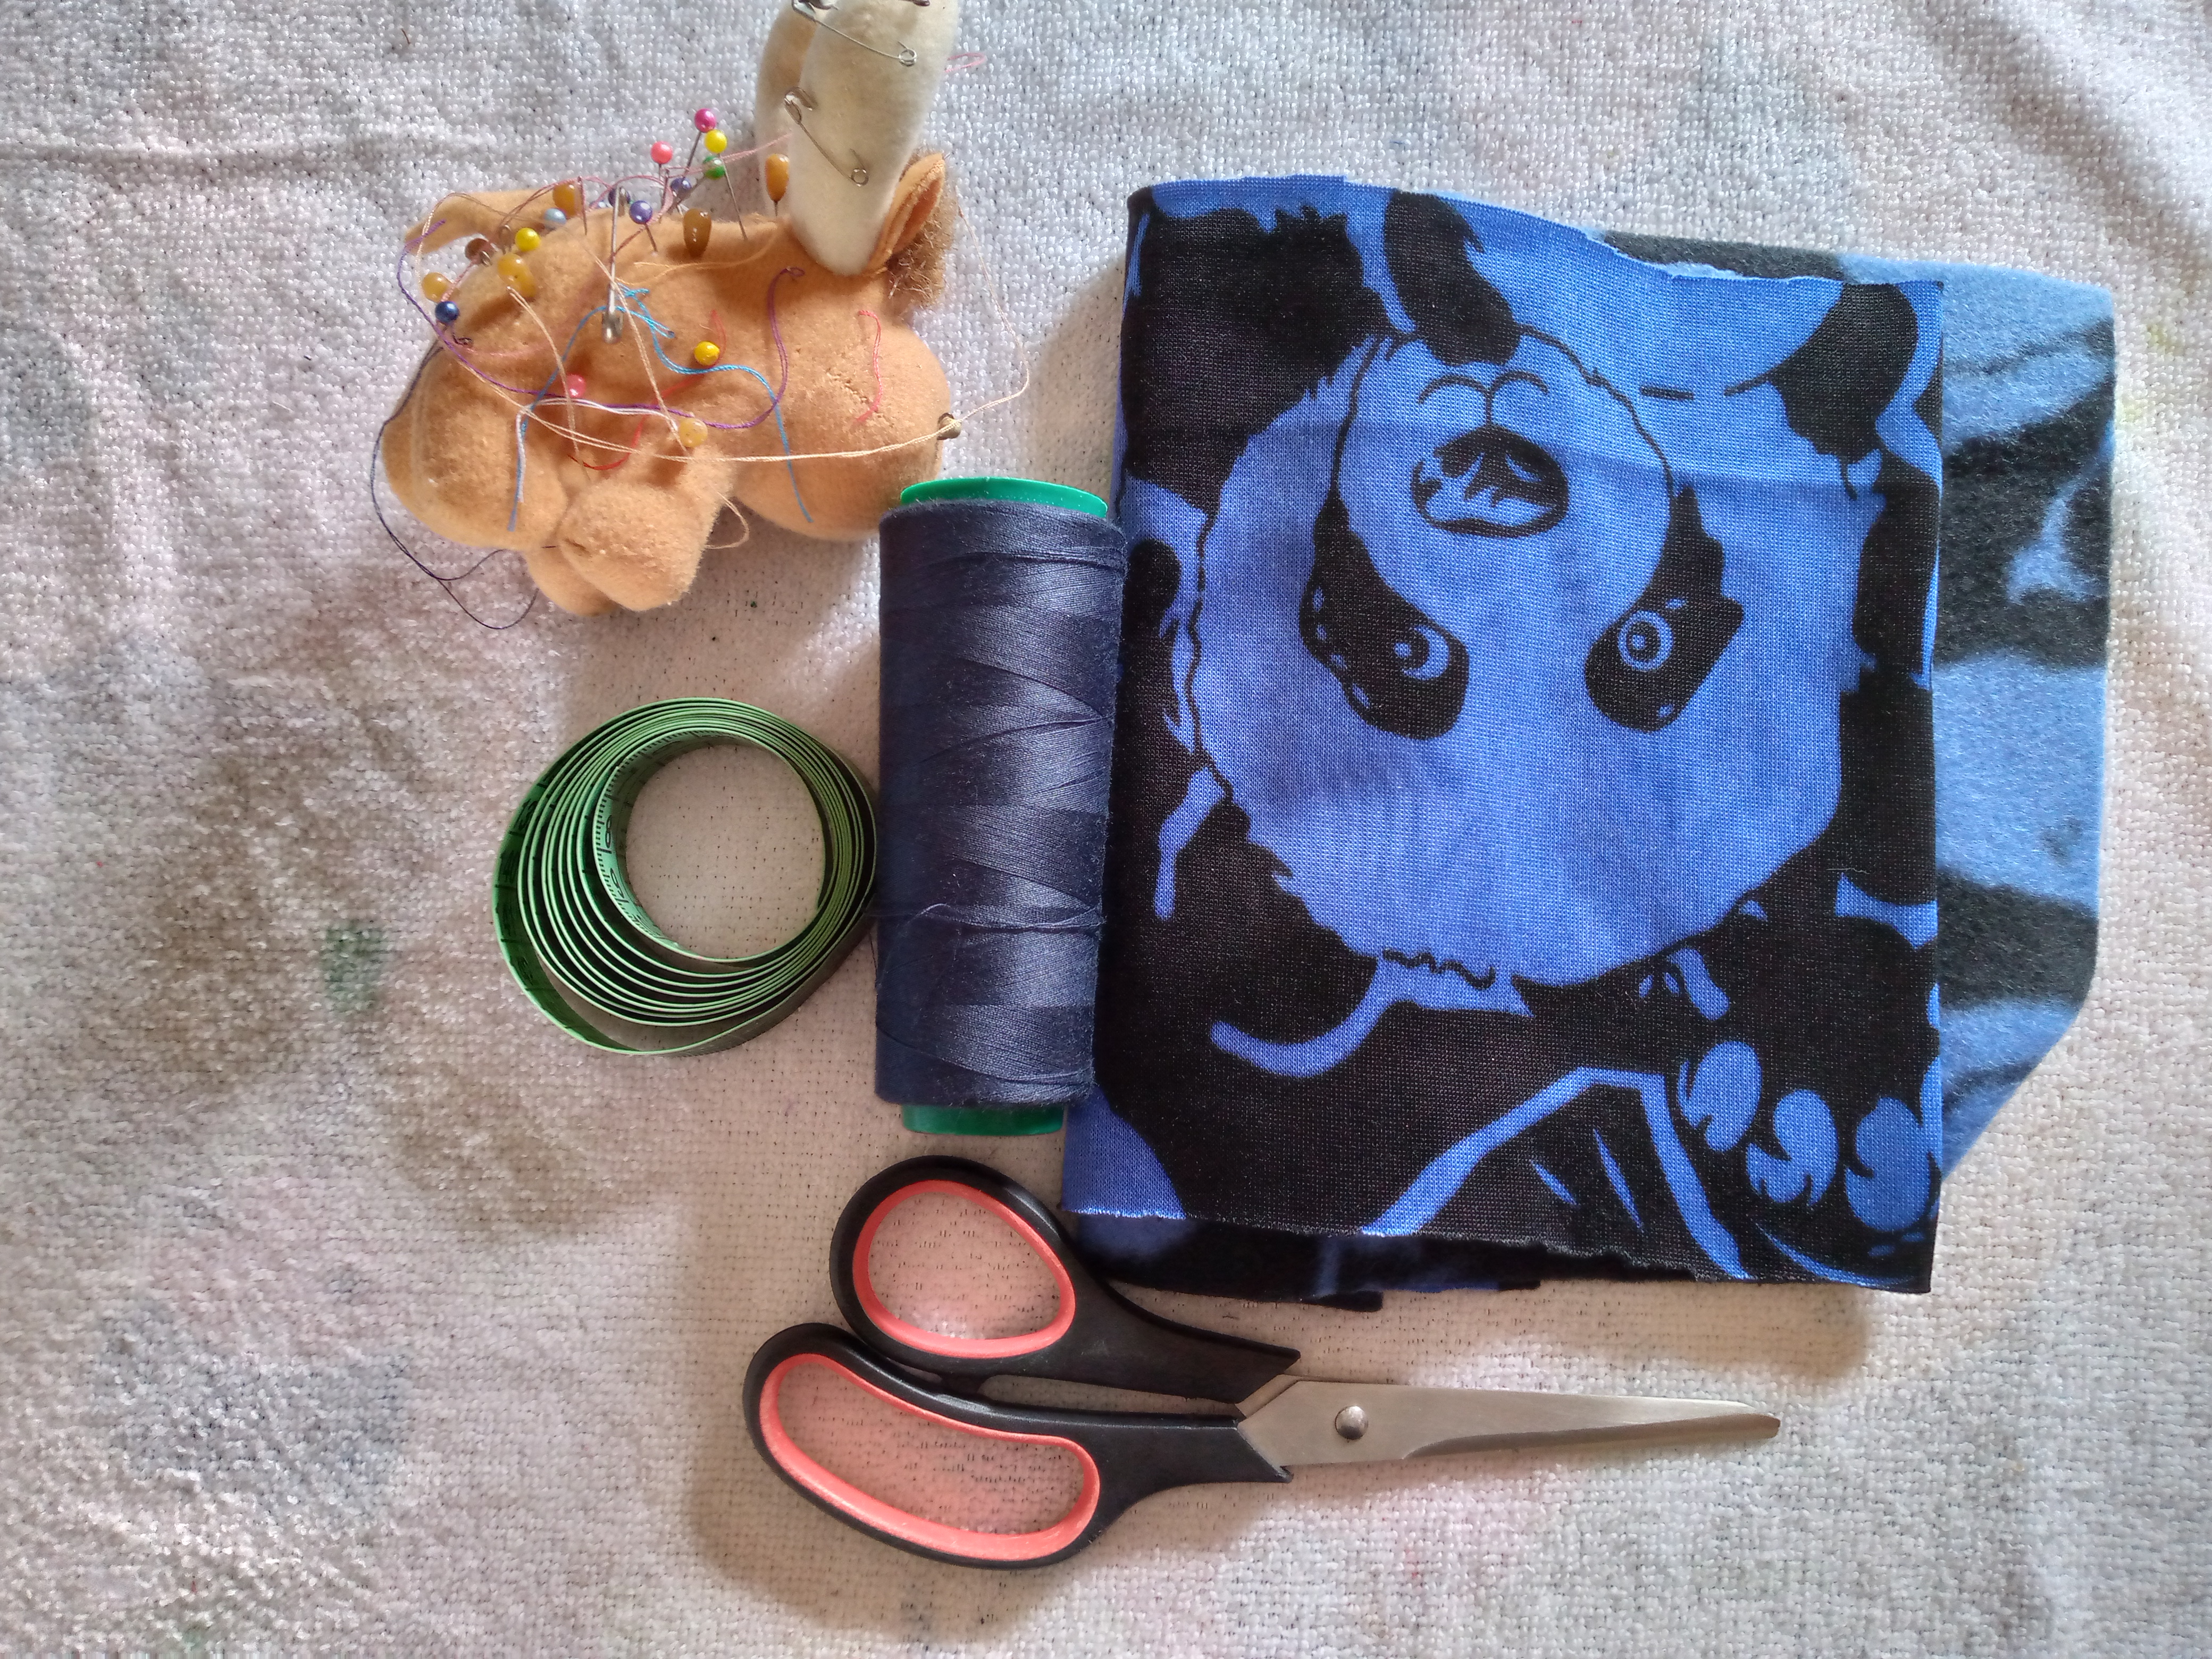
💙Materials:💙
- Scraps of fabric
- Scissors
- Sewing chalk
- Tape tool
- Pins
- Sewing machine
- Thread
- Tape measure
.jpg)
💙Procedure:💙
Step 01
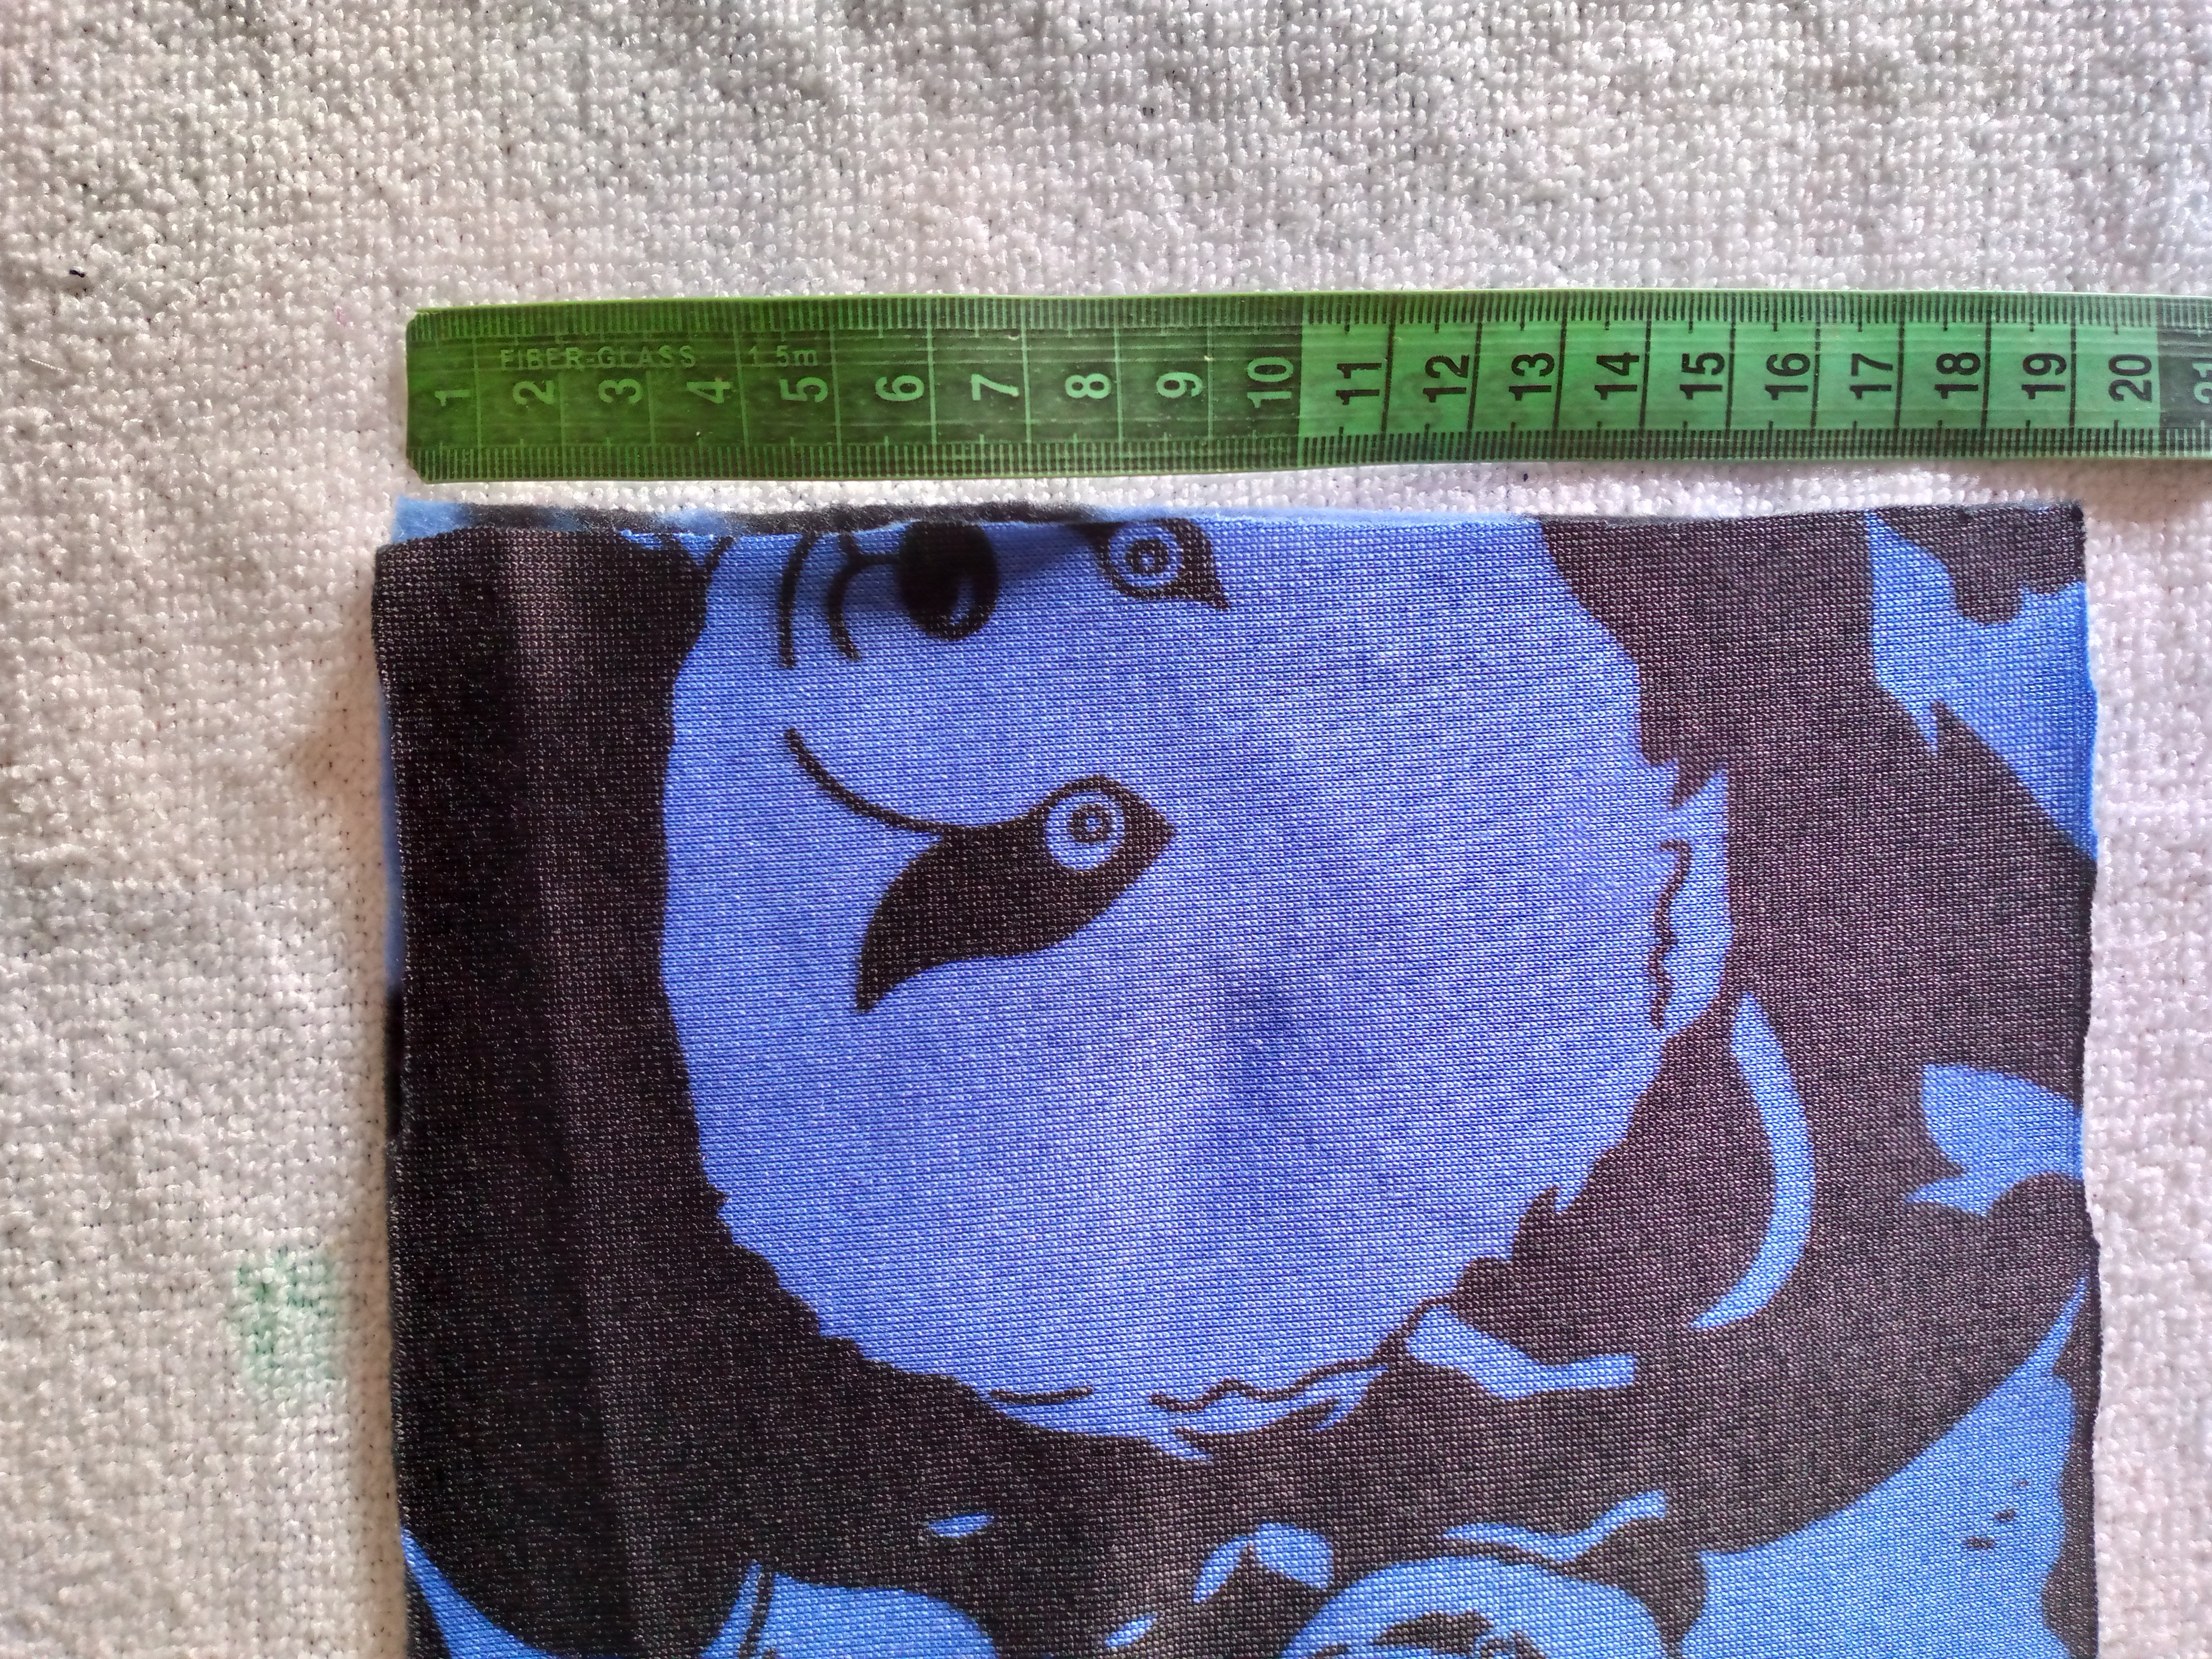
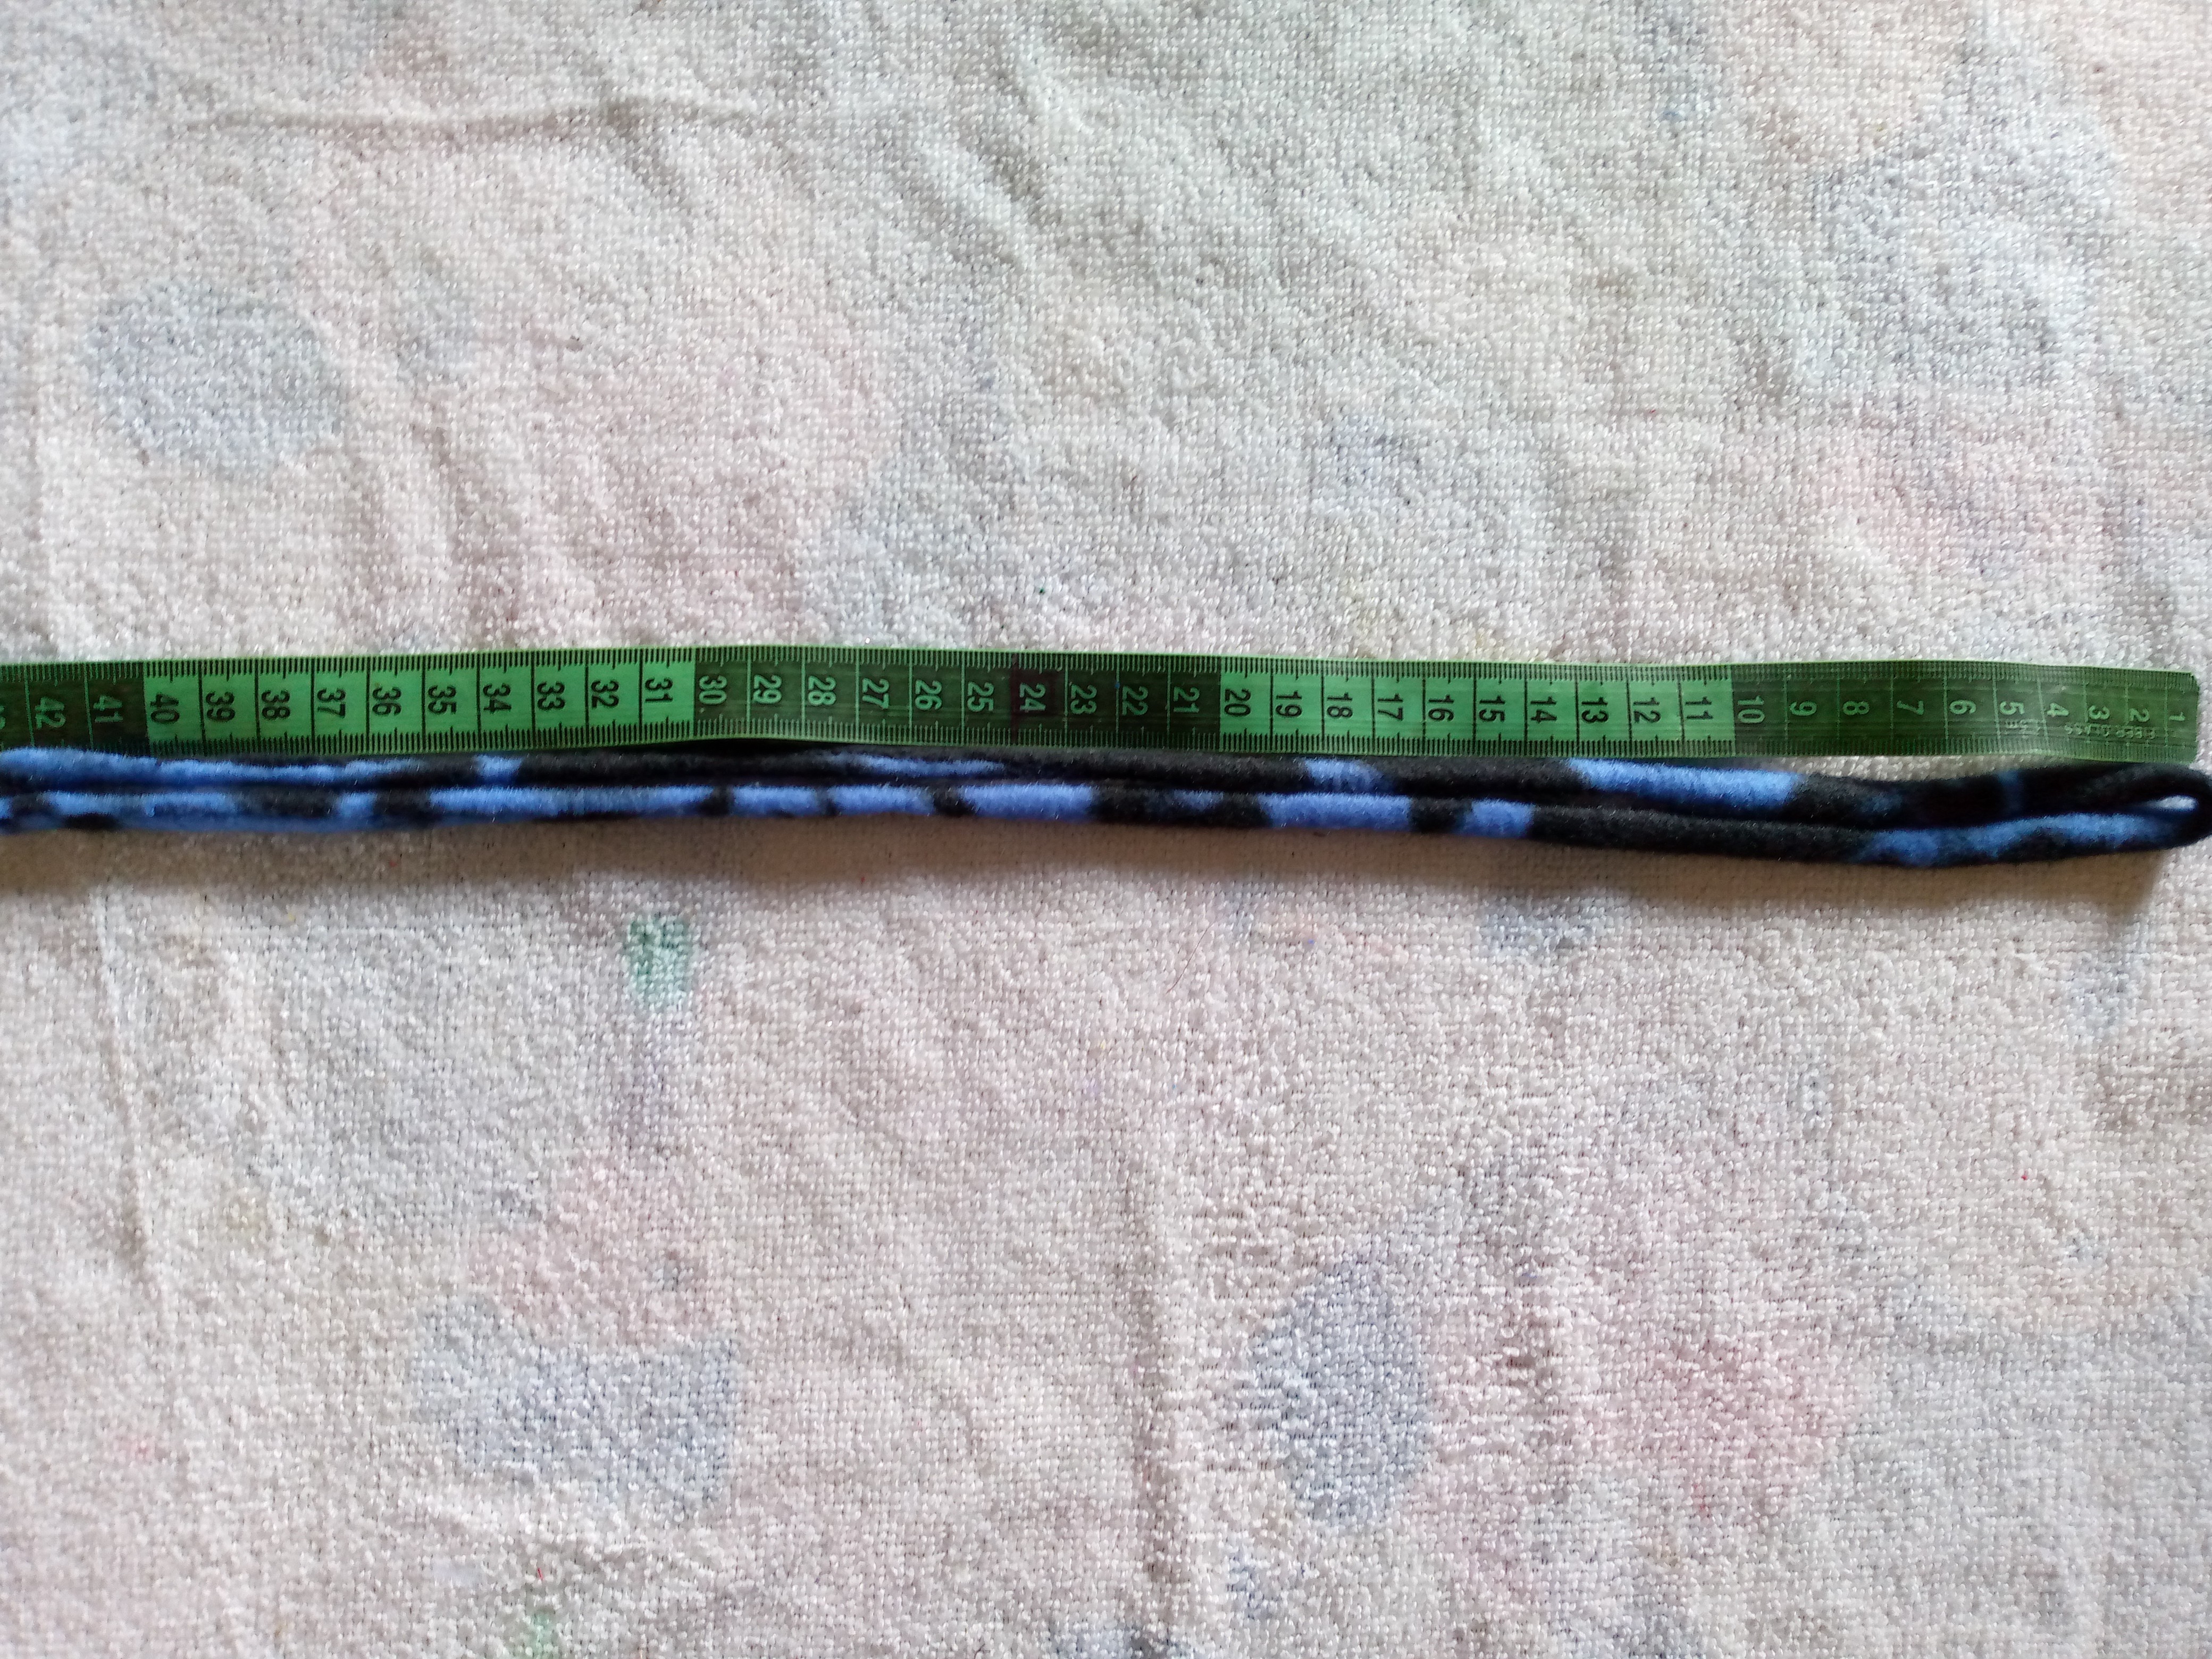
Well, we are going to start by cutting a rectangle measuring 38 cm long x 19 cm wide. We will also cut a strip or cord of the same fabric measuring 43 cm long and we will stretch it as much as we can. We will use this to adjust our lining so that the iron stays in there and does not come out accidentally.
.jpg)
Step 02
Start marking the piece since we are going to sew it where we mark it, but first I will hold my lining with the help of my pins so that it does not roll away, then with the help of our chalk we are going to mark it and we will make a small hem of about 1 cm and then we will mark in the corner of the lining with the chalk there we will mark the centimeter, the same way we mark the centimeter on the other side, these folds that we made there are where we will finally insert our cord.
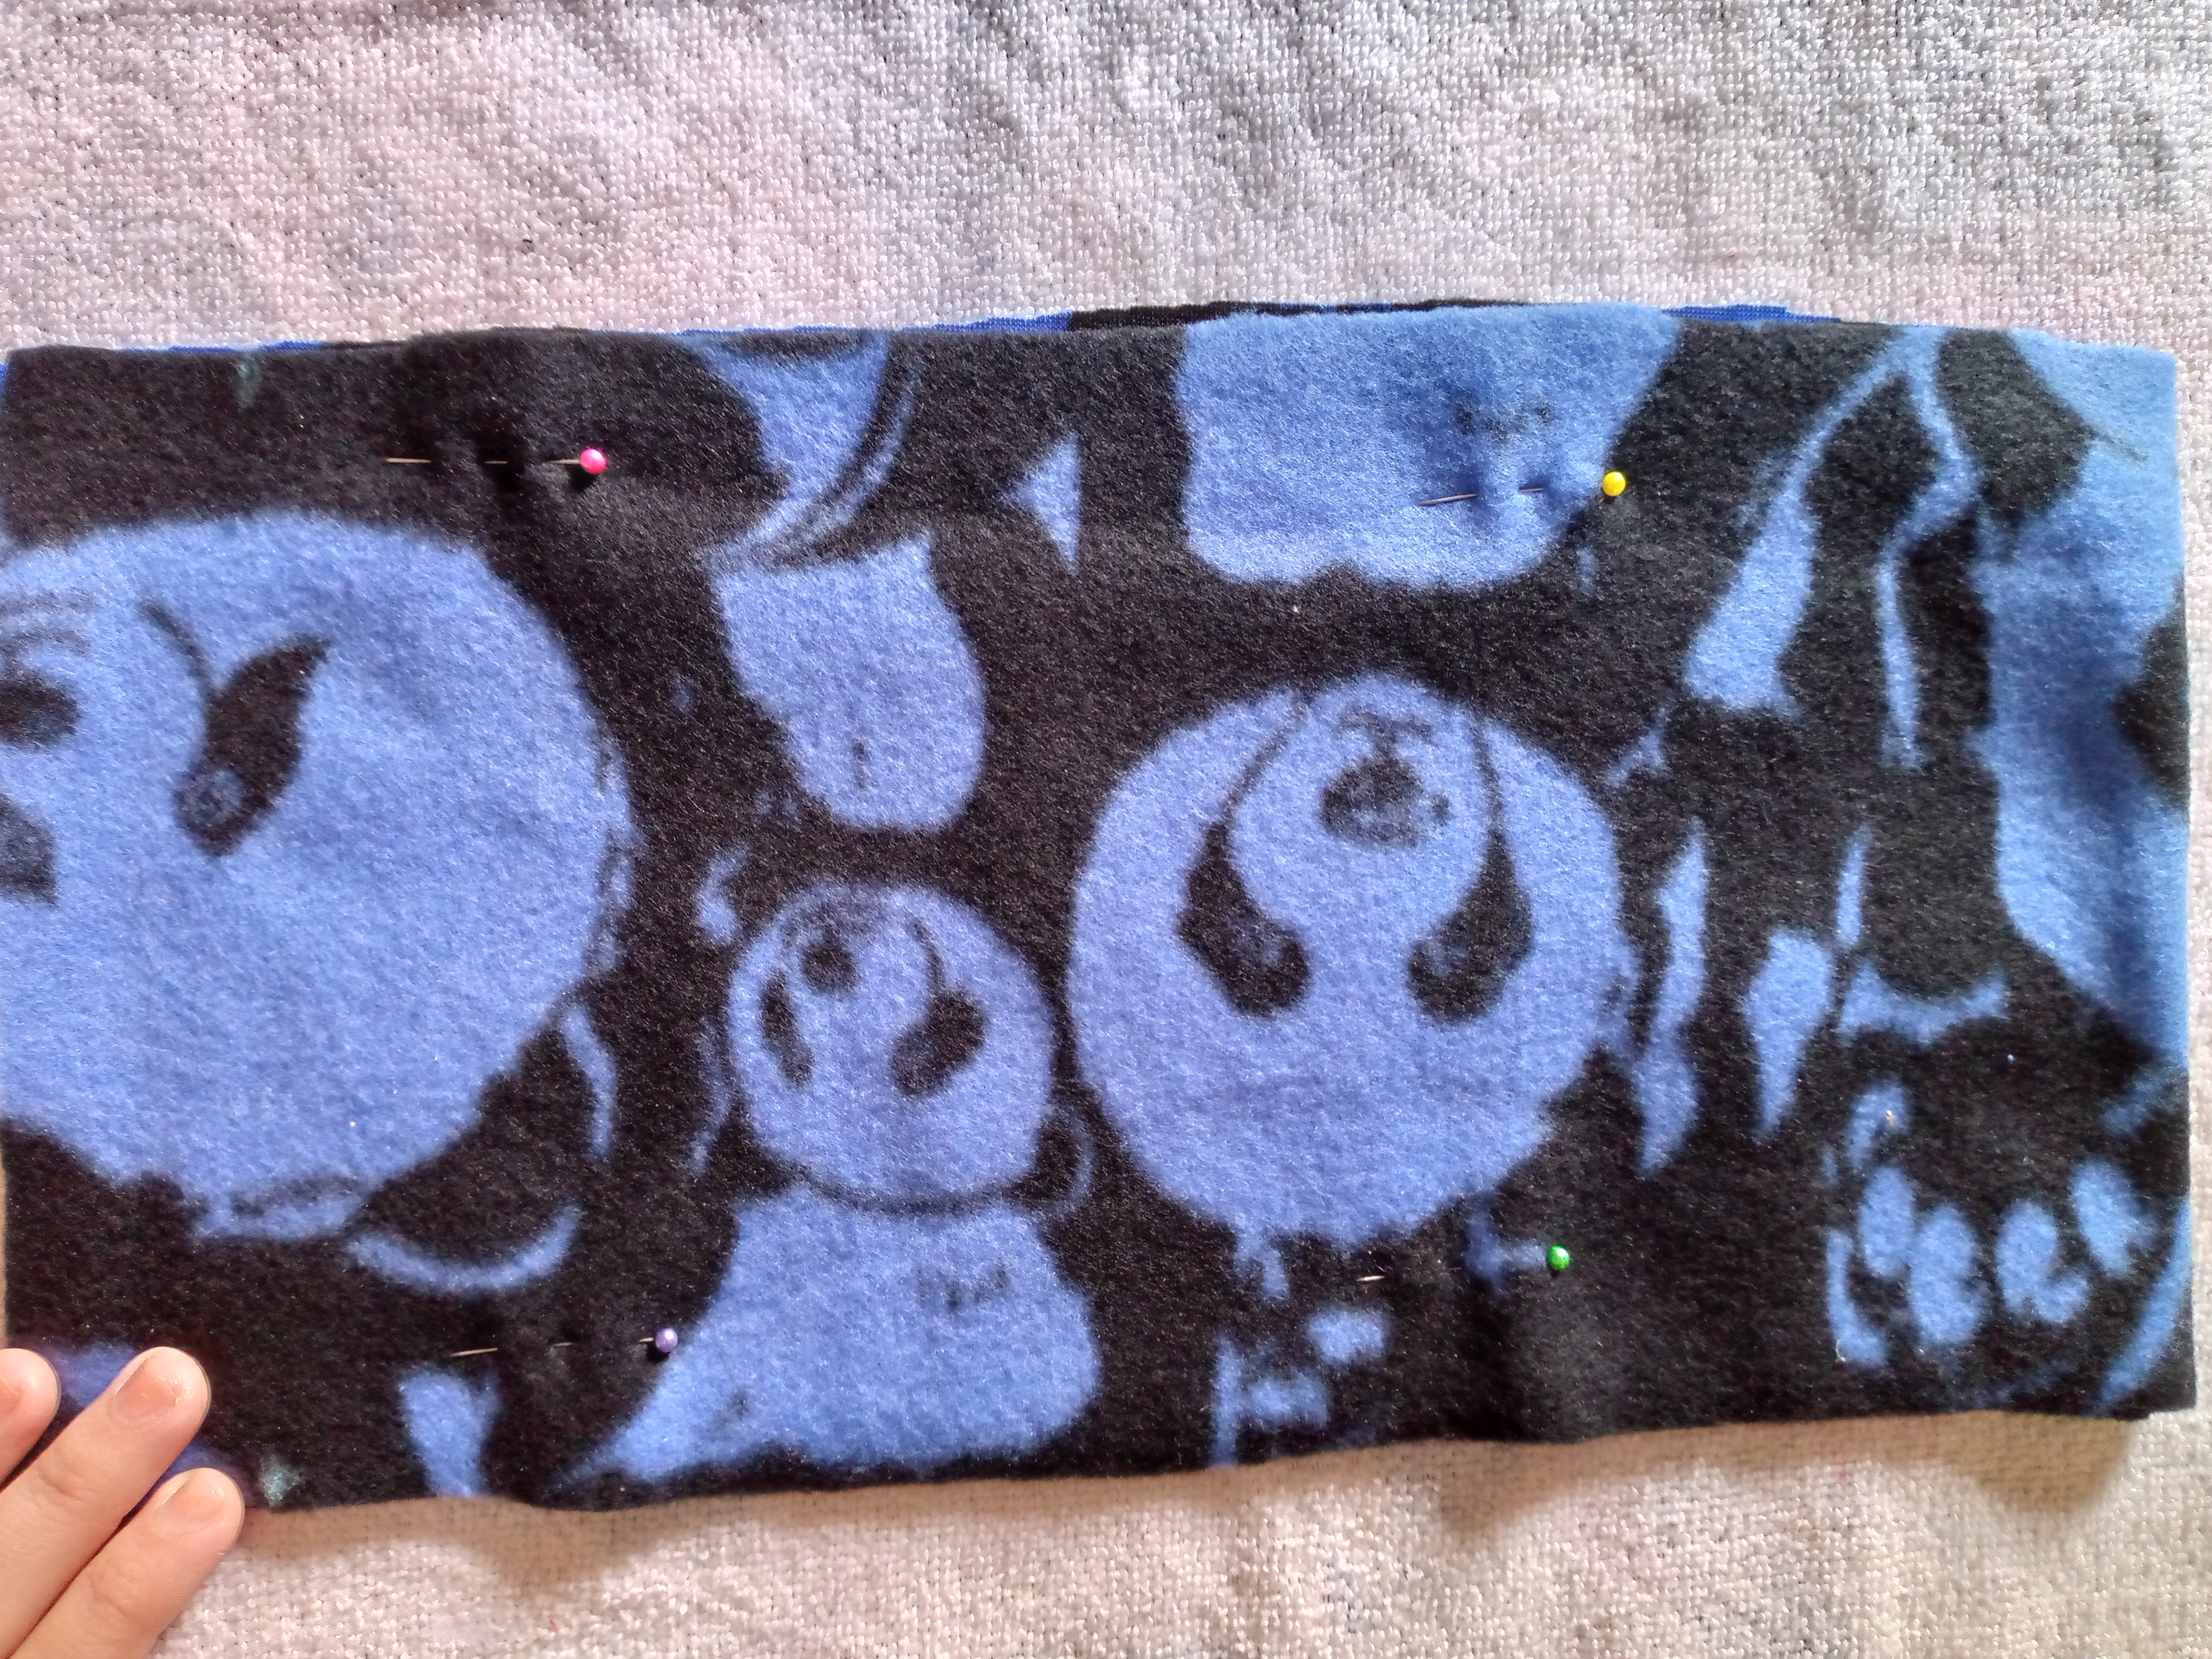
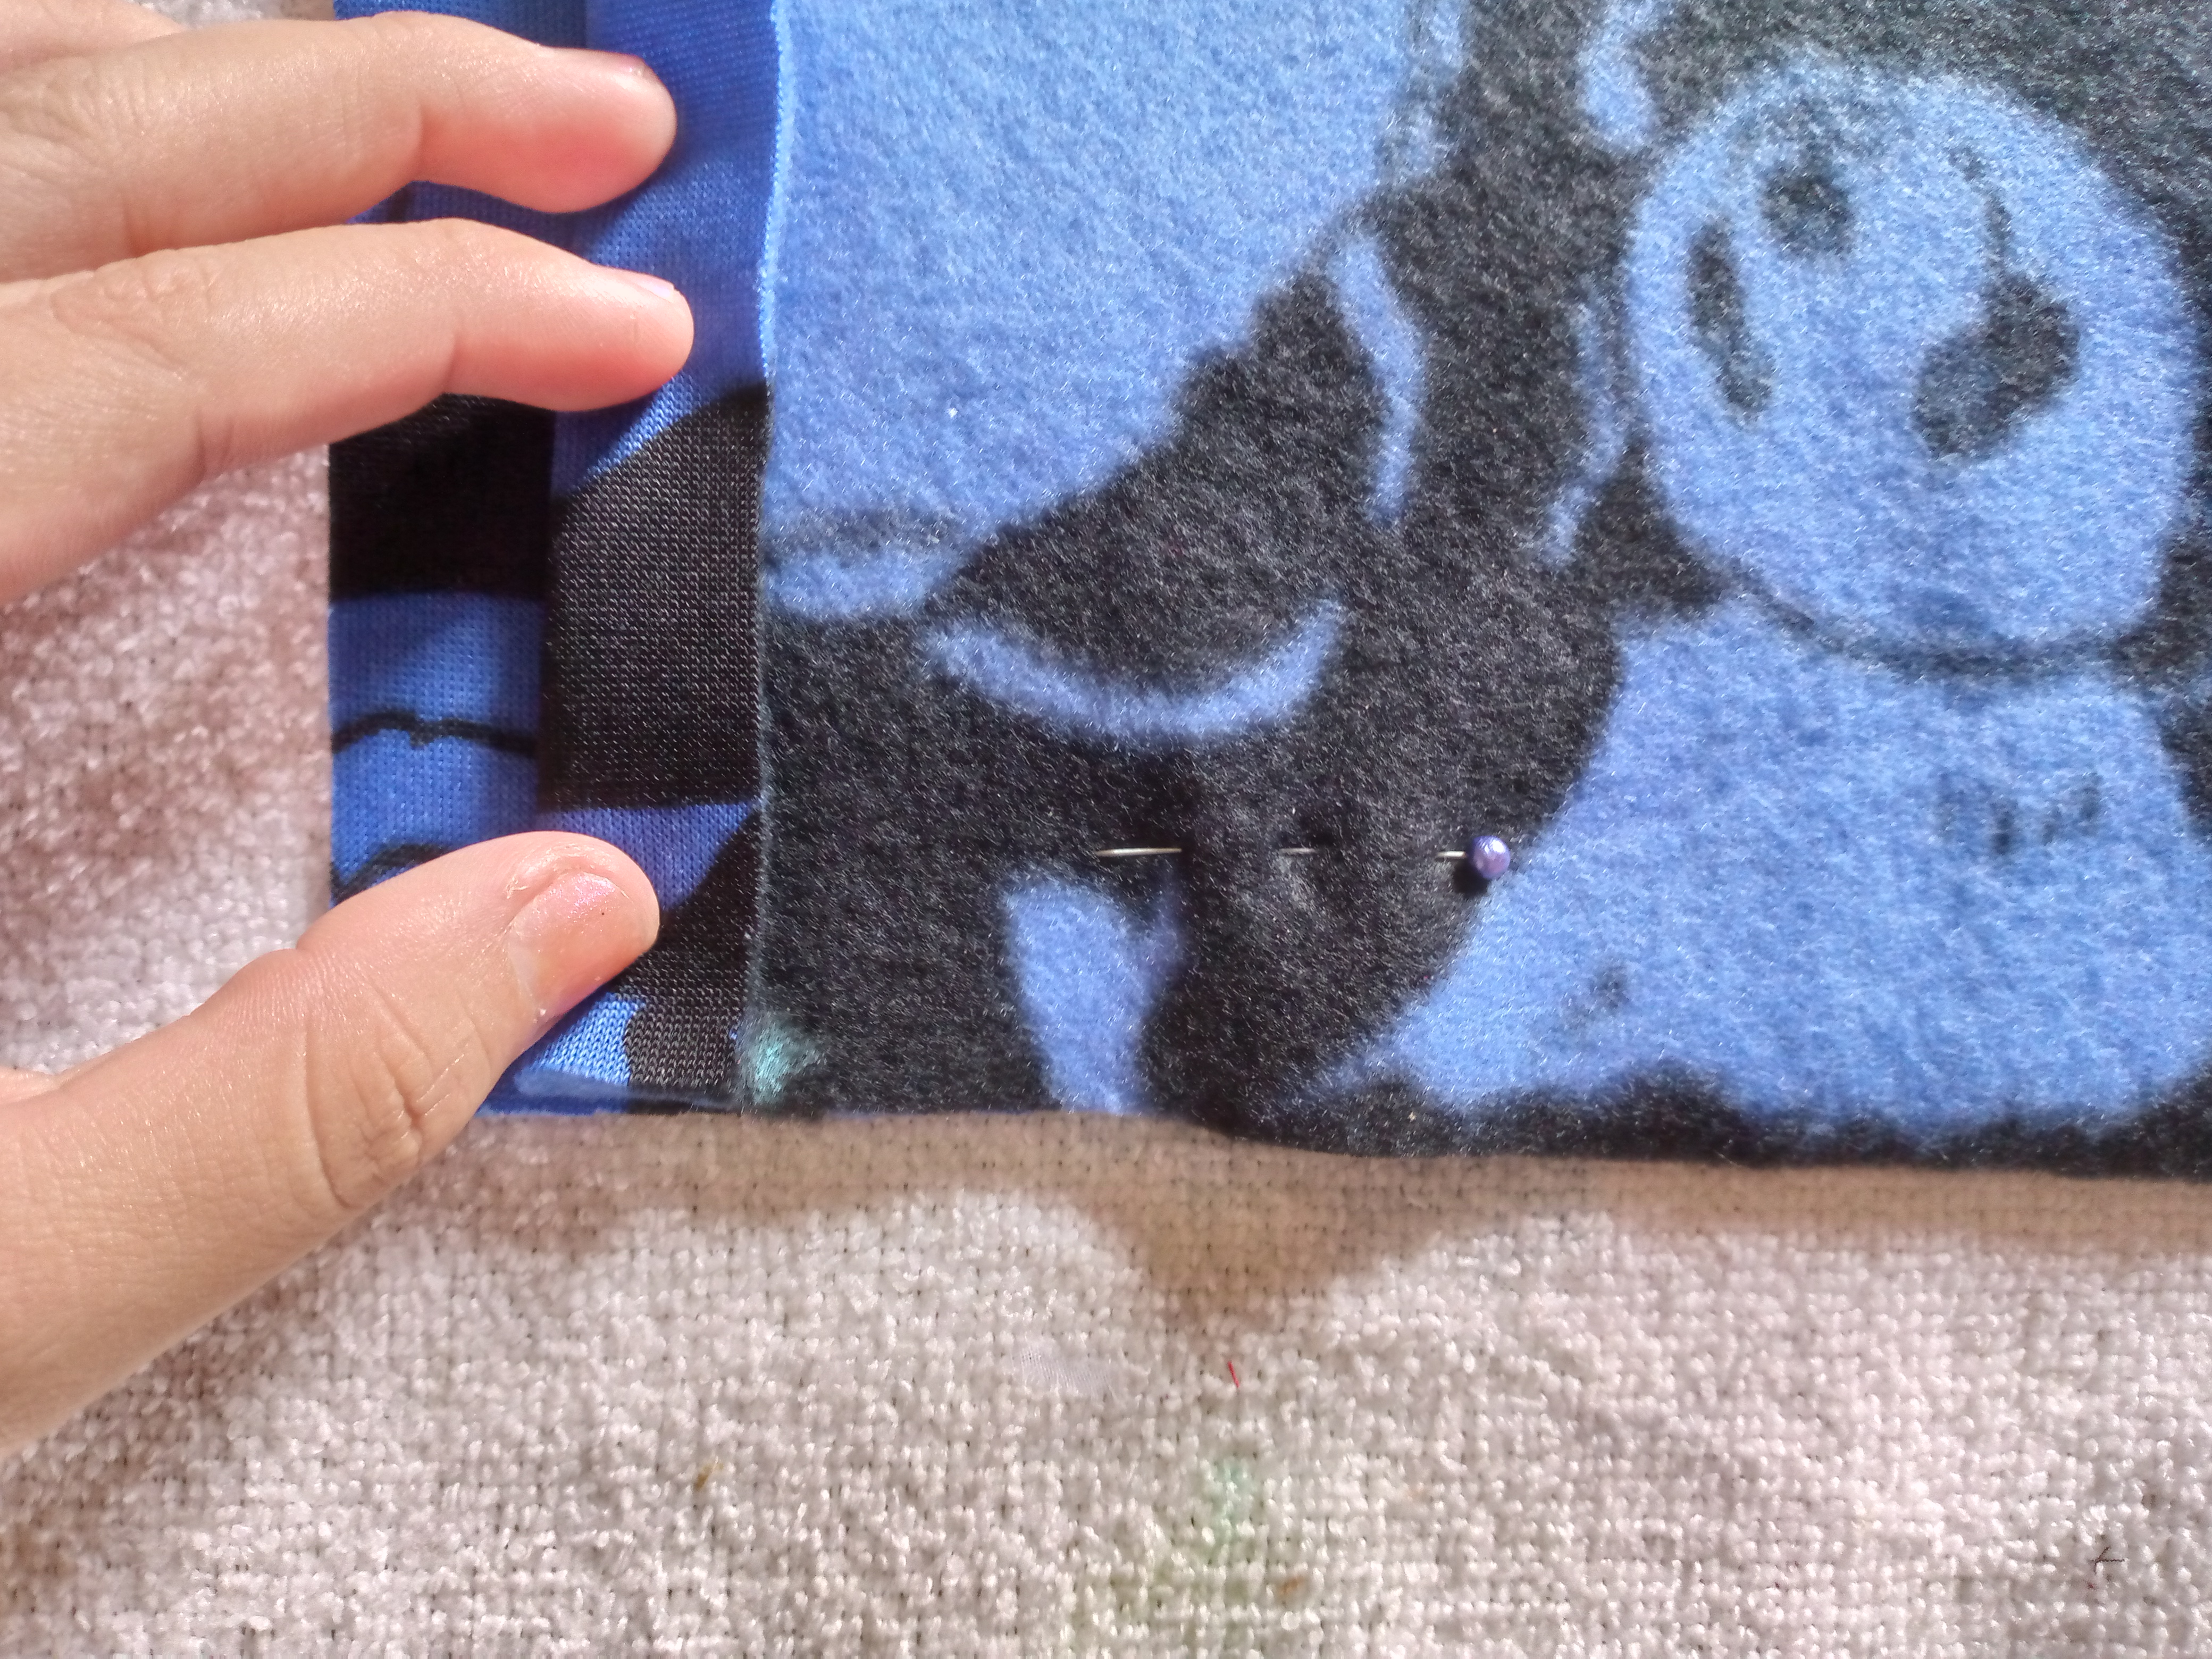
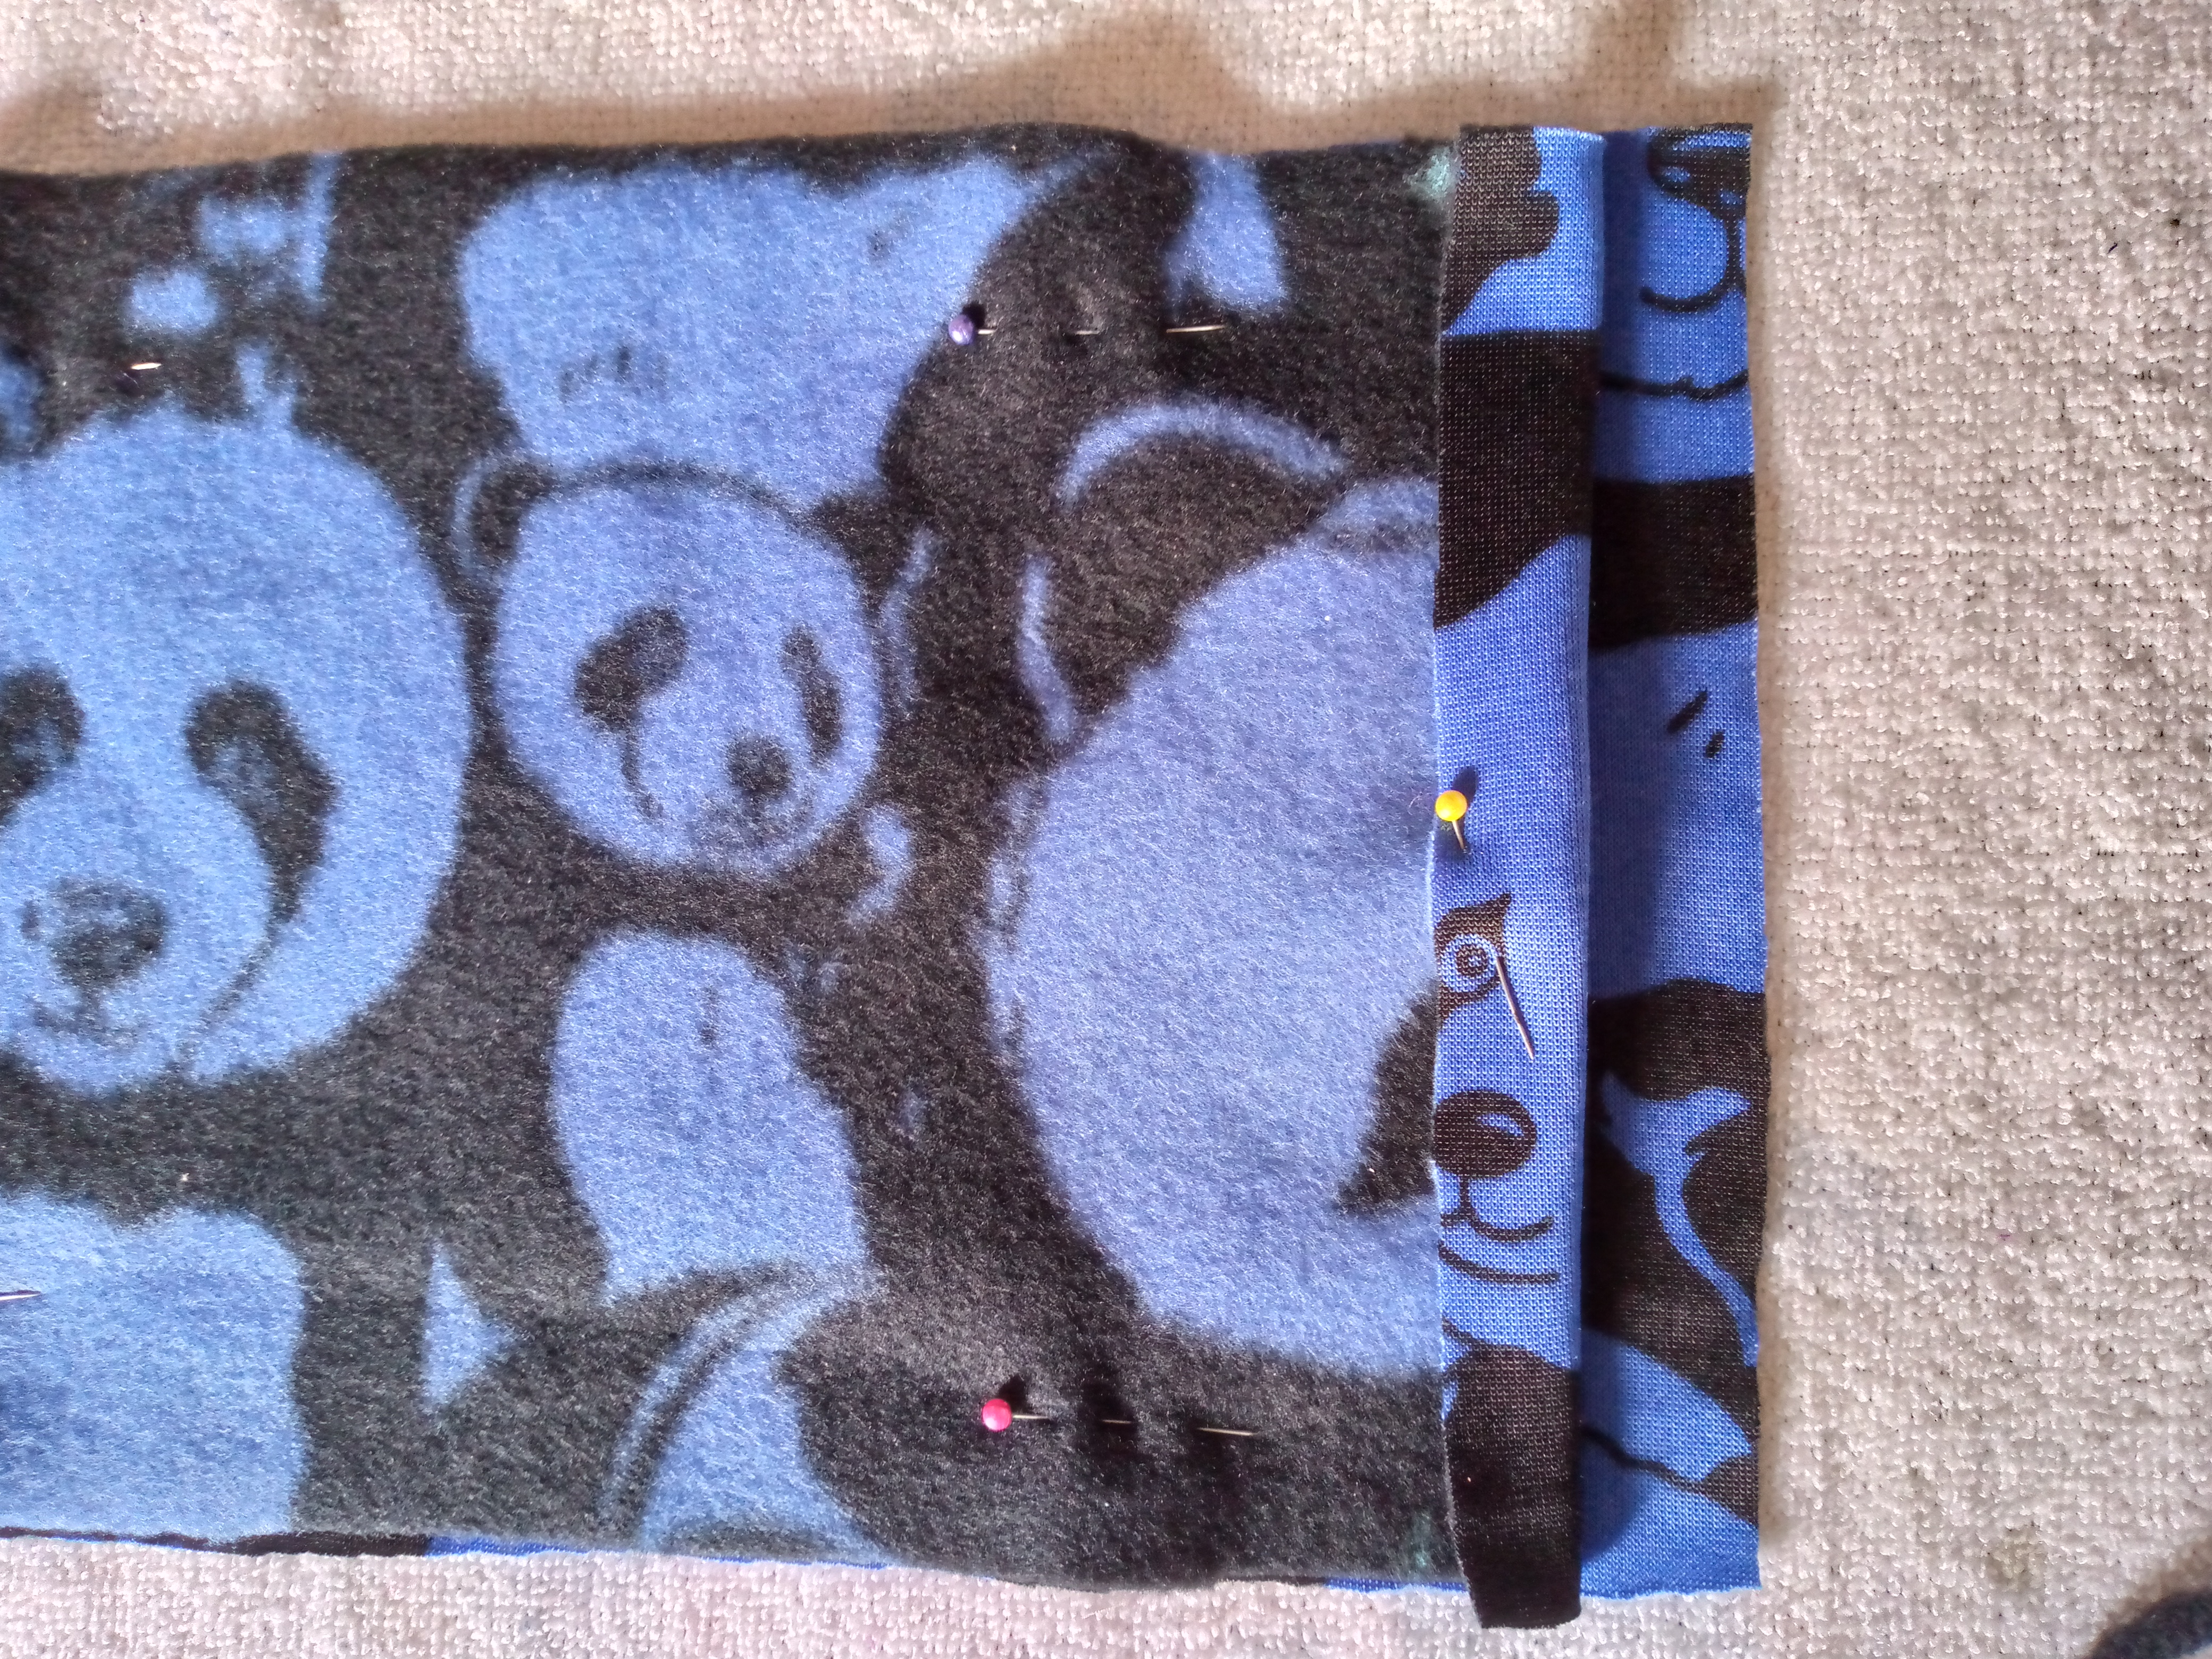
Step 03
We then go directly to sewing our lining, then we will sew with a zig zag on the hems only the edges, then we will be like about 4 cm from where we marked with the chalk towards the end of one of the hems we also sew with a zig zag to finish this part once this is done we sew the hems with a zig zag.
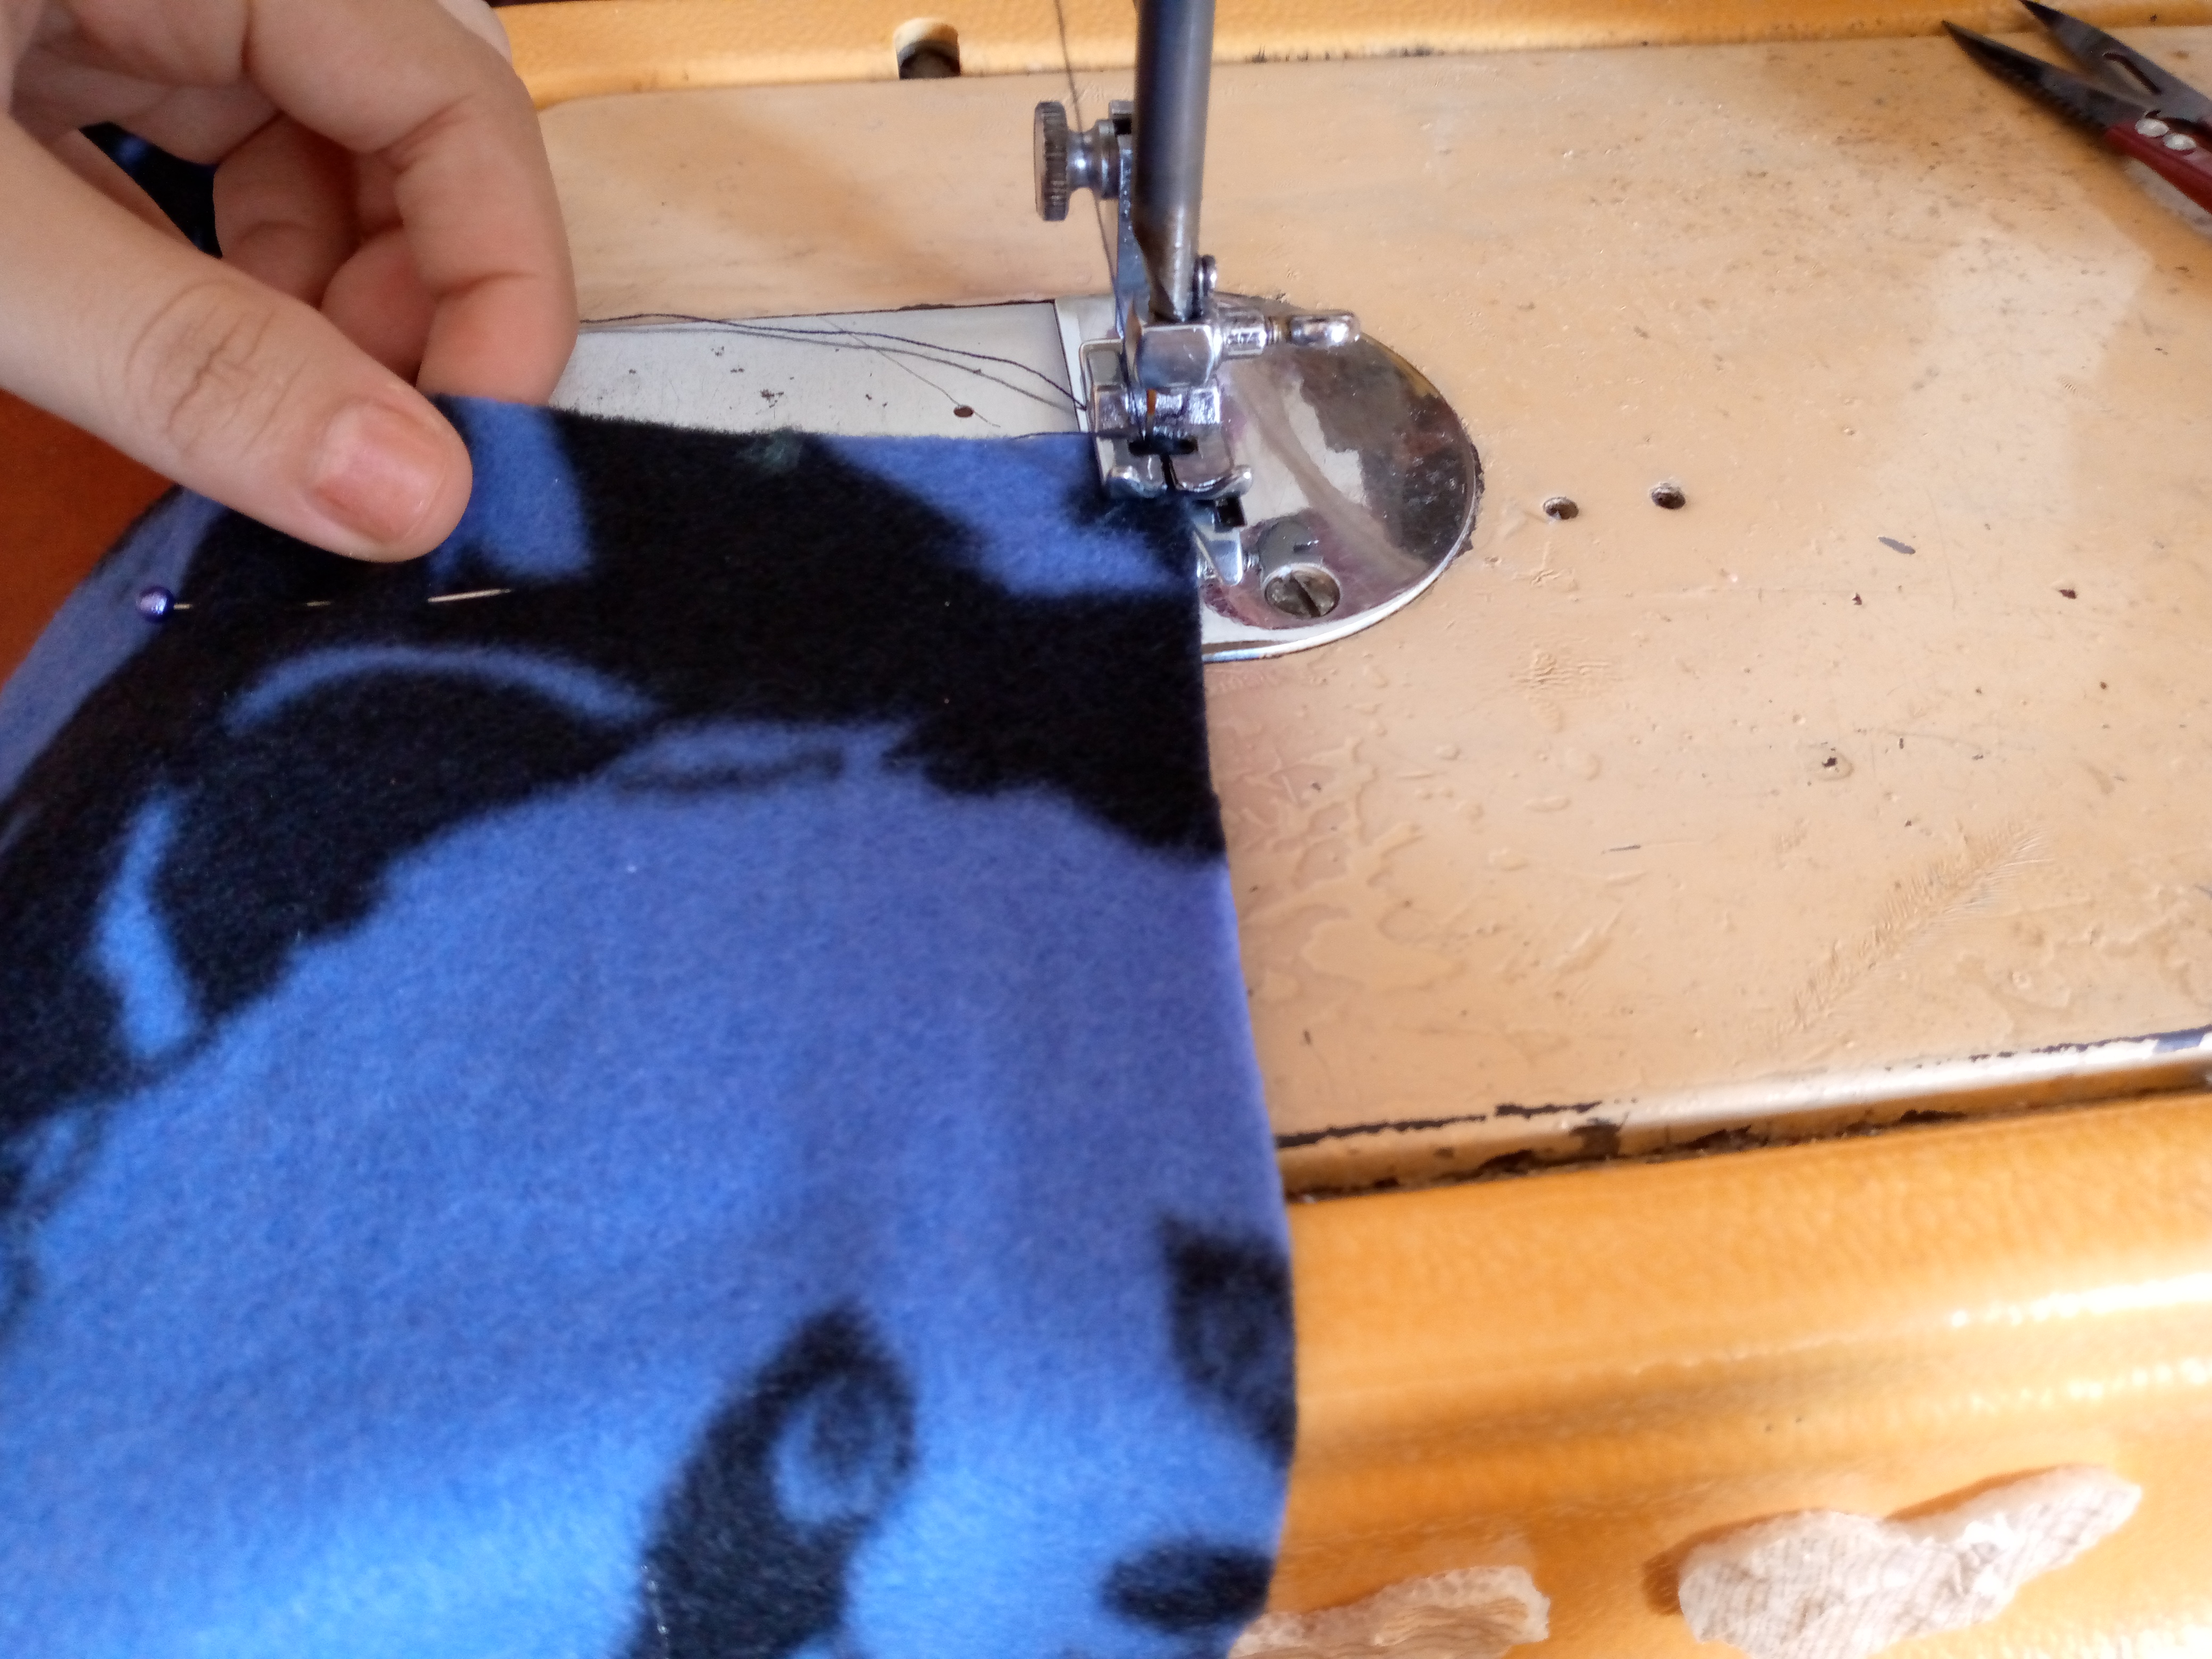
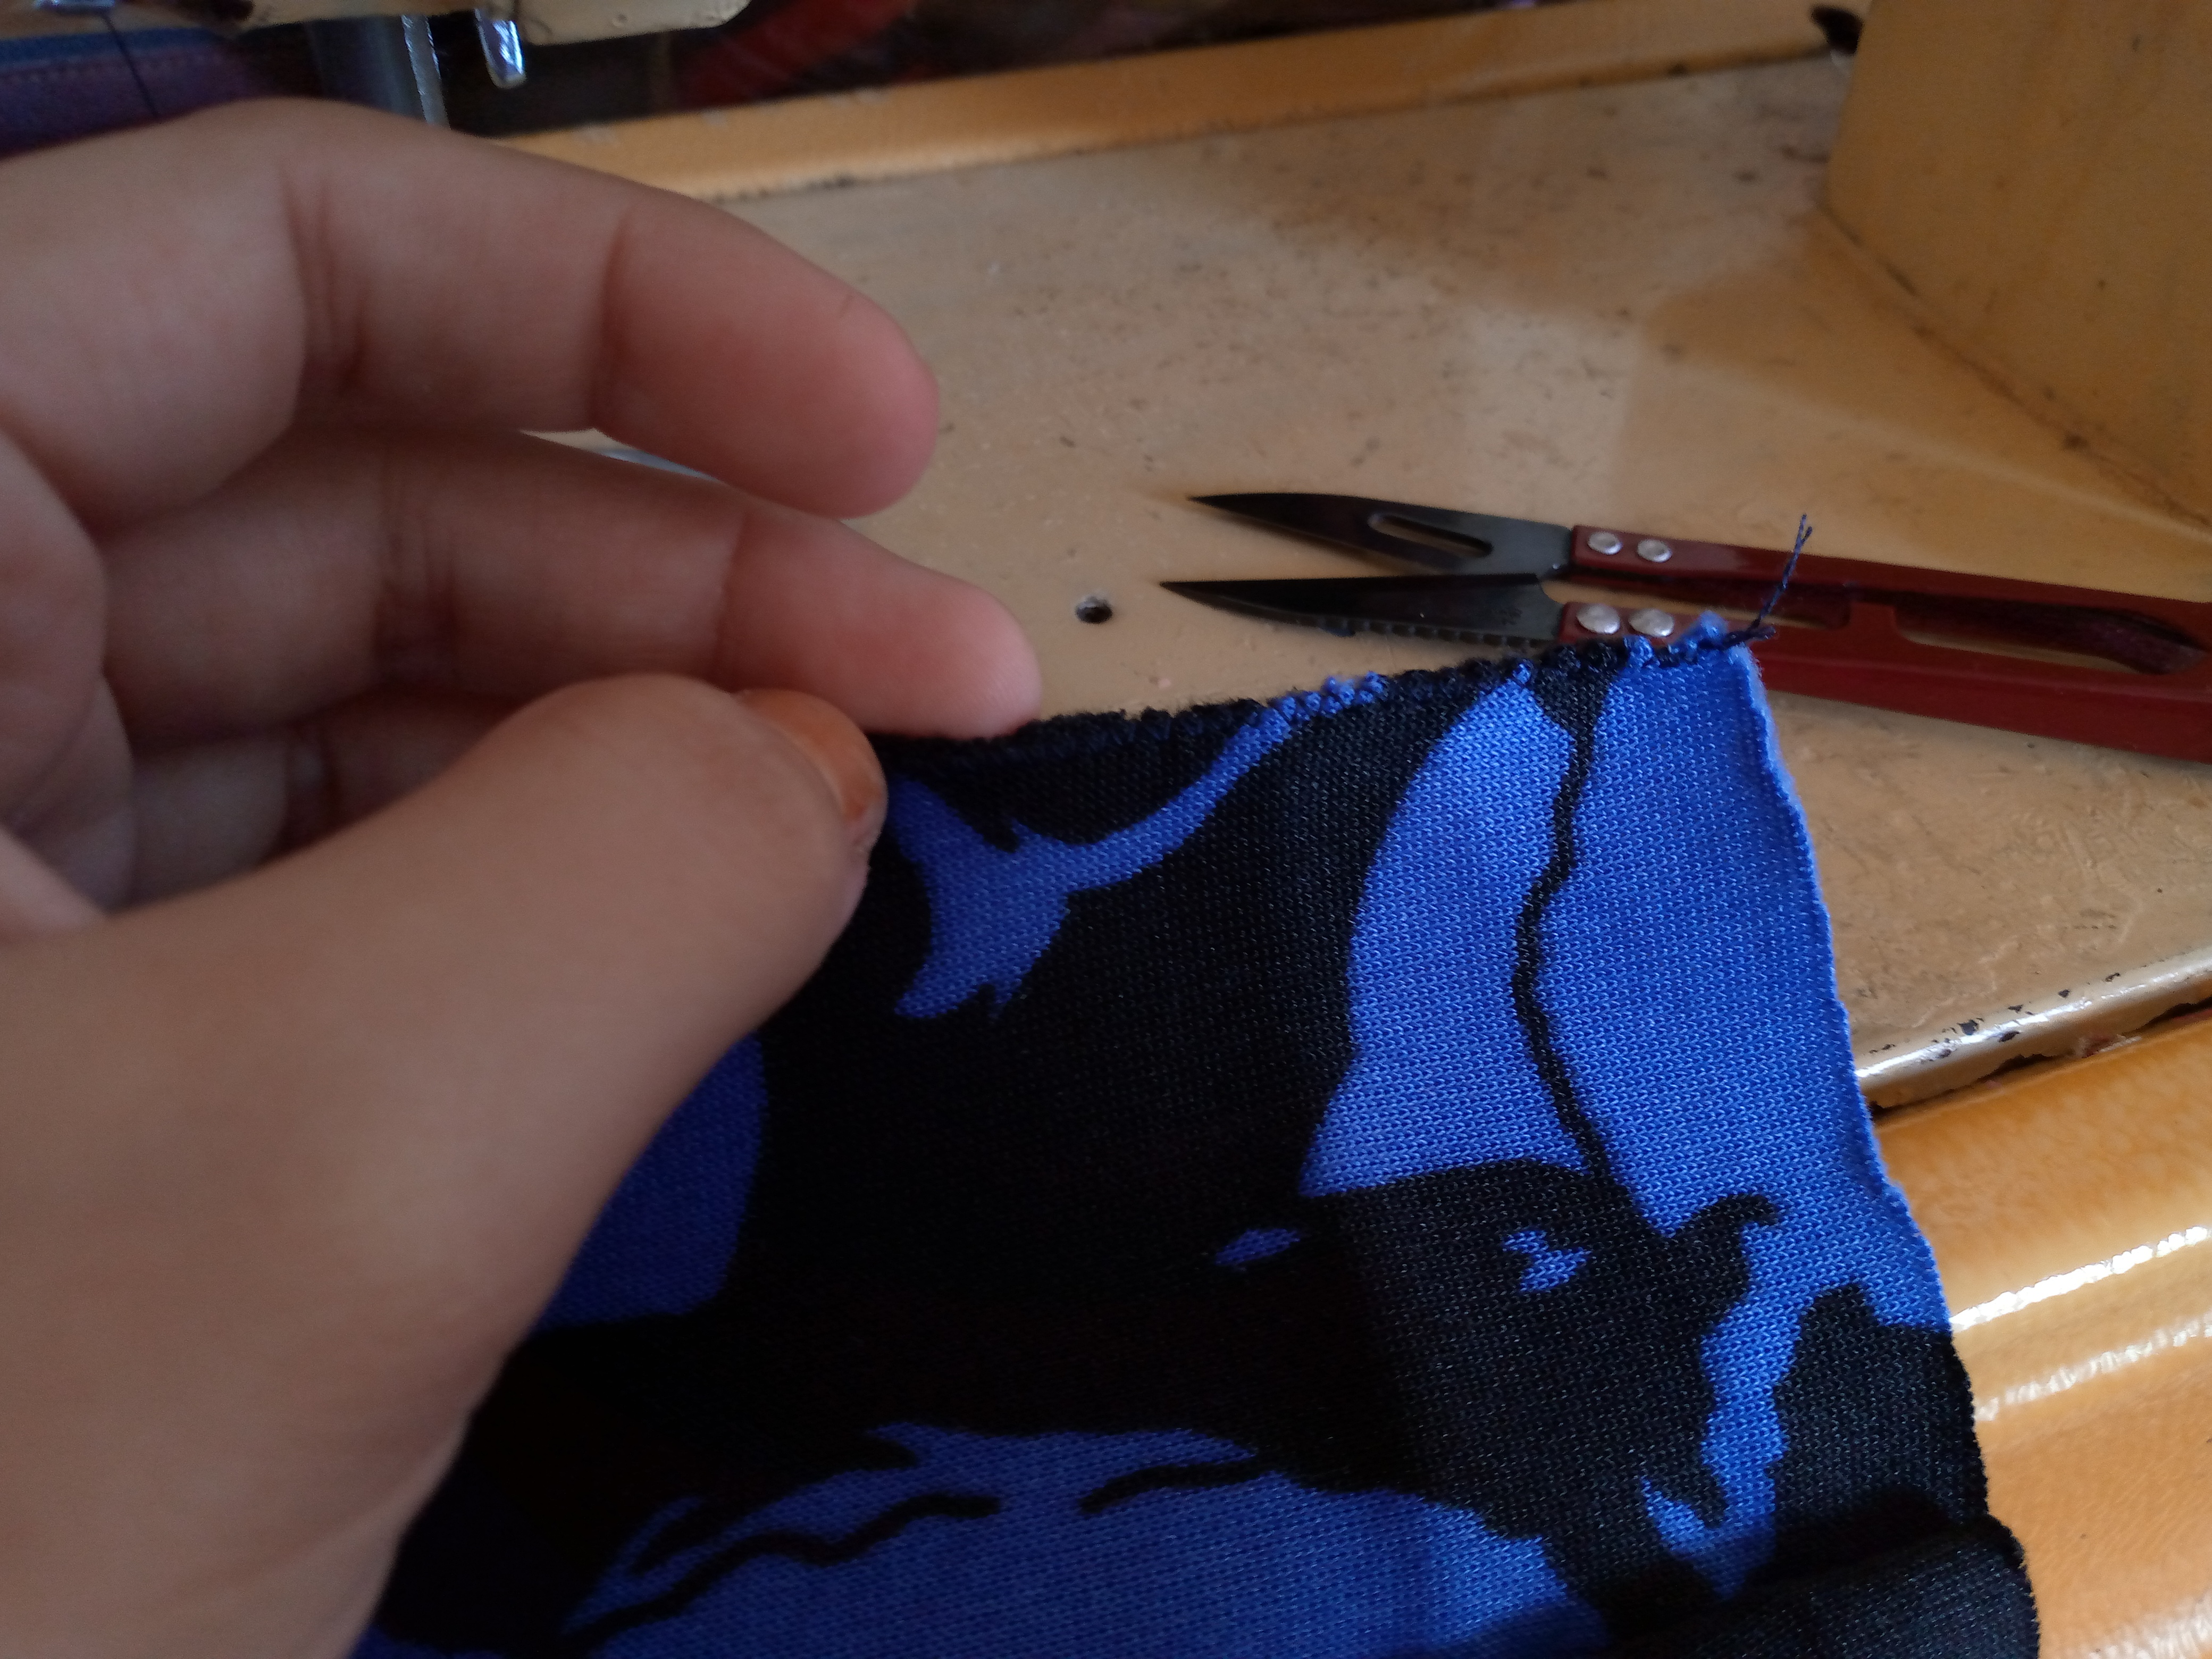
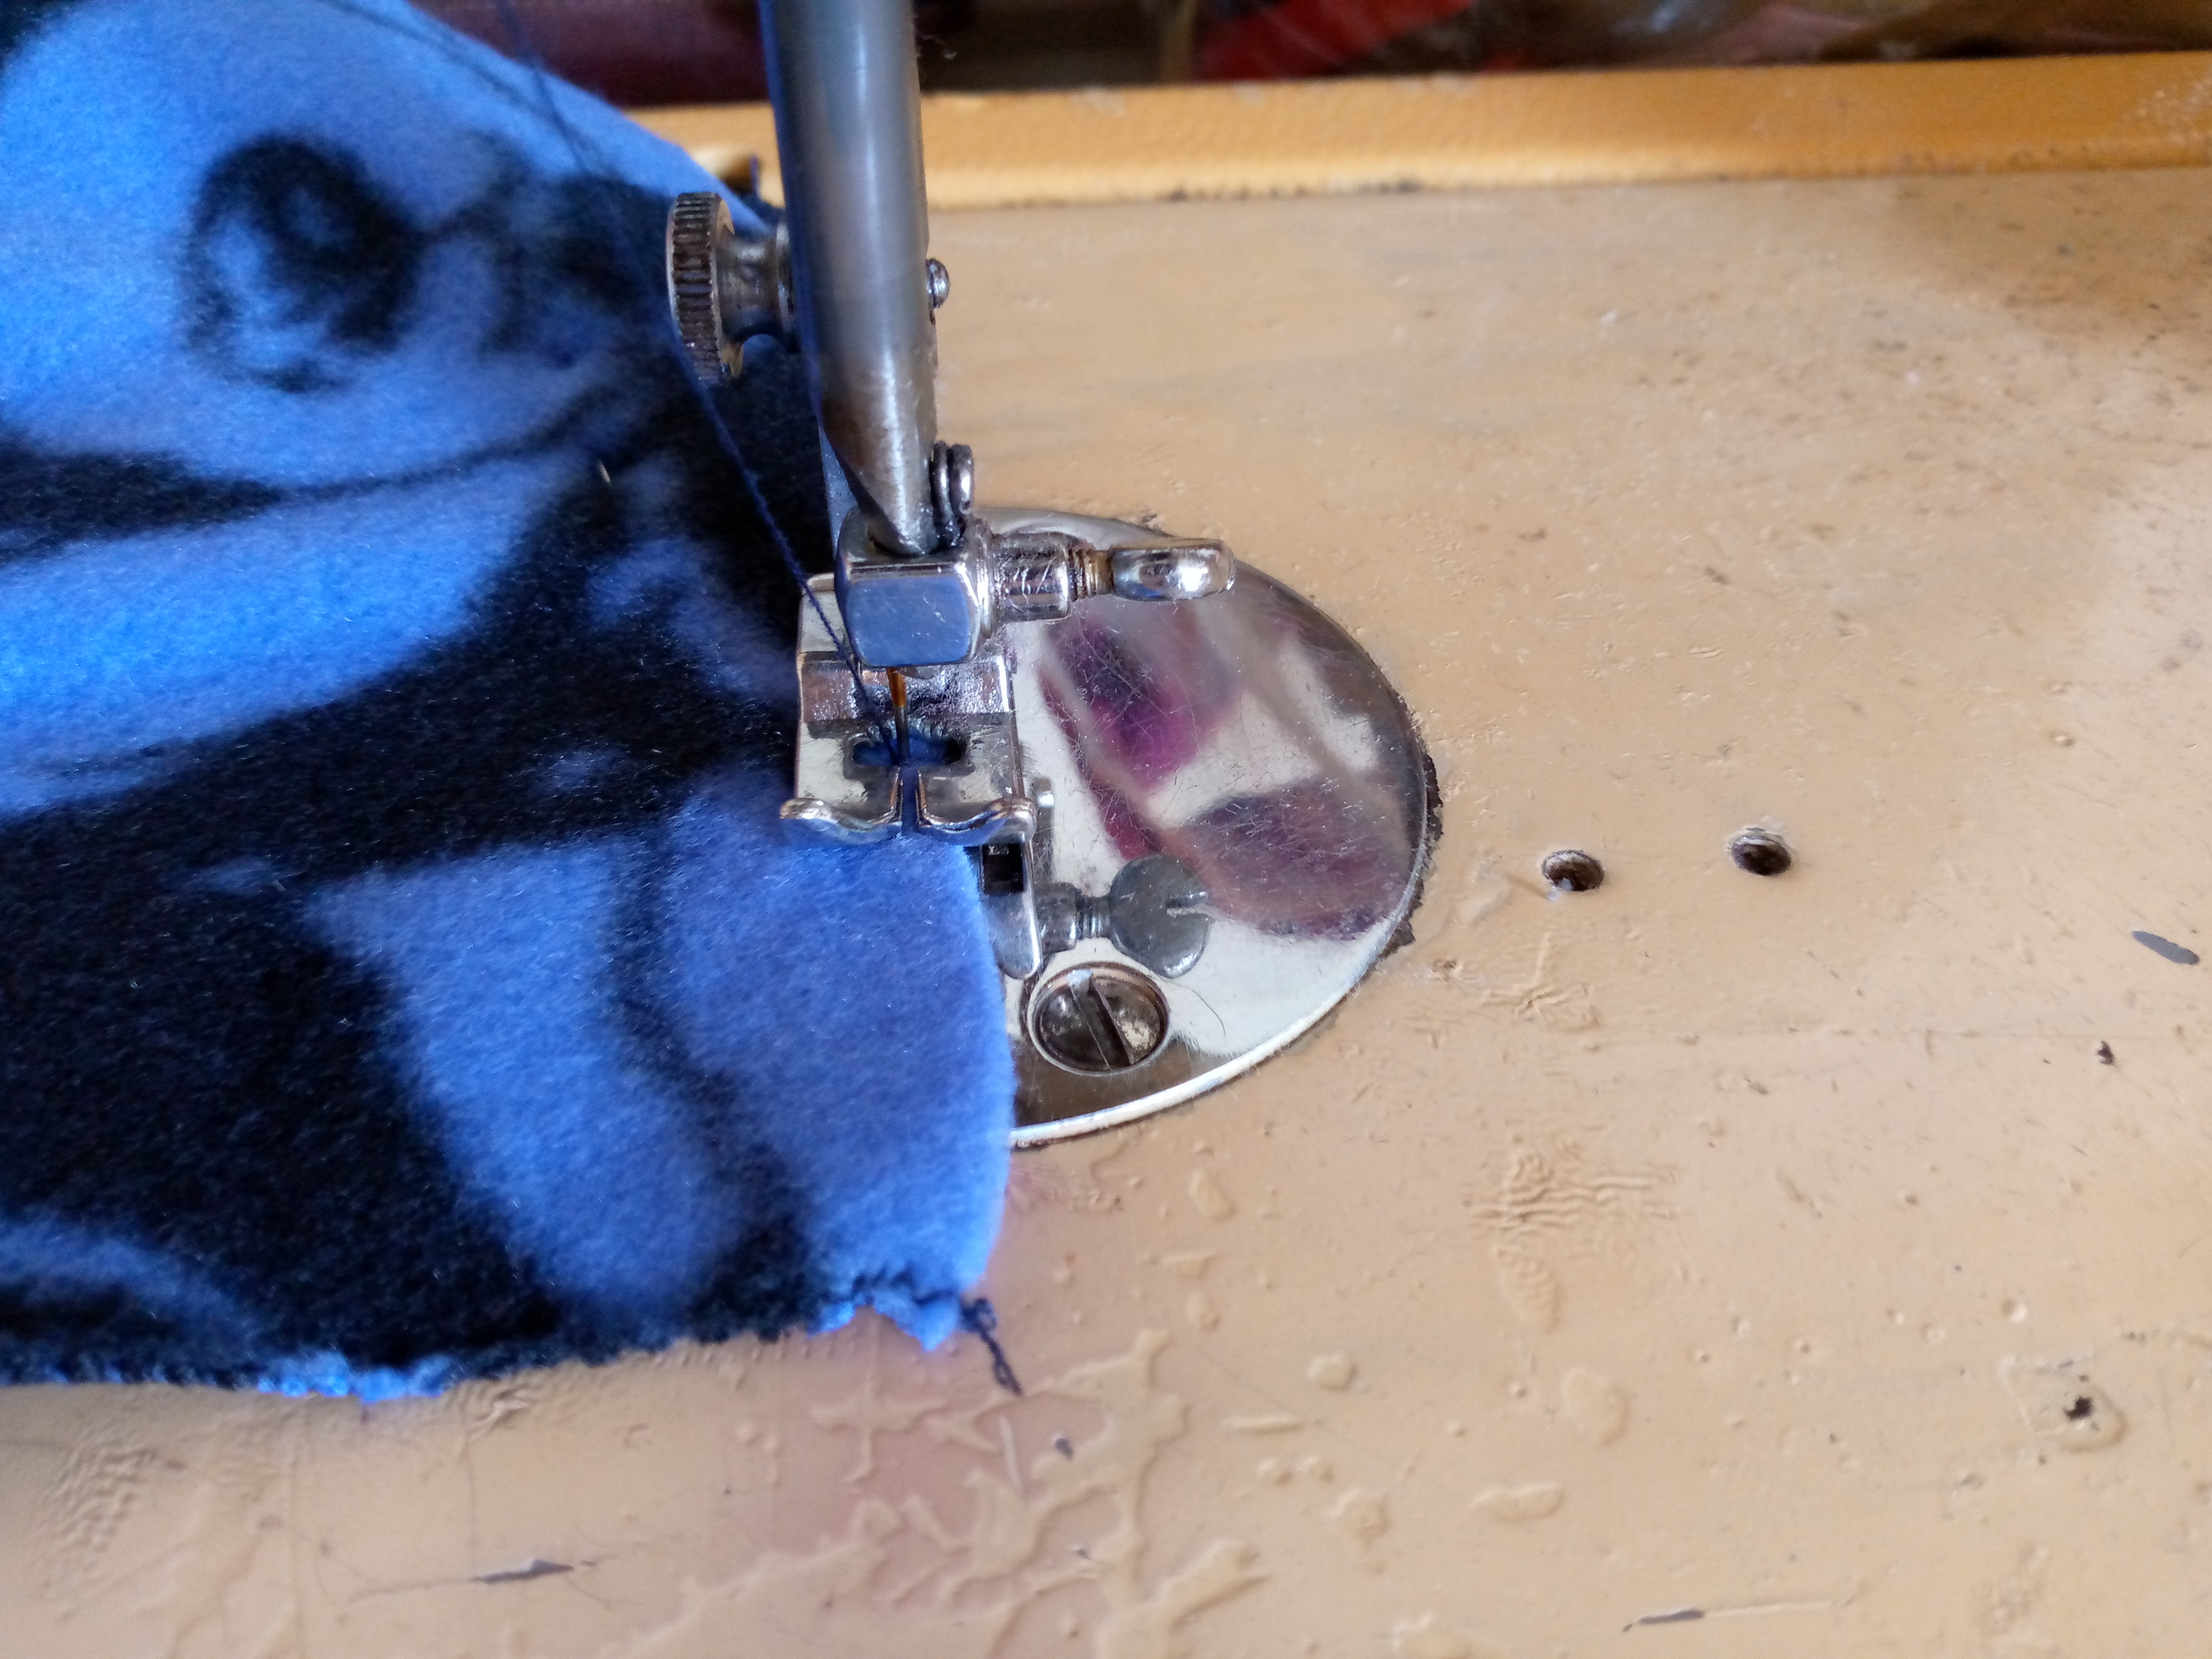
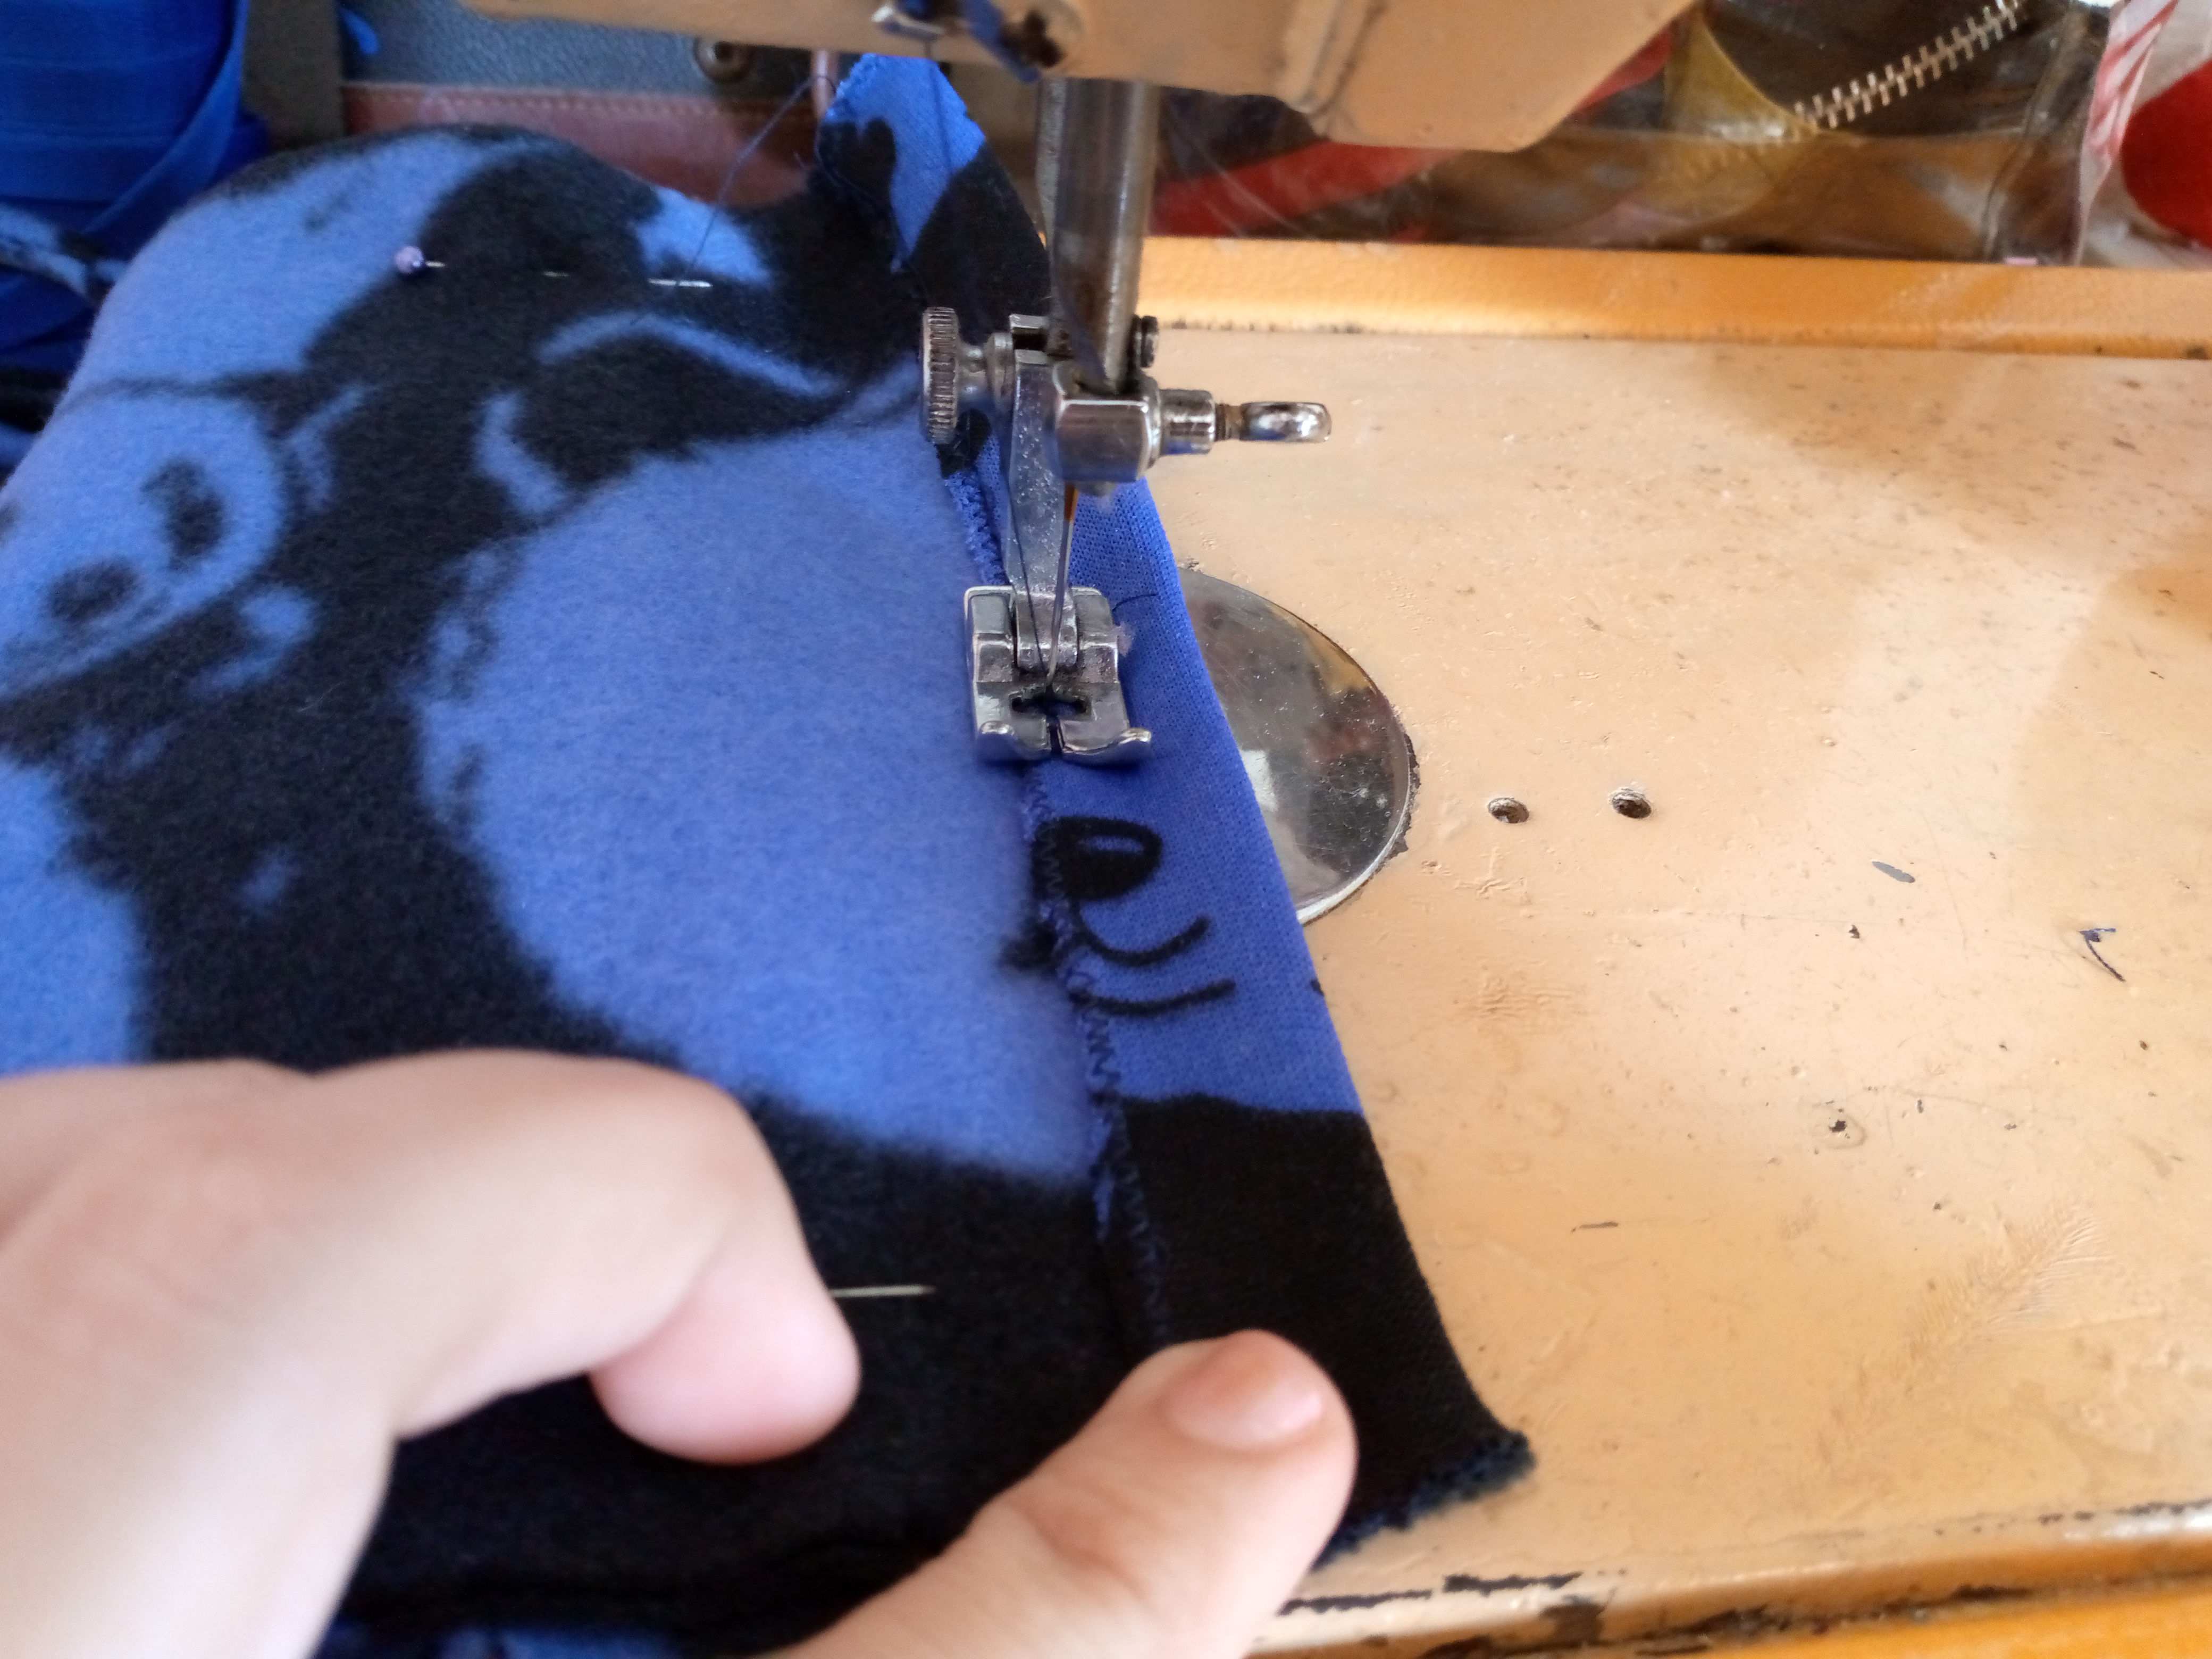
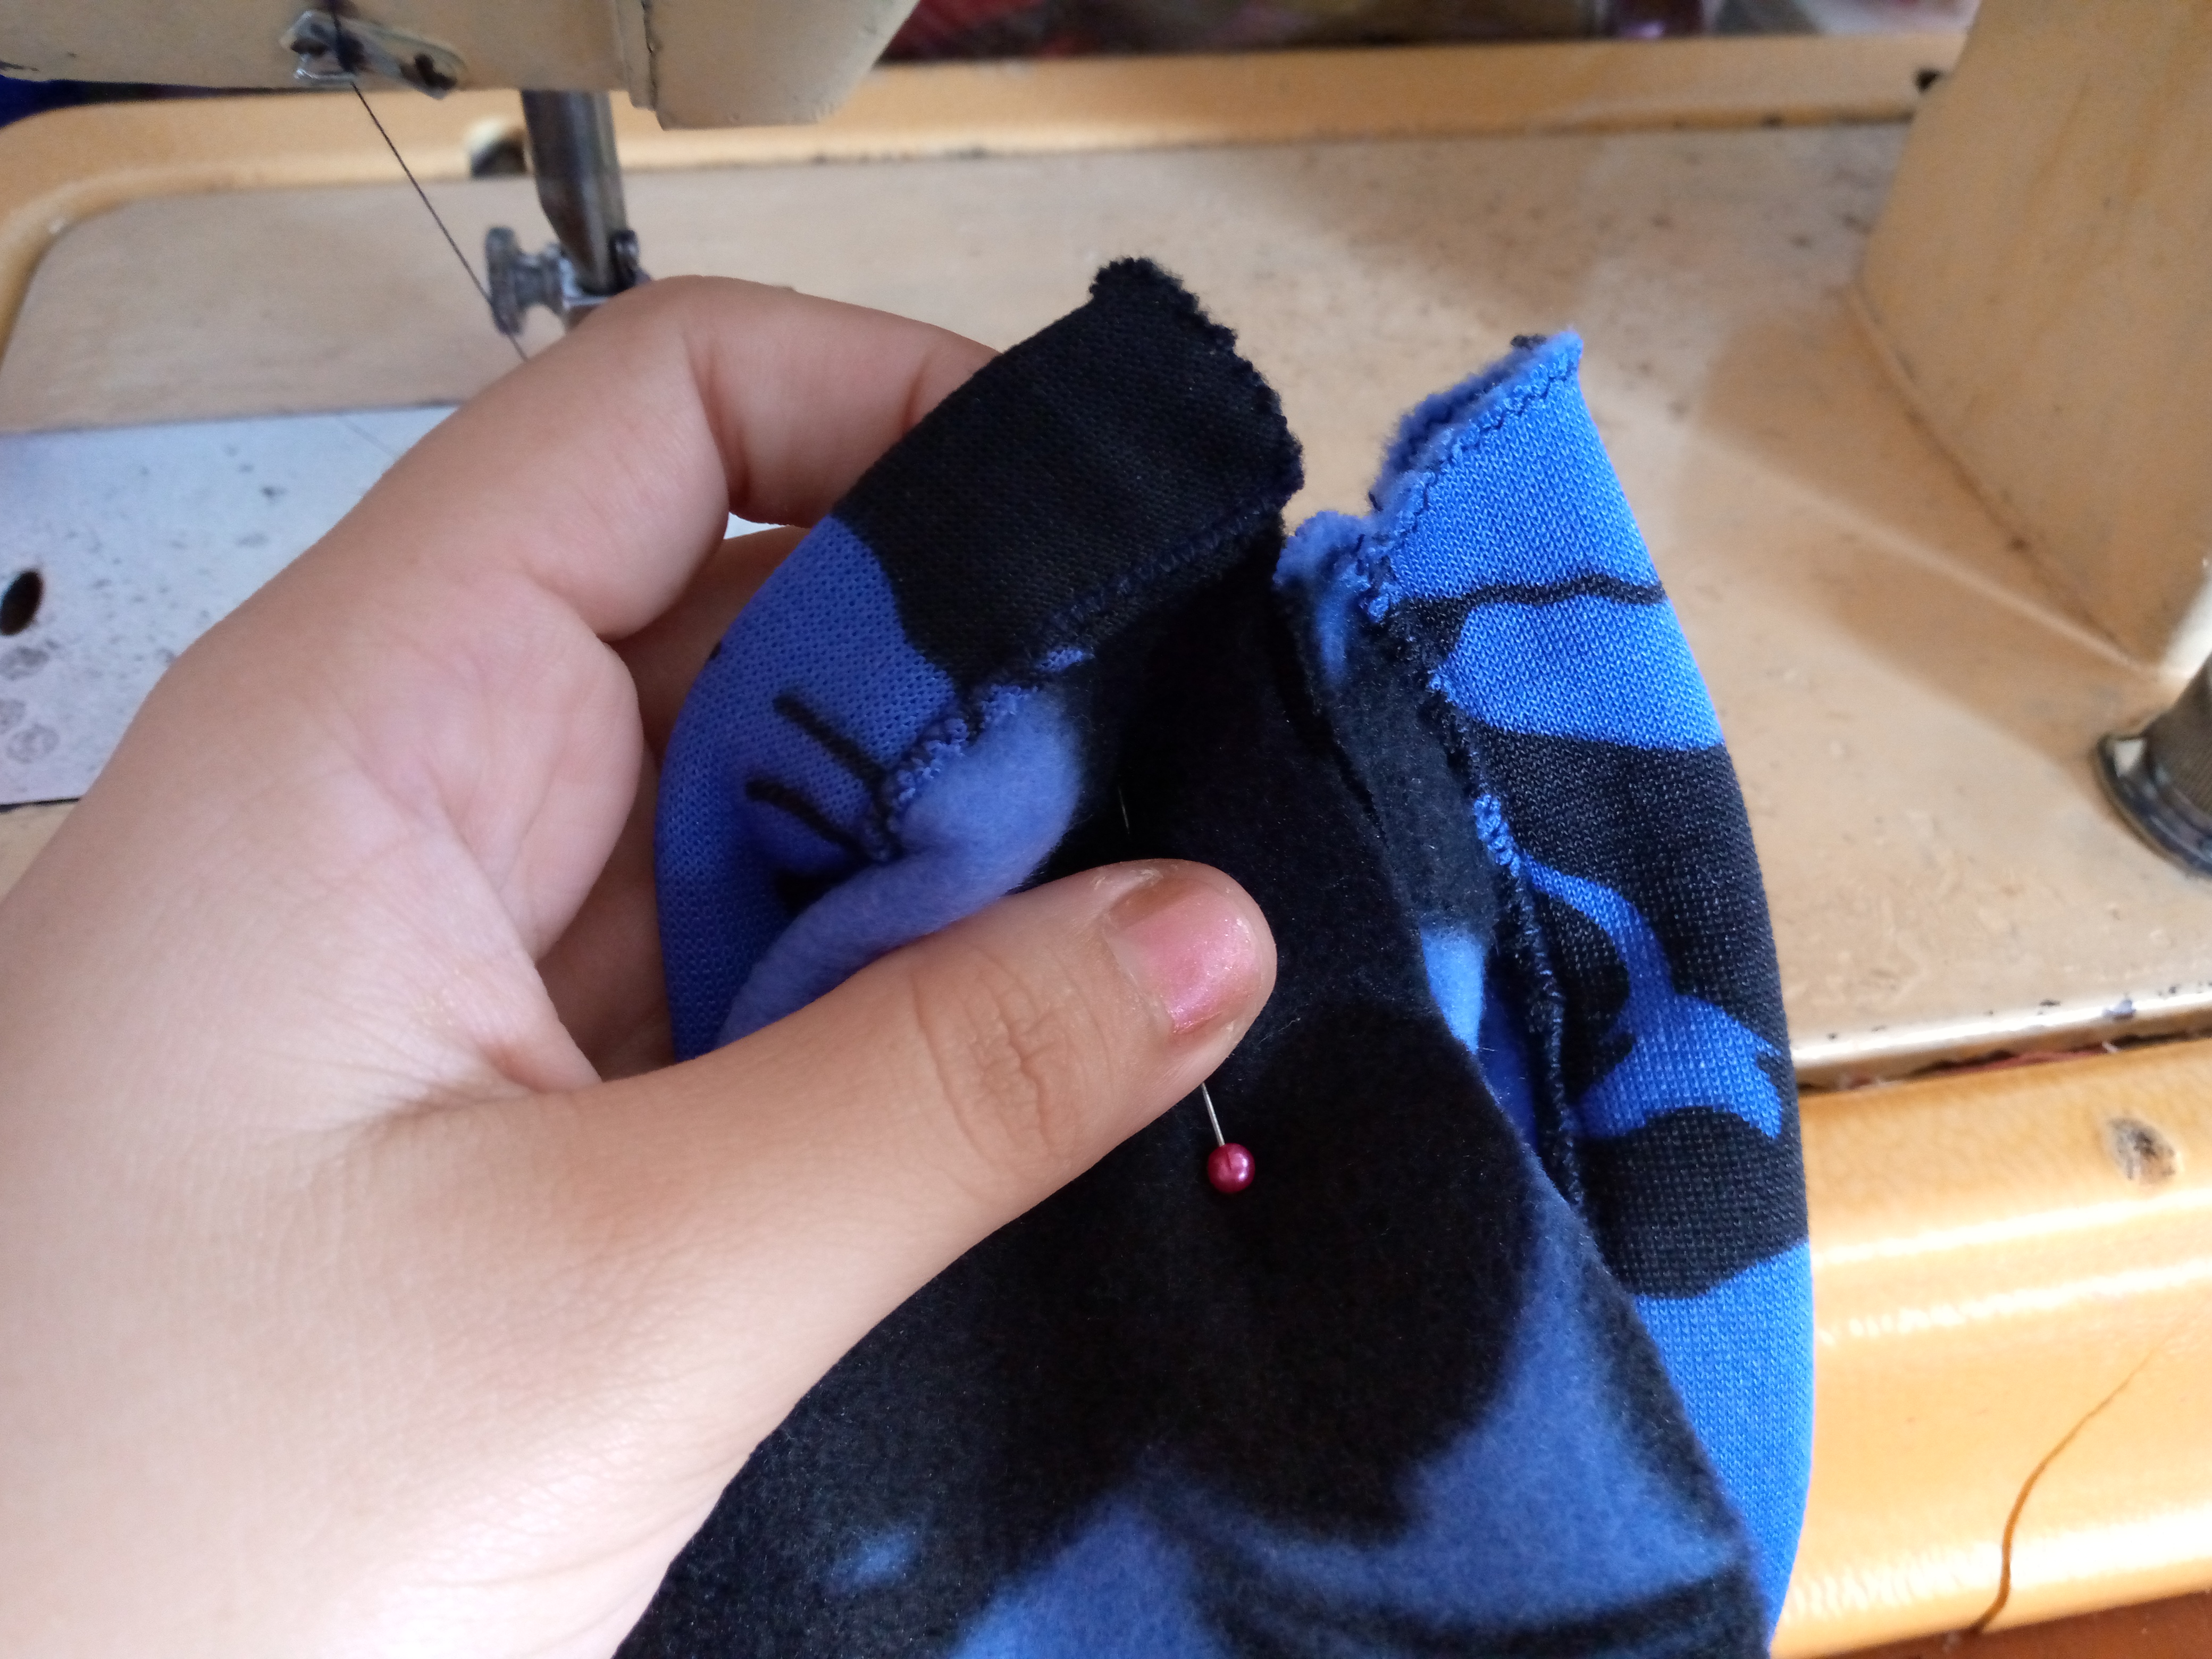
Step 04
We move on to sew the sides of the lining to seal it. We will place a zigzag stitch to secure it well on both sides. After this, we will simply turn our lining over from the top and so it is done, but we still need to insert our cord so that it is completely done.
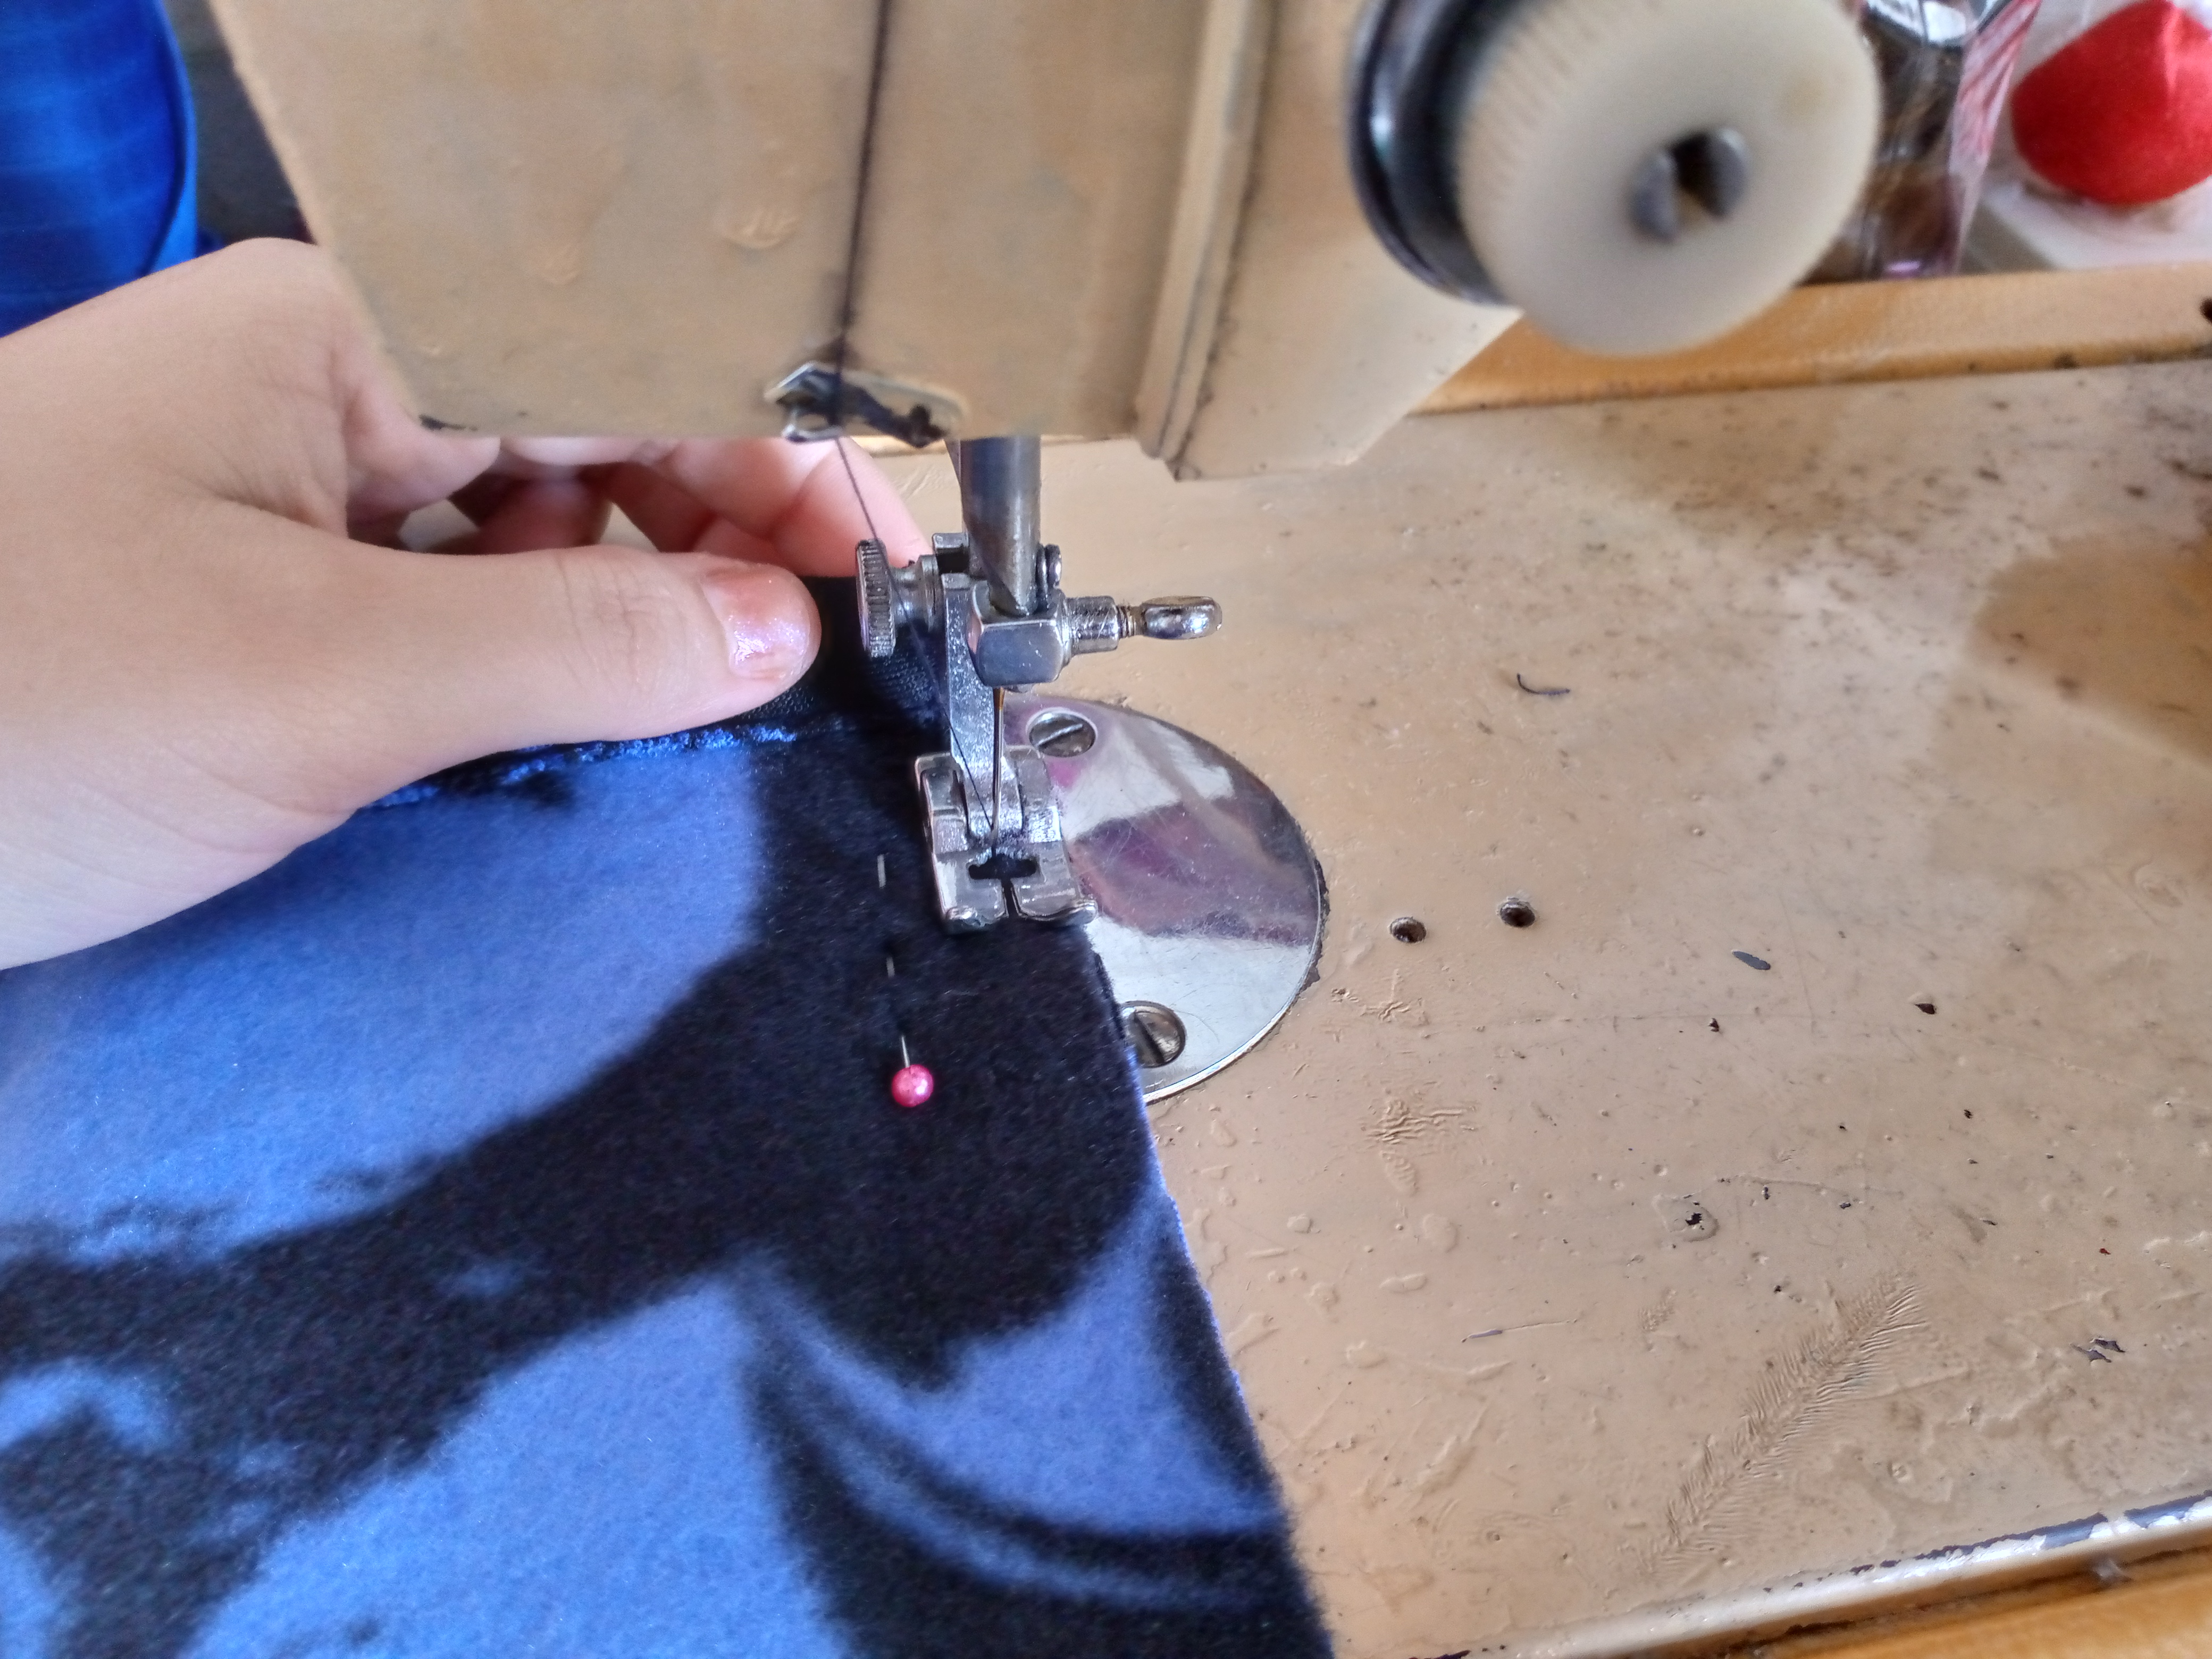

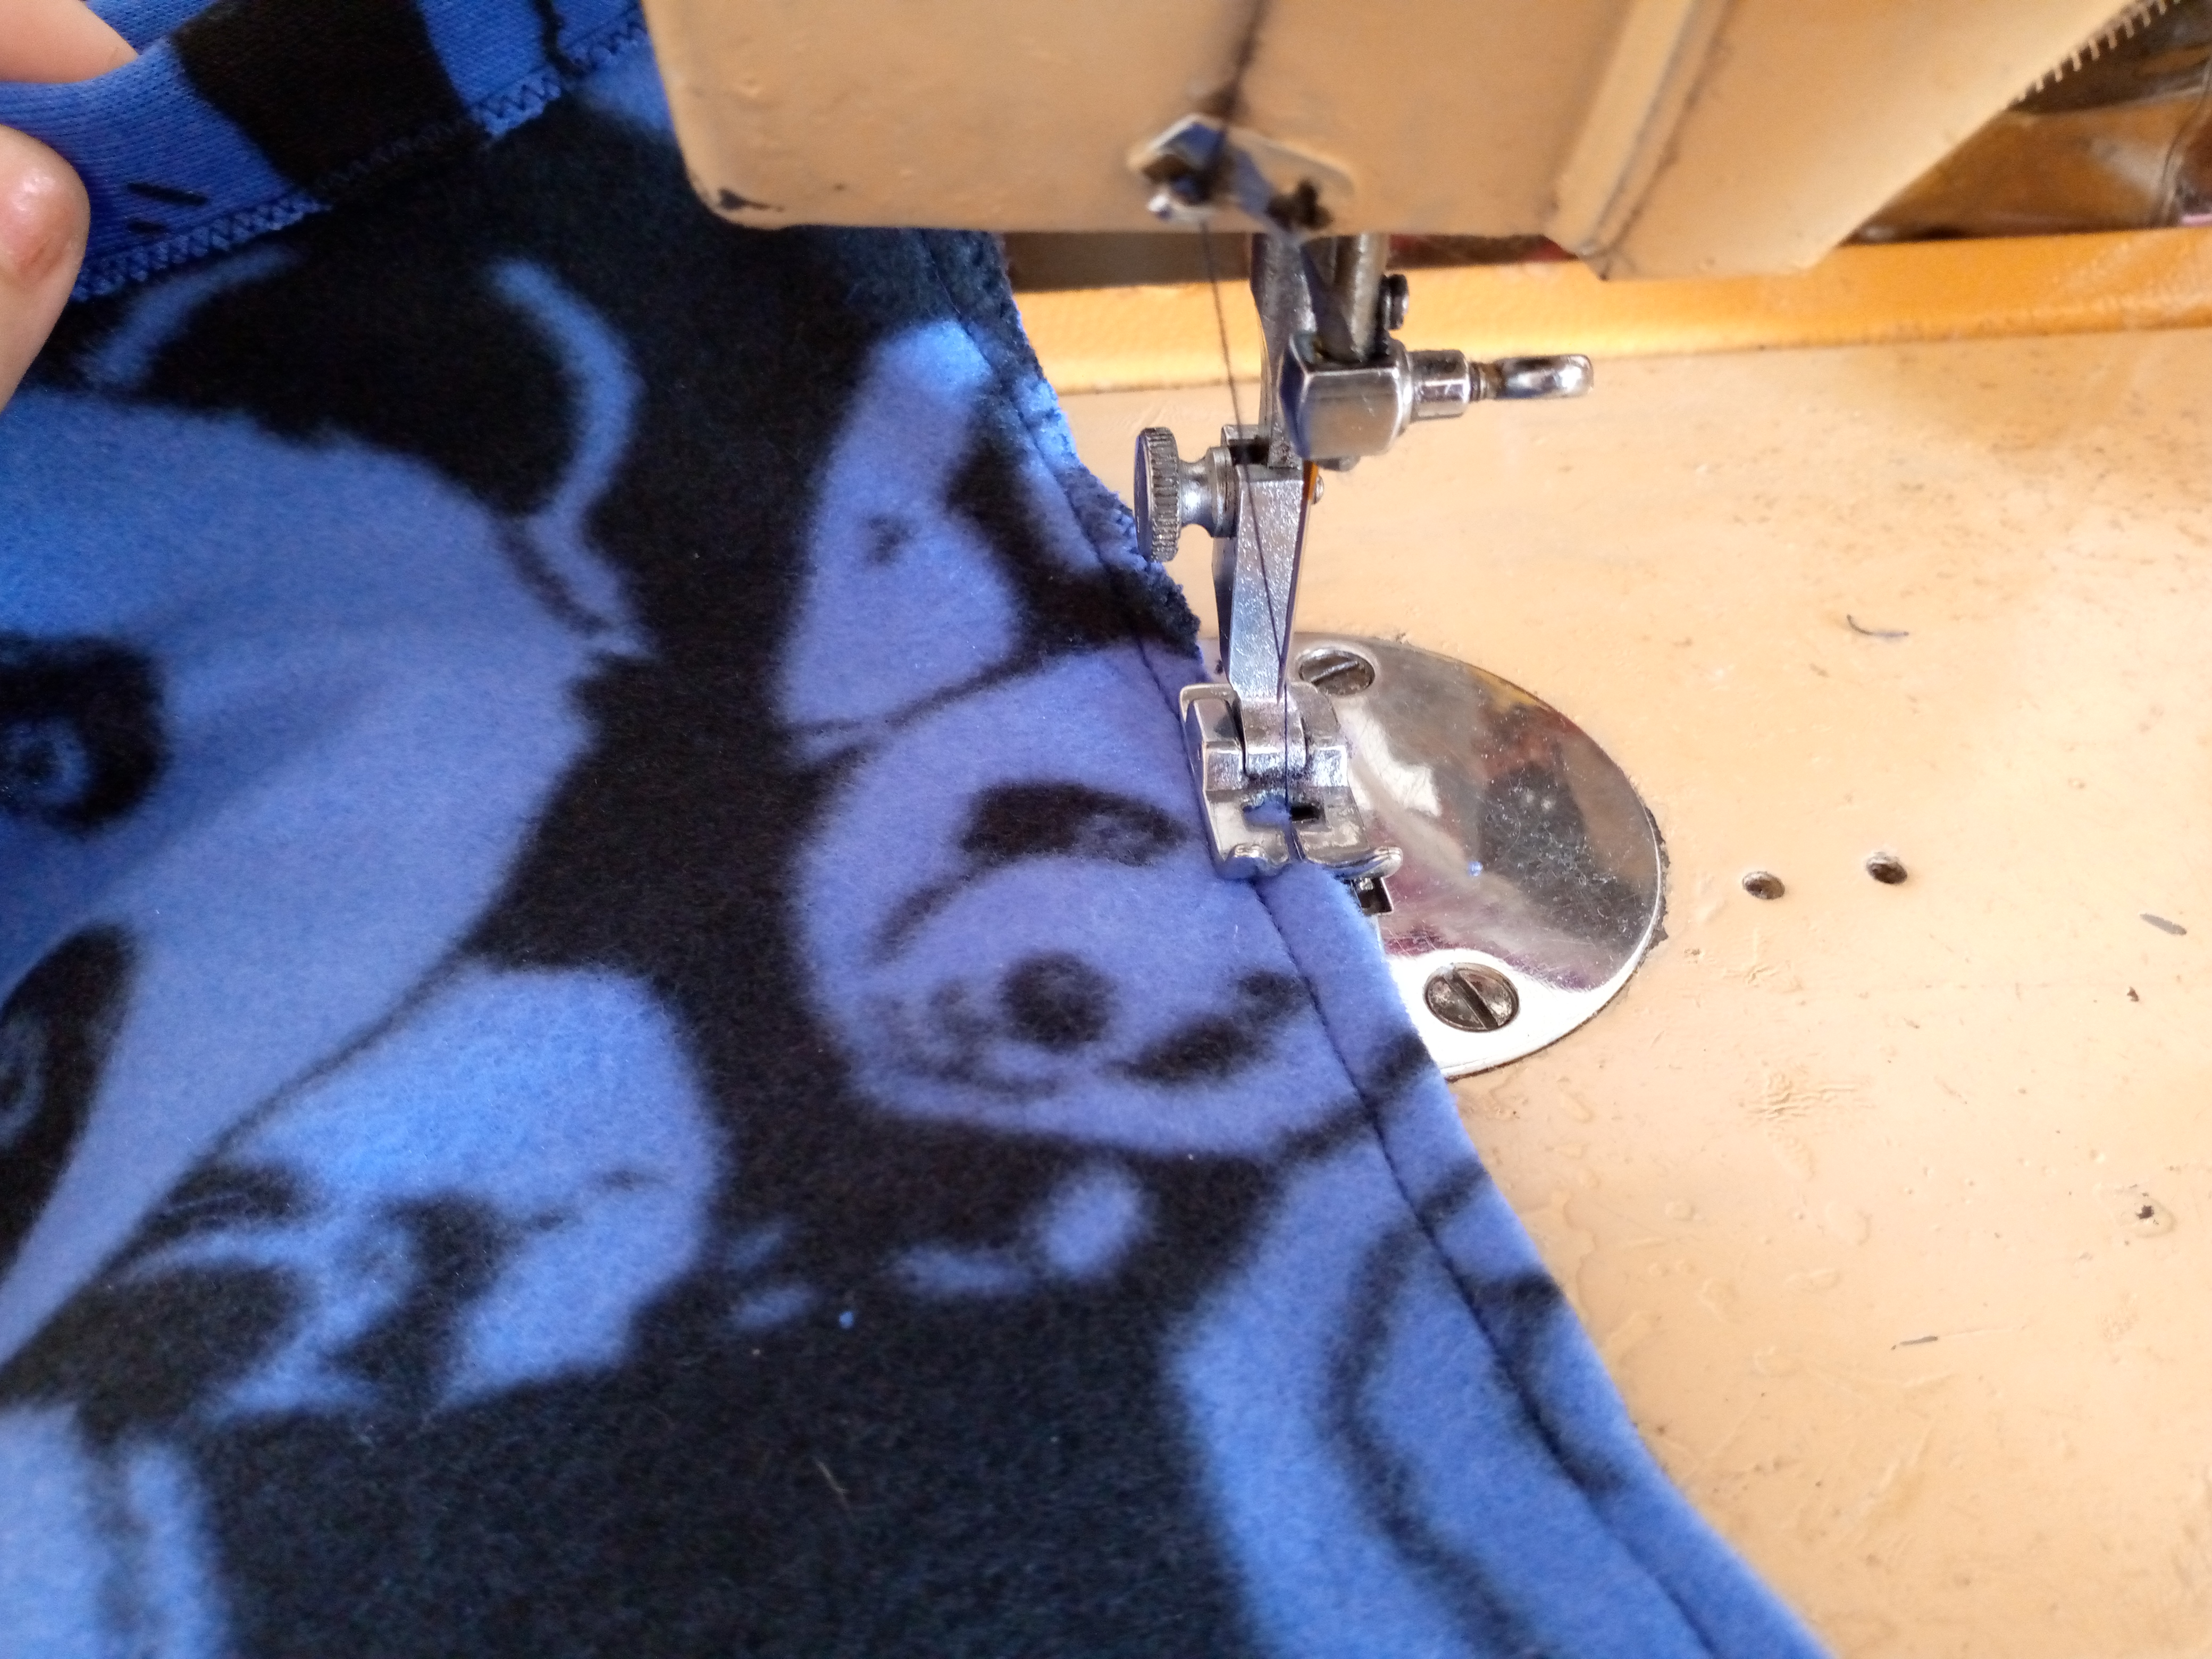

Step 05
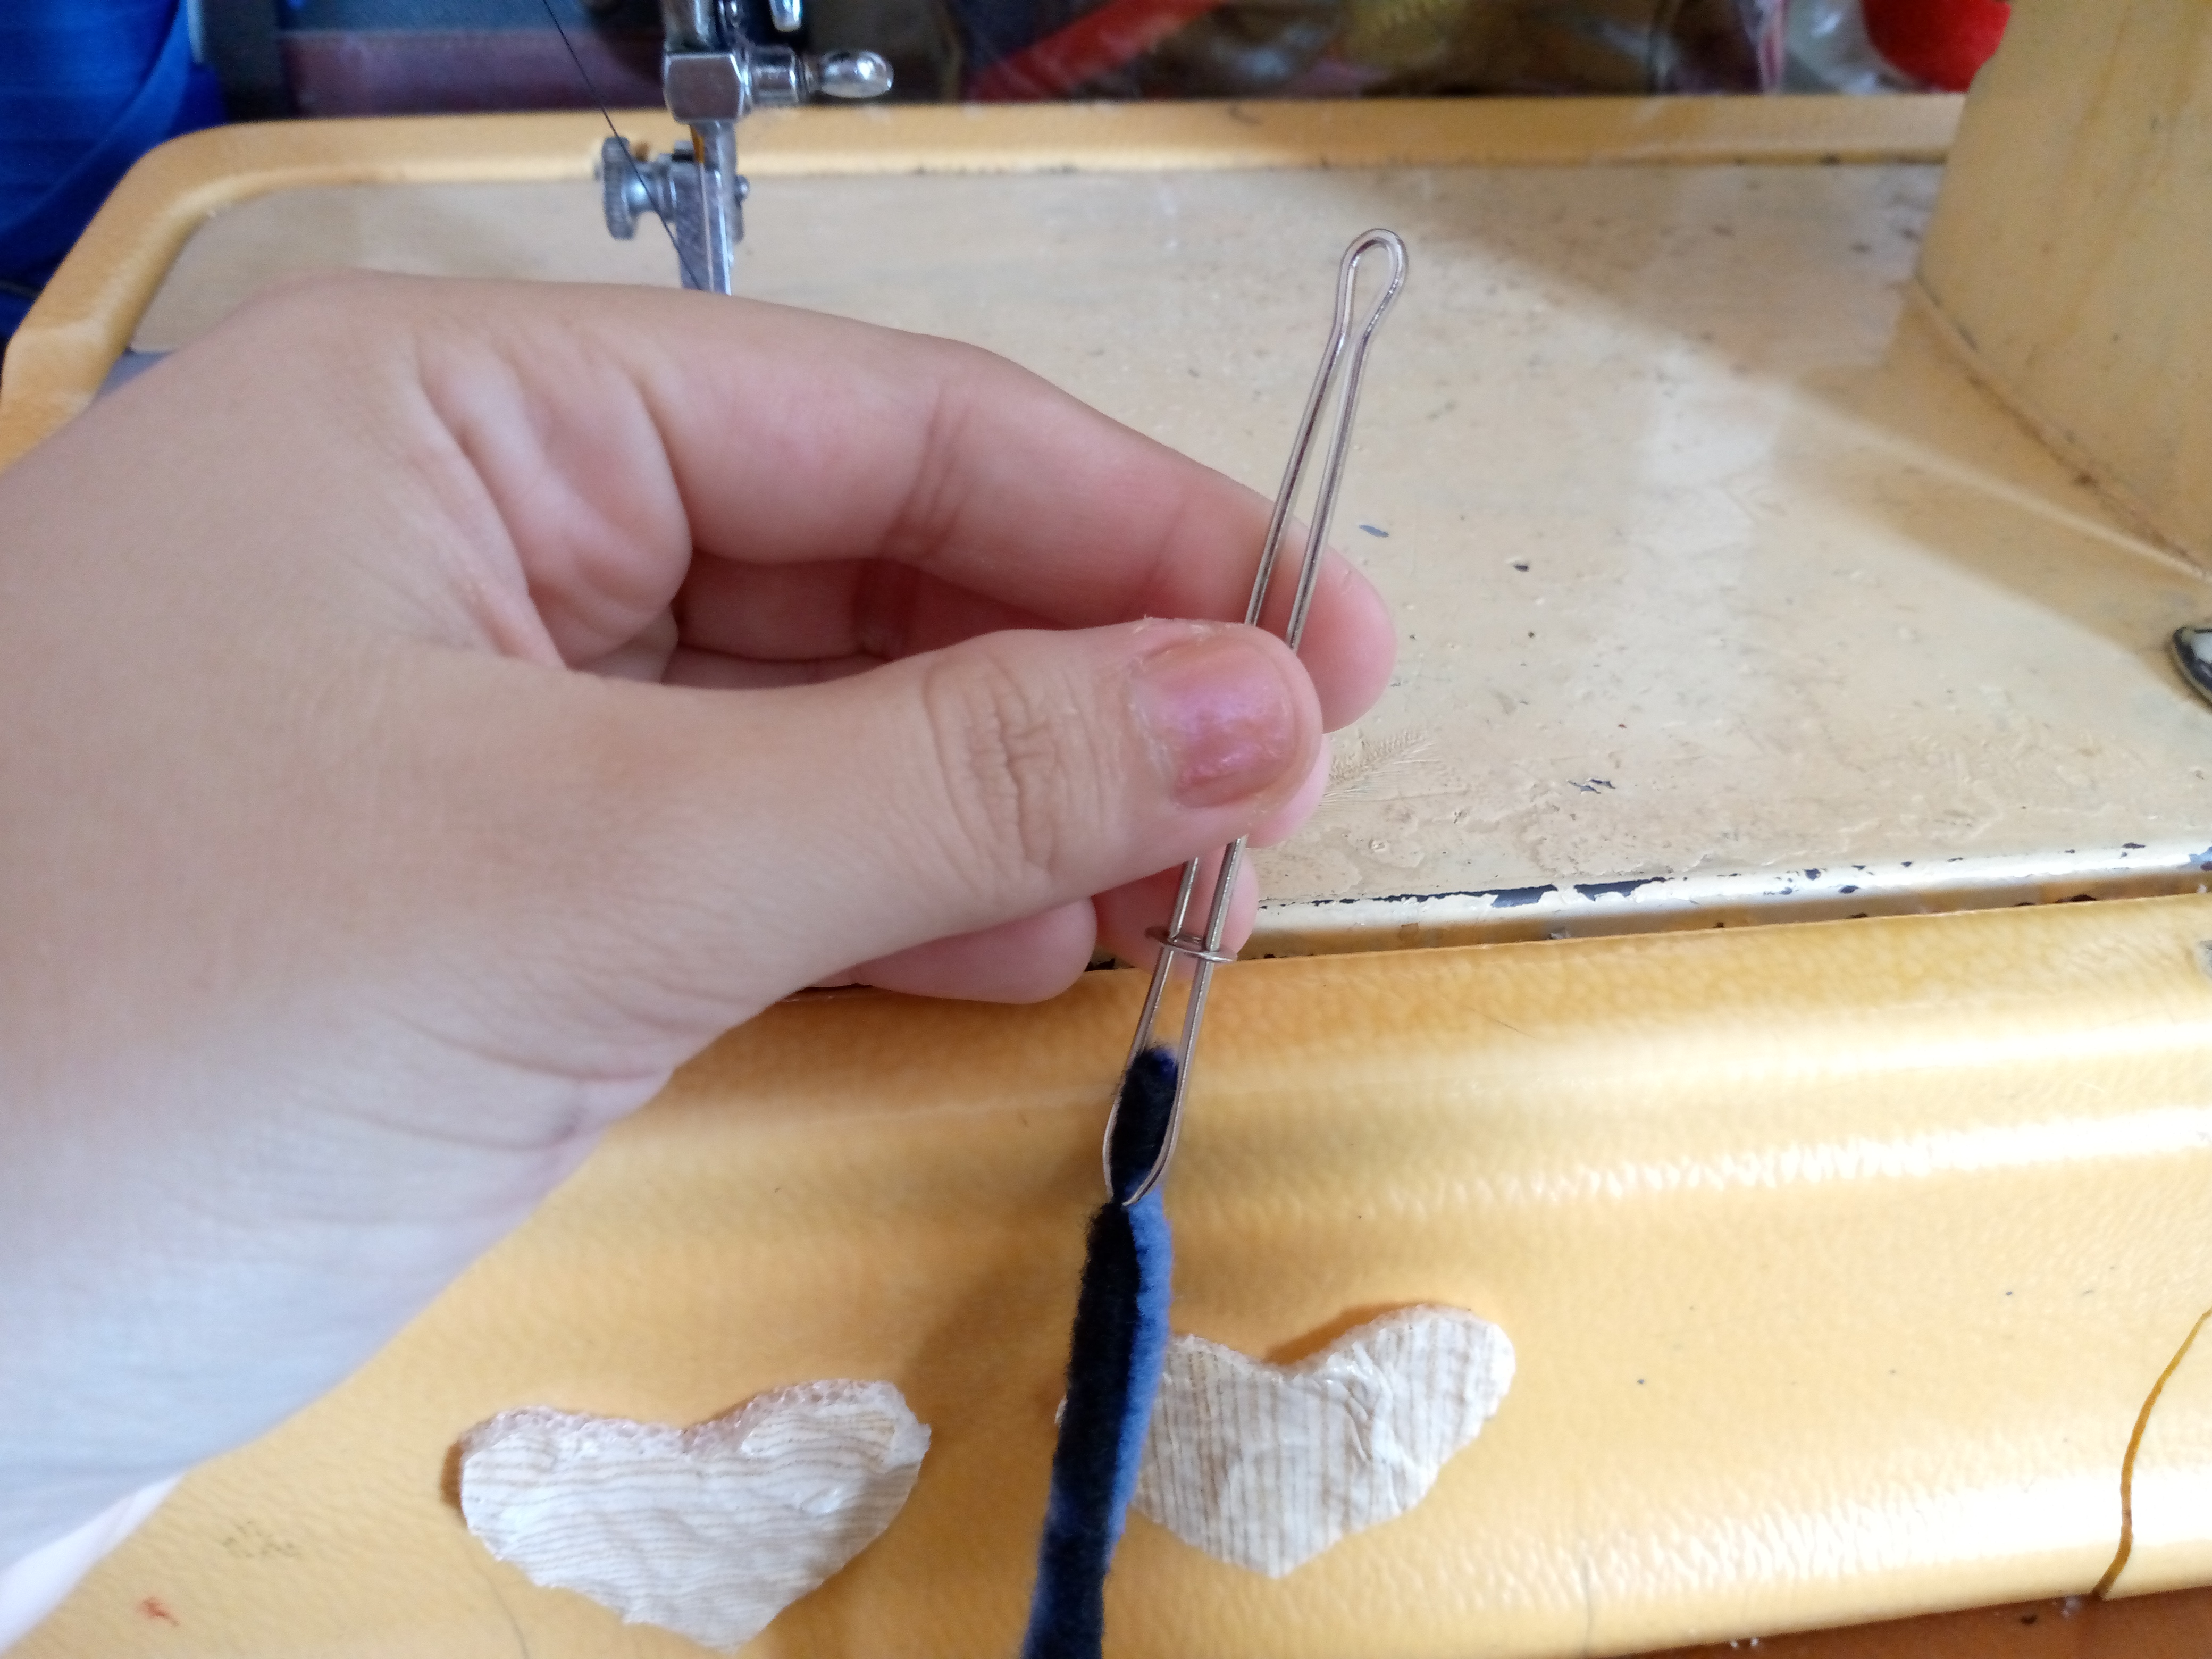
To insert the cord we are going to cut it in half, then with our ribbon piece we will hold one end of it and we will pass it through both hems that are facing right and we will tie a knot once we insert the first one, the second we will insert facing left, we remove the ribbon and tie another knot in this way the lining is secured with the cords.
.jpg)

.jpg)
💙Result:💙
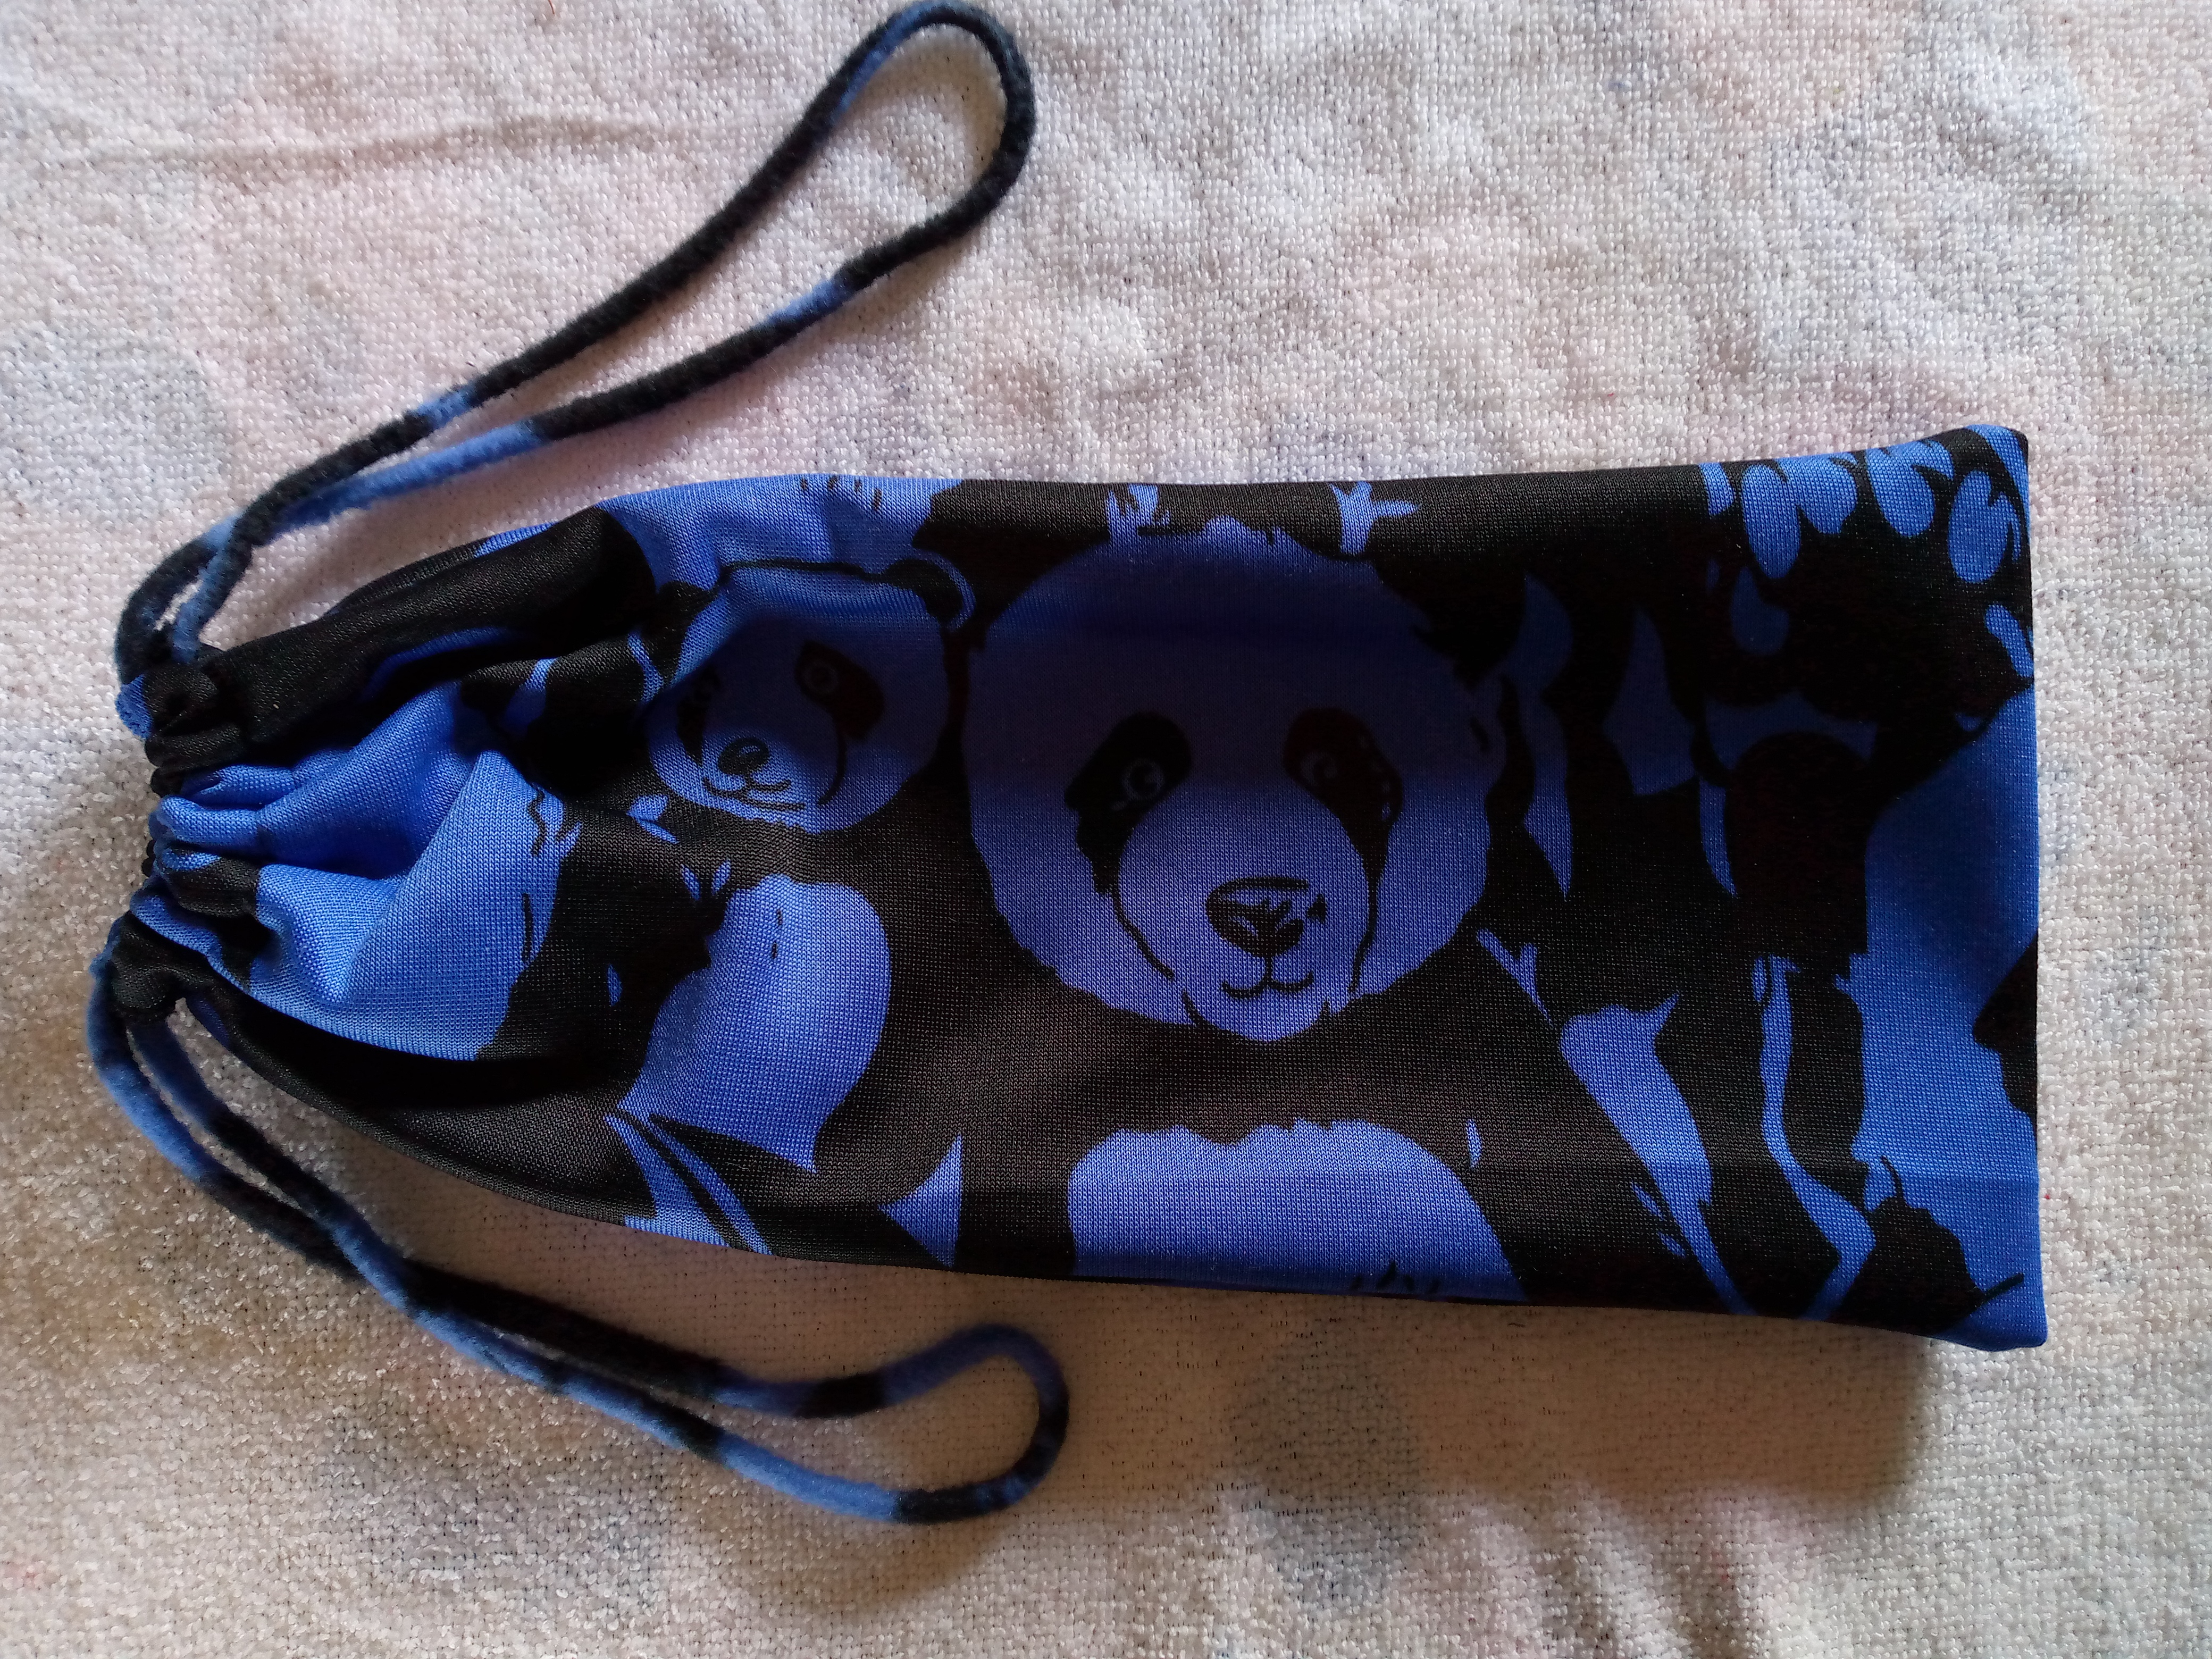
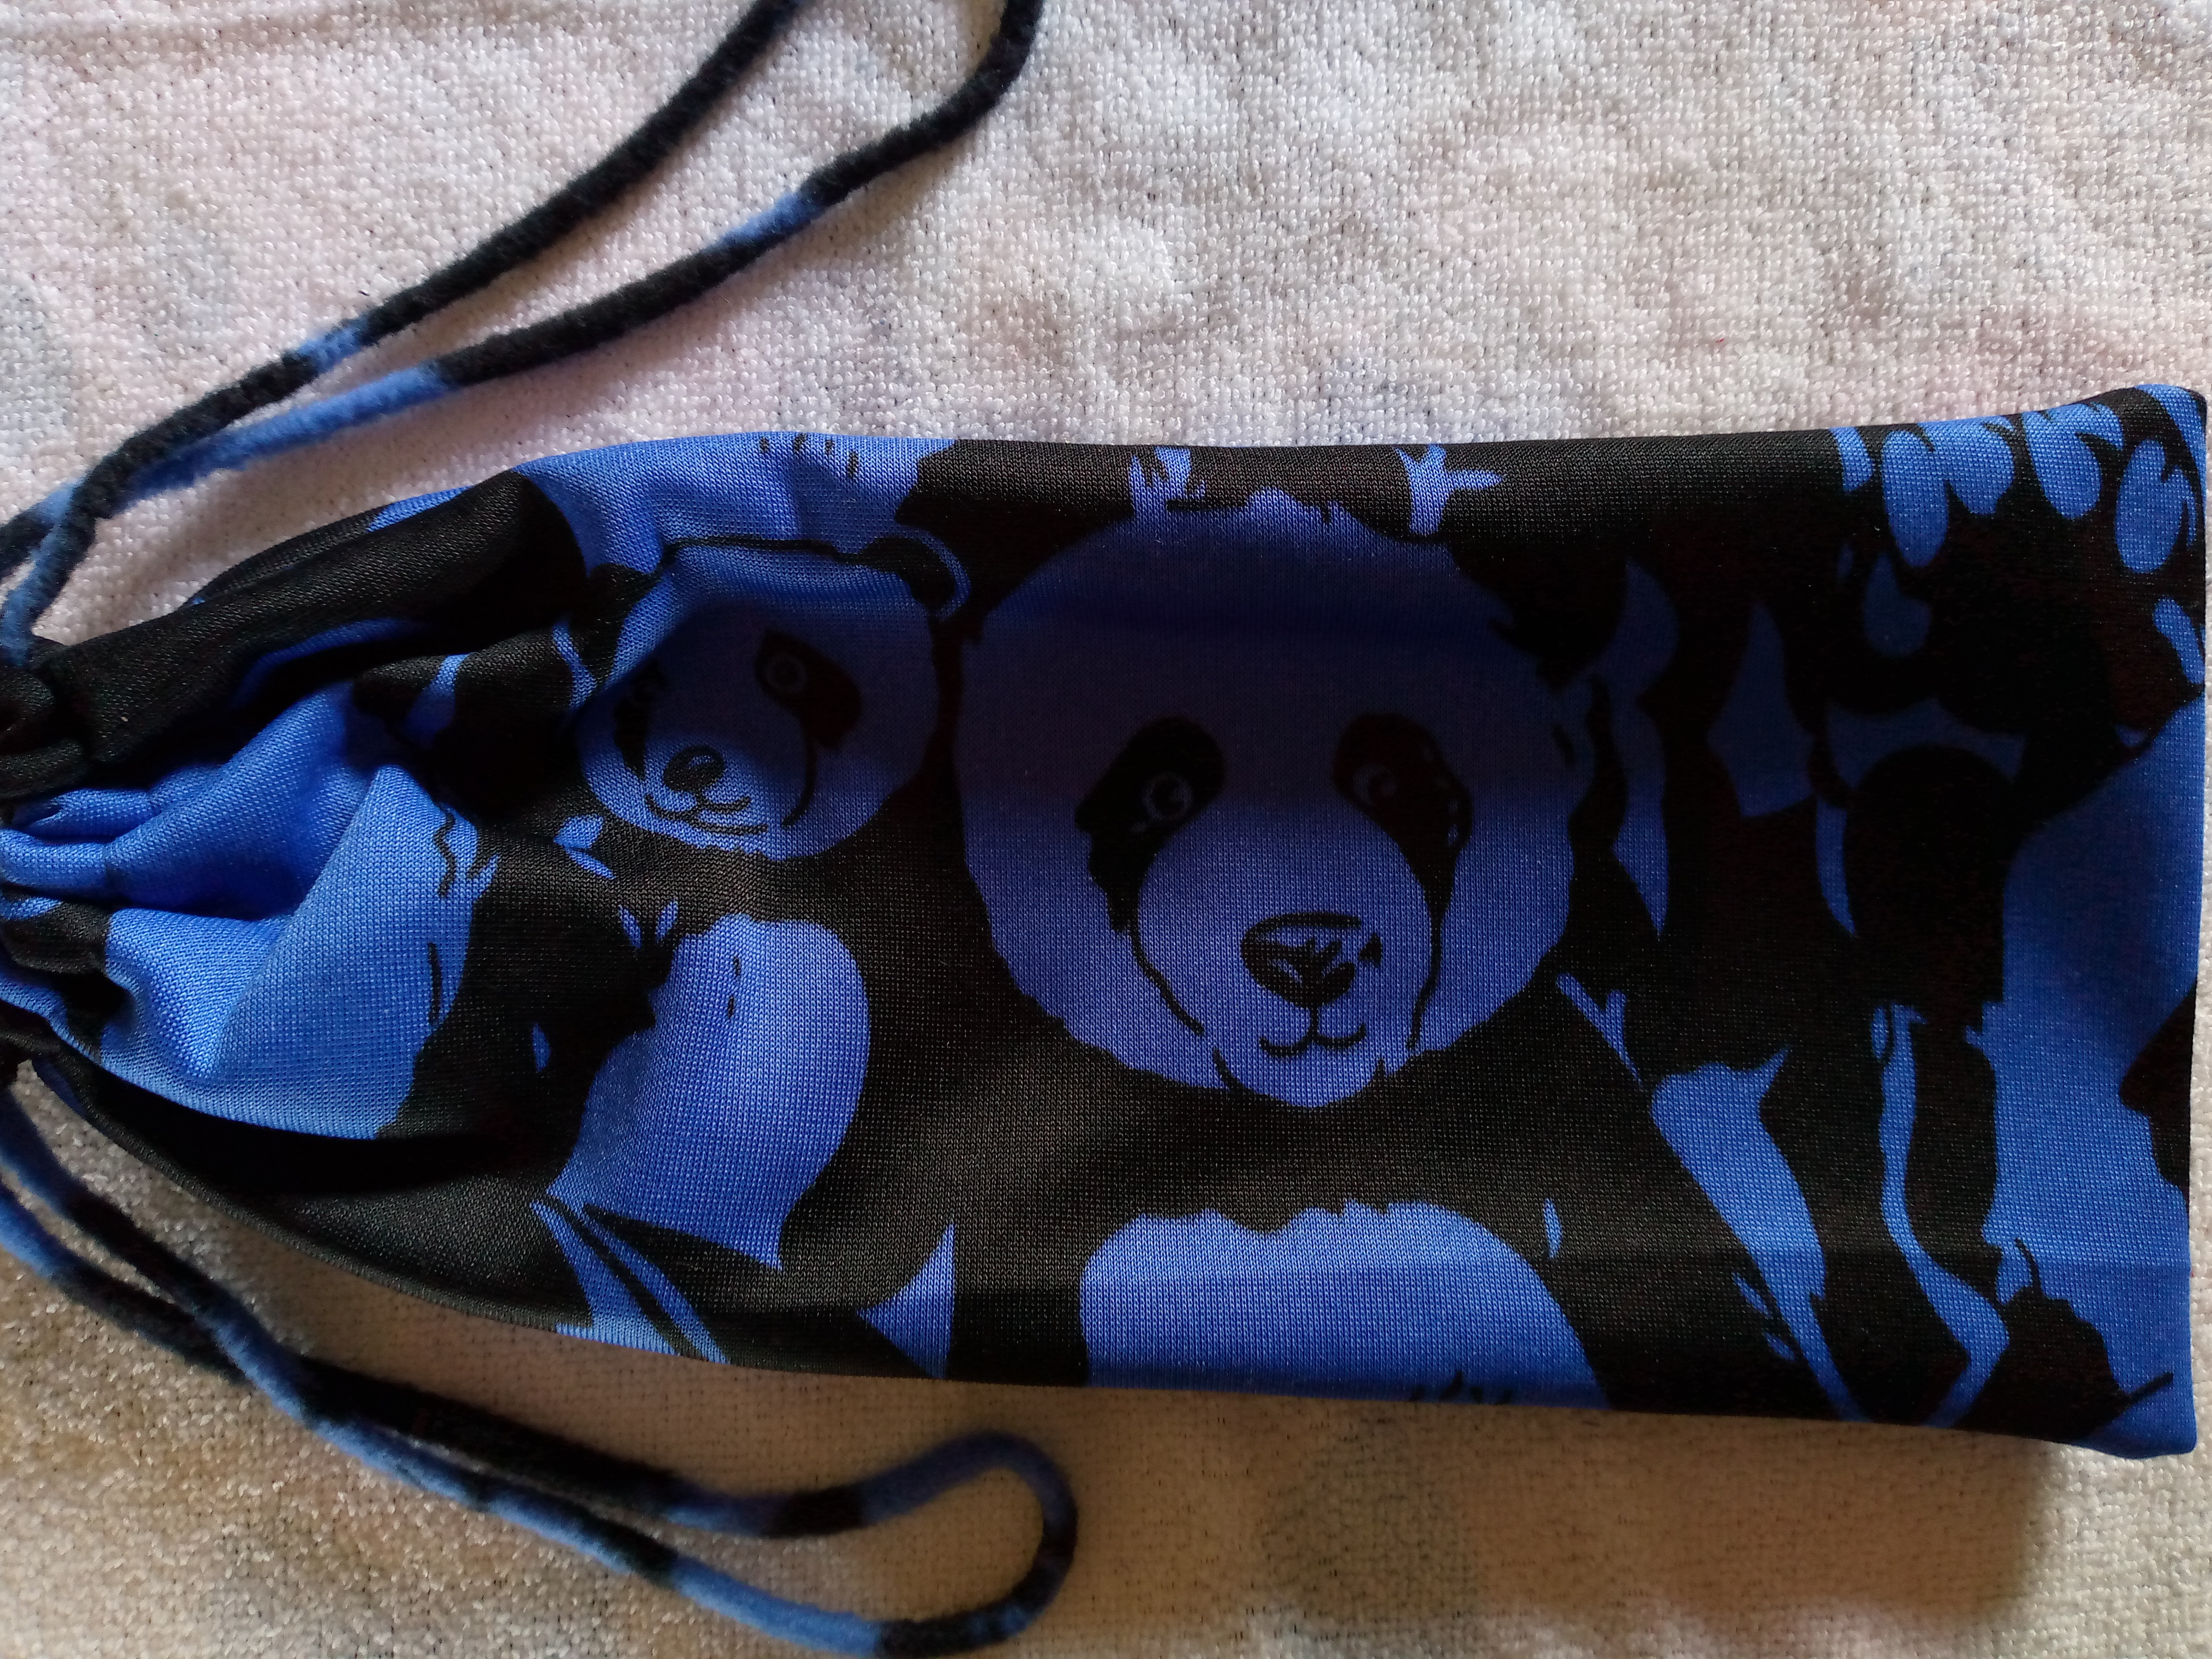
Once the steps are finished, we can see the process and final result of my lining ready and perfect to use. I really liked this fabric because the print is of panda bears which gives the lining a much more tender touch. I can't stop appreciating how cute it looks 🥰😍💙 If you liked it, don't forget to share this idea and come up with ways to make one. You can use scraps of any fabric, even old jeans. The idea is to personalize and have your own lining to store your iron. You can also make it to store anything you want or to take your things on a trip.
💙I wish you a happy night and I appreciate your gesture for visiting and reading my blog. I say goodbye as usual, have sweet dreams and a happy day tomorrow, until another next creative tutorial we'll see you 😊💙

.jpg)

Me parece muy lindo amiga .! Me gusta su diseño y estampado!
Gracias querida amiga 😁😊
The design of this practical bag is very nice and very cool to carry and use every day.Thank you for sharing your creative process in our community.
Thanks 🤗😇