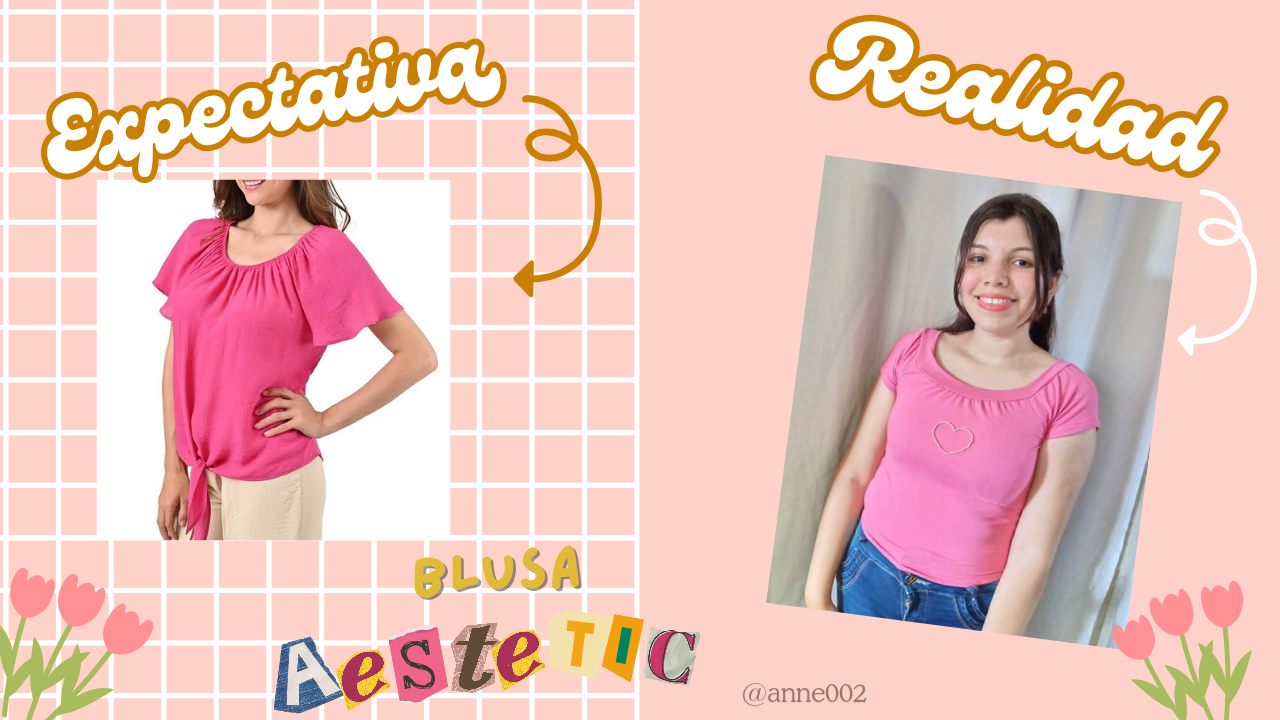
Hello friends how are you happy evening, welcome to a new tutorial on making clothes. Today I am going to show you the easiest and simplest process of how to make this simple peasant-style blouse for us, although in a past tutorial I showed you how to make a peasant-style blouse for a girl with straps, this time we will make one but with sleeves and plain without ruffles. I will be using this model as an expectation for the final results but we only want to be guided by the model of the bust and short sleeves and of course the color which is very beautiful, very pink, very Barbie and very everything to do🥰🤭😍
Although my favorite color is black, it is not an obstacle for me not to wear an item in another color because to tell the truth I will not always be dressed in my favorite color, one thing is that I like it and another different thing is that I take that as an impulsiveness of not wanting to go out of that color hahaha or that I die when I can't find a garment that I like in black, none of that, friends seams, here we use any color that catches our attention and is appropriate to use on important special occasions among other things...
And well, getting to the point... I will be making this garment with a fabric that I love, if you know me, if you already know what they are, micro or peach skin fabrics, especially for garments that you don't want to be hot on, I always buy them because I love them, I love them and more friends buy this fabric for a blouse, it is special and of course they won't regret it, to cut the blouse I have of course used a measurement of a blouse that fits me well and thus make the Basque cutting process easier, without further ado, let's go with the materials and the process, I hope you like how it turned out after it is ready.
.jpg)
Materials:
- 50 cm of peach skin fabric
- Scissors
- Pins
- Sewing thread
- Sewing machine
- Decorative pink pearls
- Needle
Steps to follow:
Step 01
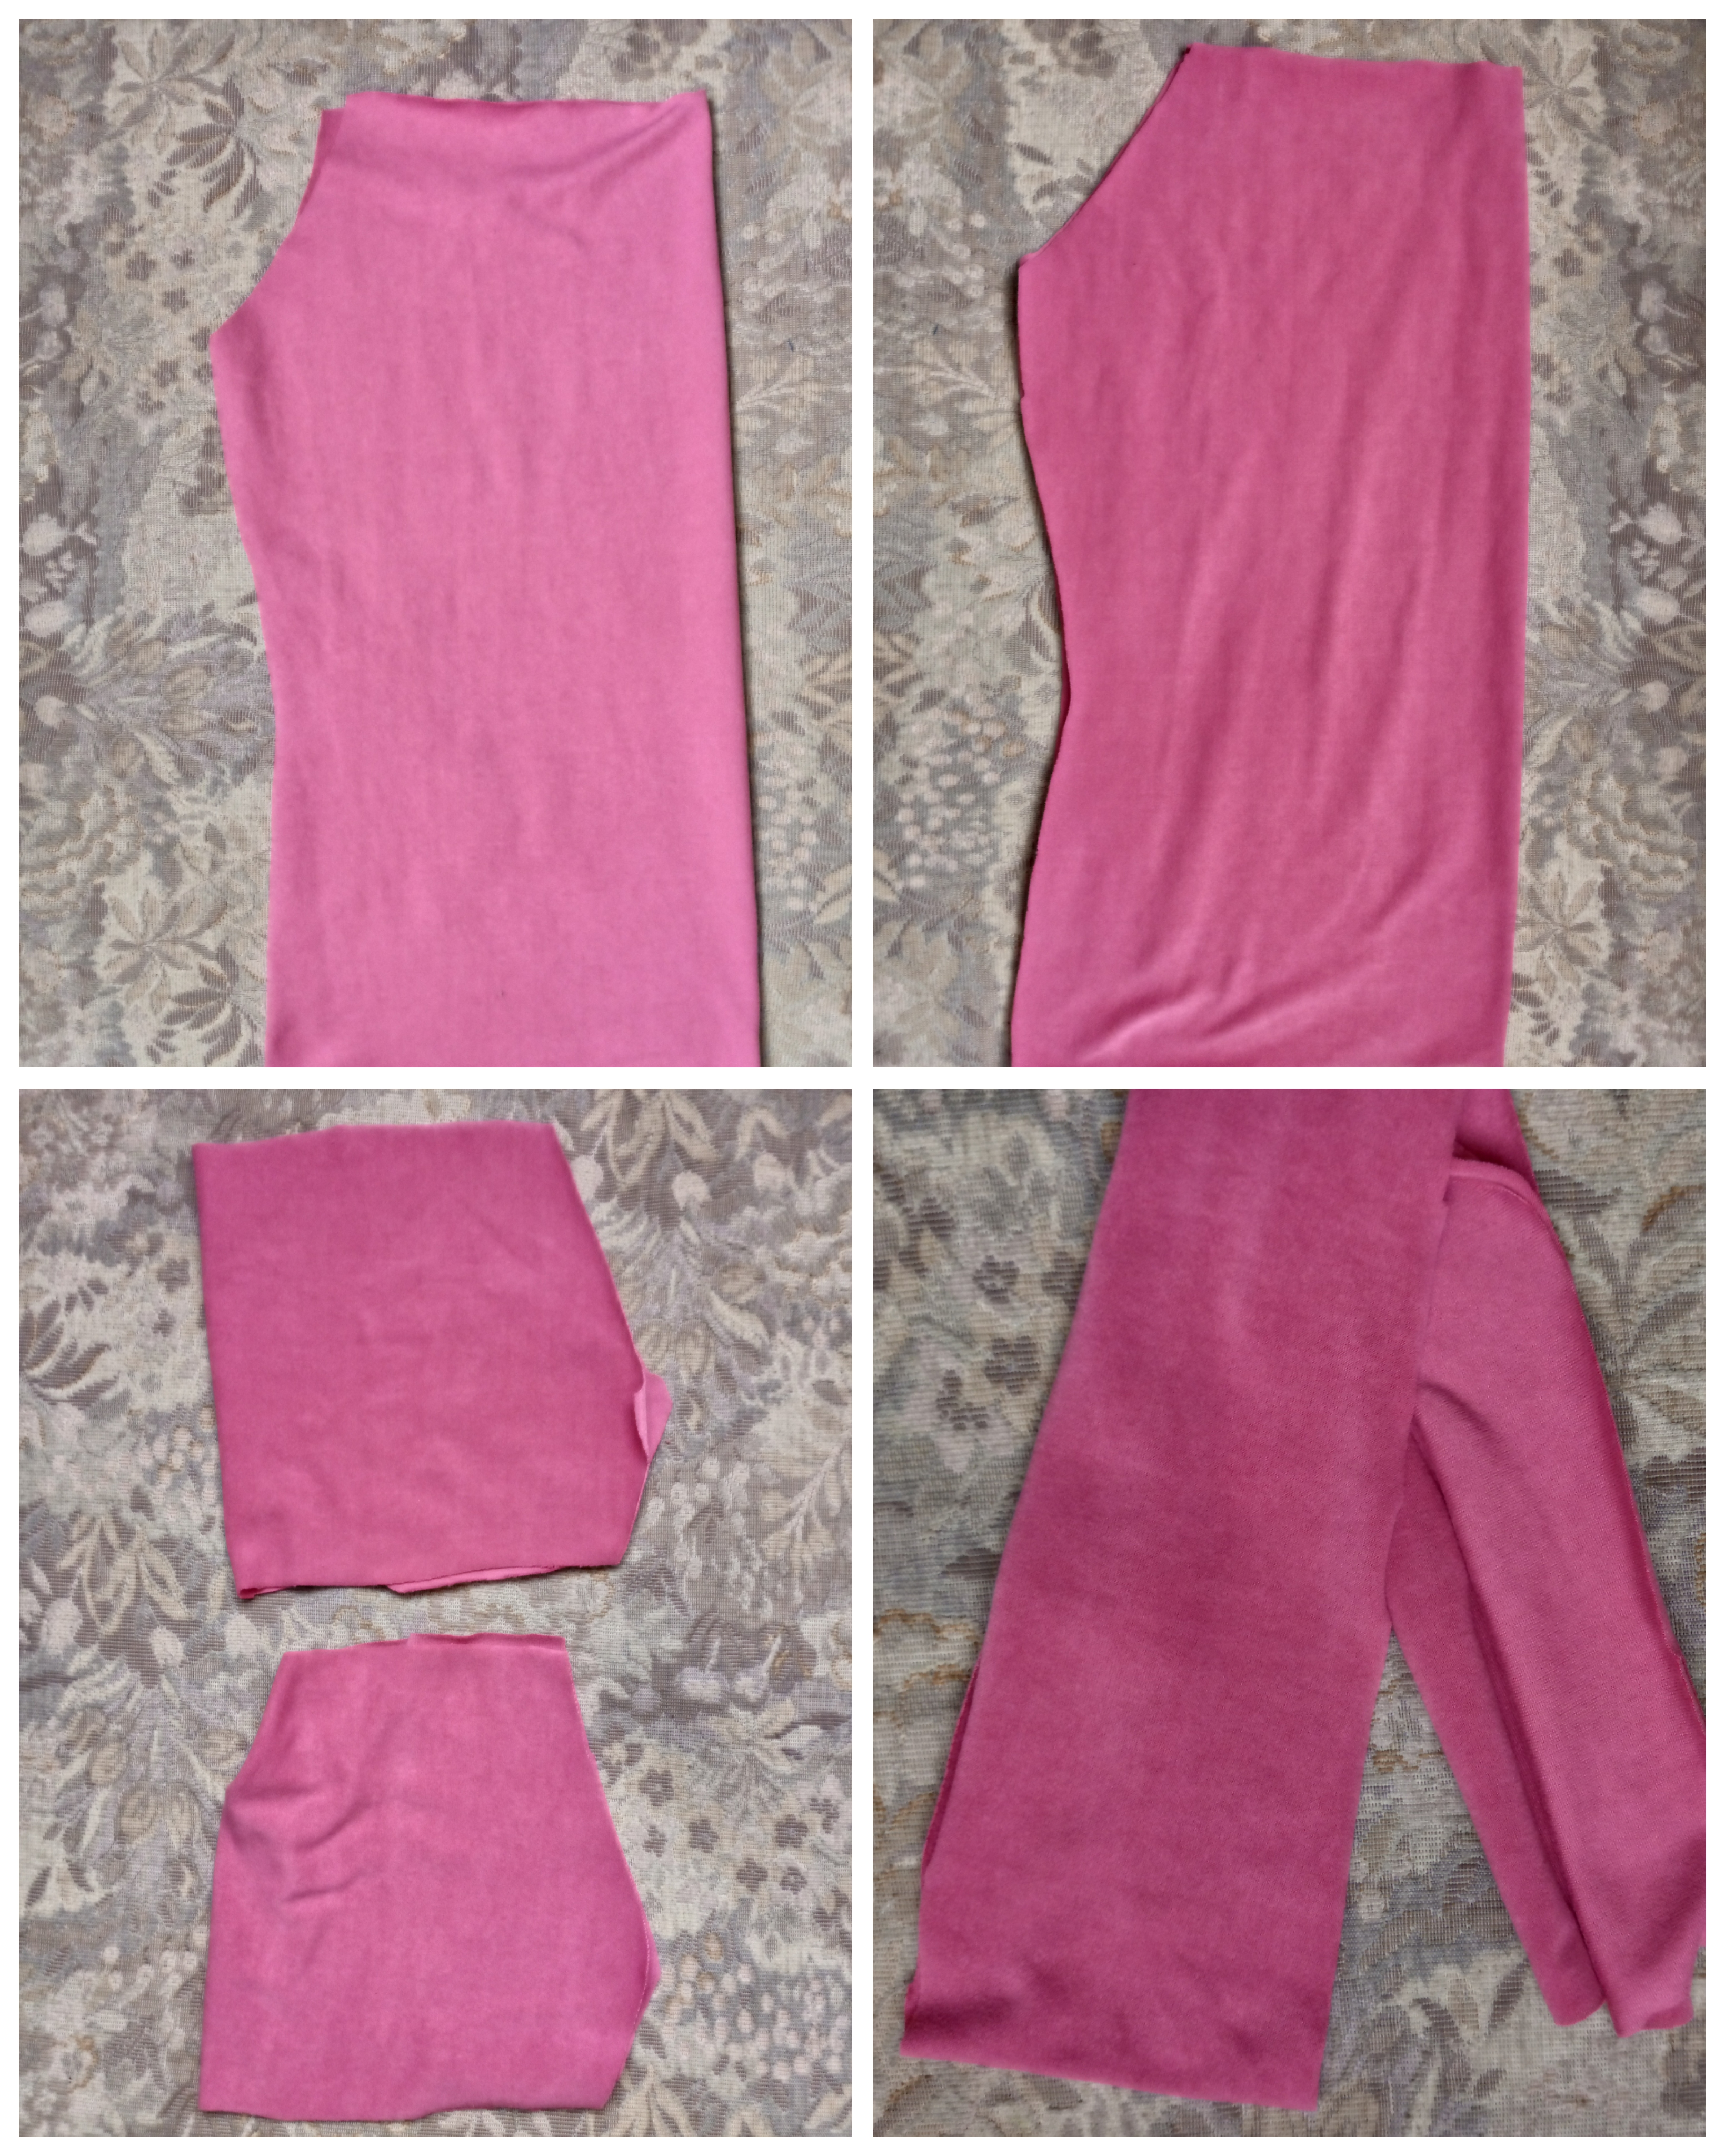
We start working by cutting the pieces as I mentioned before with the measurement of a garment that fits you well and the size of your body. I will cut the front and back piece, the two sleeves and of course the tape around my chest. I recommend cutting this 5 cm less as we will stretch it later.
Step 02
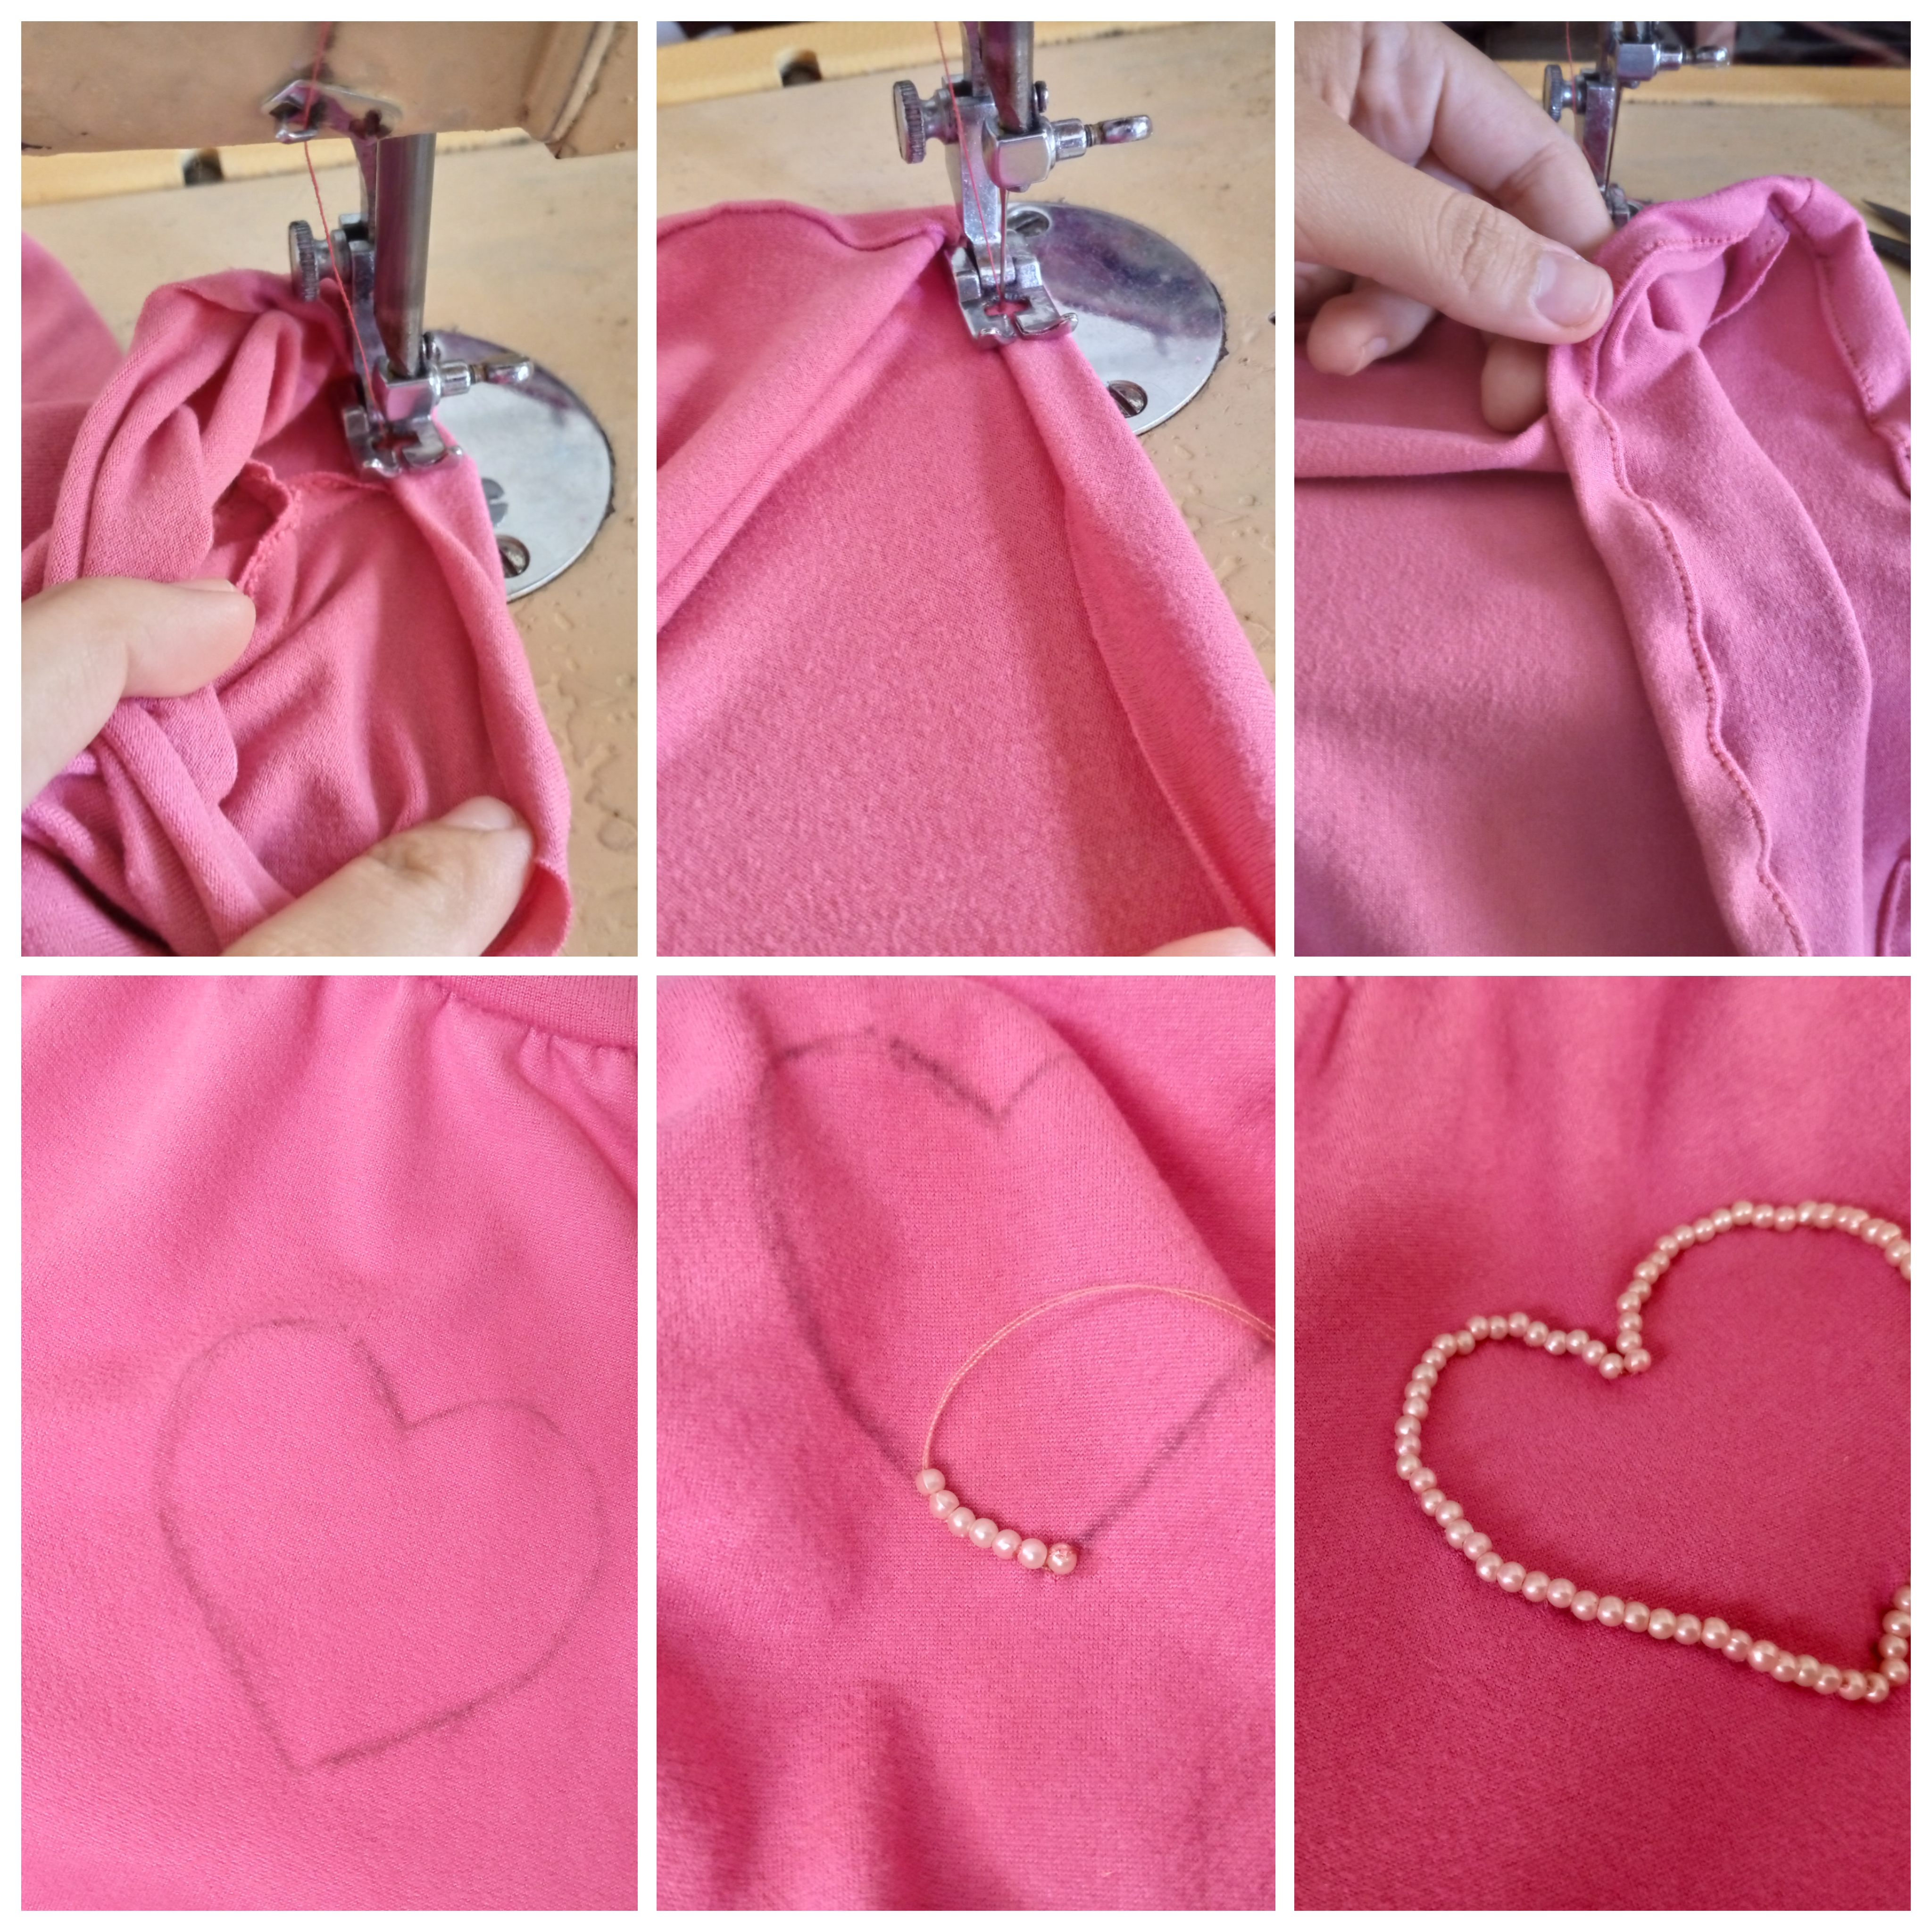
We will now move on to sewing and sealing the sides of the blouse. We will grab our front and back pieces and seal the sides, only that part. Always remember to finish with a zigzag stitch for a better finish. Then I will seal the bottom of my sleeves and leave the top part unsewn so we can join this part with the armhole of the blouse.
.jpg)
Step 03
We will then join the sleeve to our armhole with the help of our pins and sew, we will also zigzag this for my finishes, and we will sew the other sleeve, remember that there are two 😊😁 and so we will have our already sewn sleeves as shown in the image.
.jpg)
Step 04
So let's move on to my favorite part, sewing the ribbon to our chest, the length you see down is 8 cm and we're going to join the ends and sew with a straight stitch to join the ribbon, I'll be folding it and it will be reduced to 4 cm, we put a pin to hold it in the back there. I first made a small mark that shows me where I'll be placing the folded ribbon so it will be right in the middle, then I easily proceed to sew all around my perimeter, we'll stretch our ribbon little by little and sew carefully and lovingly and finish with a zig zag.
.jpg)
Step 05
I will be sewing the hems of my sleeves and the bottom of the blouse, I wanted to make a heart detail at the end after sewing it, with a pencil I made a drawing or the outline of a heart as a guide to sew the small pearls there, with those pearls I was going to make a flower design but I realized that a heart looked better 😍.
I couldn't resist making a heart because it looked very pretty, although it was a bit difficult to sew it since I was inserting two pearls, returning the needle and putting it through the last pearl. These steps made my heart look somewhat distorted.
But after finishing it occurred to me to pass my needle with thread through all the pearls and bring it out at the end where I started and pull the thread, pressing it a little. This made my pearls gather and thus the shape of the heart could be seen a little, and the truth is that I loved the result.
Final result of the work:
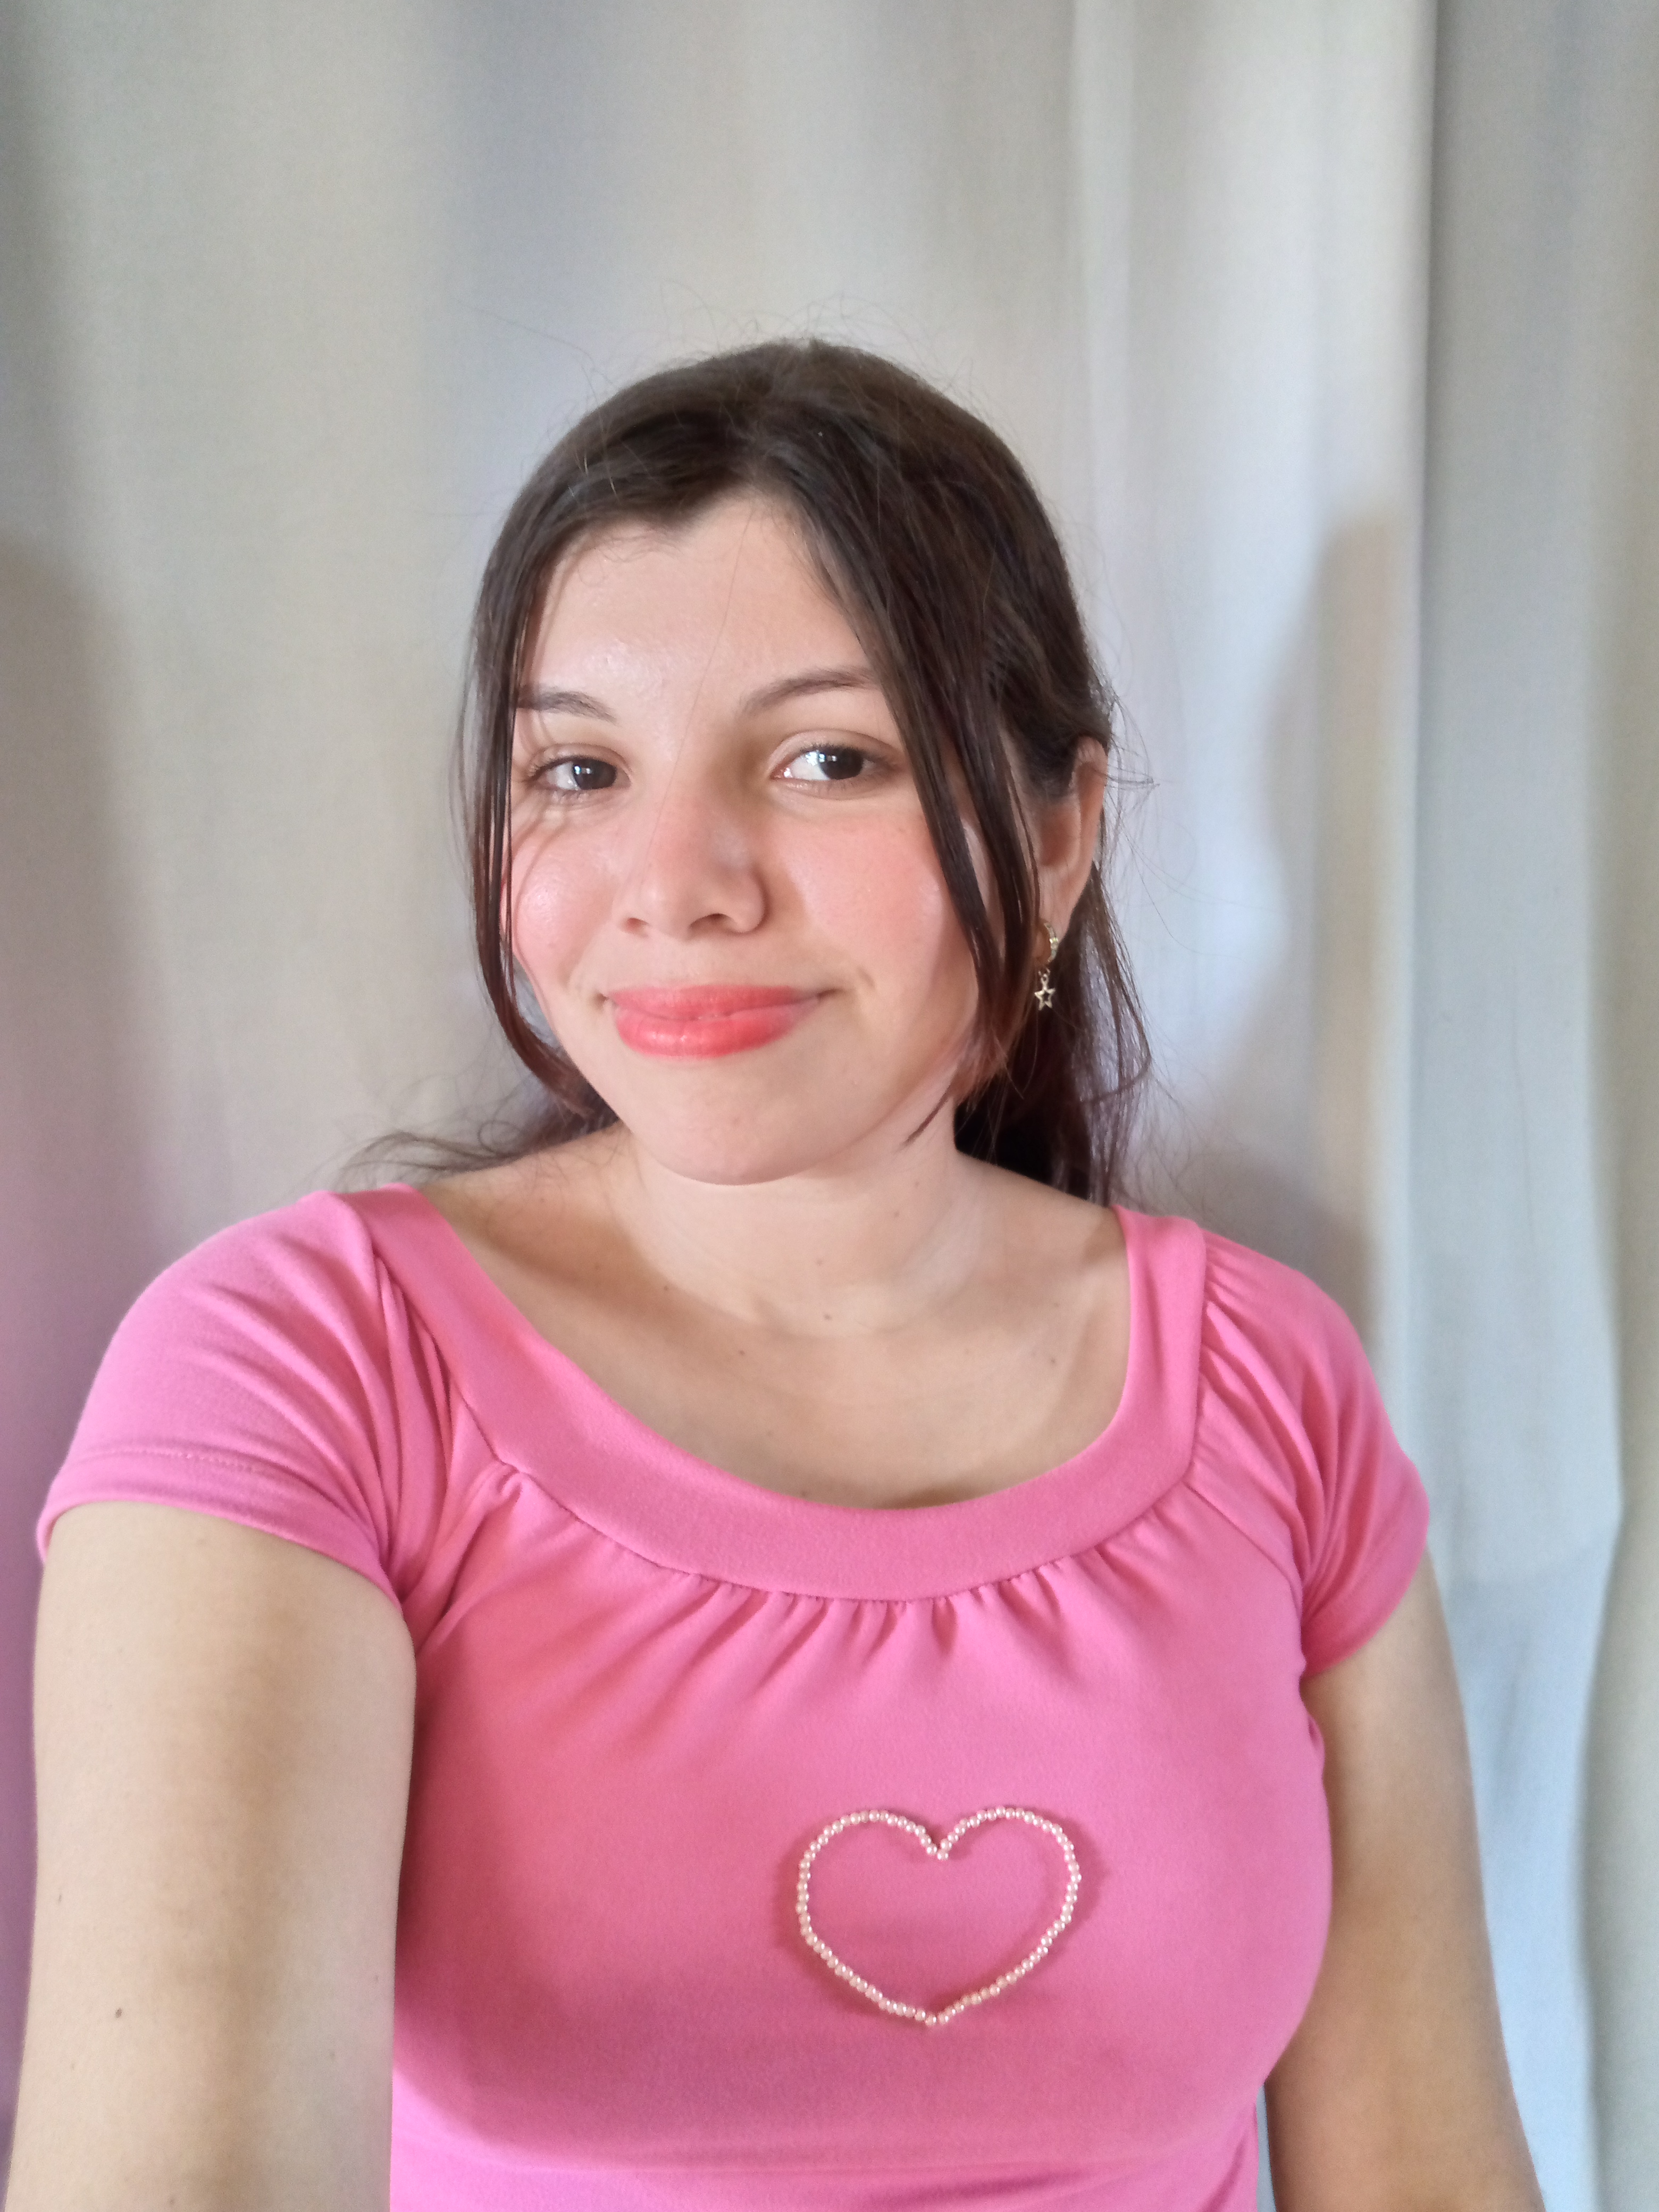
Well, once I finished sewing it, like a little girl, I couldn't wait to try it on and see how it turned out. I was convinced with this blouse, and although it's not exactly what I expected, if we could guide ourselves a little in the bust area that I wanted, because my blouse had that model with a similar neck and sleeves, I definitely liked it.
These are the final results of the blouse. I hope you loved the simple process and the design. I say goodbye to you wishing you a happy night, sweet dreams and a good rest. See you tomorrow creative friends. Thank you for visiting my blog and I hope you liked it.
Happy and beautiful night🌛❤️
.jpg)
A sweet dress has been created through the wonderful fabric colors and combinations. All in all your awesome skills and creativity look great. You look beautiful.
Thank you so much for sharing this detailed step by step on DIYHub, it really is admirable to appreciate the whole creative process. The final result is lovely and it turned out to be a piece similar to the one that inspired you, but with a unique style that you have left with your contribution, congratulations for a good job and a great post.
Thank you very much @diyhub for appreciating my post, and the support is much appreciated too.
está muy bonito de verdad, el color rosado me encanta jeje
it's really beautiful, the pink color I love it hehe