
Hola a todos bienvenidos a un nuevo tutorial reciclando cositas 😊les doy la bienvenida y sientanse cómodos 🌼✨.
Hello everyone, welcome to a new tutorial recycling things 😊I welcome you and feel comfortable 🌼✨.
Today I will be showing you how to make a very small notebook for important notes and carry it with you in your bag at any time without having to forget it again since you will always have it with you. I like to do this type of recycled work because I feel that our things are left with a touch of originality and the environment is preserved.
I have used recycled and useful materials that I have found lying around, you know that I am very good at recycling any object or thing, so I have recycled to make the notebook, that is, the lining on the outside of a paper where some wrapped foods come in or simply where wheat flour comes in, which are sacks made of hard brown paper, I love this paper because its brown color gives our work a very vintage and durable look since the texture of the paper is somewhat thick.
I have some projects that I had previously done with this material and I tell you that they have been in use for about 4 years and they are as if I had not used them, they are some notebooks that I made at that time with that material to give it durability I used that time glue or white glue to seal it and well, the truth is that with that layer of glue the paper has lasted longer.
Join me to make this cute, easy and simple notebook to keep in your purse. You will love the final result.
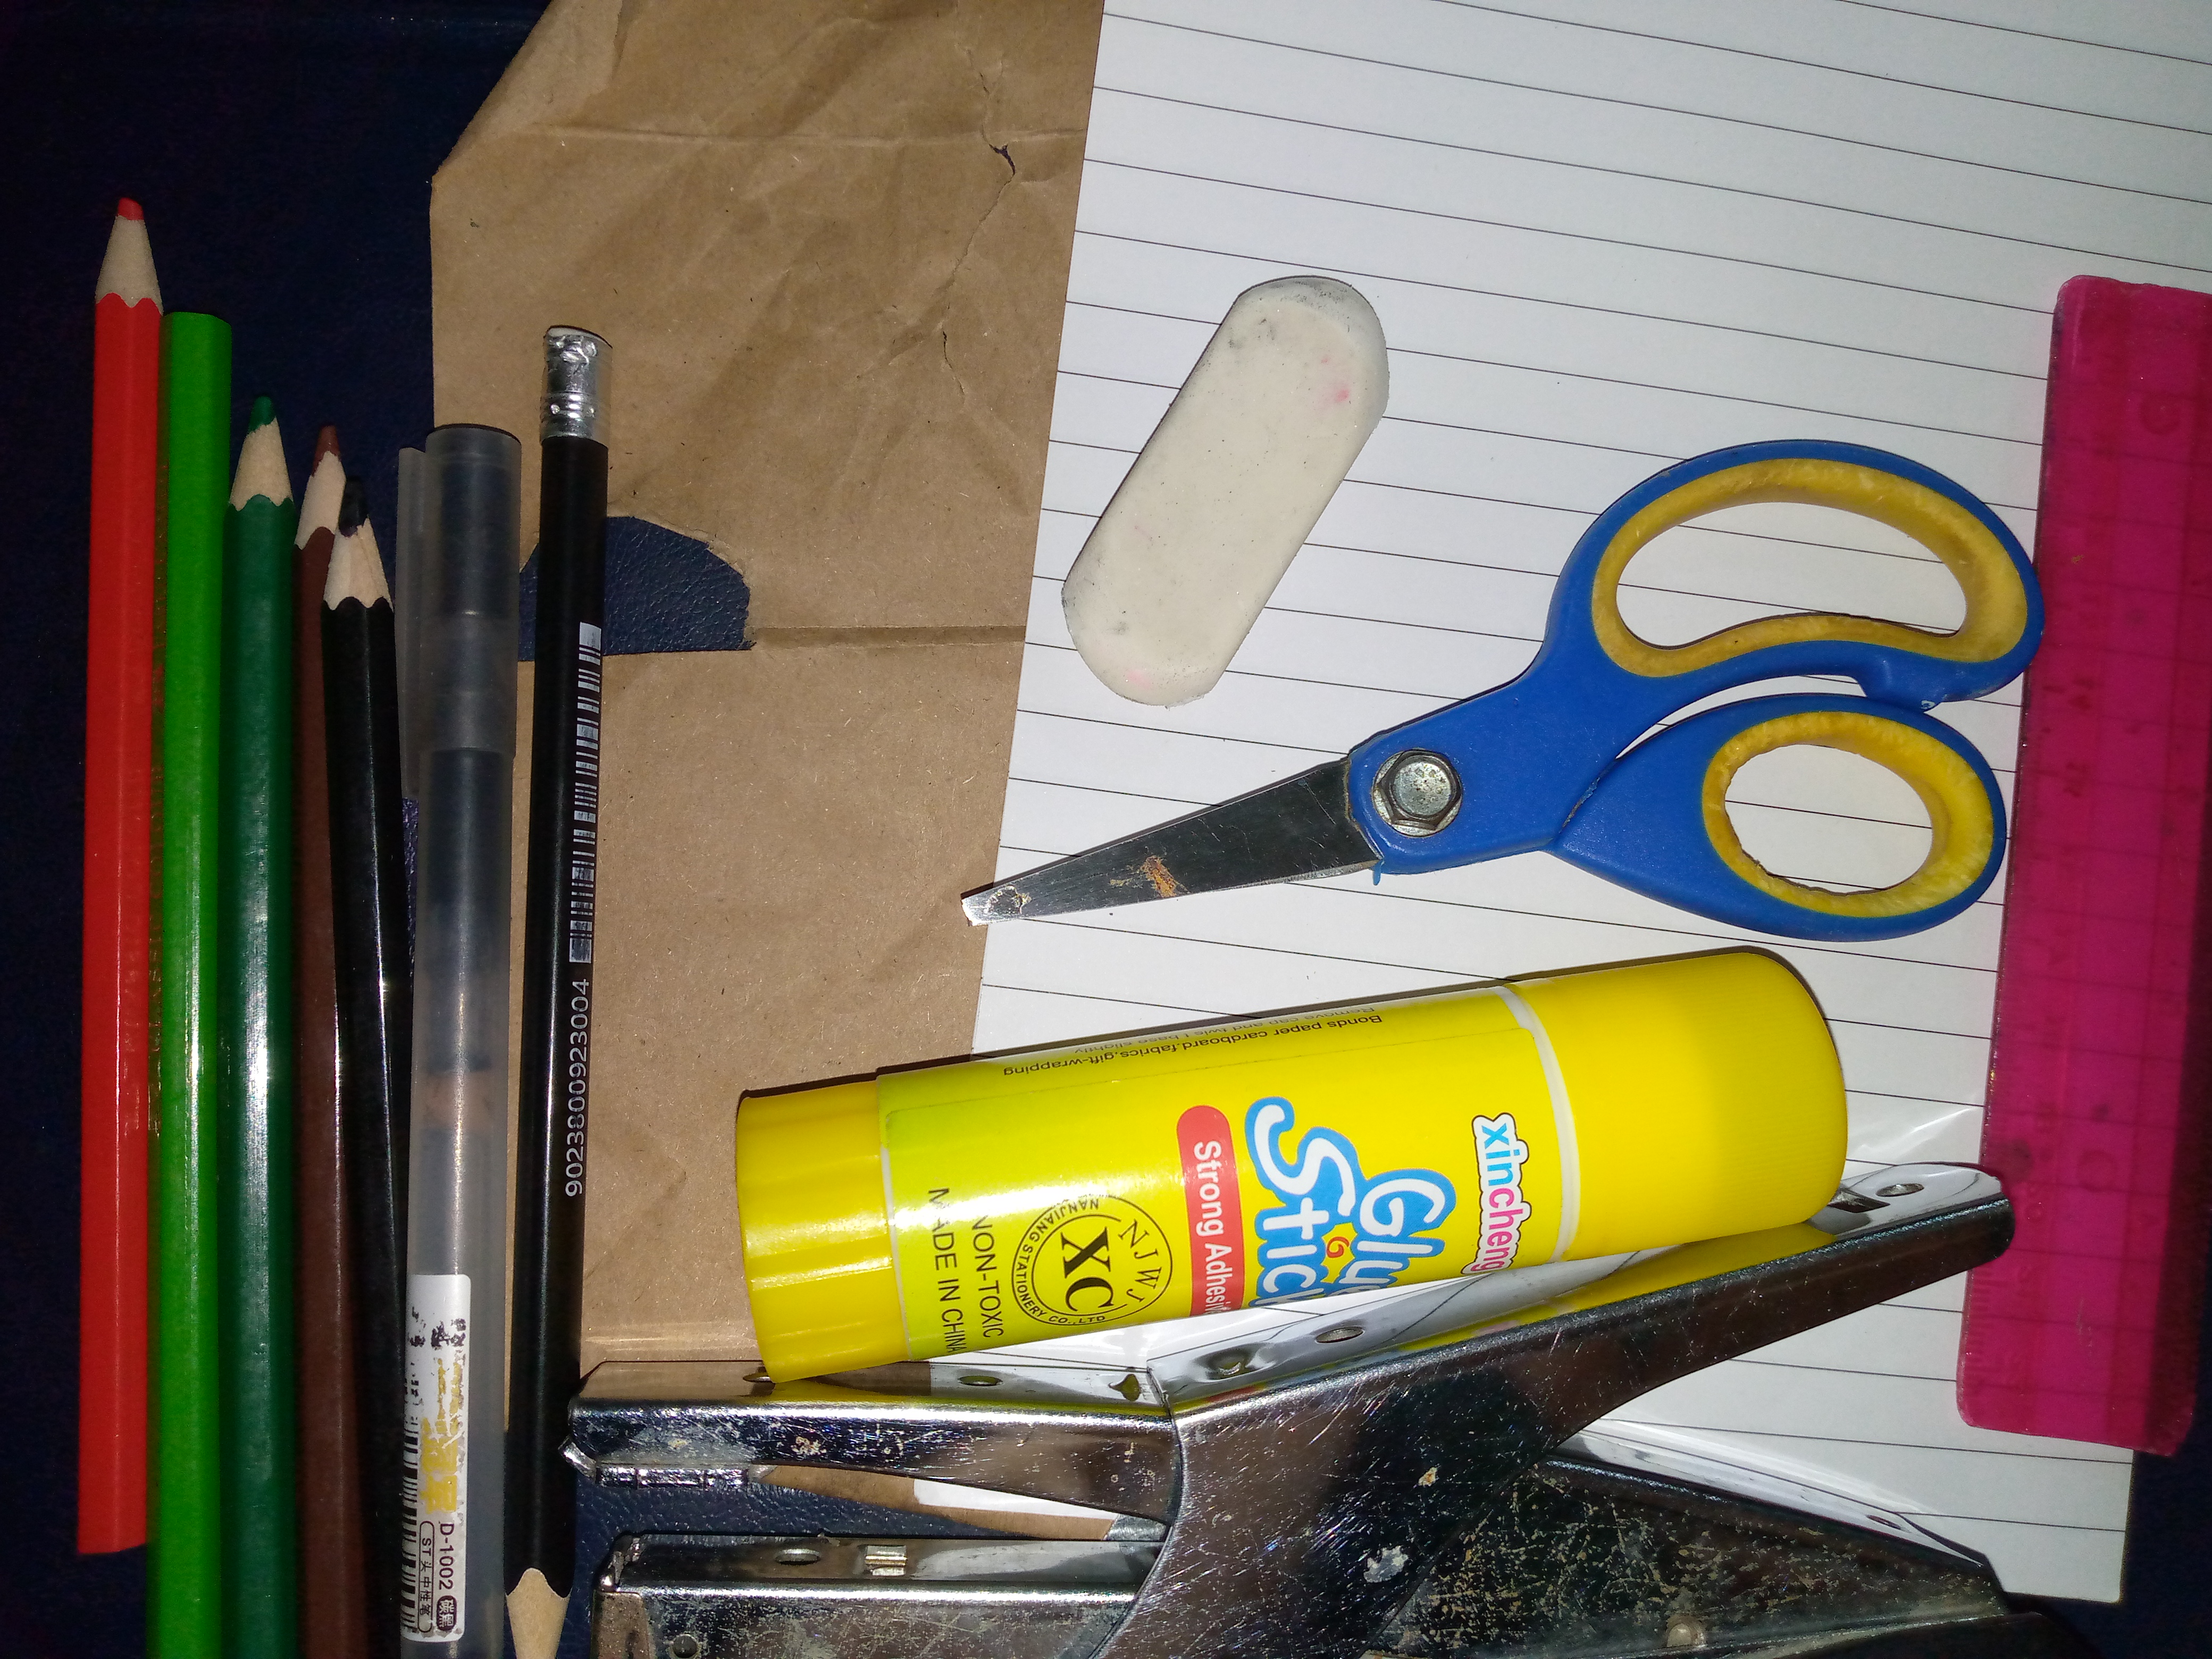
Materiales:
Materials:
- Papel marrón reciclado de harina de trigo
- Hojas de papel de algún cuaderno sin usar
- Pega en barra o pegamento líquido
- Colores
- Grapadora
- Bolígrafo negro punta fina
- Regla
- Borrador
- Tijera
- Brown recycled paper from wheat flour
- Sheets of paper from an unused notebook
- Glue stick or liquid glue
- Colors
- Stapler
- Fine-tipped black pen
- Ruler
- Eraser
- Scissors
Pasos a seguir
Steps to follow:
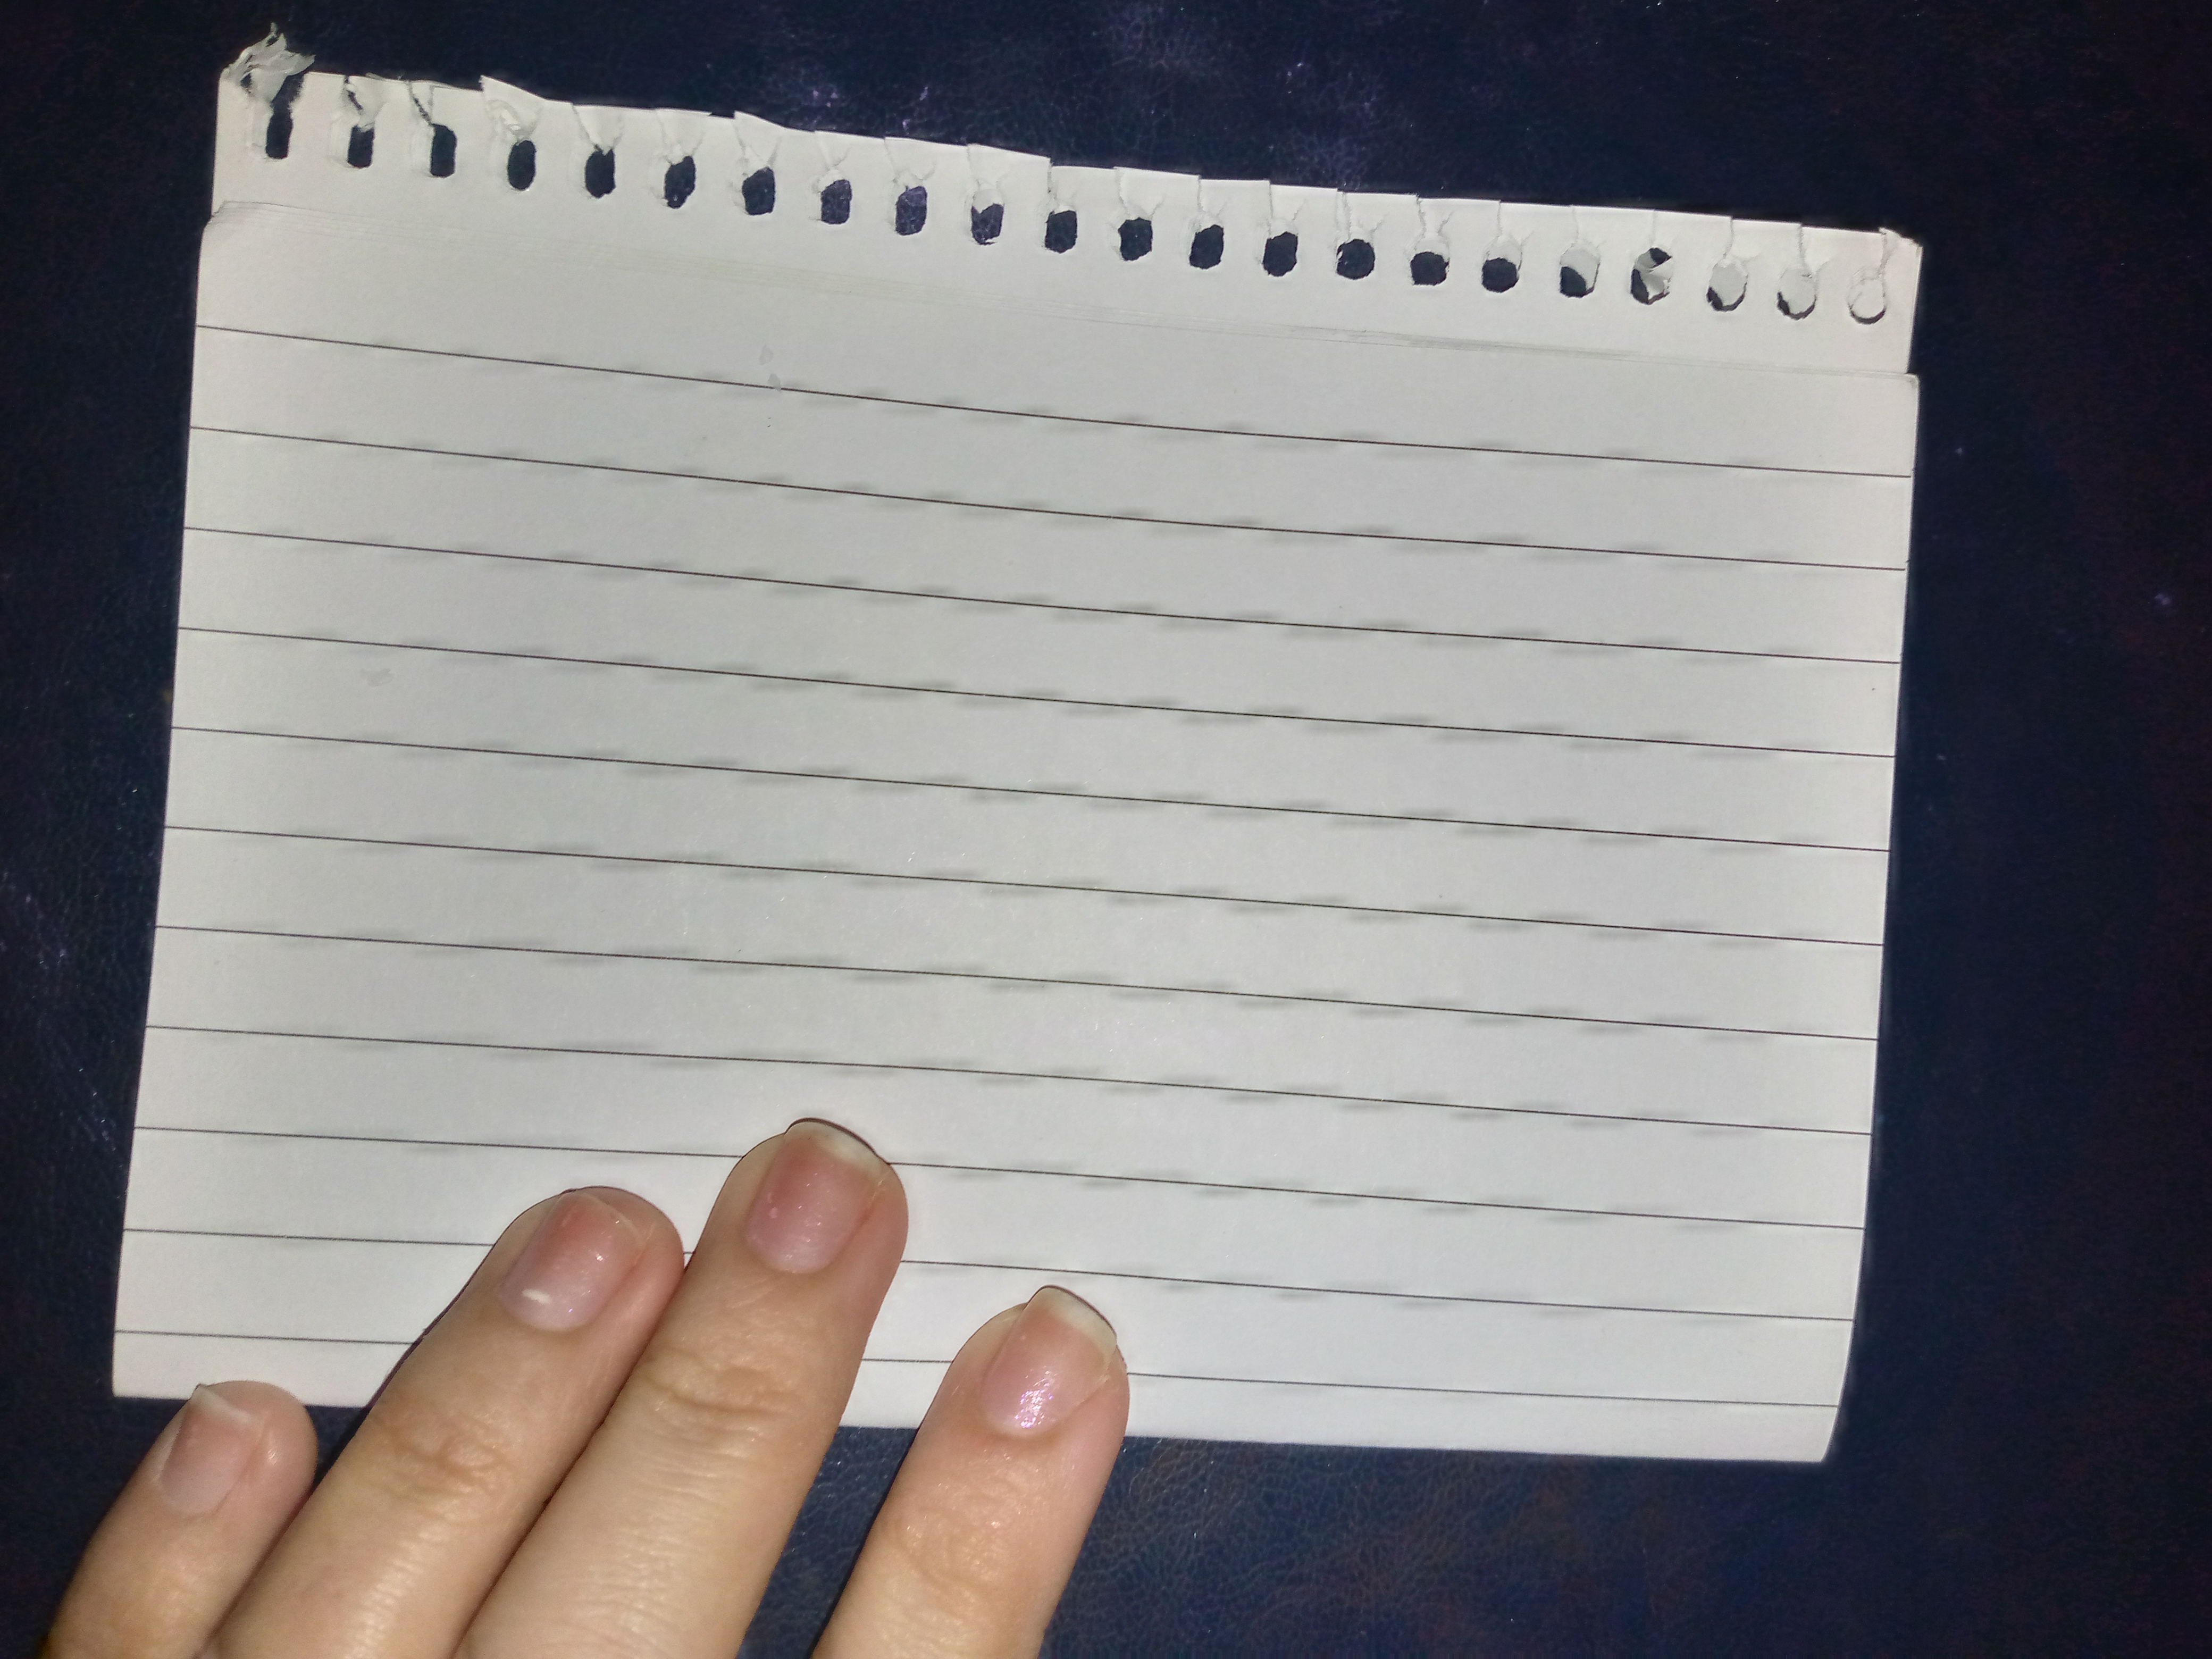
Paso 01
Step 01
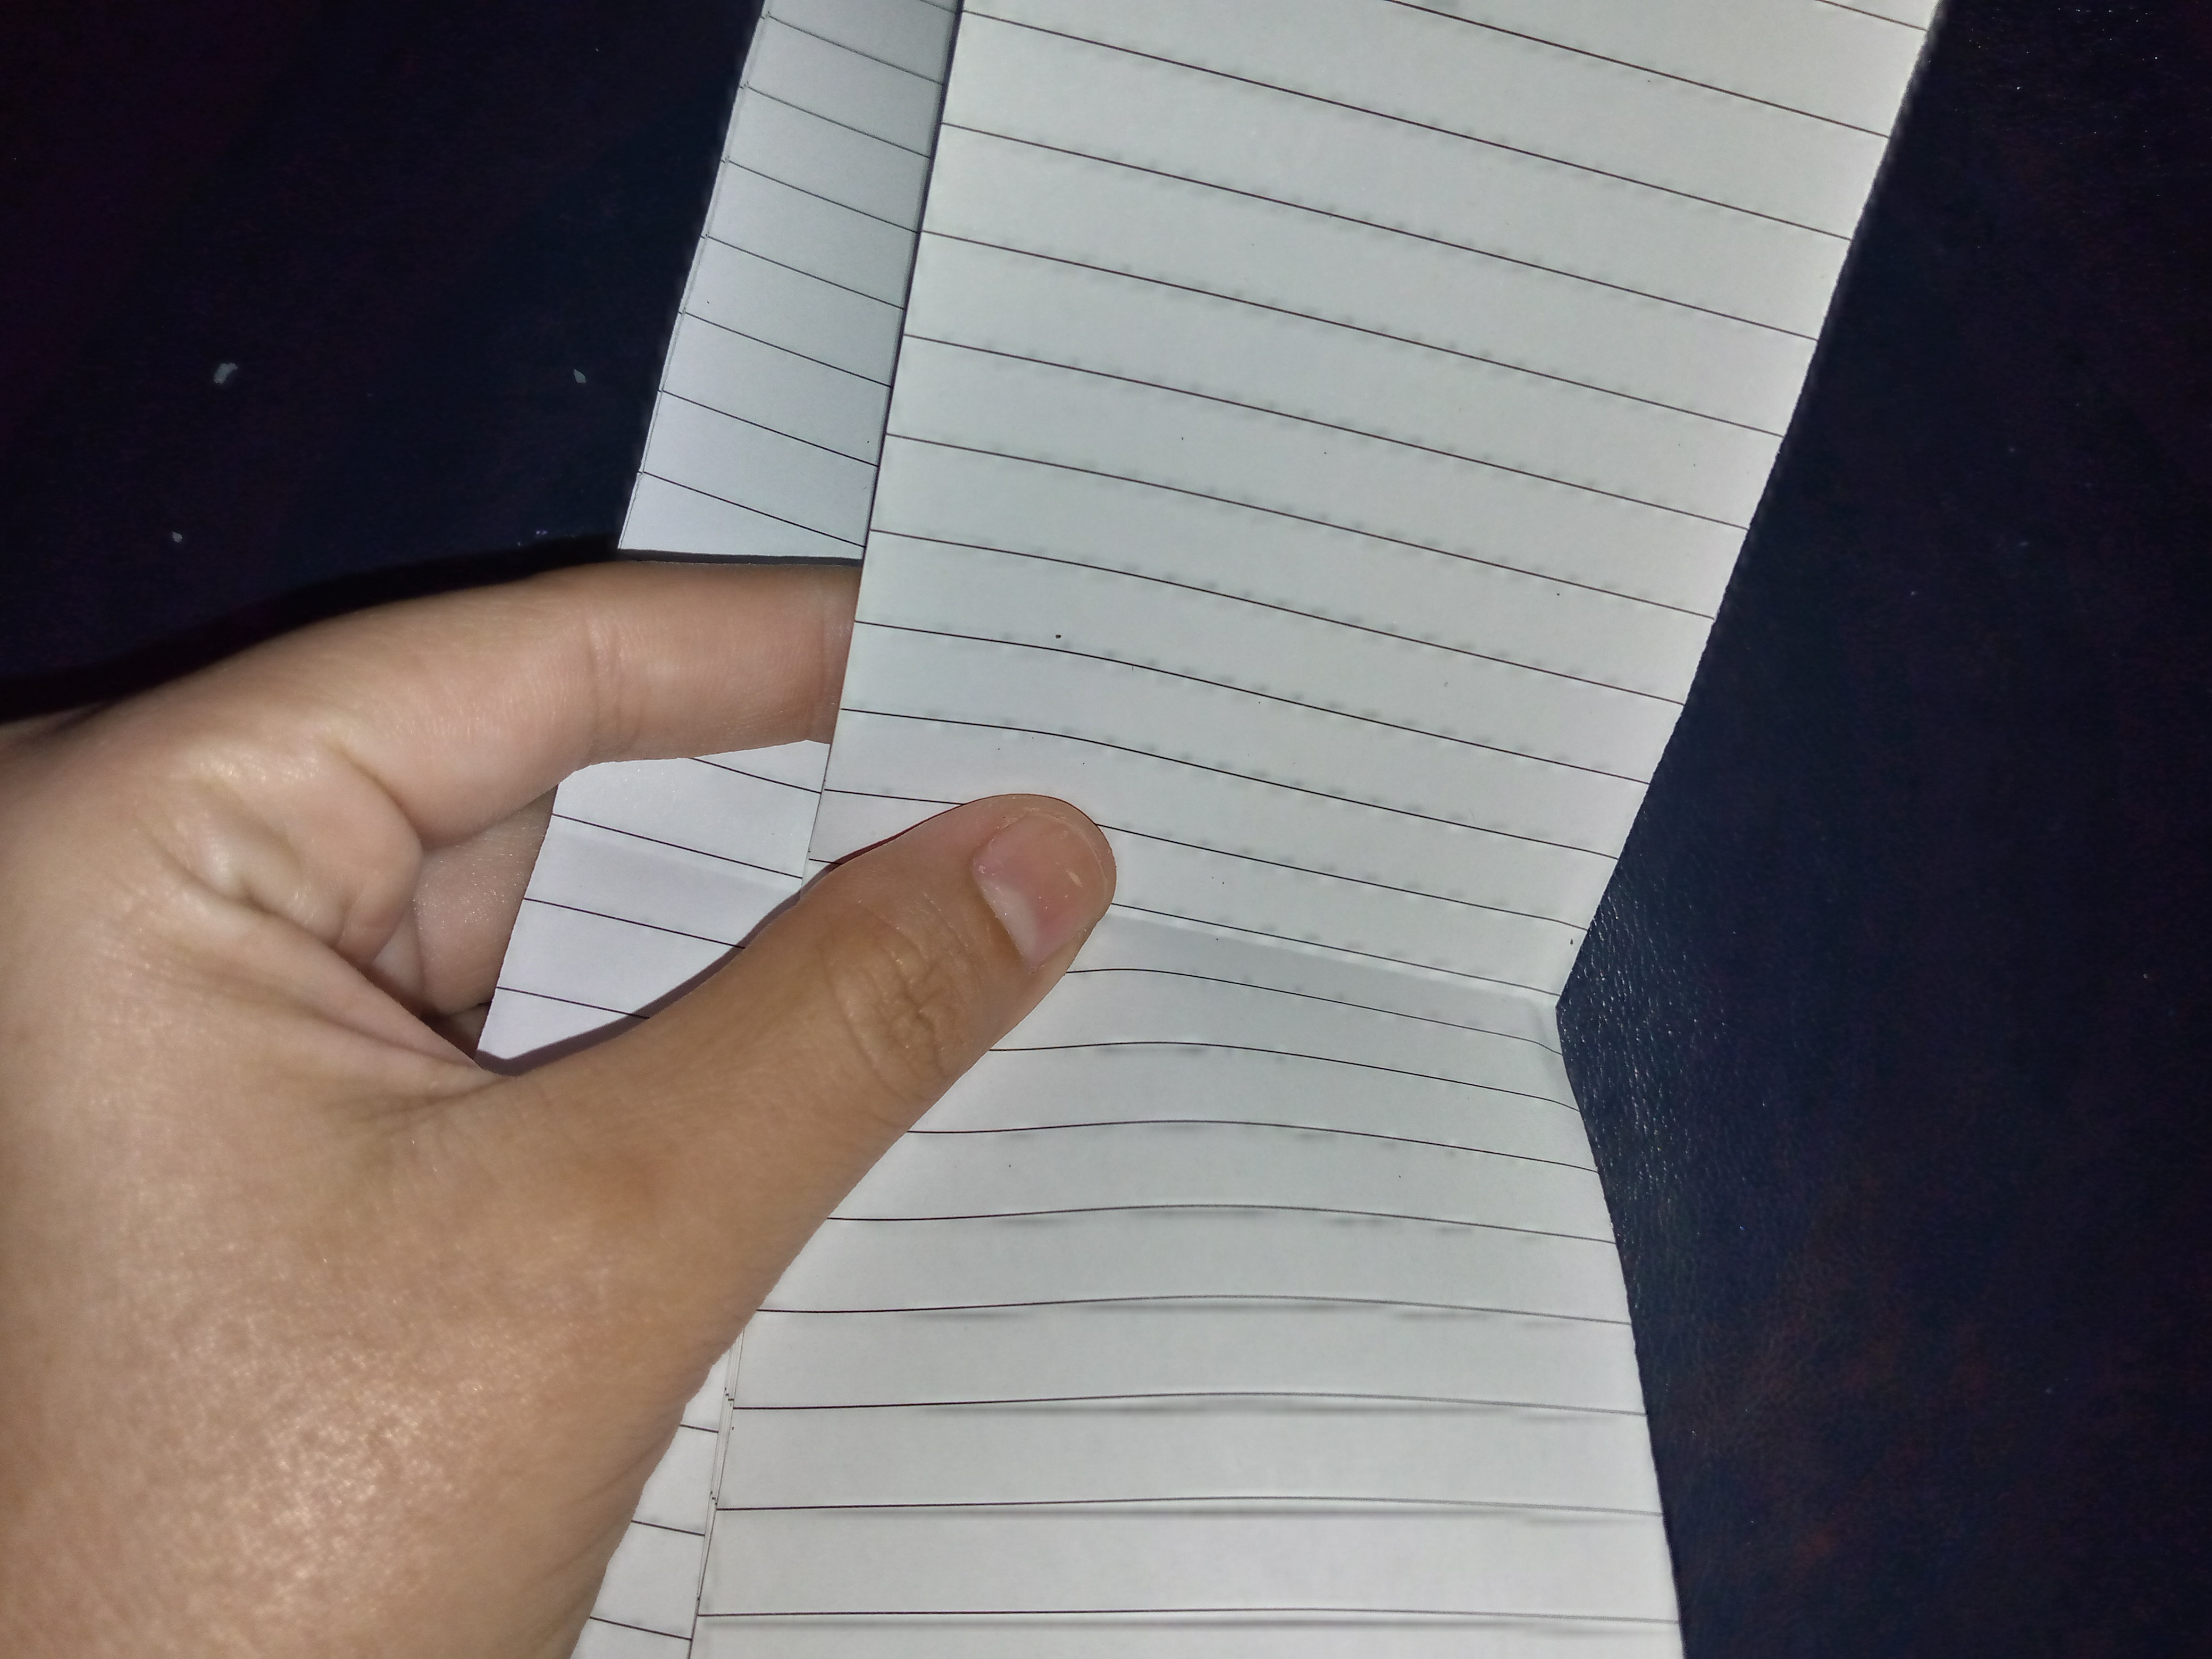
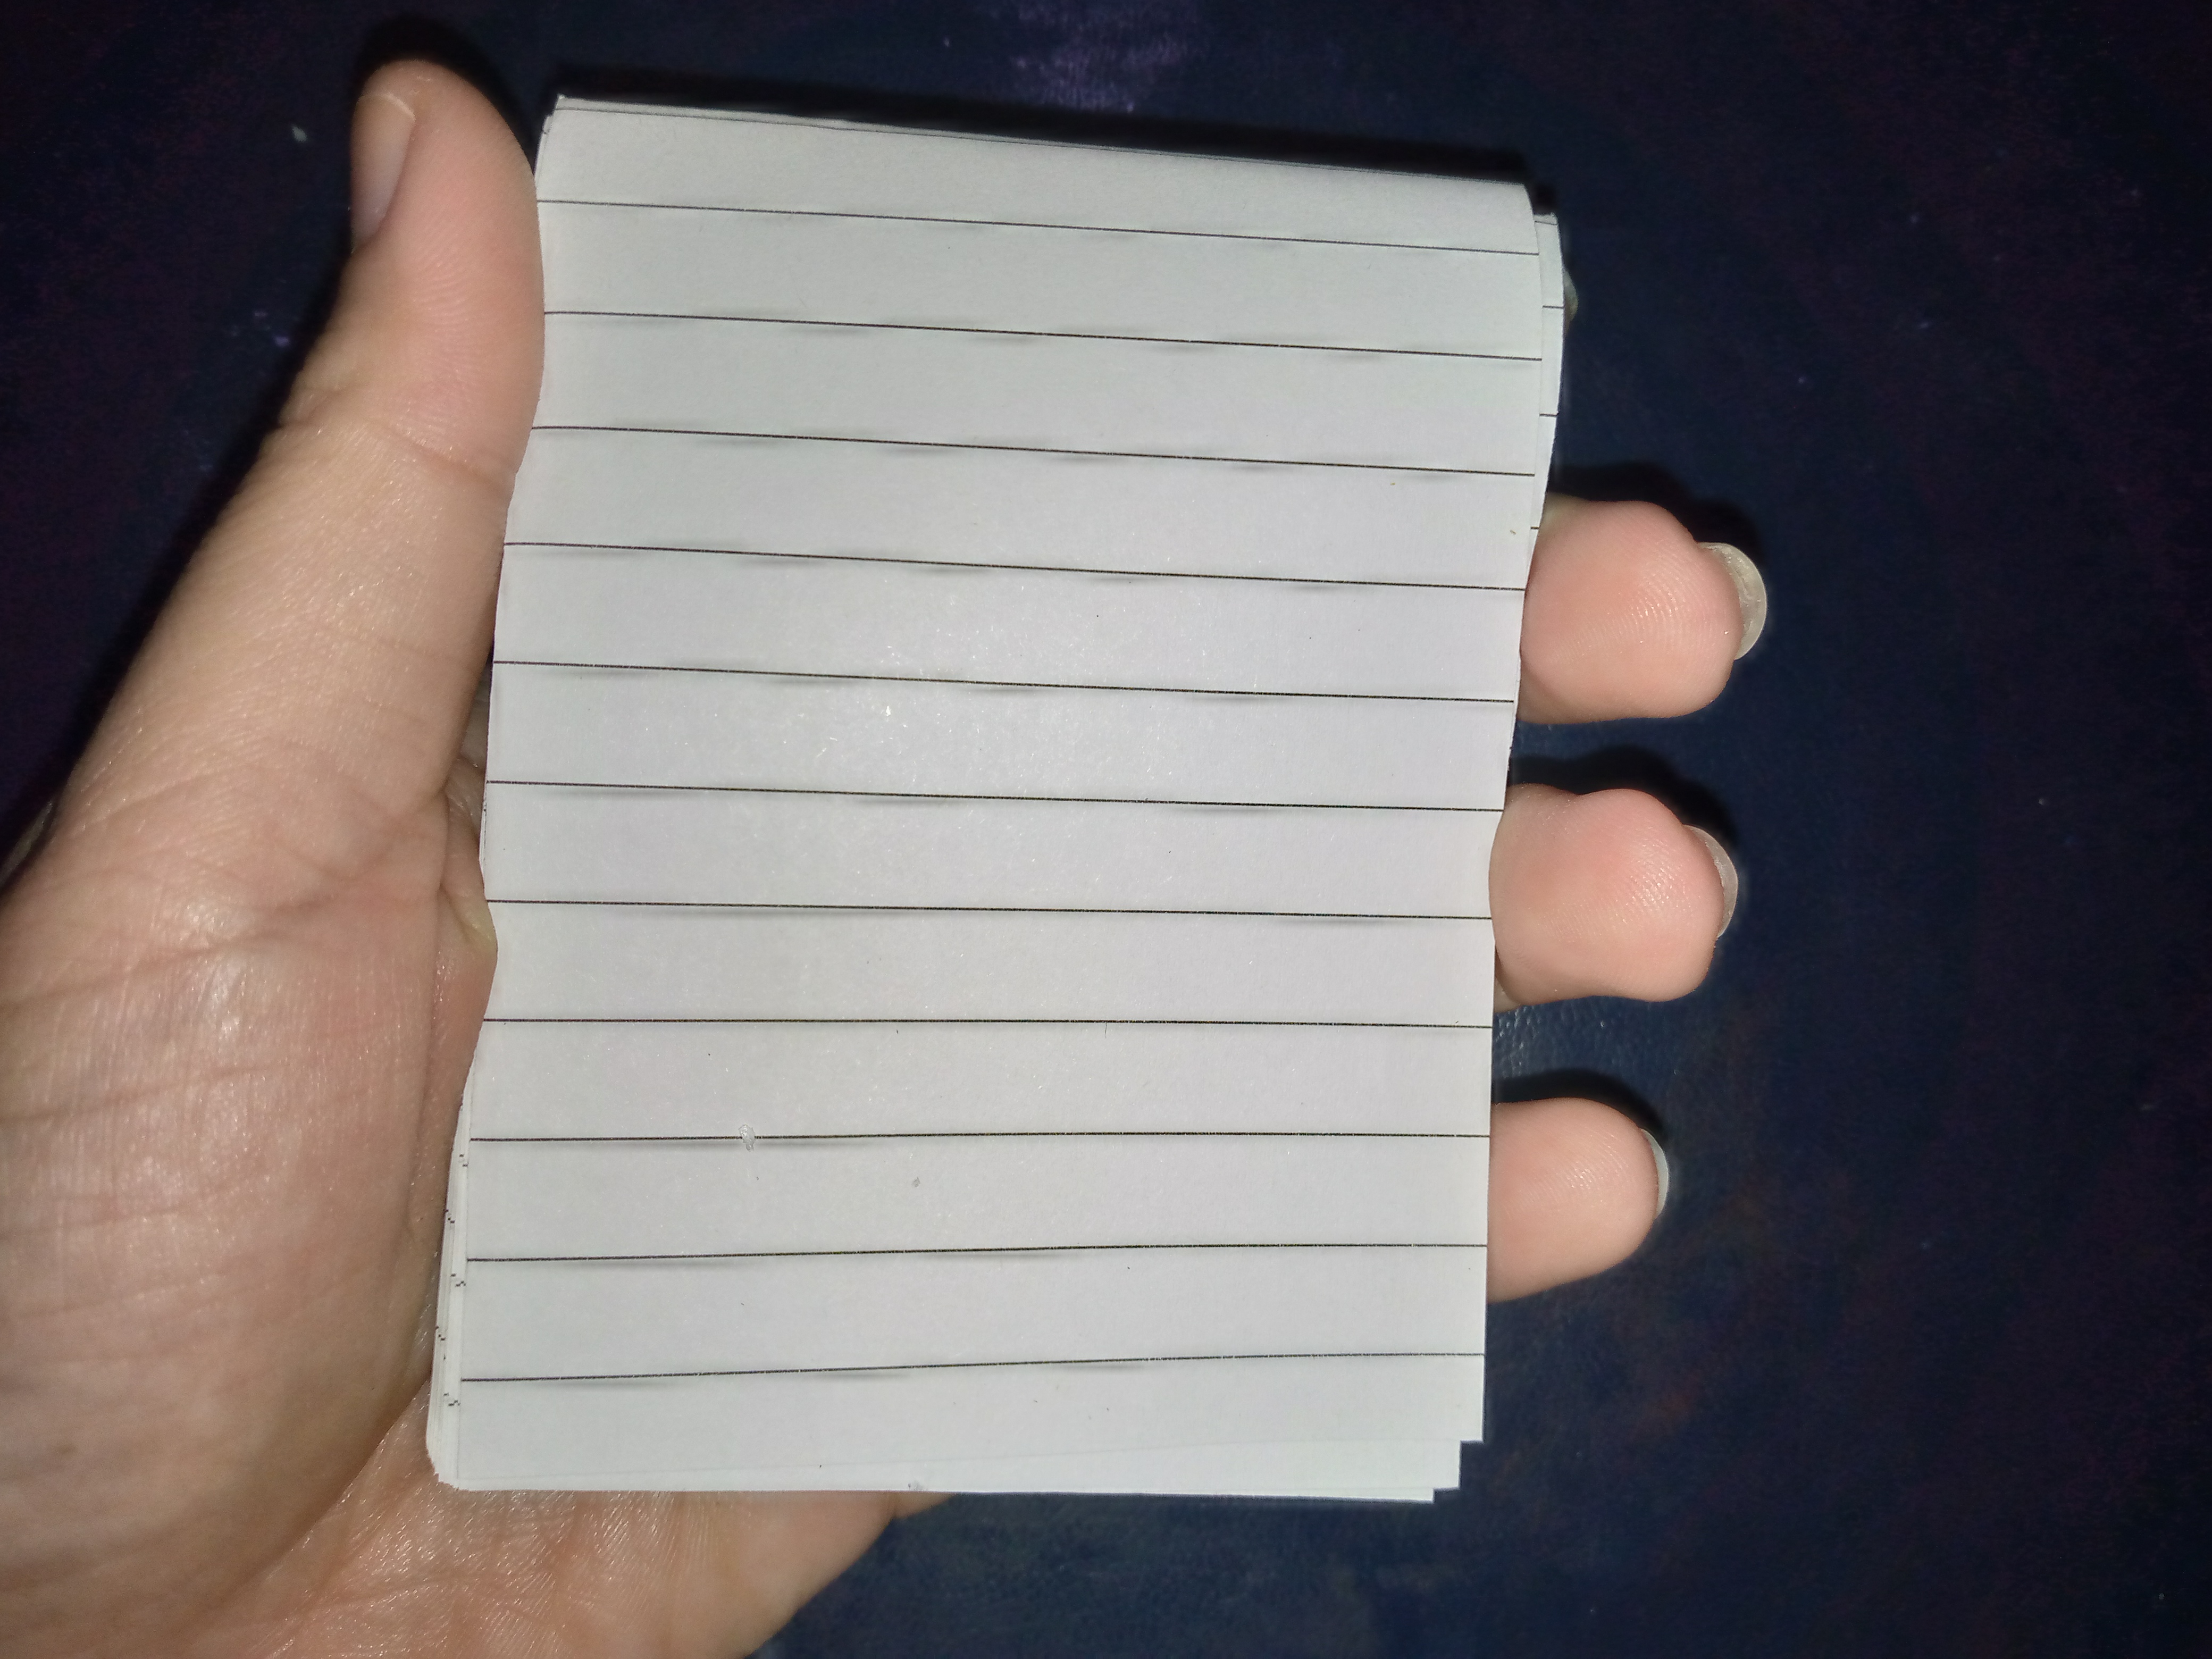
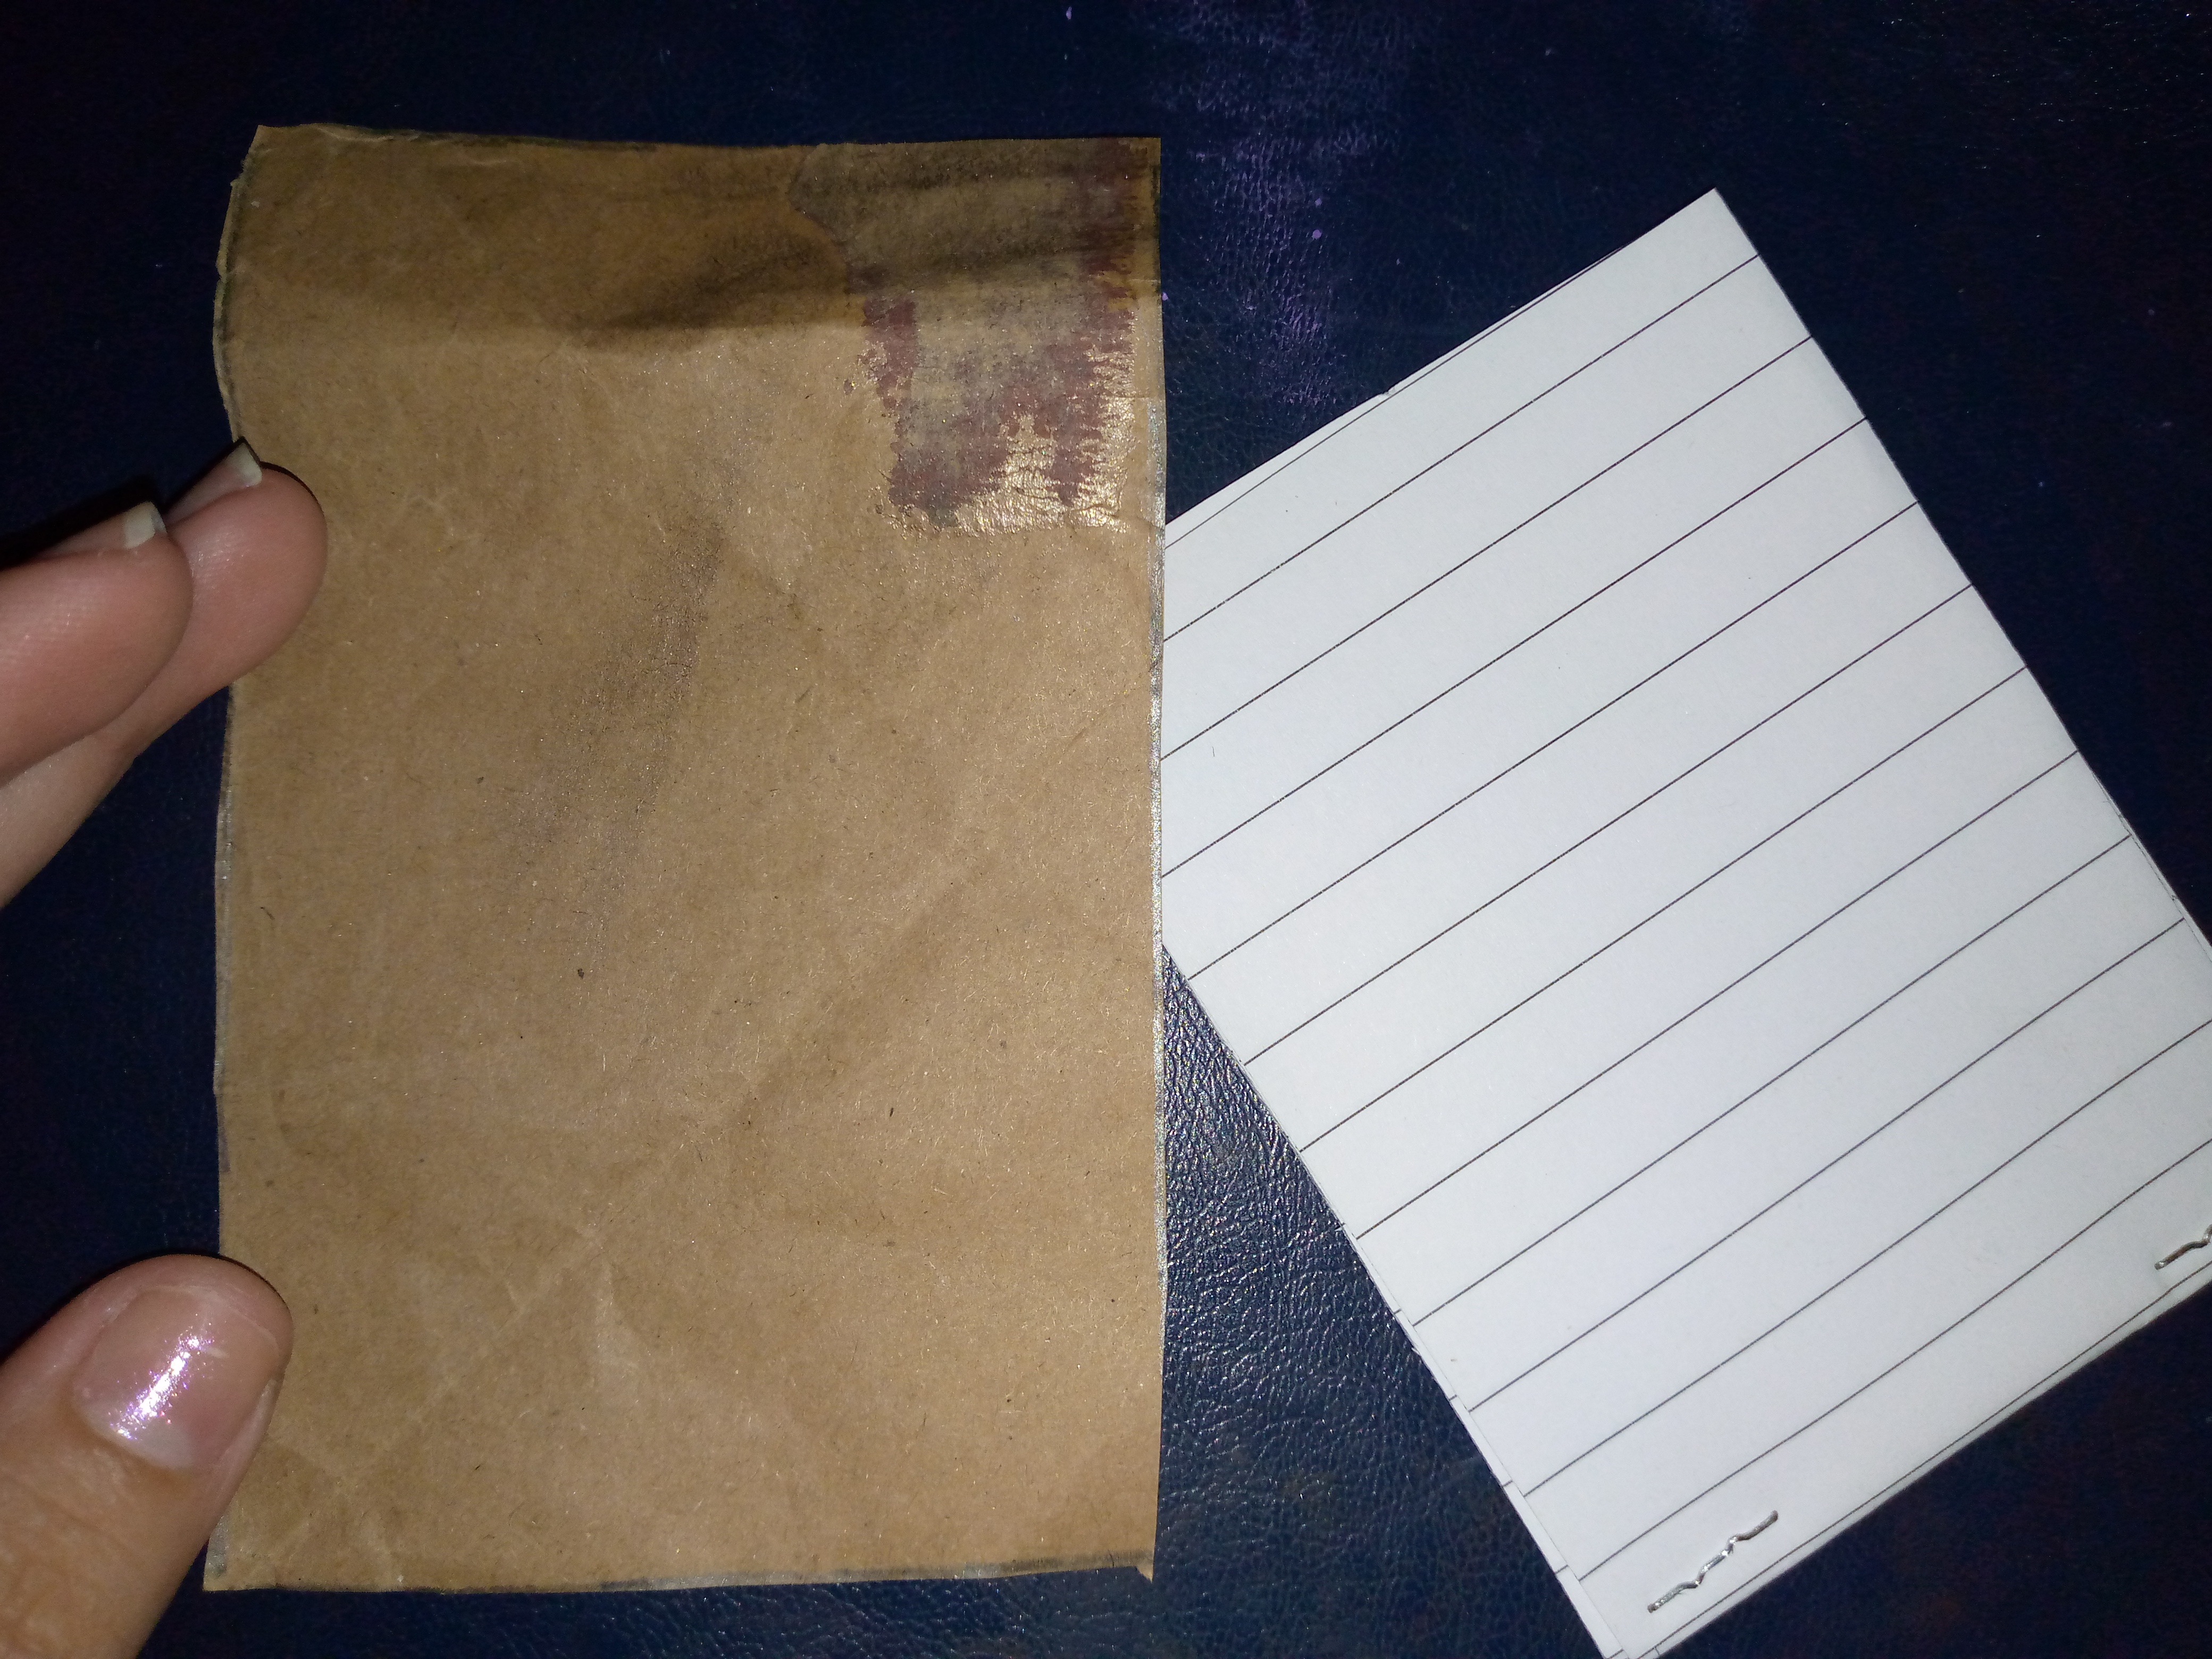
For the first step I will be folding the notebook sheet in half, all the available sheets and if you want to put more sheets, the correct thing would be to fold them in 10 sheets for easier use. I will be cutting off the excess from the top if the notebook from which you took the sheets is spring-loaded.

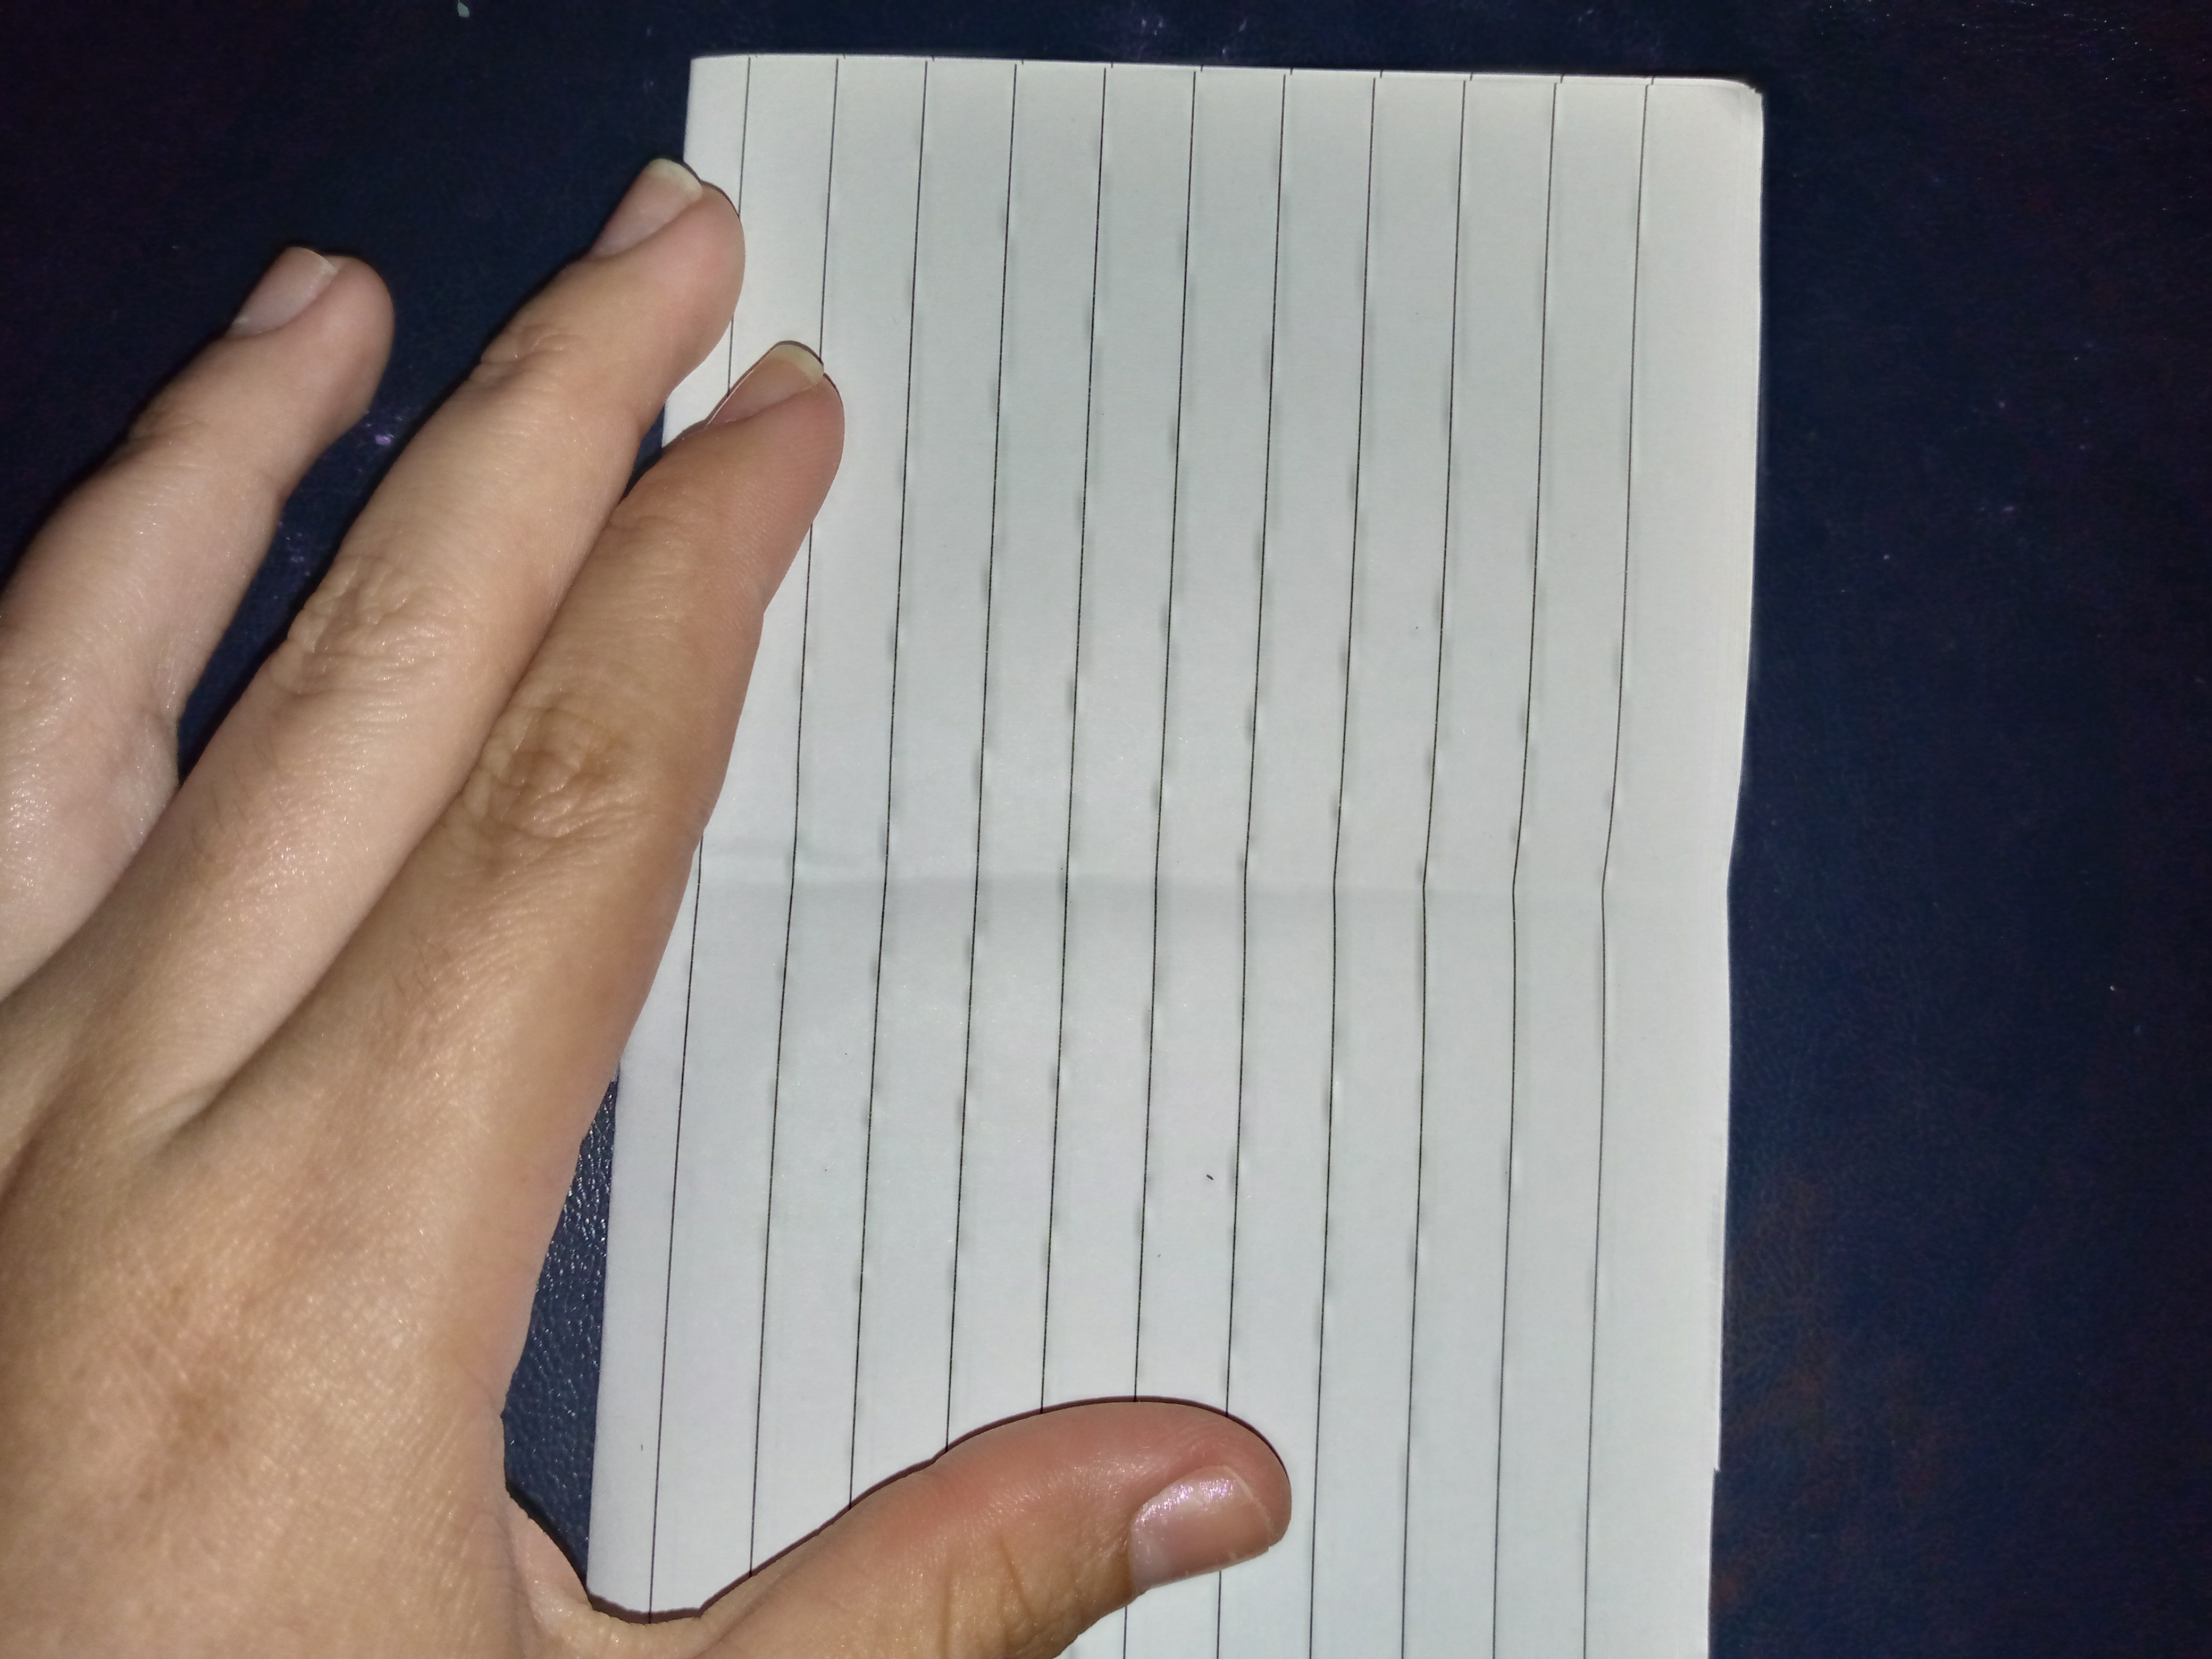
Paso 02
Step 02
As a second step, what I will do is fold the sheets once more, that is, I will fold my batches of sheets twice and I will open where I made the fold and cut in the middle so that we have two mini booklets.

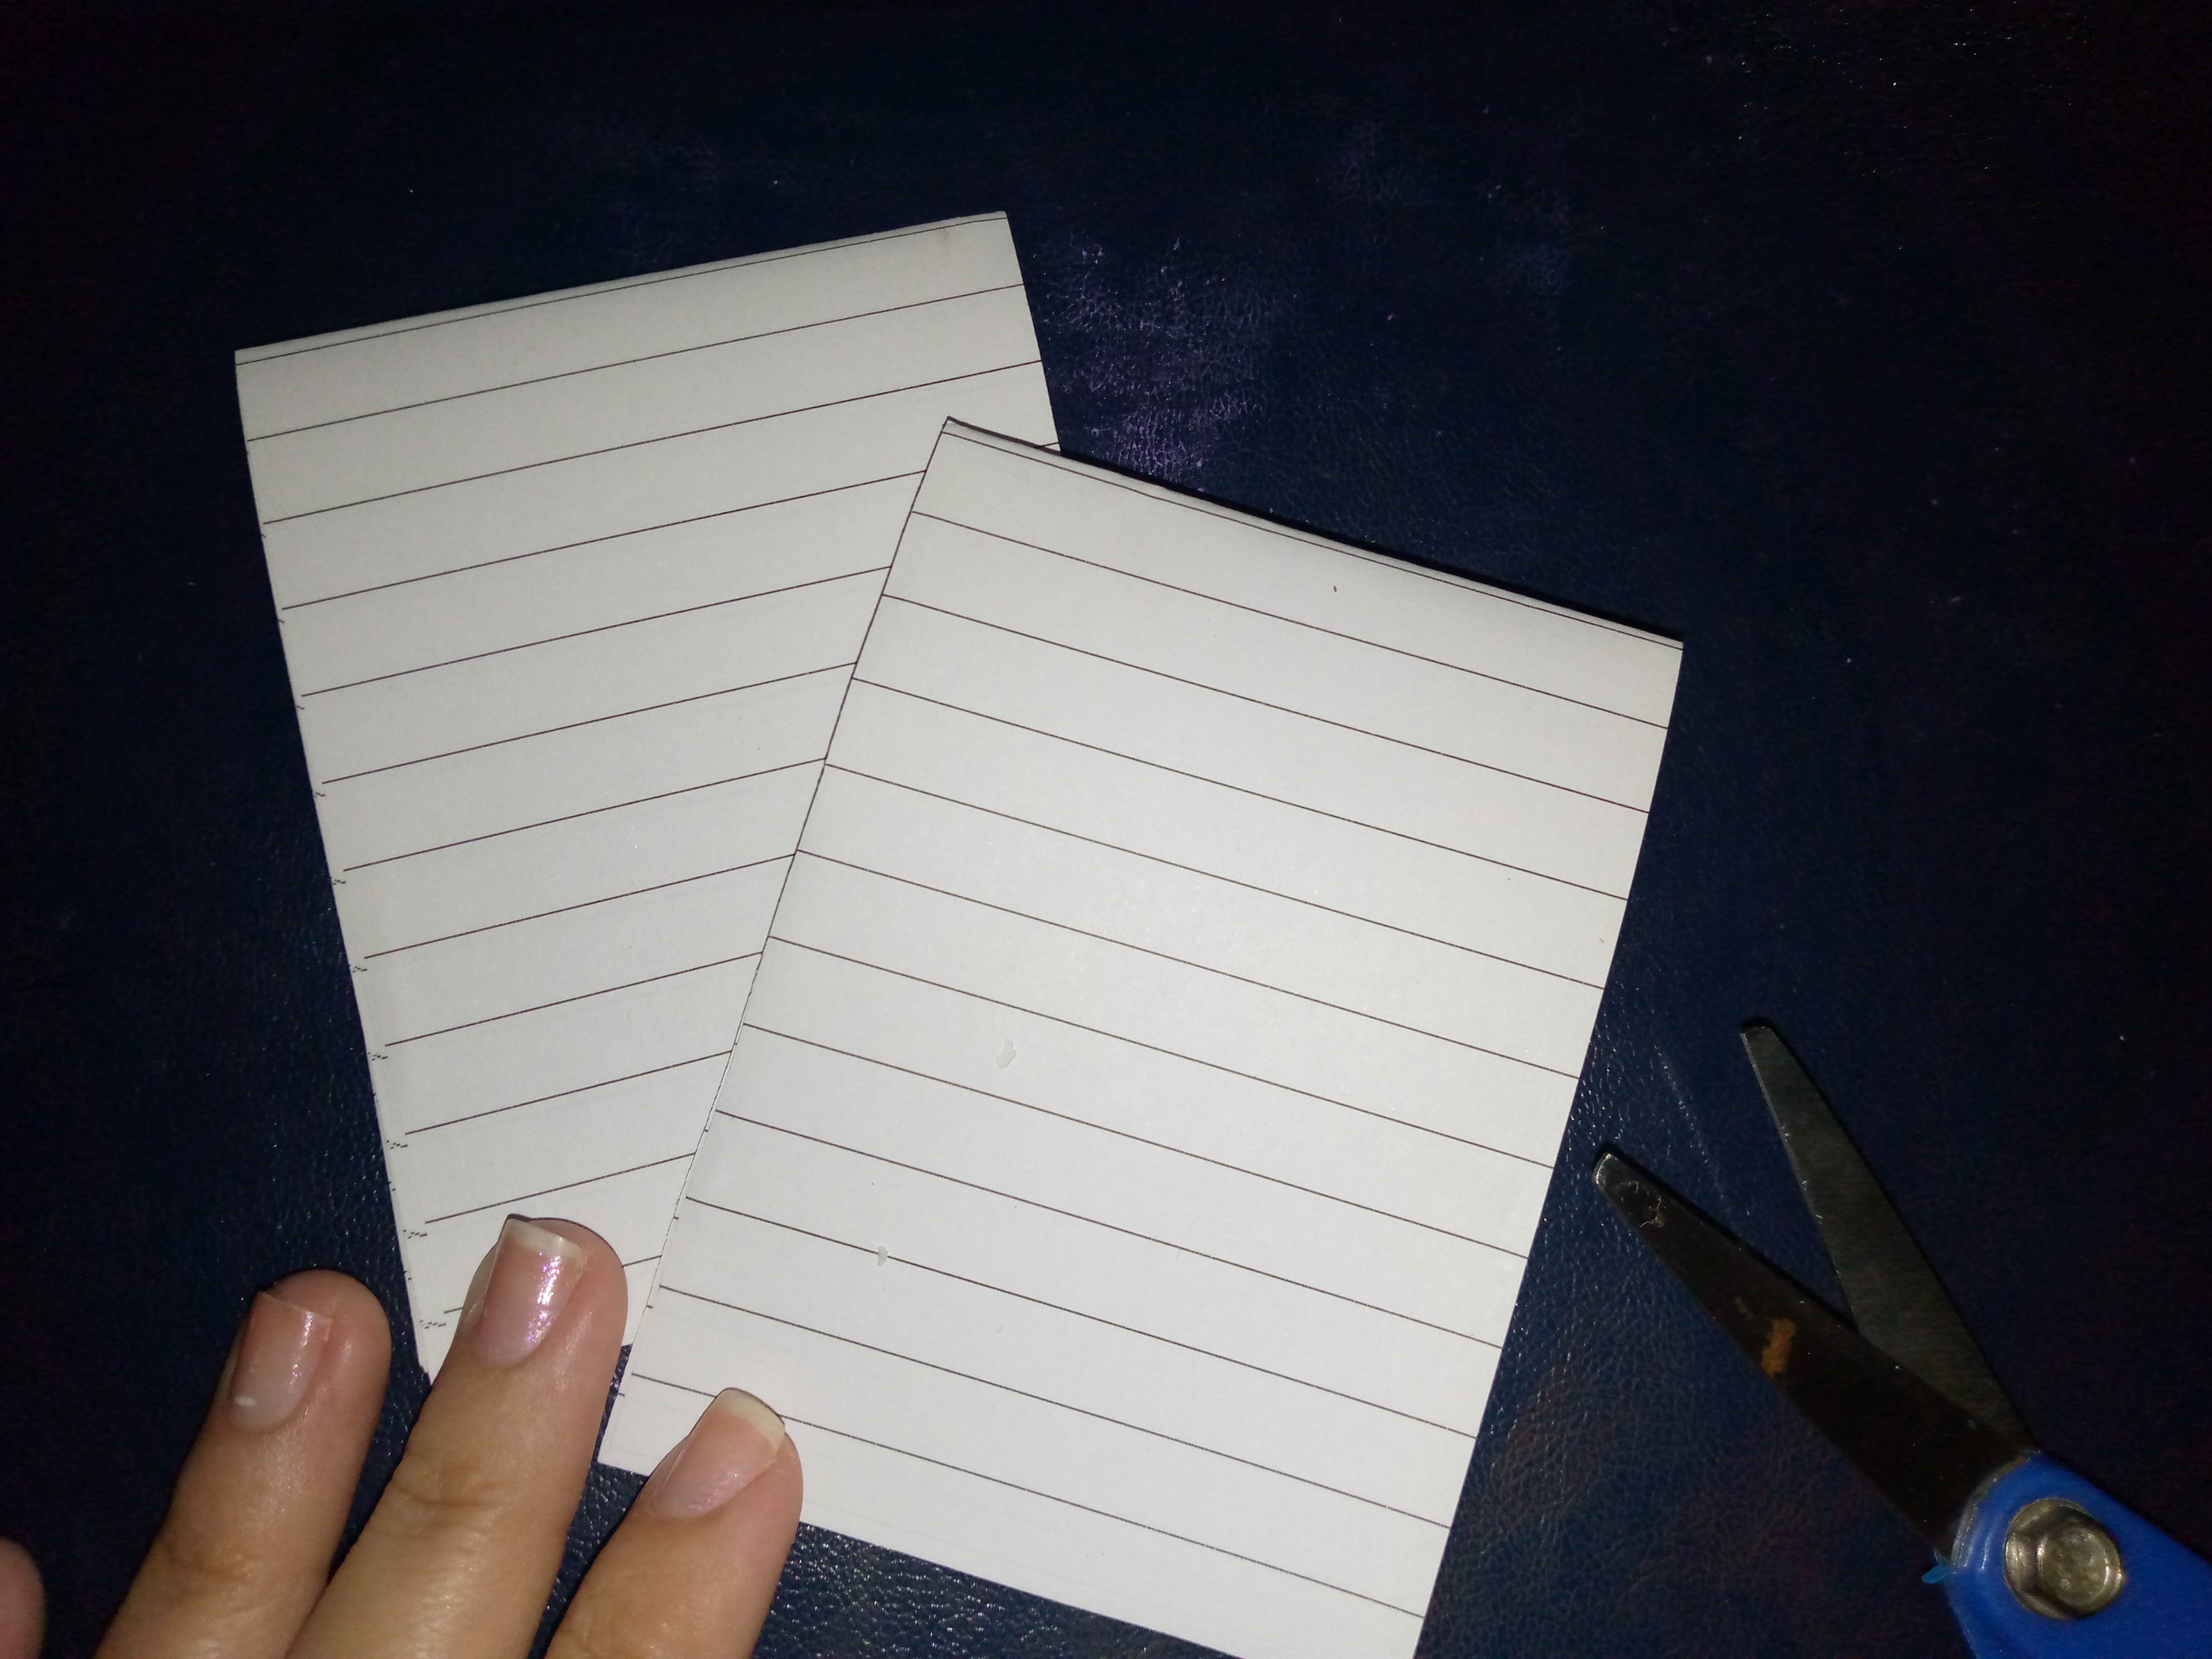
Paso 03
Step 03
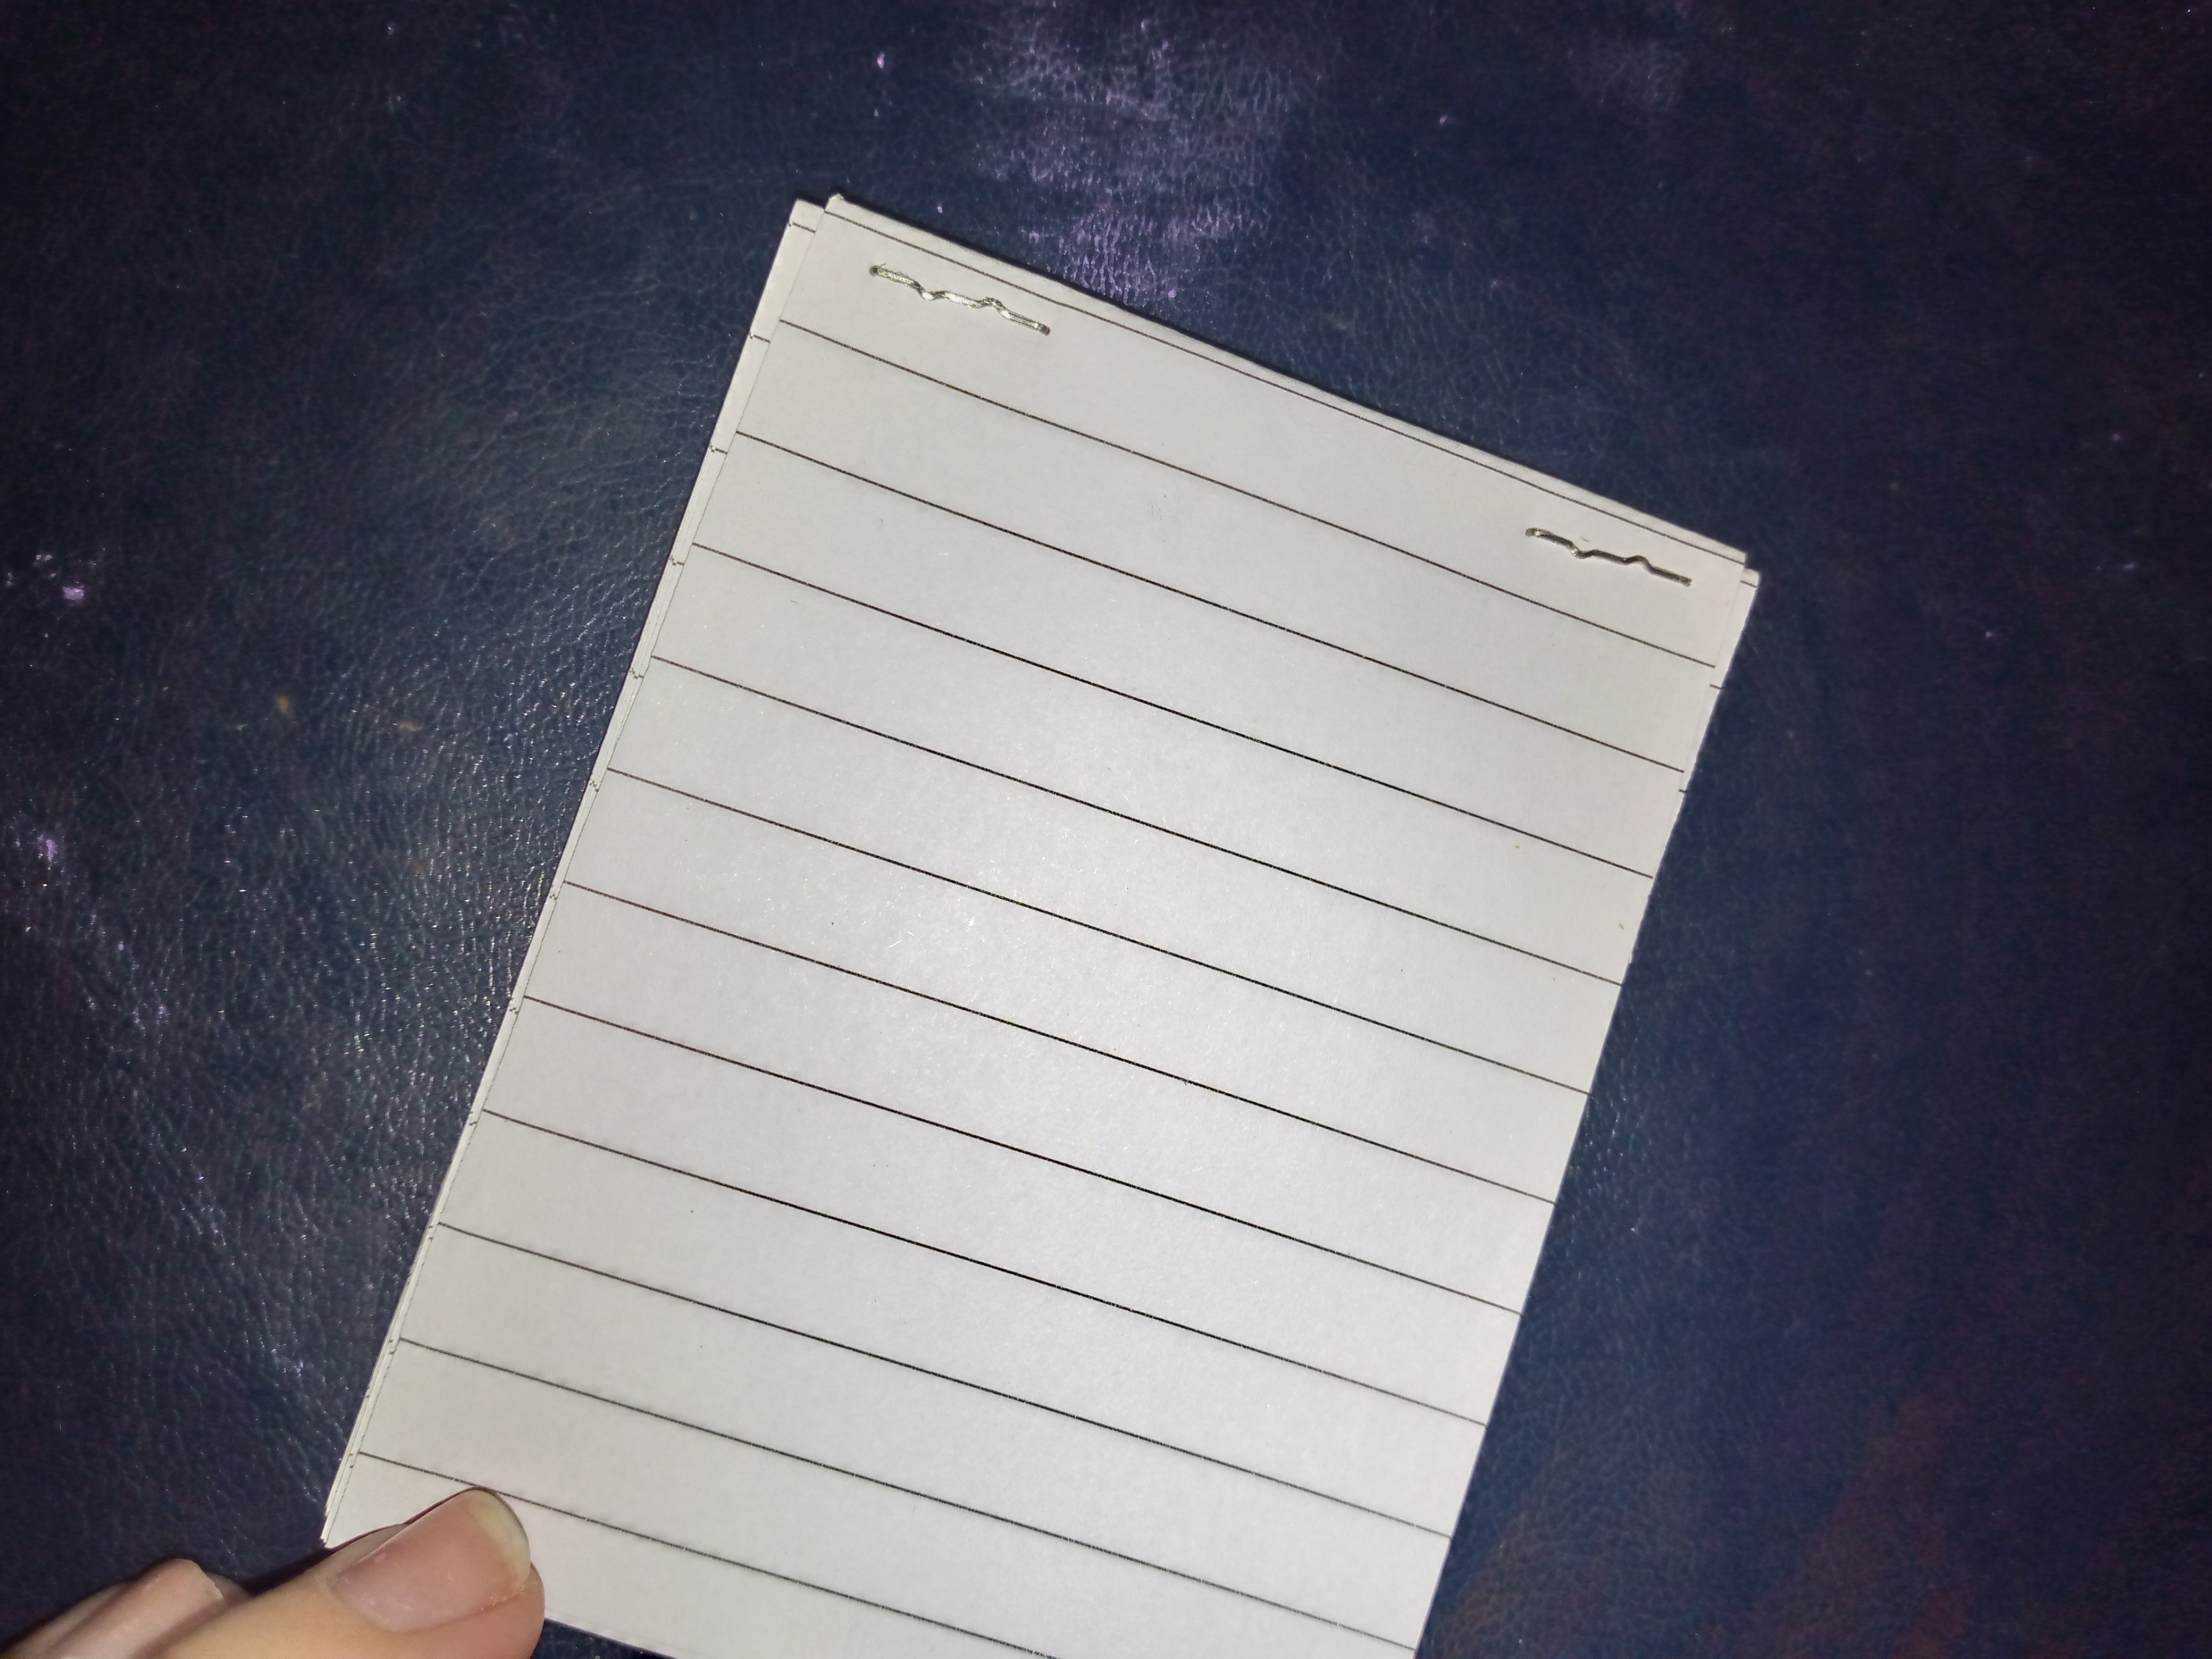
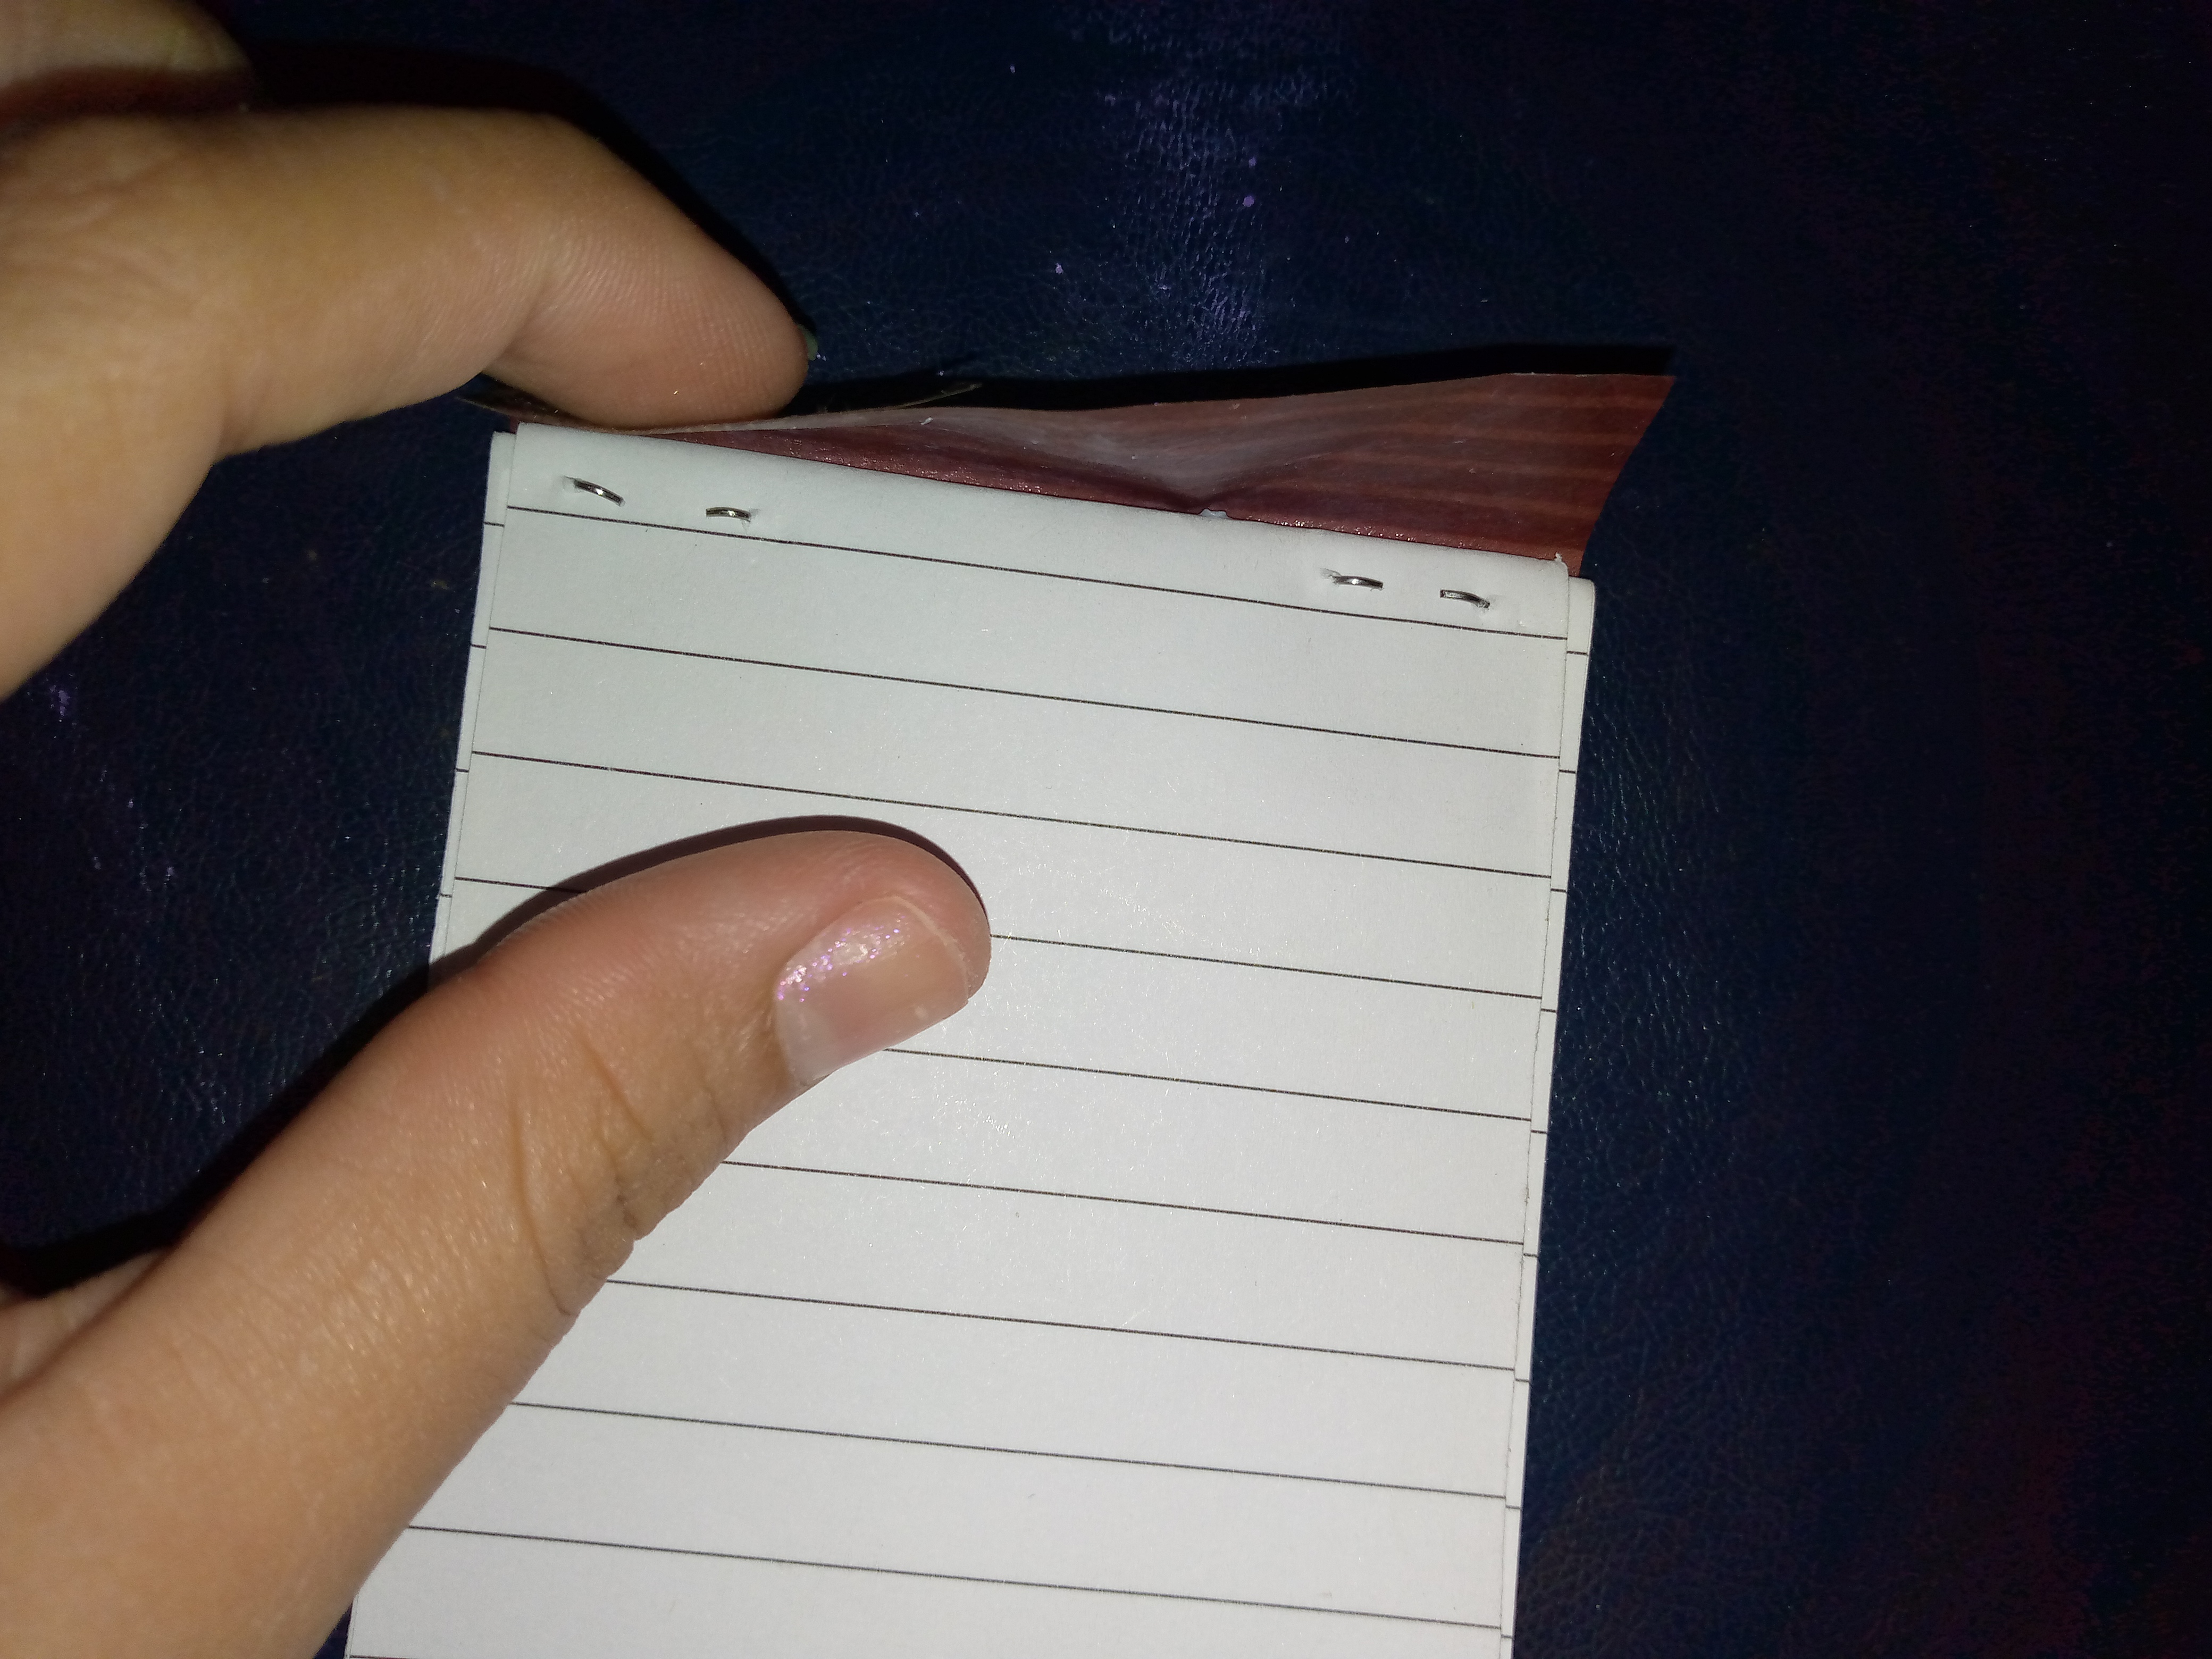
I am going to open these booklets in half and insert one of the booklets in the middle of the sheets to join them together and then staple them together. I will be placing two staples.
Paso 04
Step 04
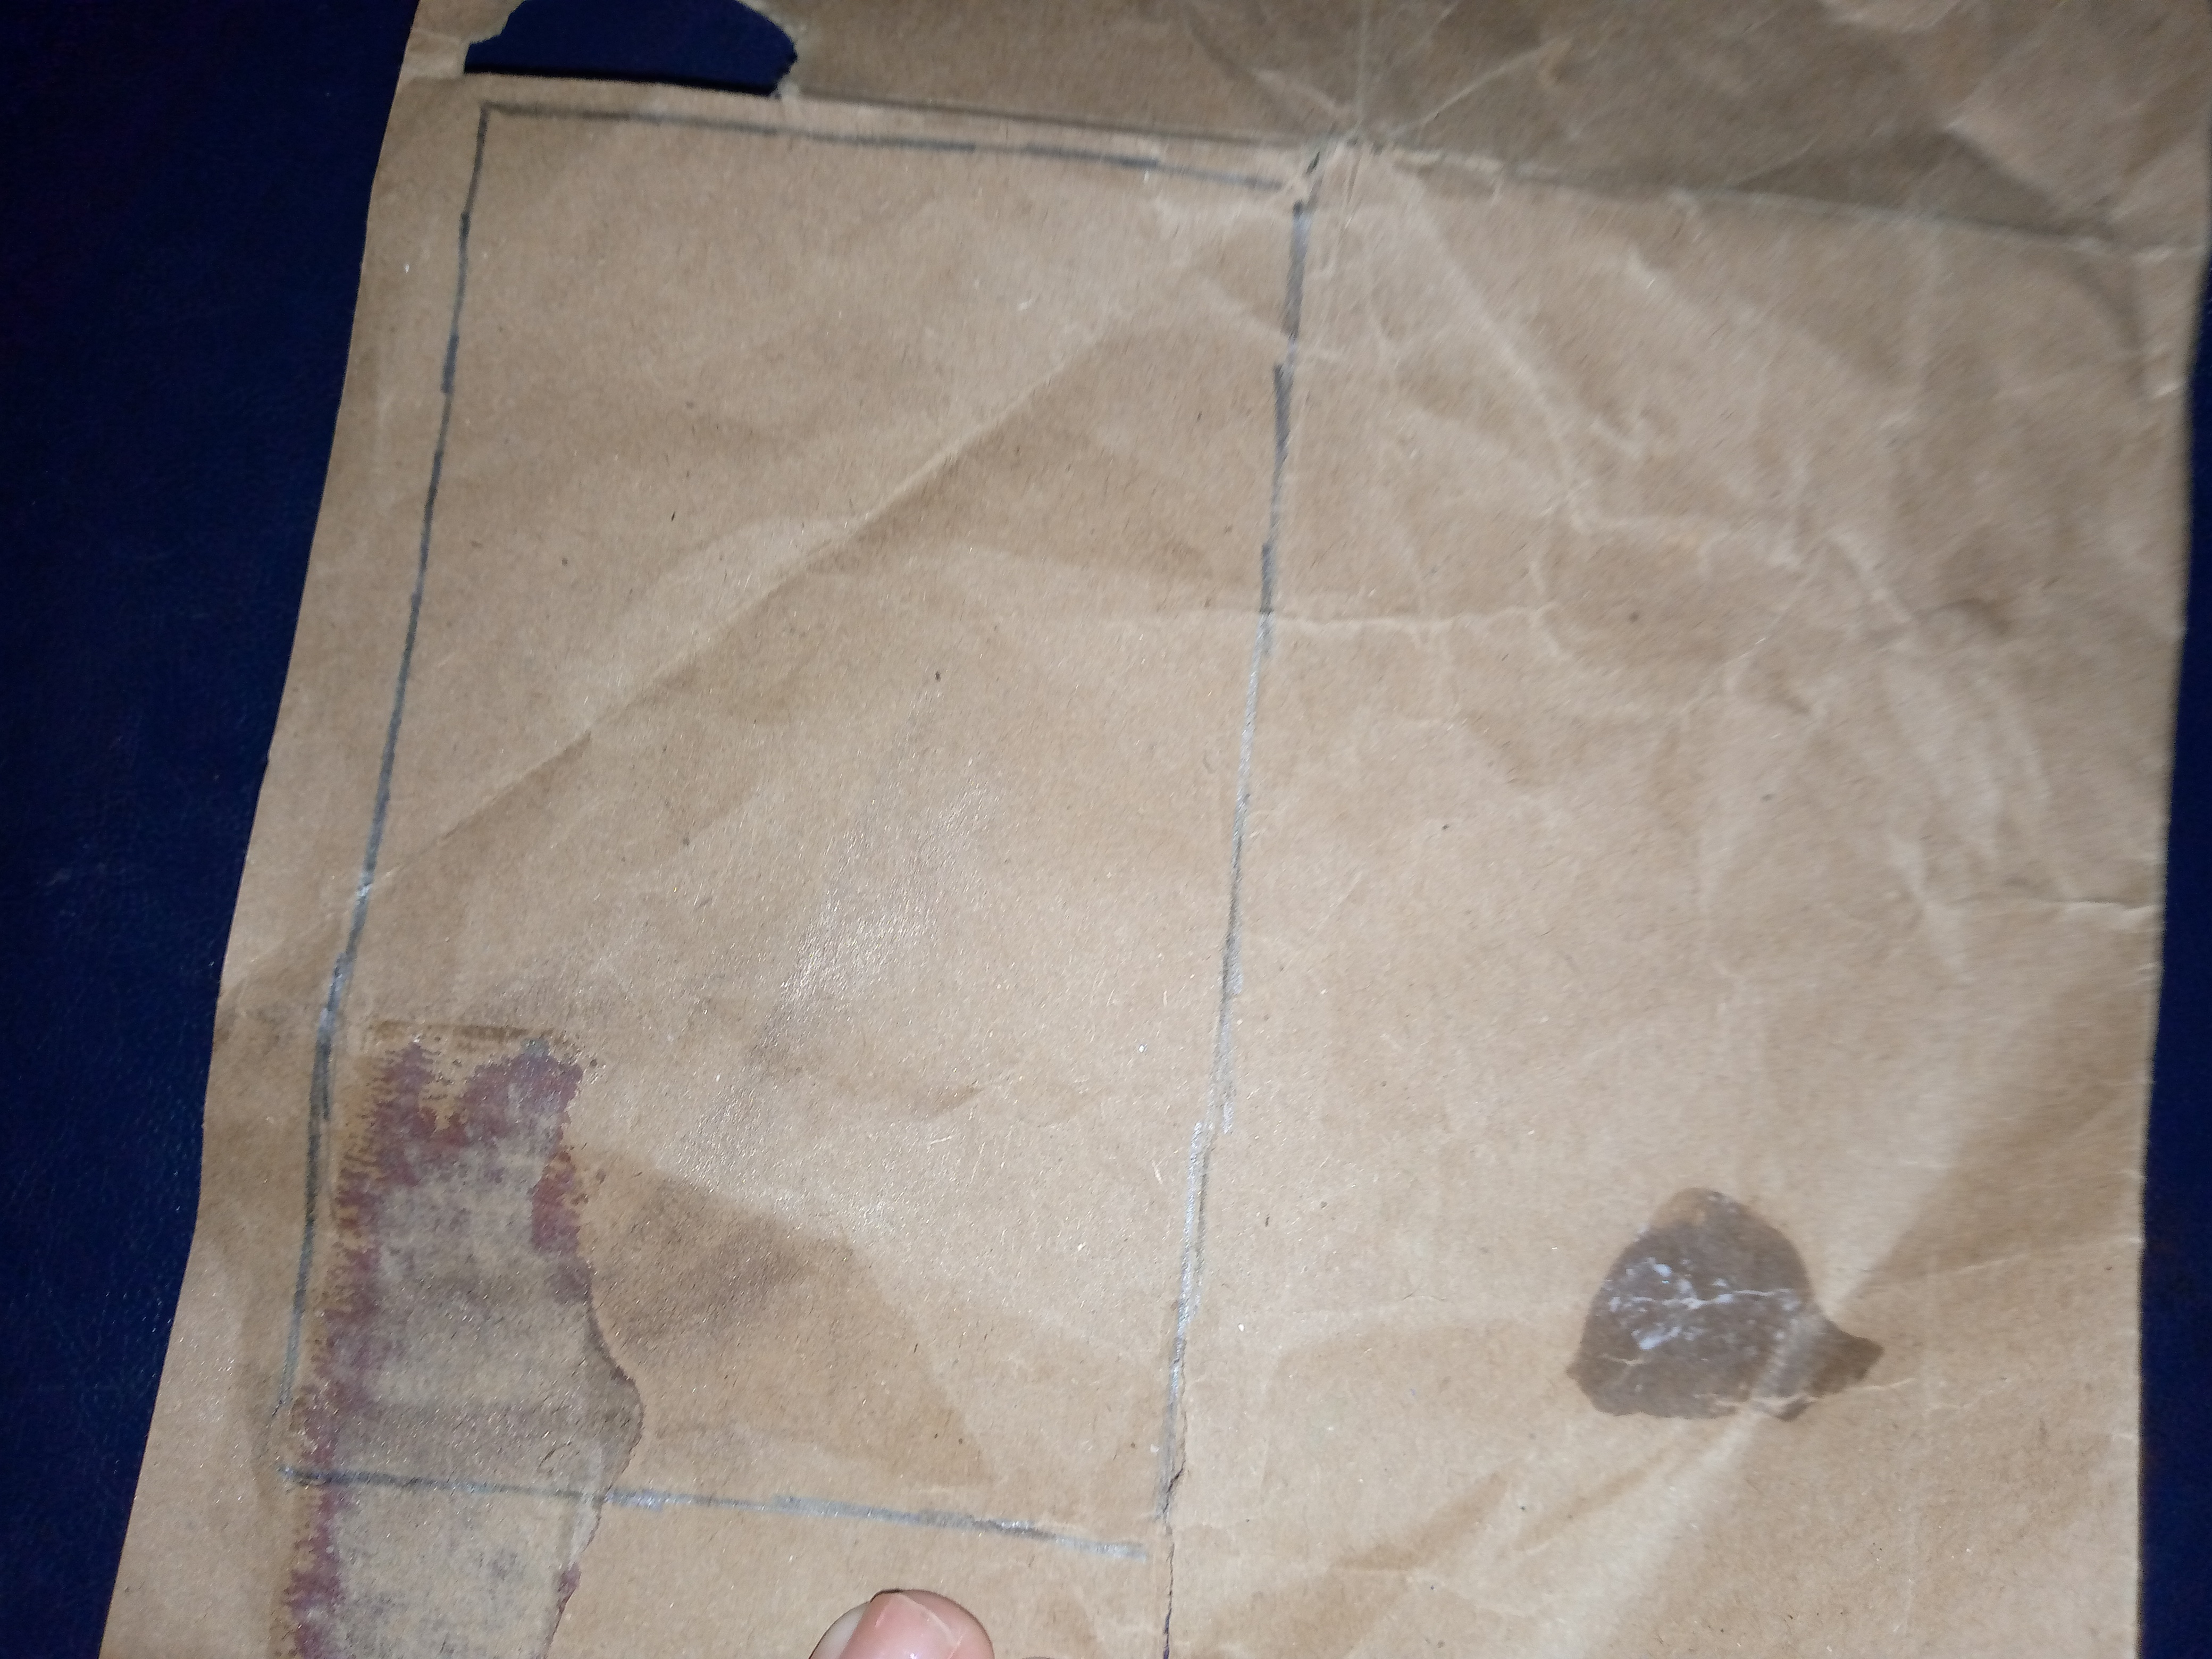
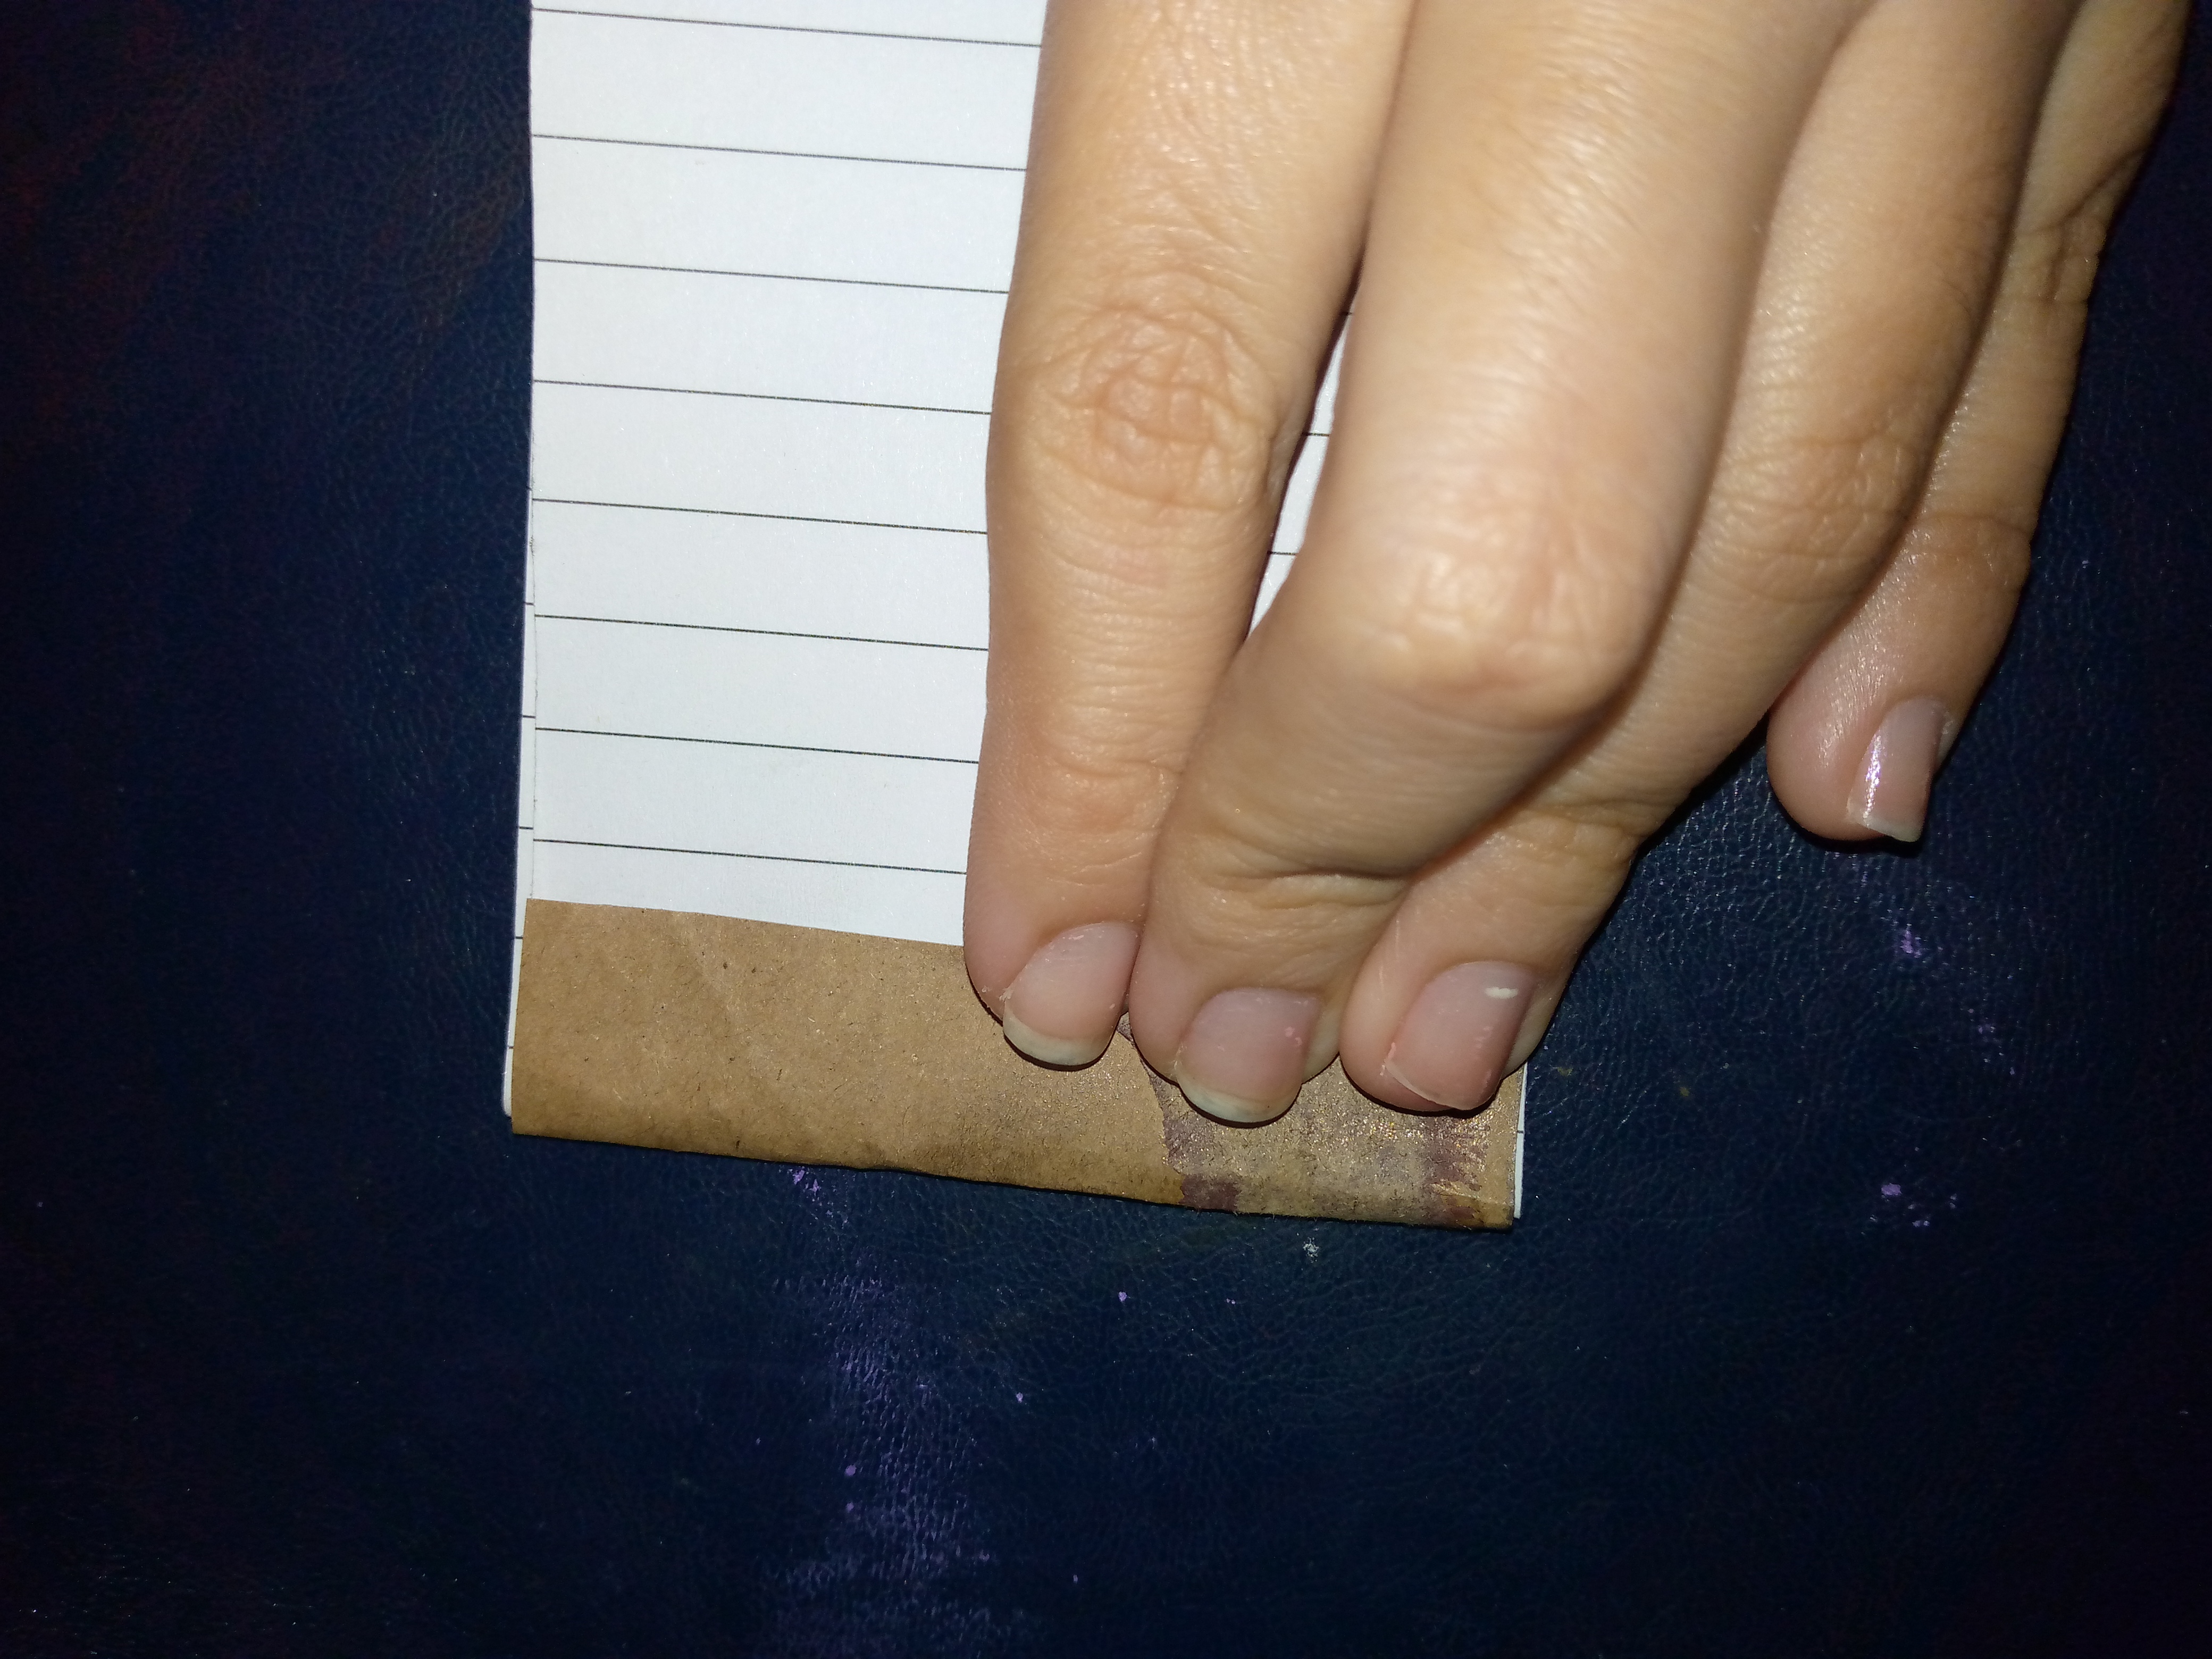
I will then mark the edge of the notebook on the brown paper to guide me and be able to make the cover with my paper. I will finish marking and cut out. To start gluing, I will be applying glue along the bottom side and I will glue half the flap that we left from the cover. I will glue it well and let it dry.
.jpg)
Paso 05
Step 05
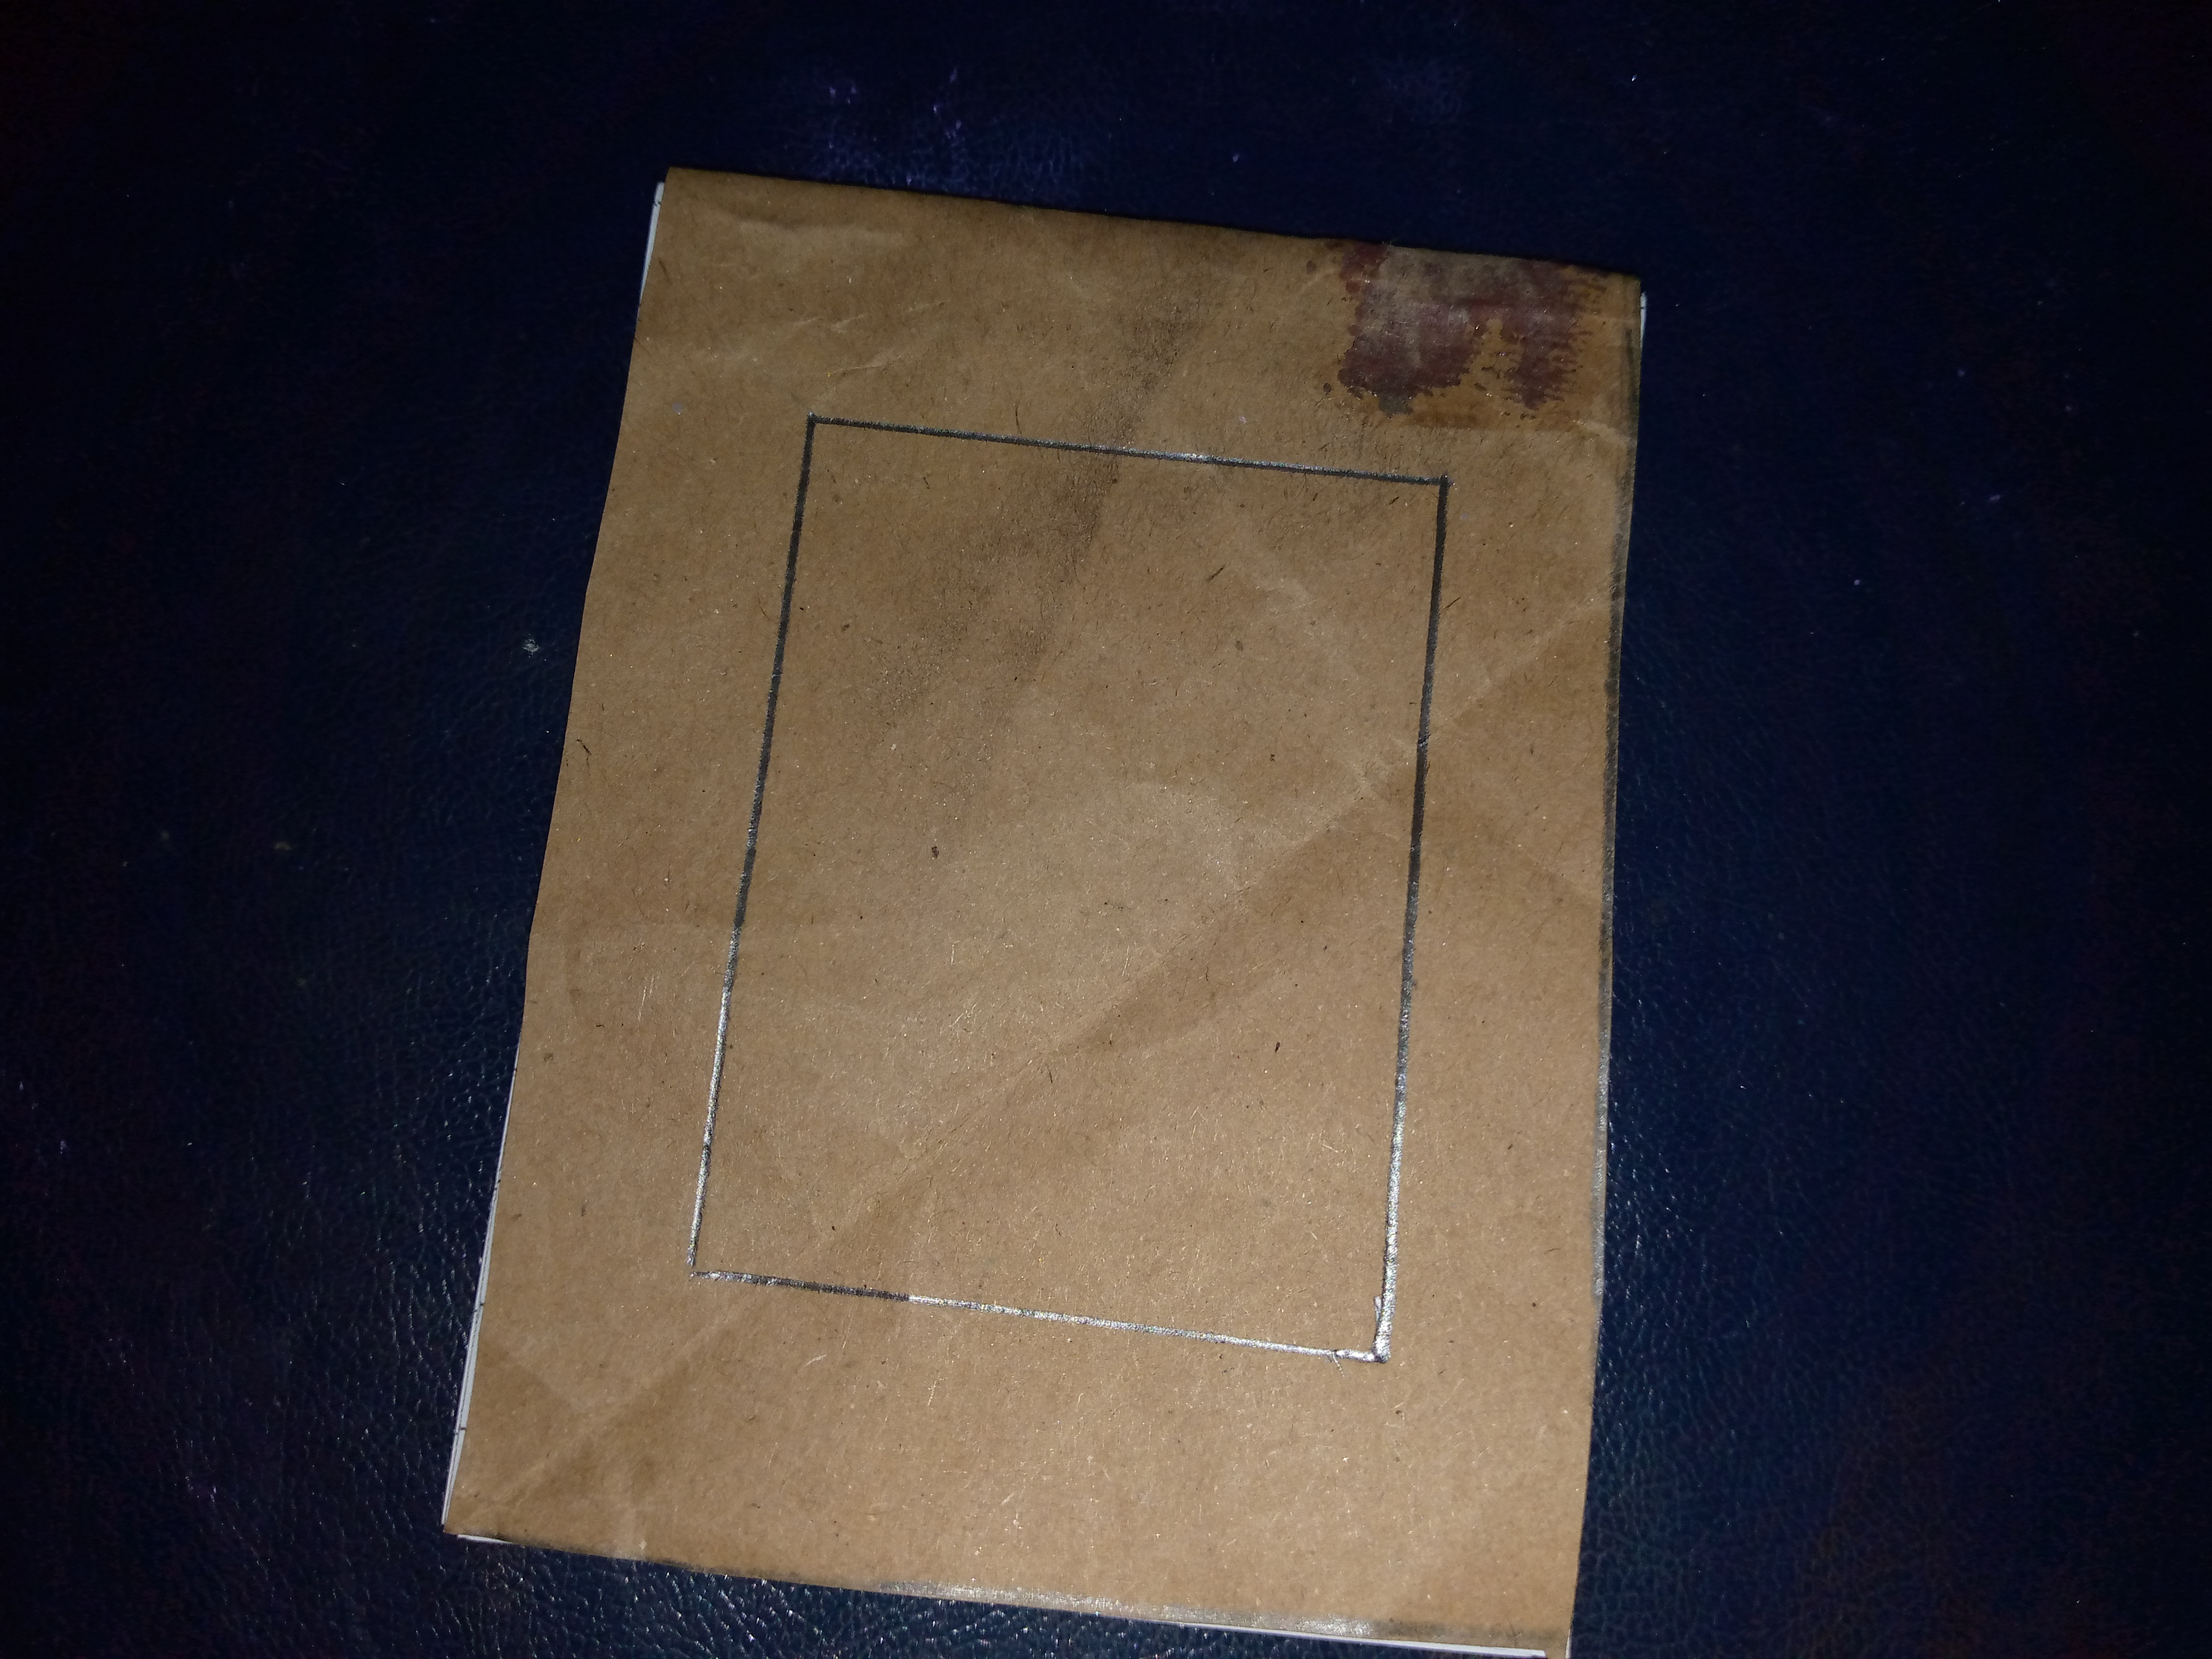
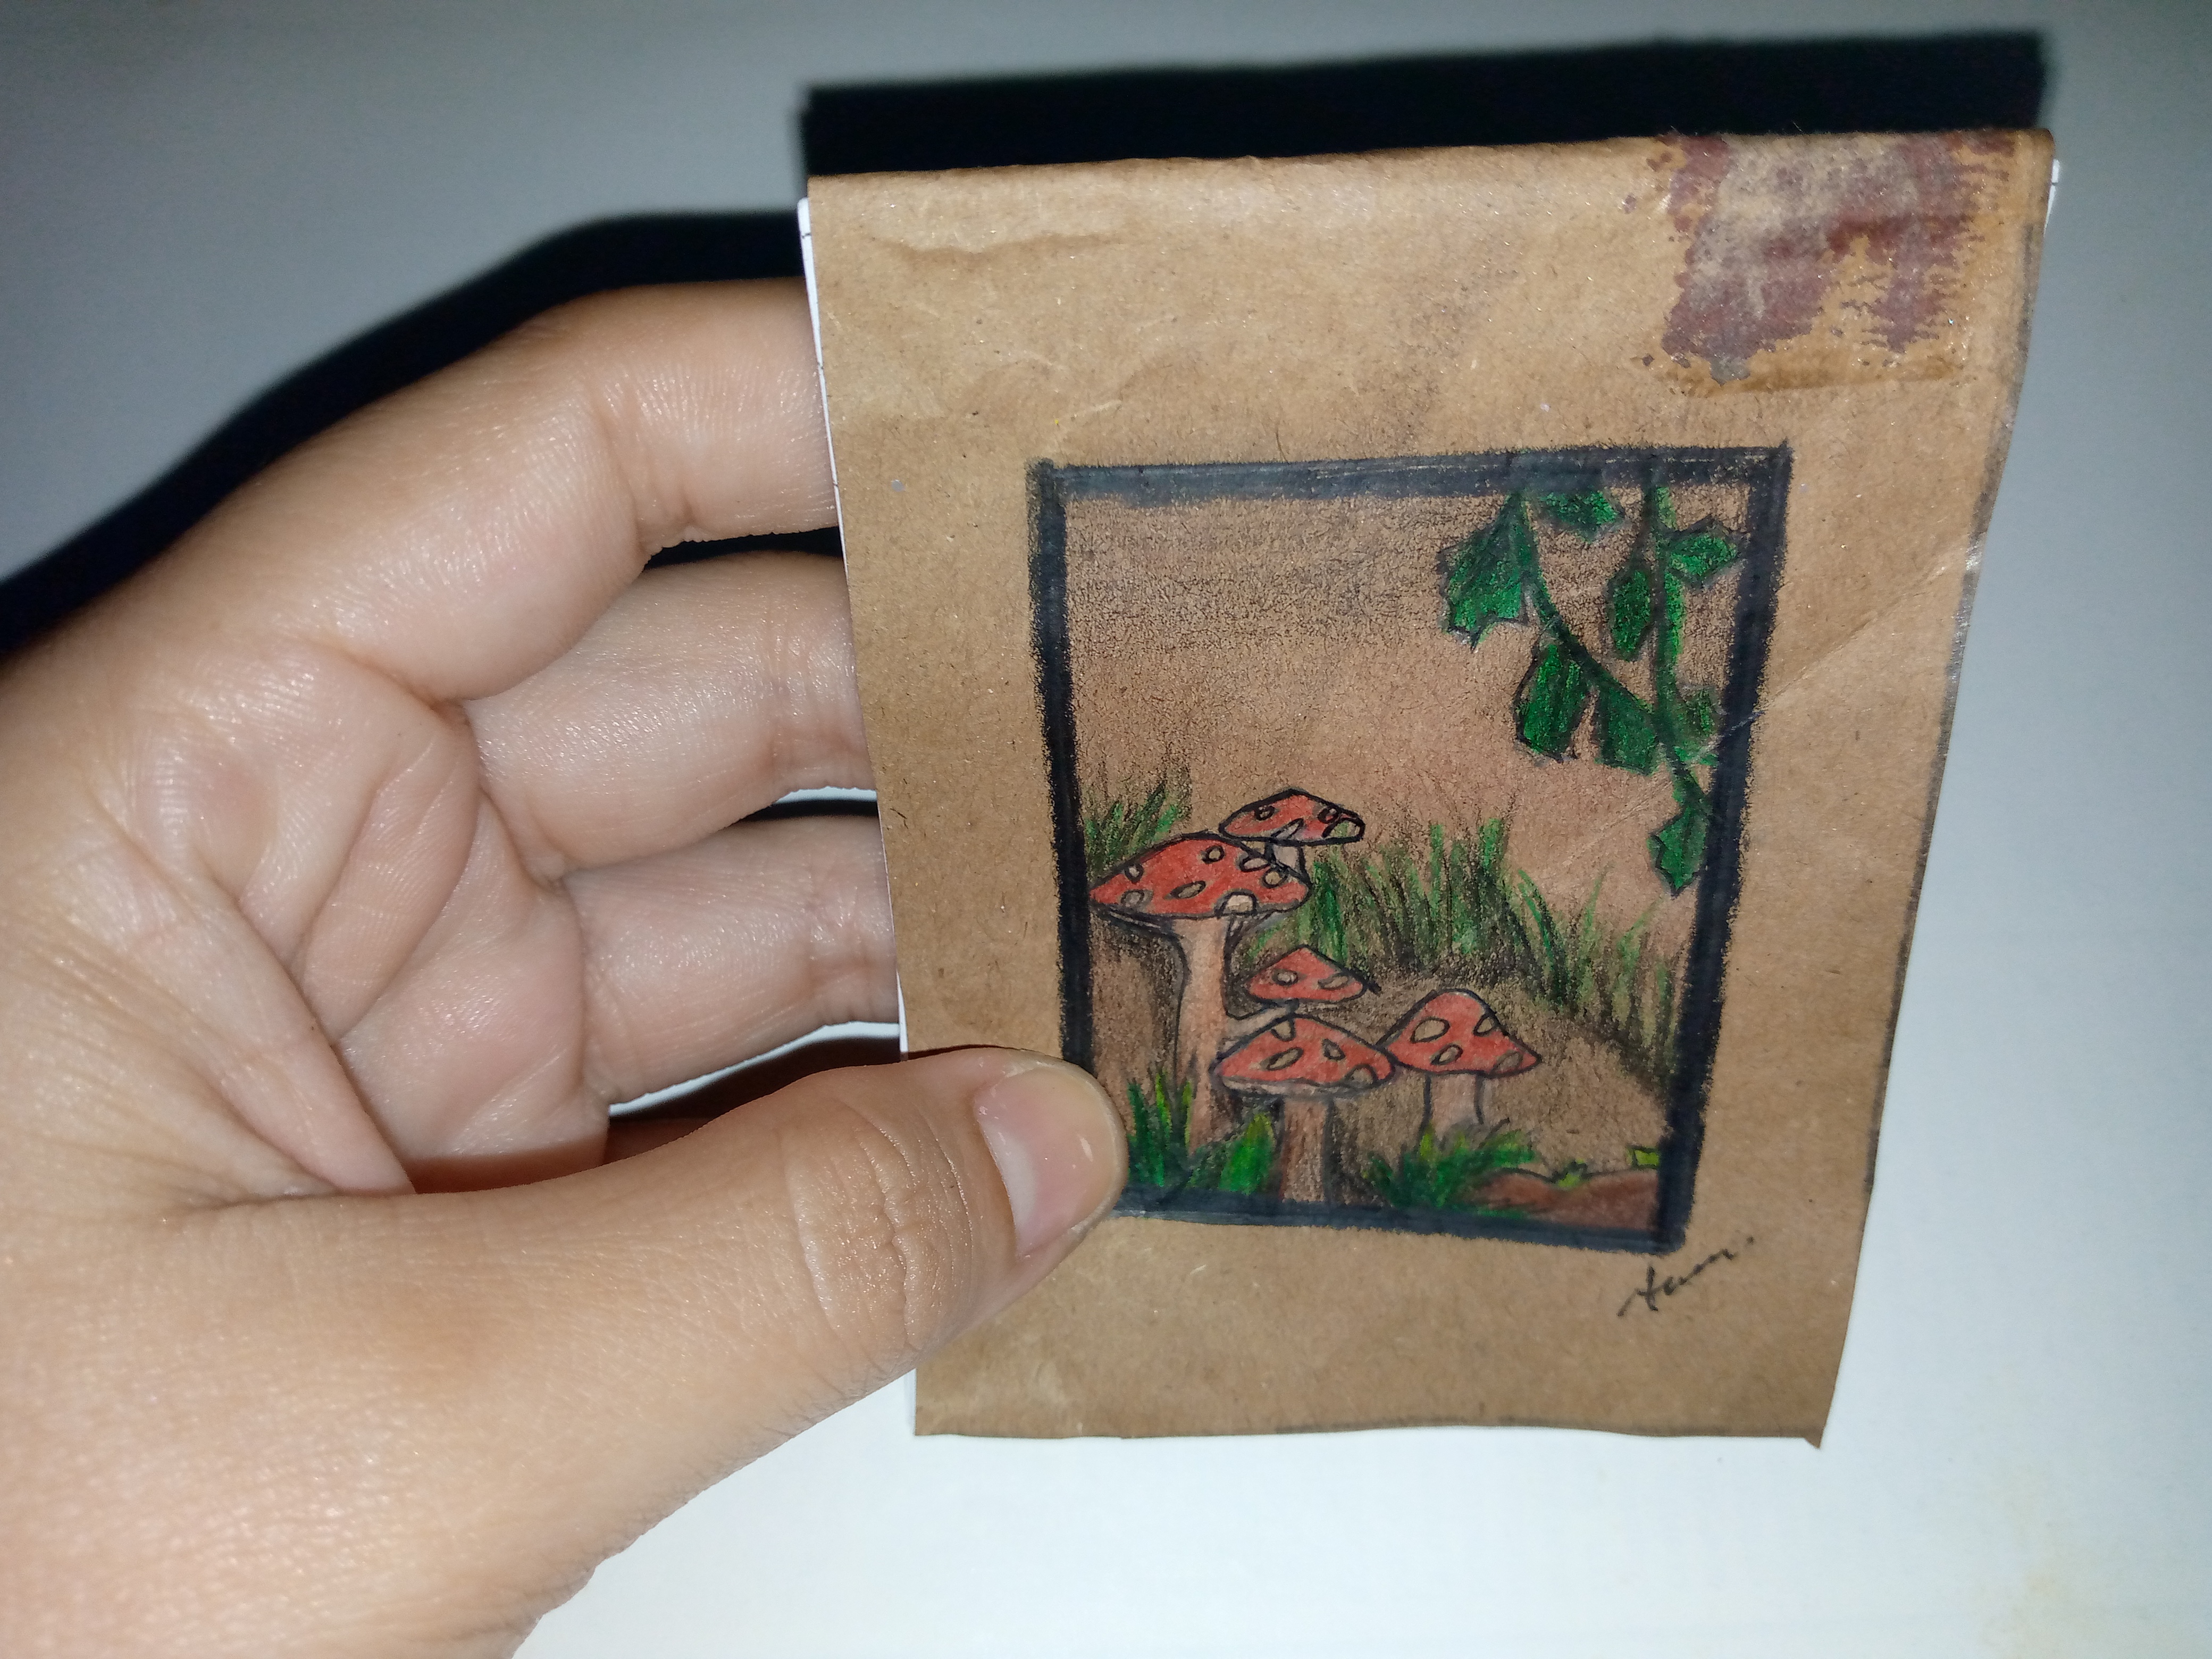
We finished by making a frame in the middle of the notebook and from there I will be making a design. I have chosen to make a design of mushrooms and nature since I love nature so much. I paint, make details and then with ink I go over the edge of it and that is how I have successfully finished my notebook.

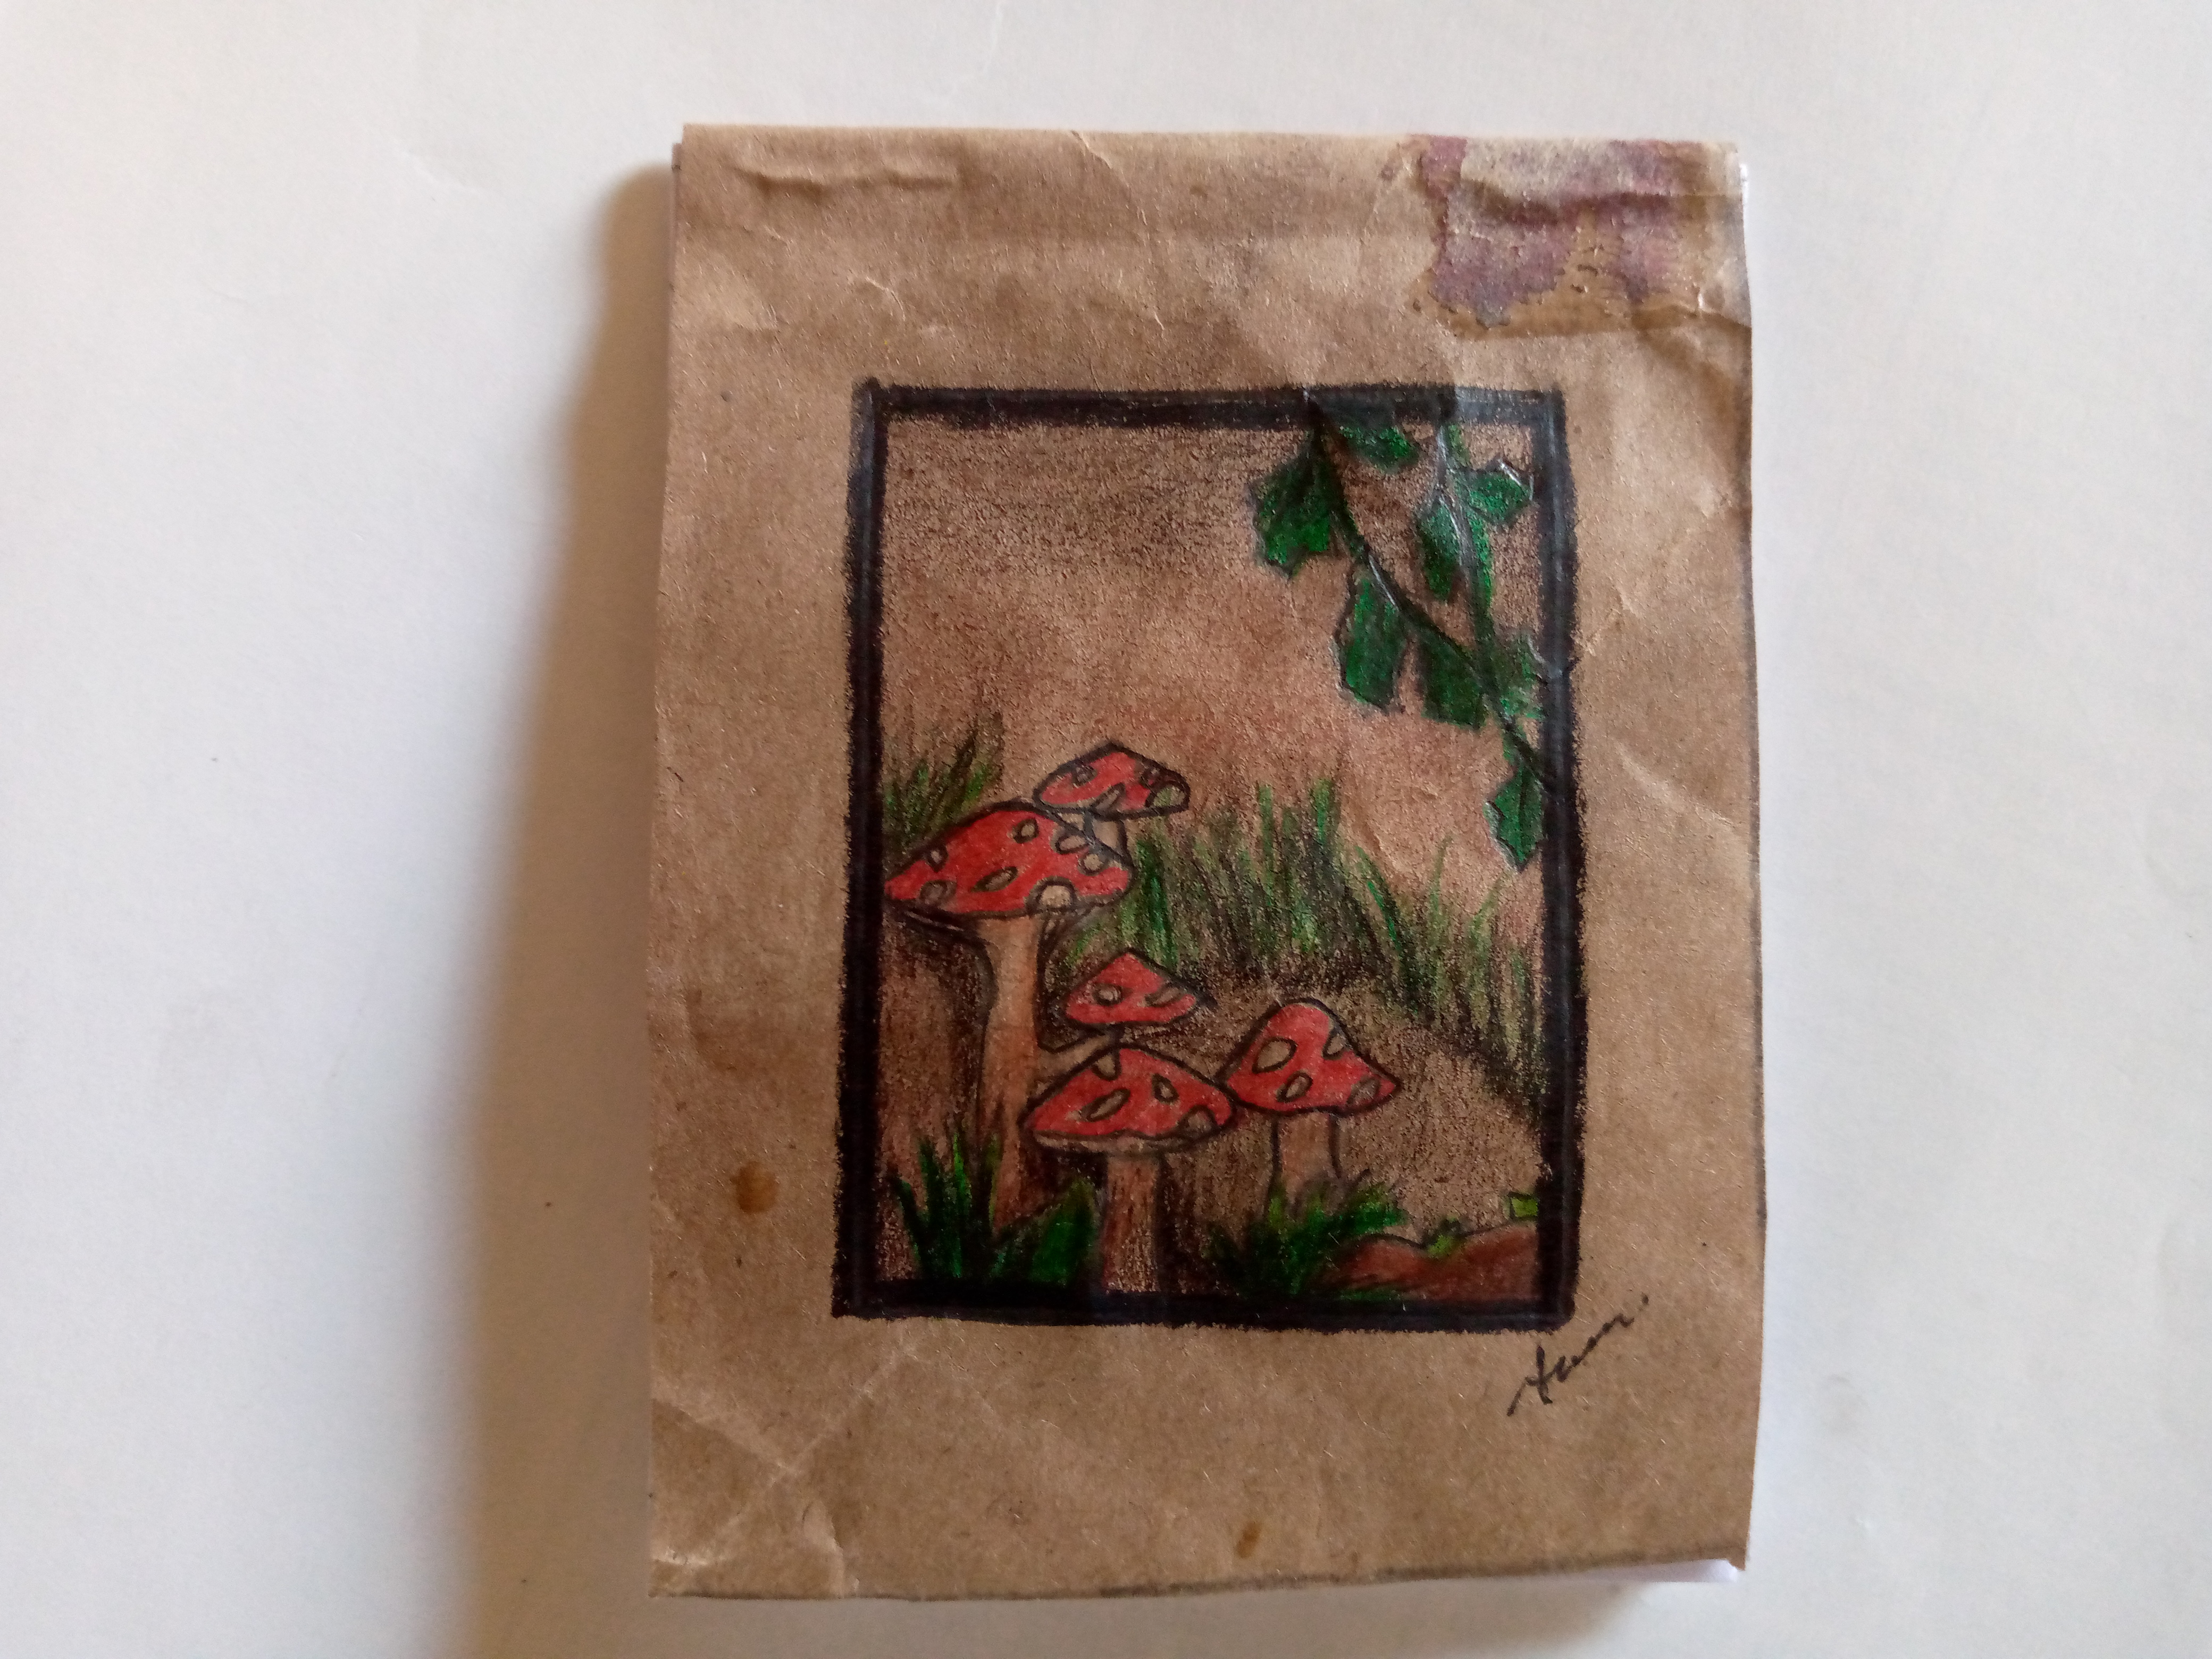
Resultado:
Result:
This way our notebook is ready to use. I still haven't decided what I'll write in it, but I know that something will occur to me soon. I hope you liked it and I say goodbye to you wishing you a beautiful and nice afternoon. Enjoy the final result, friends.
🦋✨ All the images in this publication are my author ,📱taken with my TecnoSpark8C cell phone |📸Photos edited in PicsArt and Canva. Text translated in Google Translate.
Esta libretita es muy práctica y ha quedado muy linda, el diseño de naturaleza que elegiste va muy bien con el color y textura del papel marrón✨
This is so lovely dear friend, simple yet beautiful. Well done and thanks for sharing this with the community.
Thanks 🥰
Congratulations @anne002! You have completed the following achievement on the Hive blockchain And have been rewarded with New badge(s)
Your next target is to reach 1000 replies.
You can view your badges on your board and compare yourself to others in the Ranking
If you no longer want to receive notifications, reply to this comment with the word
STOPThat's a nice notebook
!diy
!discovery 40
This post was shared and voted inside the discord by the curators team of discovery-it
Join our Community and follow our Curation Trail
Discovery-it is also a Witness, vote for us here
Delegate to us for passive income. Check our 80% fee-back Program
You can query your personal balance by
!DIYSTATS