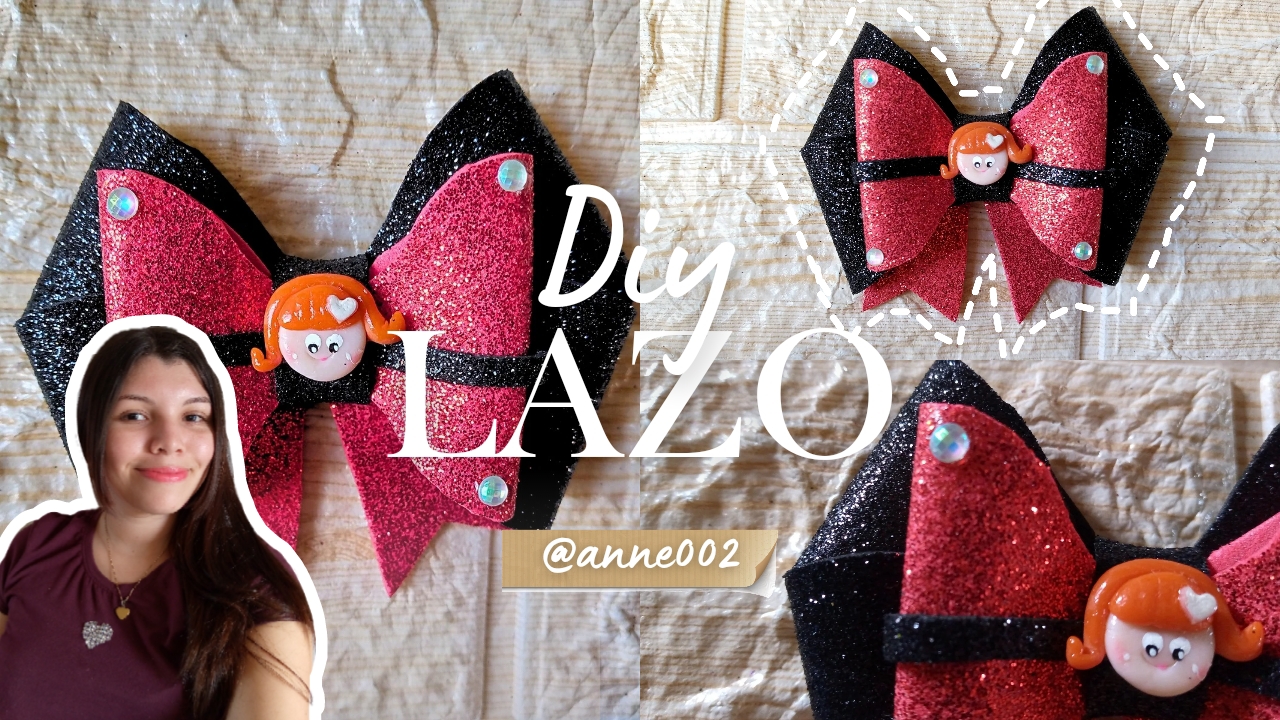
Hello, beautiful night! It's a pleasure to greet you🌜. I hope you are all doing very well, dear and appreciated friends. I warmly welcome you to a new blog where I will be sharing with you the creative process of what we will do here step by step. Feel comfortable and thank you for being here reading this blog.✨❤️
.jpg)
Well friends, we continue with the theme of creating very pretty bows for girls made with this material that I really like, foam, and I could create many pretty things with it and since I have material left over from others that I have already made previously yesterday, I will show you how to make this little model today, which is in these two colors that you can combine very well, red with black.
And these bows or ribbons as you prefer to call them, I am making them for my cousins because they will wear them with different colored clothing outfits, that is why I have decided to make them in different models, colors and hooks. I know that you, my dear creative friends, love to make and see these types of creative tutorials where imagination is the main thing to create anything and with any material that we have at hand to make something very pretty. Let's start with what I used for this model and the steps that are easy.
.jpg)
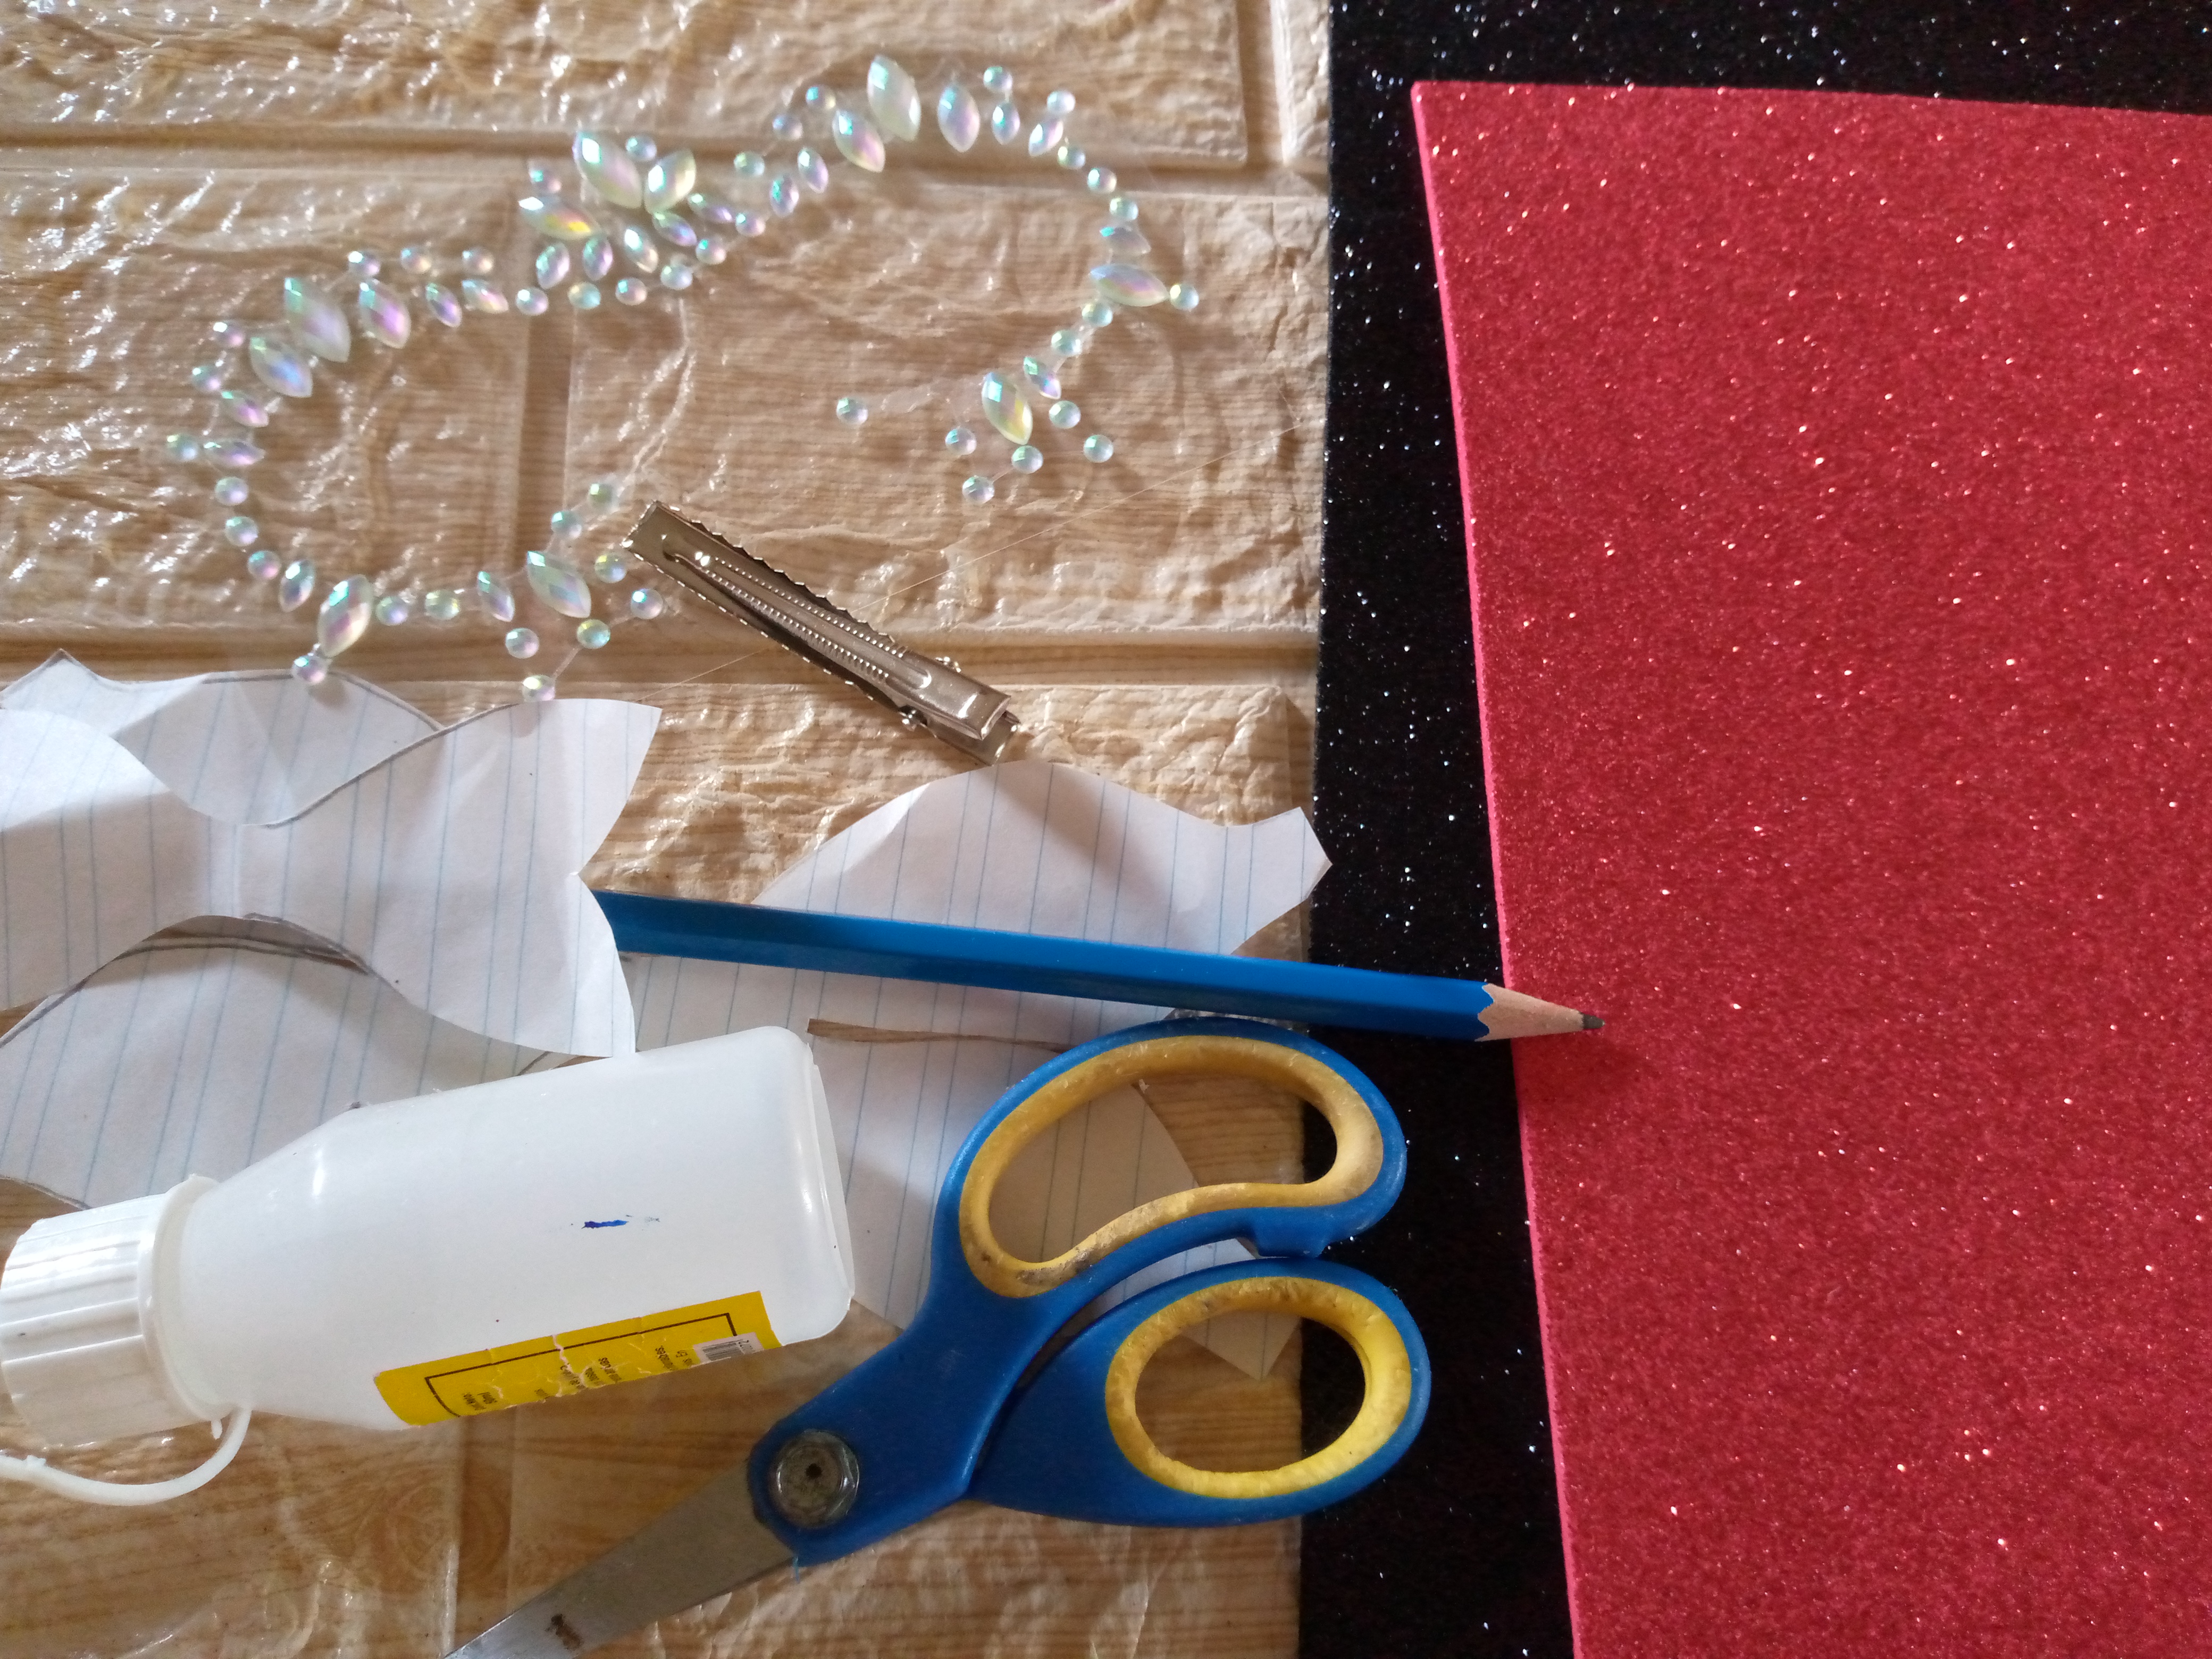
Materiales:// Materials:
- Fomi brillante de colores
- Tijera
- Diseño de carita de arcilla
- silicón líquido
- Pinza de cabello
- Piedritas brillante de decoraciones
- Patrones
- Lápiz
- Colorful shiny foam
- Scissors
- Clay face design
- Liquid silicone
- Hair clip
- Shiny decorative stones
- Patterns
- Pencil
.jpg)
Pasos a seguir://Steps to follow:
Paso 01
Step 01
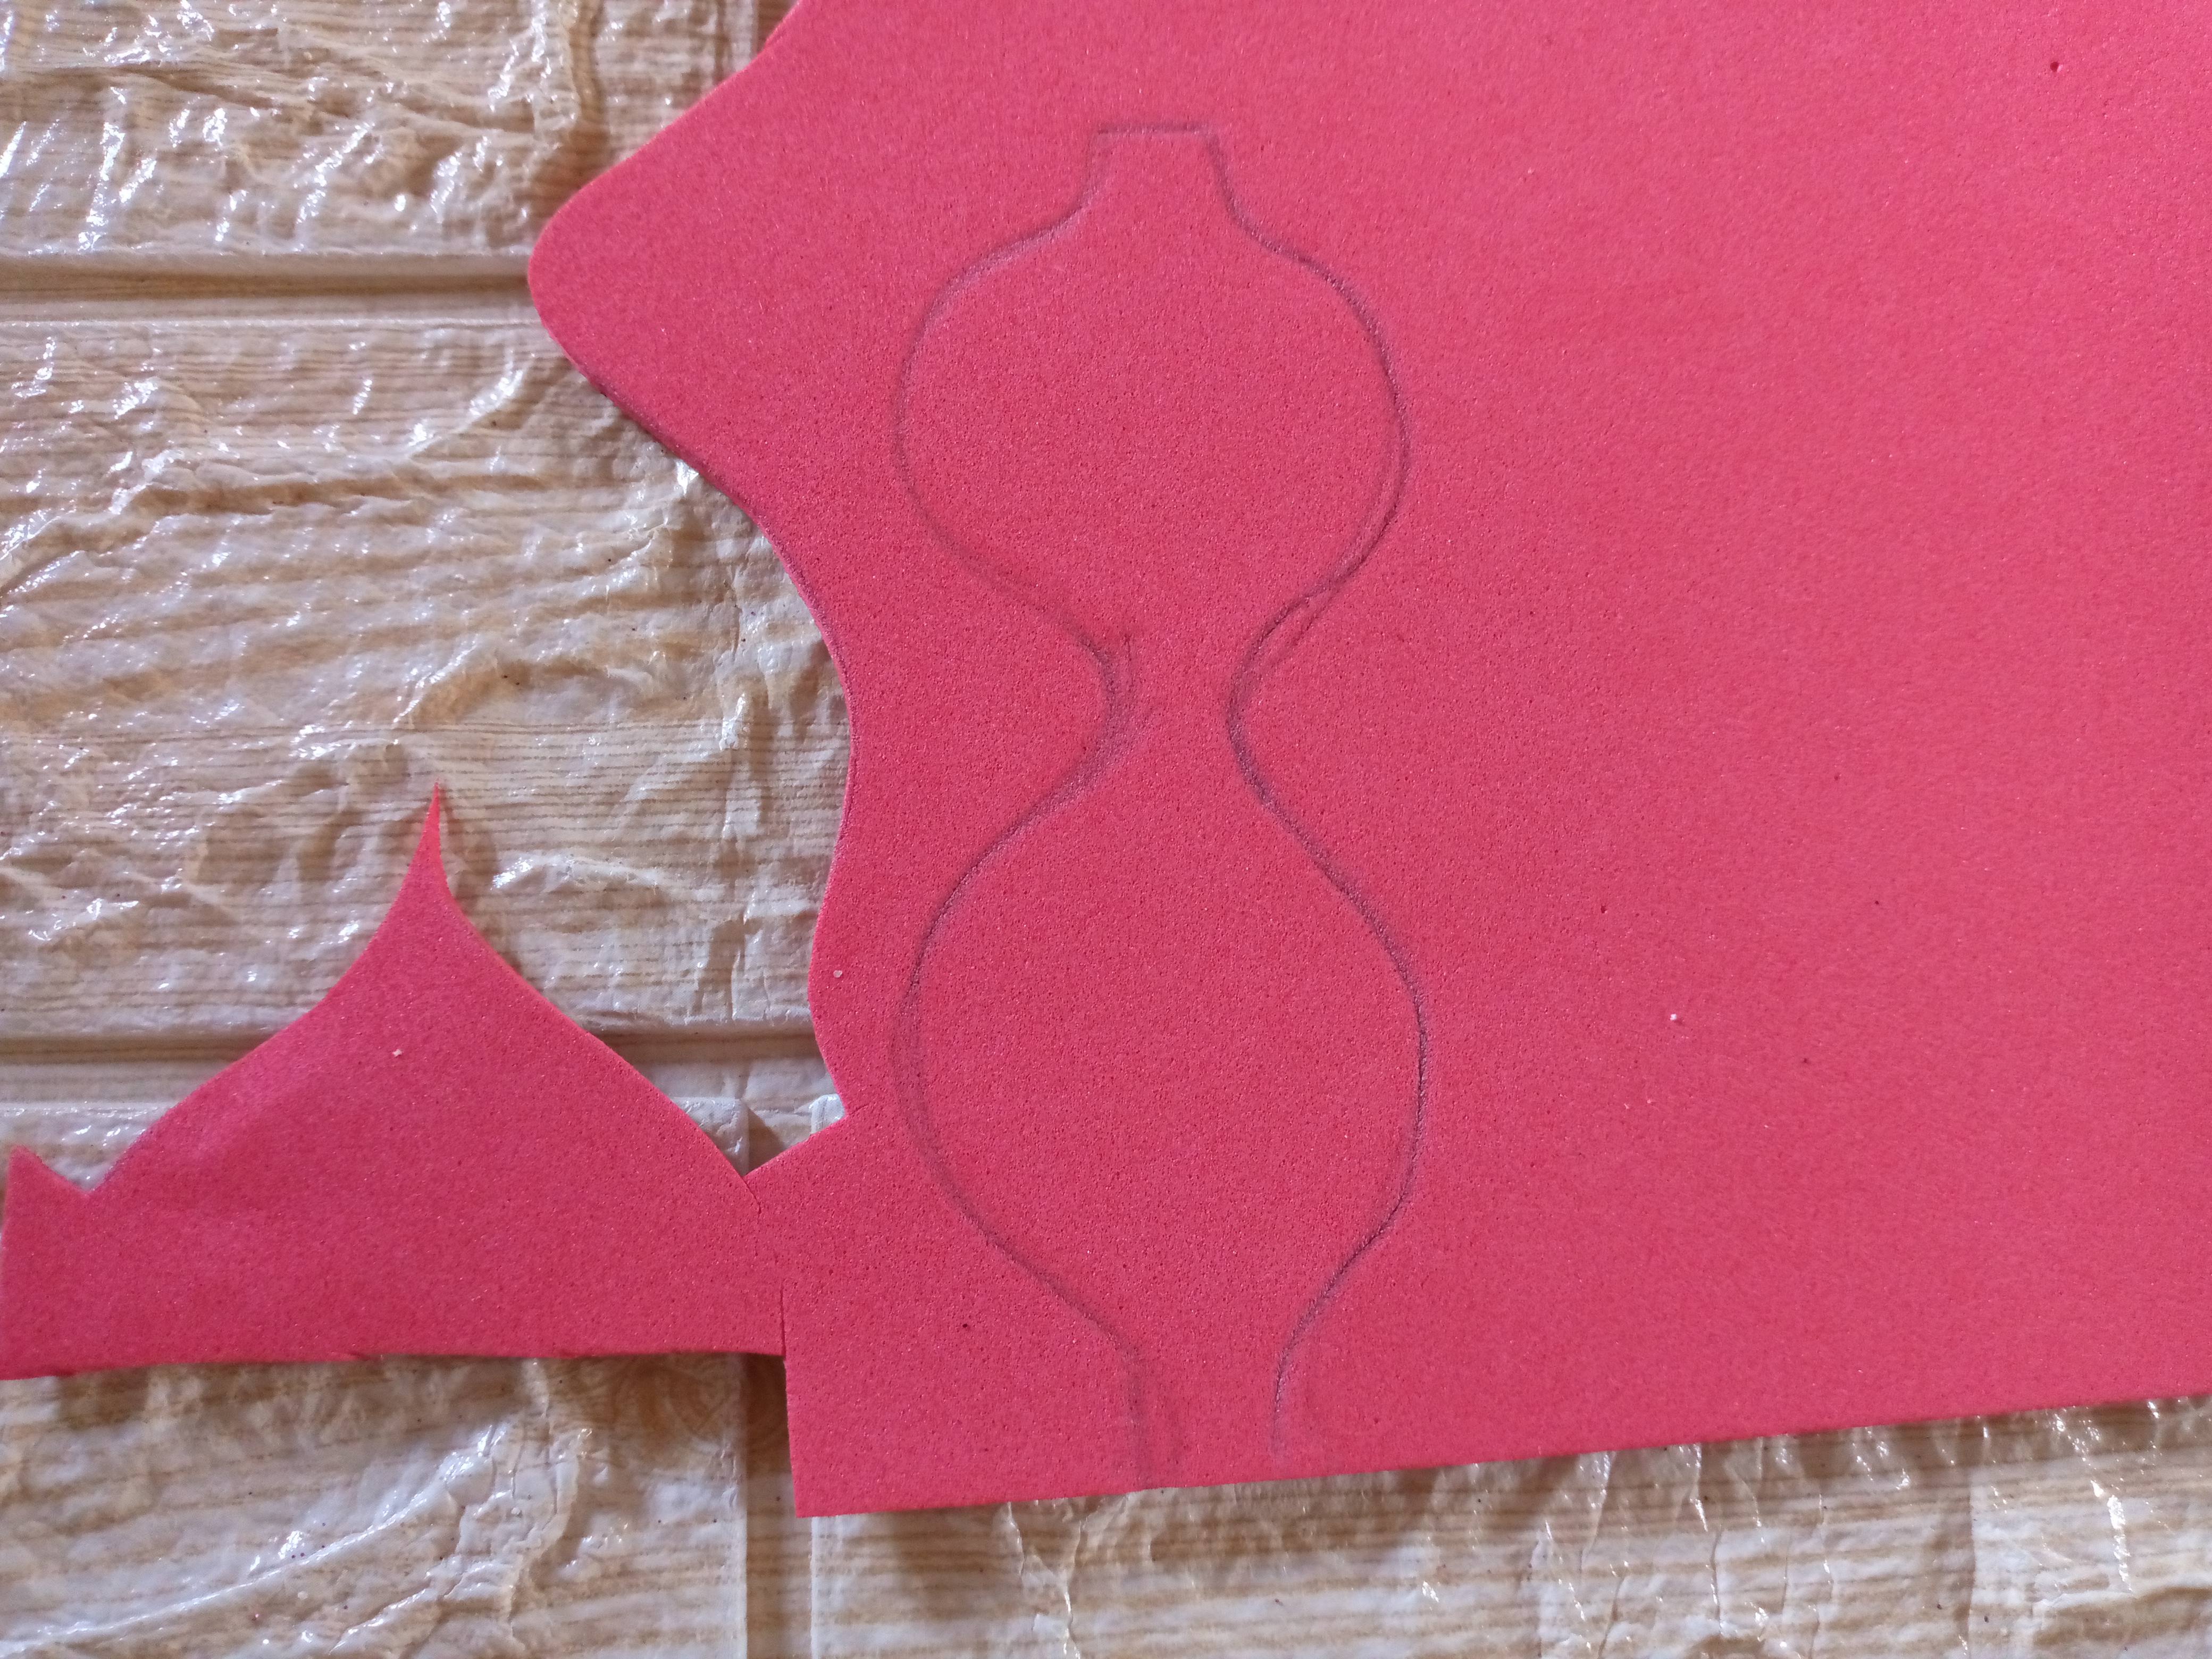
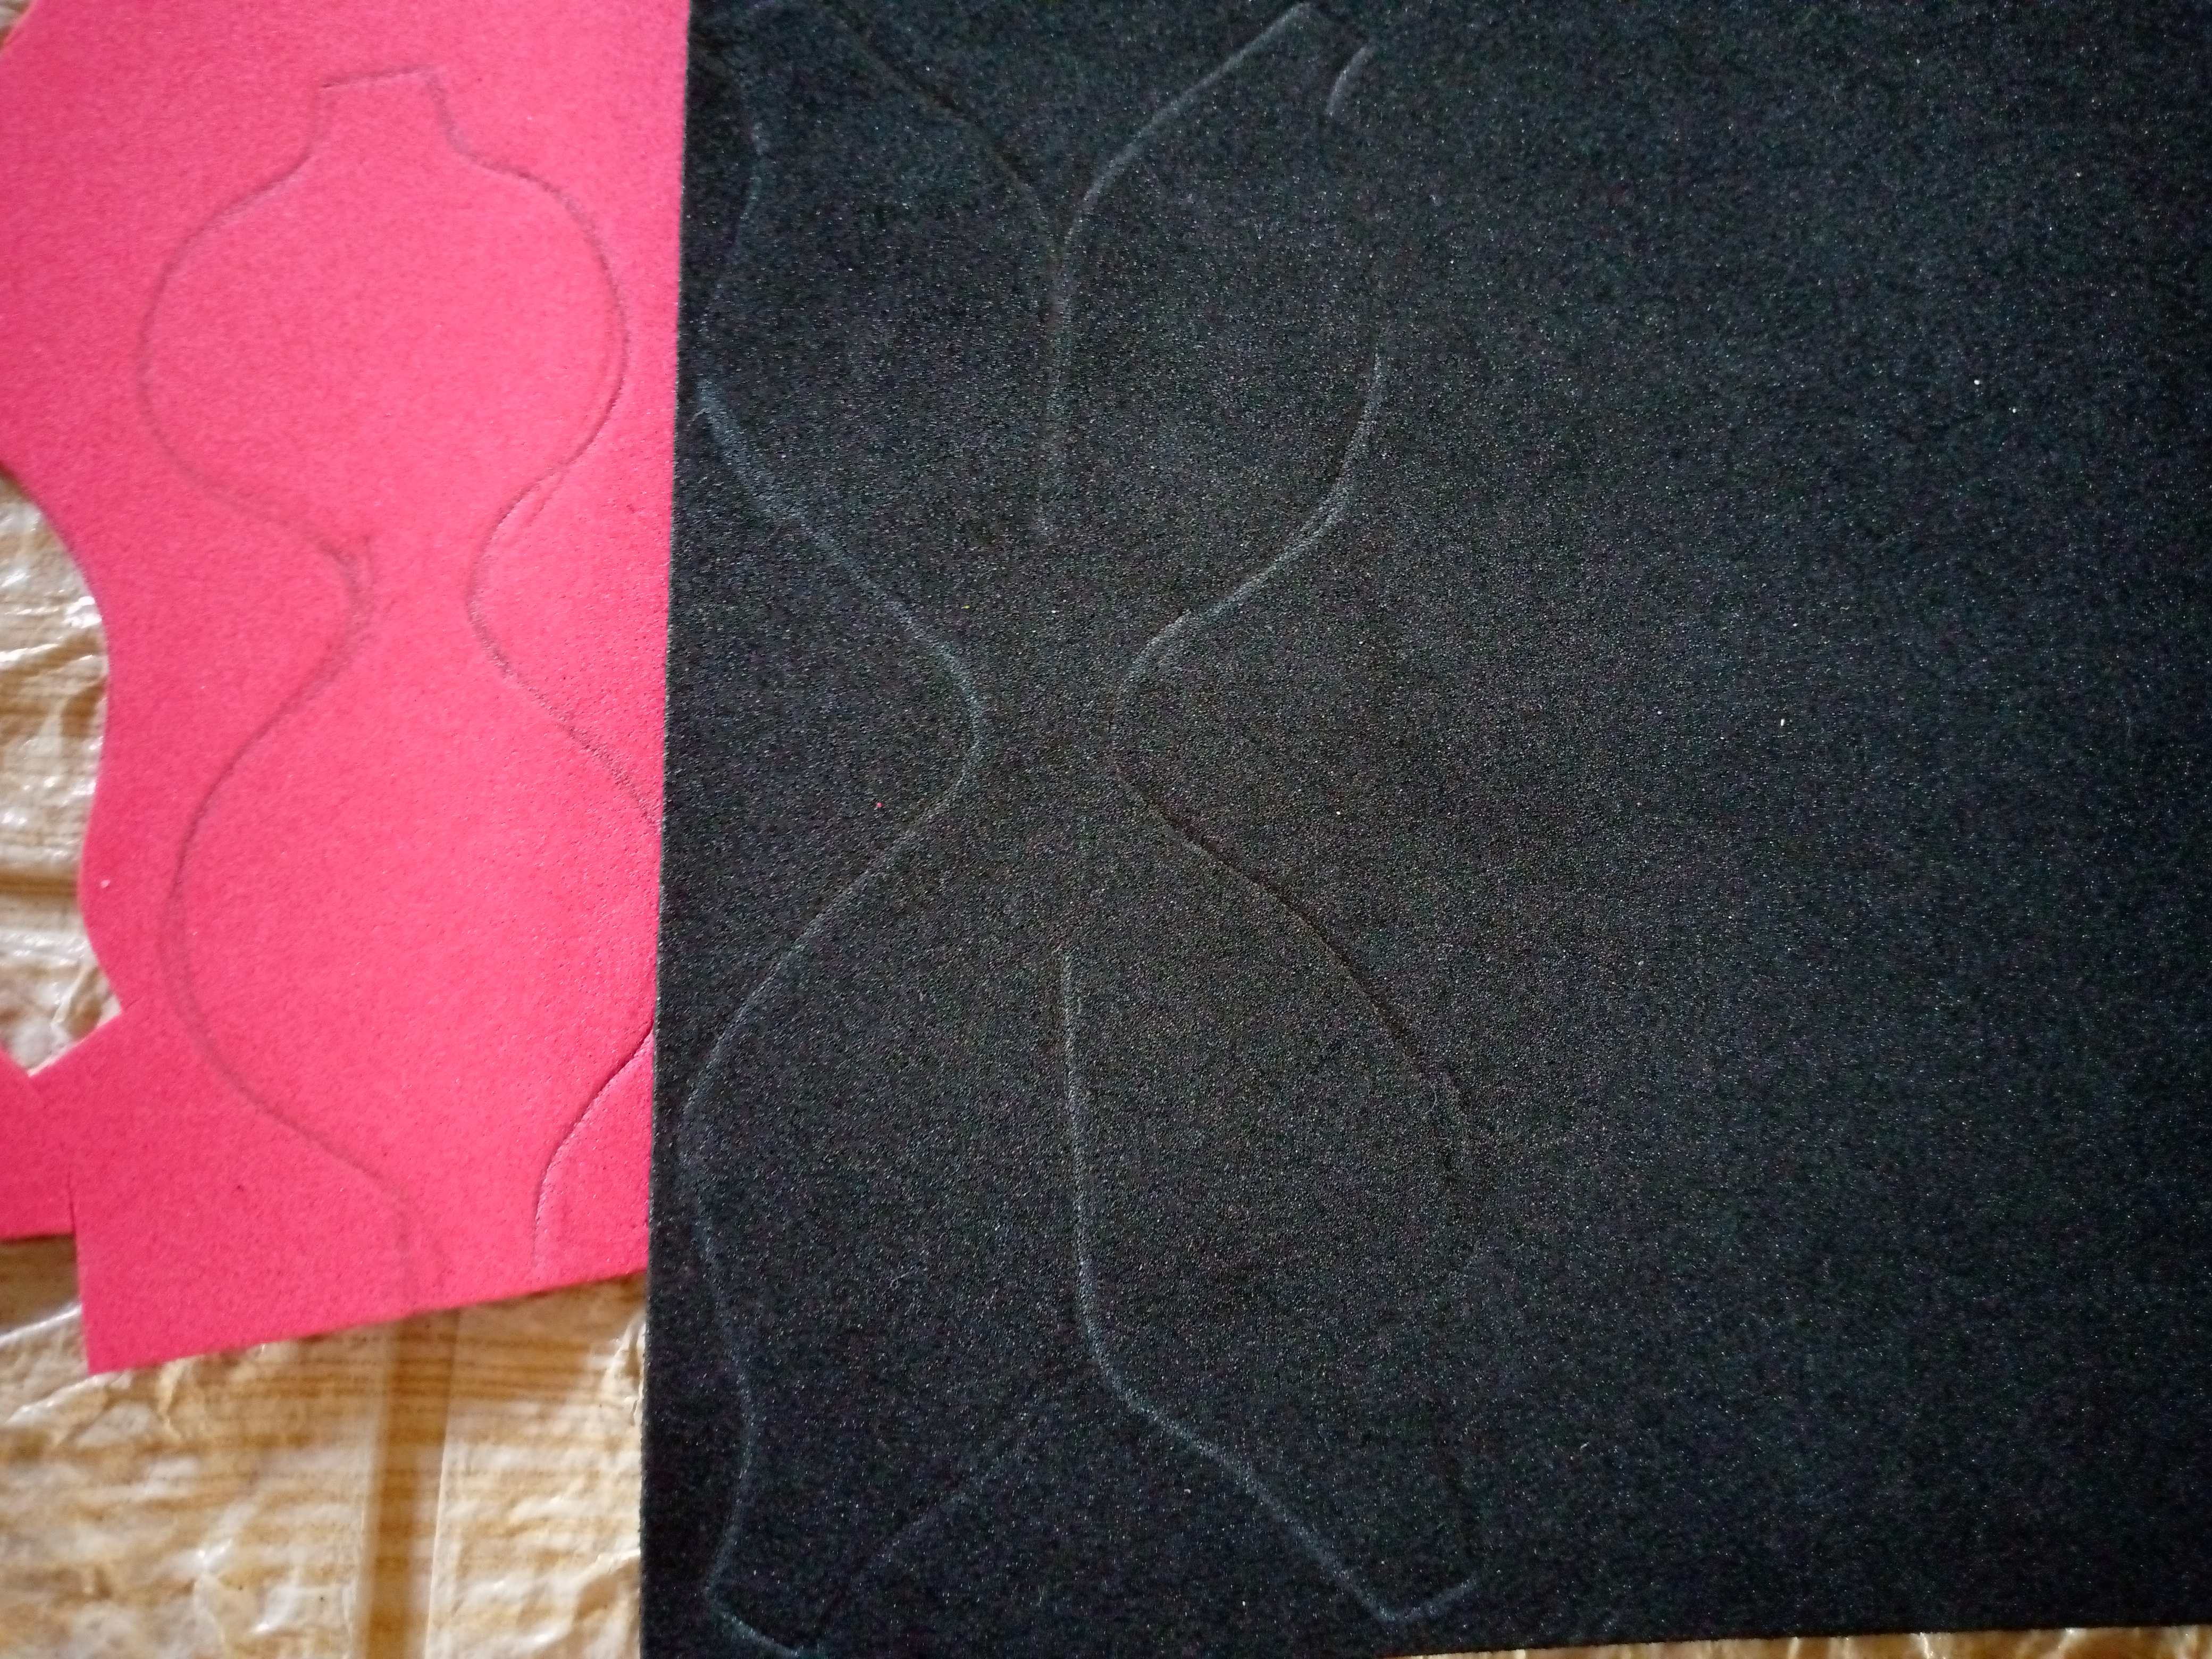
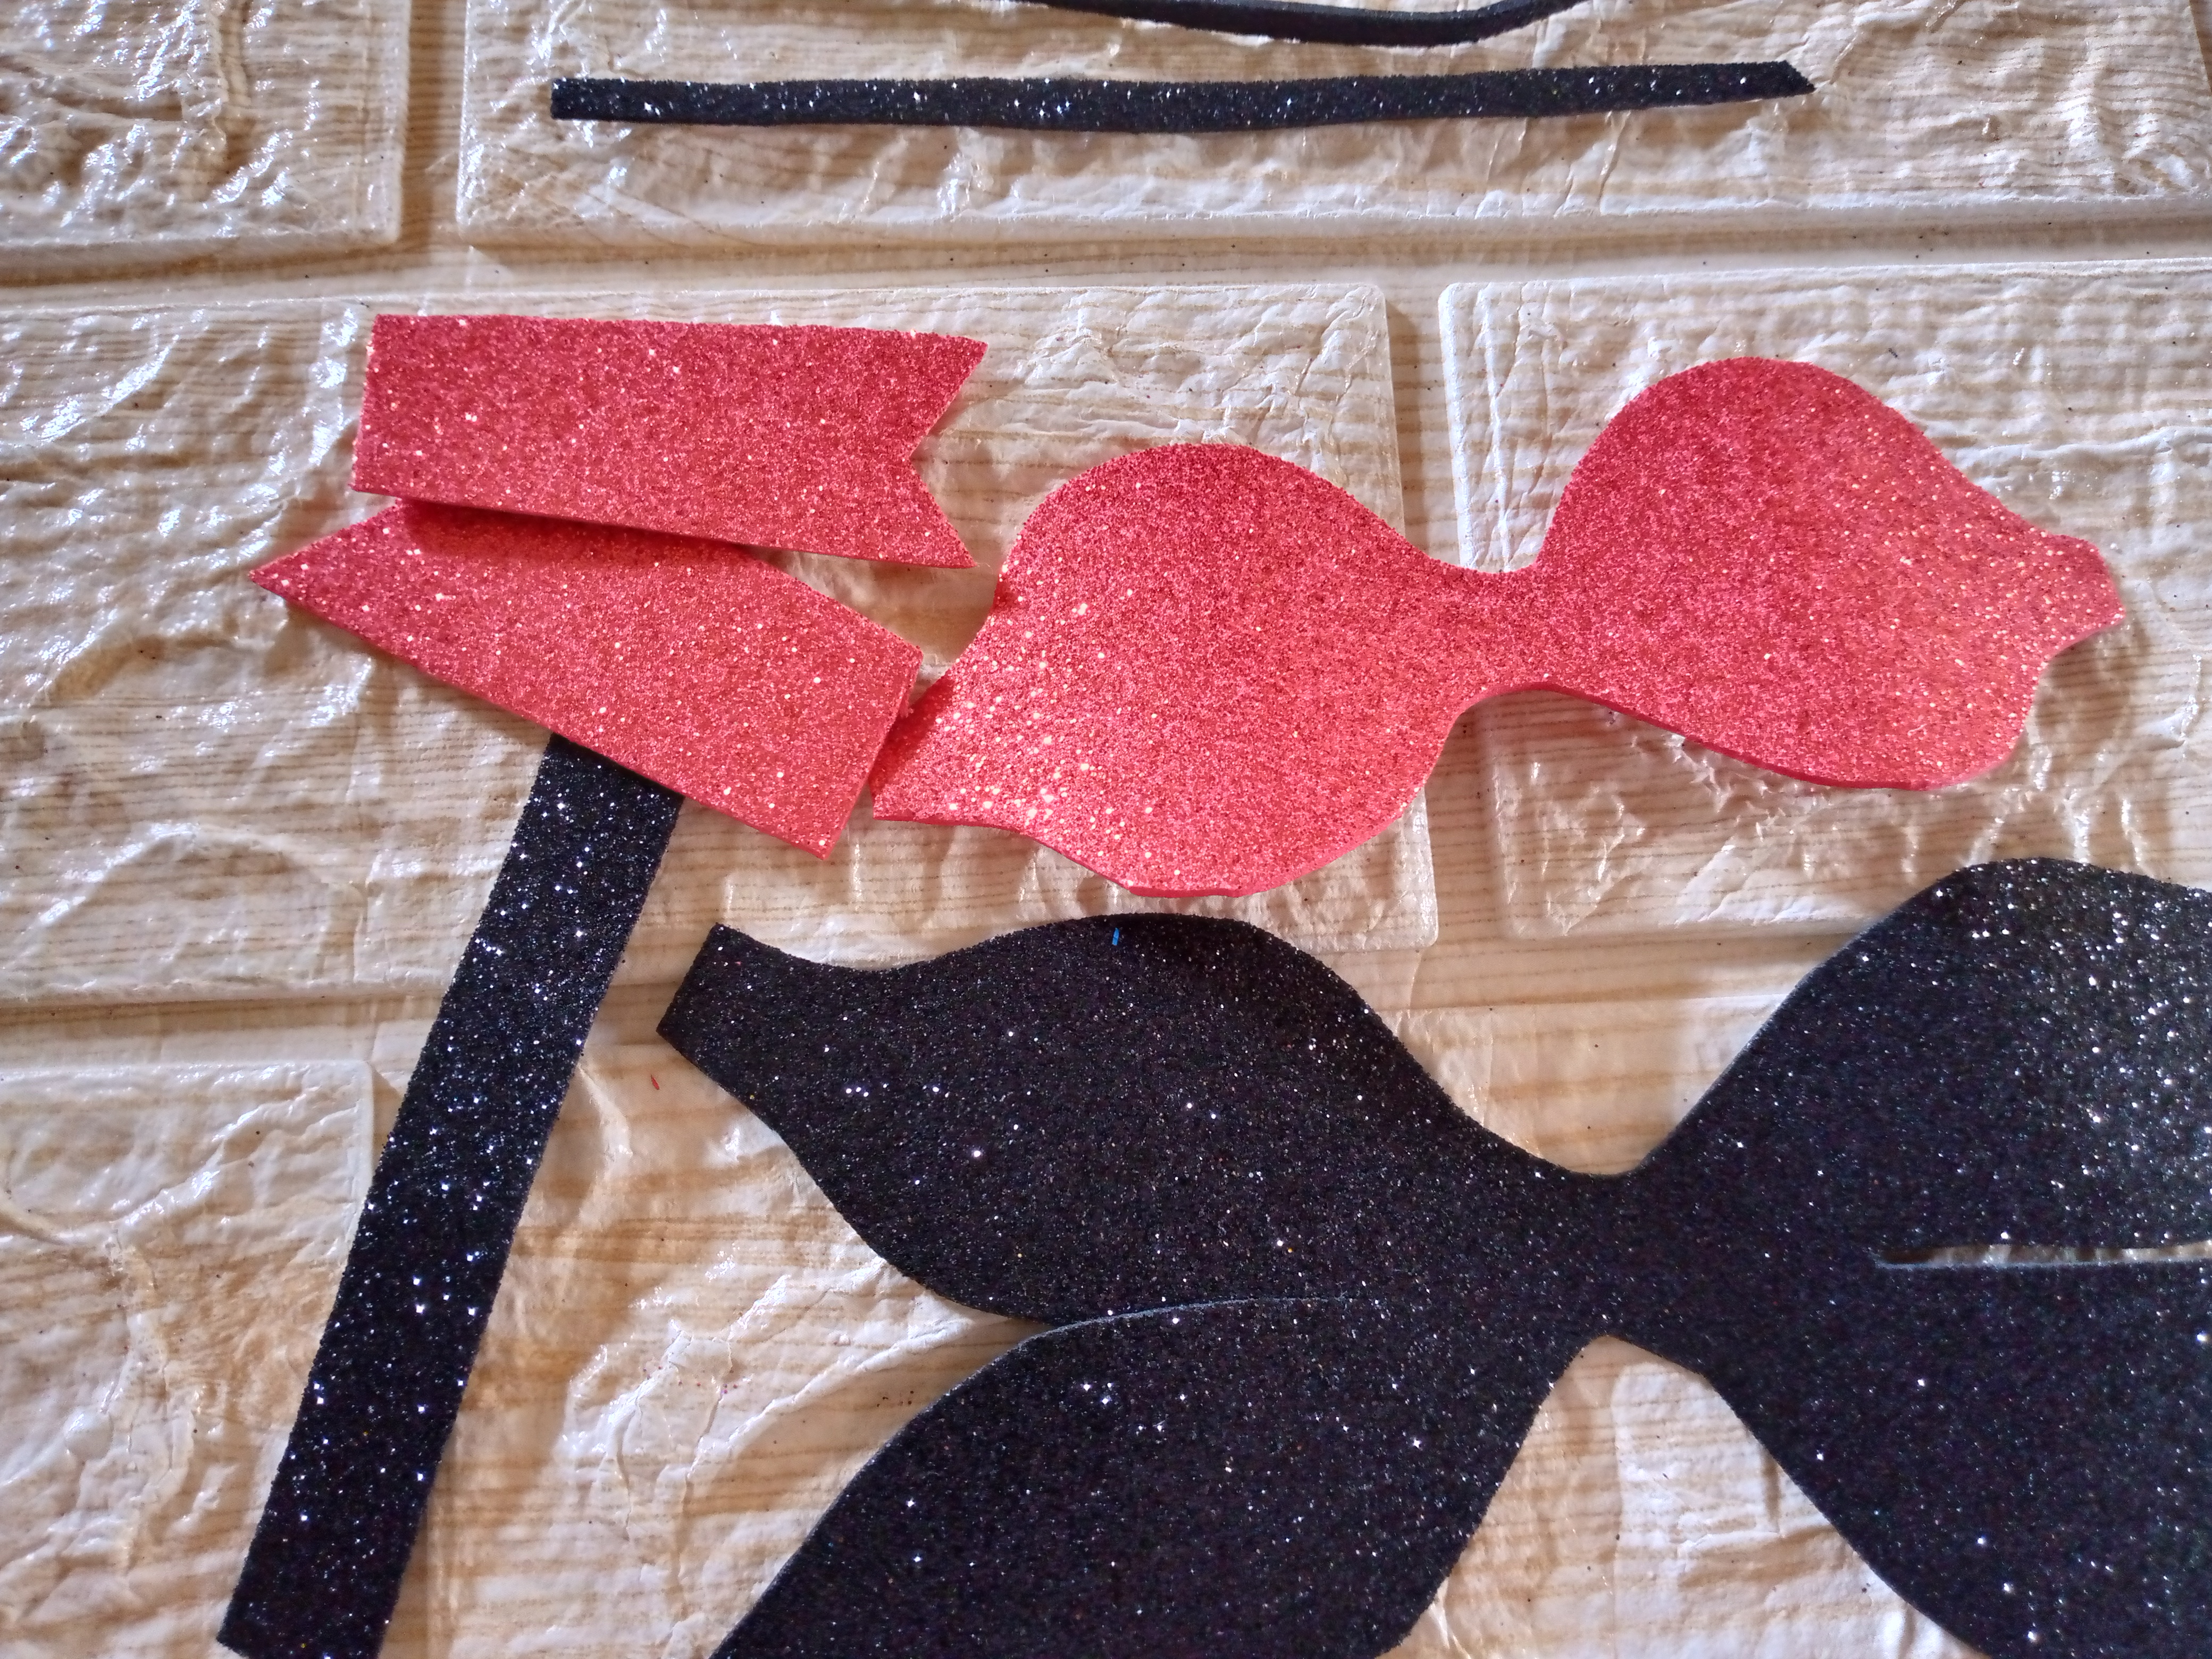
The first step is to place our foam rubber on the bottom side of course so we can mark the pieces on that side with the help of our patterns and pencil. You can get any model of bows on the Internet on Pinterest. I got them and downloaded them so I could take them out on sheets and mark them on the foam rubber. The pieces look like this, but then we're going to pick up and glue each piece to the center and that's how each piece of our bow is made. Of course, this one is double, that's why it has two pieces like this.
Paso 02
Step 02
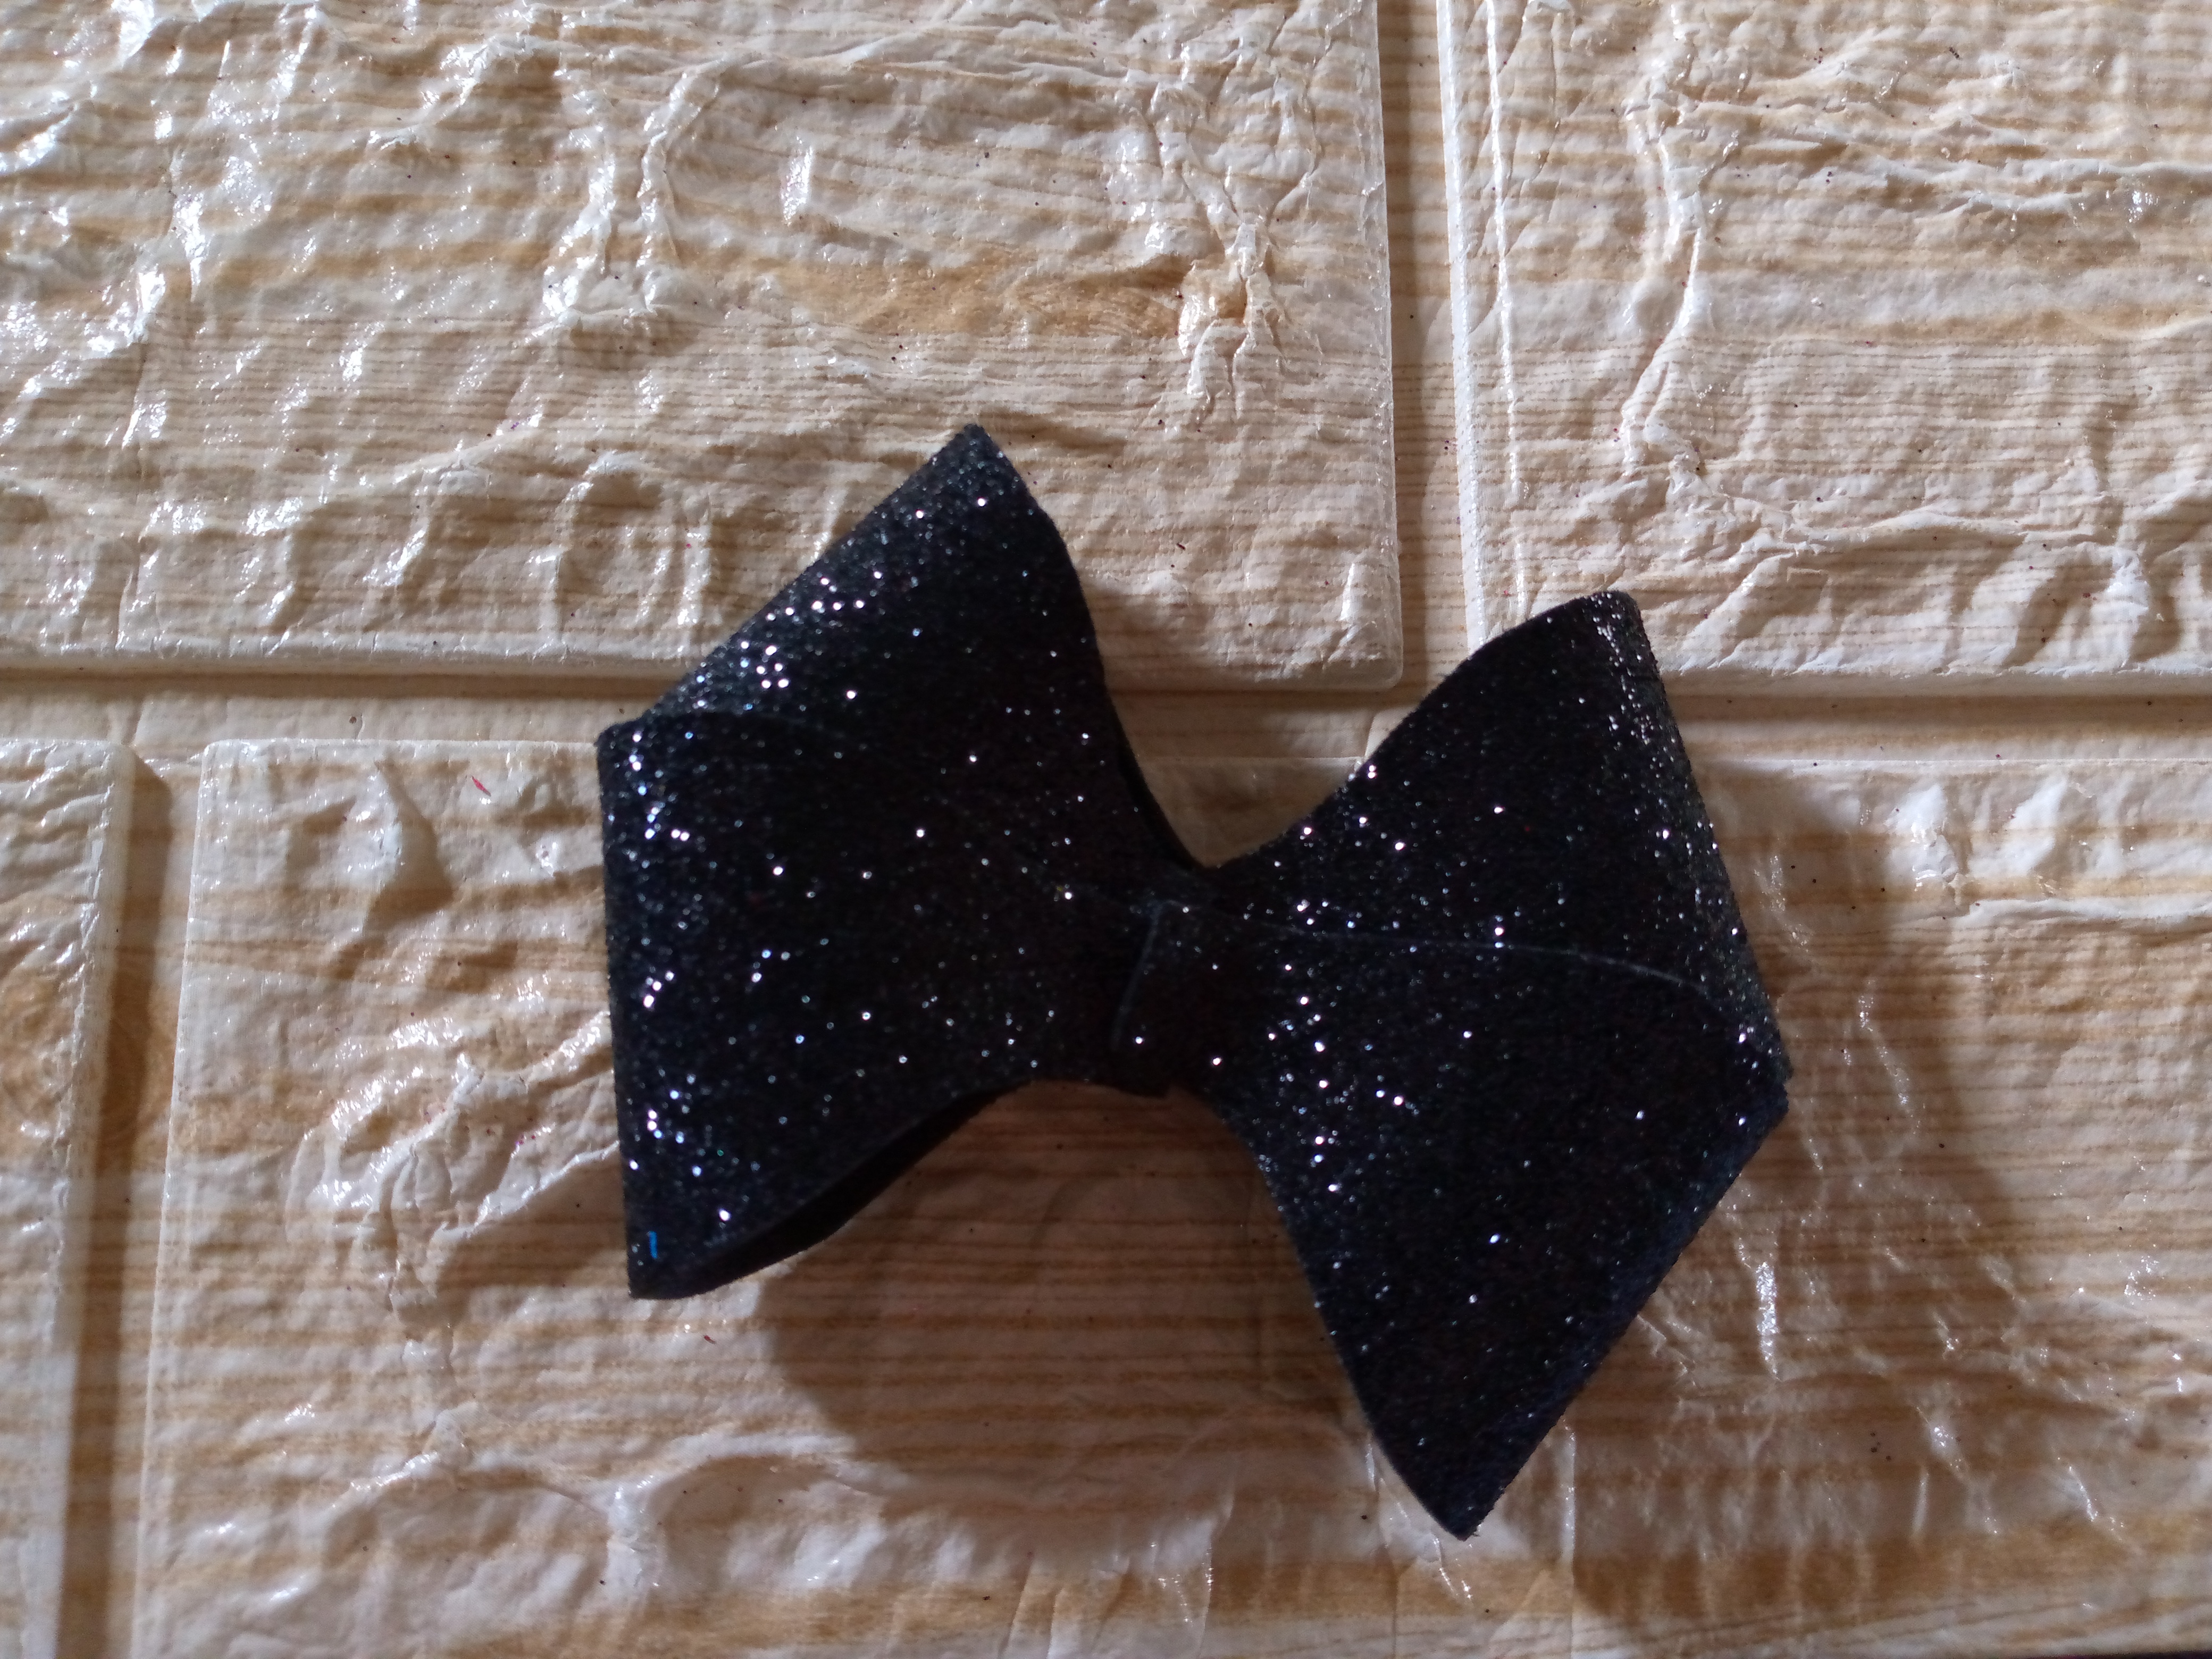
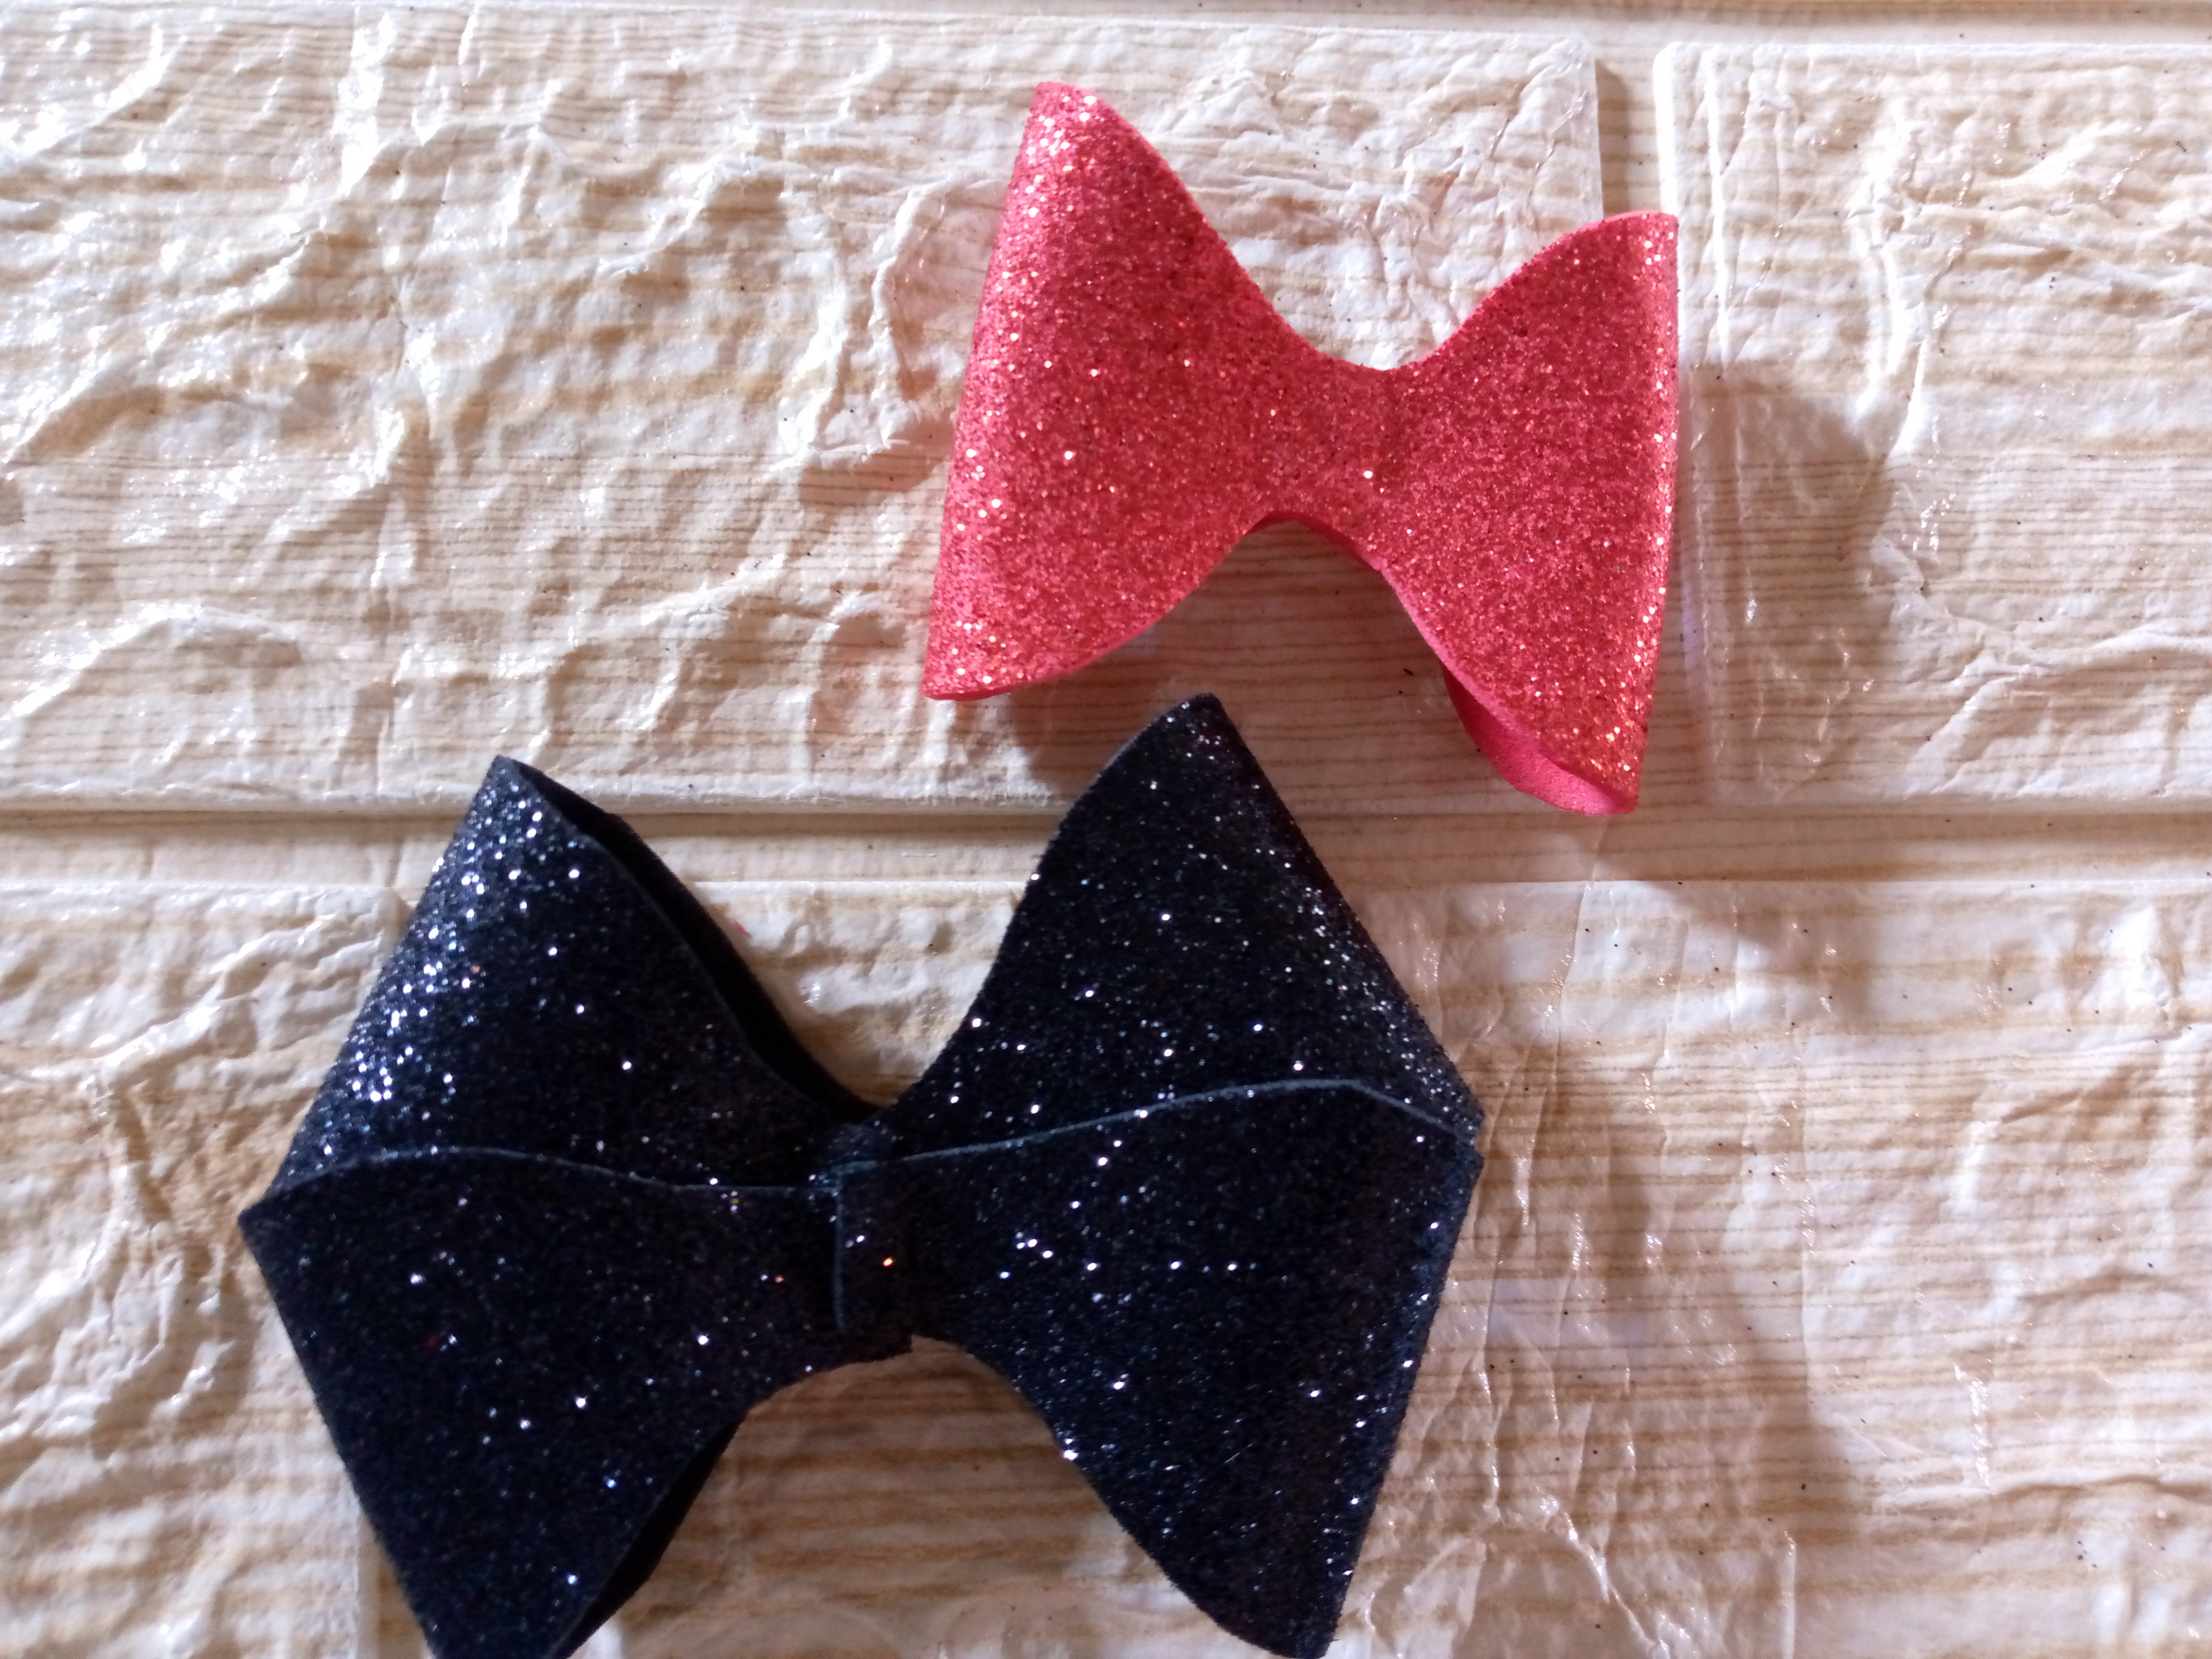
The second step is to cut the pieces and I have additionally cut others to place below as an ornament on the bow and make it prettier. I have cut two very thin strips of the same foam in black also to decorate the red bow piece and the two below the one that joins the bow pieces and the hook lining piece that goes below on the back.
Paso 03
Step 03
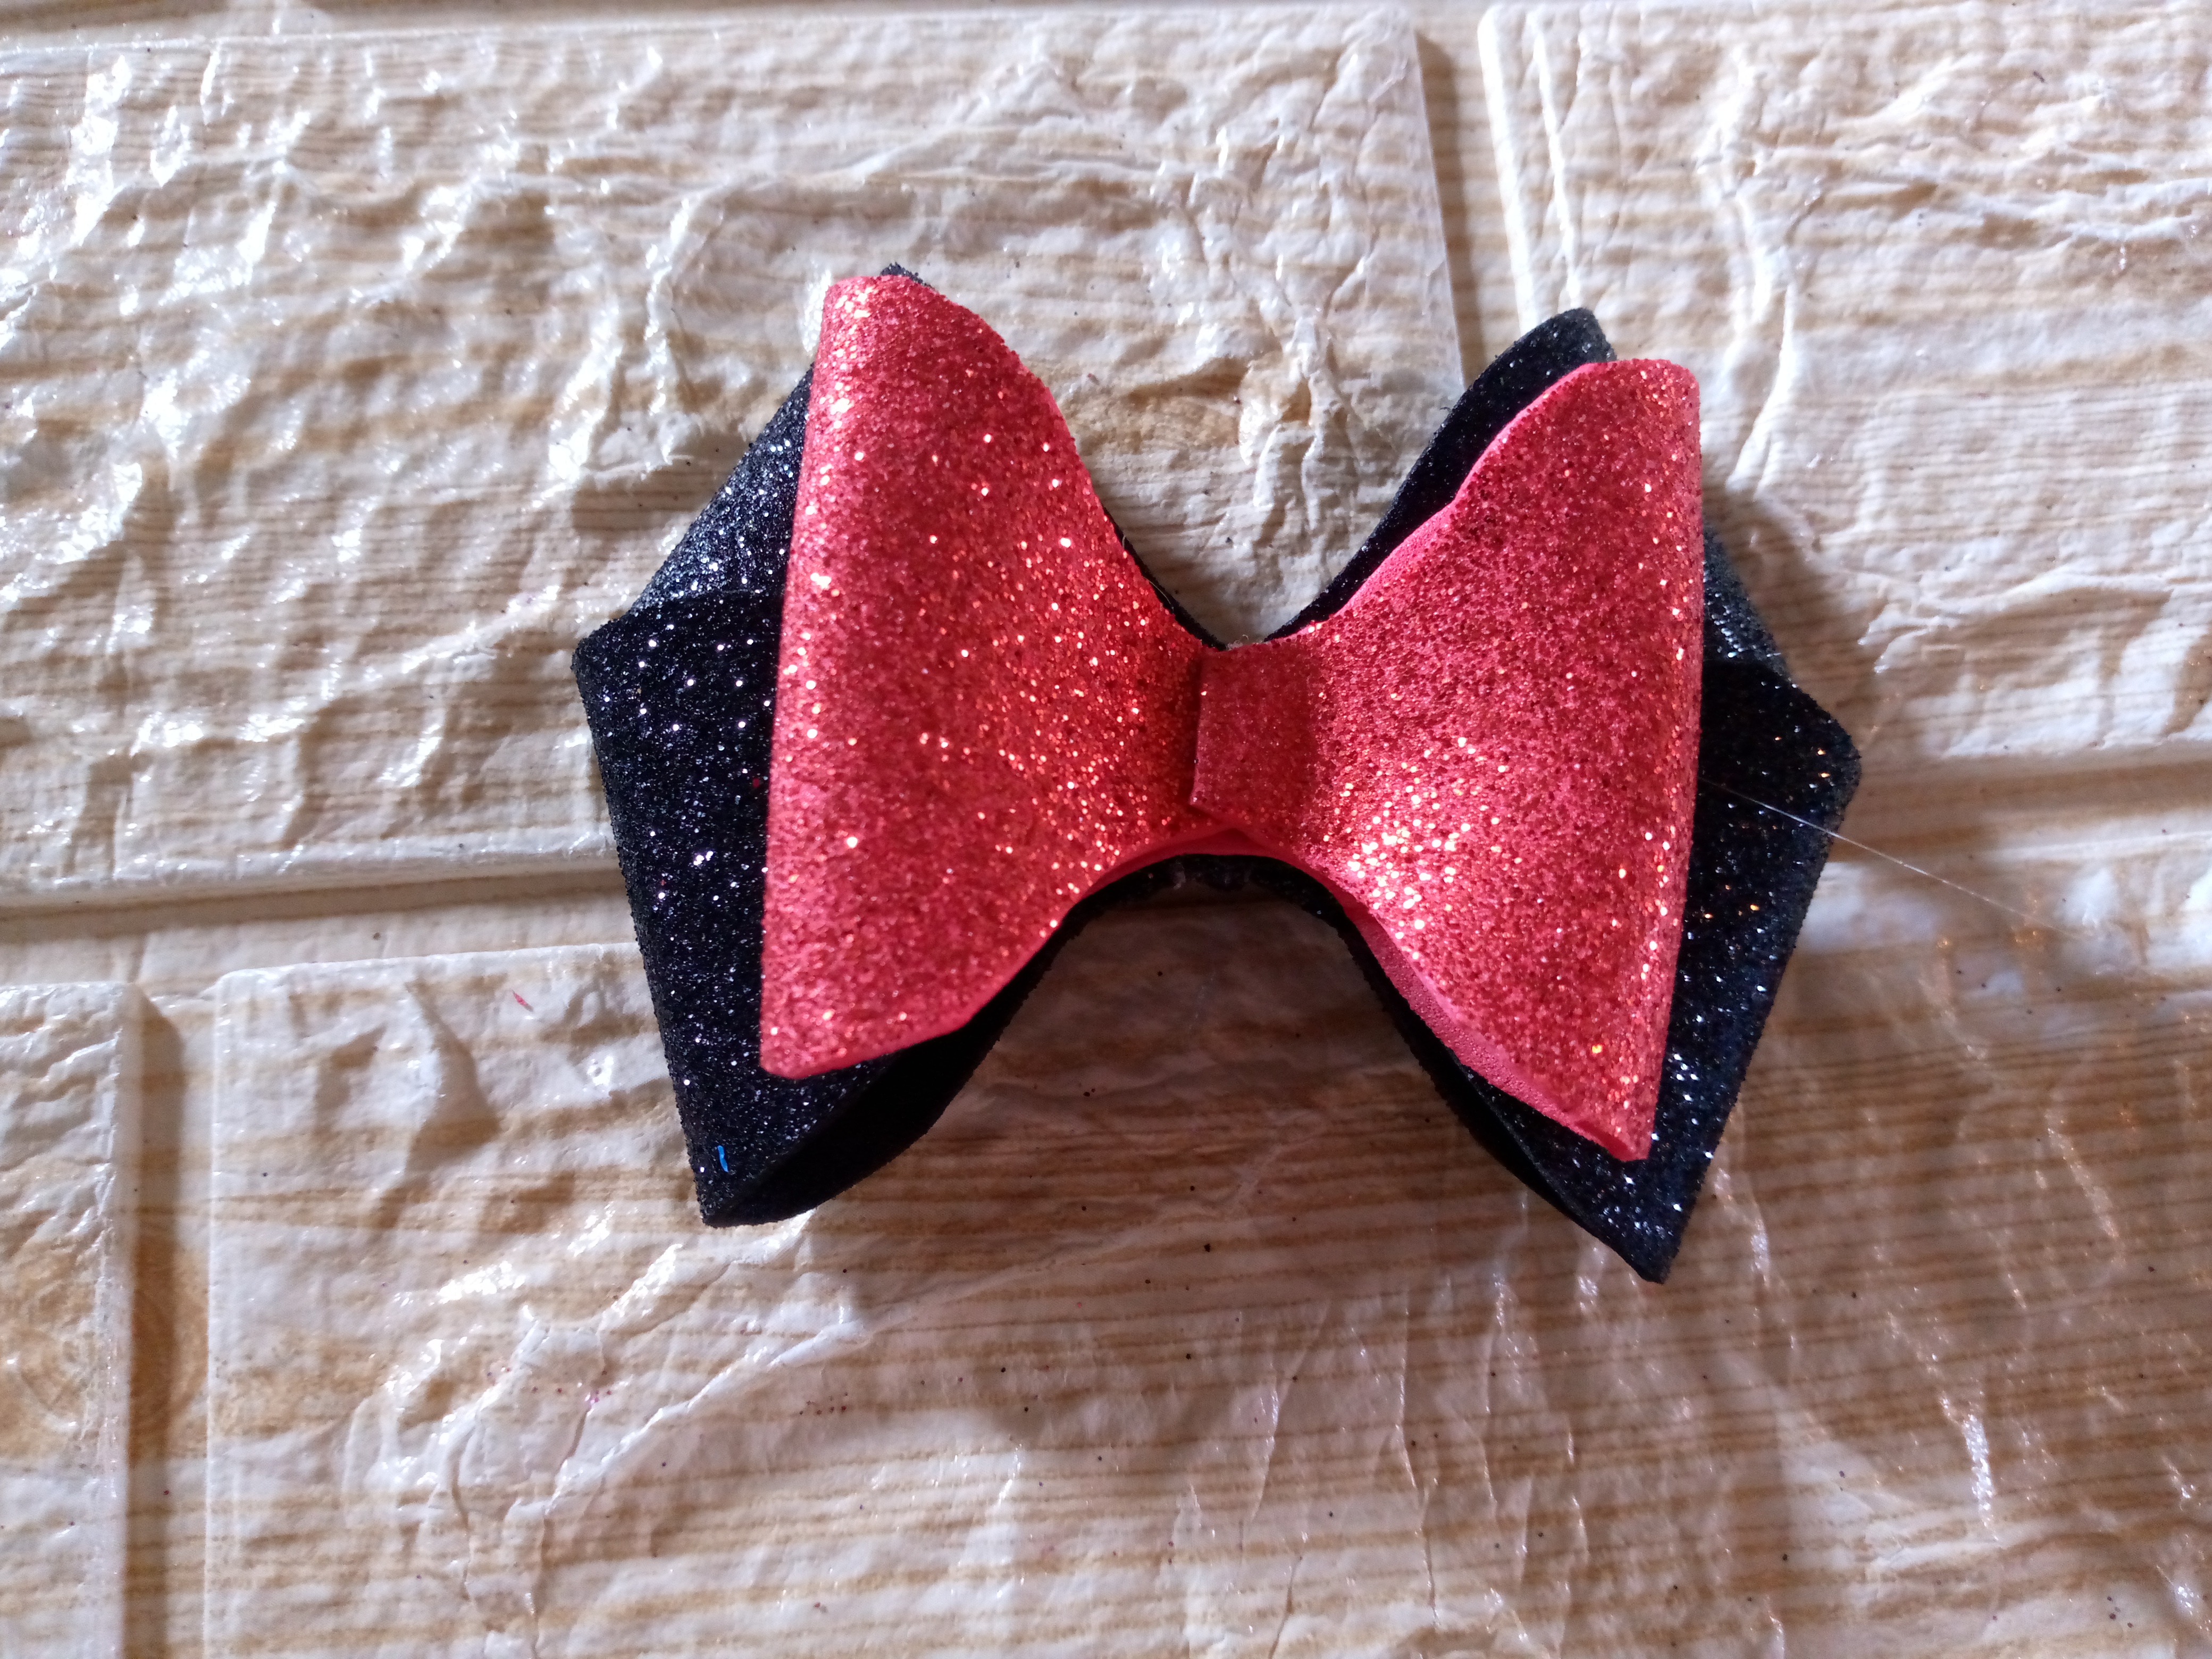
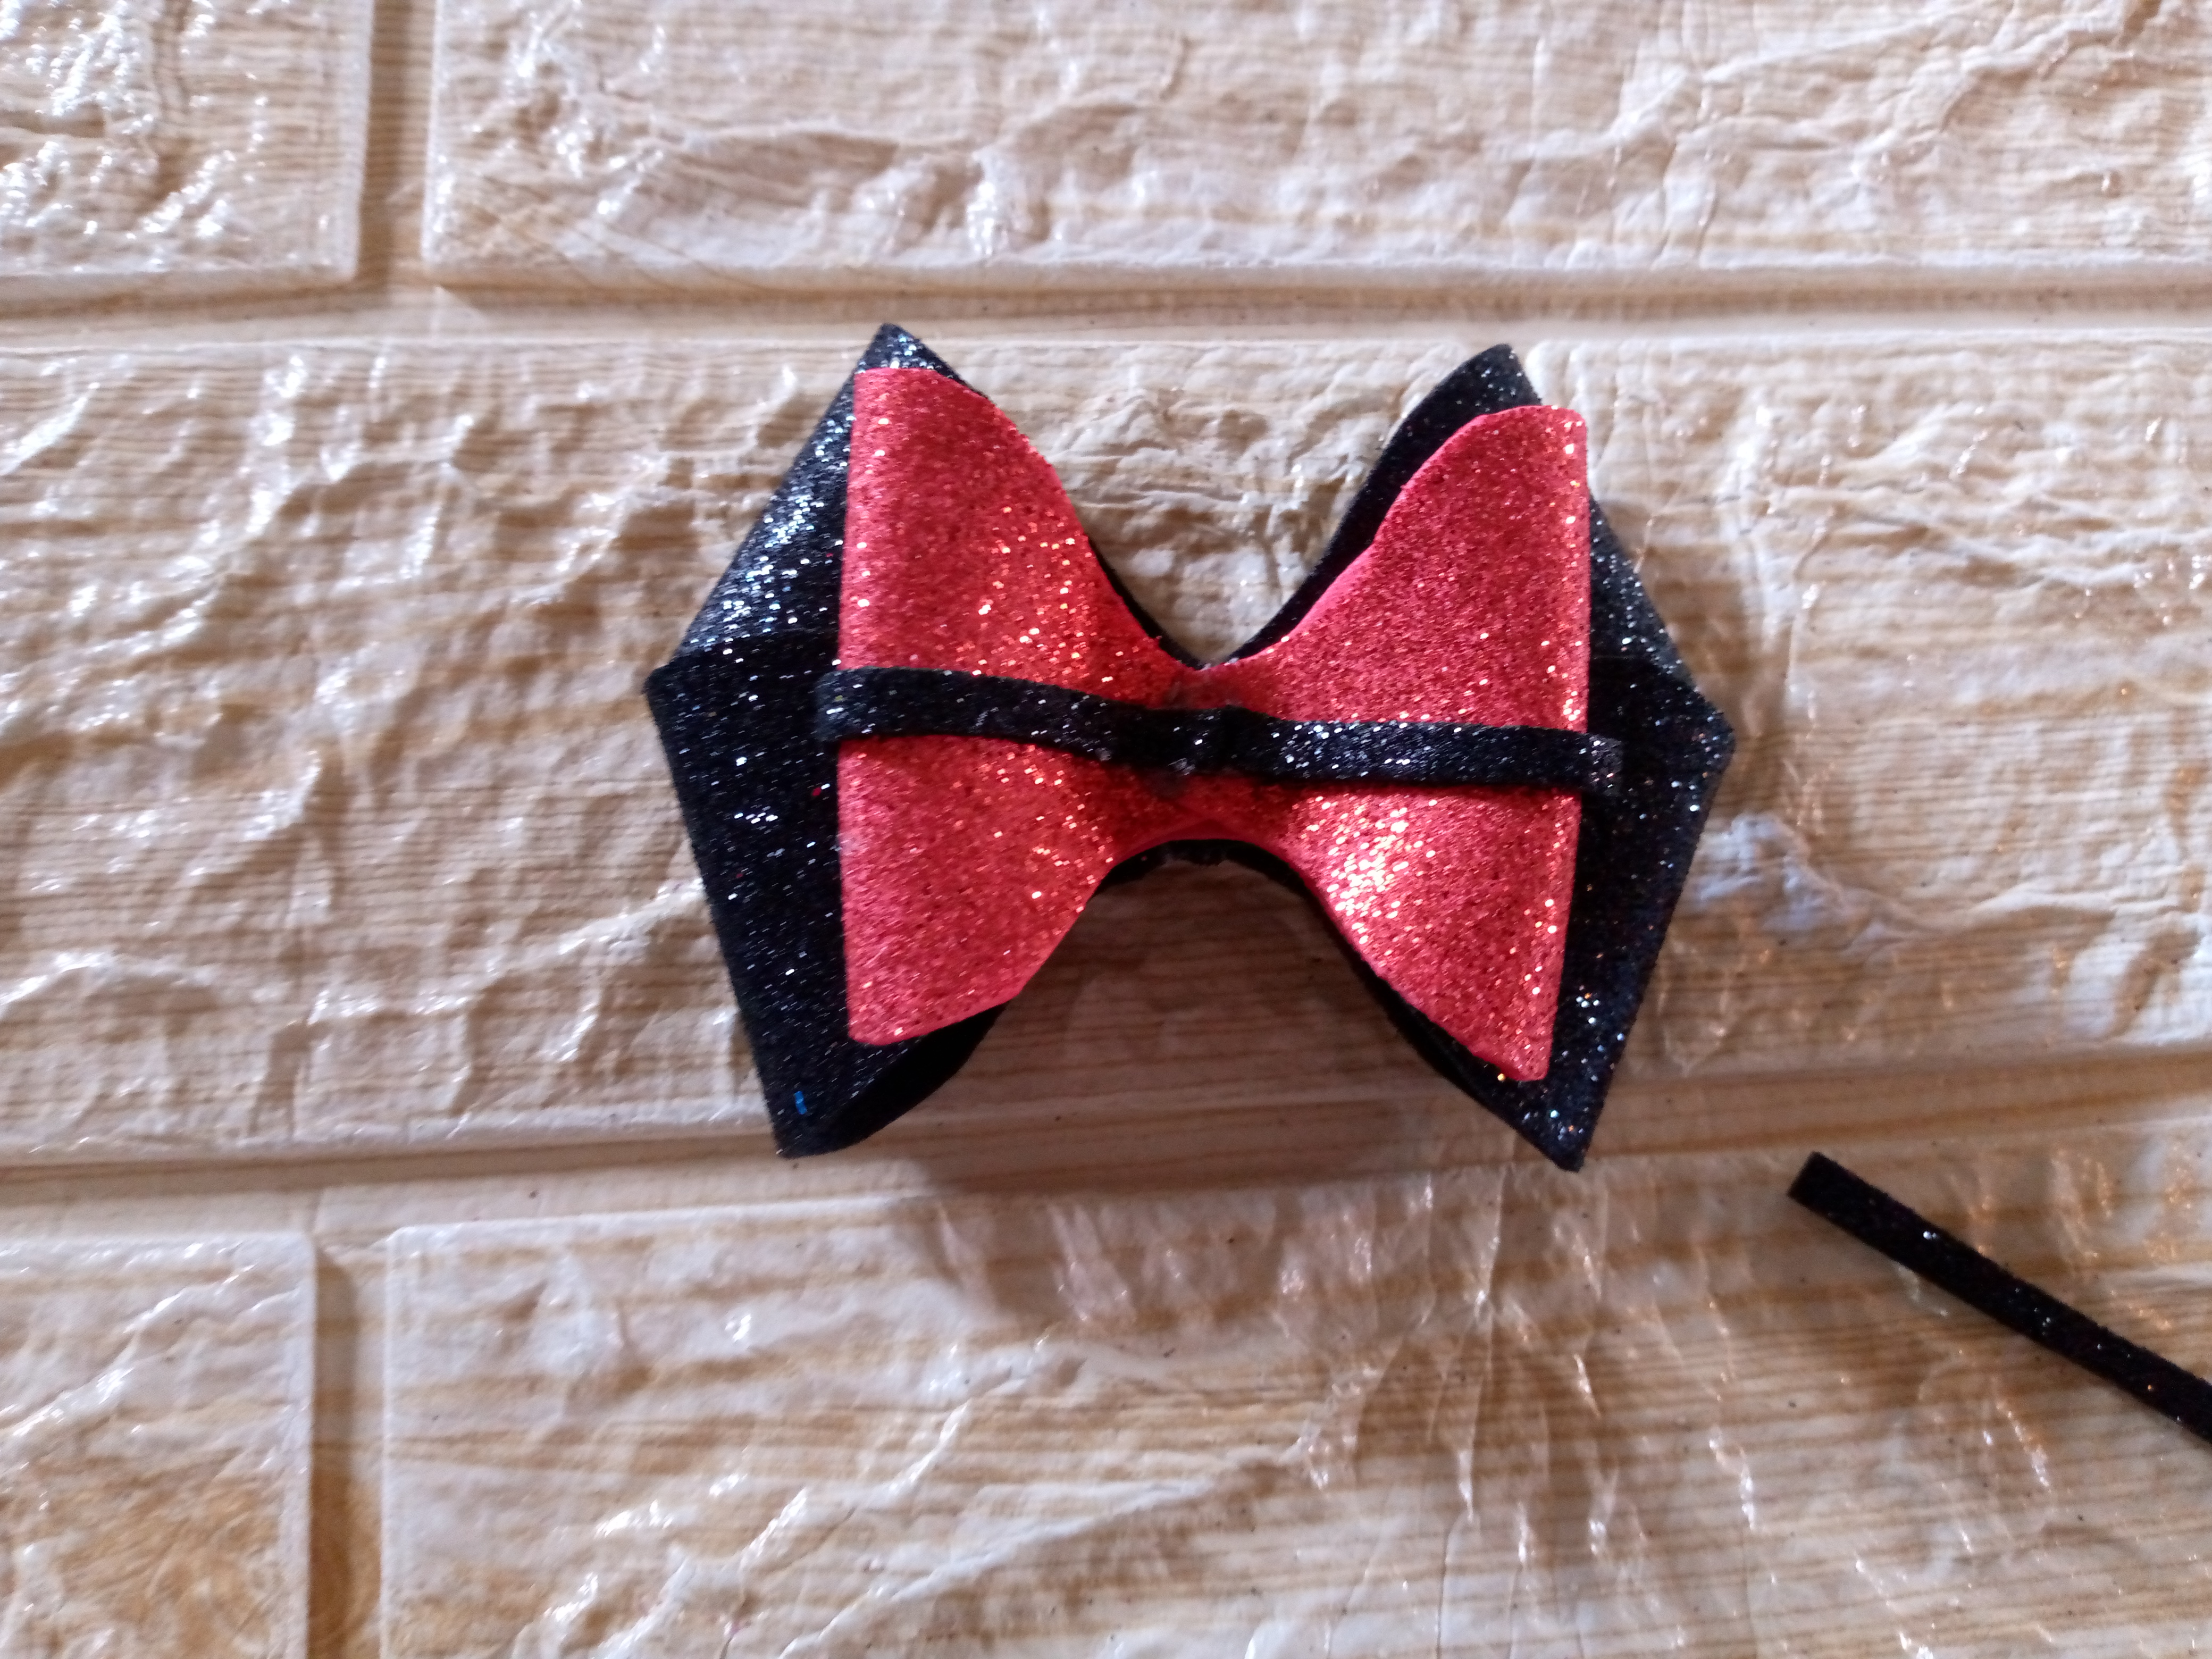
We move on to assemble the pieces to make the double bow, the black and red foam pieces, just to assemble it I will be, as I mentioned before, collecting the four tips and gluing them right in the center and we do the same with the other red bow.
Paso 04
Step 04
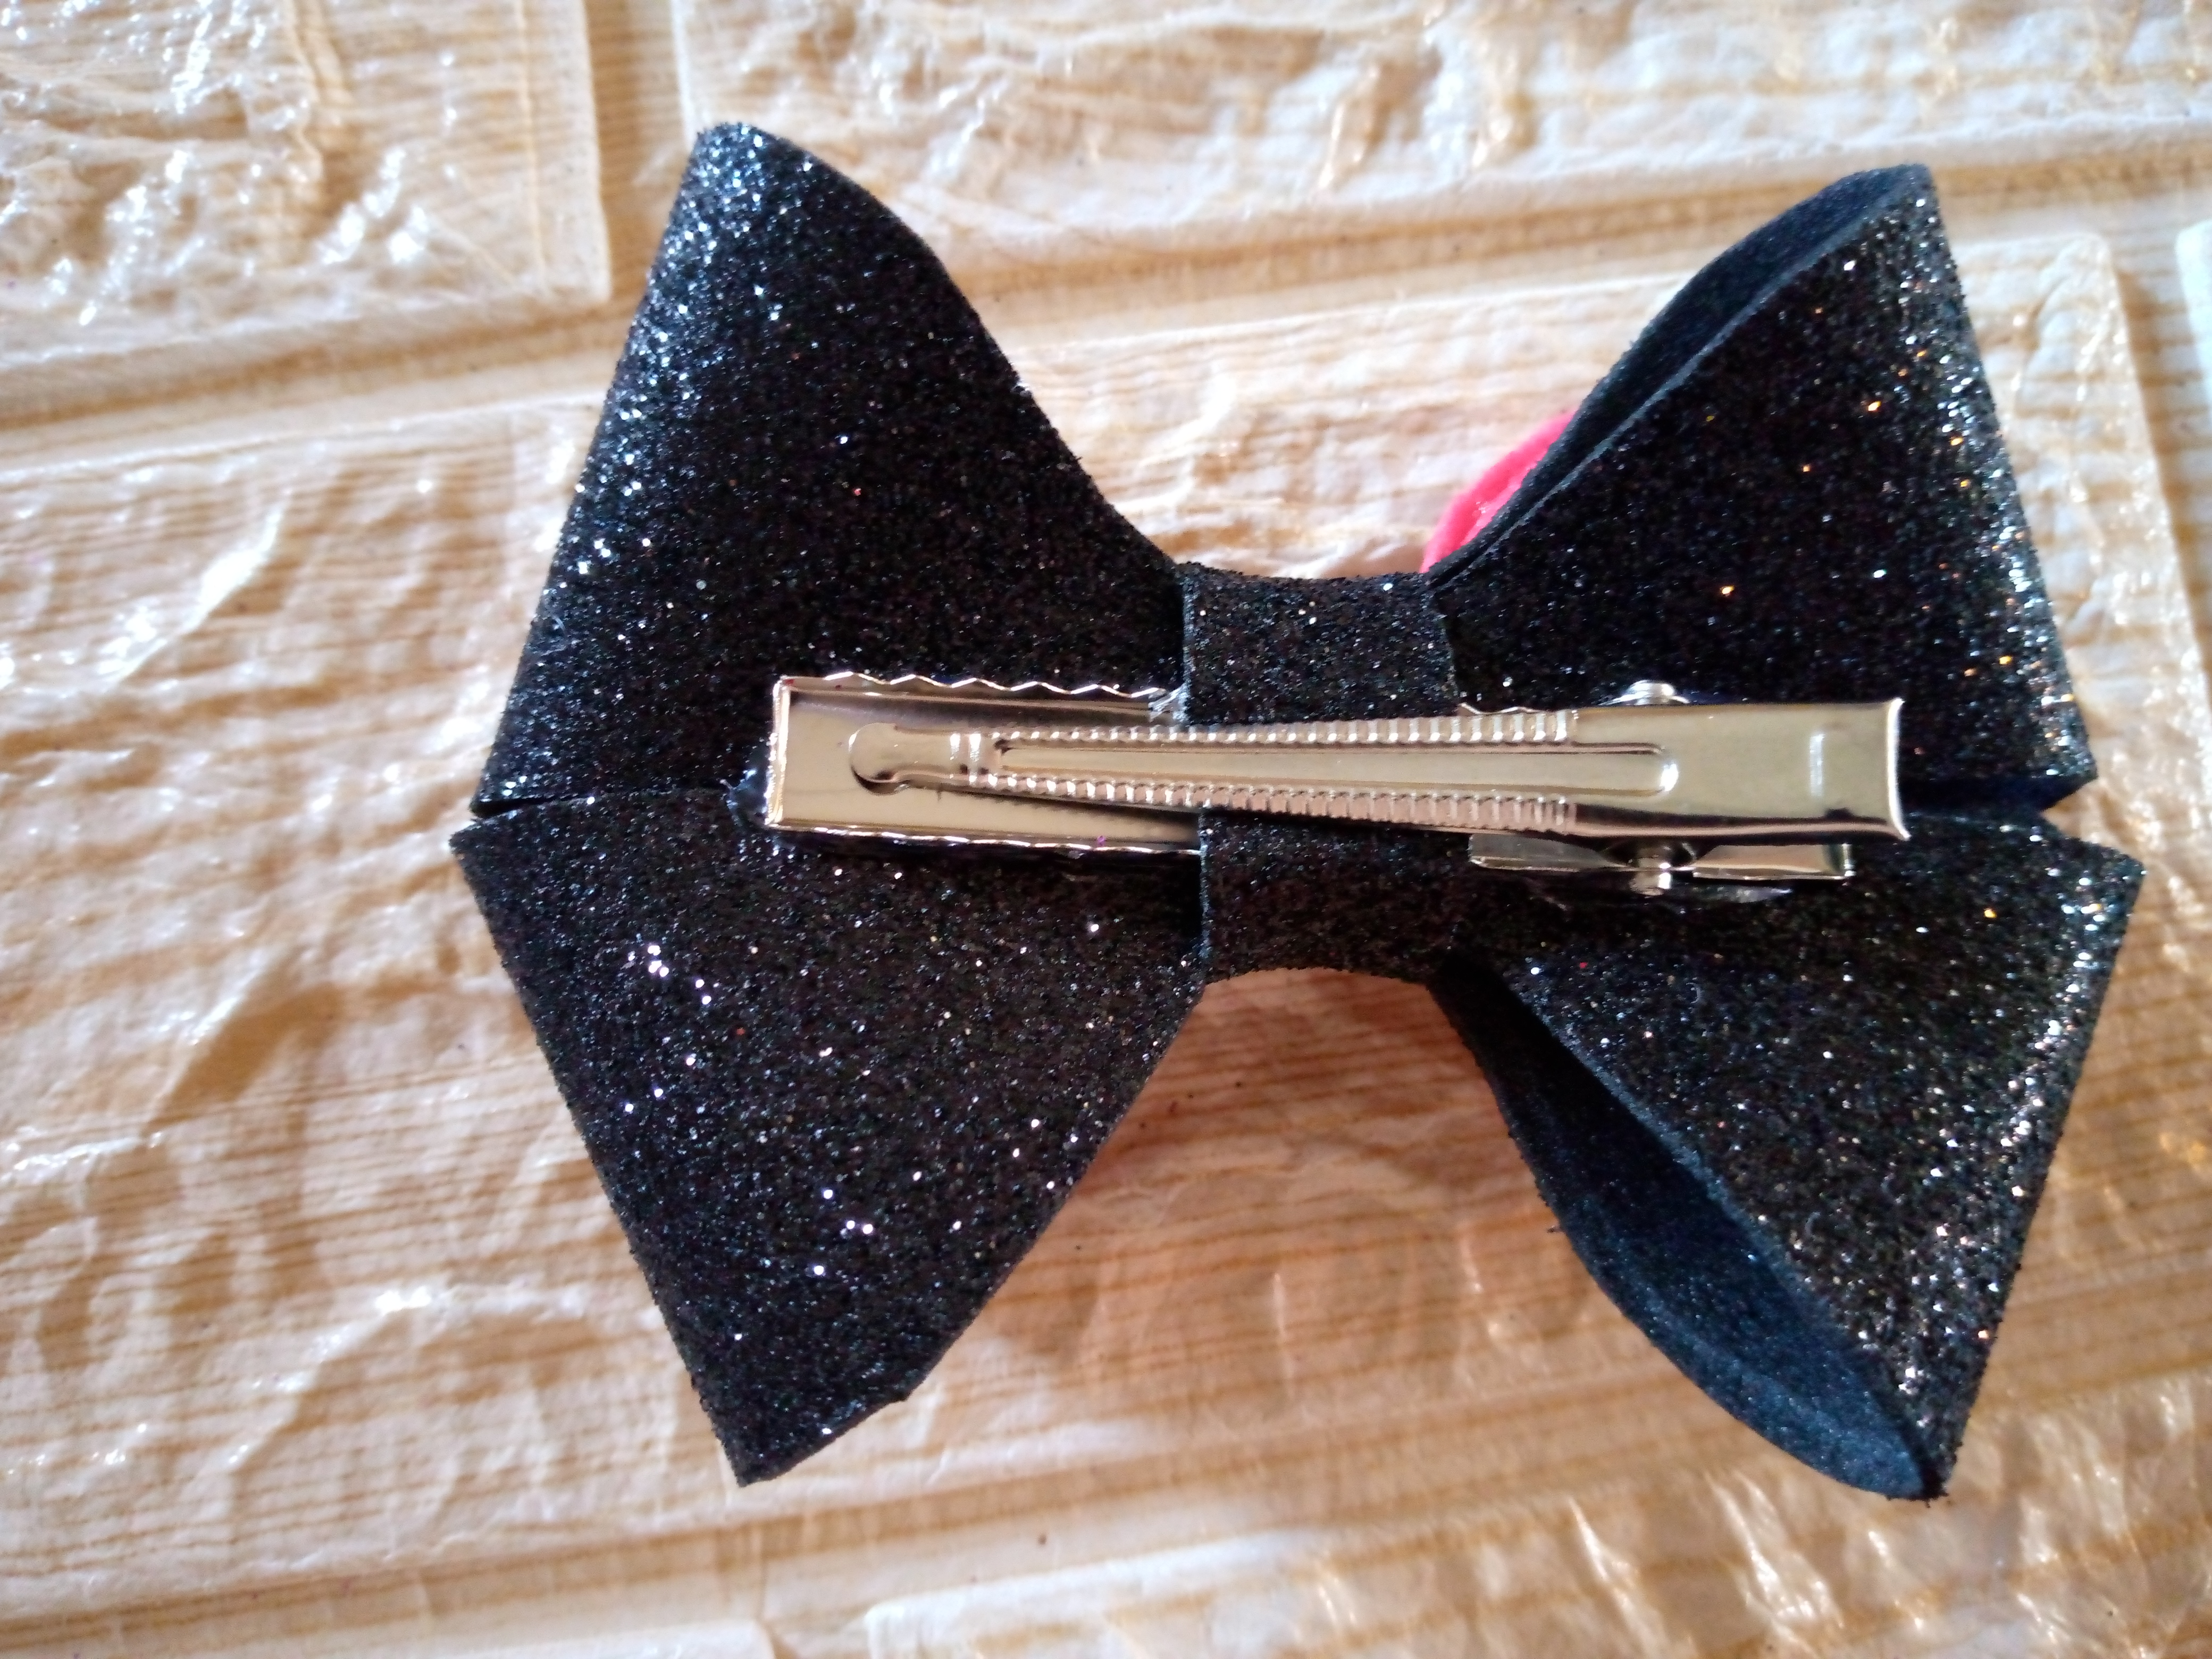
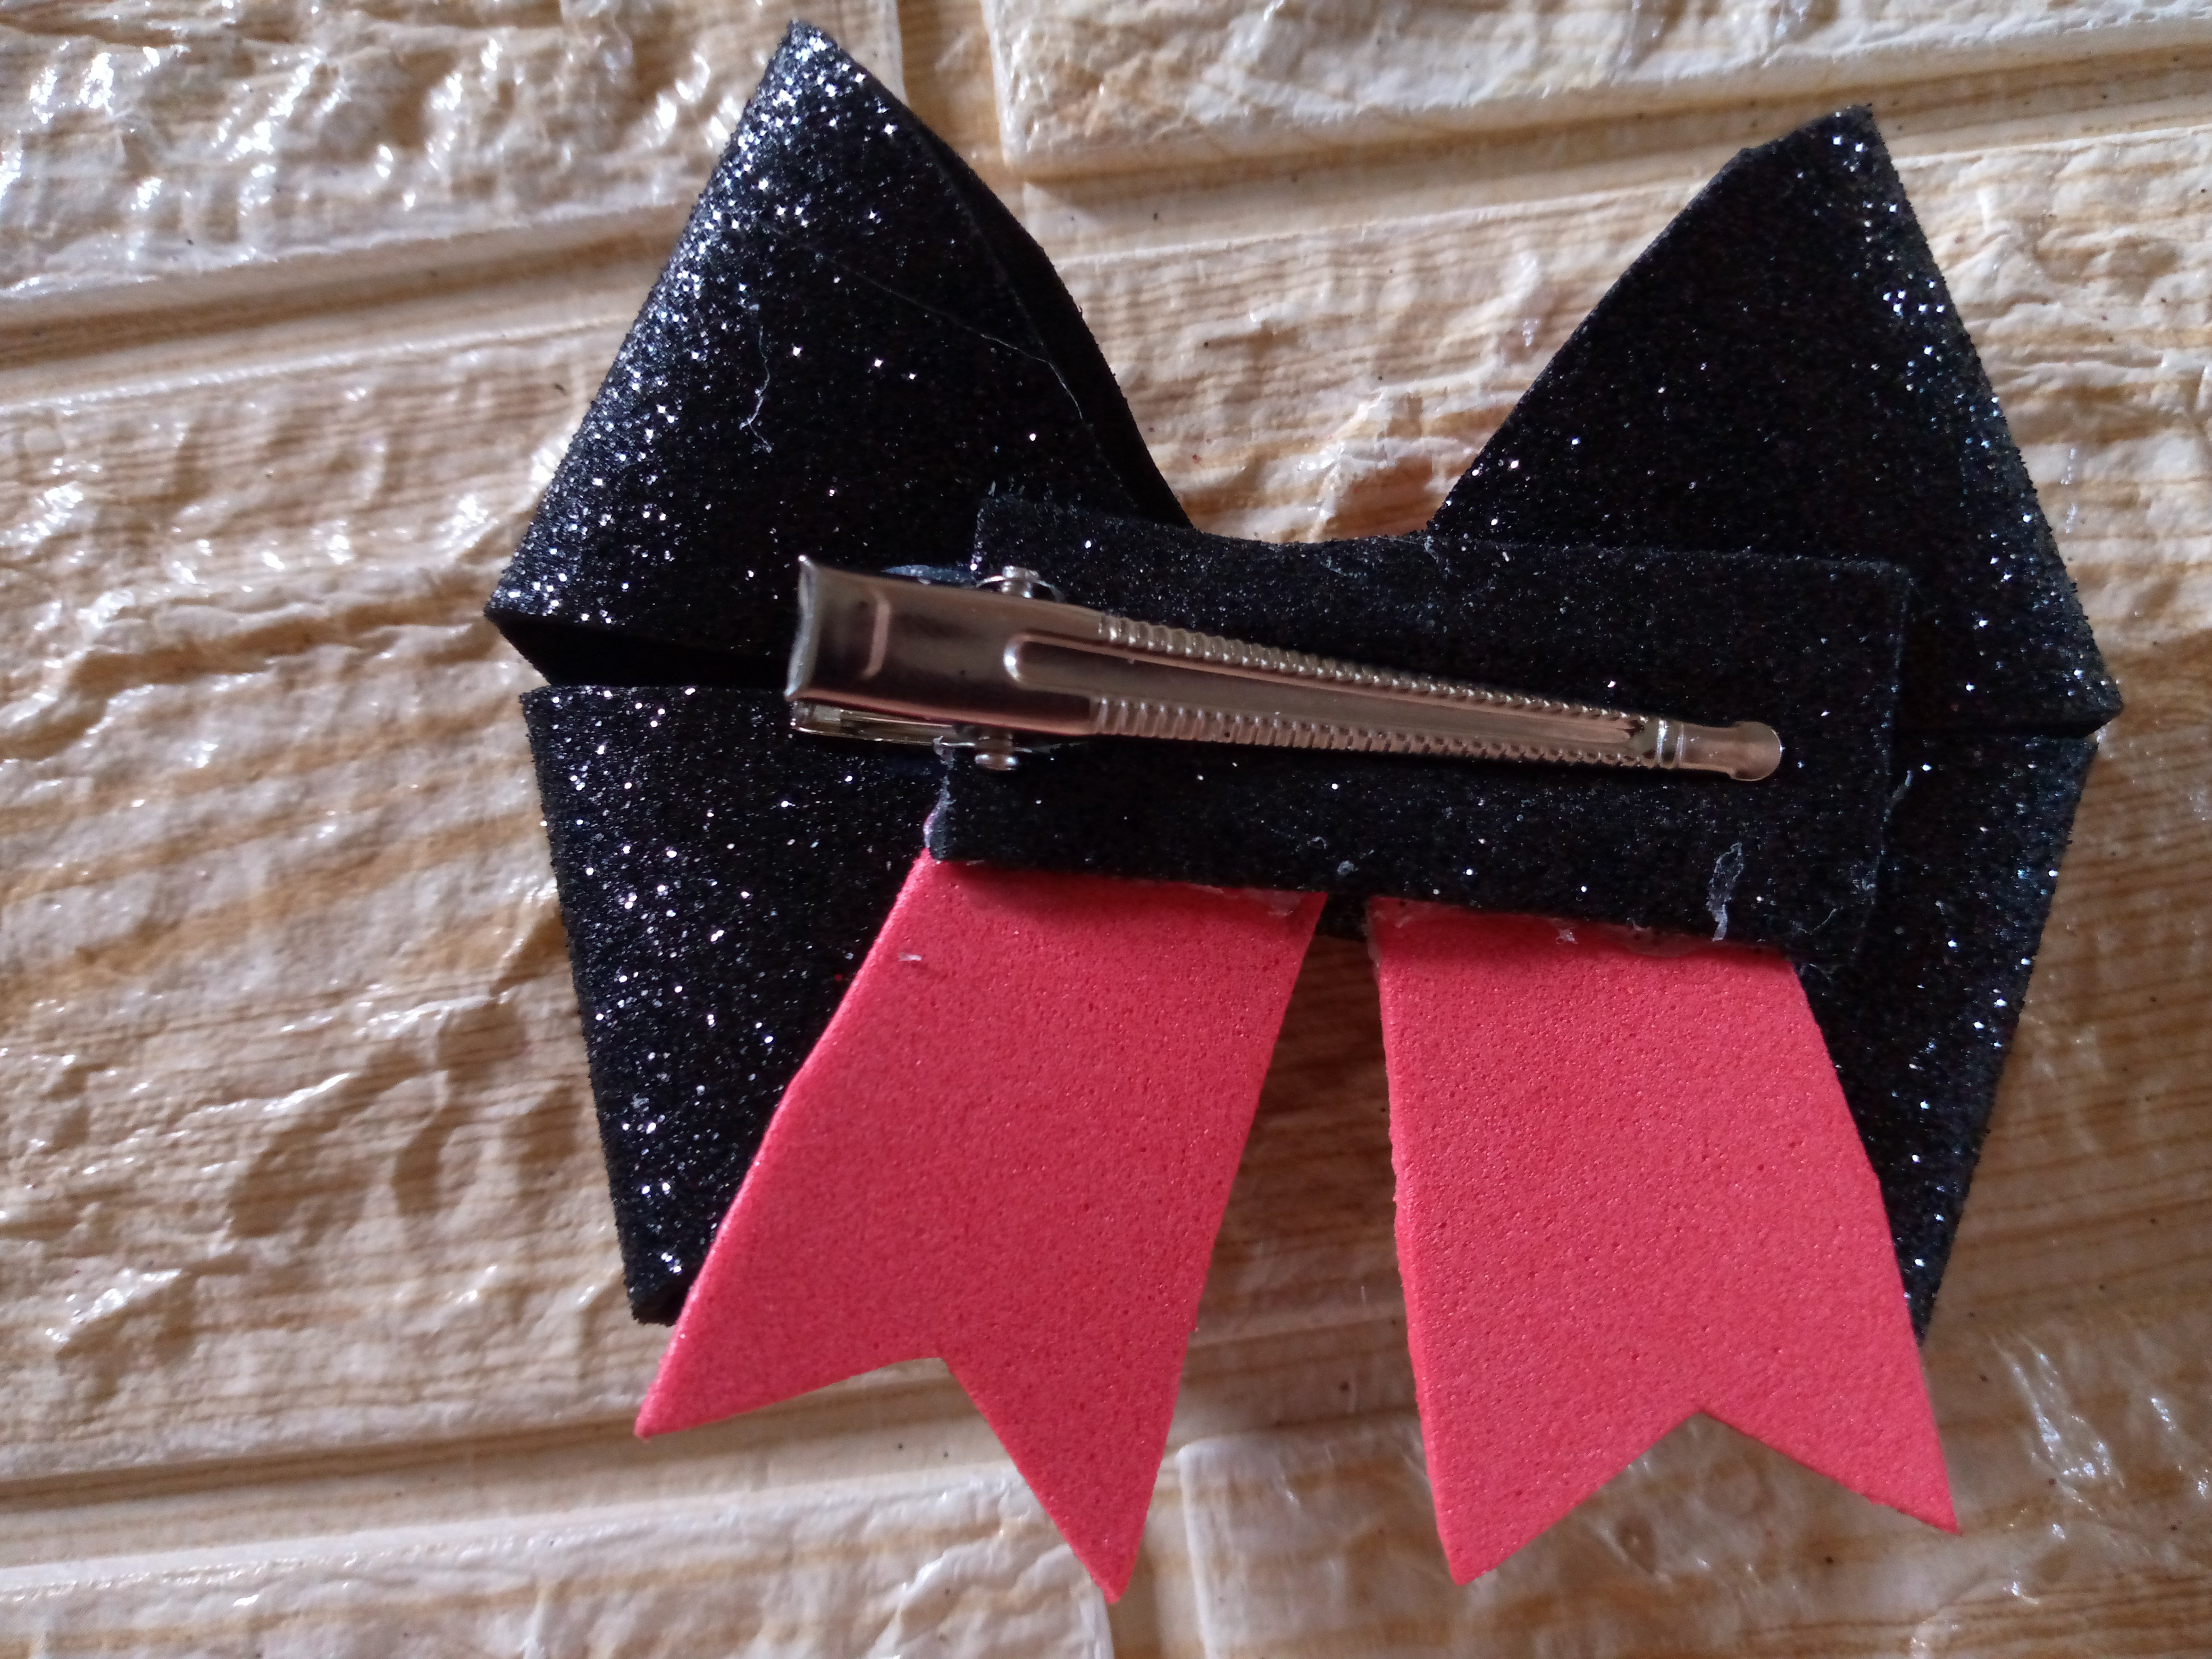
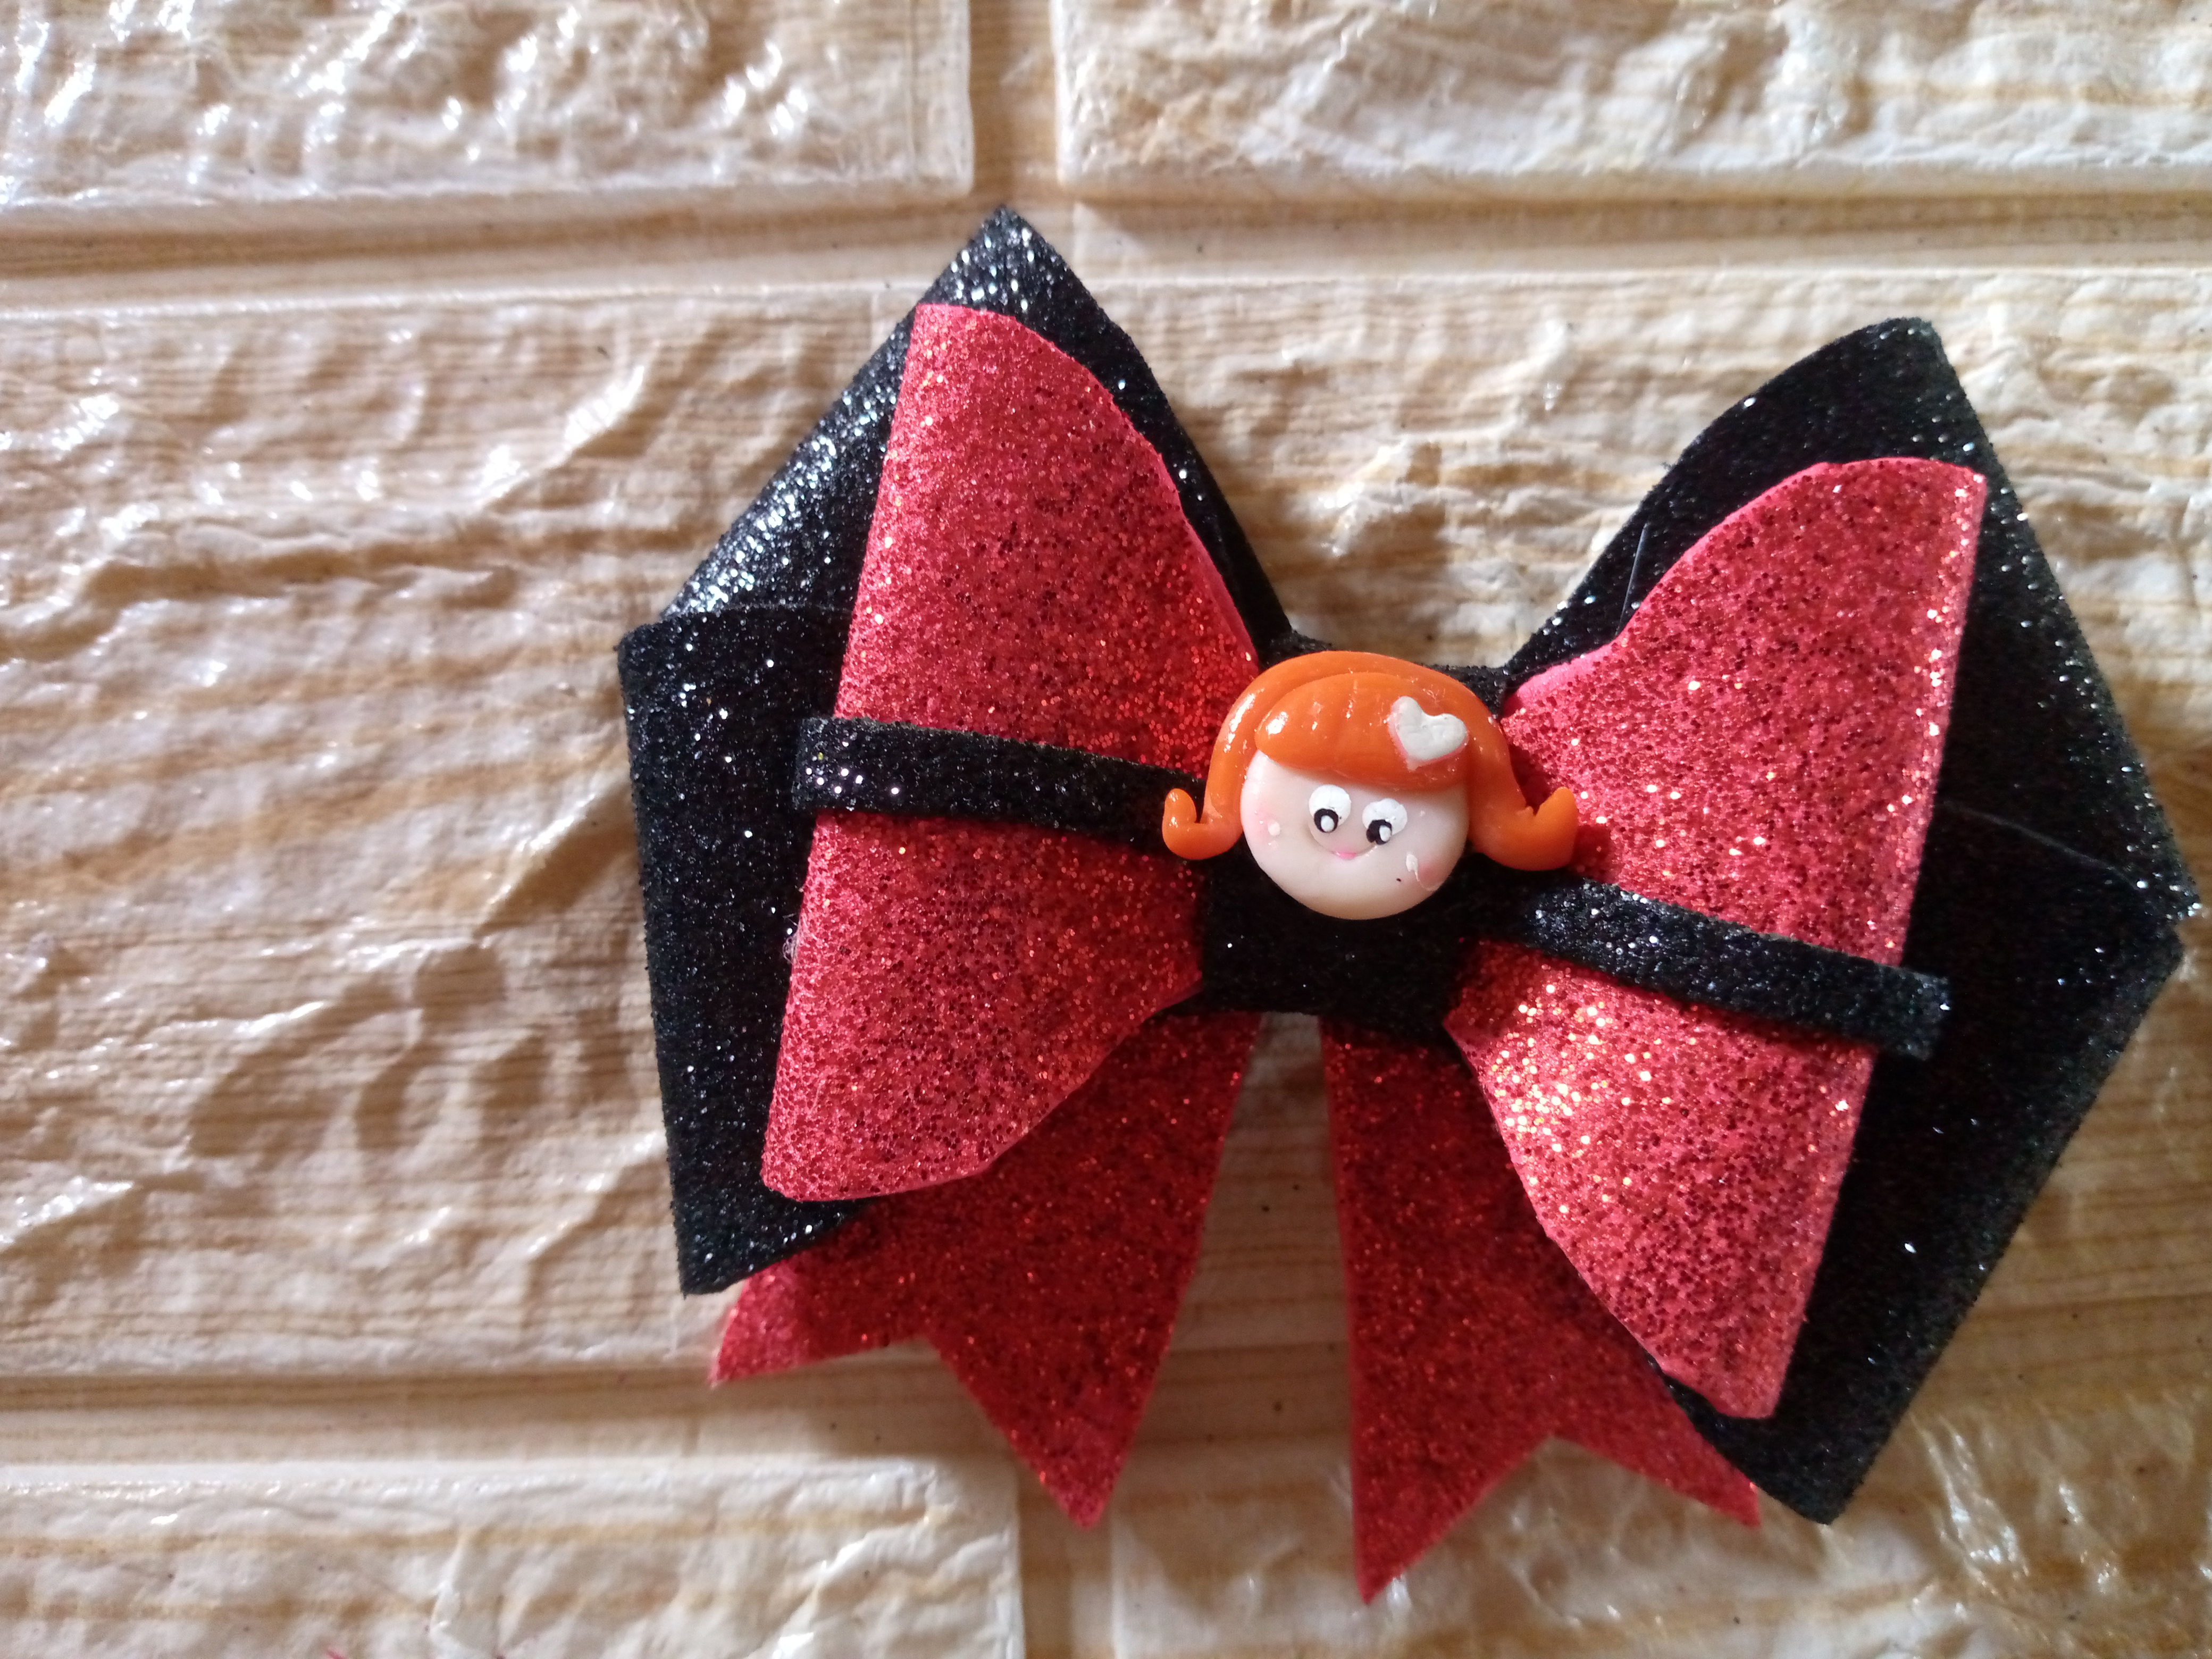
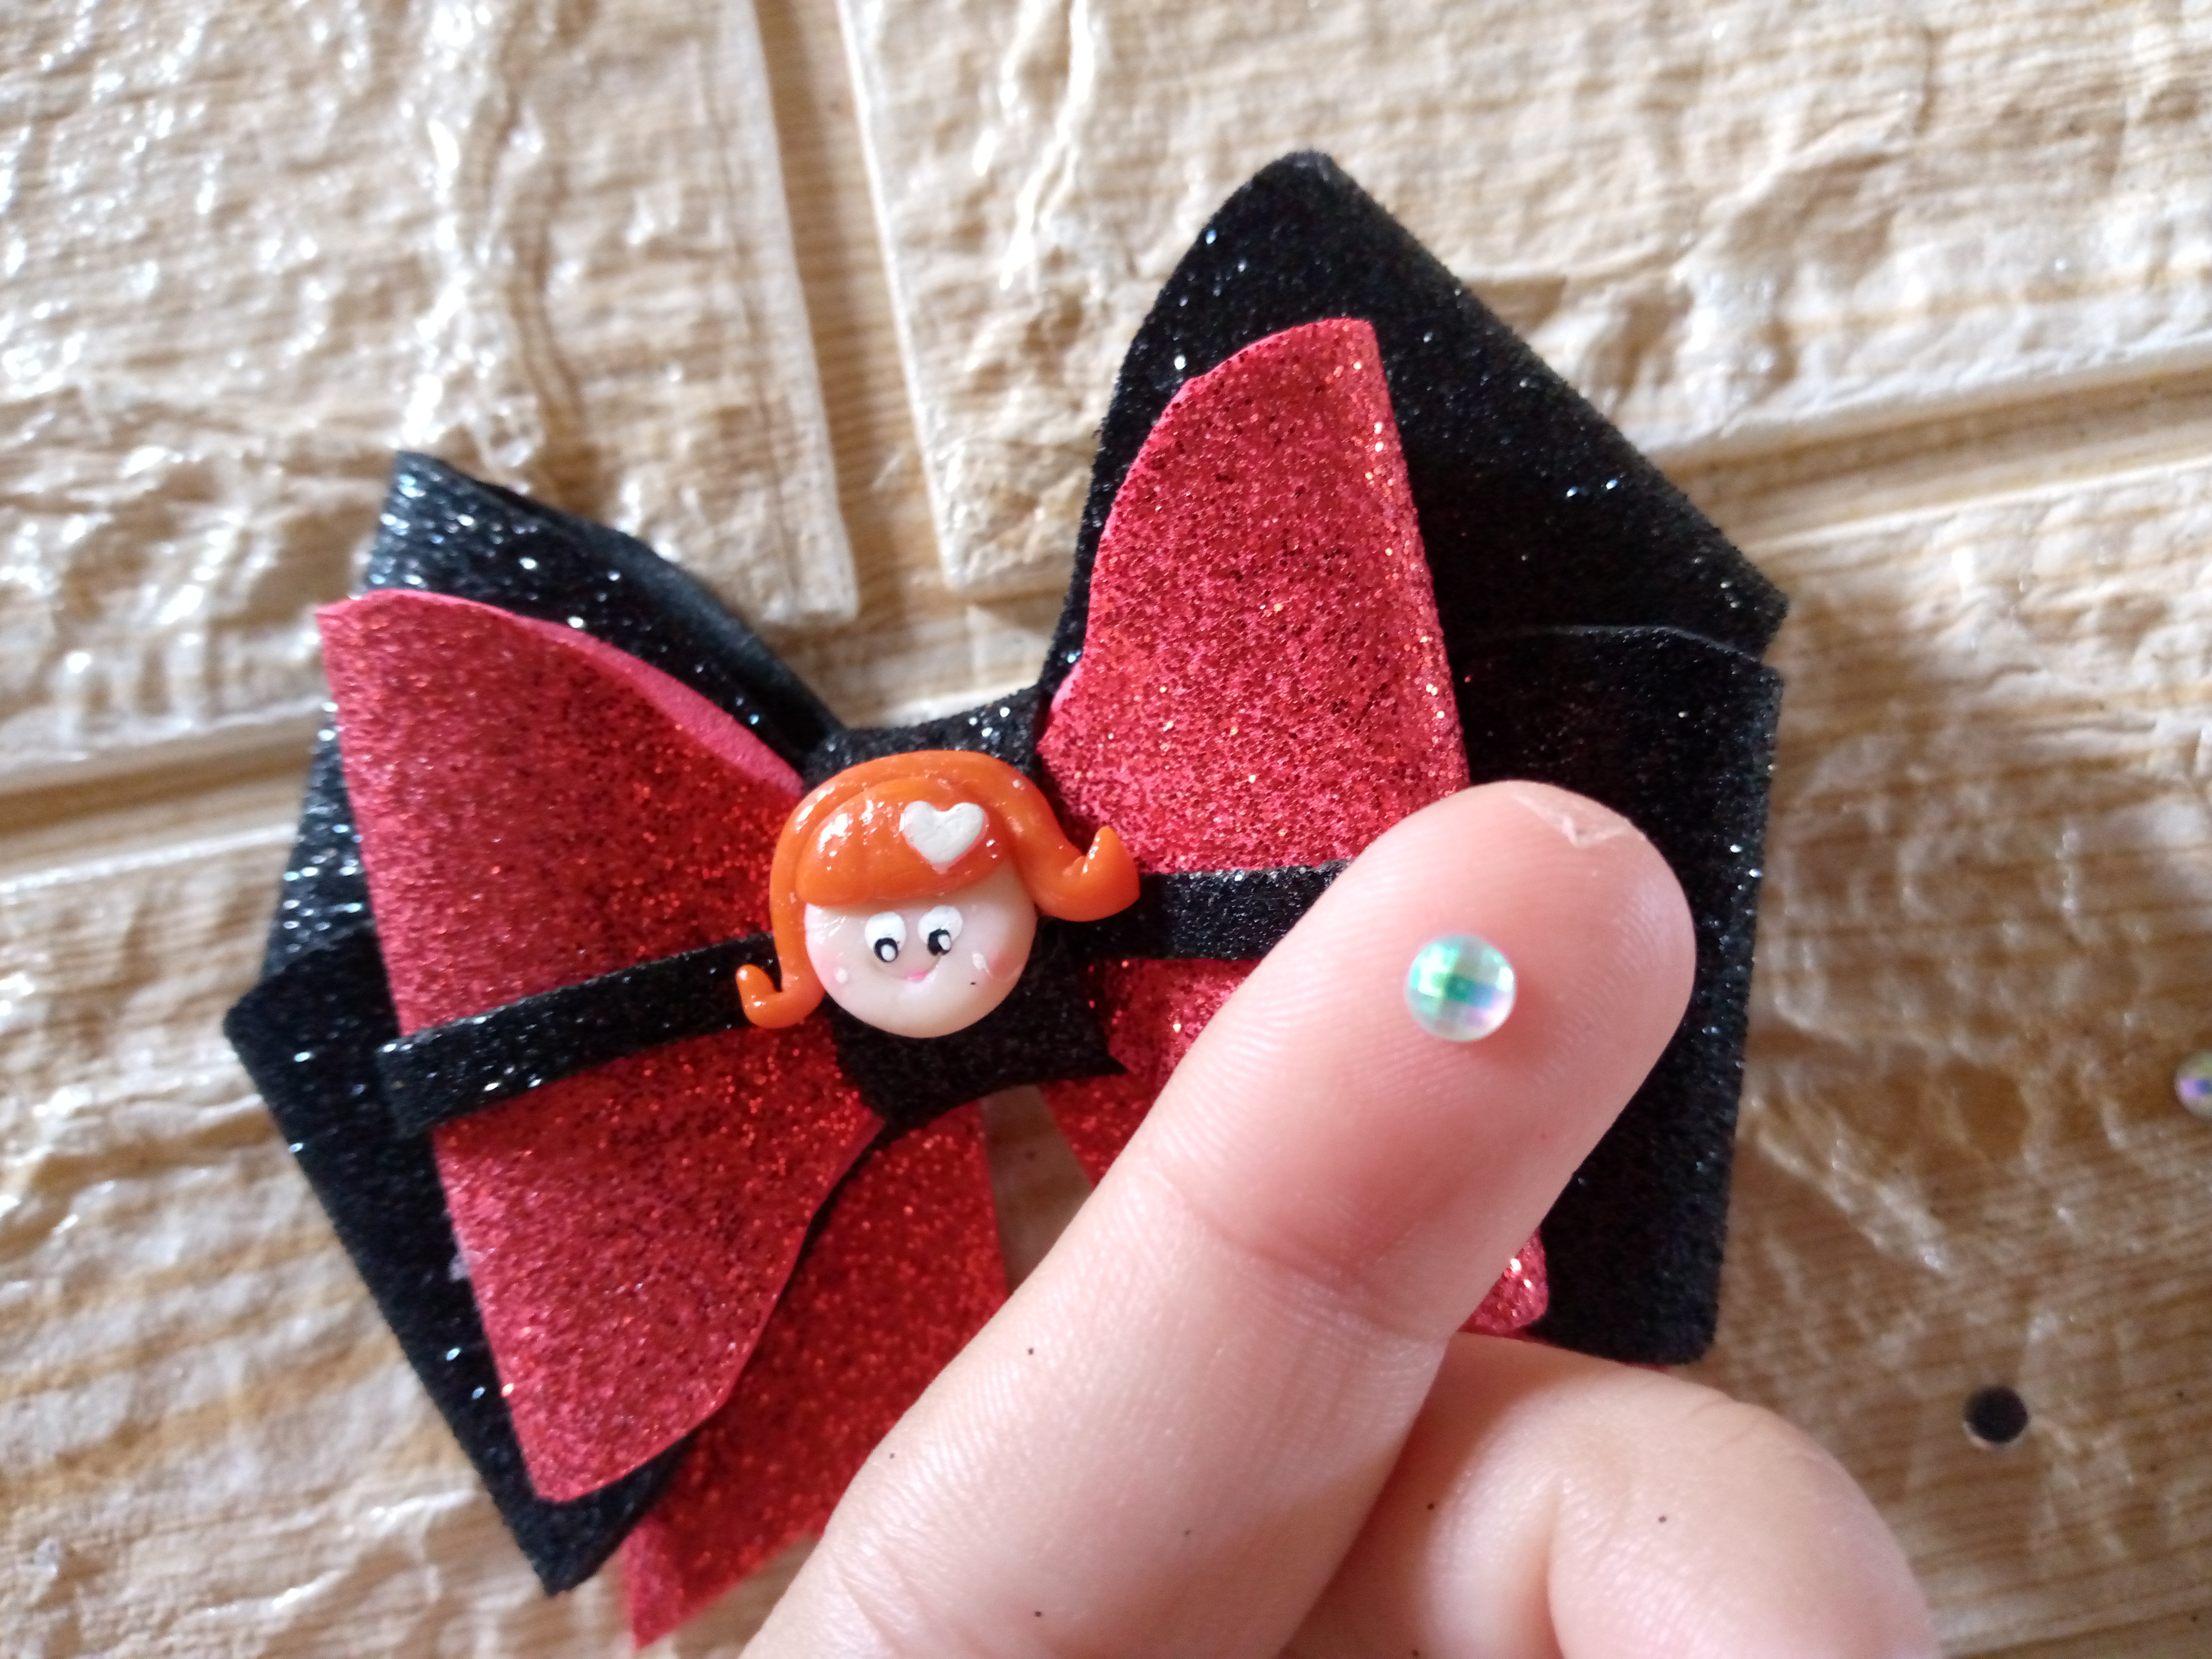
We are going to be gluing the red bow on top of the black one and I will be gluing the black strips in the middle of the sides of the red one, I will glue the hook on the bottom part of the bow, the red ribbons below and of course the black ribbon of the same foam that covers the hook so that it cannot be seen.
Paso 05
Step 05
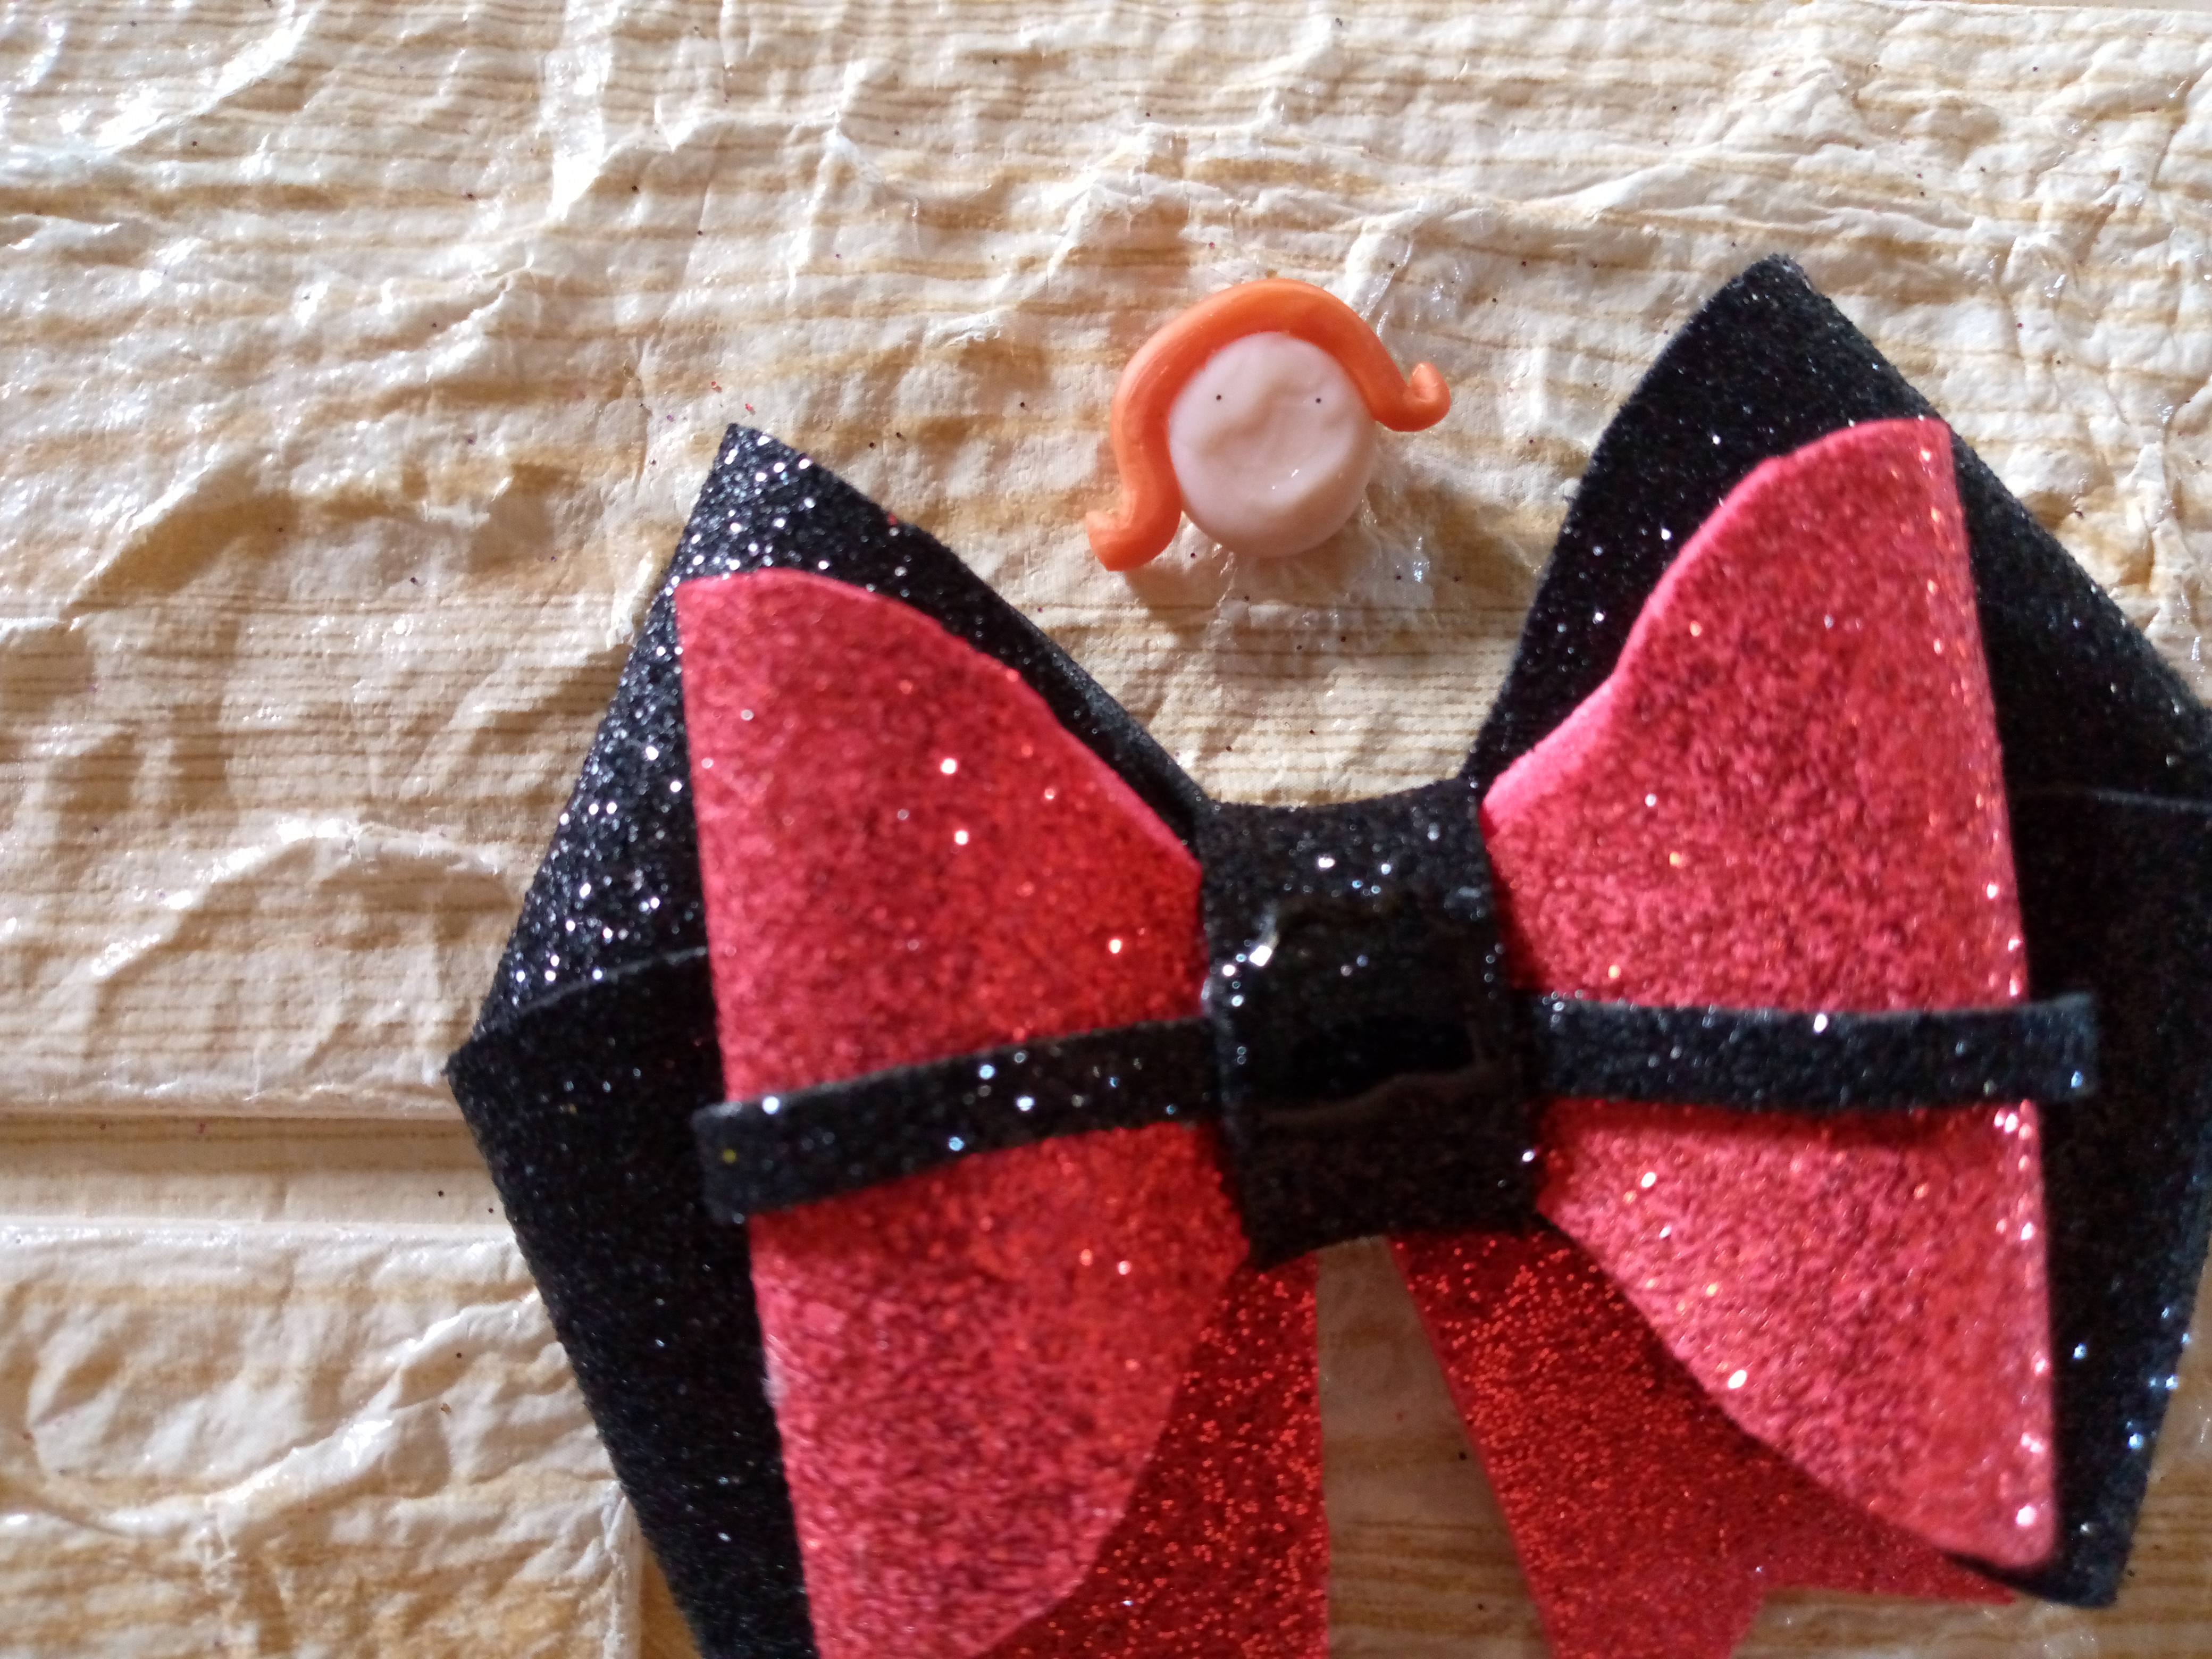
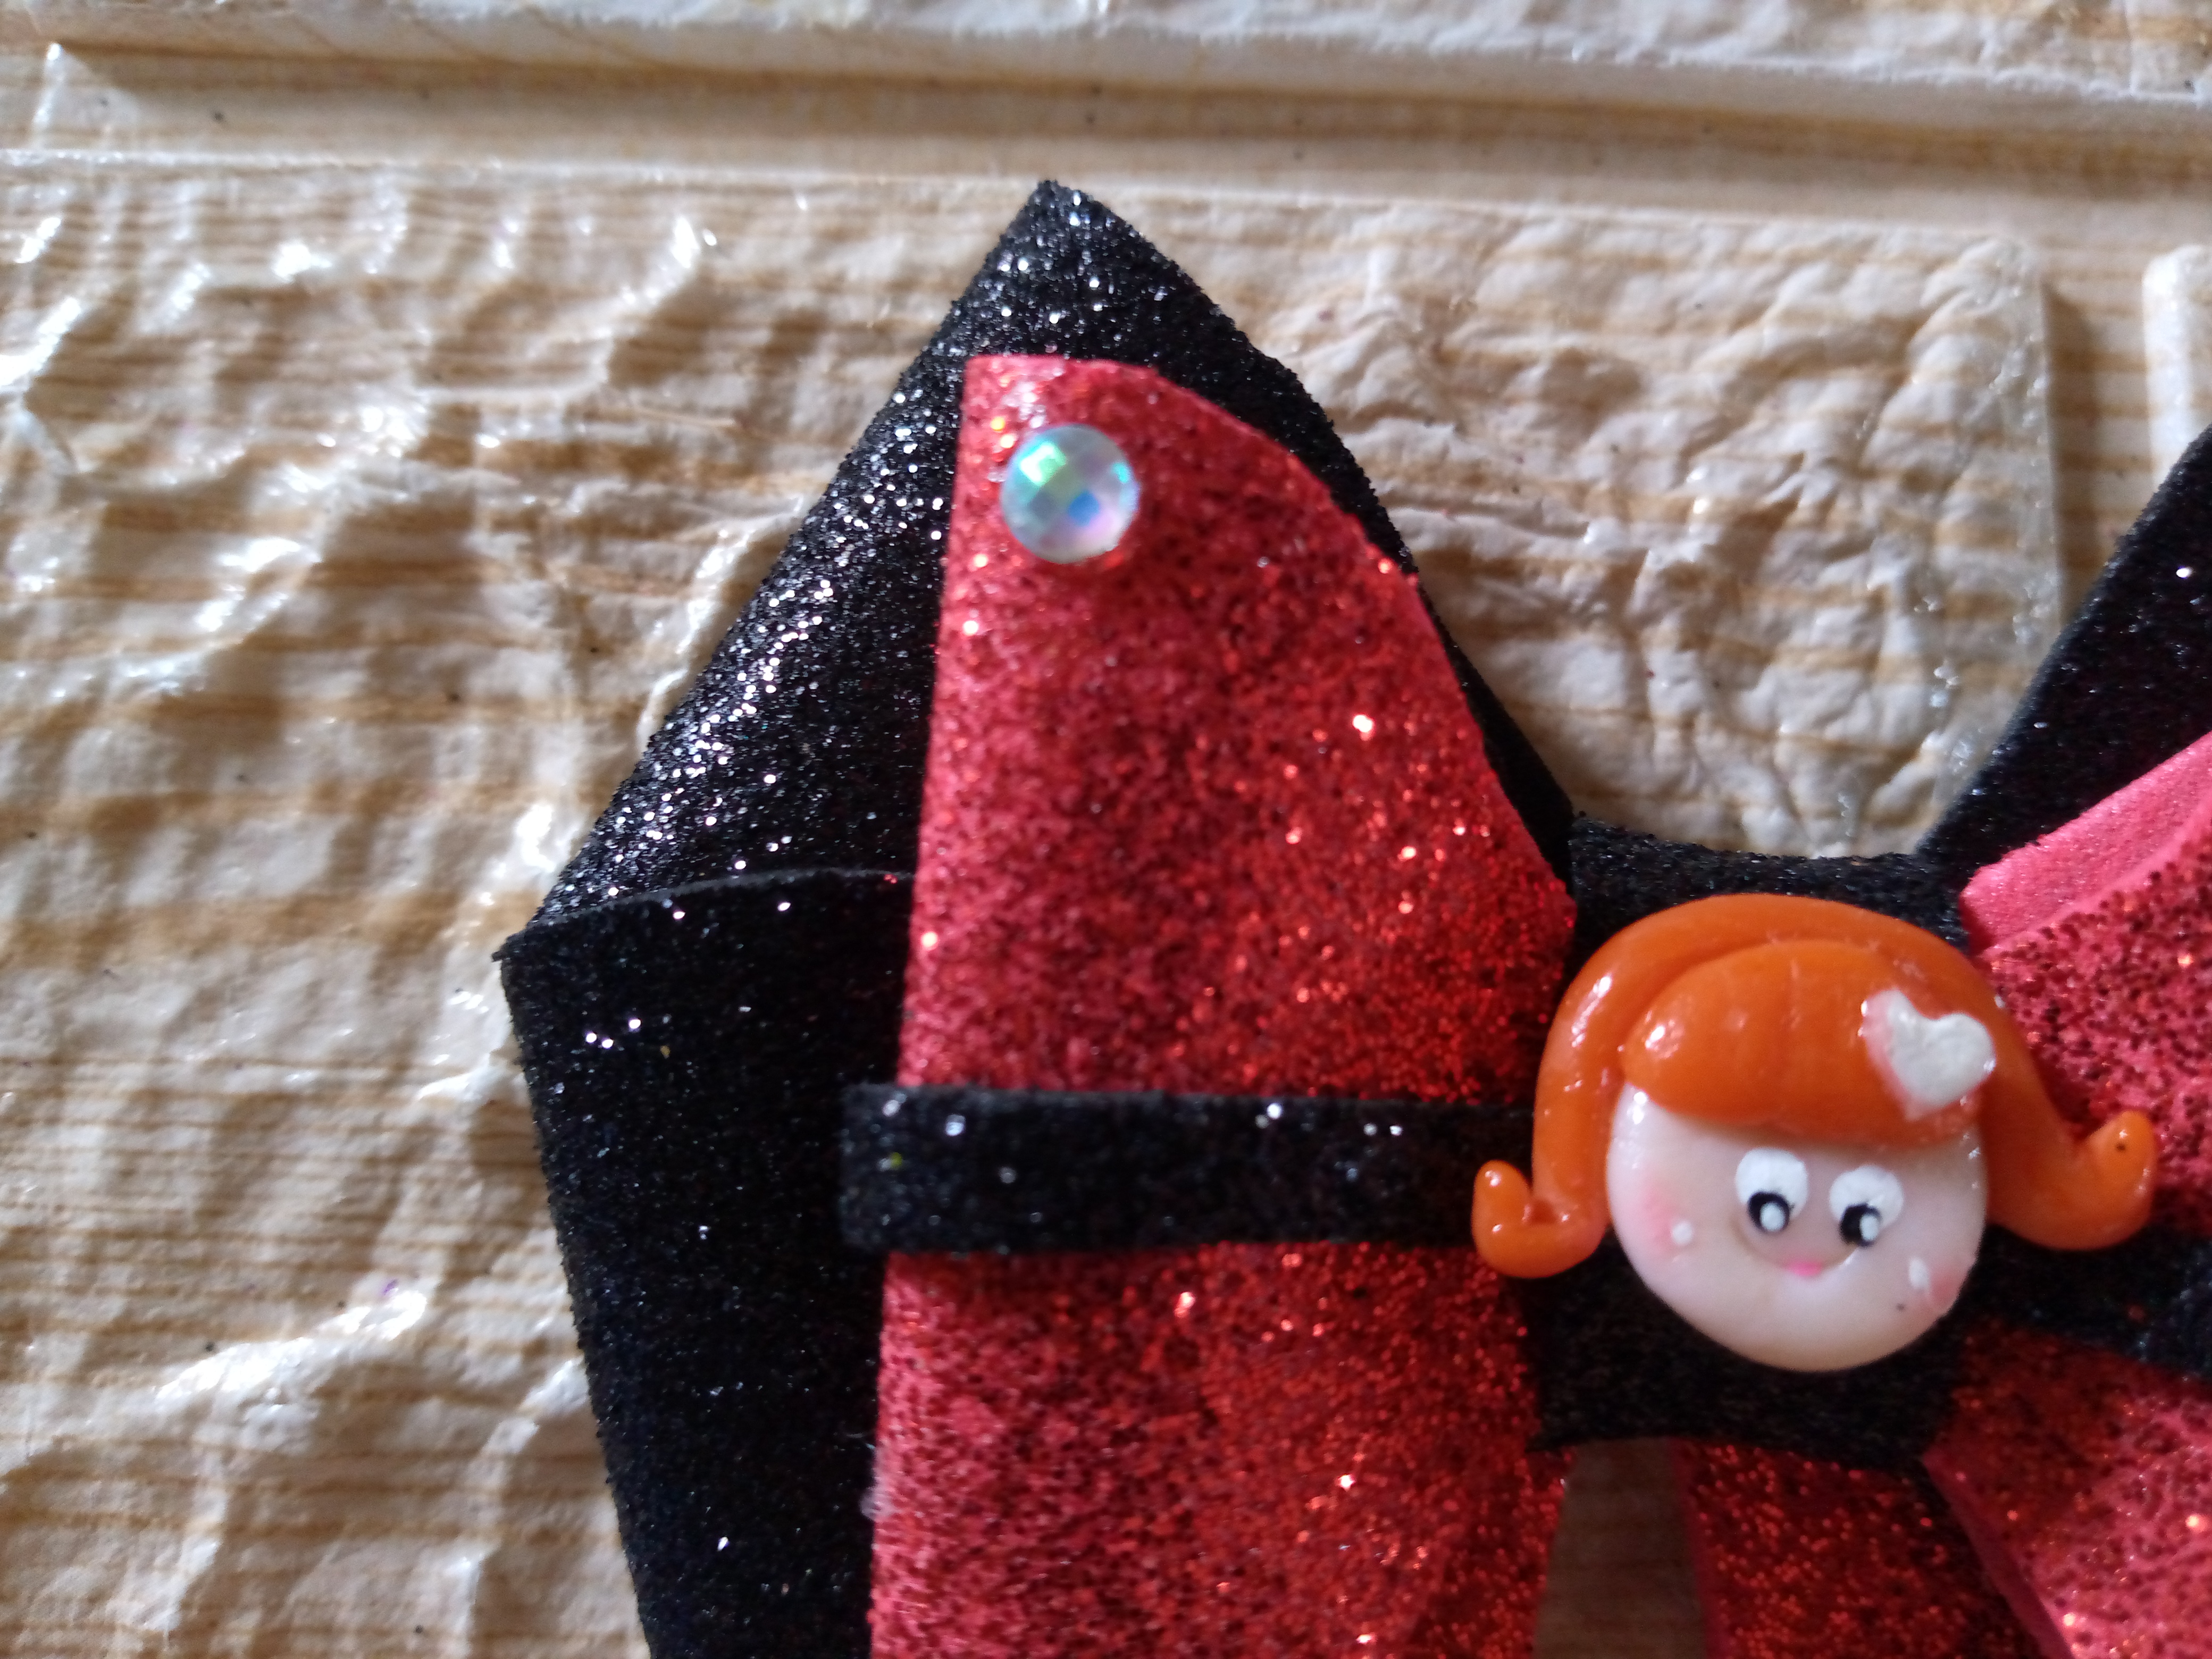
The last and fun step is to decorate the bow with our flexible clay doll design. At first I wanted to put the one with pink hair on it but I felt that it didn't match, so I put this cute little doll face with short orange hair on it. I glued my shiny decorative stones on each corner. I'm really loving these stones because they give my bows a more magical touch and if you can see, they really change the appearance of the bows. That's how pretty it looks 🥰.
.jpg)
Resultado:// Result:
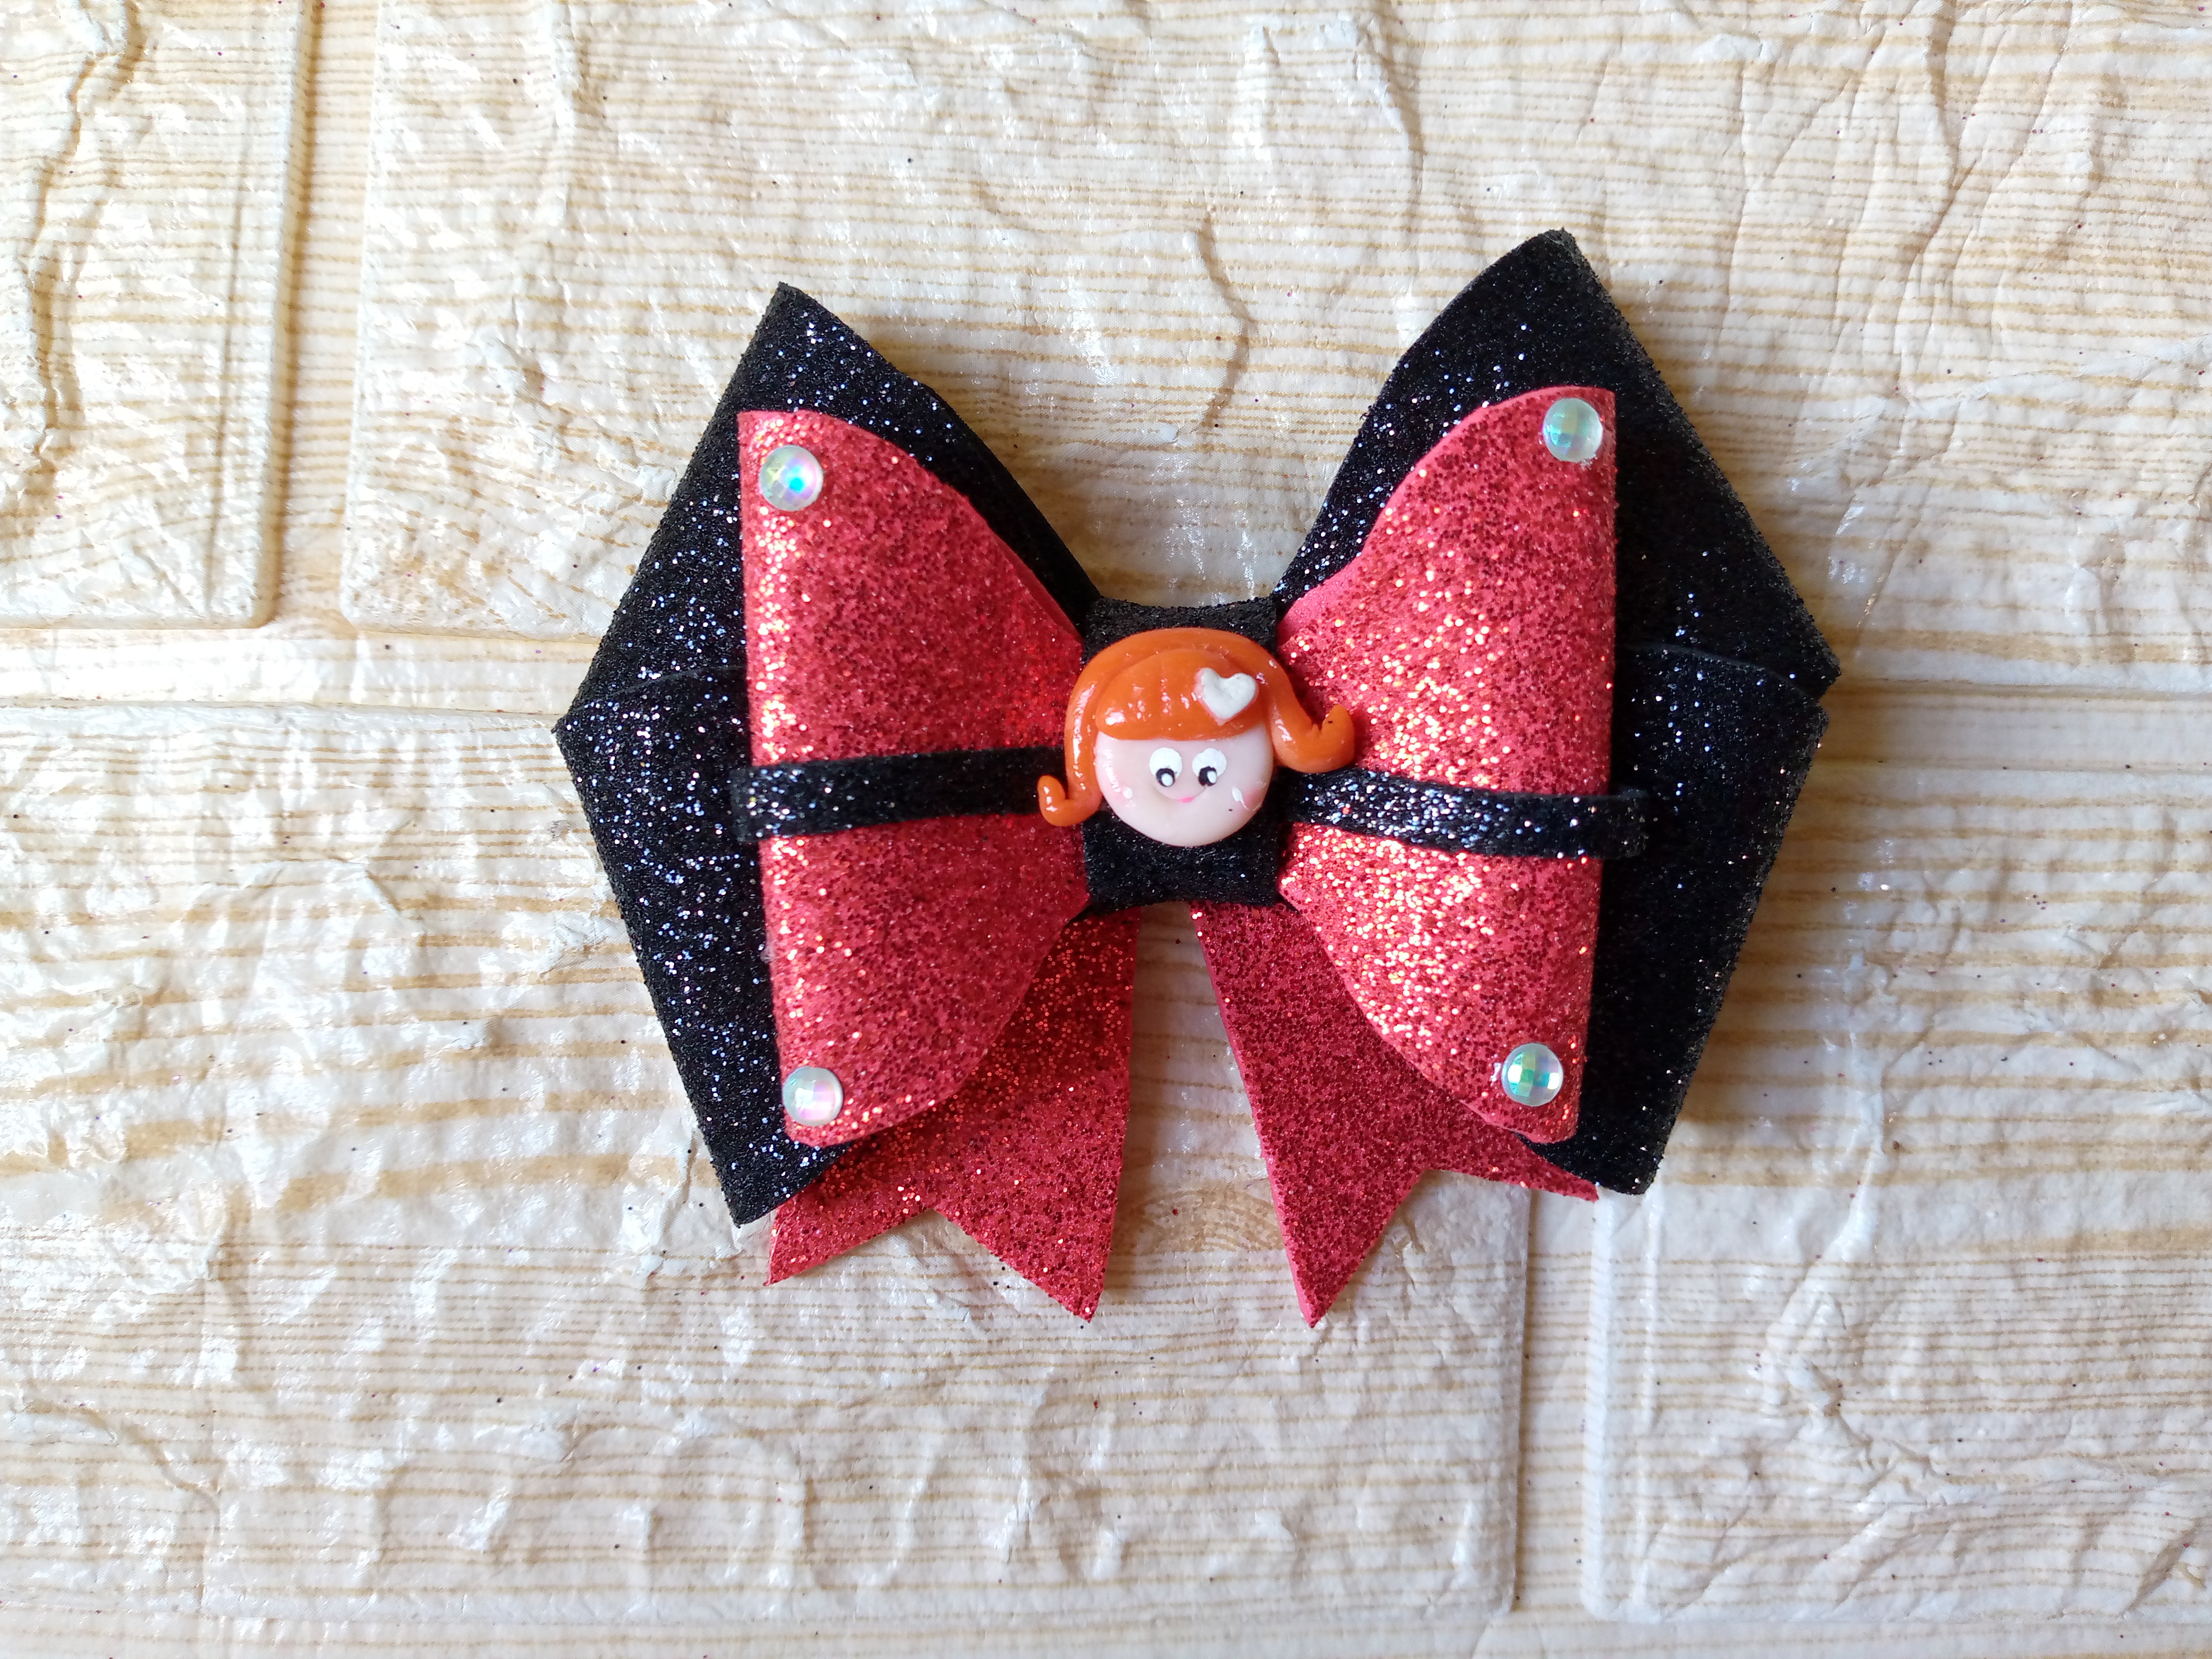
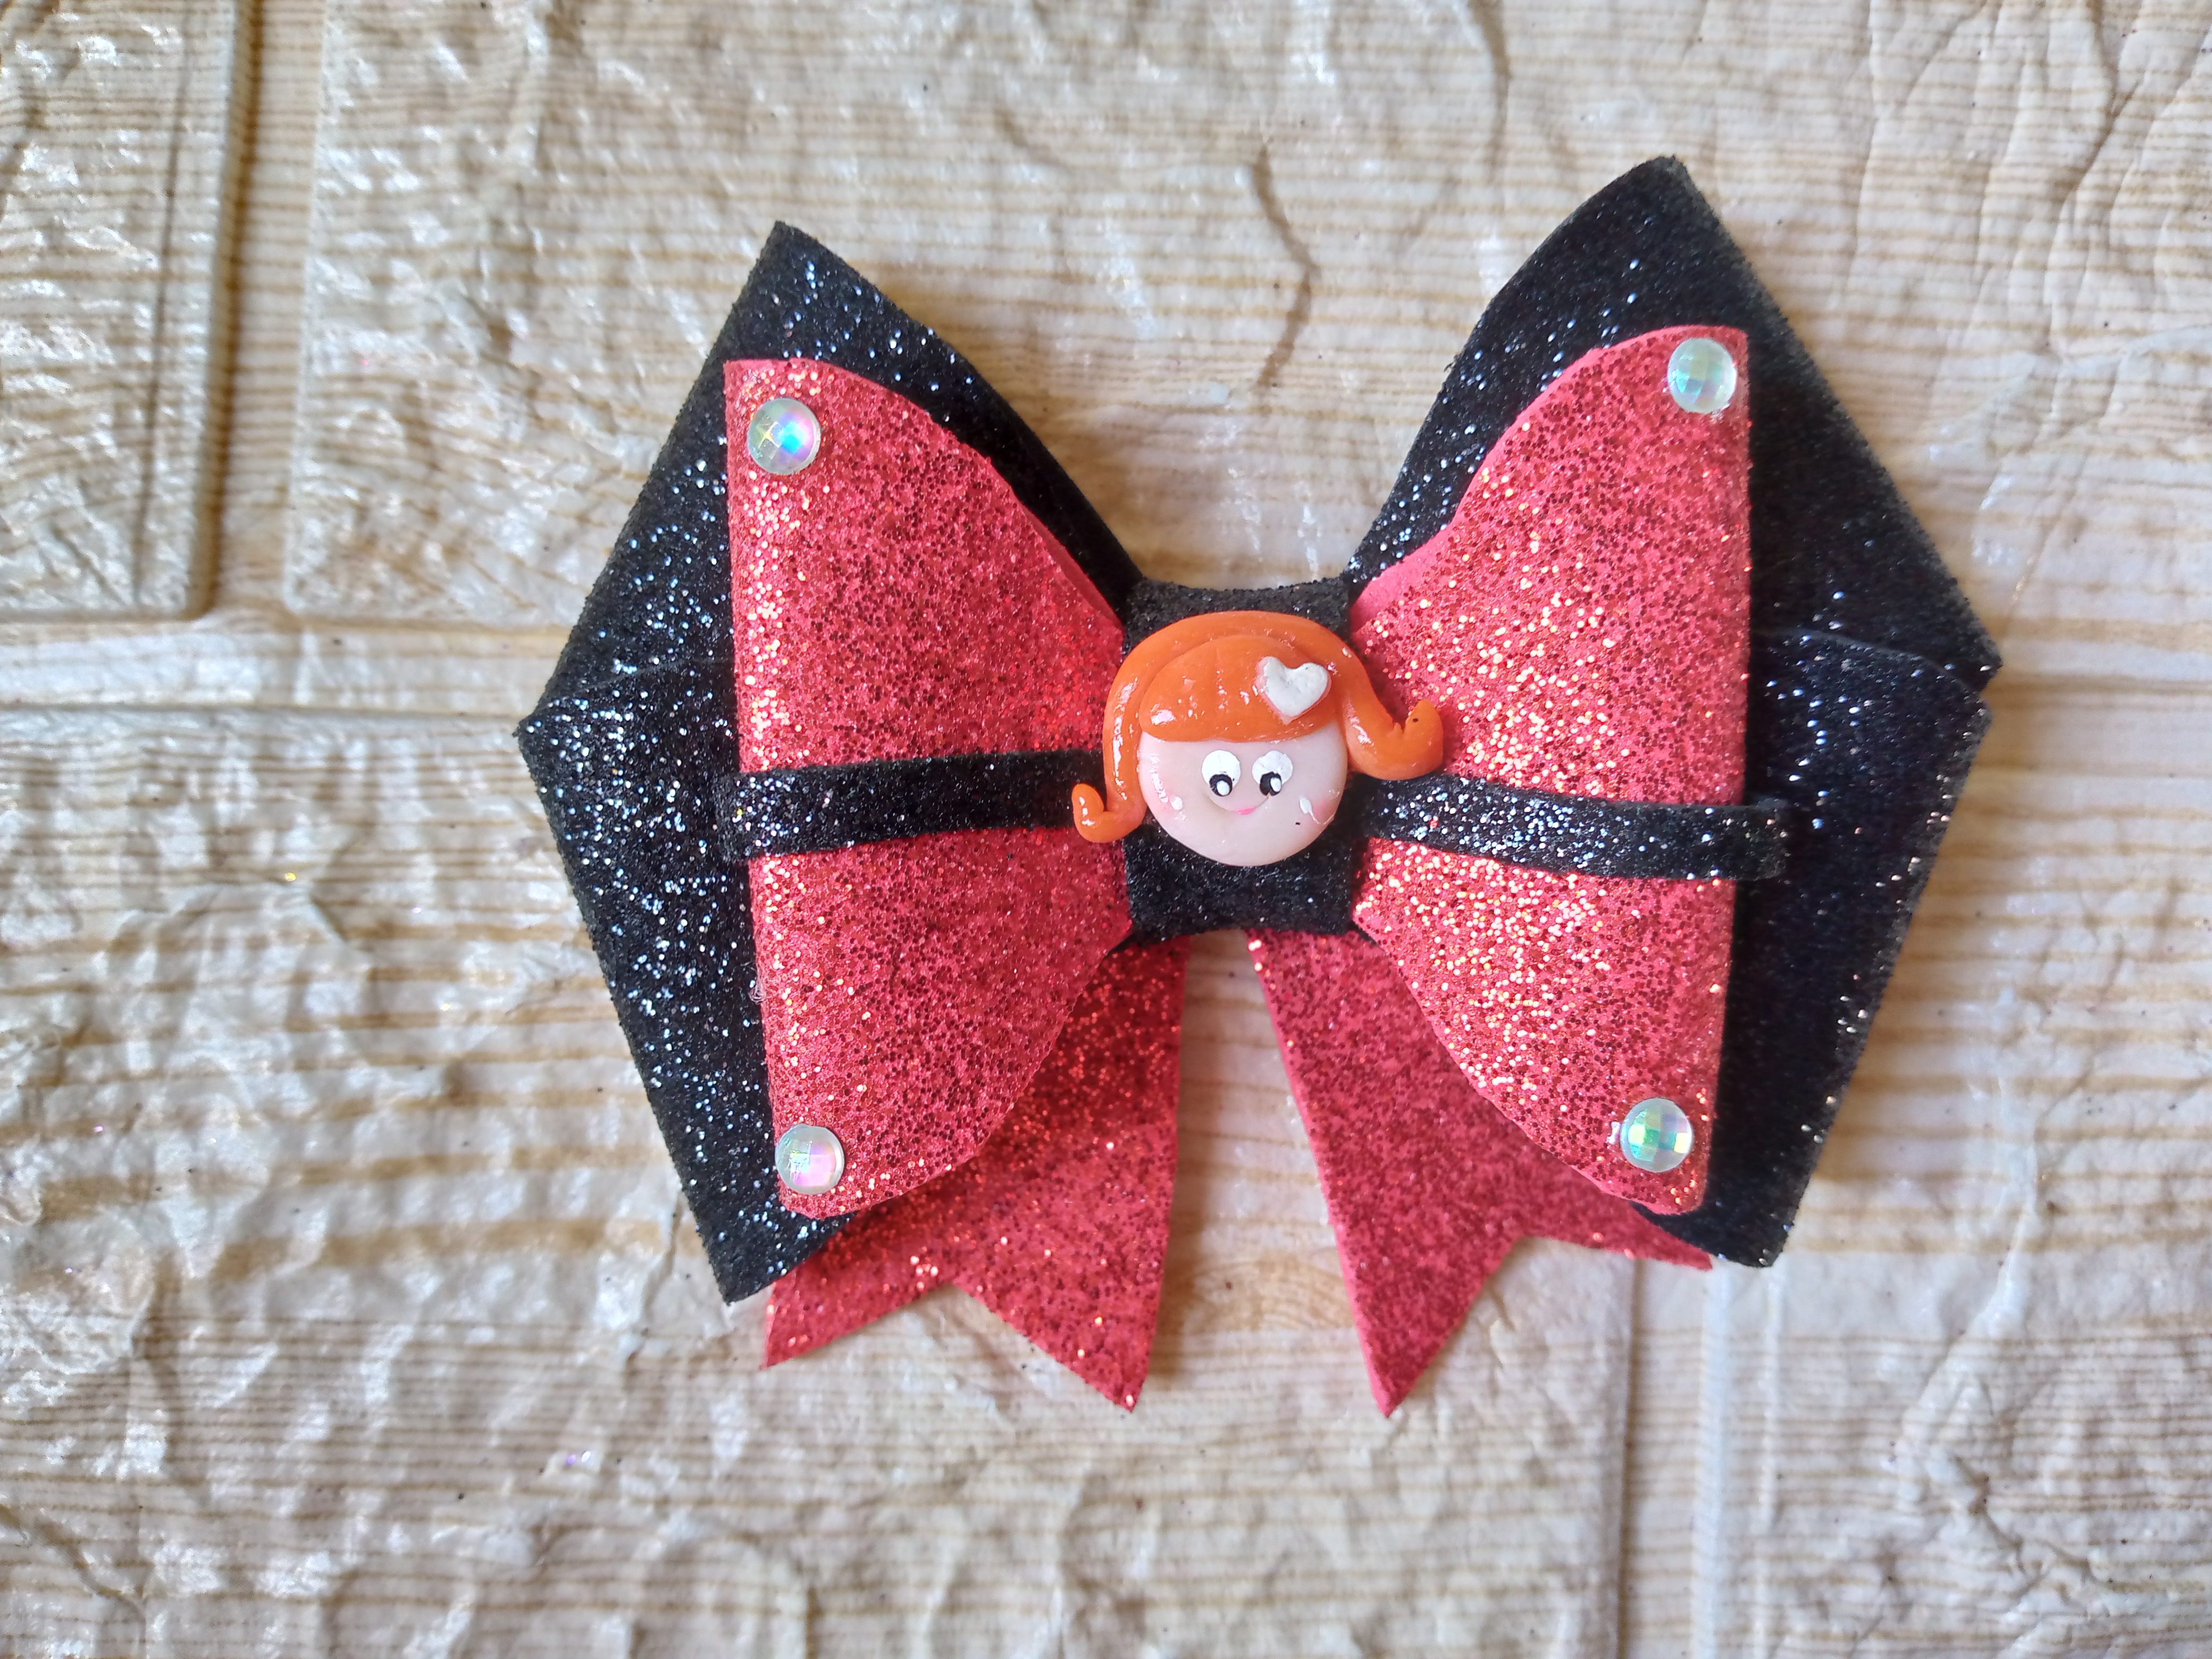
This is how we have finished with the stones, the bow and the design of the flexible clay doll's face, and don't forget that if you really like this type of blogs, let me know and save this tutorial for when you want to make this beautiful little bow in this color and material, it is and always will be a pleasure for me to answer your questions regarding my tutorials and share more tips that you in particular want to know, I will be happy to answer you in the comments, I say goodbye and thus we finish this creative space, have a beautiful night and a very happy mother's day, blessings.
.jpg)
Creating things with love 🌷❤️
🦋✨ All the images in this publication are my author ,📱taken with my TecnoSpark8C cell phone |📸Photos edited in PicsArt and Canva. Text translated in Google Translate.
Muy bonitos amiga muchas gracias por compartir ideal para hacer en casa para las princesas excelente trabajo bendiciones y éxitos para ti.
Que bonito que podamos realizar lindas manualidades para las princesas de la casa Genial.
Muchas gracias bella es un placer te haya gustado,espero te sirva esta idea y puedas hacerla ,🥰😊💓
Este modelo de lazo en foami no puede fallar, la forma es totalmente correcta. Como dices con apenas retazos o restos de material de otro proyecto se pueden realizar, así que siempre hay que guardarlos.
La pinzas que usaste es ideal porque garantiza la integridad del lazo, no lo lastima con el uso constante, tendrás lacito para rato. Me encantó tu proyecto Diy Hub
@yennysferm71 hola hermosa que gusto me alegra que te haya gustado esta pieza ,y es una de las cosas que me encantan a mi hacer arte con el resto del material que me queda siempre de otros trabajos aunque sea poco 🥰☺️saludos amiga!!👋🏻
Te quedo demasiado lindo.❤️
Gracias amiga @lauracraft😊✨
🙂🤗❤️
It is so beautiful, attractive, and elegant. It can draw anyone's attention. It looks so charming. Love it. Thank you for sharing this.
Thanks @diyhub for support 😍☺️
This is really lovely and beautiful
Hi, I'm glad you stopped by here, I appreciate your comment and I'm glad you liked it. @praiselove
This is so cute and simple, i loved the way you described all single details of this hair accessory 😍
Thank to you friend @hadianoor😊
muy bonita creación y bien hechos!
very nice creation and well done!
Hi muchas gracias aprecio que te guste mucho ,feliz tarde amiga 😍☺️🌷
Hello dear your work is beautiful and eye catching 😍
Thanks friend 🥰 🥰
Que hermoso te quedó, me encanta porque queda perfecto y lo mejor con materiales económicos❤️
👌