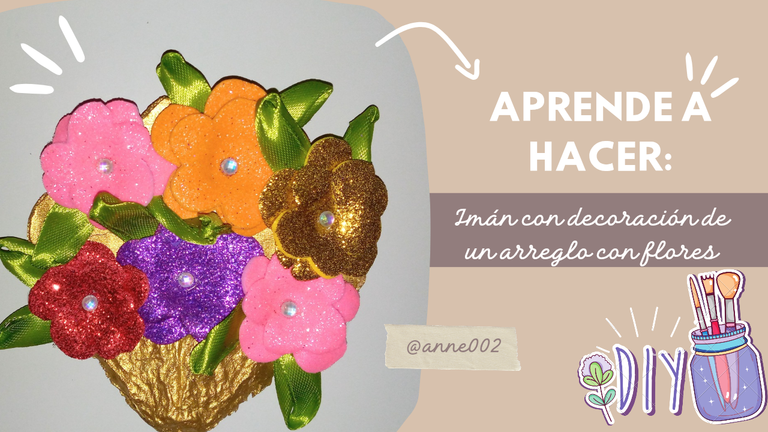
Hello friends!! How are you? I hope you are all doing very well, greetings, today I was using some foam scraps that I had left over from previous jobs and I wanted to recycle them to make a decorated magnet for our fridge, which although it has other magnets that I made last year, it was time to make a different one, I am very fascinated by flowers and I am always wanting to make them in everything I make "flowers" I like the variety and the colors, there are many that I feel are all unique to me, apart from the flowers I like plants and that makes me love nature much more, and also taking care of the environment, which is part of our work, I really like recycling for that same reason, to conserve the environment and thus be able to continue enjoying what nature offers us.
.jpg)
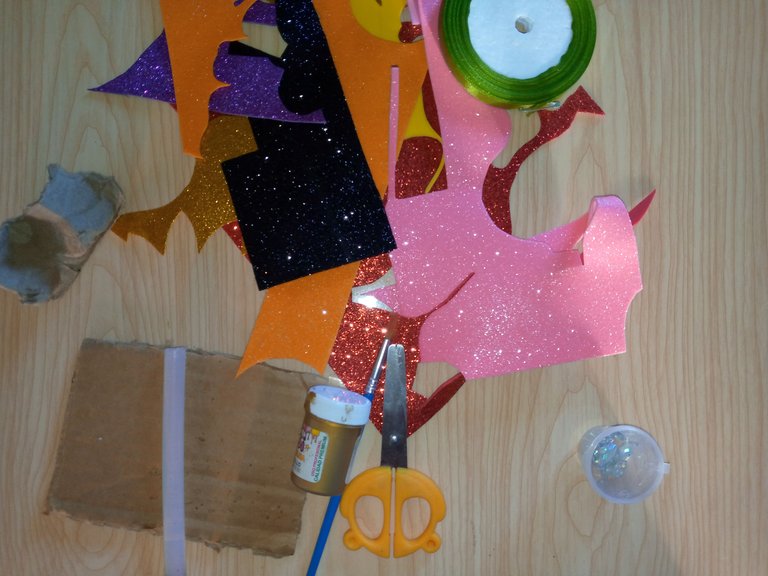
I have chosen some materials for this work such as waste materials such as cardboard where eggs come from and cardboard from a box which I feel is multipurpose because it can be used for anything and at any time. My mother has always taught me to recycle and create new things from these materials and although sometimes I don't have many ideas there is always something great and fun to do with them.
In this work you will see how creative it was to make this ornament, by the way I had never made one like this so let's say it's my first time doing it, let's hope to see how it turns out and tell me what you think of it, also if you have ideas for me they will be well received in the comments, well without further ado, let's move on to the step by step.
.jpg)
Materiales:// Materials:
- Carton de caja y de huevo
- Tijeras
- Pintura dorada y pincel
- Recortes de fomi
- Silicon
- Cinta verde
- Lápiz
- Piedritas brillantes de decoración
- Trozo de imán de 4 cm
- Box and egg carton
- Scissors
- Gold paint and brush
- Foam scraps
- Silicon
- Green tape
- Pencil
- Decorative rhinestones
- *4 cm piece of magnet
.jpg)
Pasos a seguir://Steps to follow:
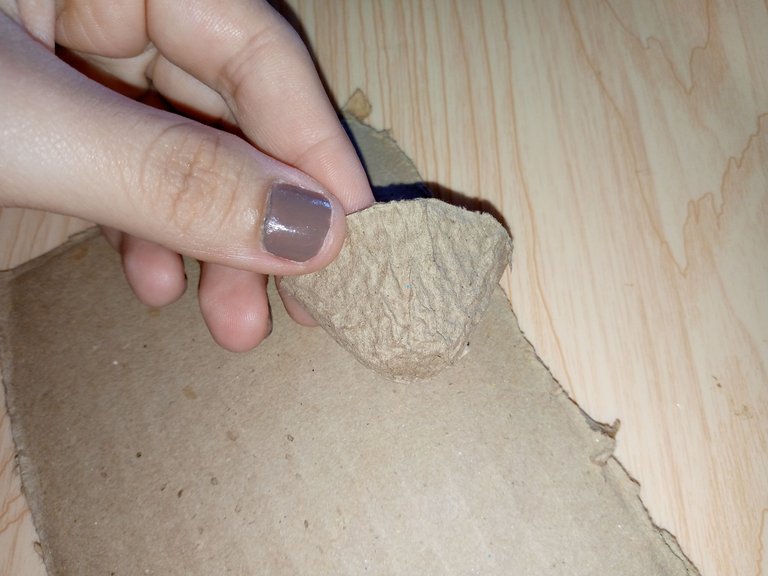
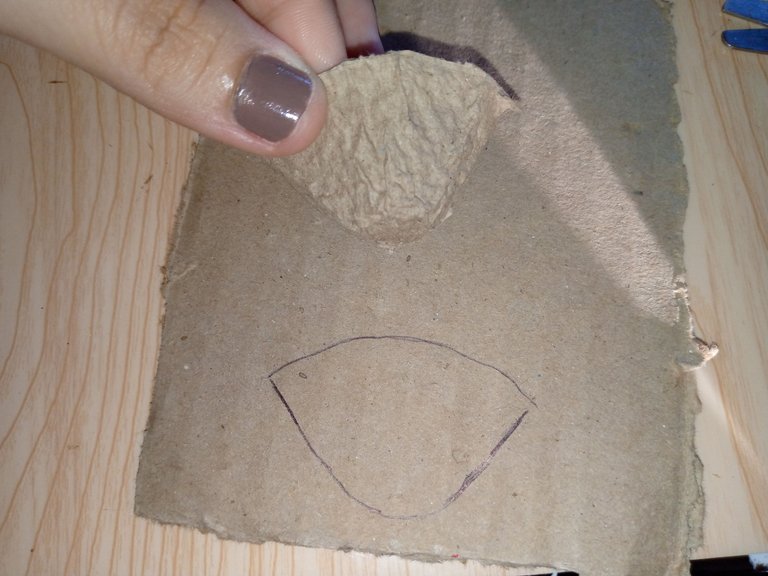
Paso 01
Step 01
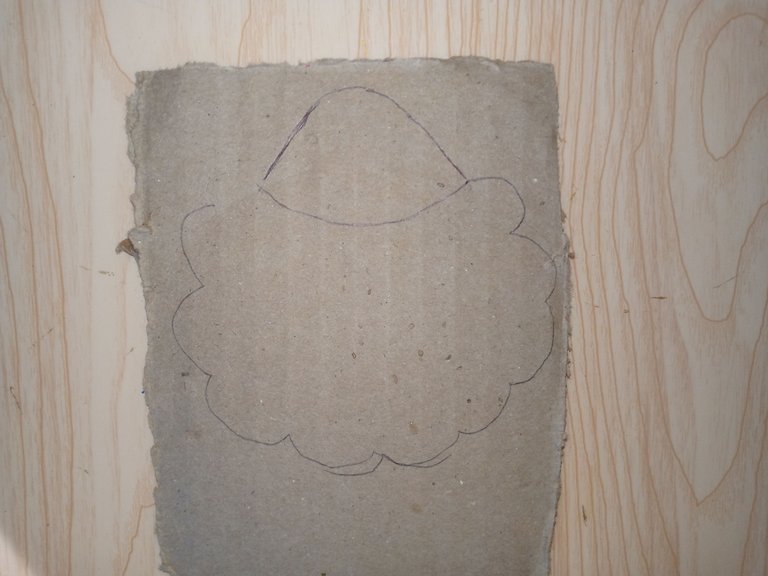
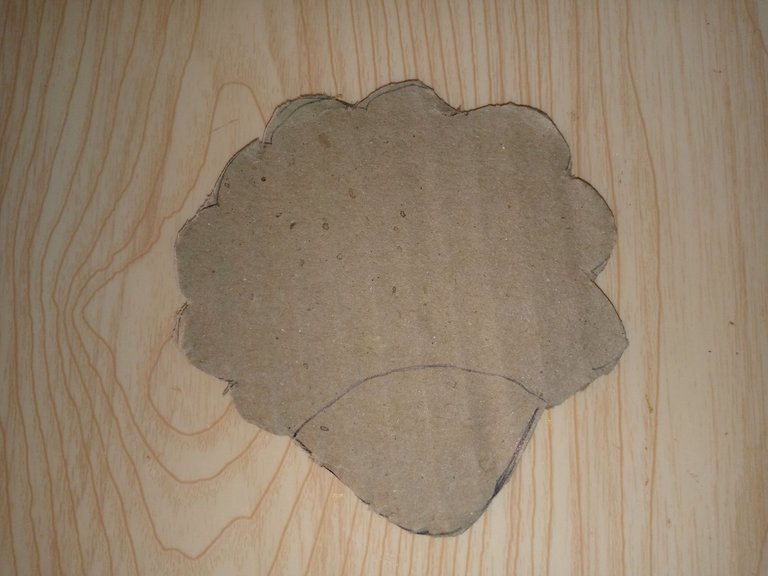
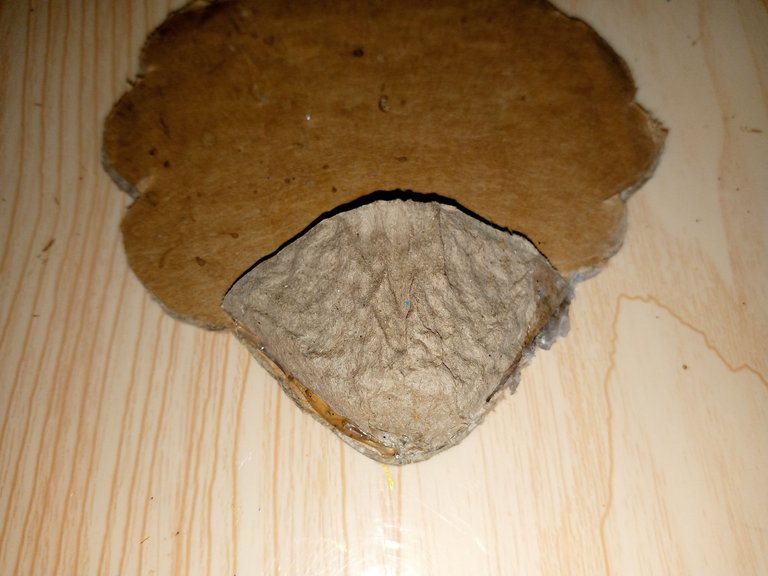
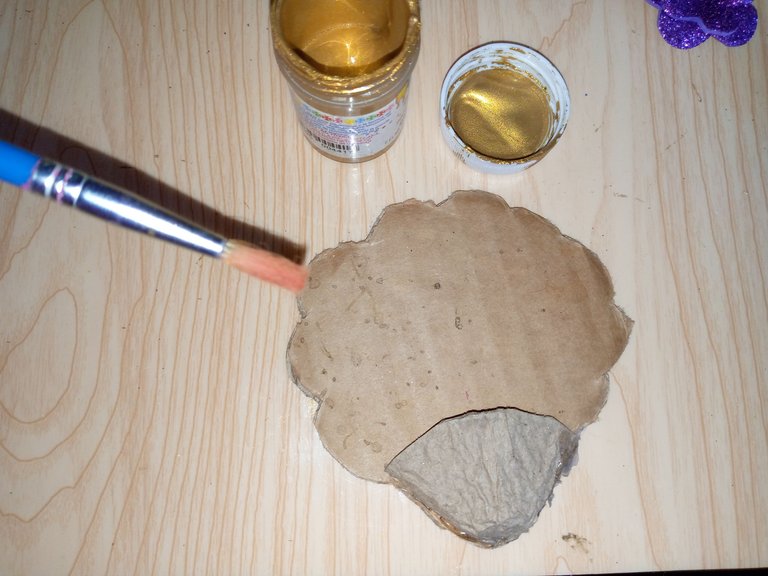
I start by cutting half of one of the pieces of egg carton, just half of it, and I'm going to take a piece of cardboard and mark the piece with a pen or pencil around the outline and mark the top in the shape of a flower so I can place the other flowers and put them together.
Paso 02
Step 02
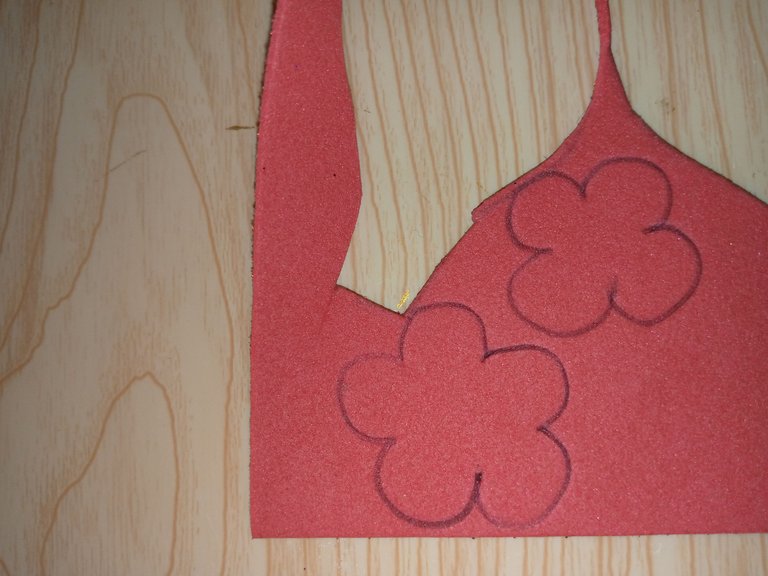
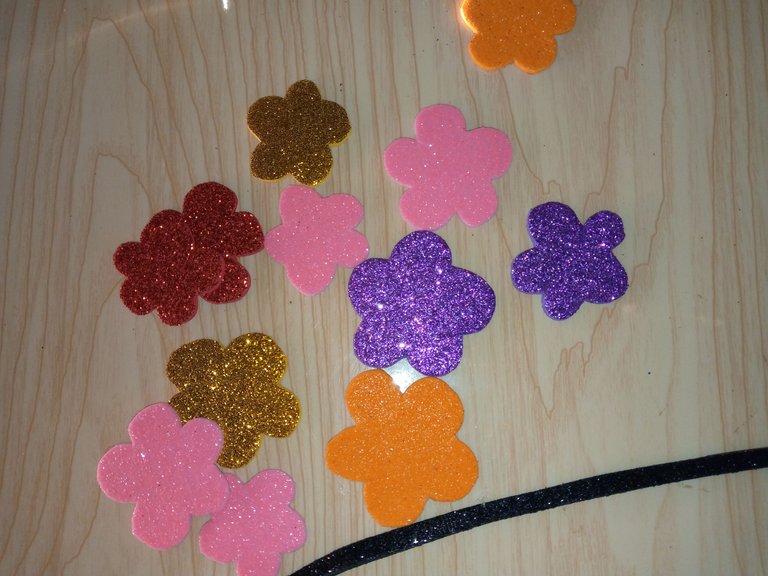
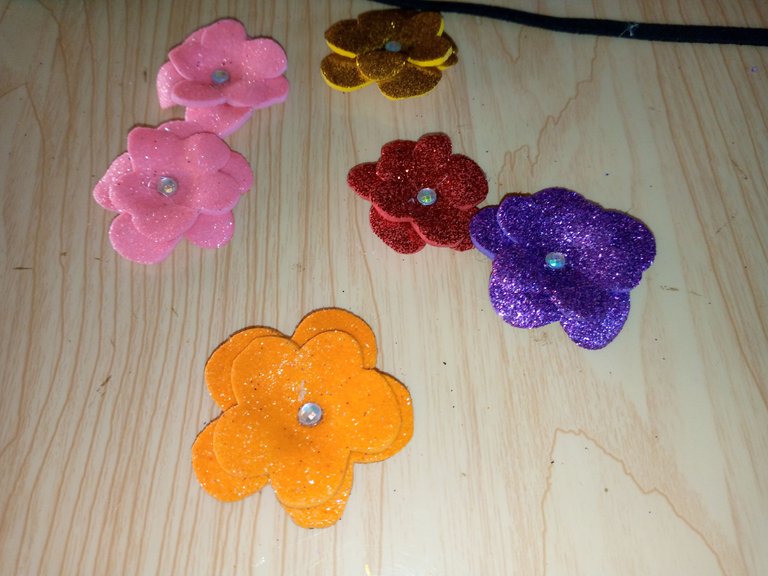
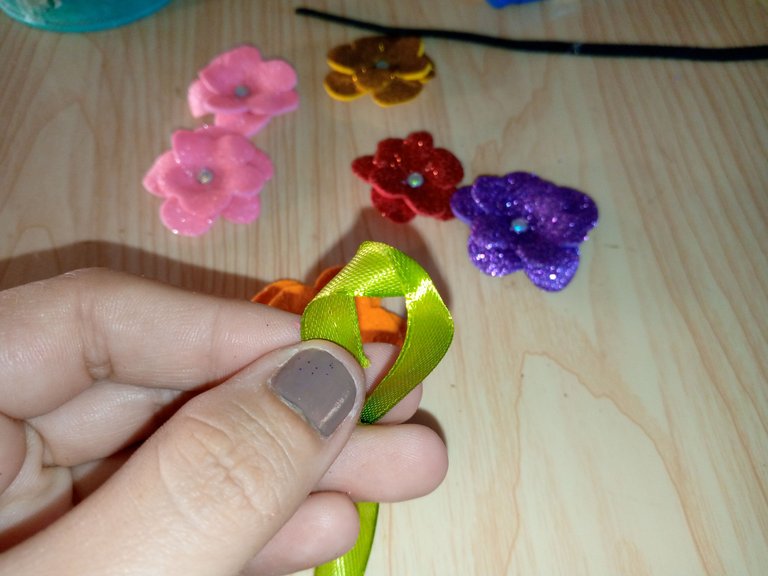
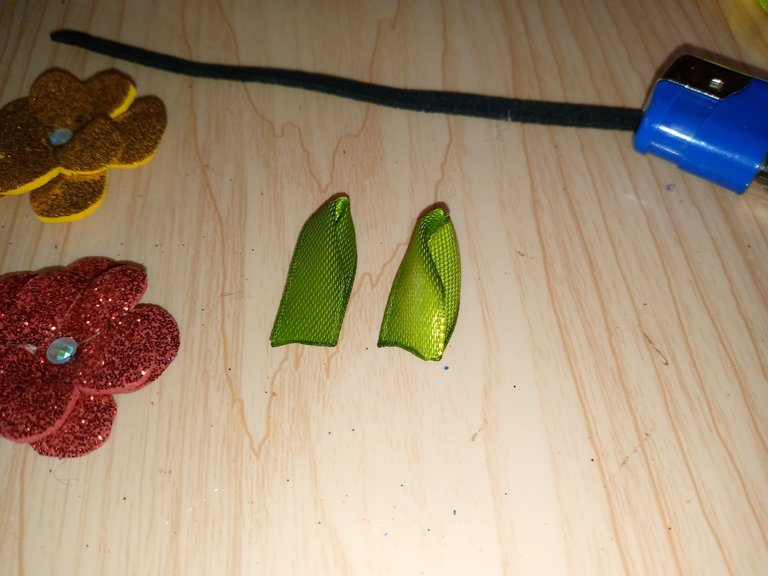
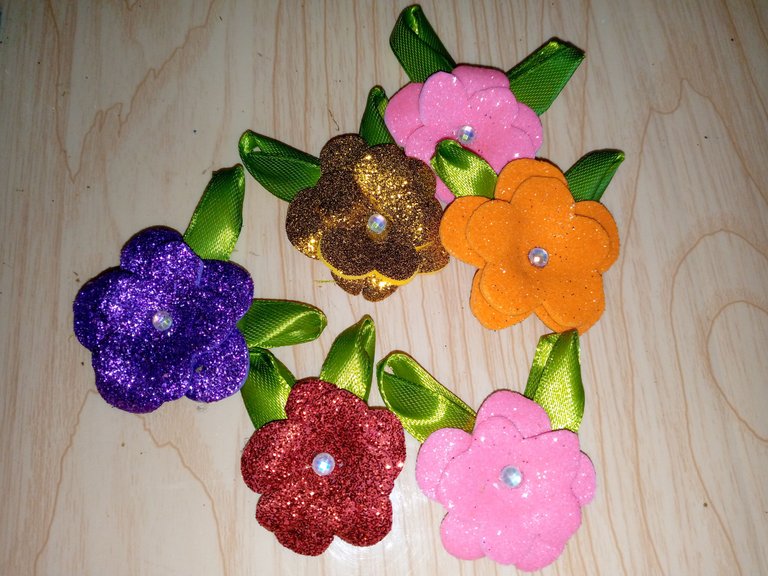
After removing the piece we are going to mark the flowers on the back of the foam so as not to mark them on the shiny side and not be seen, I will cut them out and pass them through the heat to shape the petals. We can do this with our clothes iron, then I am going to glue on top of each flower another piece of the smaller flower so that each flower looks thicker and I am going to decorate them with a shiny stone on top and I will make the leaves by taking a 5 cm piece of green ribbon and folding it twice and burning the ends below to join both ends of the ribbon and form each leaf.
Paso 03
Step 03
After forming the leaves, I will paint my base where the flowers will go with gold paint. I will paint the top and the back, and then I will glue the little leaves that I made just below each flower. I will place two for each flower.
Paso 04
Step 04
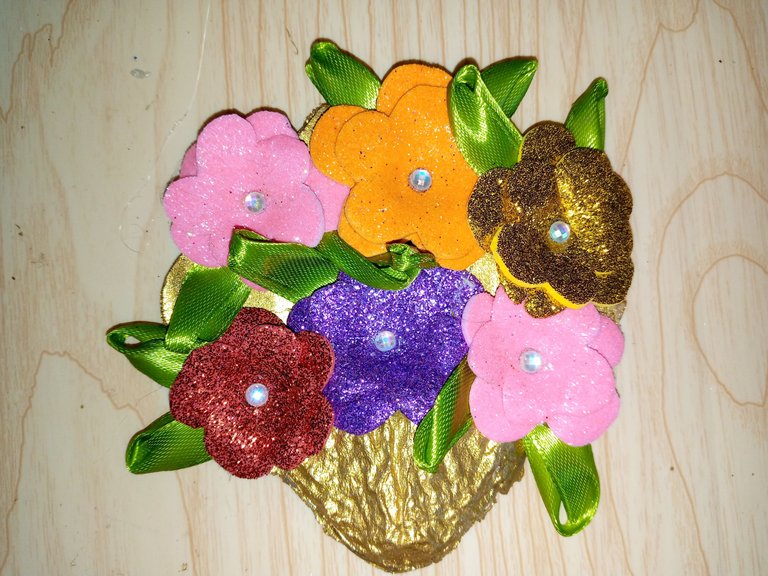
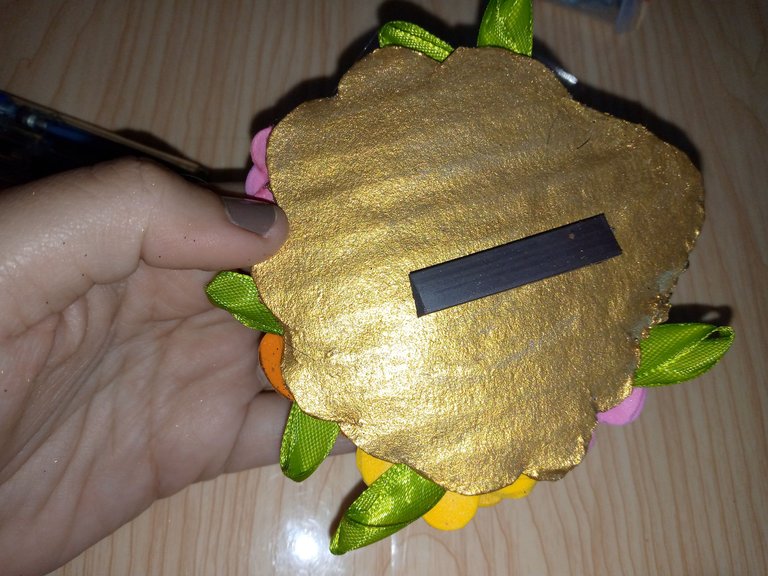
I finish by placing the flowers on the base that we have painted and I will stick them one by one carefully so as not to undo where I have placed them, finally I stick the magnet on the back and it is finishing.
.jpg)
Resultado:// Result:
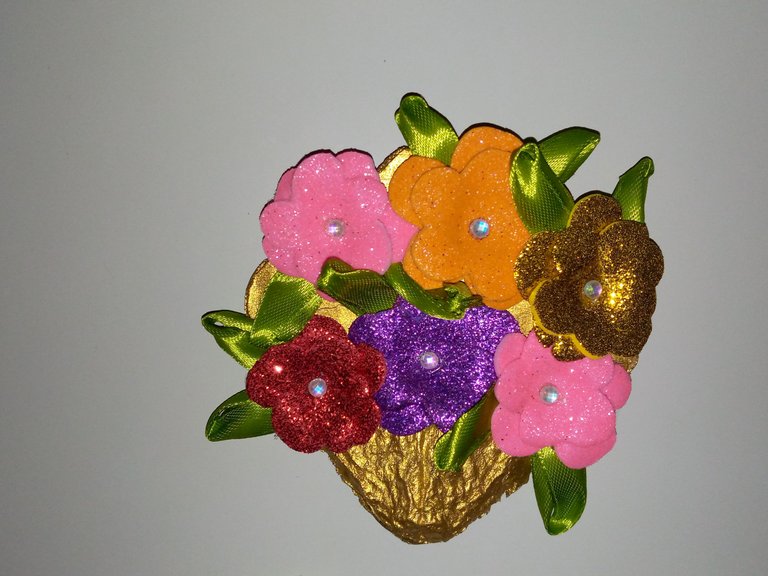
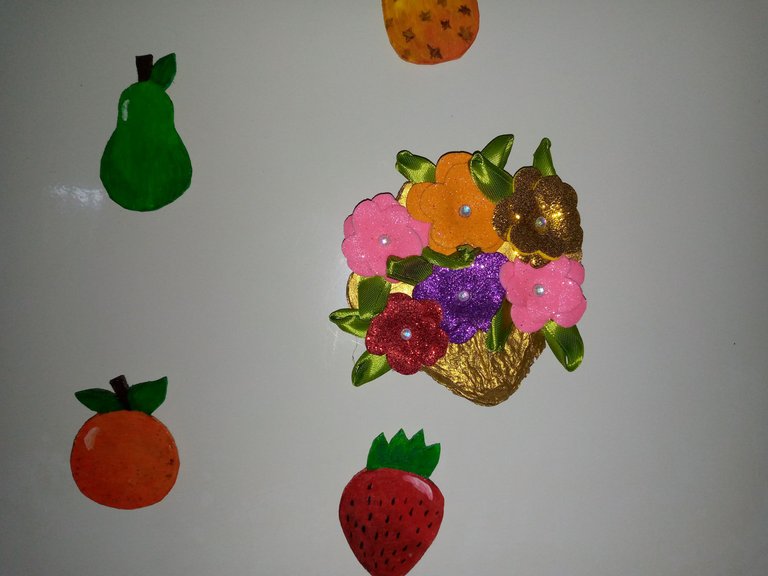
This is how it looks on the fridge once it's set up 🤭😁 This decoration looks very pretty. I hope you liked it and that you are also encouraged, like me, to reuse these little things that we think are useless but that end up looking very pretty and decorate our spaces. Reusing is something wonderful for us artisans 🥰Enjoy this nice work with these images. It was a pleasure to share this work with you and I wish you a happy day. Greetings, friends.
.jpg)
Creating things with love 🌷❤️
🦋✨ All the images in this publication are my author ,📱taken with my TecnoSpark8C cell phone |📸Photos edited in PicsArt and Canva. Text translated in Google Translate.
Muy creativo la verdad, eso es lo bueno de guardar y reciclar, se puede dar otro uso y bueno hacer cosas bonitas y sencillas como esta.
Hola amiga a mí me fascinan estás cositas con material de provecho y se ven tan lindas ☺️
Que bonito trabajo amiga, muy colorido y genial que tenga materiales reciclados✨
Me alegra saber que te ha gustado amiga saludos linda tarde 🥰✨❤️
The final result is great. It looks amazing. Love its color and design. You did a wonderful job! Thanks!
Thanks 🥰🥰
que belleza, quedo muy bien la combinación de colores y el diseño!
what a beauty, the combination of colors and the design is great!
Gracias hermosa saluditos 😸
Feliz día. Excelente idea. Buen trabajo
Gracias 🤗
beautiful flowers, the color is also very good
Thanks friend ❤️
Quedo bien bonito
Gracias 😇