Happy day my dear friends!
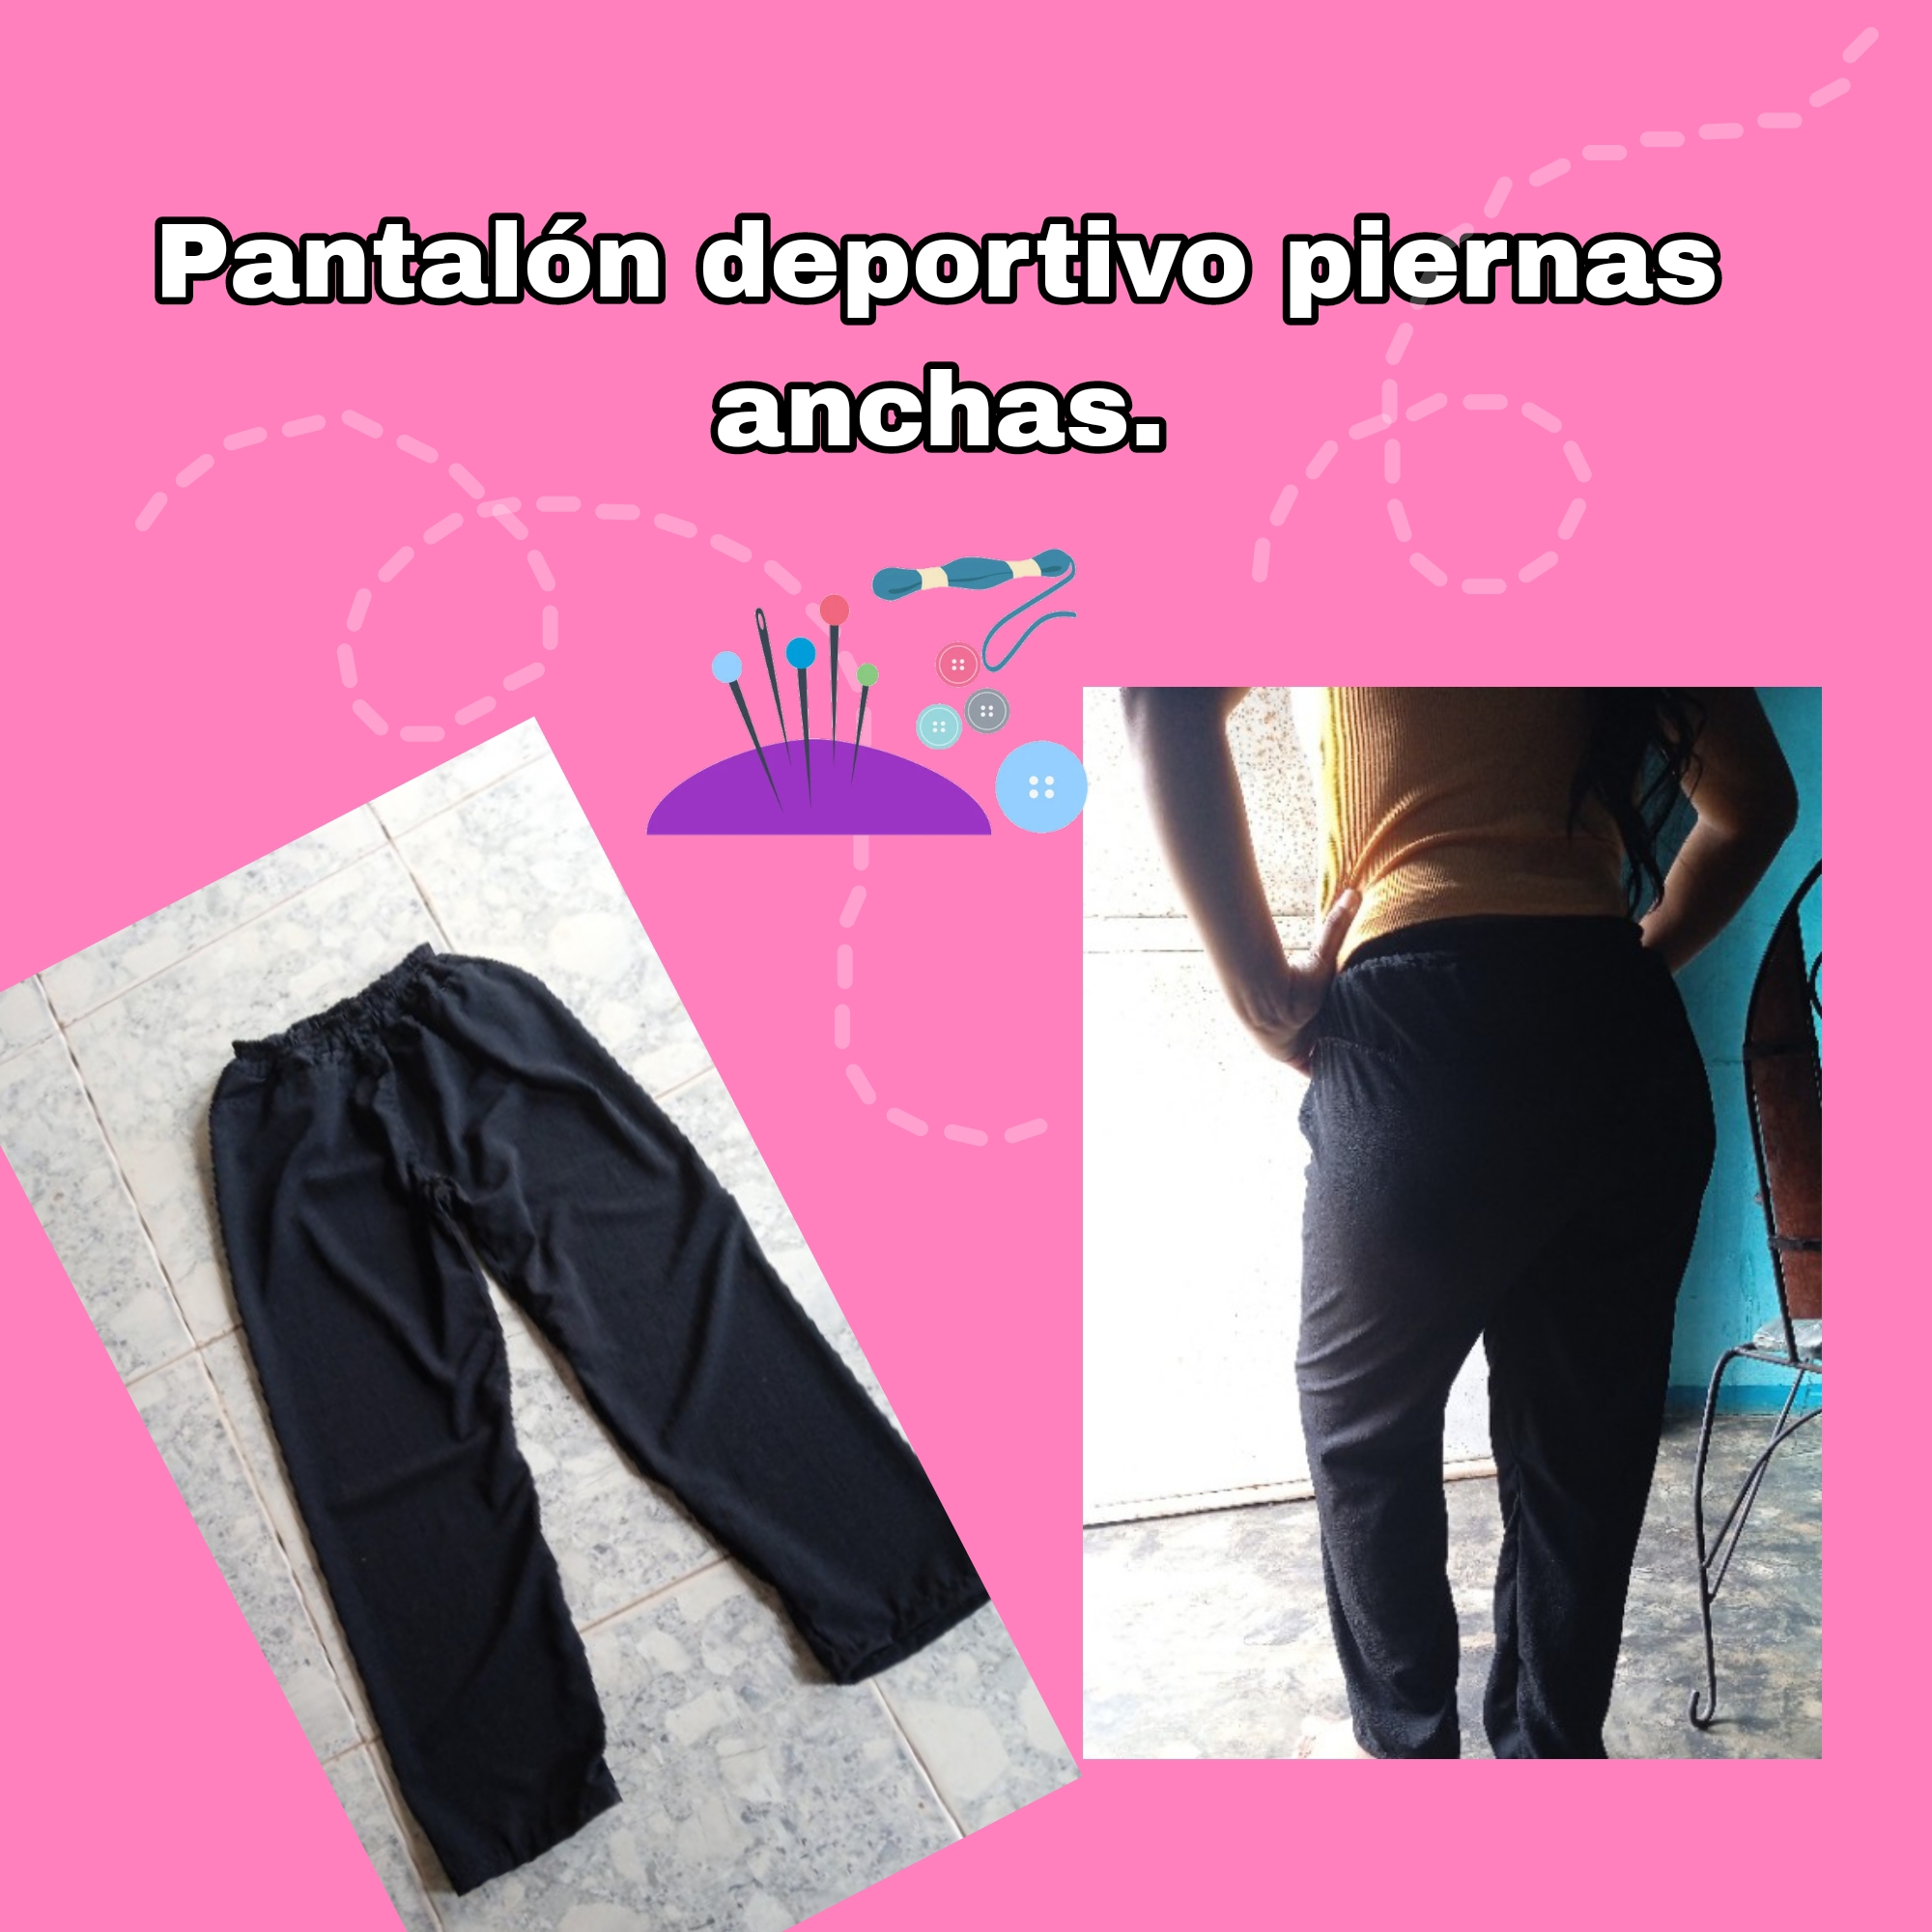
Les deseo un excelente domingo, espero que se encuentren bien, disfrutando de un lindo día en compañía de amigos y familiares. Gracias a Dios por regalarme un día más para seguir compartiendo buenos proyectos con todos ustedes. En esta ocasión les traigo el procedimiento para confeccionar un pantalón deportivo ancho y cómodo que podamos usar todos los días, para ir de compras con mucha comodidad. A continuación el paso a paso, síganme.
I wish you a great Sunday, I hope you are well, enjoying a nice day in the company of friends and family. Thank God for giving me another day to continue sharing good projects with all of you. On this occasion I bring you the procedure to make a wide and comfortable sports pants that we can wear every day, to go shopping with great comfort. Below is the step by step, follow me.
Materiales que necesitarás.
- Tijera.
- Hilo y agujas.
- Patrón.
- Lápiz.
- Tela preferiblemente algodón. Está tela que he utilizado es un tipo de dry stretch.
- Elástico.
Materials you will need.
- Scissors.
- Thread and needles.
- Pattern.
- Pencil.
- Fabric preferably cotton. The fabric I used is a type of dry stretch.
- Elastic.
Amigos, sobre una superficie lo suficientemente cómoda, colocamos la tela y la doblamos, luego colocamos el patrón, en este caso se trata de un pantalón conocido como jogger. Yo lo doblé y lo coloqué sobre la tela, marcando solo la parte de atrás y la entrepierna. En la parte de arriba, baja unos 5cm aproximadamente, para luego hacer un diseño de costura. Esto es opcional ya que lo puedes cortar a tu gusto. Recorta un par de estas piezas, derecha e izquierda.
Friends, on a comfortable enough surface, we place the fabric and fold it, then we place the pattern, in this case it is a pair of pants known as joggers. I folded it and placed it on the fabric, marking only the back and the crotch. At the top, I went down about 5cm approximately, to then make a sewing design. This is optional since you can cut it to your liking. Cut out a couple of these pieces, right and left.
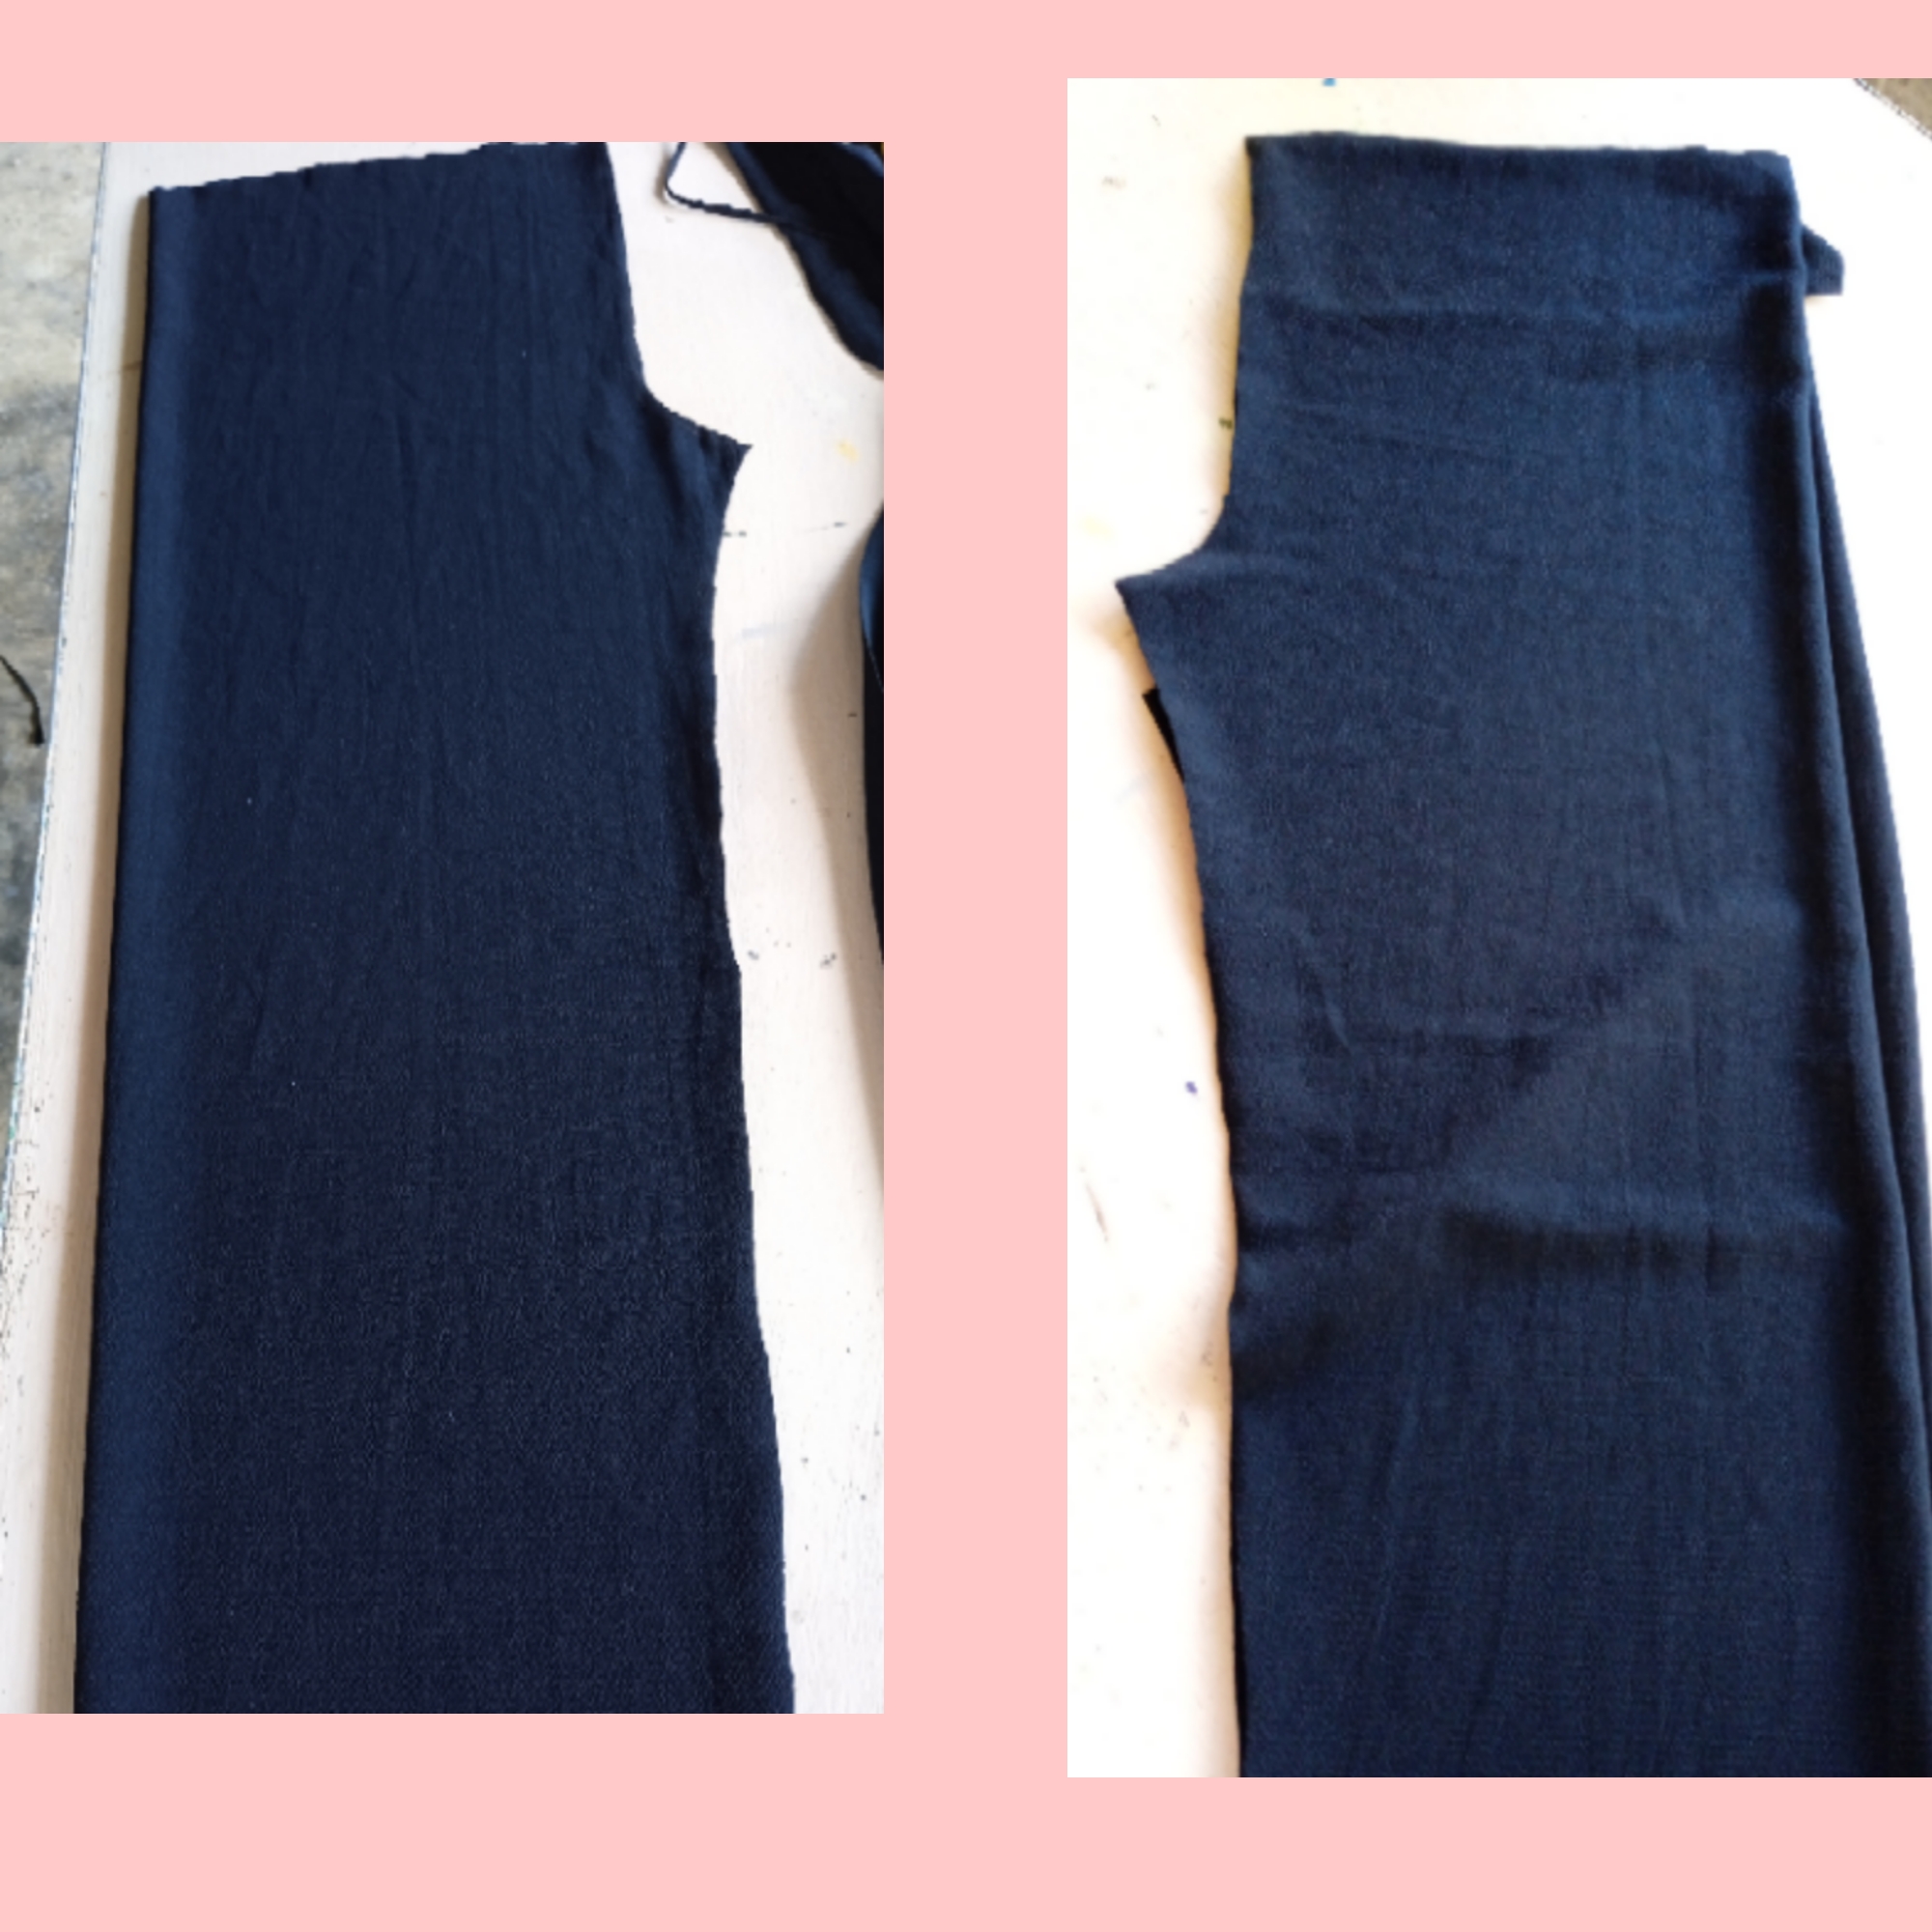
Aquí pueden ver qué tengo las piezas listas. Observen que estás piezas solo tendrán costura por la parte interna, entre piernas y parte trasera ya que no lleva costuras en los costados.
Here you can see that I have the pieces ready. Note that these pieces will only have seams on the inside, between the legs and the back, since they do not have seams on the sides.
En este paso recorte un rectángulo de aproximadamente 10 cm x 15 cm al doblez. Esta pieza es a mi medida, debe ir en la parte superior del pantalón.
In this step, cut out a rectangle of approximately 10 cm x 15 cm at the fold. This piece is my size, it should go on the top of the pants.
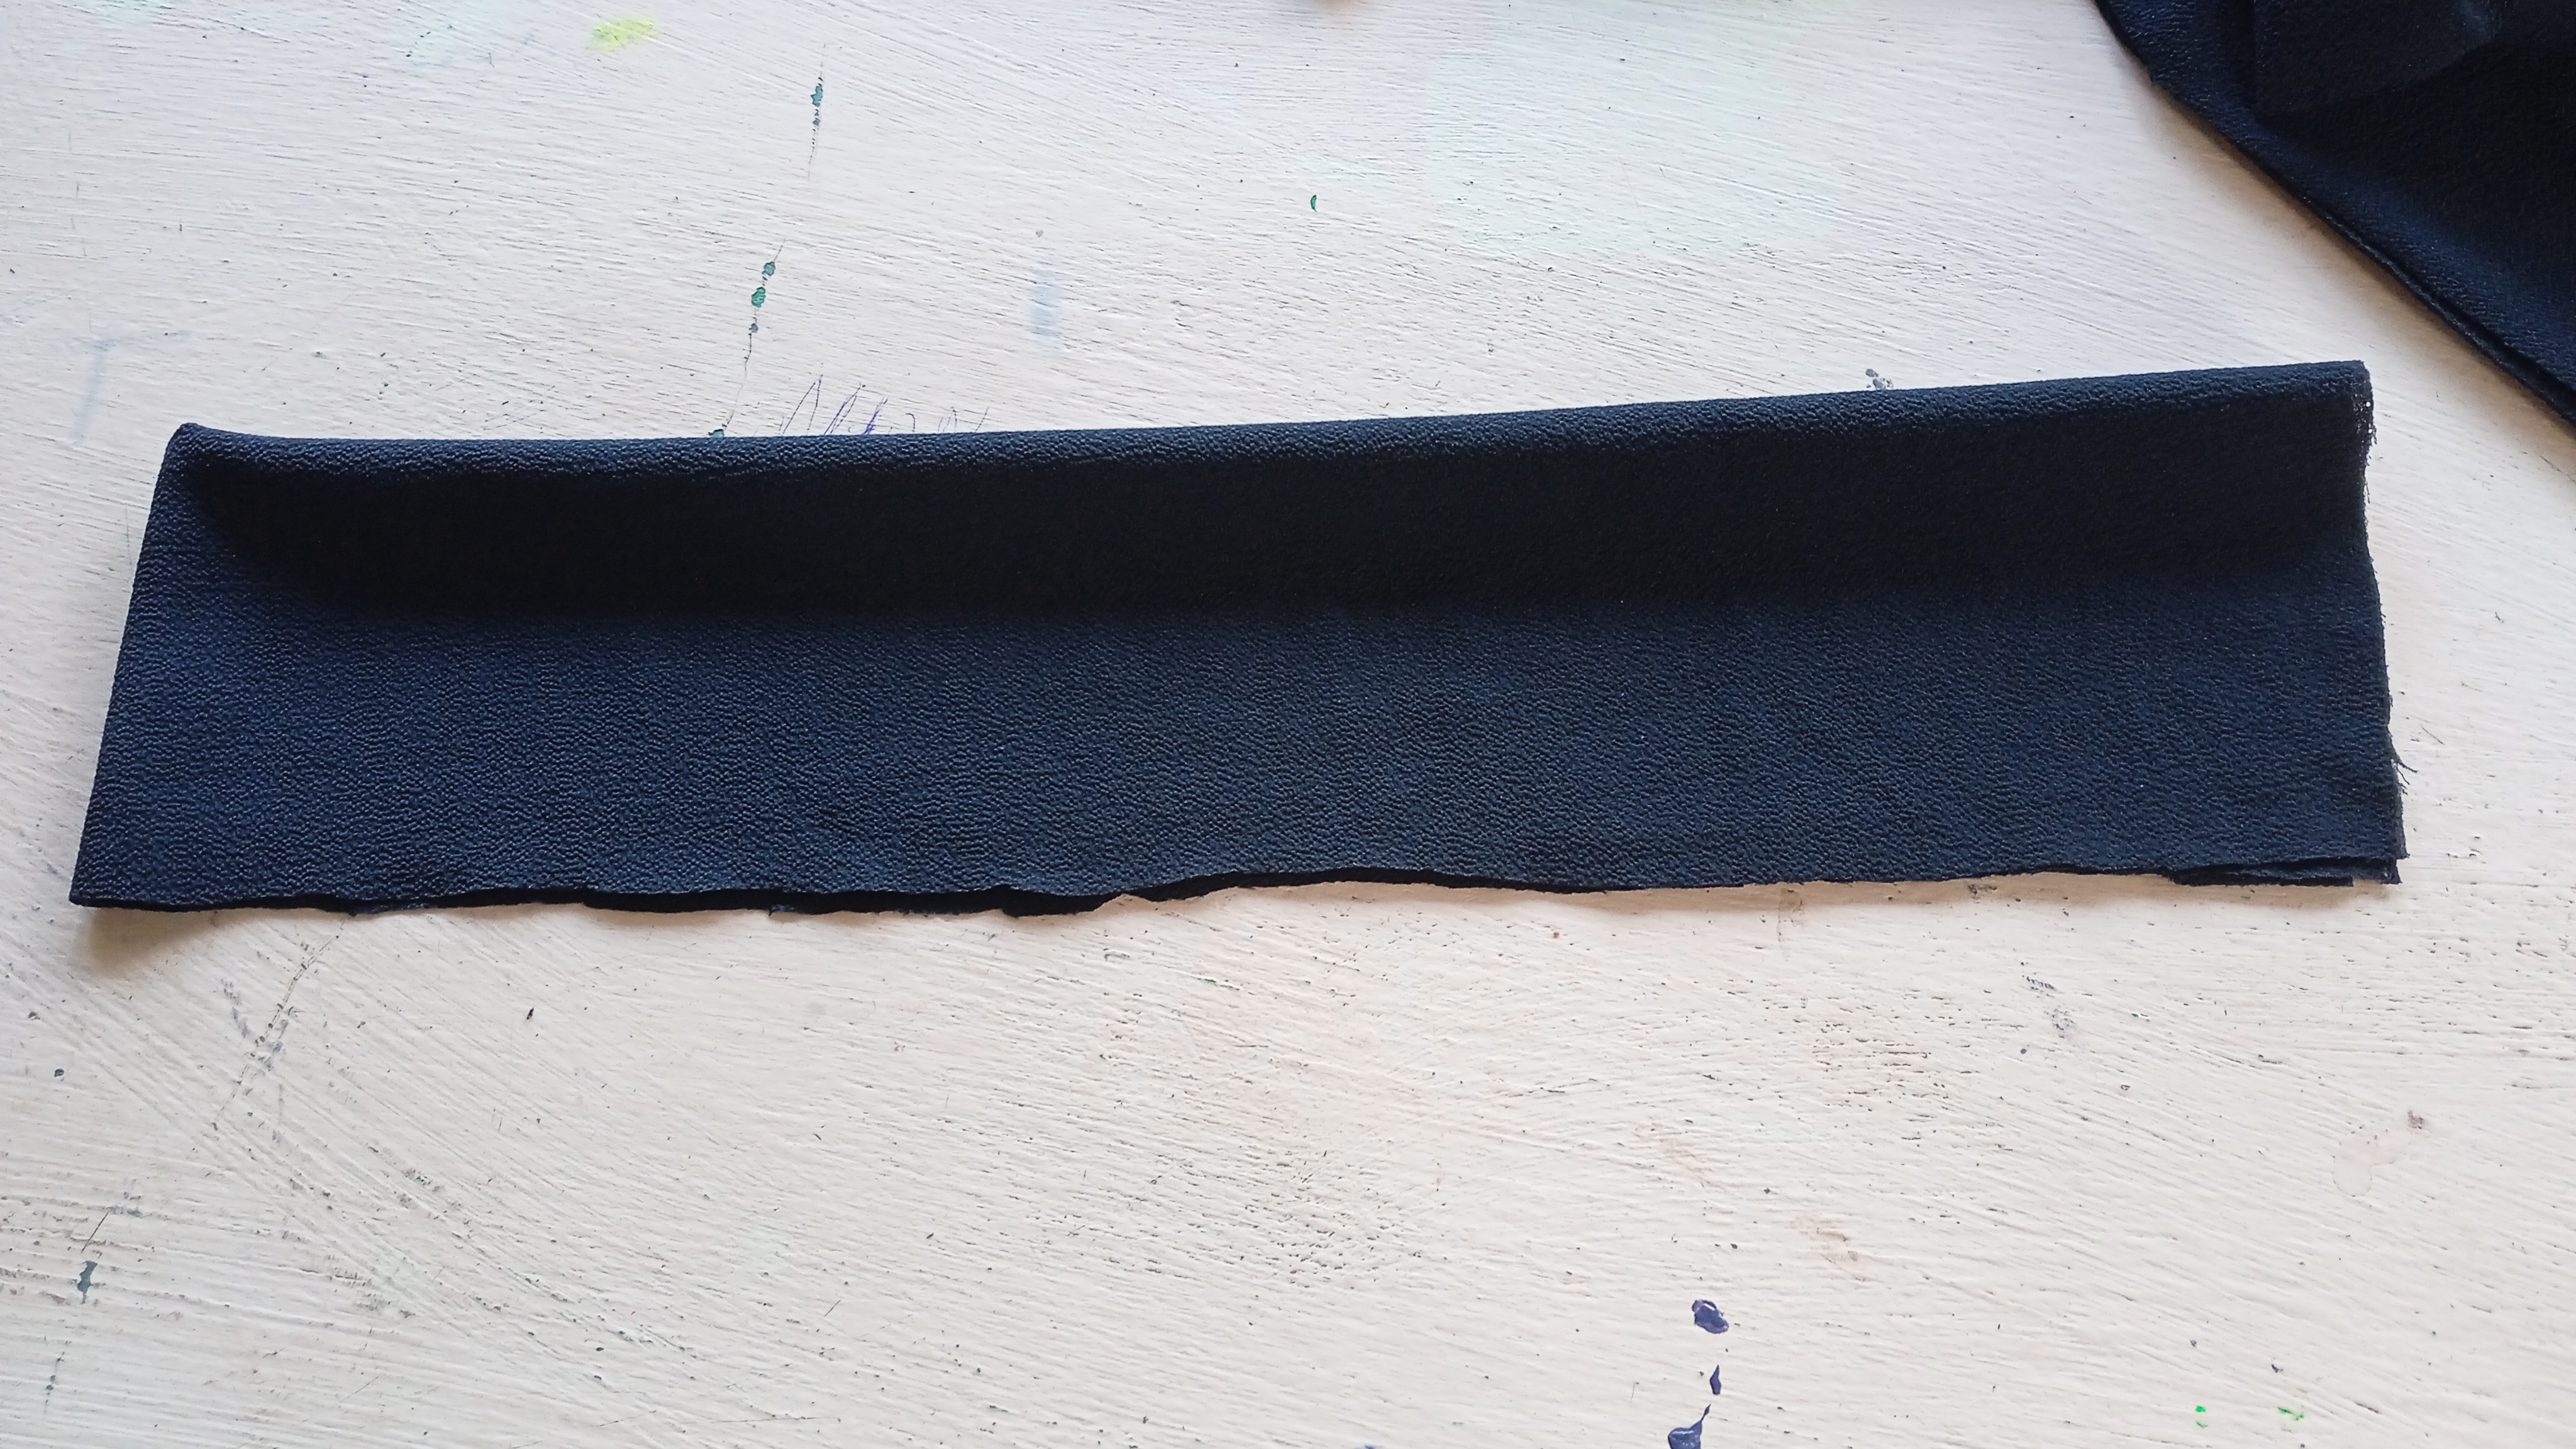
Ahora procedo a coser la parte superior, unimos este rectángulo al pantalón. Debemos coserlos en las dos piezas. Una vez que he cosido por dentro, ahora voy hacer una costura por la parte de afuera en las piezas delanteras y traseras.
Now proceed to sew the top, we join this rectangle to the pants. We must sew them in the two pieces. Once I have sewn inside, now I will make a seam on the outside of the front and back pieces.
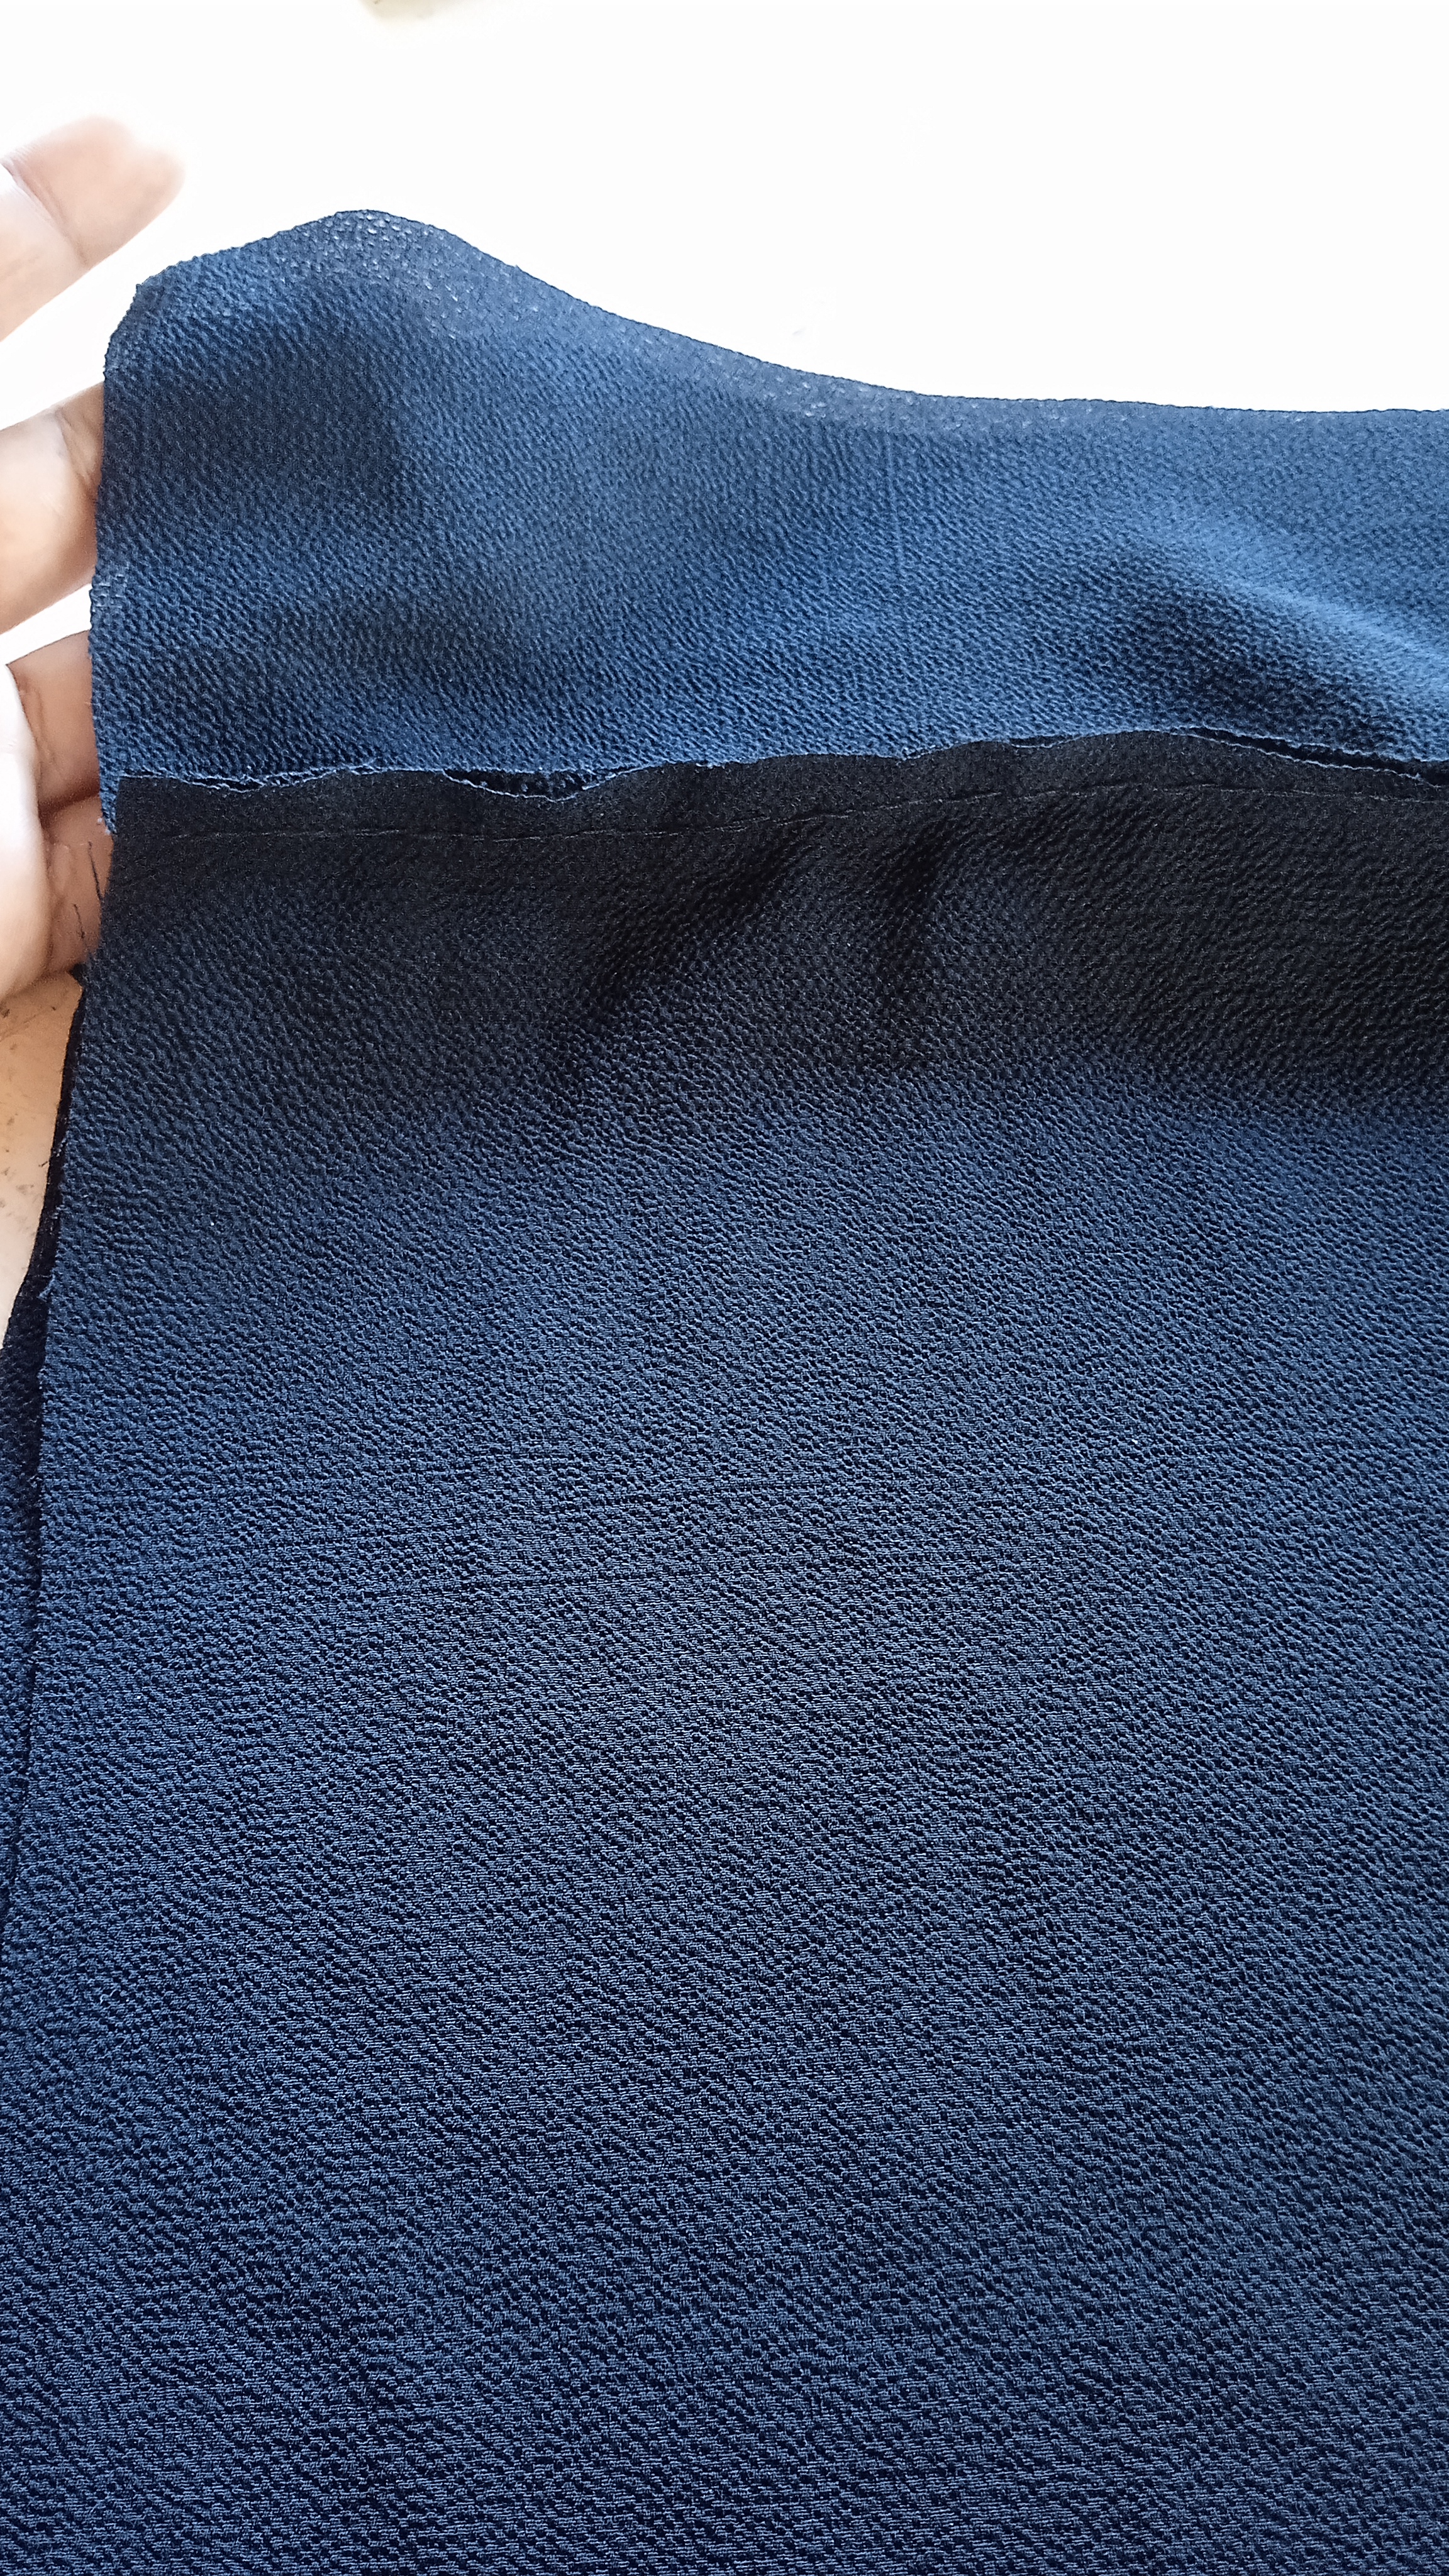
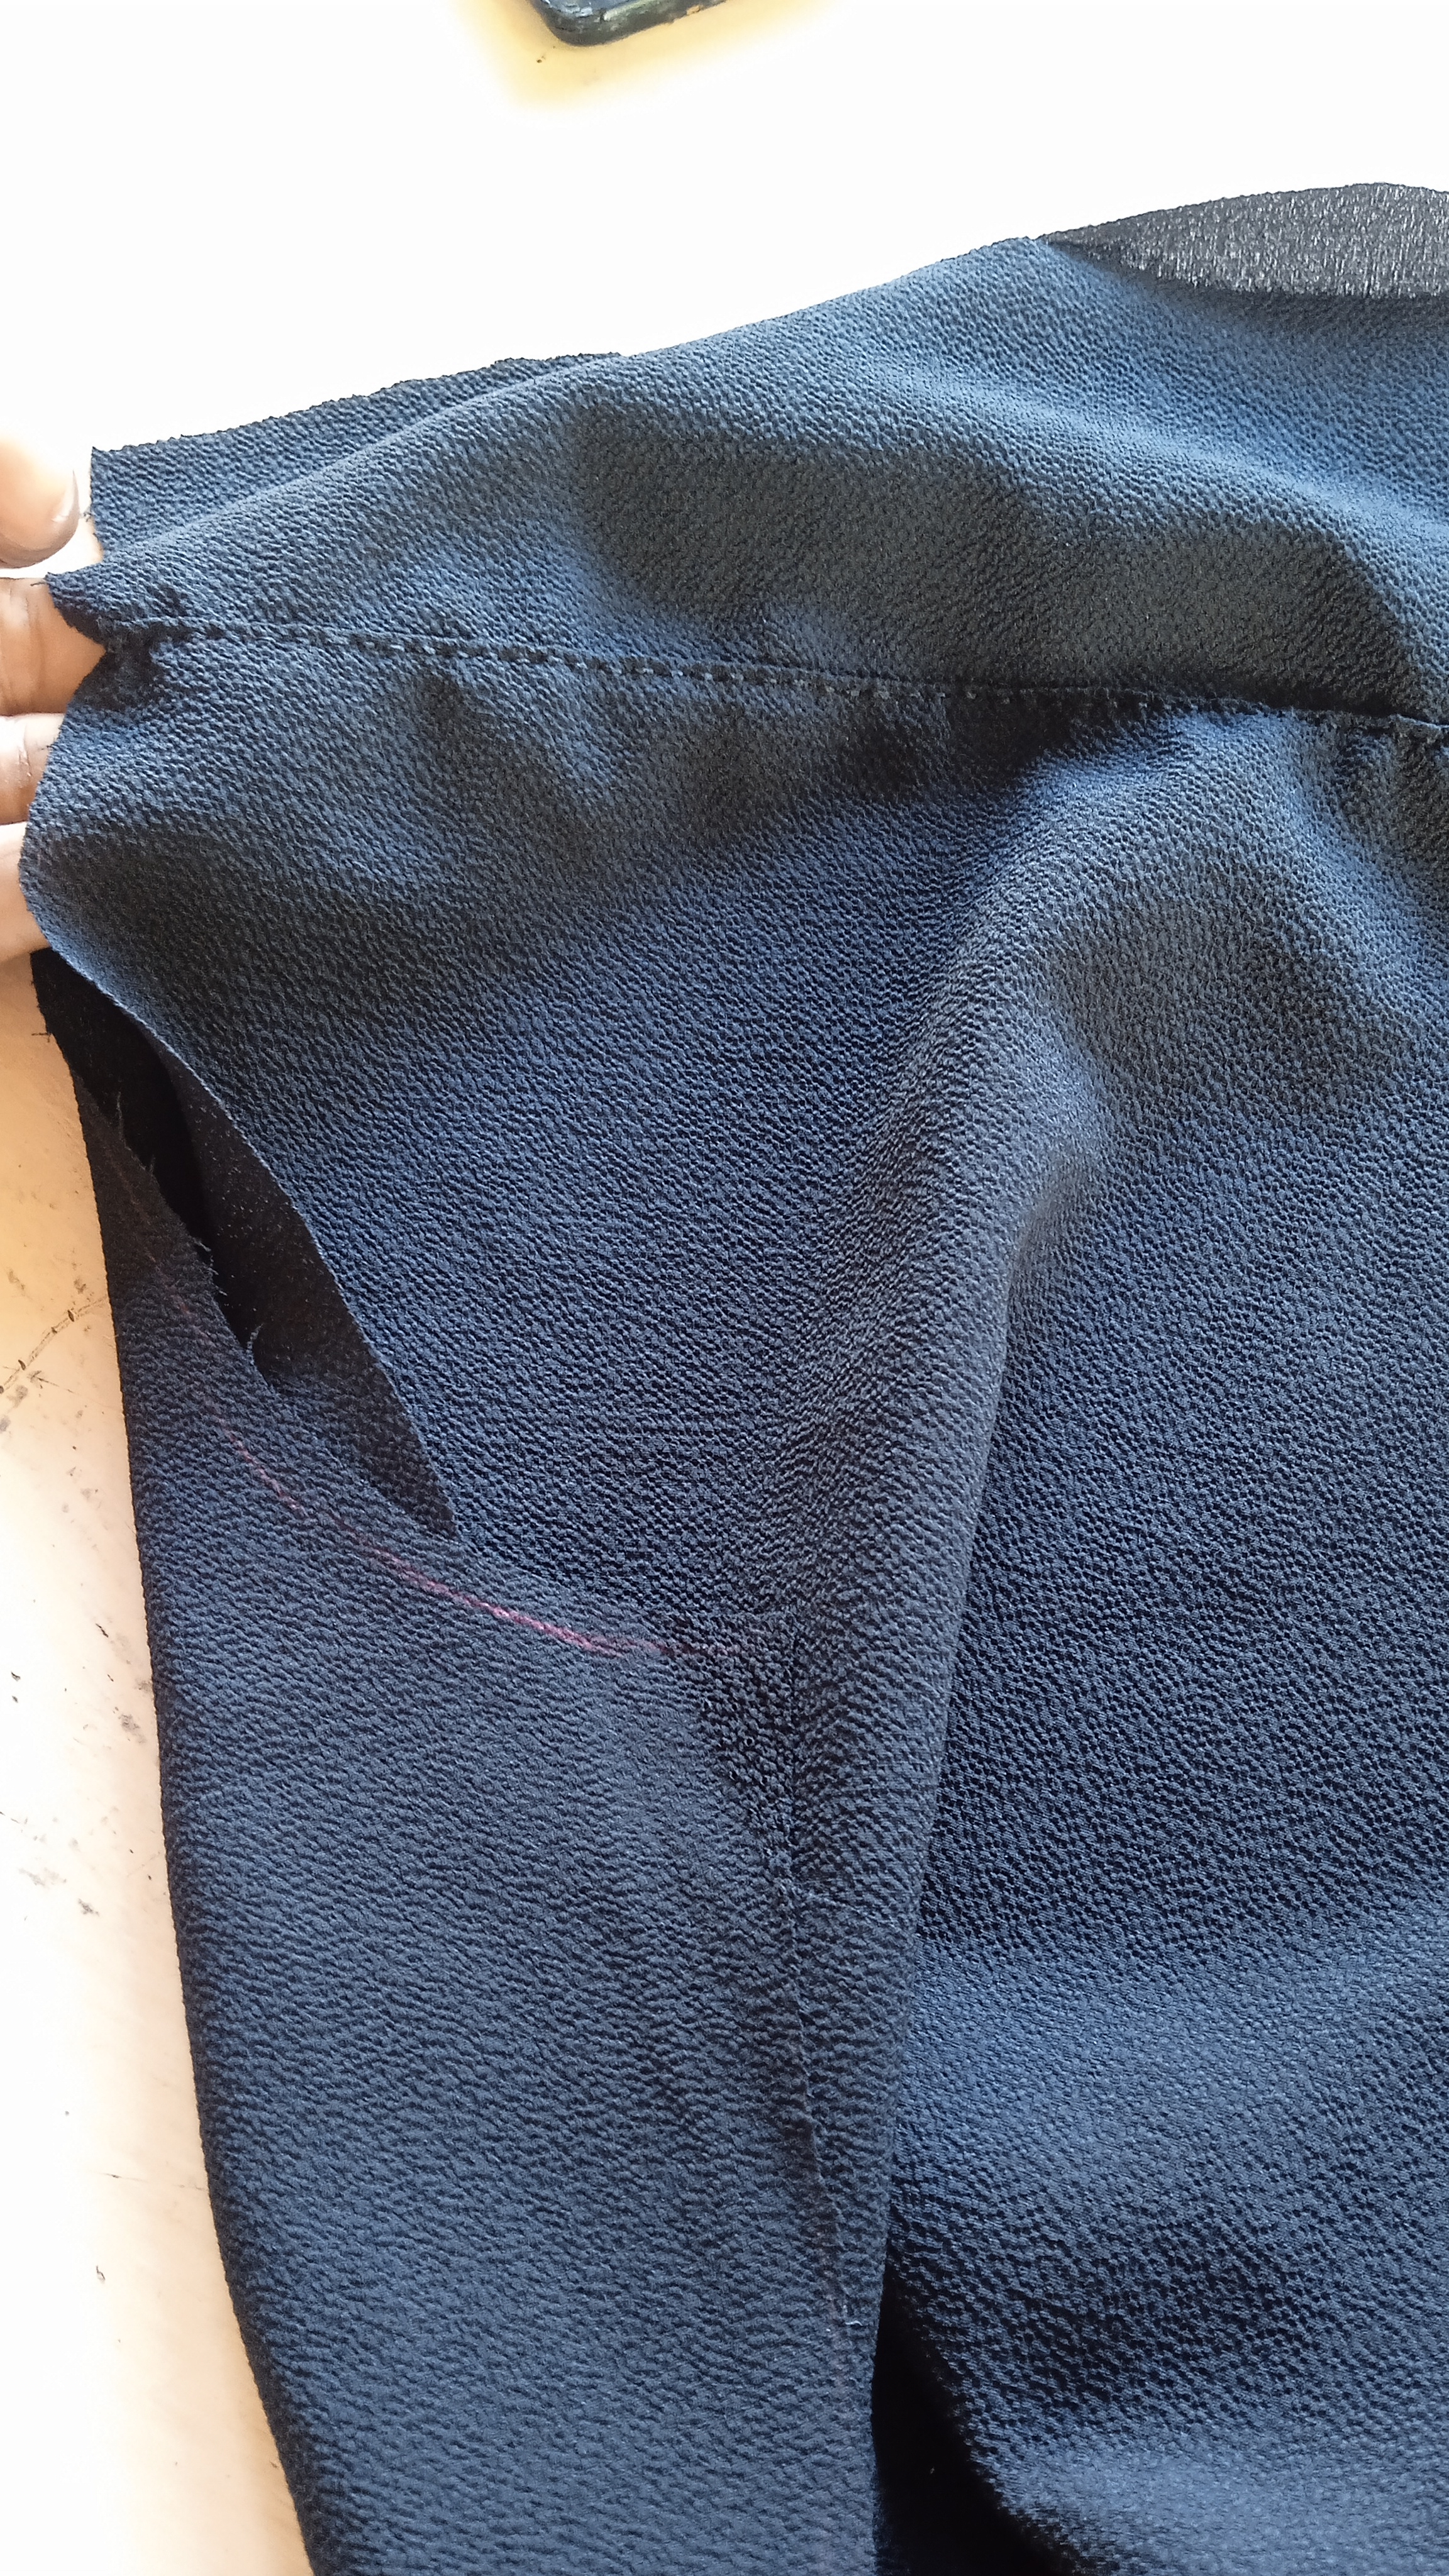
Ahora voy a unir las piezas por la parte trasera, para ir armando nuestro pantalón.
Now I'm going to join the pieces at the back, to put together our pants.
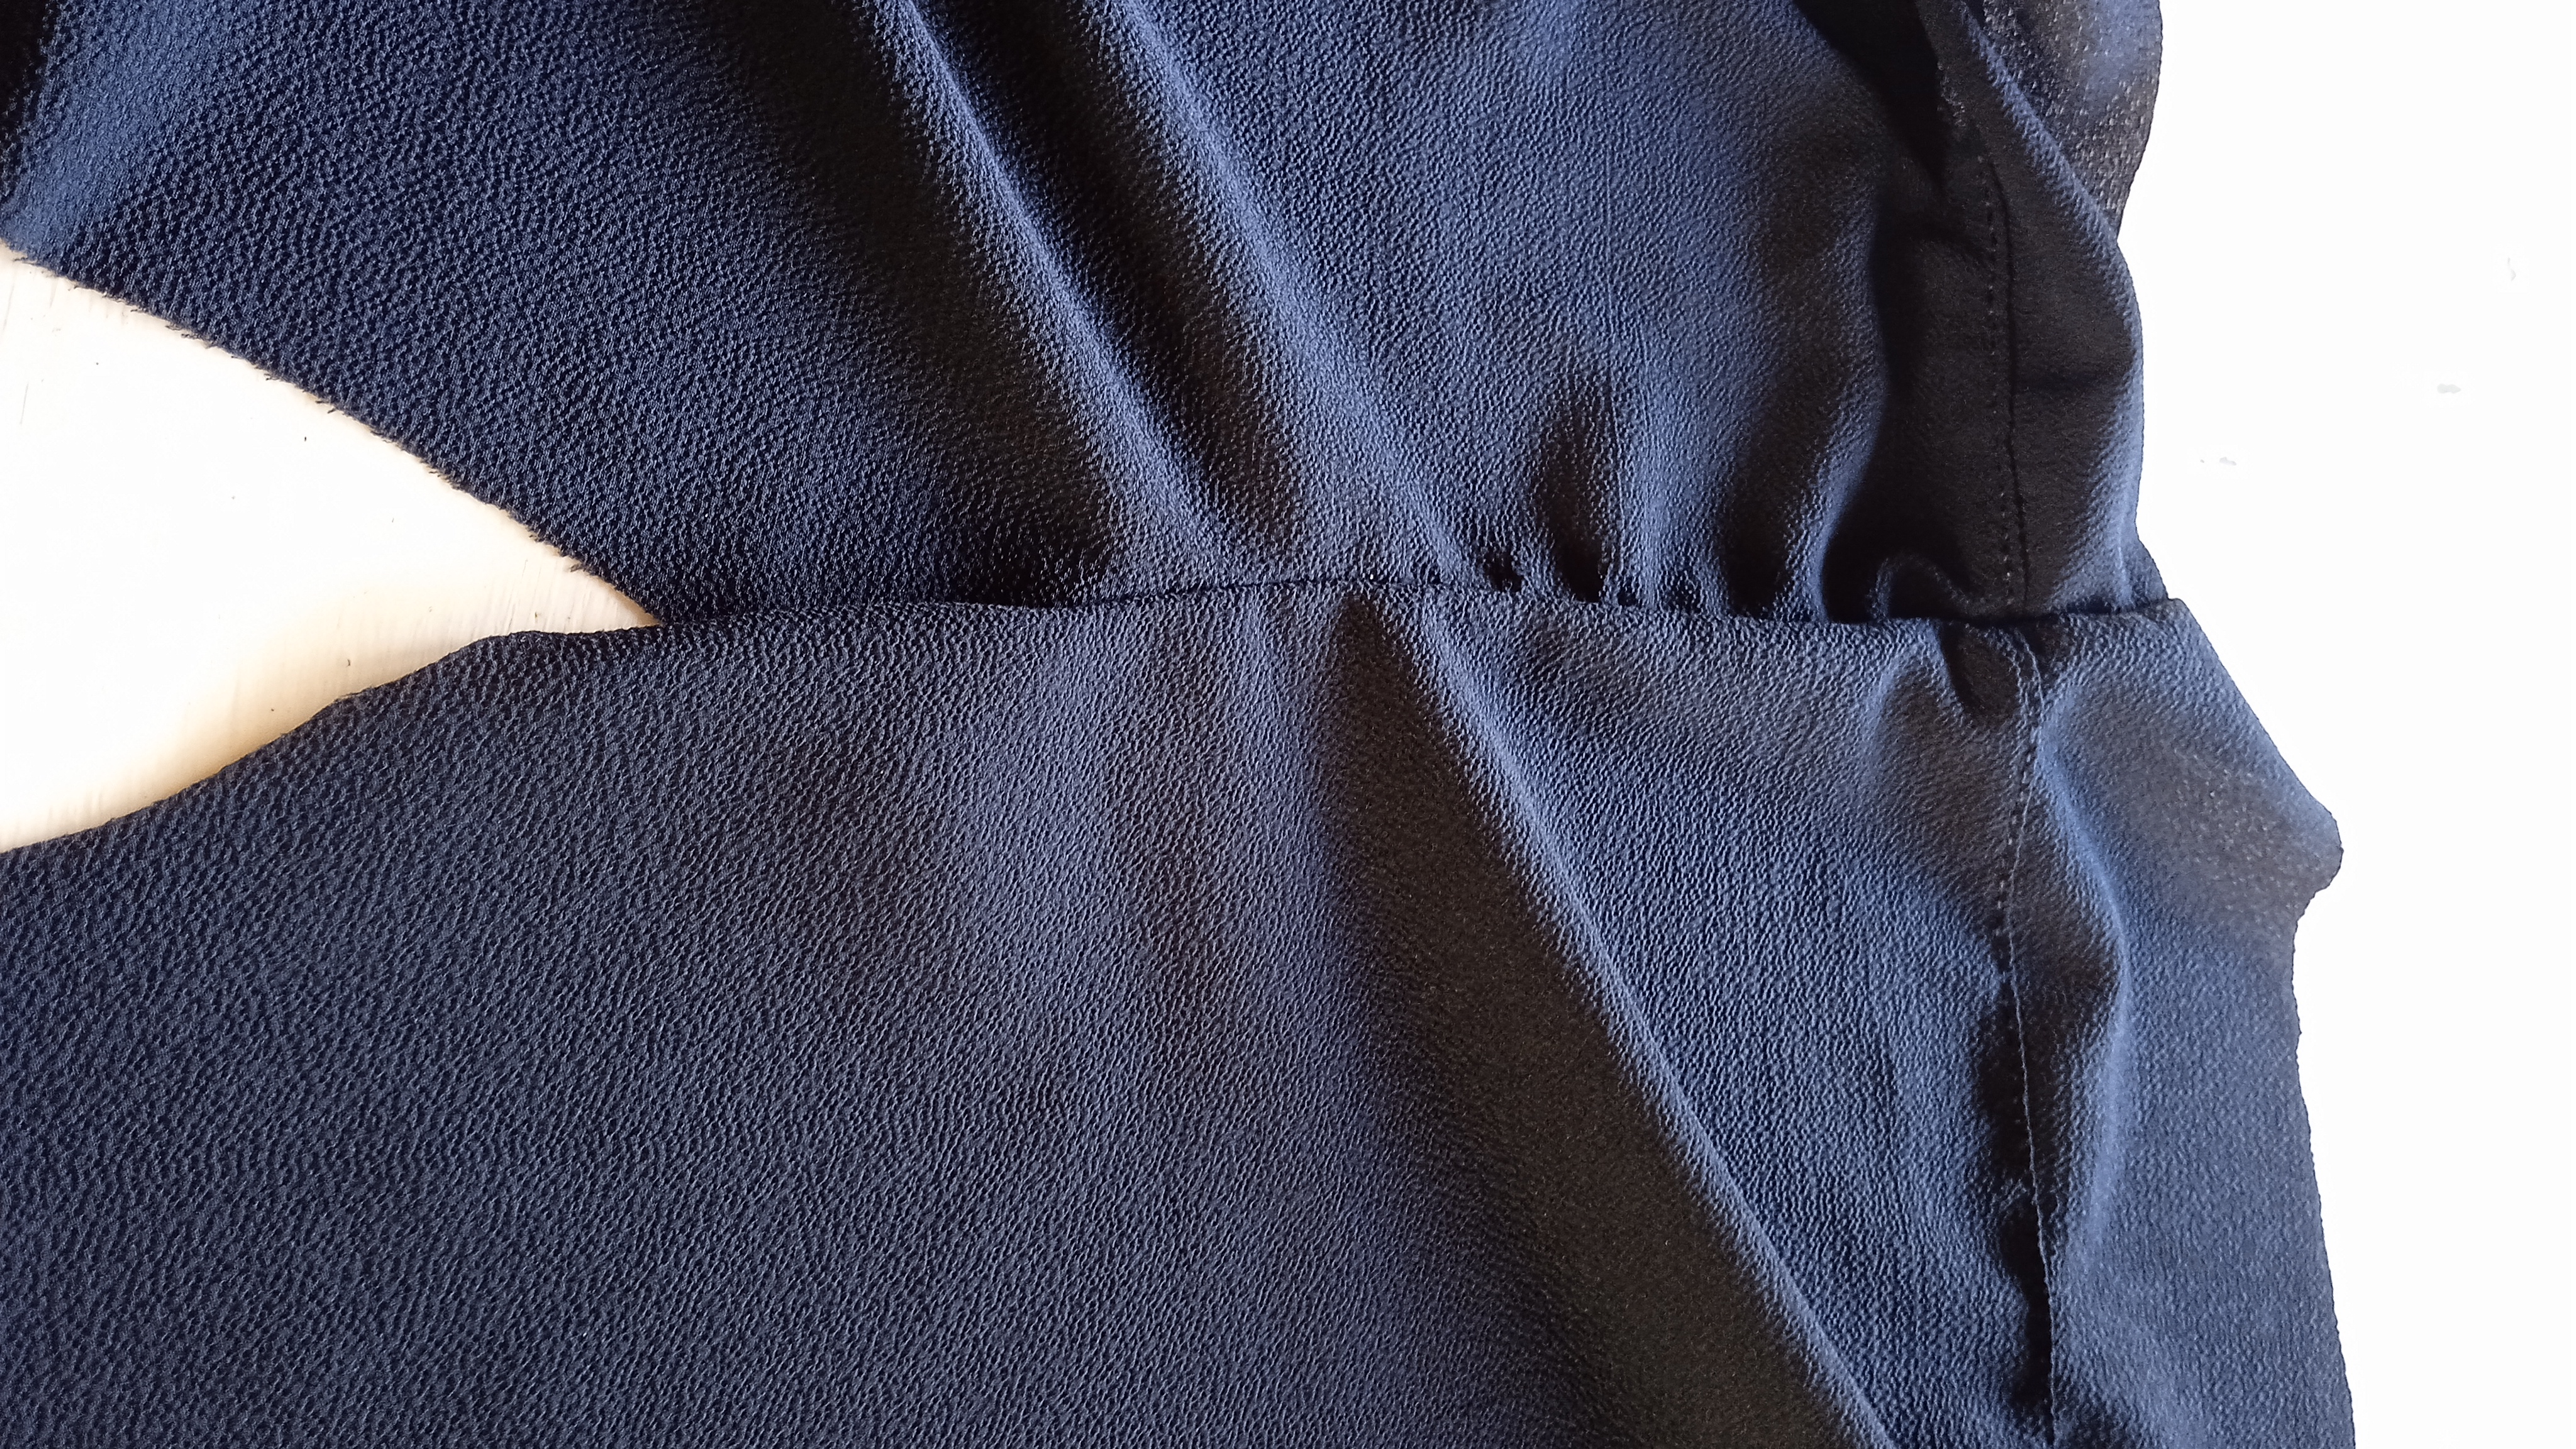
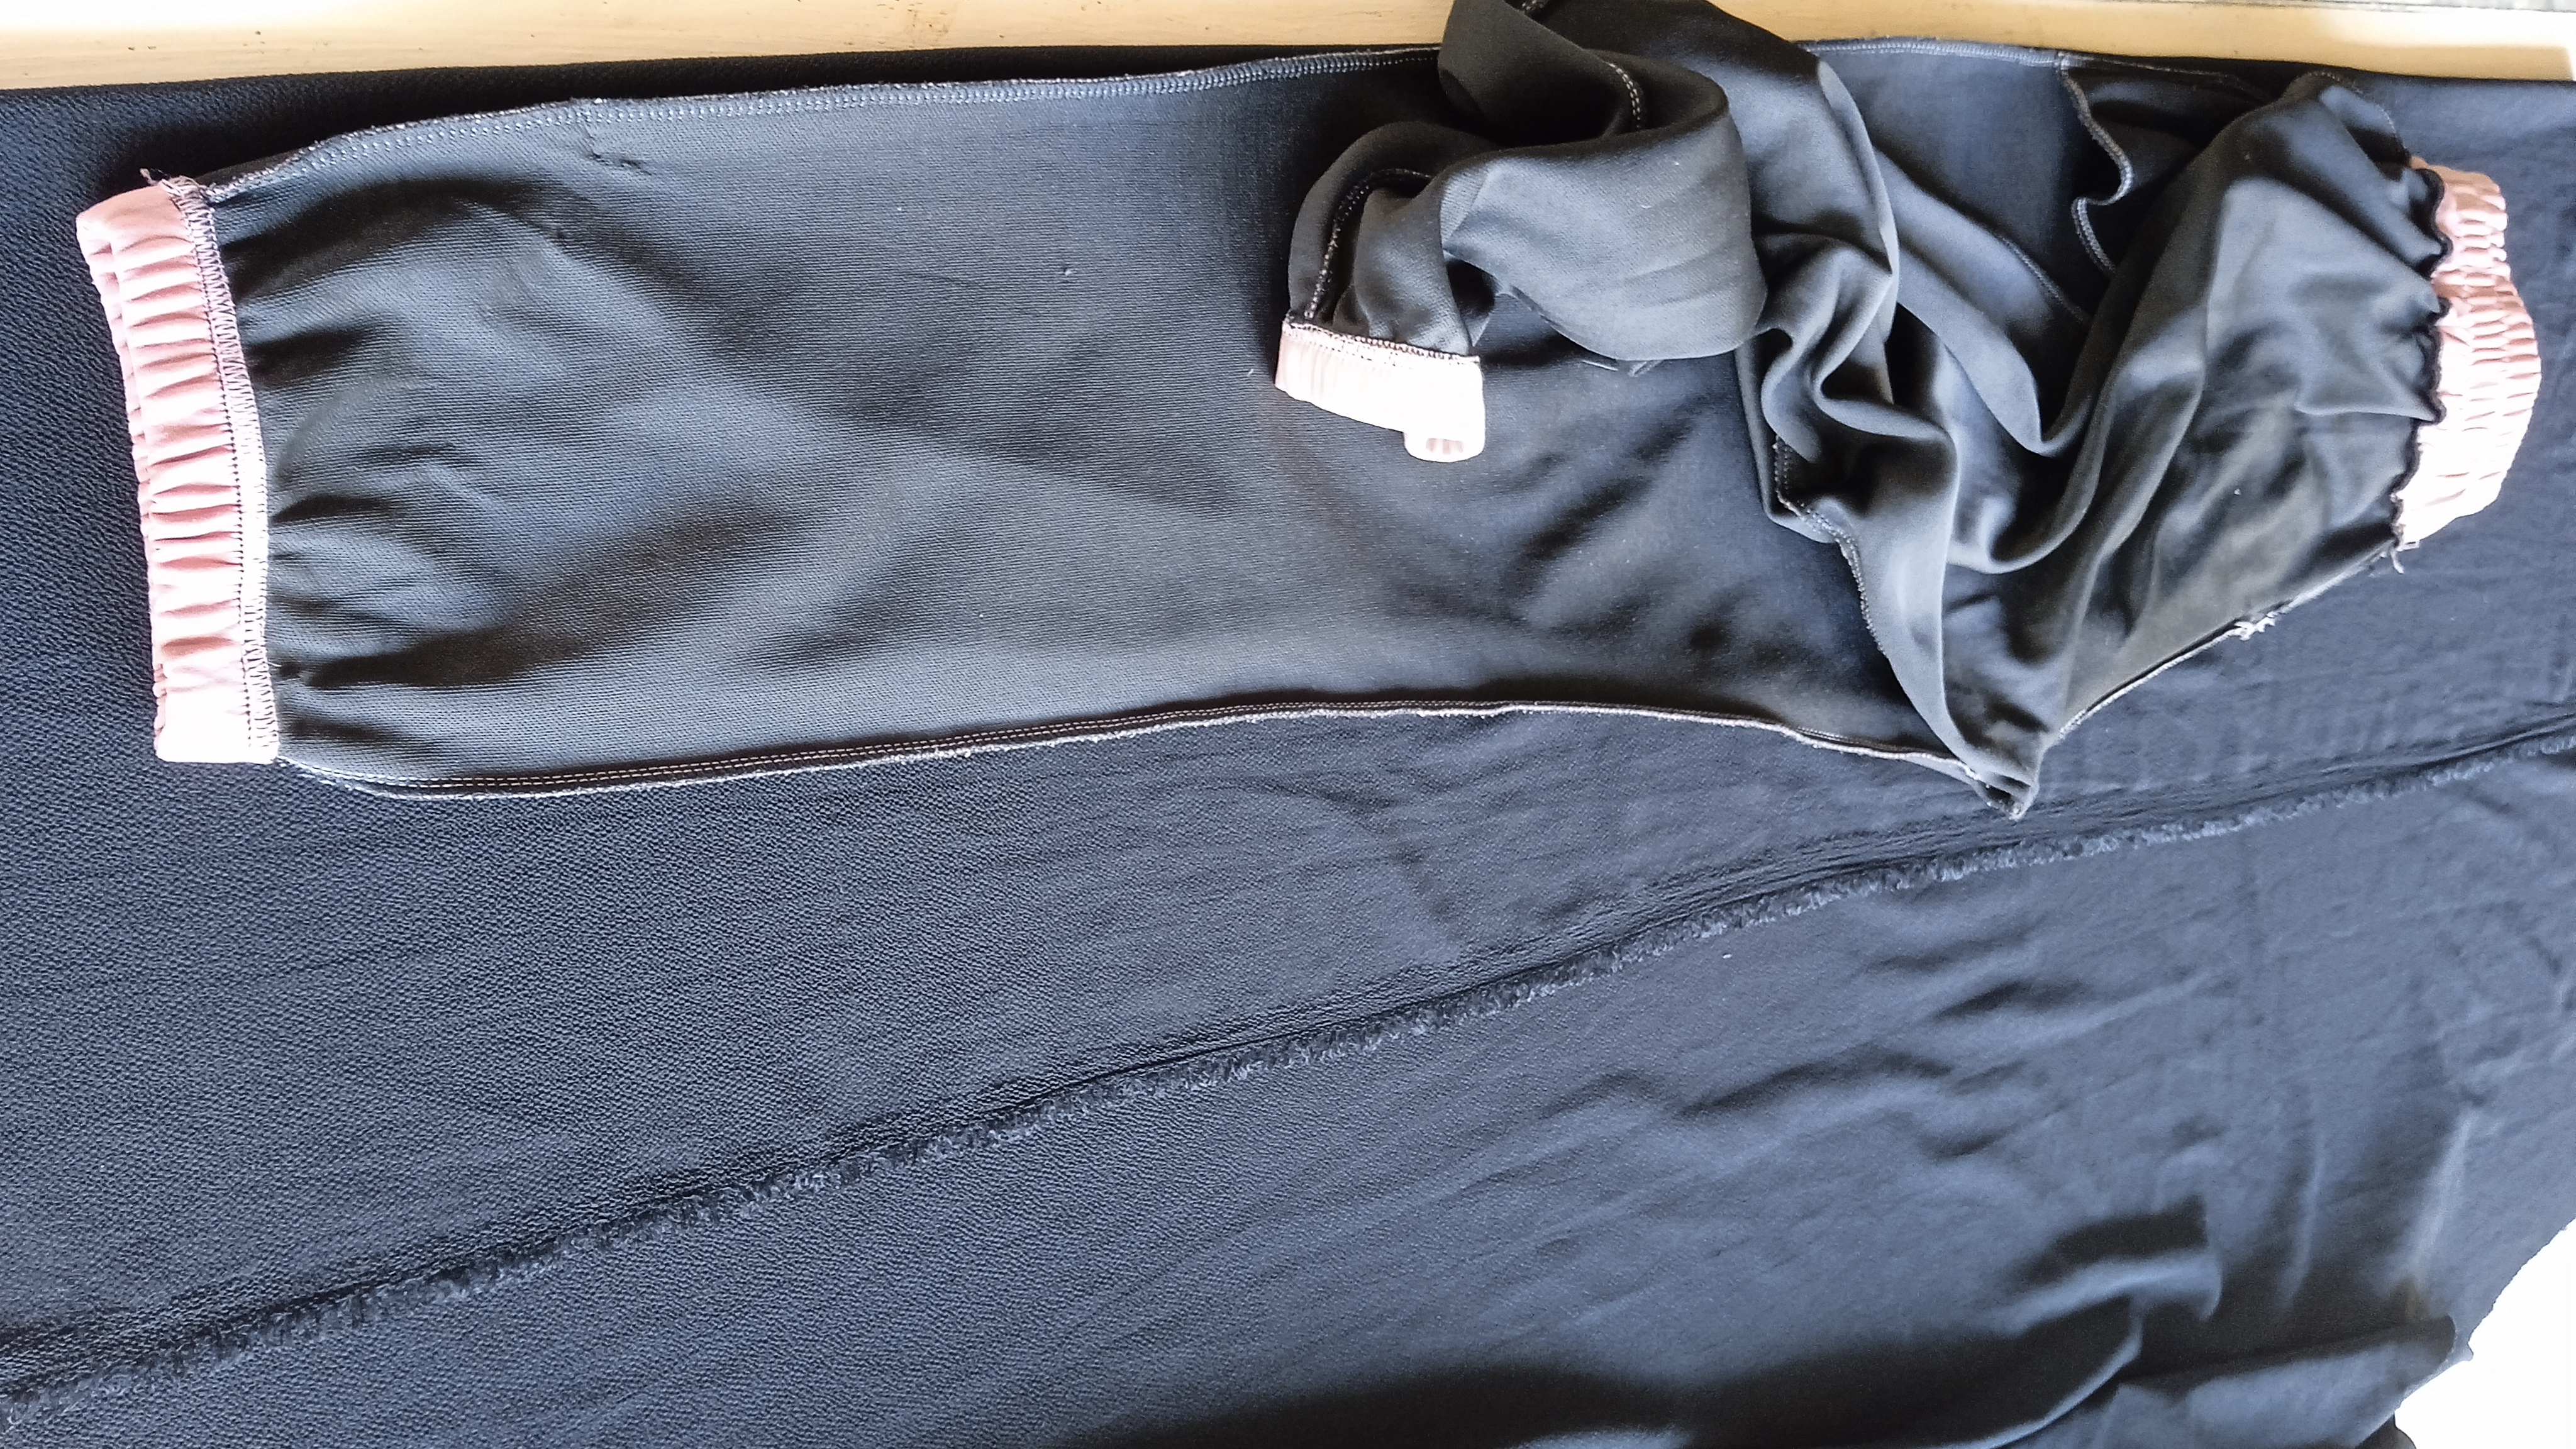
Observen las costuras por la parte interior. Esas costuras que ven a los costados es la parte delantera y trasera del pantalón, ya que les dije antes que este pantalón no lleva costuras por los lados. Arreglamos y cosemos por la entrepiernas.
Look at the seams on the inside. Those seams you see on the sides are the front and back of the pants, since I told you before that these pants do not have seams on the sides. We fix and sew them in the crotch.
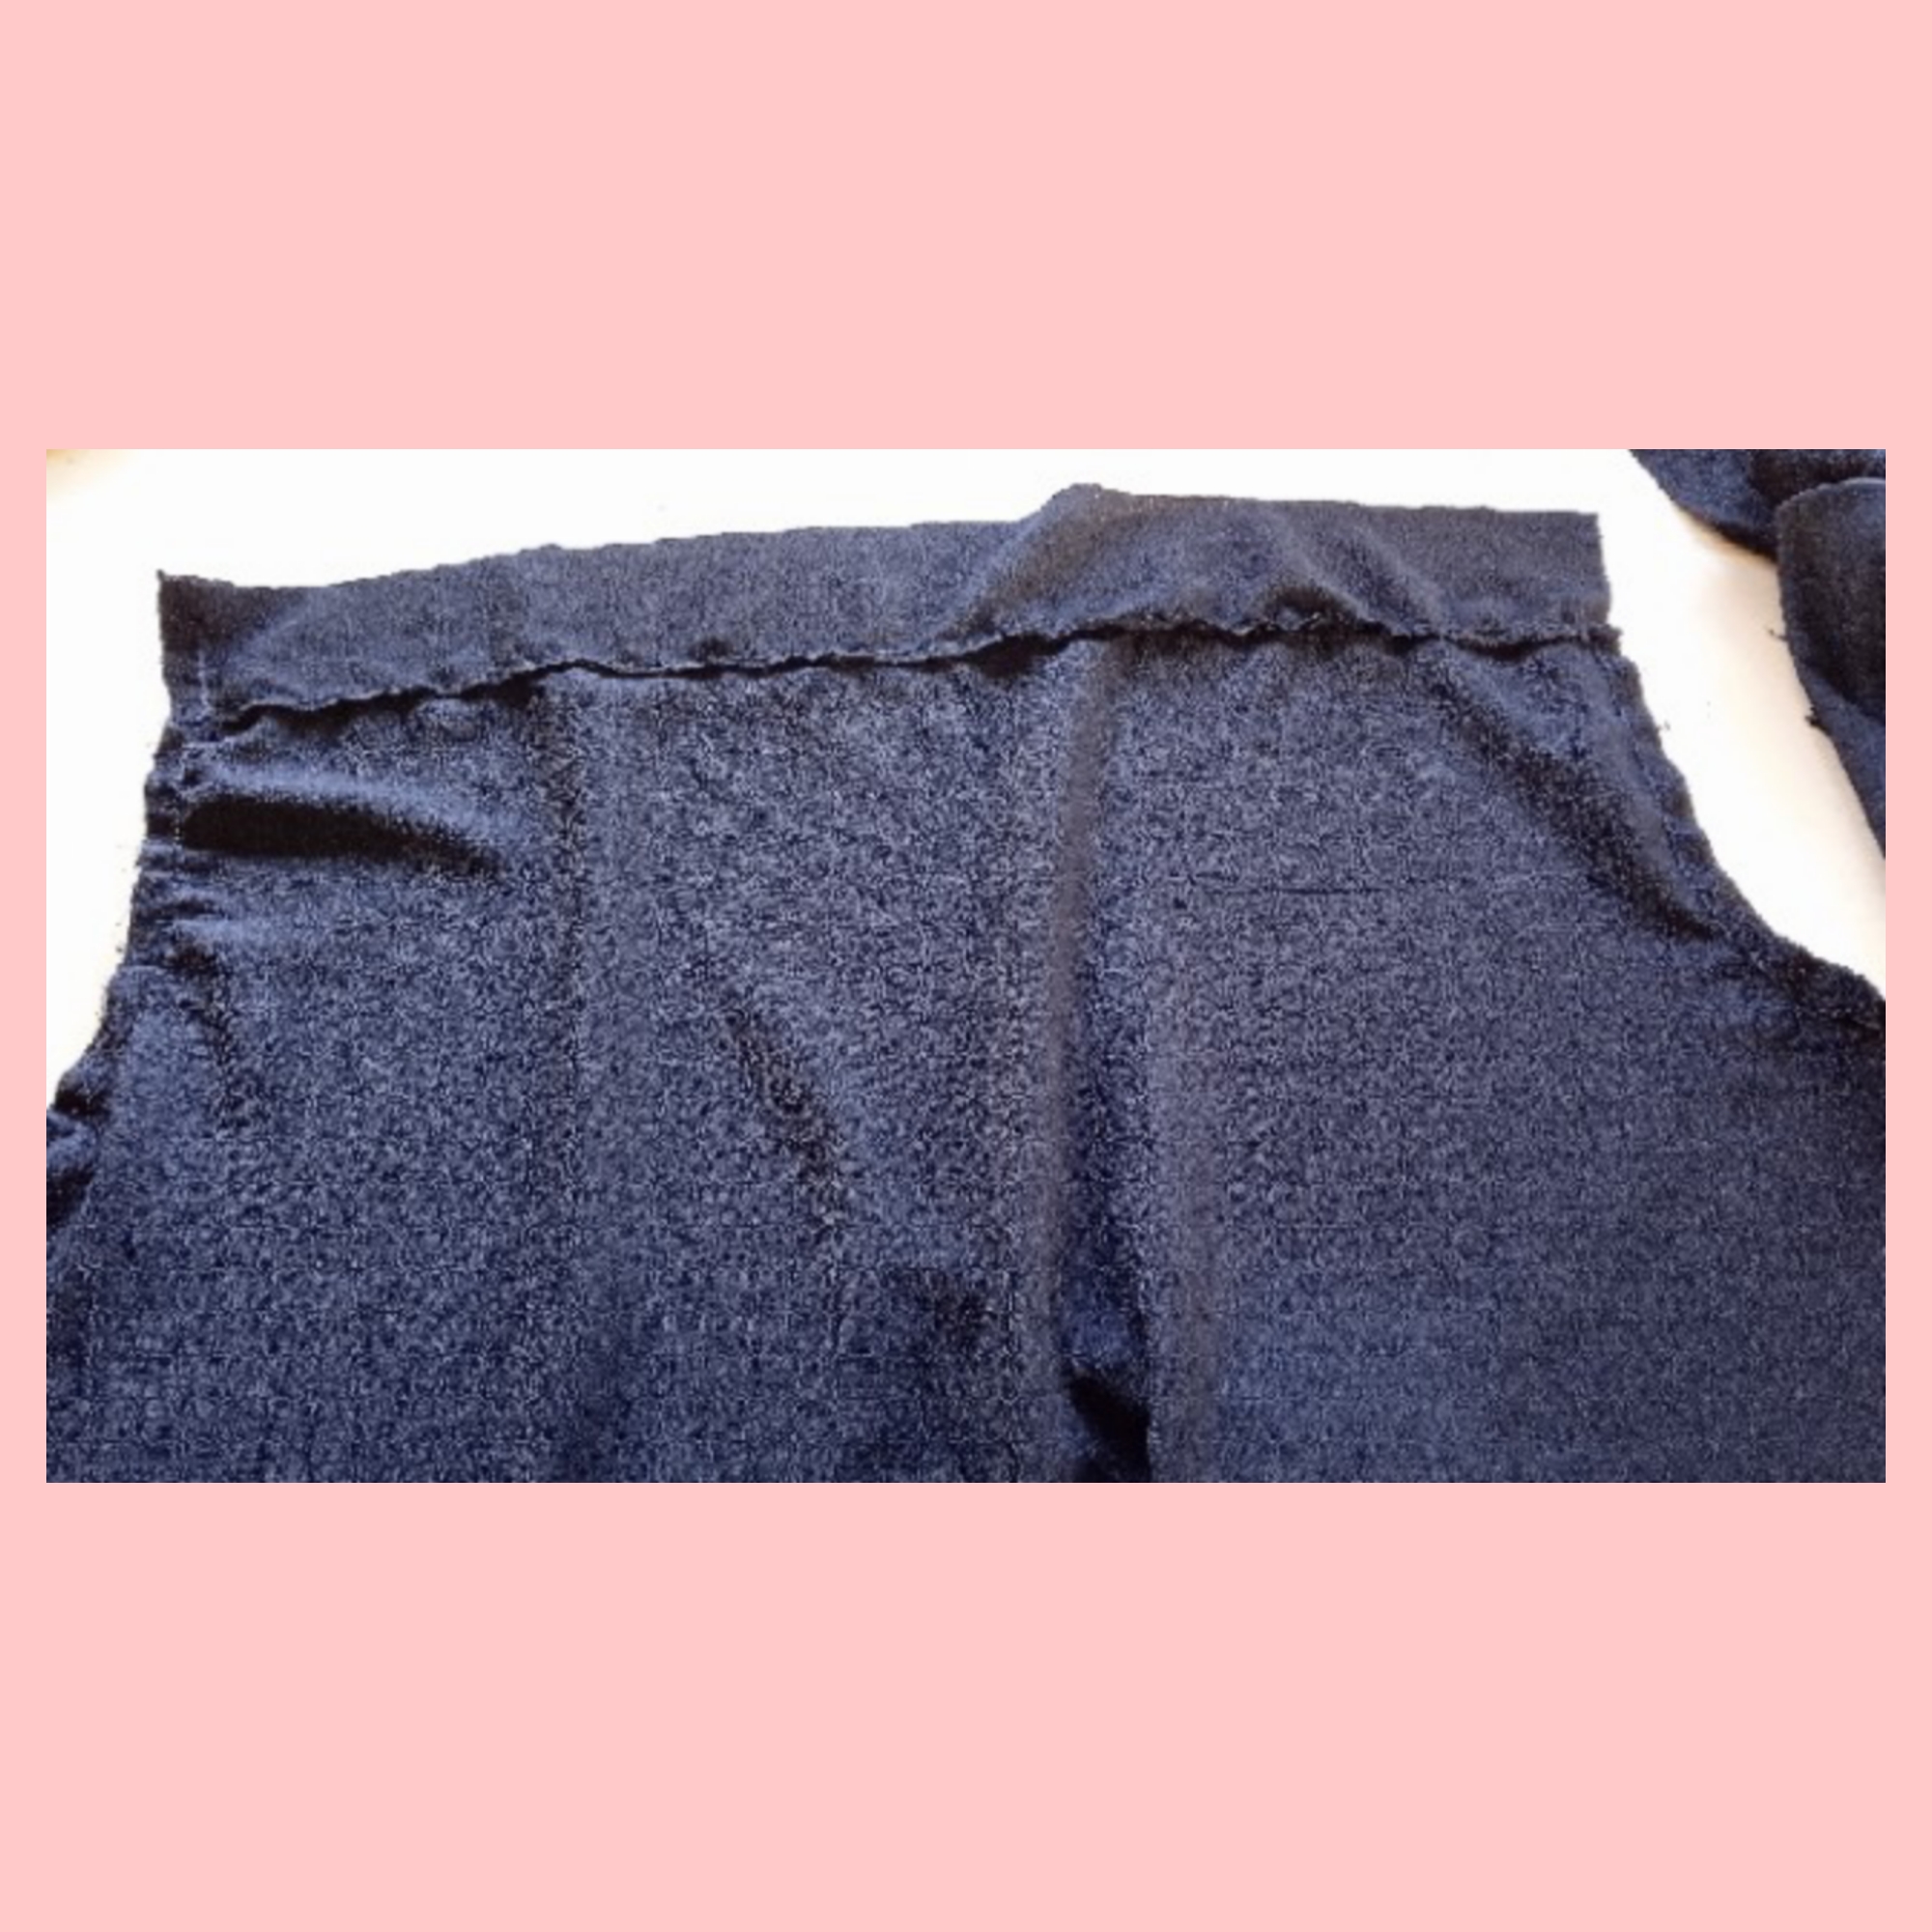
Ahora recortamos lo que será la pretina qué igual será de 10 cm al doblez por 30 cm de longitud. Siempre a la medida que deseamos. Cosemos colocando el elástico para que vaya frunciendo, una vez que hayamos terminado de colocar el elástico, cosemos este al pantalón.
Now we cut out what will be the waistband, which will be 10 cm at the fold by 30 cm in length. Always to the desired measurement. We sew, placing the elastic so that it gathers. Once we have finished placing the elastic, we sew it to the pants.
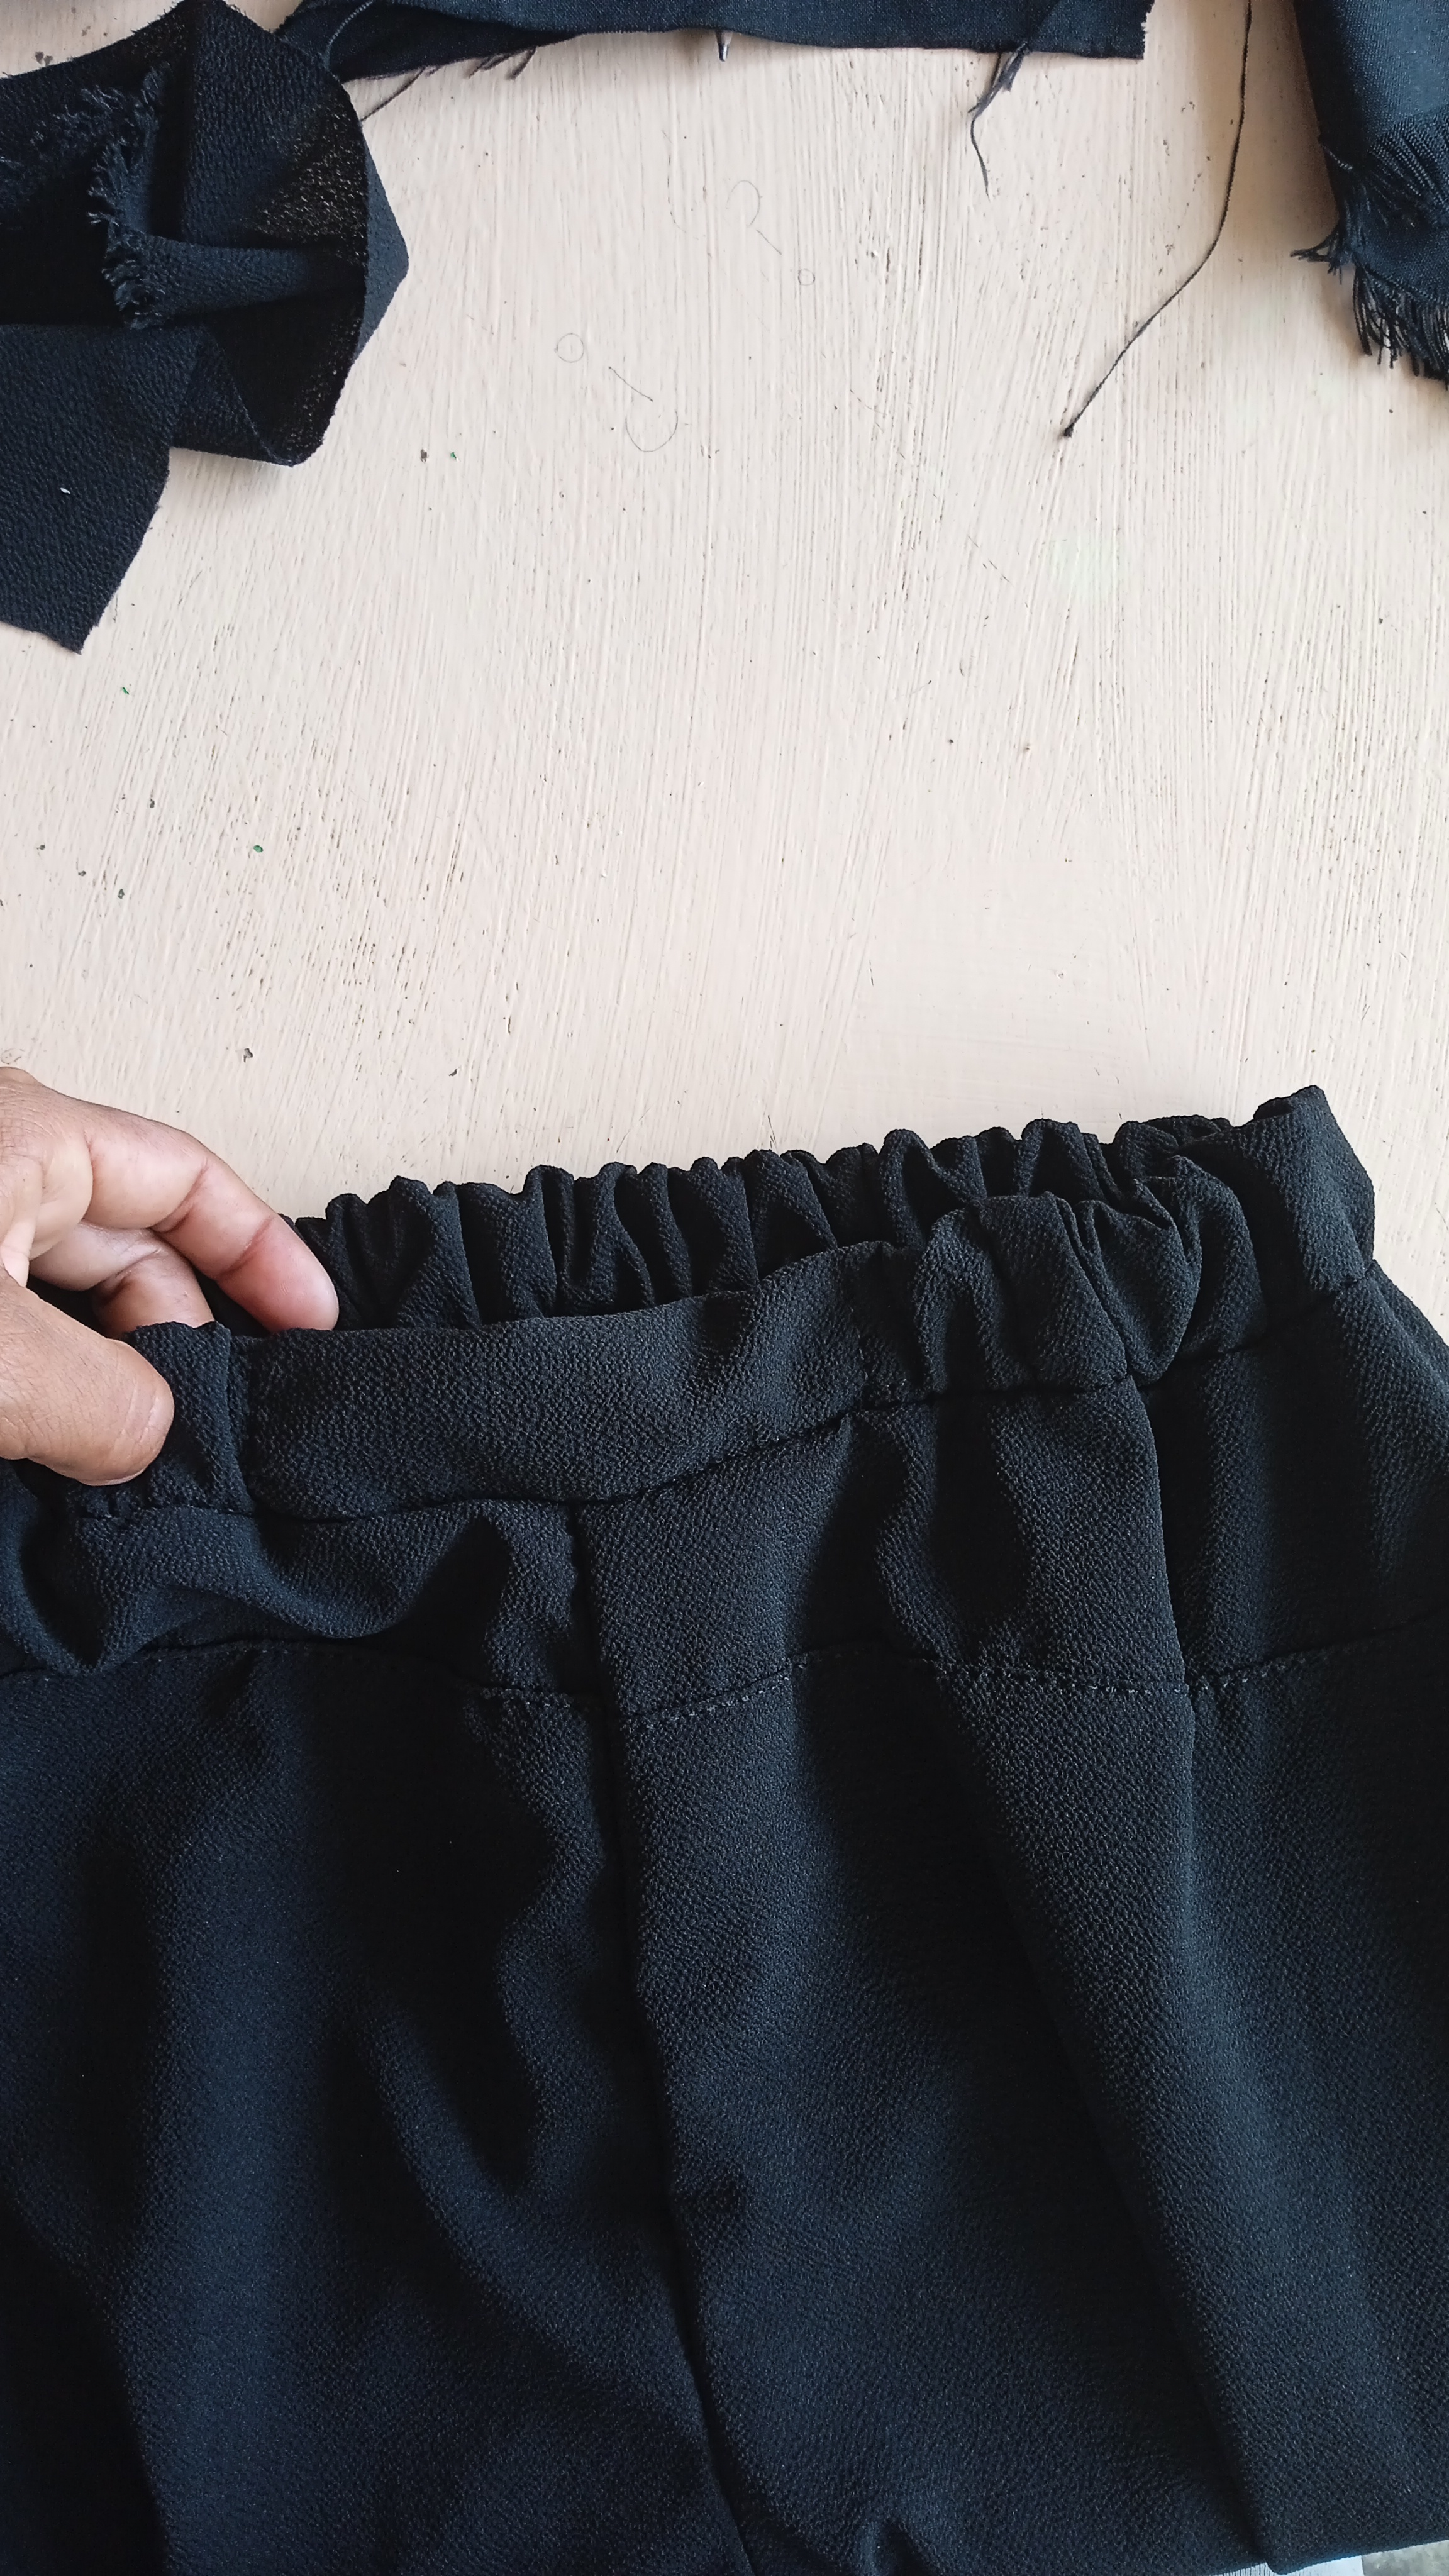
Finalmente cosi el dobladillo y así termine este pantalón deportivo. Es simple, sin bolsillos, solo para usarlo a diario o para ir a dormir.
Finally I sewed the hem and finished these sweatpants. They are simple, no pockets, just for everyday wear or for going to sleep.
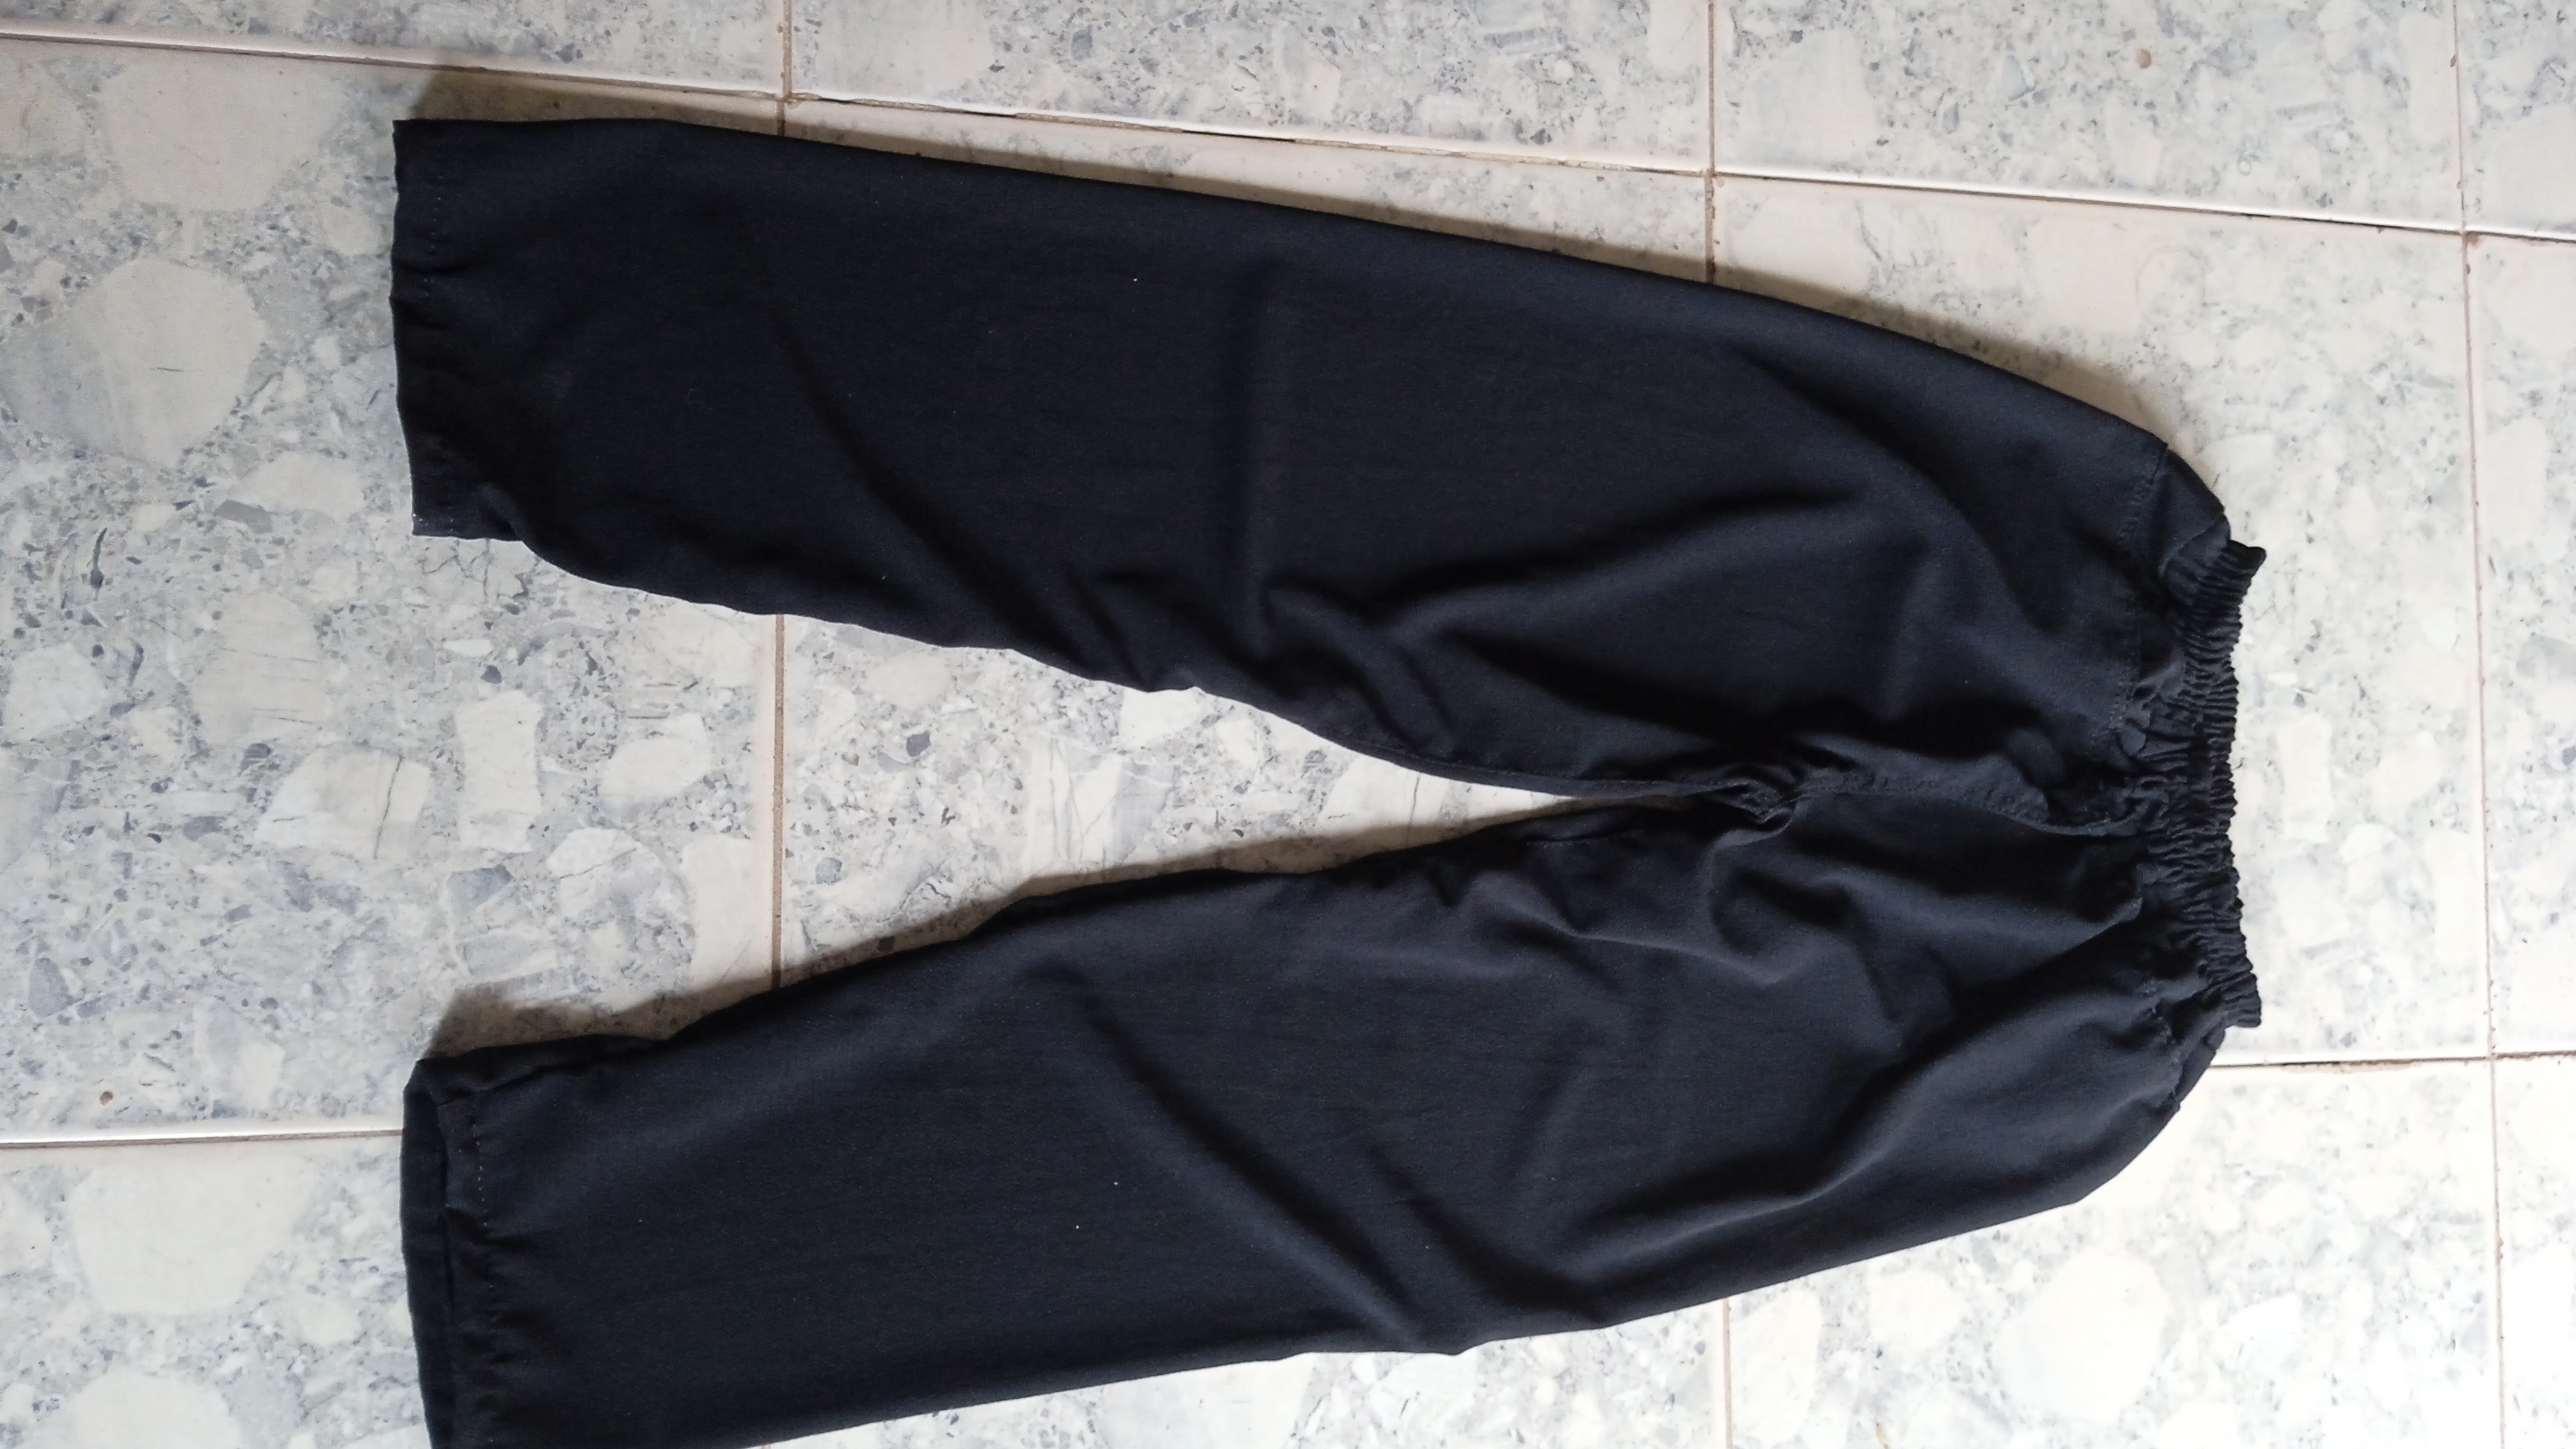
Este es el resultado final, un cómodo pantalón negro, sencillo de hacer y con pocas costuras. Espero les guste este proyecto y lo puedan realizar.
This is the final result, a comfortable pair of black pants, easy to make and with few seams. I hope you like this project and can make it.
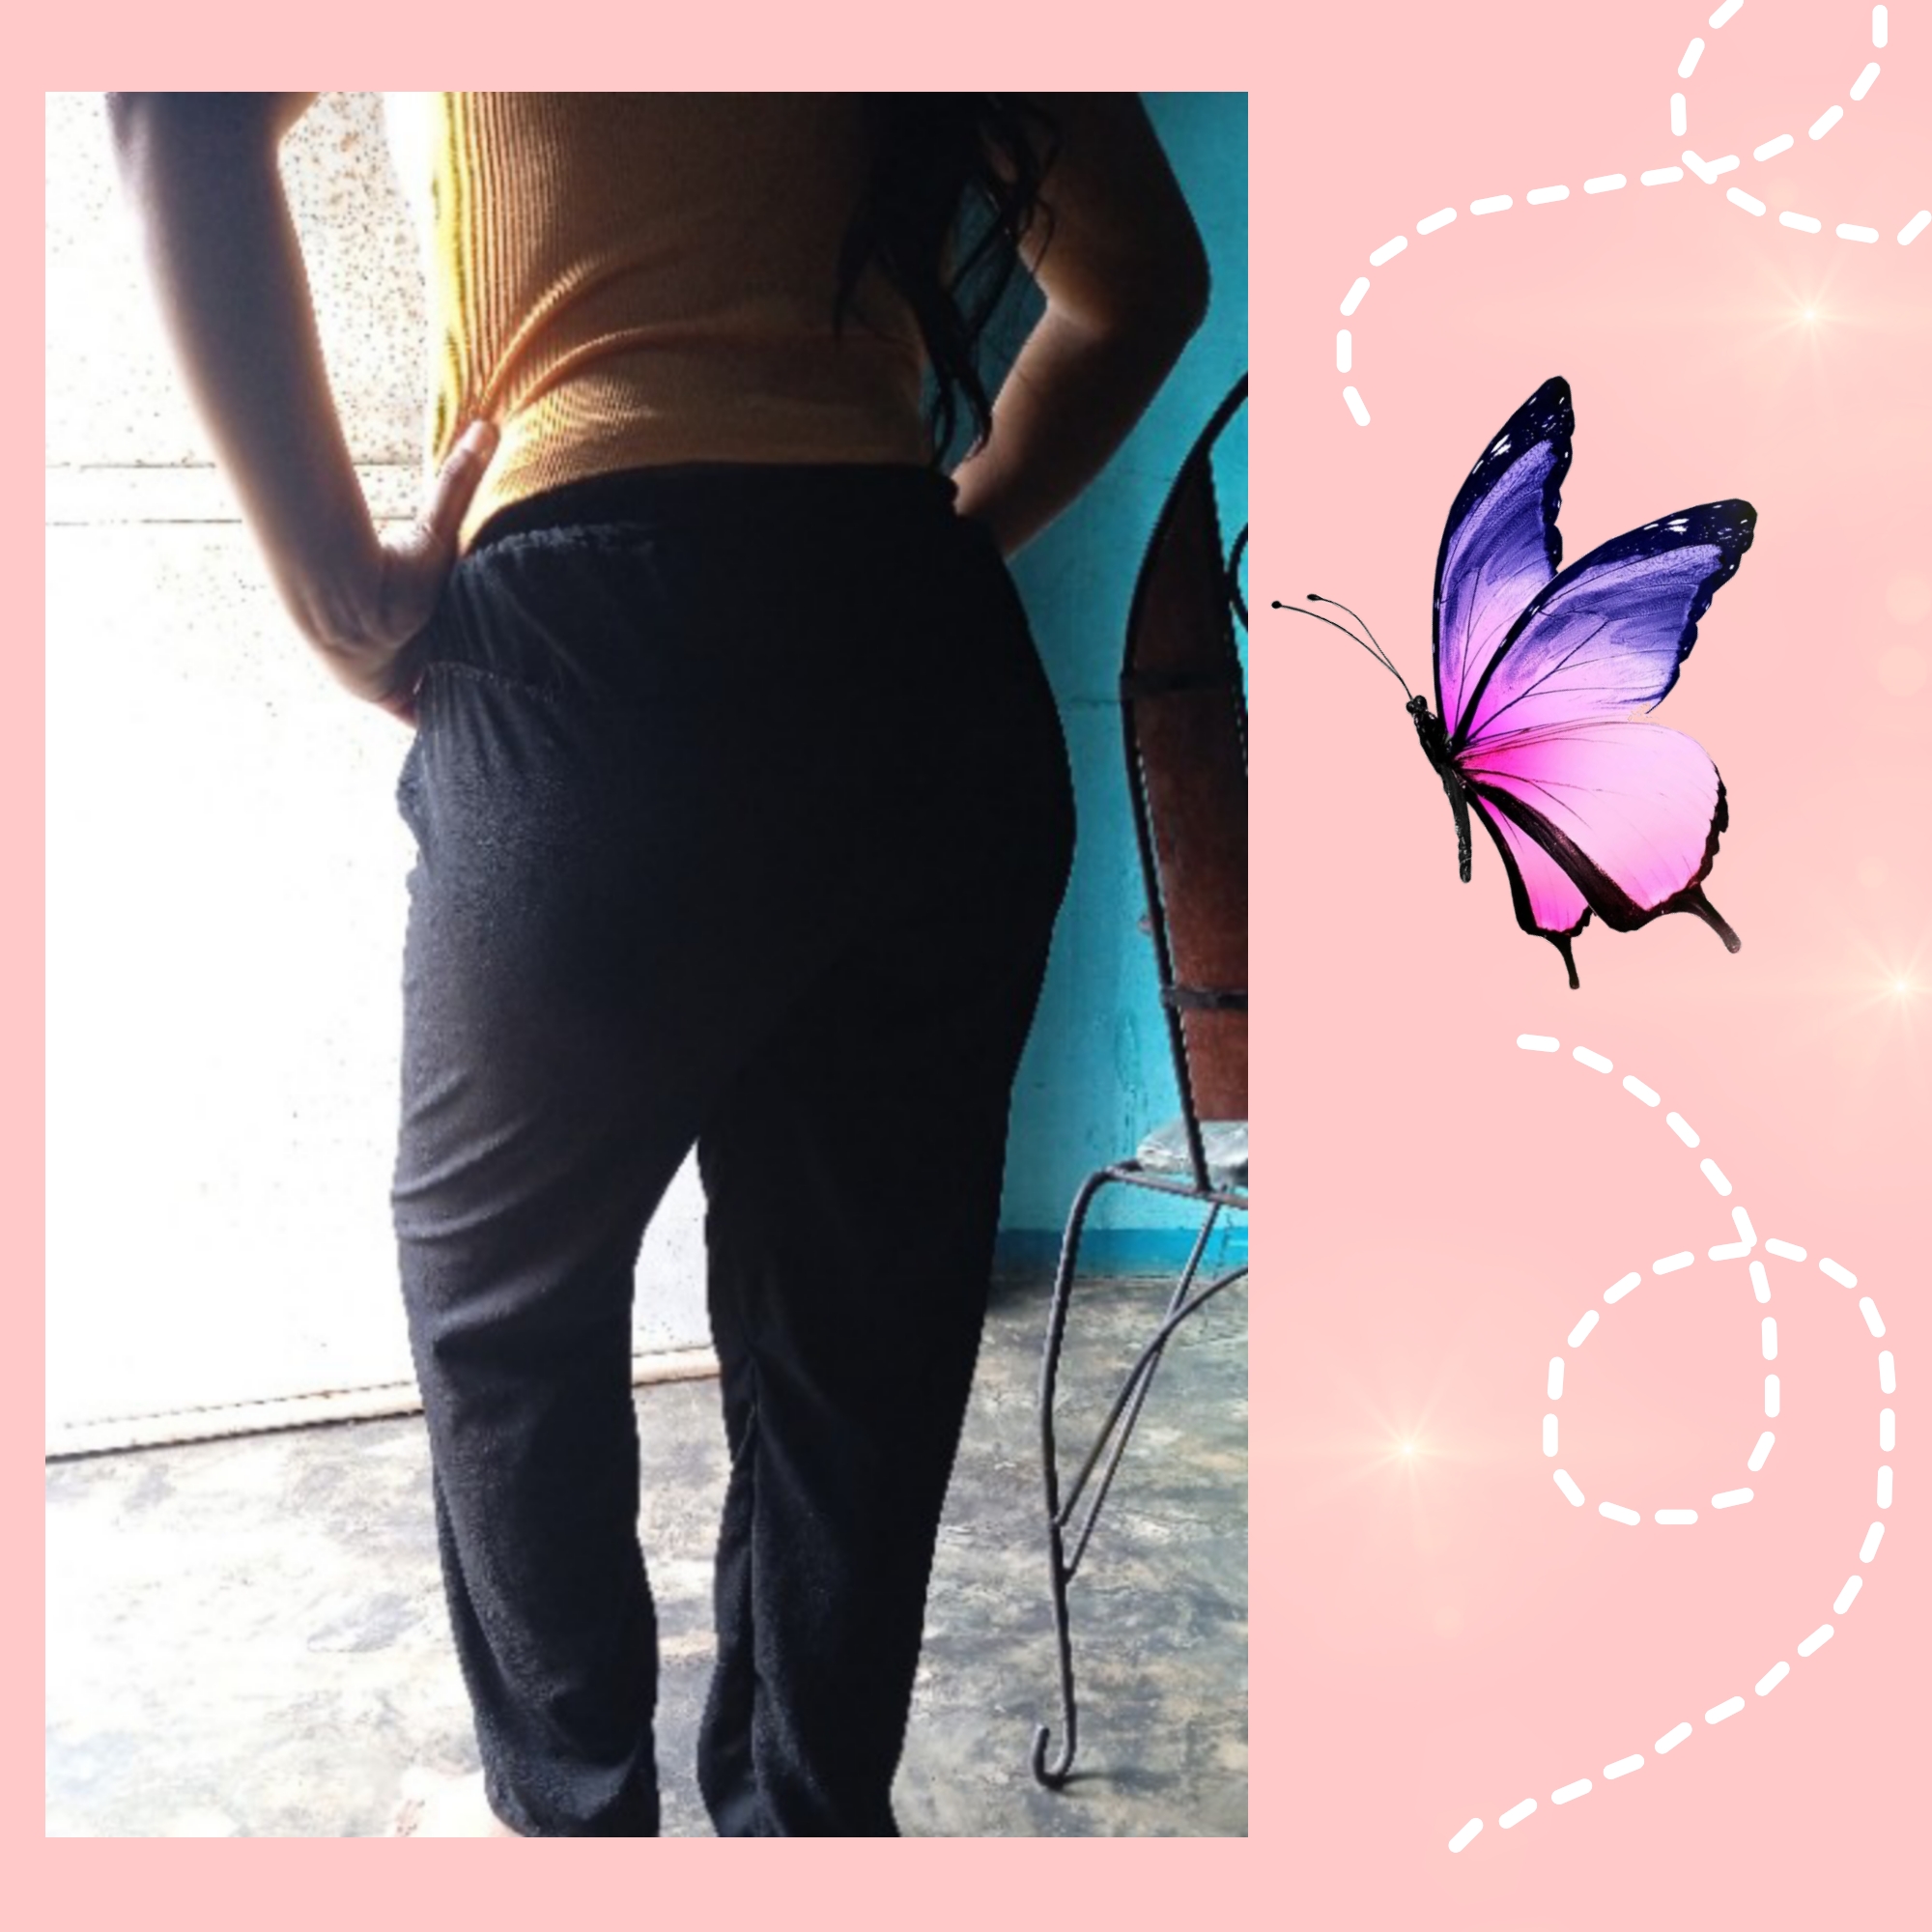
Me despido deseándoles una feliz y bendecida tarde, pásenla bien y nos leemos en un próximo post. Hasta pronto, se les quiere😘
I say goodbye wishing you a happy and blessed afternoon, have a good time and I'll see you in a next post. See you soon, I love you😘
Cámara: Redmi9.
Editor: PicsArt.
Traductor: Google.com
Camera: Redmi9.
Editor: PicsArt.
Translator: Google.com
Extraño este pantalón puede variar desde escolar hasta casual de acuerdo al color y al género que utilicemos. Es muy valioso saber este tipo de patrón ya que es muy versátil y resuelve muchas situaciones incluso de poder venderlos.
It looks super comfortable for ladies, and it is surely an ideal model for gentlemen as well. Thank you so much for sharing it in our DIYHub community, you have done a great job showing us the step by step photo...
It is a pleasure for me, and I believe that it works for gentlemen too. Greetings and thanks for your support.
The pants does look nice and comfy. Good work.
Gracias por el apoyo.