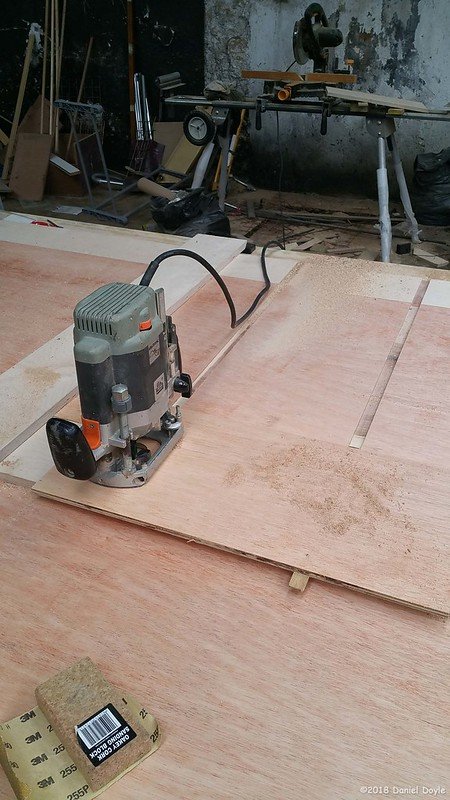
My friend Lisa, who you may remember from posts such as Folly and Cinema seats asked me if could I make a new door for her house. It was to fill a door-shaped opening between her living room and hall and she asked if it could be a secret door hidden behind shelves.
The house was old and a listed building meaning you couldn't do any structural changes but this opening needed a new door and since I wouldn't be doing anything, except hanging a door we figured we could get away with it.
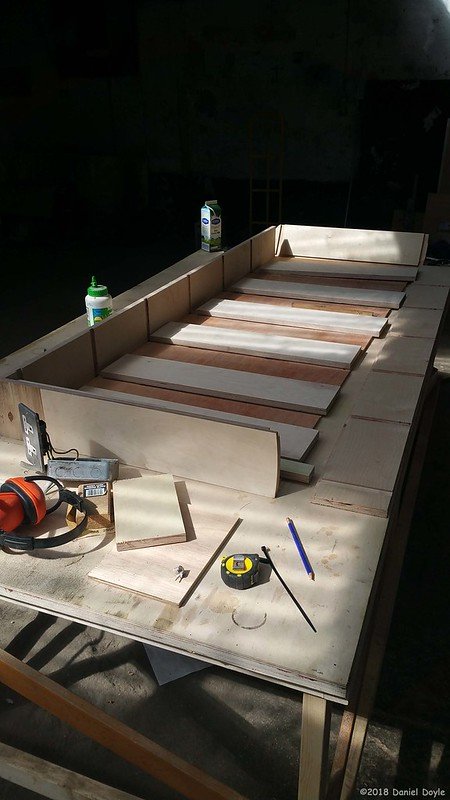
After some back and forth I knew all the requirements she had. The most complicated was that she wanted it to be openable both ways. This made everything much more difficult. If she had wanted it to open just one way I could have kept the hinge side straight and the opening side could be cut at an angle to allow for clearance. If you don't know what I mean I'm sorry but I'm not going to go and make you a drawing... Ok, Ok, Ok, here it is!
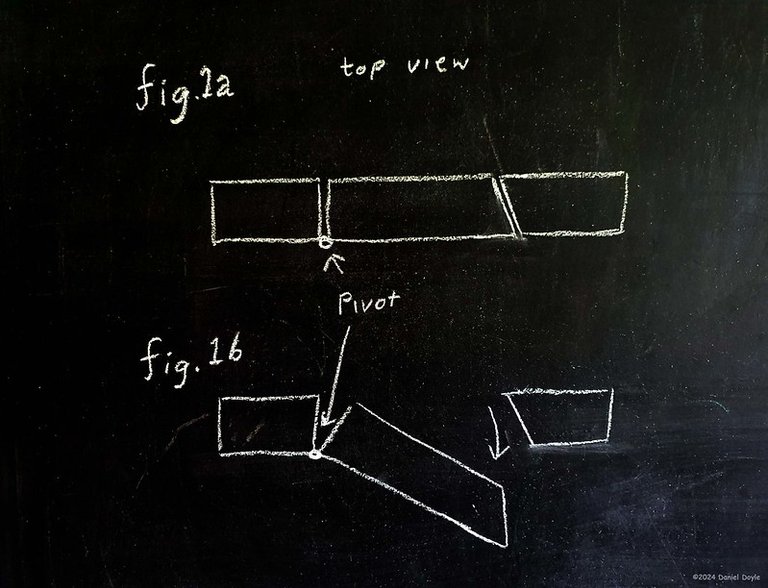
Fig.1a shows how you only need to chamfer the opening end to give clearance at the frame.
This will only allow the door to open inwards using the pivot point as in fig.1b
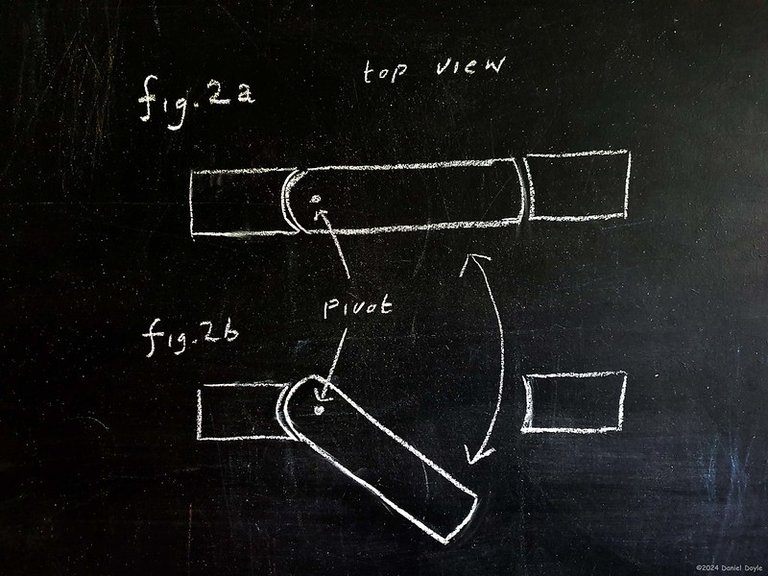
Fig.2a shows my solution which was to have the whole door pivot around an off-centre point and each edge would be a different radial arc to give clearance to the frame.
This would allow the door to swing both ways but require the sides of the door and frame to be curved at different arcs based on their distance from the pivot point. Get it? I hope so.
( I drew this on my blackboard especially for you so, show some love in the comments)
Lisa already had a lazy Susan which she thought I could employ as a hinge. She is smart like that. I would need a second one for the top so we ordered that and I got to work. I was pretty confident that the lazy Susan would be able to take all the weight the door and books would create.
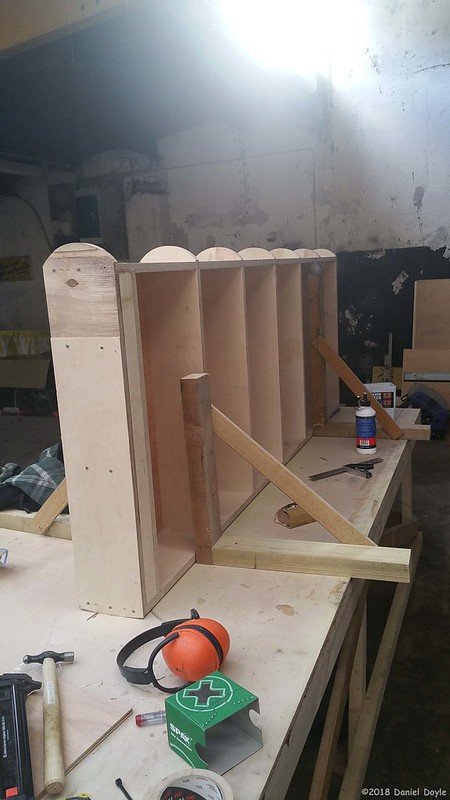
The bookcase was straight forward enough but I made sure everything was square, had nice strong joints everywhere and a backboard to stop it from sagging.
I took away some wood at the bottom and top to give room for the hinge so the gaps between the door and frame would be as small as possible. The door opening was not perfectly square but I could fit everything into place with shims to make the frame square again.
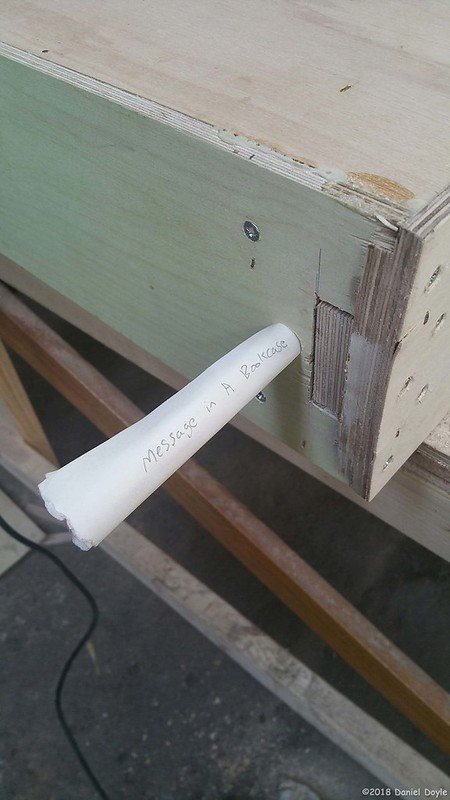
The curves at the edges were then added but before I did I wrote a little note and hid it in the bottom. I forget what I wrote, It was probably a treasure map.
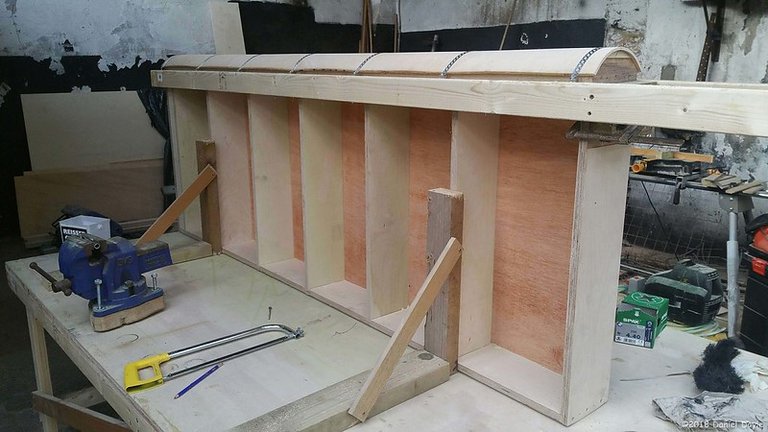
Along both sides, I made curved ribs which I could bend wood over. For the curve, I used bendy plywood. This is plywood with all the grain running in the same direction and has a net-like fabric in its core. It is quite cool stuff and allows you to make crazy bends although it is expensive and I had some issues trying to clamp it in place.
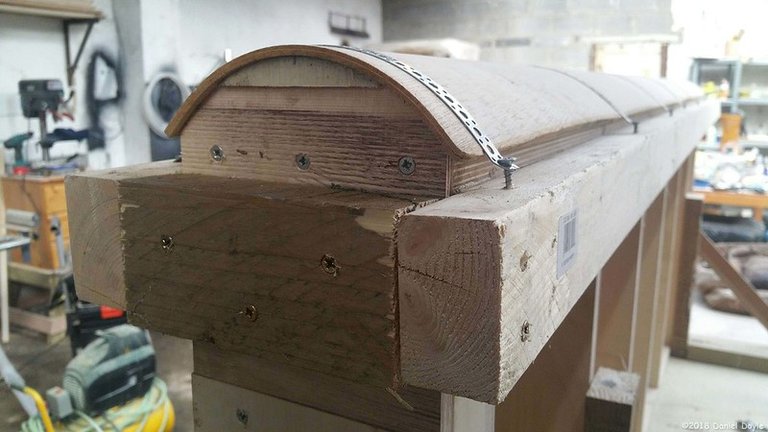
A temporary structure was built around the bookcase which I could then use bandolier strap to screw into. This worked pretty well but looking along I could still see the waves of pressure.
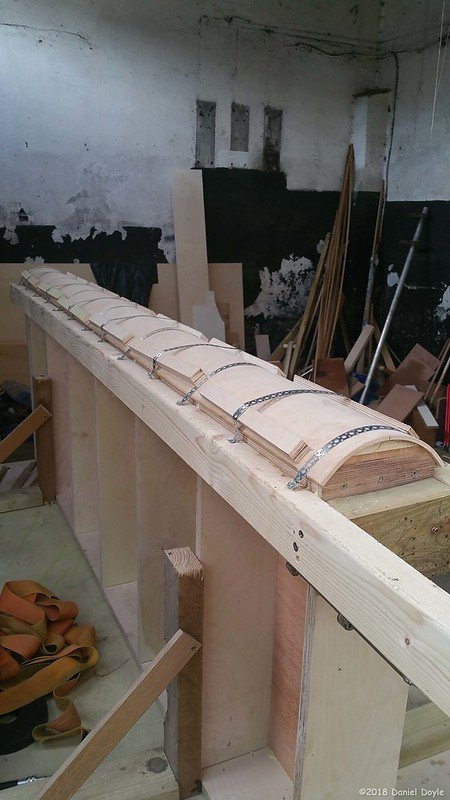
Before the glue dried I added other blocks of wood and more straps to straighten it out. The blocks of wood help even out the surface.
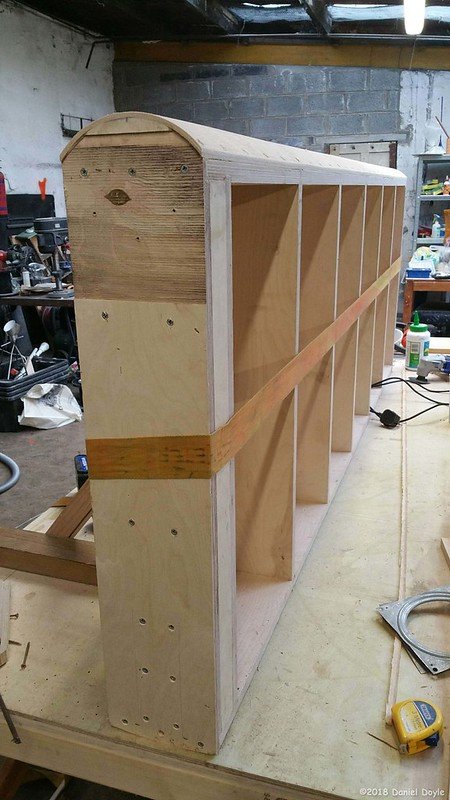
It worked very well. And the bookcase was complete. Now on to the frame.
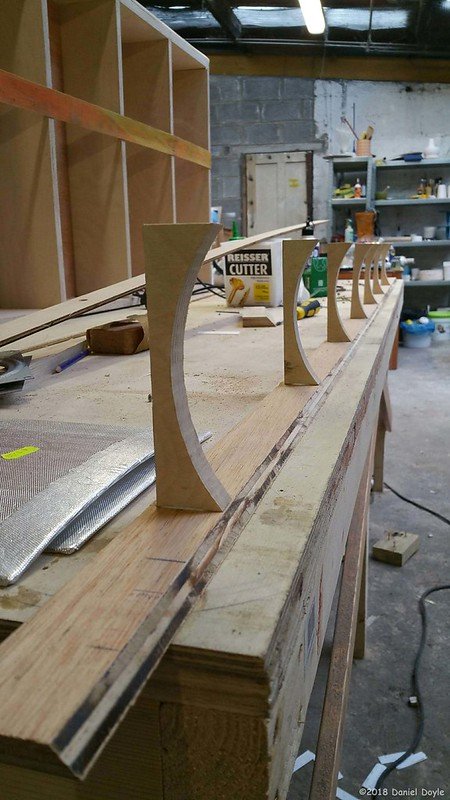
This would be a concave form which I made a skeleton for. I had to take into account the thickness of the bendy plywood and also a layer of card which I used as a spacer between the bookcase and frame.
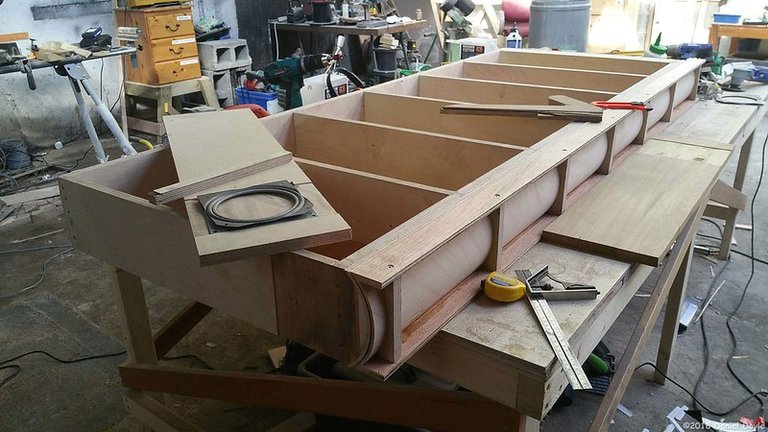
This made a pretty complex sandwich of layers. I then glued it up and clamped it onto the bookcase to hold everything in place while the glue dried.
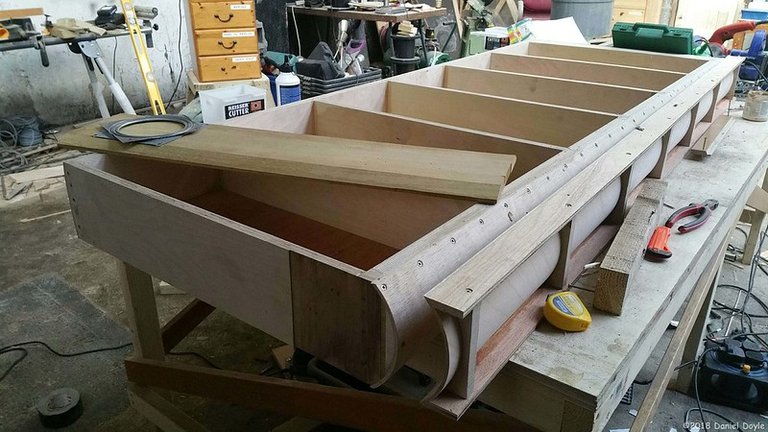
To my surprise, this worked very well. The cardboard spacer was removed and it gave a very nice clearance to the frame. Then I made the frame top and a traditional saddle for the doorways out of oak hardwood. These had a small rebate to accept the other side of the lazy Susan bearing.
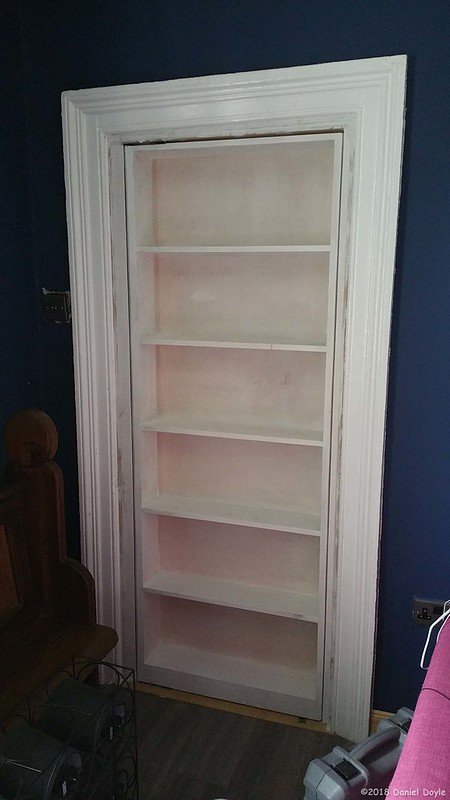
I never got any images of the installation because I was under pressure to get it done. The whole thing had been painted with a first coat of undercoat in my workshop which is why it now looks white.
It went in easy enough. First the saddle (That bit at the bottom) then the sides. I then attached the top frame to the door and slid the whole thing in.
The original door frame was very bent so, I needed to shim the top to get it to line up.
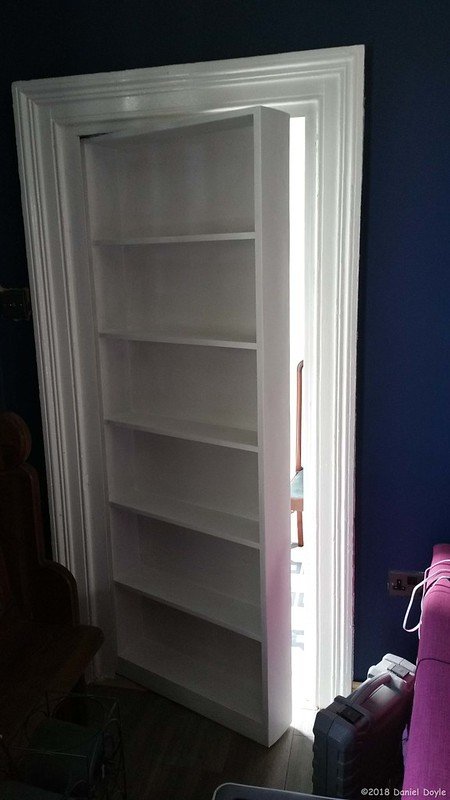
Another coat of undercoat and it looked pretty well. Lisa said that she would do the final coat of paint to match the room she was decorating.
The door swung nicely and was perfectly balanced which I was quite proud of.
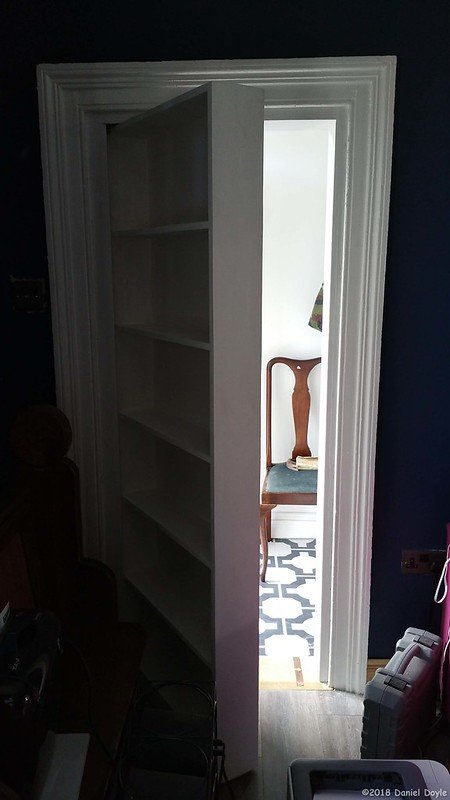
To help the door stay shut I Placed a spring-loaded metal ball underneath and on the saddle I inlaid a copper strap that it could run along. (you can see it at the bottom there) In the middle was a pocket that the ball would pop into to stop it with a satisfying click in the correct position.
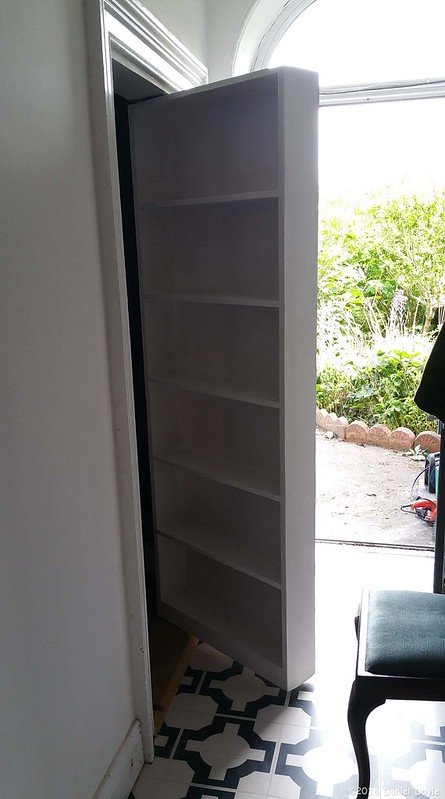
The door also swung out into the hall. The mechanism of the lazy Susan bearing and the curved frame worked perfectly. When closed there was about a 3mm gap all around and when opened there was no rubbing.
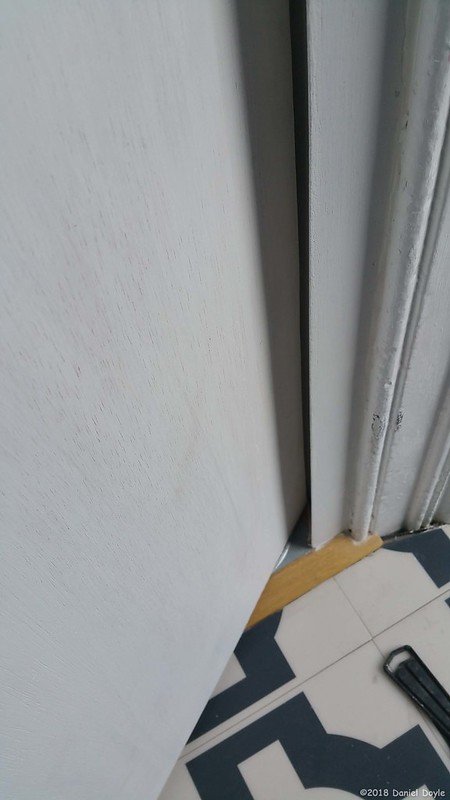
I really liked the way the edges slid by each other as smooth as silk.
I never did get a picture of the finished paint job or when the whole thing was filled with books and other stuff. But, trust me, Bro. It looked great.
I don't think putting a door in a doorframe that used to have a door would count as structural changes but I don't know anything about anything at all.
Damn your chalkboard drawings are so neat O_O
I want one of those in my house, we could use an extra bookshelf XD Even got a doorframe to put one in though we took the door that was in it out for reasons and I can see more accidents happening if we put a heavier one there x_x
I wasn't allowed to change even the door frame except for a couple of screws. It is nice that it could easily be removed if it became a danger.
Thank you for crediting my chalkboard drawing. It required a lot of skill.
Luckily the wall was solid stone and quite thick. I don't think you would get away with this in a modern house.
My house is far from modern (built in the late 1890s, extended in the 70s?) and I don't think it would survive this XD (it's brick veneer x_x)
Wow, cool to live in such an old house. Over here it would be a big worry for heating bills. I just spent the last two years trying to make our 1950s house warm. Insulation and big stove. More to do this summer.
Fortunately it doesn't get so cold here, otherwise that would definitely be a problem! Earlier this year we finally had the funds to put reverse cycle aircons in the kids bedrooms, poor things have been suffering for years in rooms that are hot in summer and cold in winter (summer was always the bigger problem as there was no relief especially after losing two shade trees, winter sucked but they don't yet have long term injuries which act up when it's too cold and always hurt even when you have the blankets and things piled on to keep you warm).
Is it at least a little bit warmer with the work you've done so far?
That's some great woodwork you did. And constructing a door that opens both ways sounds like something that would need a lot of creativity. It's good you completed the work and I must say you did it well. Your friend must have been thrilled.
Thanks for taking us through the whole process, I enjoyed that. Have a great Sunday.
Thank you. It was a fun project with lots of learning as I worked, which is always my favourite type of project.
This is great, very useful to take advantage of the spaces, I would like to have a door like this.
It was good fun. luckily the wall was thick and strong stone to build upon.
Ooh wow
This so really creative and the door kinda looks like a shoe rack
Nice one!
Thank you. It has potential and it made the room seem bigger.
Impressive! I'll be curious to see how the bearing manages the weight of the books over time
It seemed quite strong. I used long screws through the bearings and into the masonry around the door and hung out of it to test. In the end, I think she used it for CDs and Dvds which are a bit lighter than a tonne of books.
I'm not surprised an ice sculptor made the coolest door ever.
Thanks Dan. I was just lucky I have a friend wow is crazy enough to give me these challenges.
Ask her to ask you to build a barstool shaped like a Sherlock Holmes pipe.
Now you're talkin'
Reckon you're proud of this one Dan 😅
You should be. Thanks for the drawing too. The door looks really nice.
!diy
Thank you, my first time posting in this community but I will have more to come. I was happy with how it turned out.
I was too.
Looking forward to it 🤝
Ingenious m'dear and the note in a bookcase is a nice little touch.
I hope that when they take the door down someone will find my note. As long as it is not someone that the door fell on.
This is multifunctional. It's really cool.
Good job.
Thank you very much. It was a fun little mission to go on.
One of those assignments you look back on and you become full of pride.
Masterpiece door 👏🏿
Thank you very much. I am sure I could do it better next time but it was a good test of the idea.
You can query your personal balance by
@successchar just sent you a DIY token as a little appreciation for your post dear @ammonite! Feel free to multiply it by sending someone else !DIY in a comment :) You can do that x times a day depending on your balance so:!DIYSTATSYou can query your personal balance by
@stevenson7 just sent you a DIY token as a little appreciation for your post dear @ammonite! Feel free to multiply it by sending someone else !DIY in a comment :) You can do that x times a day depending on your balance so:!DIYSTATSCongratulations @ammonite! You have completed the following achievement on the Hive blockchain And have been rewarded with New badge(s)
Your next target is to reach 6000 replies.
You can view your badges on your board and compare yourself to others in the Ranking
If you no longer want to receive notifications, reply to this comment with the word
STOPThat's the dream! Craftsmanship behind it is very impressive. Such a unique project too! You said that you used plywood for curved bits, but what kind of wood you've used to make entire door?
#hive #posh
Beautiful!! You did a great job! I've done a lot of !DIY but never anything this extensive.
!BBH
!PIZZA
$PIZZA slices delivered:
(1/15) @successchar tipped @ammonite