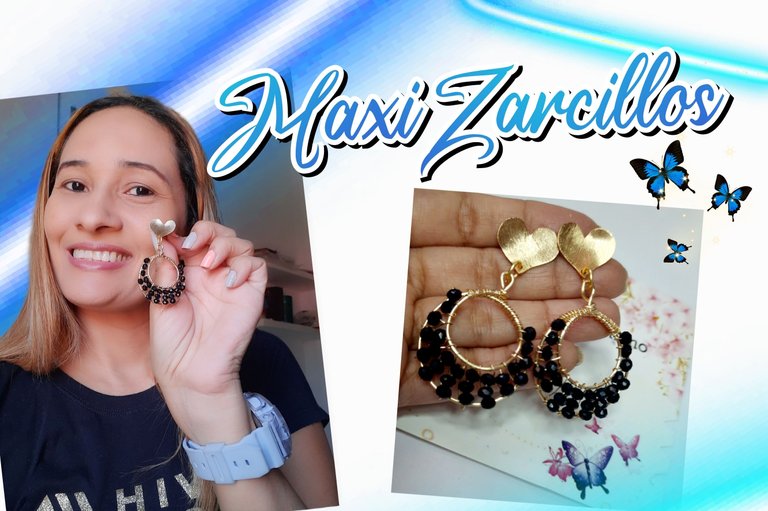


Un saludo, mi gente maravillosa de @jewelry esperando que todos se encuentren muy bien, tantos proyectos hermosos en la comunidad que me encantaría poder replicar algunos que he visto y me han encantado.
El día de hoy les he traído unos "maxizarcillos" que me gustan mucho y realmente son sencillos de realizar y no se necesitan tantos materiales, me gusta trabajar el alambre, pues es muy moldeable y darle forma, muchas veces es sencillo, como en el proyecto que les he traído.
Tengo una clienta que tiene días pidiéndome algunos zarcillos grandes y espero que estos les guste, yo realmente no soy de utilizar zarcillos tan grandes, solo para ocasiones como una fiesta, boda o algo parecido, yo soy de utilizar zarcillos pequeños para el diario, pero estos me gustan mucho y lo mejor no son pesados.
El color negro siempre suele darle a los zarcillos una gran distinción y sobriedad, me gusta mucho el color negro, es de mis colores favoritos en realidad y me encanta la combinación con dorado.
Así que les invito a ver este pequeño tutorial, sencillo y práctico, me encanta poder crear algo desde cero y ver luego los resultados, un paso a paso que sé que les gustará, así que manos a la obra mis queridos creativos, espero les guste.

Greetings, my wonderful people of @jewelry hoping you are all very well, so many beautiful projects in the community that I would love to be able to replicate some that I have seen and have loved.
Today I have brought you some "maxizarcillos " that I like very much and really are simple to make and do not need so many materials, I like to work the wire, because it is very moldable and shape it, many times is simple, as in the project that I have brought you.
I have a client who has been asking me for days for some big tendrils and I hope you like these, I really do not use such big tendrils, only for occasions such as a party, wedding or something like that, I am to use small tendrils for everyday, but I really like these and the best thing is that they are not heavy.
The black color always tends to give the tendrils a great distinction and sobriety, I really like the black color, it is one of my favorite colors actually and I love the combination with gold.
So I invite you to watch this little tutorial, simple and practical, I love to create something from scratch and then see the results, a step by step that I know you will like, so let's get to work my dear creatives, I hope you like it.

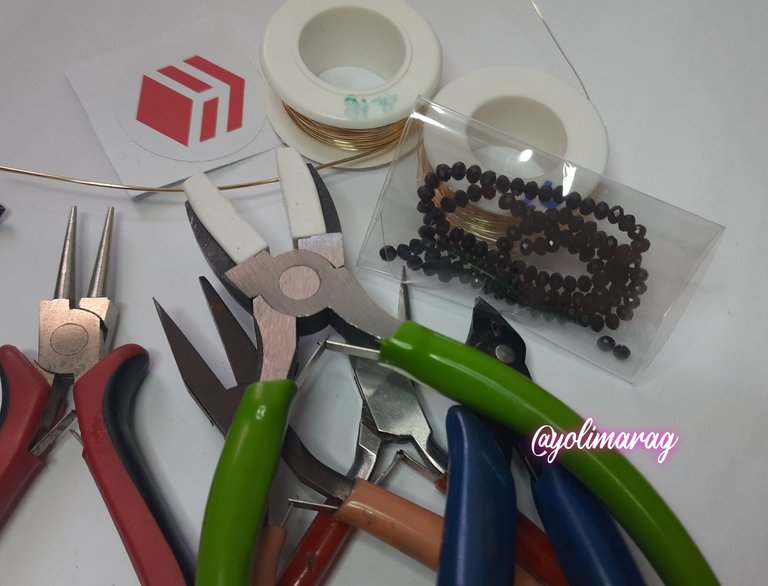
Materiales:
✨️ Alambre #18 y #16
✨️ Pinzas de Bisutería
✨️ 56 Cristales negros 2mm
✨️ Madril
Materials
✨️ Wire #18 and #16
✨️ Fashion Jewelry Clips
✨️ 56 Black crystals 2mm
✨️ Madril

Paso a Paso / Step by Step

 |  |
|---|
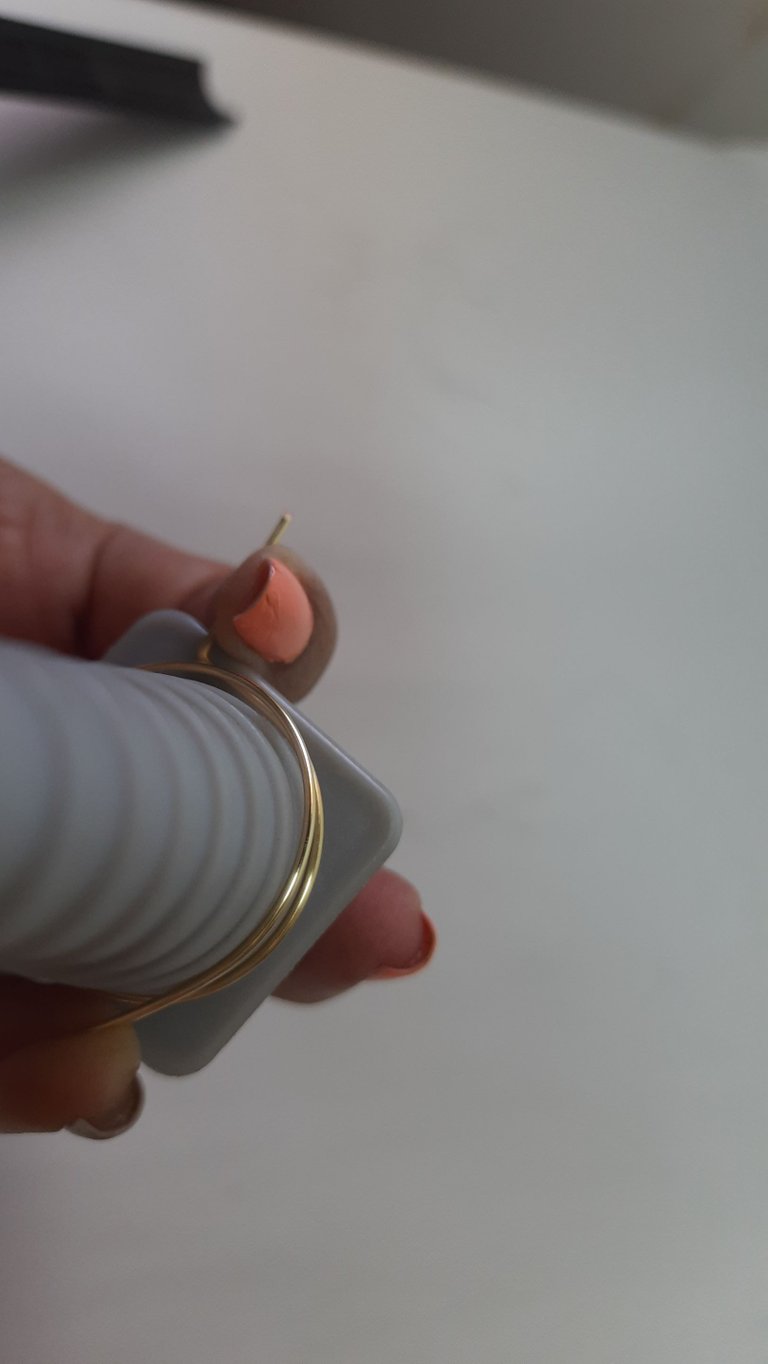
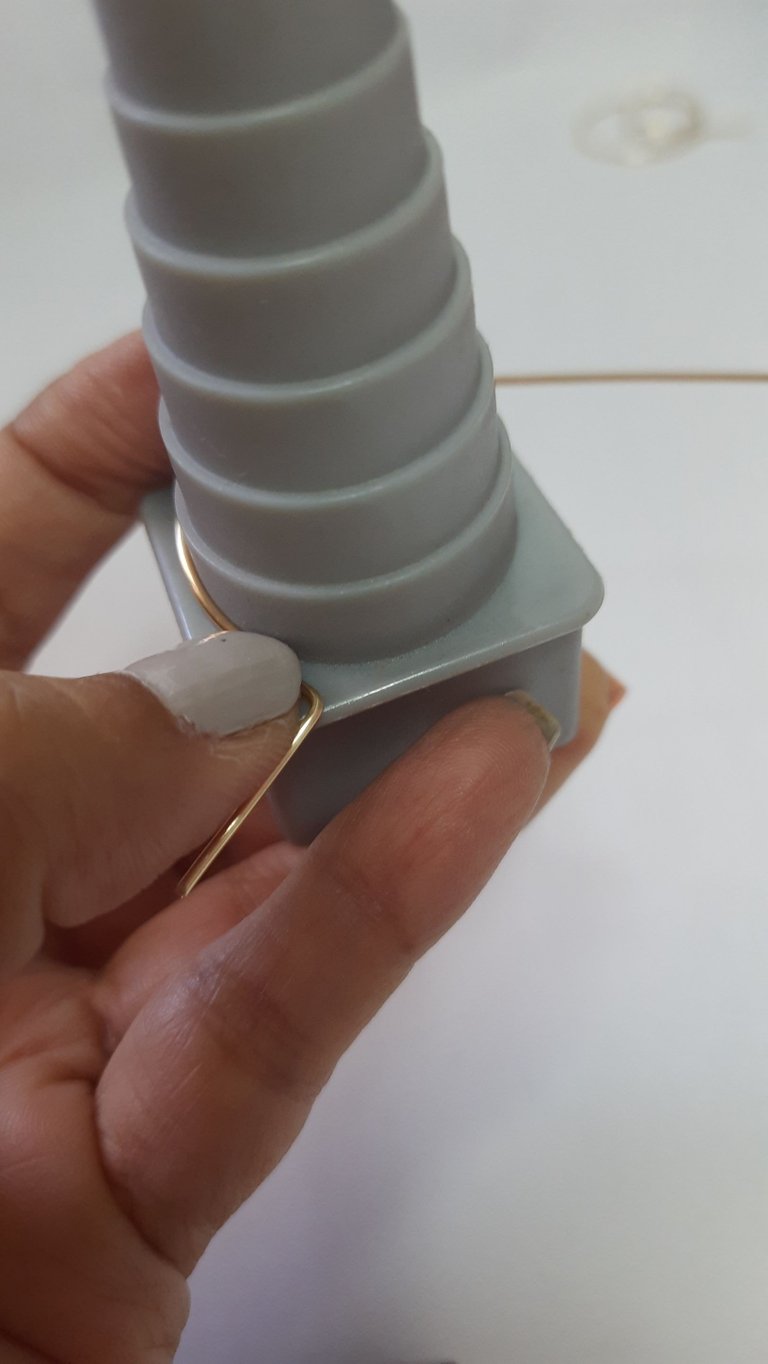
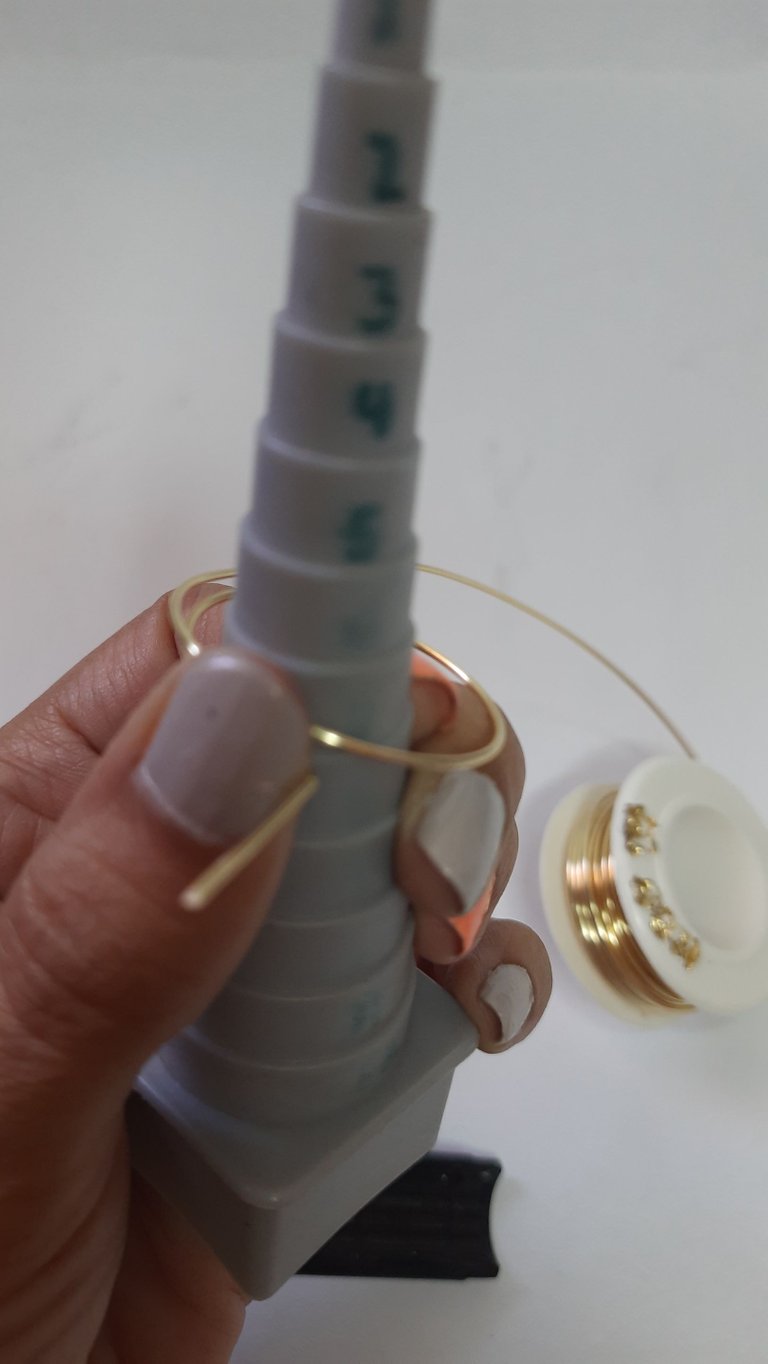
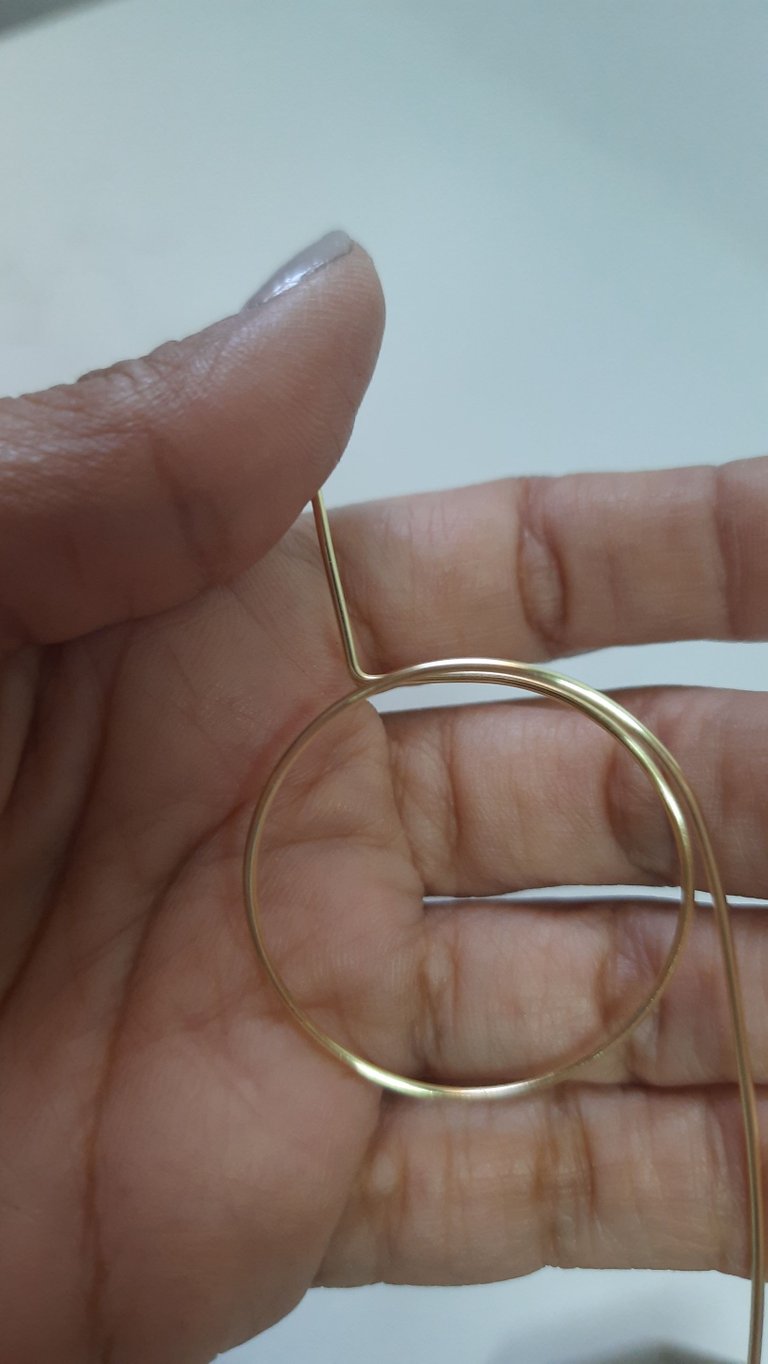
Lo primero que haremos será tomar el Alambre #18 doblaremos la punta a 1cm y tomaremos el mandril y vamos a darle vuelta tal como se ve en la fotografía.
The first thing we will do is to take the #18 wire, bend the tip to 1cm and take the mandrel and turn it as shown in the picture.

 |  |
|---|
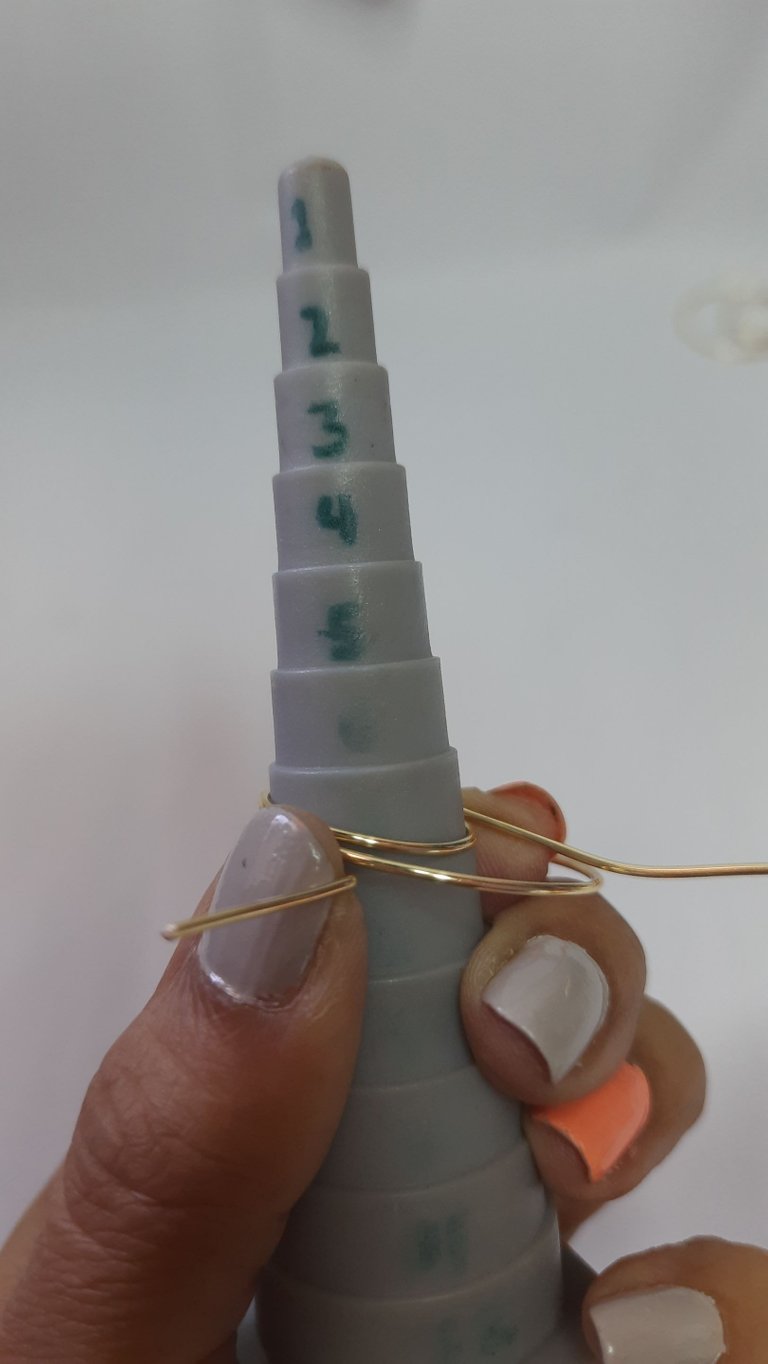
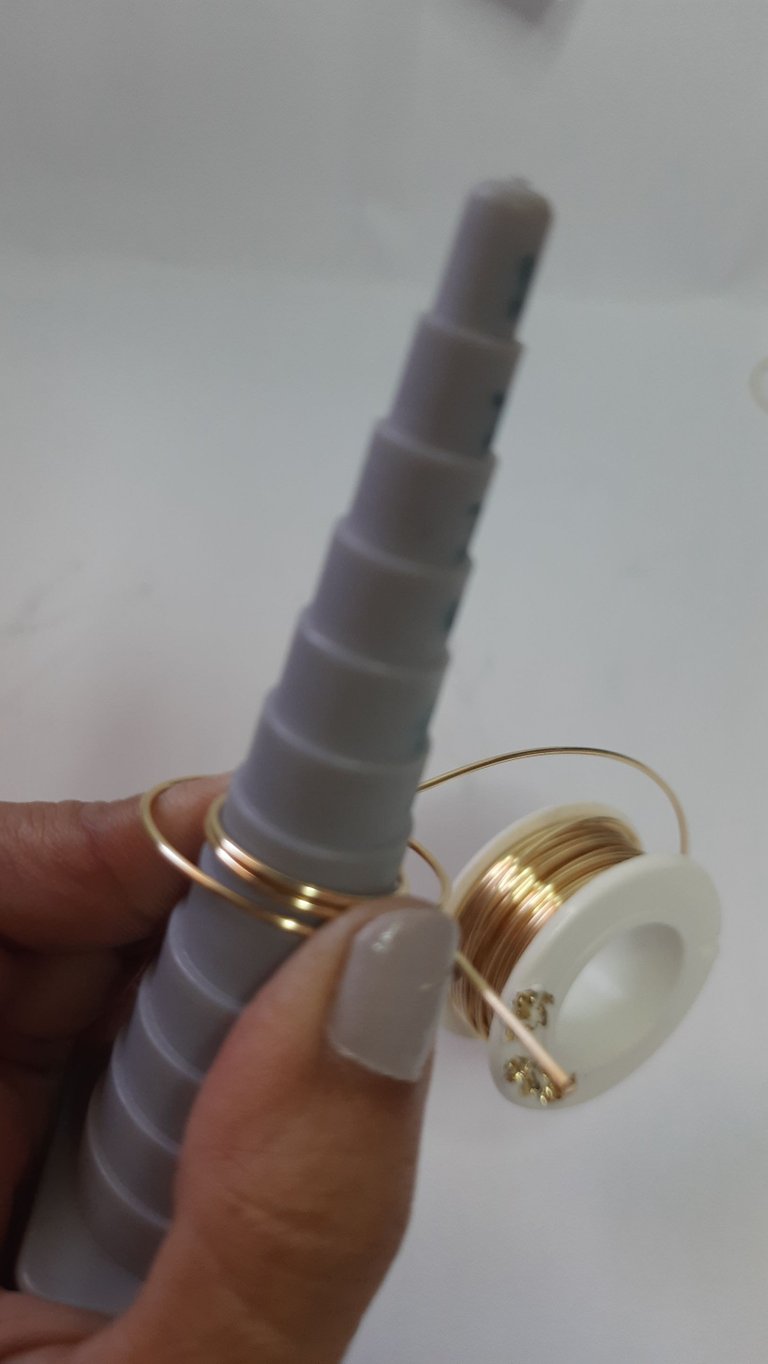
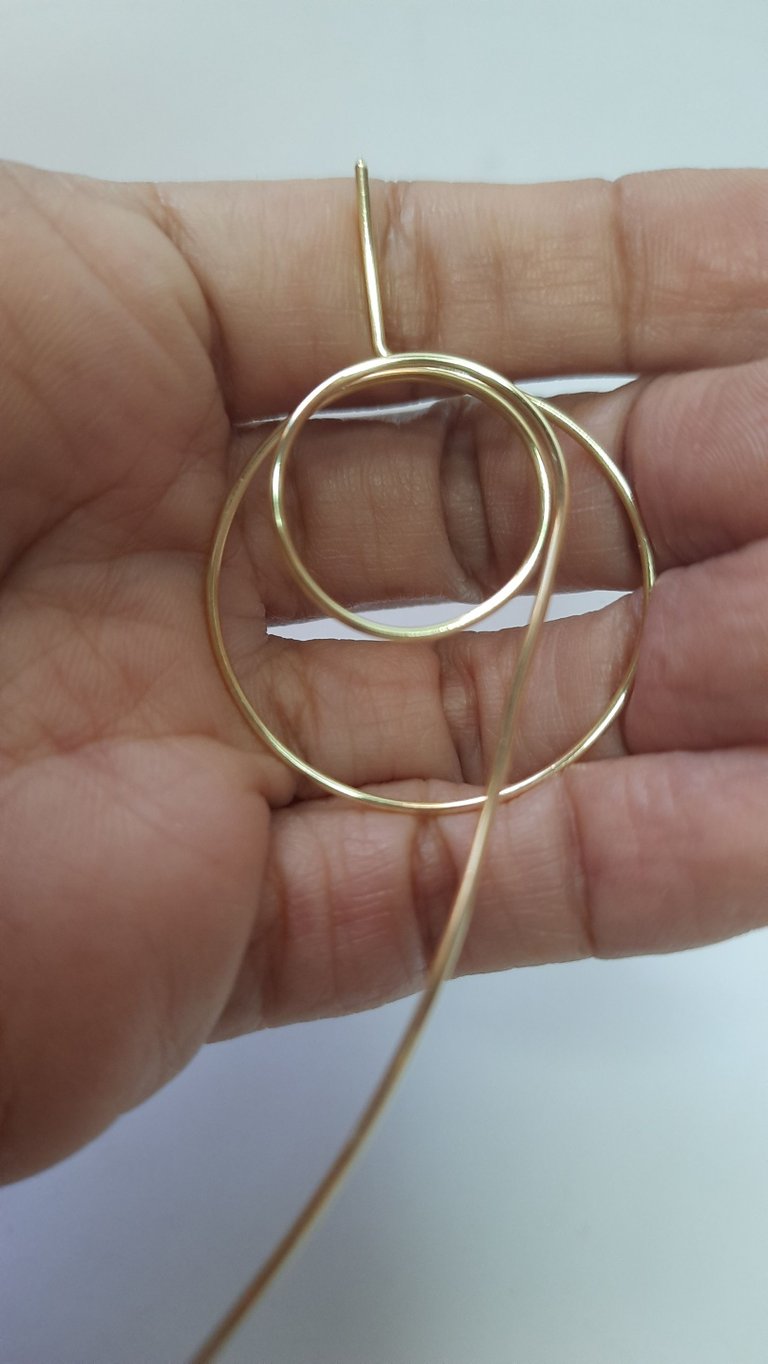
Ahora ya recemos nuestro primer círculo, vamos a realizar un segundo con el mismo alambre tomando el mandril en el numero 7 y presionando muy bien nuestro alambre que no se mueva del que ya hicimos.
Now that we have made our first circle, we are going to make a second one with the same wire, taking the mandrel at number 7 and pressing our wire very well so that it does not move from the one we have already made.

 |  |
|---|
Debemos mantener muy bien nuestra vuelta para que la que hicimos primero no se dañe.
We must maintain our lap very well so that the one we made first is not damaged.

 |  |
|---|
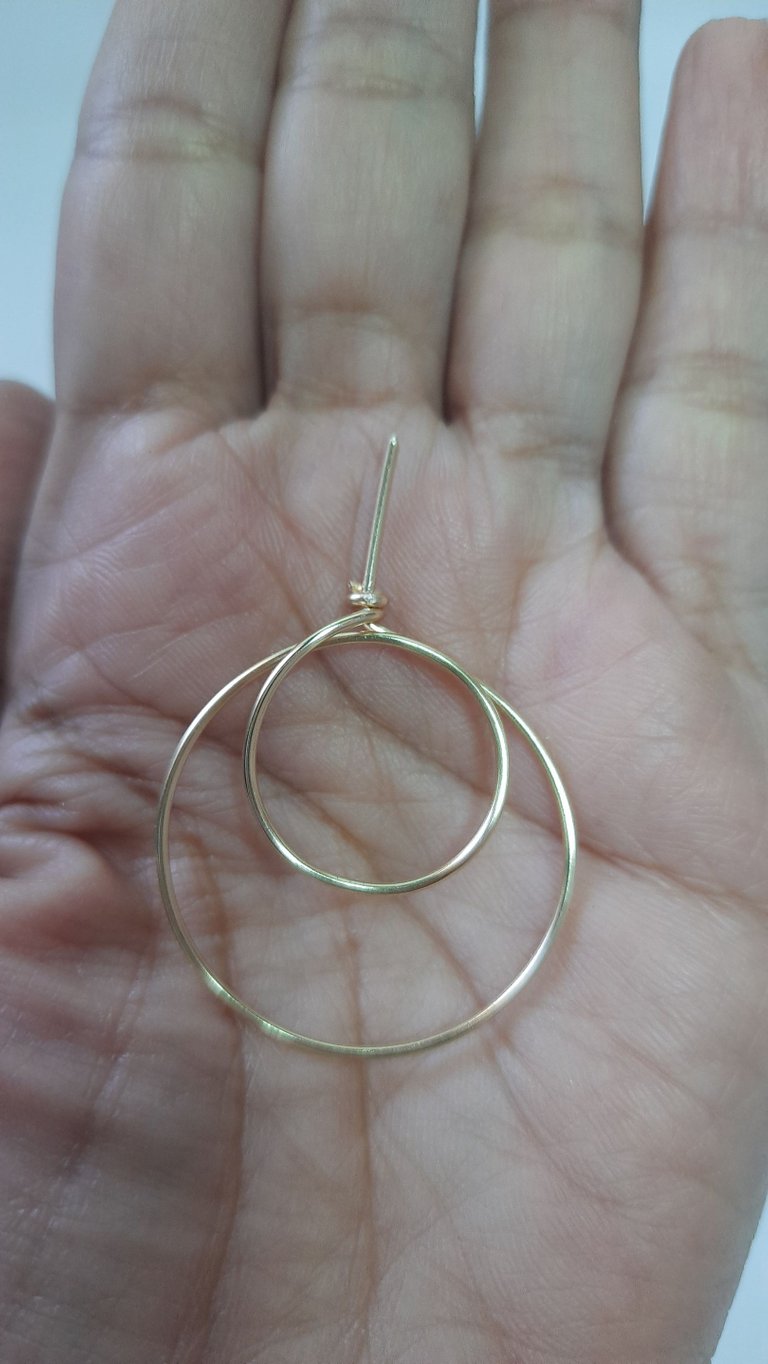
Al tener los dos listos vamos a cortar el alambre y vamos hacer un pequeño cierre en la parte de arriba y damos dos vueltas y cerramos con la pinza plana.
Once we have the two ready, we will cut the wire and make a small clasp at the top and make two turns and close it with the flat clamp.

 |  |  |
|---|
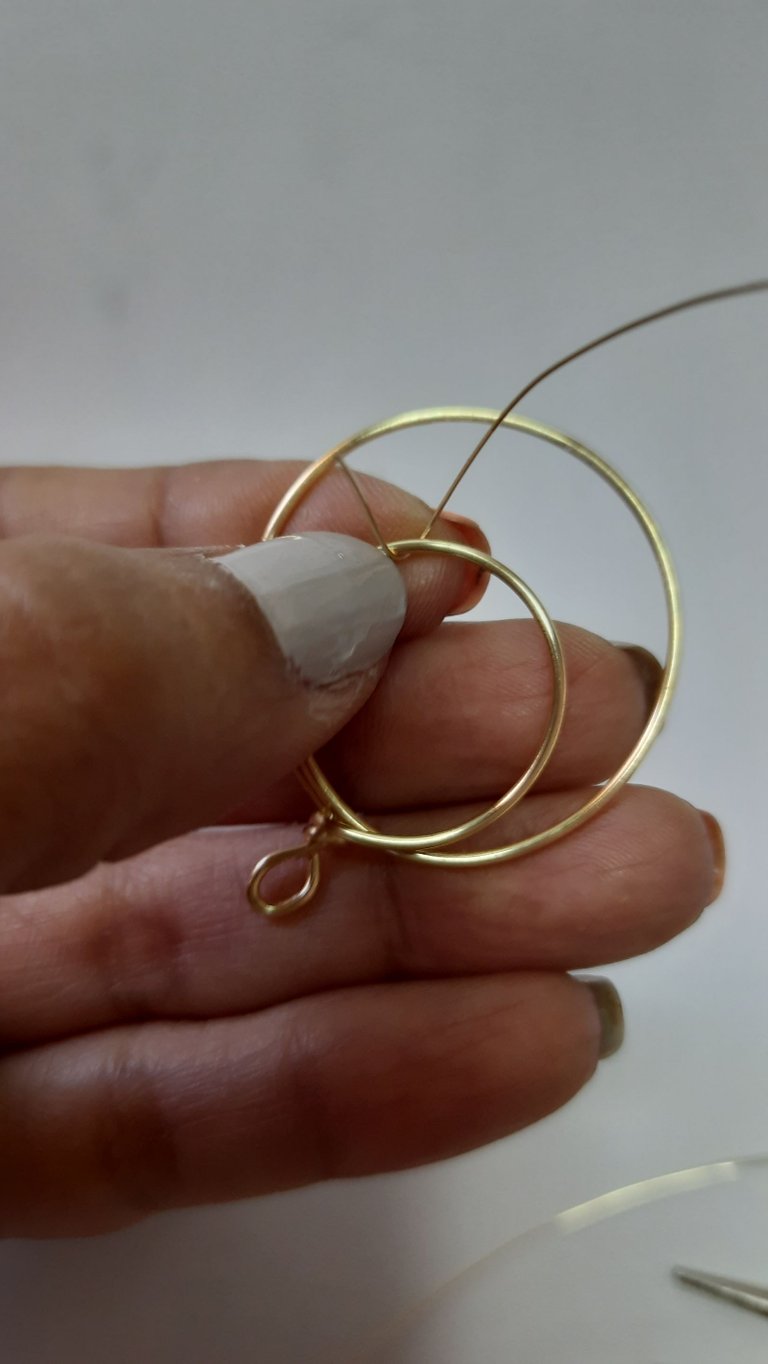
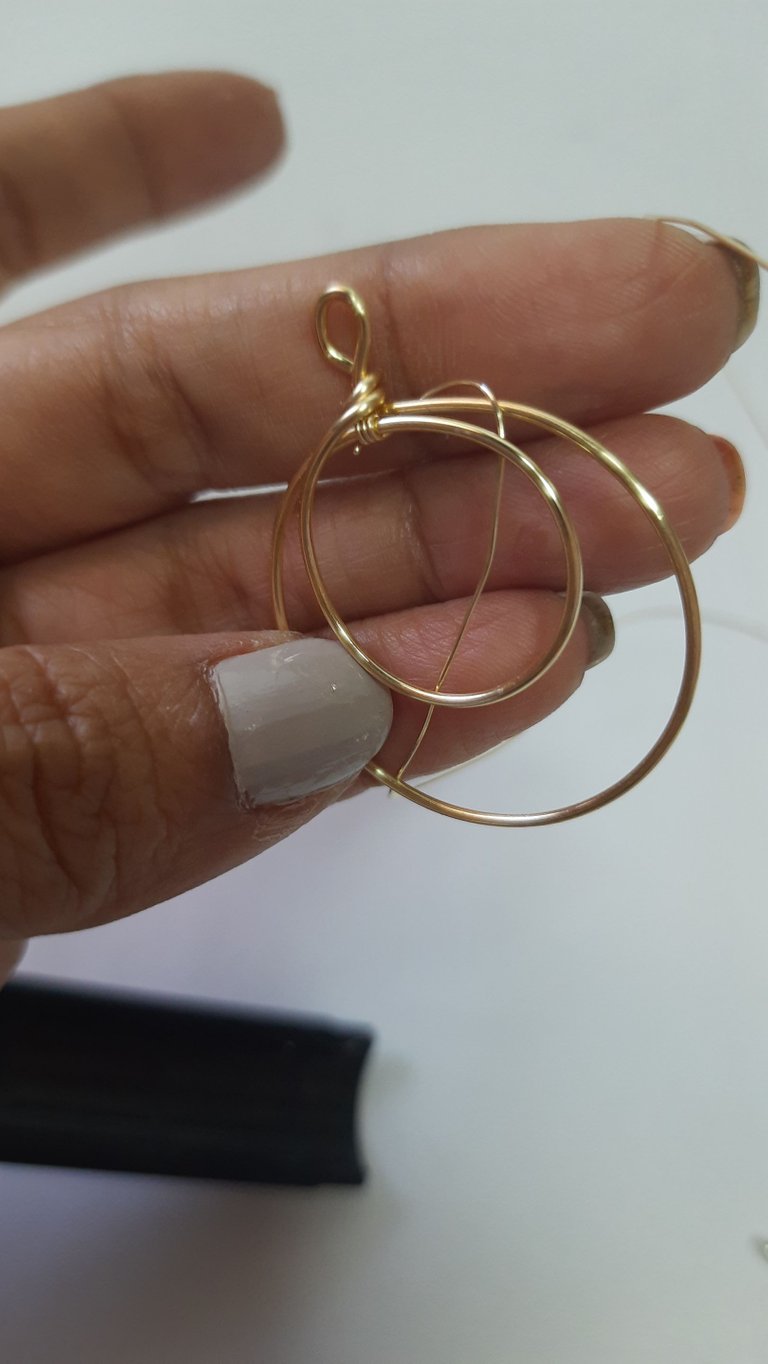
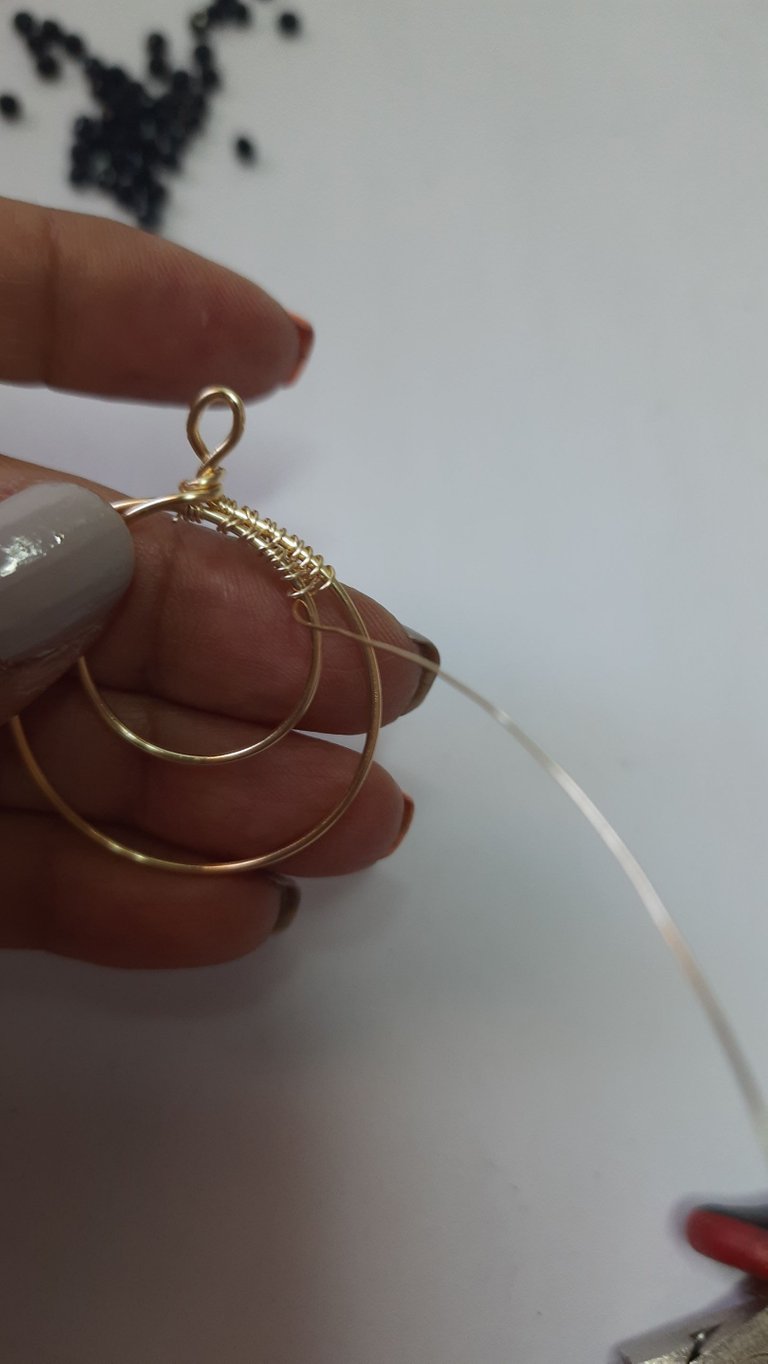
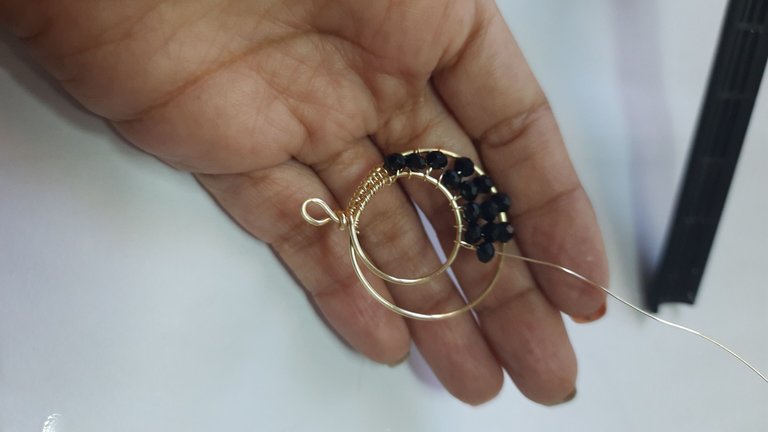
Tomaremos alambre número 26 y vamos a dar unas pequeñas vueltas en el círculo pequeño, lo llevaremos hasta arriba y vamos a tejer una pequeña parte.
We will take wire number 26 and we will make a few small turns in the small circle, we will bring it to the top and we will weave a small part of it.

 |  |  |
|---|
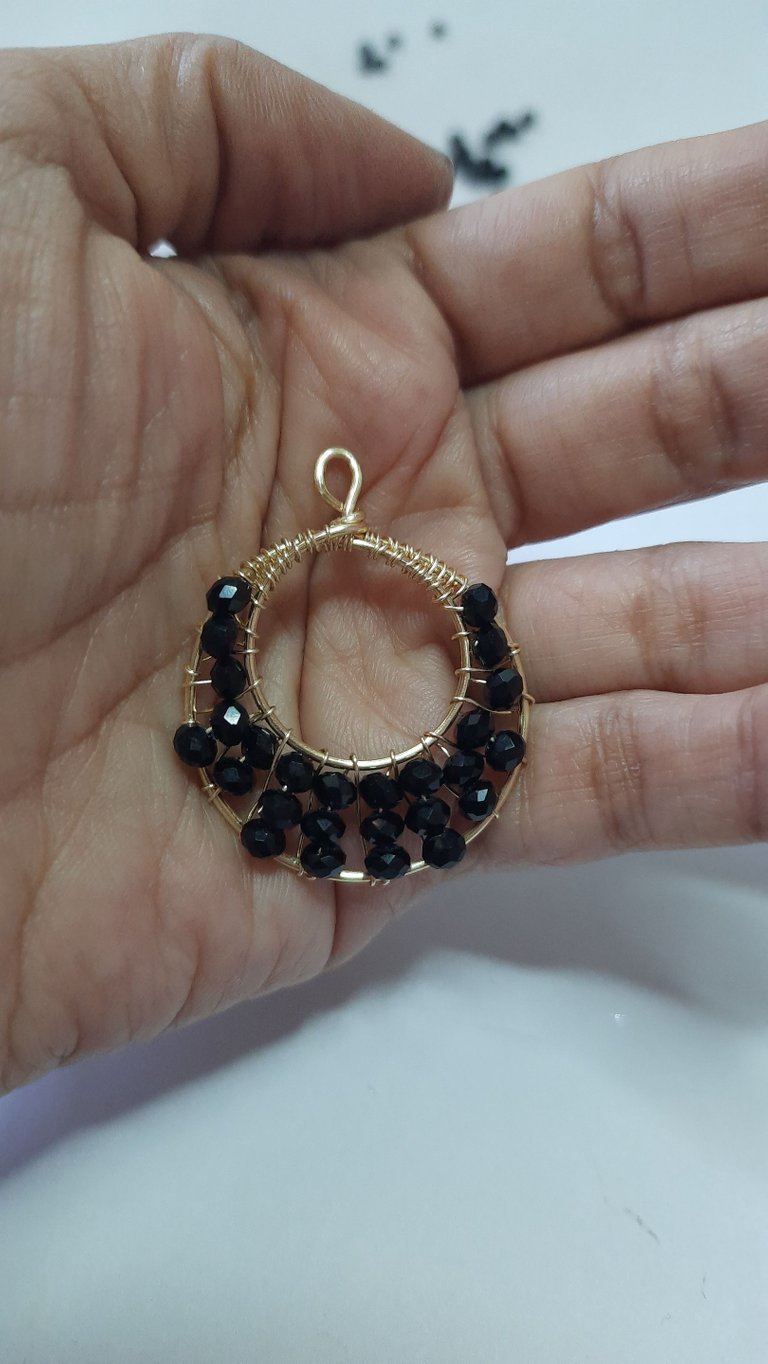
Mientras vamos tejiendo despuws de dejar como 1cm, vamos a introducir las piedras, comenzaremos de una, después de dos, de tres y luego volvemos hacia arriba de dos y de una, hasta cubrir todo y al final tejemos el mismo espacio que tejidos al comienzo.
While we are weaving after leaving about 1cm, we are going to introduce the stones, we will start with one, then two, then three and then back up two and one, until we cover everything and at the end we weave the same space that we weave at the beginning.

Resultado: / Result:

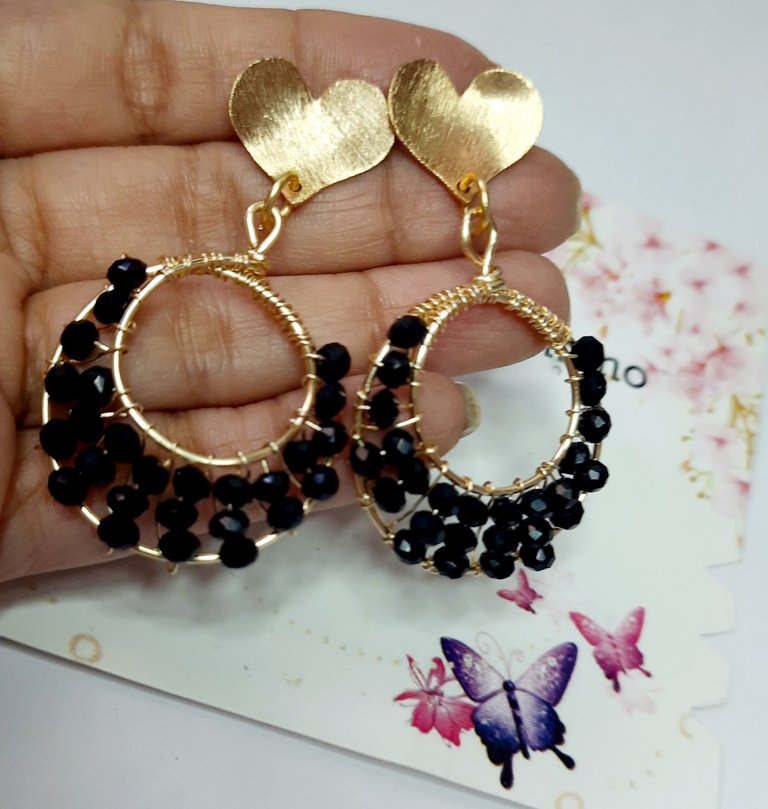
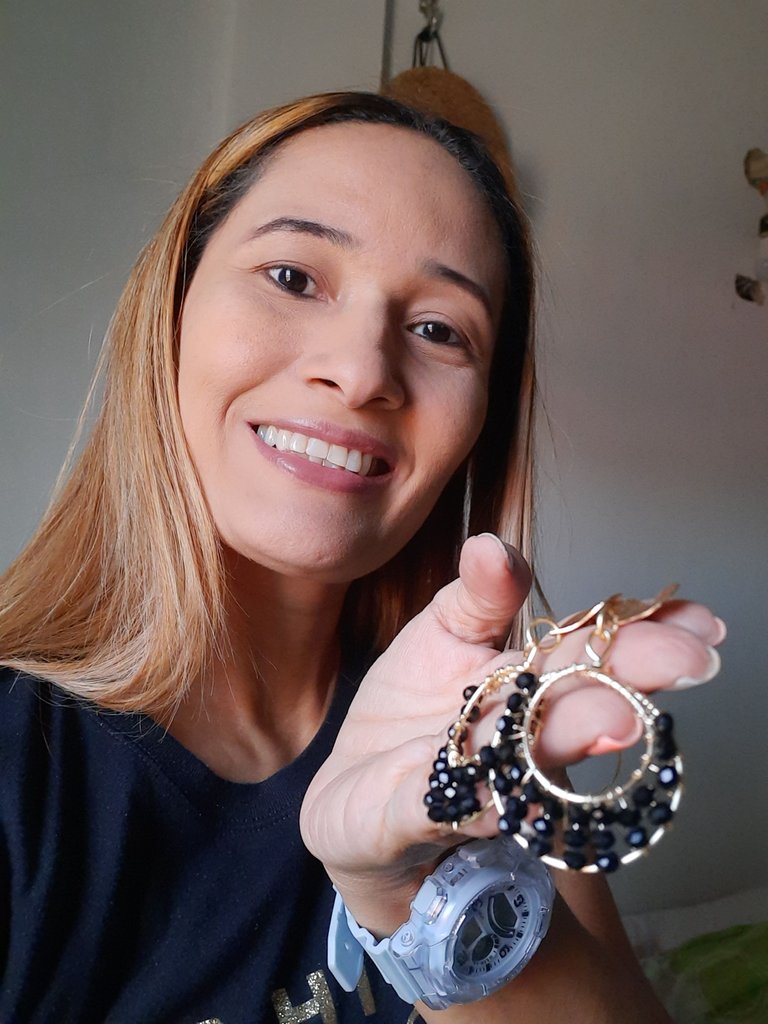
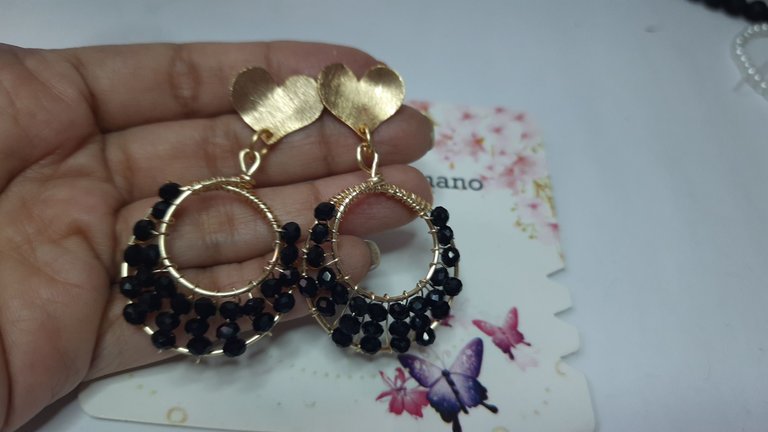
Y así ha quedado nuestro sencillo tutorial espero que sea de su agrado, tanto como me ha gustado a mi esta pequeña creación.
Gracias por estar aquí y ser parte de mi blog y de la comunidad @jewelry 😉
And this is how our simple tutorial turned out, I hope you like it as much as I liked this little creation.
Thank you for being here and being part of my blog and the @jewelry community 😉.

Les invito a suscribirse a la comunidad de @Jewelry y poder así mostrar todas sus creaciones de accesorios, tanto de adultos como de niños; nos encanta ver y apoyar a todos los artesanos, manualistas y orfebres, puedes crear accesorios para damas, caballeros y niños, así que tu creatividad es el límite 😉
I invite you to subscribe to the @Jewelry community to showcase all your accessory creations for both adults and children; we love to see and support all the artisans, crafters and goldsmiths, you can create accessories for ladies, gents and kids, so your creativity is the limit 😉.
"Los accesorios tienen el poder de hacer sentir a la mujer única y especial"
Accessories have the power to make a woman feel unique and special"
Fotos principal editada con Canva.
Separadores de mi Autoría
Fotos de mi Autoría derechos reservados
Cámara: Samsung M31
Traducido con www.DeepL.com/Translator (versión gratuita)
Photos edited with Canva
Separators by me
Photos by me Author's rights reserved
Camera: Samsung M31
Translated with www.DeepL.com/Translator (free version)


~~~ embed:1624598984277782530 twitter metadata:Mjc3NDcyMzU2OXx8aHR0cHM6Ly90d2l0dGVyLmNvbS8yNzc0NzIzNTY5L3N0YXR1cy8xNjI0NTk4OTg0Mjc3NzgyNTMwfA== ~~~
The rewards earned on this comment will go directly to the people( @lisbethseijas, @kristal24, @yagelybr ) sharing the post on Twitter as long as they are registered with @poshtoken. Sign up at https://hiveposh.com.
Hermosos y elegantes! Muchas felicidades amiga, por tu creatividad y gran talento, quedaron ESPECTACULARES!
Felices sueños, besitos! @yolimarag
Gracias amiga bella, me alegra que te gusten 😊, espero tengas un lindo domingo.
Gracias por su apoyo 🤗
Totalmente hermosos, al igual que tú no soy de usar zarcillos grandes pero me encantaría poder usar unos así de hermosos.
Me encanta lo fácil que parece la realización de las argollas con el Madril. Gracias por compartirnos su hermosa creación.
Tu haces bellezas amiga, me gustan como has realizado varios, gracias por pasar.
Gracias por el.apoyo
Muy bonito resultado! 💗 felicidades amiga @yolimarag
Gracias amiga me alegra que te guste.
Amiga te quedaron preciosos. Yo tampoco soy de usar zarcillos muy grandes, y tampoco de hacerlos, pero sin duda estos que nos muestras los usaría. Esa clienta tiene que haber quedado totalmente satisfecha. Éxitos mi @yolimarag ❤️😘🤗🥰
wow, que belleza!! que talento tan lindo tienes.!
Gracias amiga que linda 💕