| Esp | Eng |
|---|---|
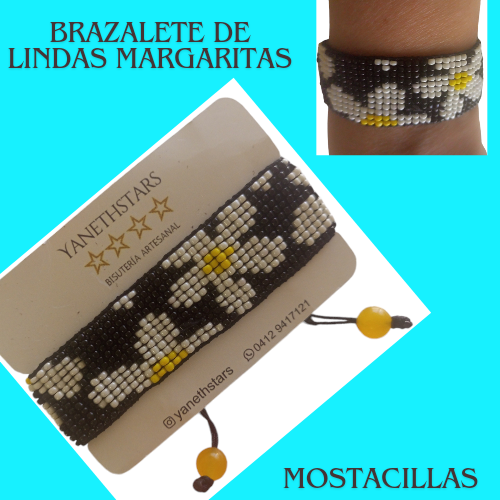
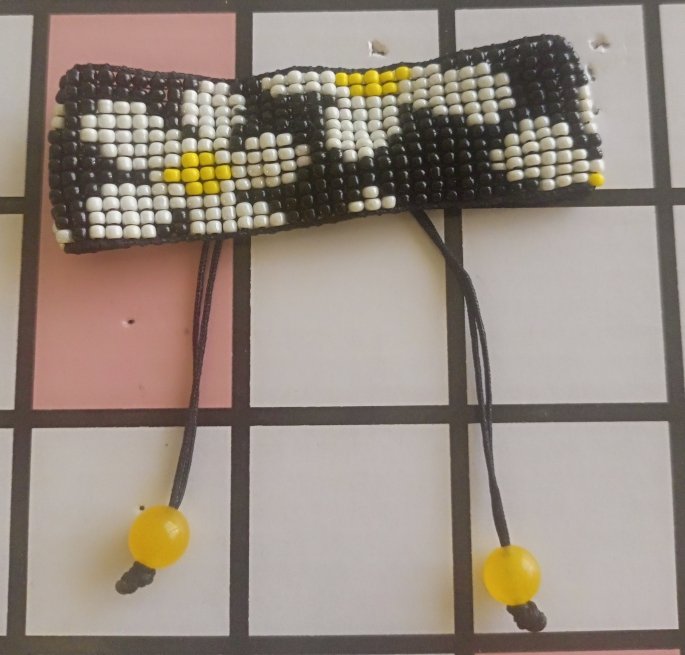
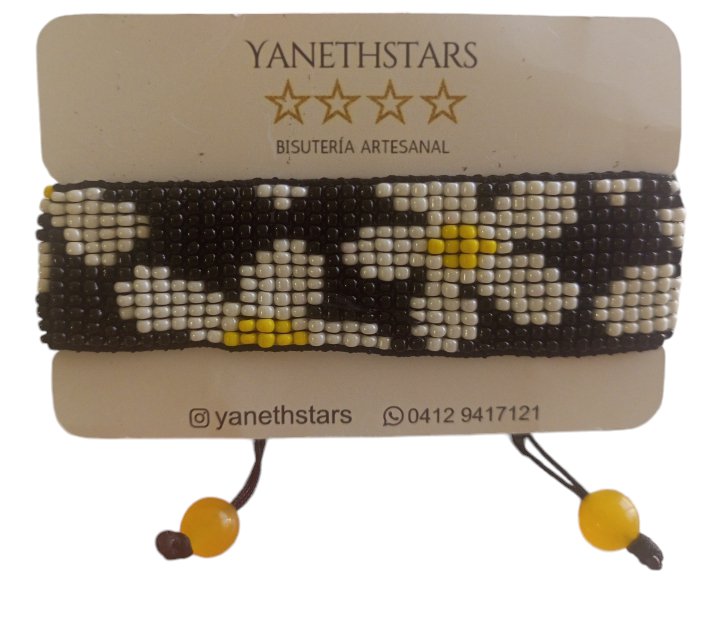
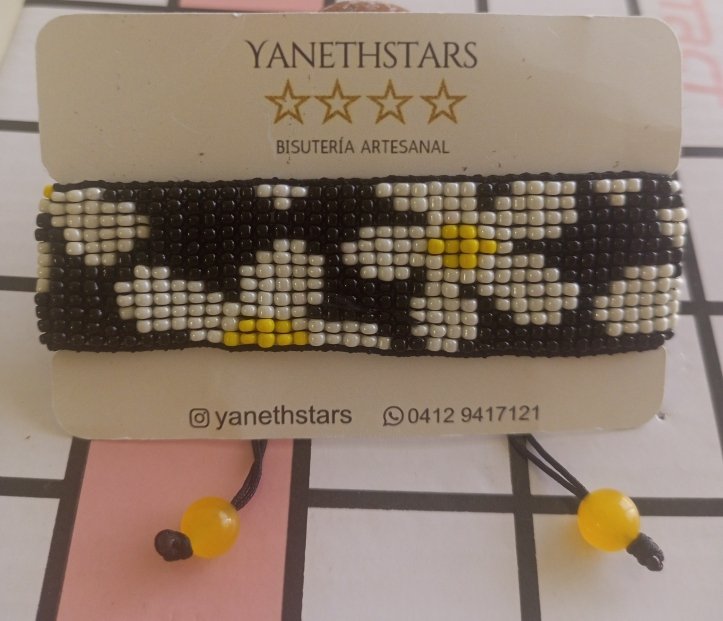
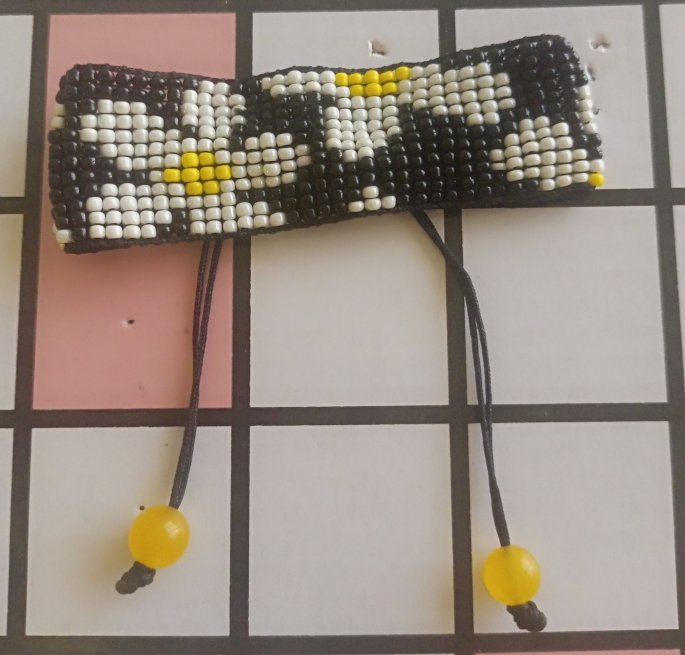
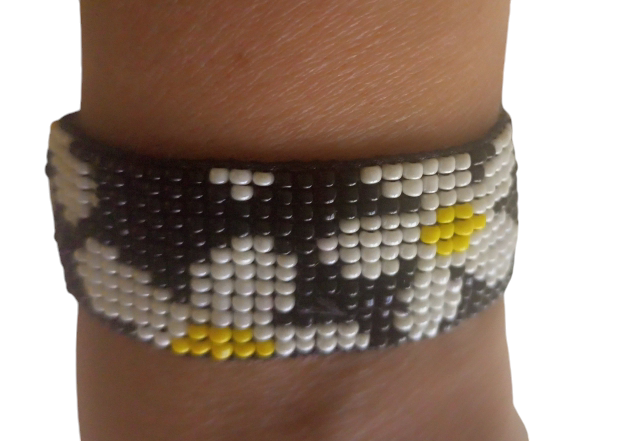
| Hola linda comunidad, me es grato compartir un nuevo post con ustedes. En está oportunidad esté LINDO BRAZALETE DE MARGARITAS TEJIDAS EN TELAR. Las margaritas son flores de apariencia sencillas pero no por eso elegantes, ya que allí radica la verdadera elegancia, en la sencillez. Las flores de margaritas son utilizada como simbolo de la primavera y el recibir el regalo de margaritas tiene significados muy hermosos como expresar amor, dulzura, amistad y pureza, por lo que recibír margaritas de regalo conquista los corazones. Esté lindo brazalete está adornado con hermosas margaritas blancas y hecho en mostacillas tejidas en telar. Espero les guste y disfruten mi post. | Hello beautiful community, I am pleased to share a new post with you. In this opportunity is NICE BRAZALET OF MARGARITES WOVEN IN FABRIC. Daisies are flowers of simple appearance but not for that reason elegant, because therein lies the true elegance, in simplicity. Daisies flowers are used as a symbol of spring and receiving the gift of daisies has very beautiful meanings such as expressing love, sweetness, friendship and purity, so receiving daisies as a gift will conquer hearts. This pretty bracelet is adorned with beautiful white daisies and made with loom woven beads. I hope you like it and enjoy my post. |

| Materiales: | Materials: |
|---|---|
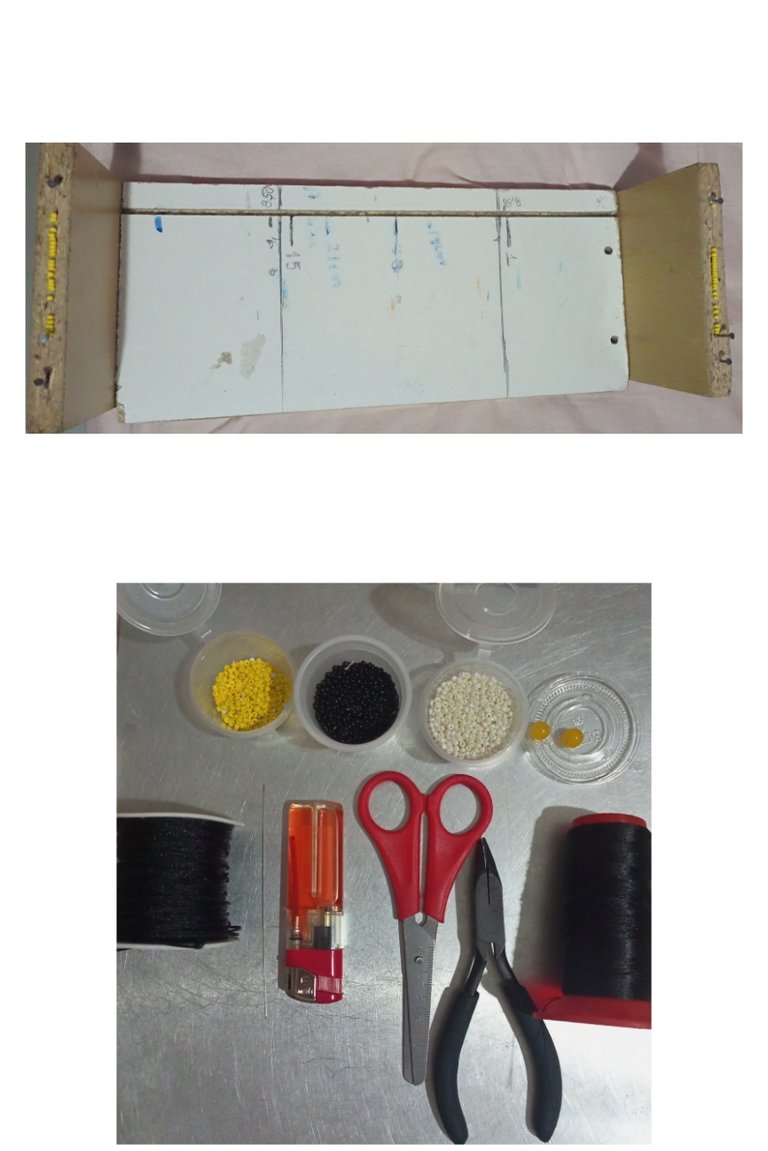
| Hilo chino negro, hilo mostacillero negro, 1 aguja mostacillera, telar, mostacillas blancas, amarillas y negras, 2 cuentas amarillas número 0,08 mm, yesquero, tijera. | Black Chinese thread, black beading thread, 1 beading needle, loom, white, yellow and black beads, 2 yellow beads number 0.08 mm, tinder, scissors, scissors, etc. |
| Instrucciones: | Instructions: |
|---|

| Paso 1 | Step 1 |
|---|---|
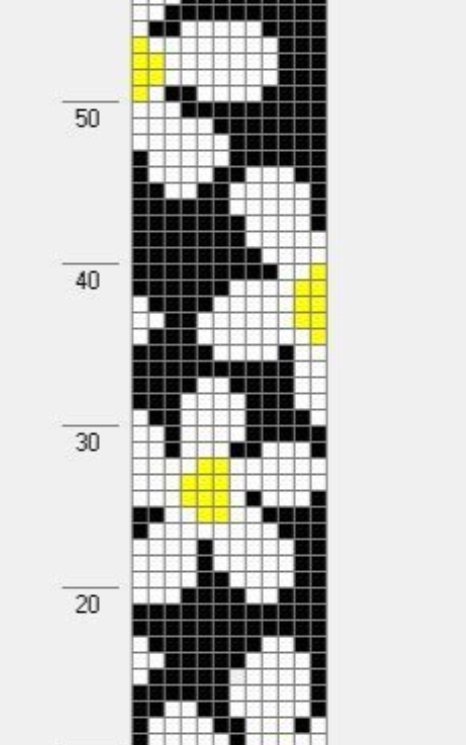
| Esté brazalete lo realicé tomando un patrón de la aplicación Pinterest por lo que los derechos de autor del diseño no me pertenecen. | I made this bracelet taking a pattern from the application Pinterest so the copyright of the design does not belong to me. |

htps: //images.app.goo.gl/2rn3haR6yxPPHkYe9 //
| Paso 2 | Step 2 |
|---|---|
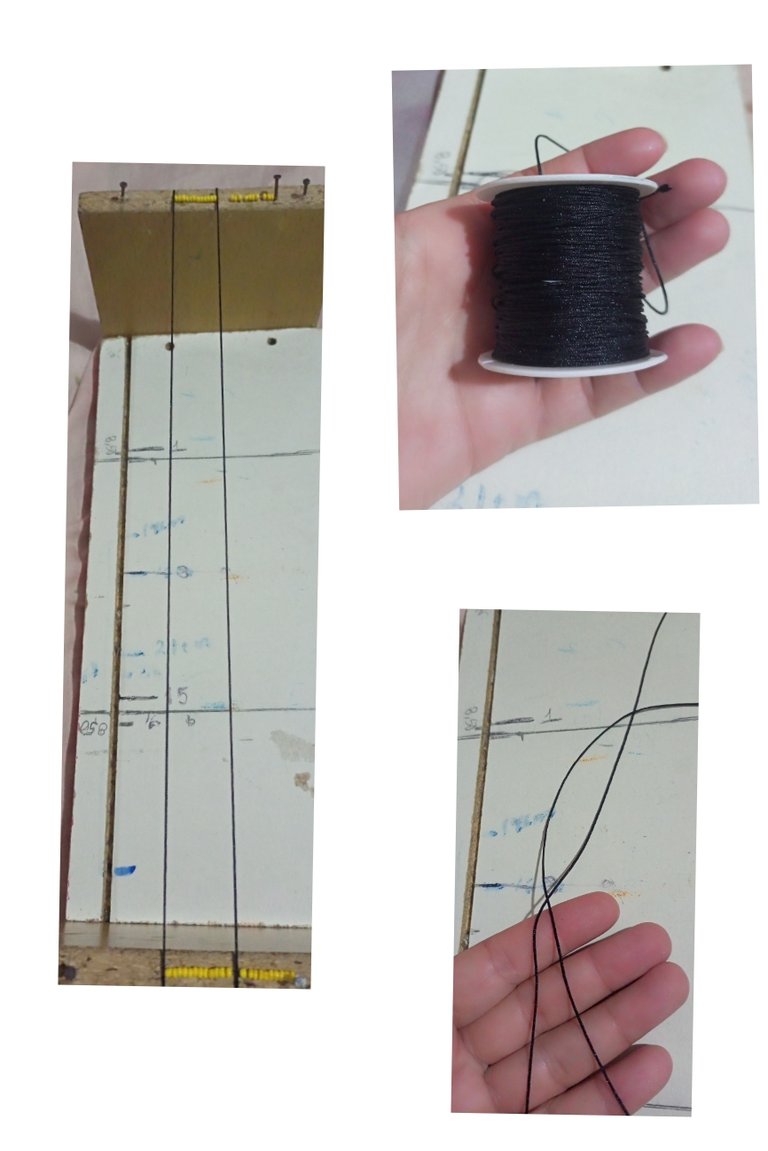
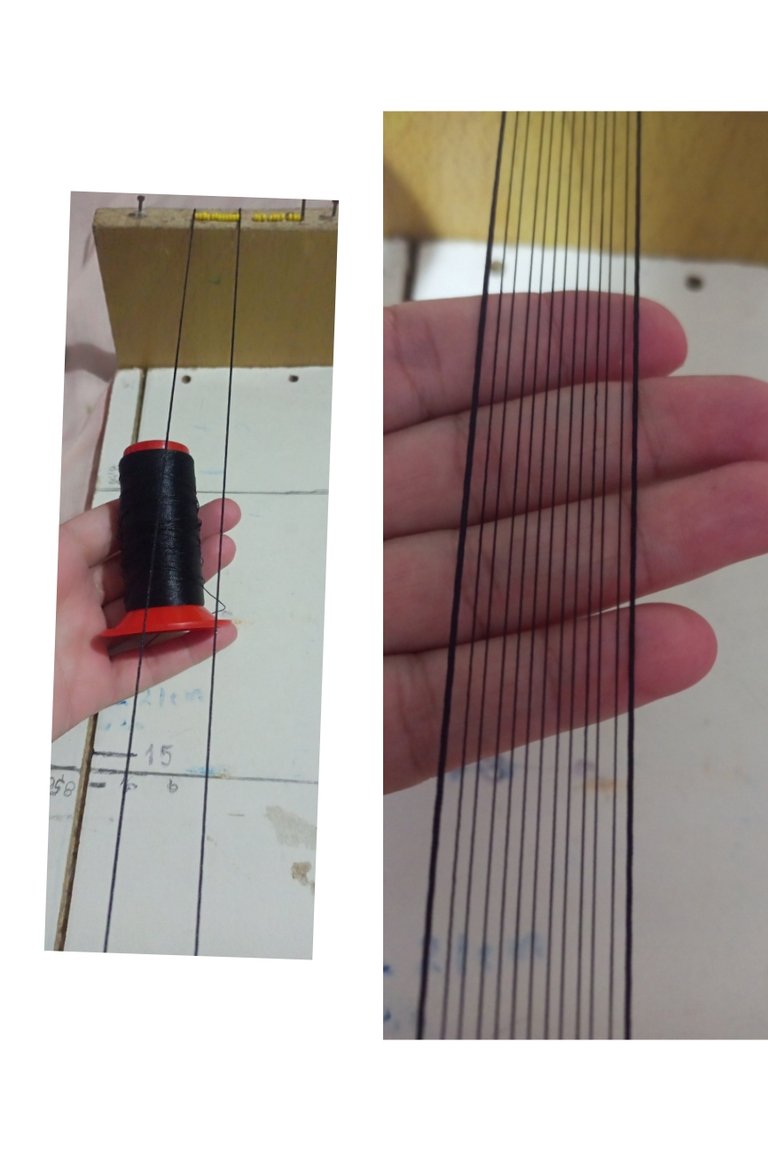
| Monté en el telar los hilos para realizar el tejido: montaremos 13 hilos, dos en hilo chino que son el primer y el último hilo y los 11 hilos restantes los montamos en hilo mostacillero. Lo hago de está manera para que los hilos de los lados le den más fuerza y posición al brazalete y me sirvan también para hacer la manilla. El brazalete lo realicé de 13 líneas horizontales, 45 líneas verticales y 10 líneas para las terminaciones. | I mounted on the loom the threads to make the weaving: we will mount 13 threads, two in Chinese thread which are the first and the last thread and the remaining 11 threads are mounted in mustard thread. I do it this way so that the threads of the sides give more strength and position to the bracelet and also serve me to make the handle. I made the bracelet with 13 horizontal lines, 45 vertical lines and 10 lines for the ends. |
| Paso 3 | Step 3 |
|---|---|
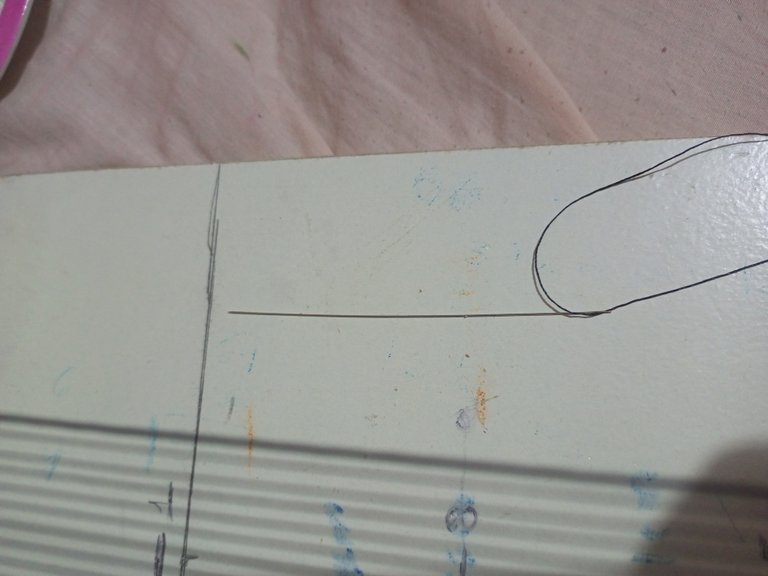
| Enhebre 3 metros de hilo mostacillero en la aguja. | Thread 3 meters of mustard thread on the needle. |
| Paso 4 | Step 4 |
|---|---|
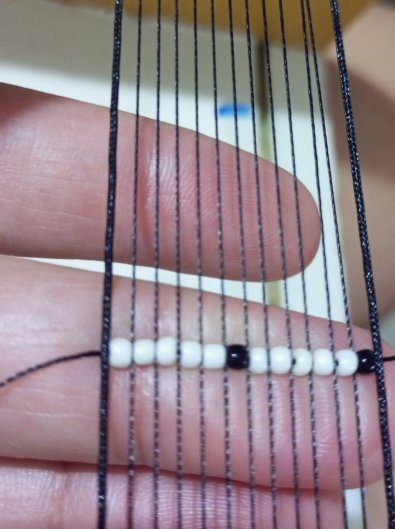
| Introducimos en la aguja las mostacillas de acuerdo al patrón que tengamos y llevamos las mostacillas al final del hilo dejando aproximado 15 cm para el terminal del brazalete. Luego colocamos las mostacillas debajo de los hilos del telar y luego pasamos la aguja por arriba de los hilos e introduciendo la aguja en las mostacillas, cuidando que queden los hilos verticales sujetos por el hilo de la aguja. El patrón que disponemos es de 70 líneas verticales por lo que es muy grande y debemos reducir por lo que comenzamos en la linea 11 y terminamos en la línea 56 del diseño que estoy utilizando. | We introduce in the needle the beads according to the pattern we have and we take the beads to the end of the thread leaving approximately 15 cm for the end of the bracelet. Then we place the beads under the loom threads and then we pass the needle over the threads and introduce the needle into the beads, making sure that the vertical threads are held by the needle thread. The pattern we have is 70 vertical lines so it is very large and we must reduce so we start on line 11 and end on line 56 of the design I am using. |
| Paso 5 | Step 5 |
|---|---|
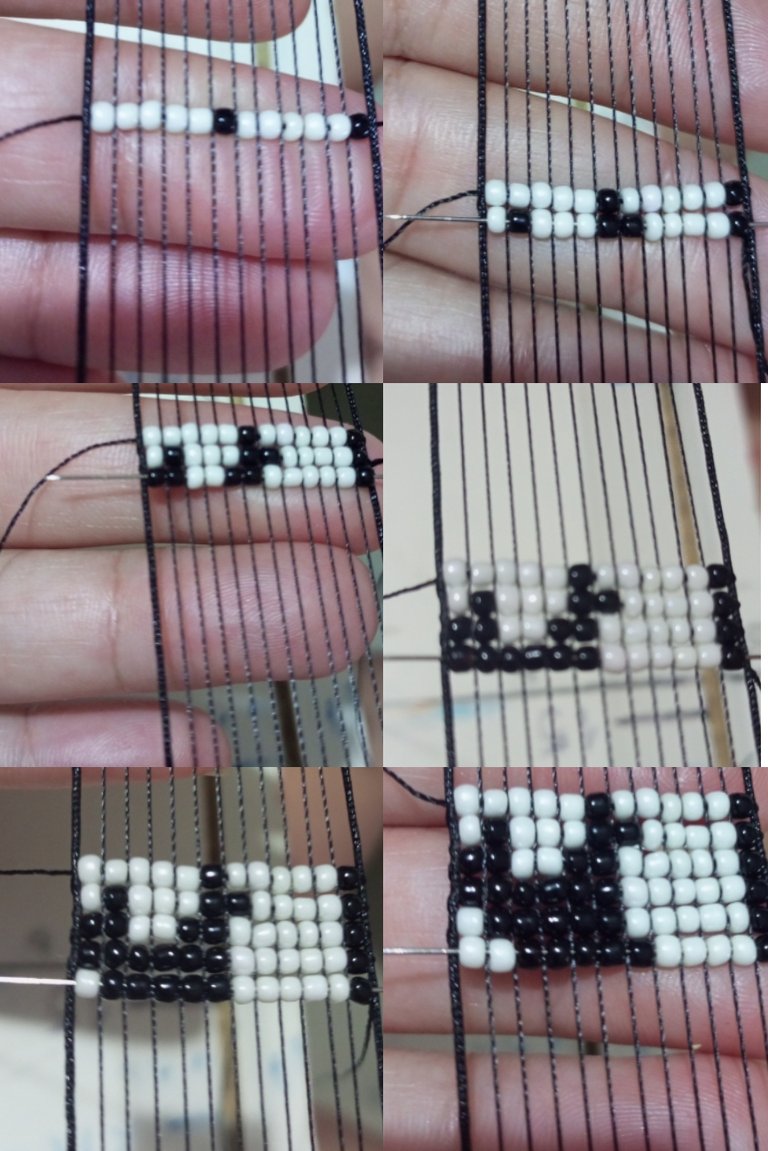
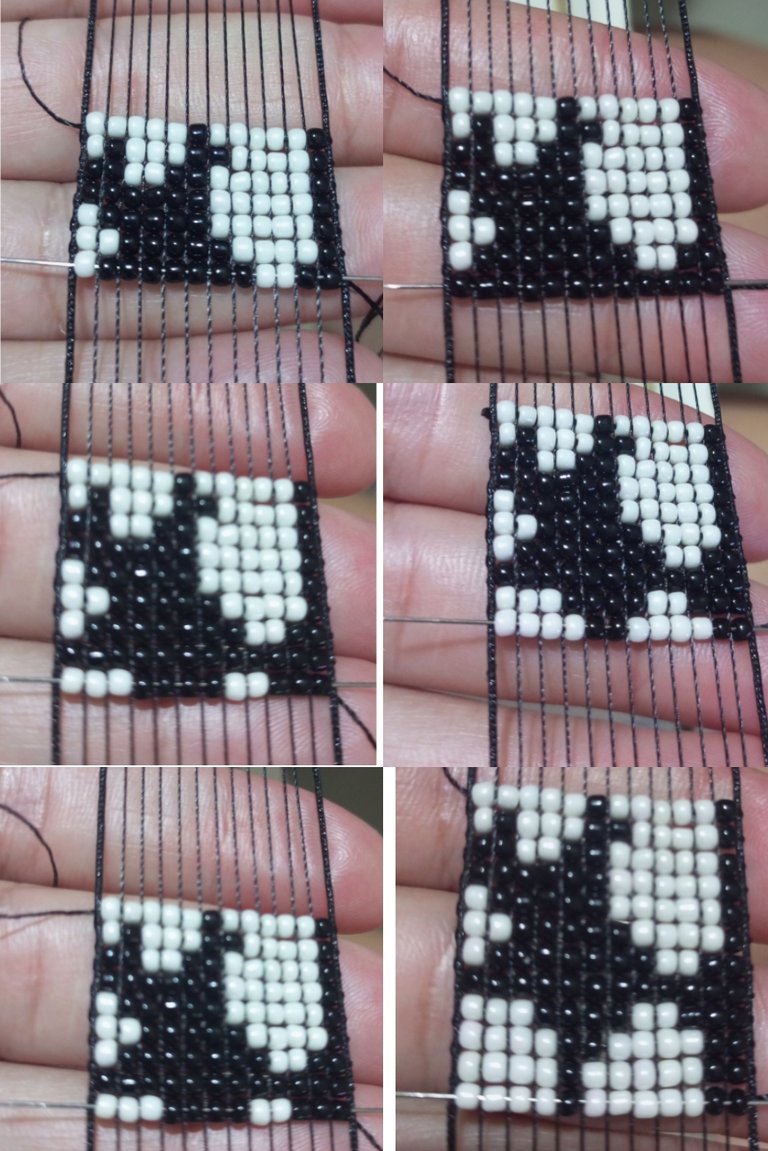
| Seguimos tejiendo las mostacillas en el telar y siguiendo el patrón disponible. En las imágenes observamos el inicio del proceso de 6 líneas que en el diseño es la línea 16. | We continue weaving the beads on the loom and following the available pattern. In the images we can see the beginning of the process of 6 rows, which in the design is row 16. |
| Paso 6 | Step 6 |
|---|---|
| En las siguientes imágenes observamos el proceso hasta la línea 12 que en el patrón es la línea 23. | The following images show the process up to line 12, which in the pattern is line 23. |
| Paso 7 | Step 7 |
|---|---|
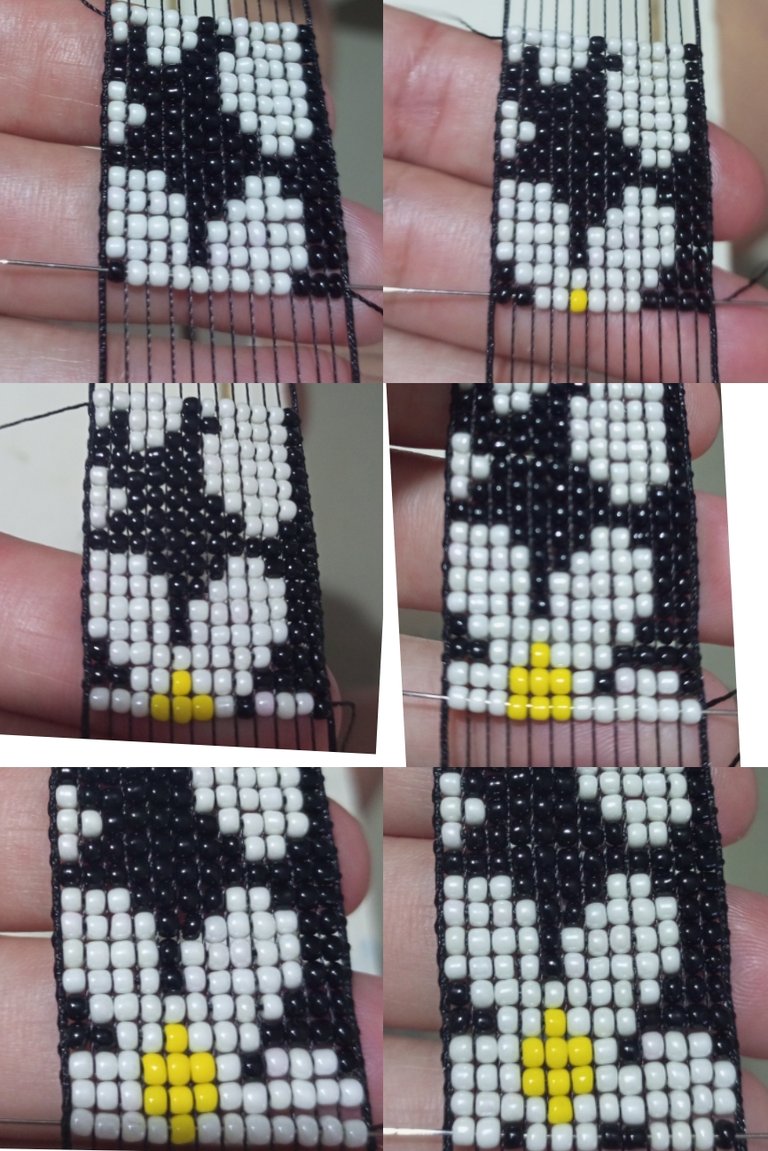
| El proceso en estás imágenes es ir añadiendo 6 líneas por paso por lo que en éste paso van 18 filas y en el patrón vamos por la línea 29. | The process in these images is to add 6 rows per step, so in this step there are 18 rows and in the pattern we are on line 29. |
| Paso 8 | Step 8 |
|---|---|
| Construimos 6 líneas más para completar 24 líneas y en el patrón por el número 35. | We build 6 more lines to complete 24 lines and in the pattern by number 35. |
| Paso 9 | Step 9 |
|---|---|
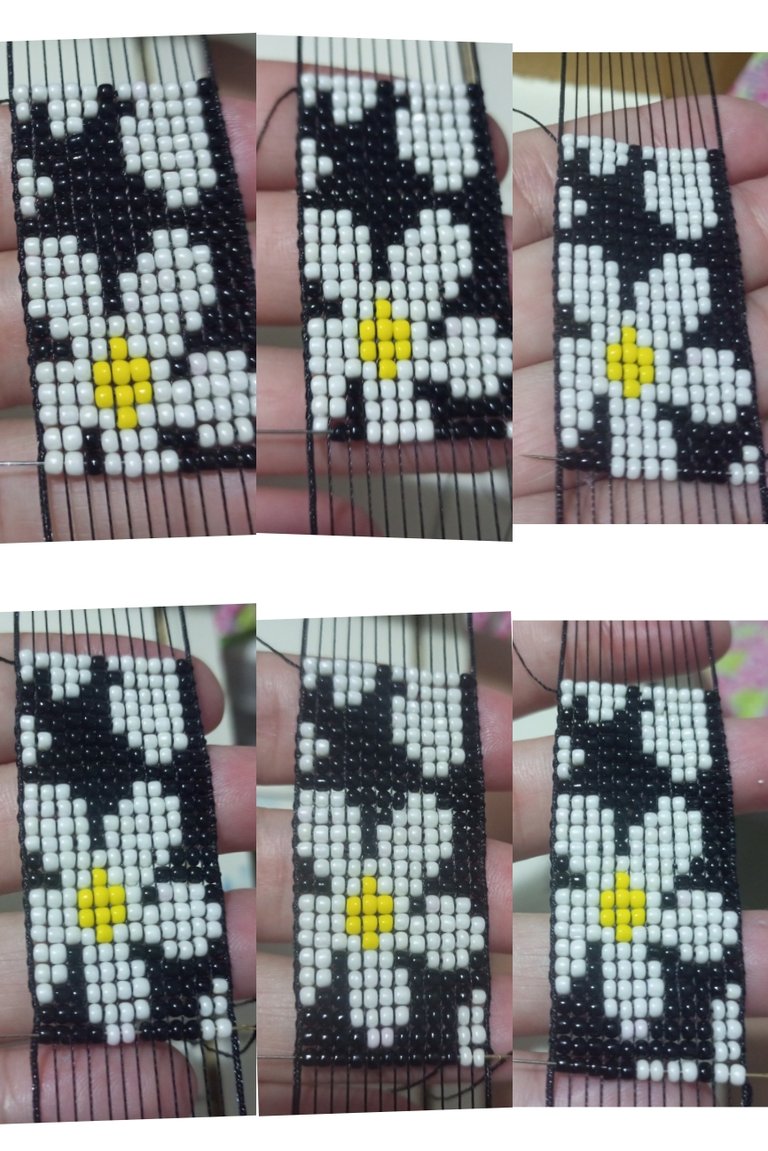
| Adicionamos 5 líneas más para completar 29 líneas y en el patrón por el número 40. | We add 5 more lines to complete 29 lines and in the pattern by the number 40. |
| Paso 10 | Step 10 |
|---|---|
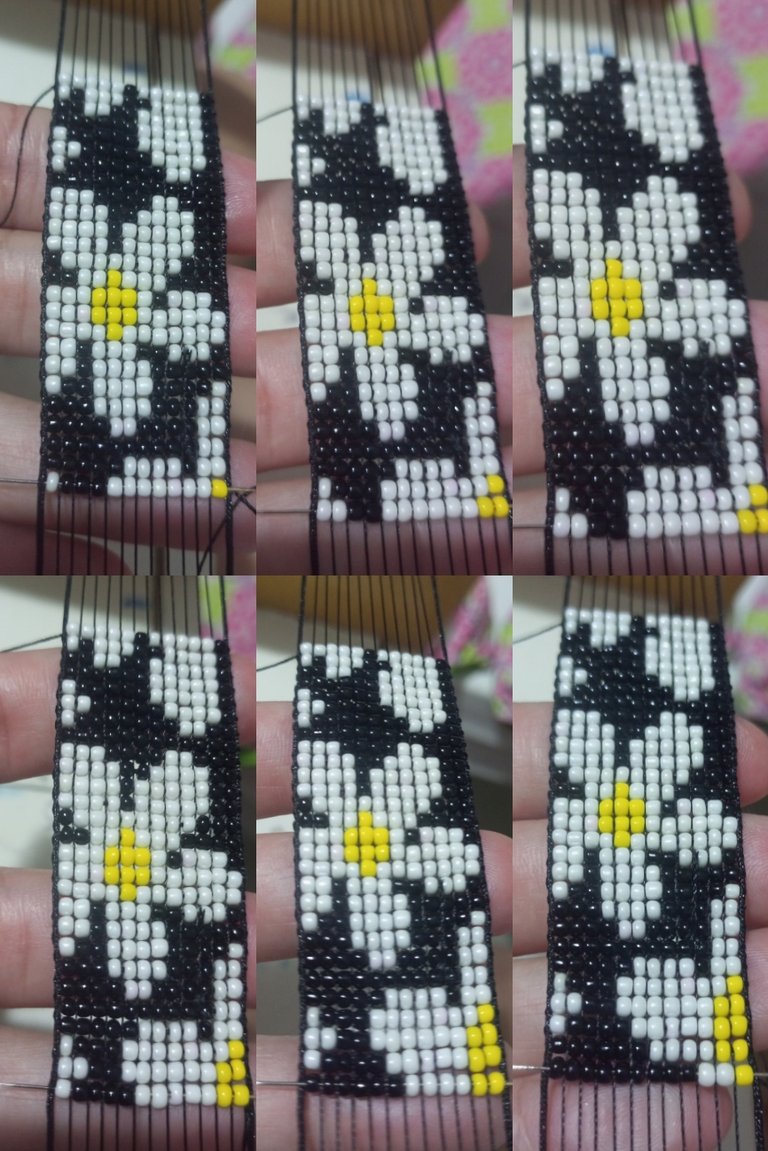
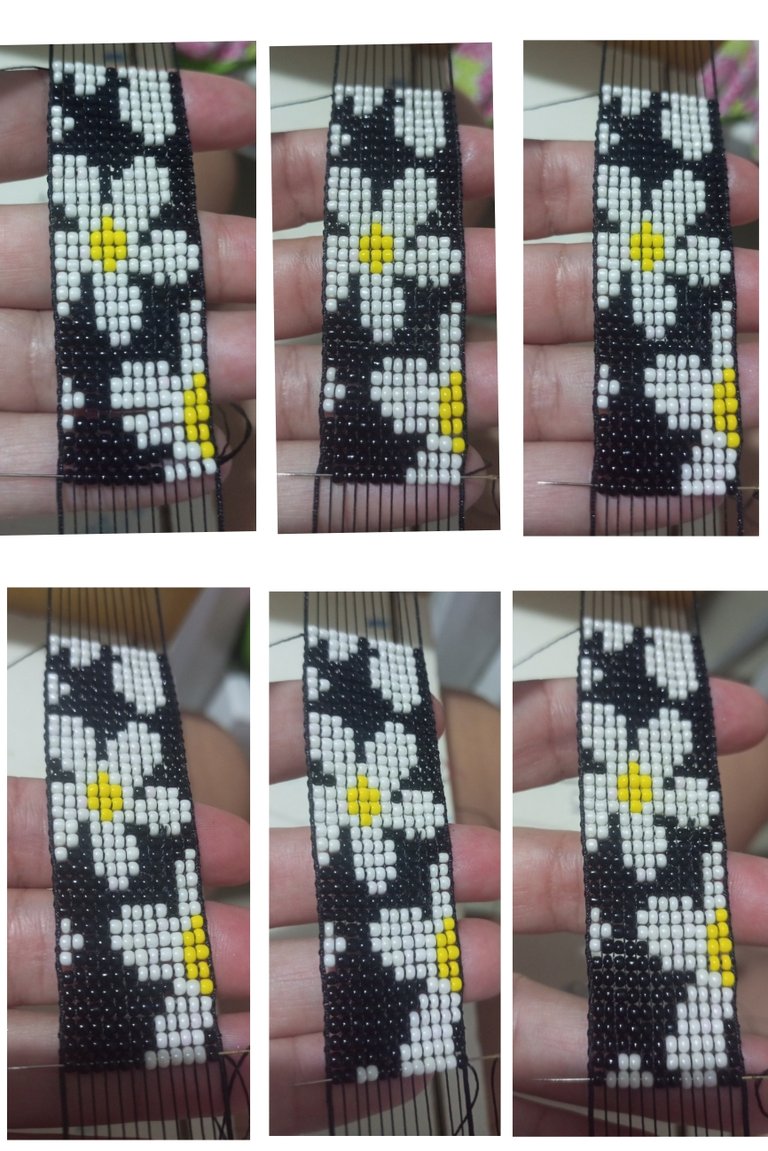
| Adicionamos 6 líneas más para completar 35 líneas y en el patrón por el número 46. | We add 6 more lines to complete 35 lines and in the pattern by the number 46. |
| Paso 11 | Step 11 |
|---|---|
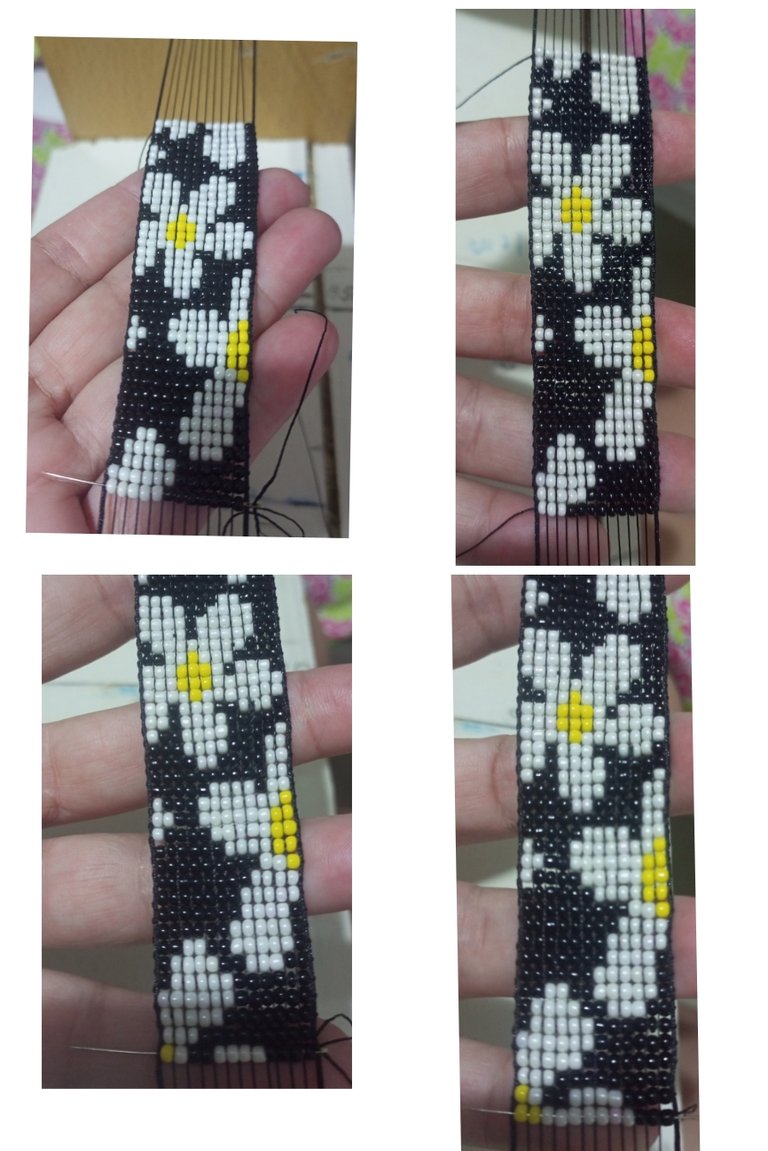
| Adicionamos 6 líneas más para completar 42 lineas y en el patrón por el número 52. | We add 6 more lines to complete 42 lines and in the pattern by the number 52. |
| Paso 12 | Step 12 |
|---|---|
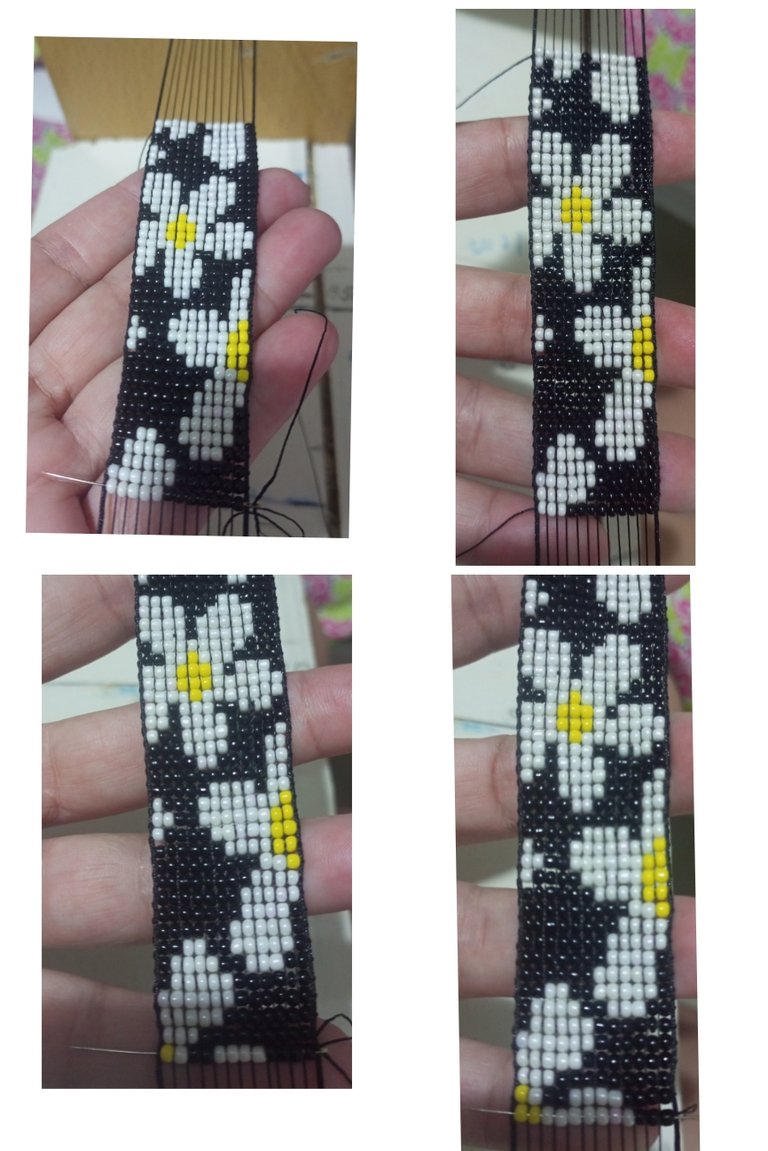
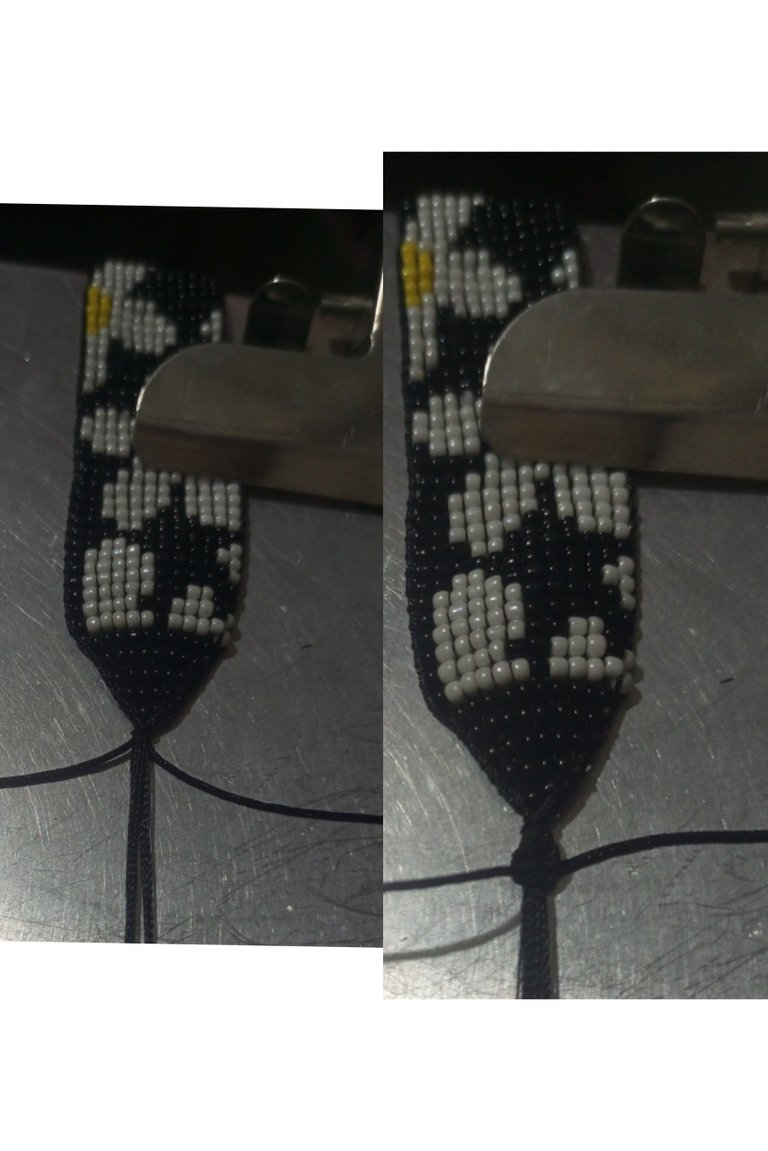
| Adicionamos 6 líneas más para completar 48 líneas y en el patrón por el número 58. | We add 6 more lines to complete 48 lines and in the pattern by number 58. |
| Paso 13 | Step 13 |
|---|---|
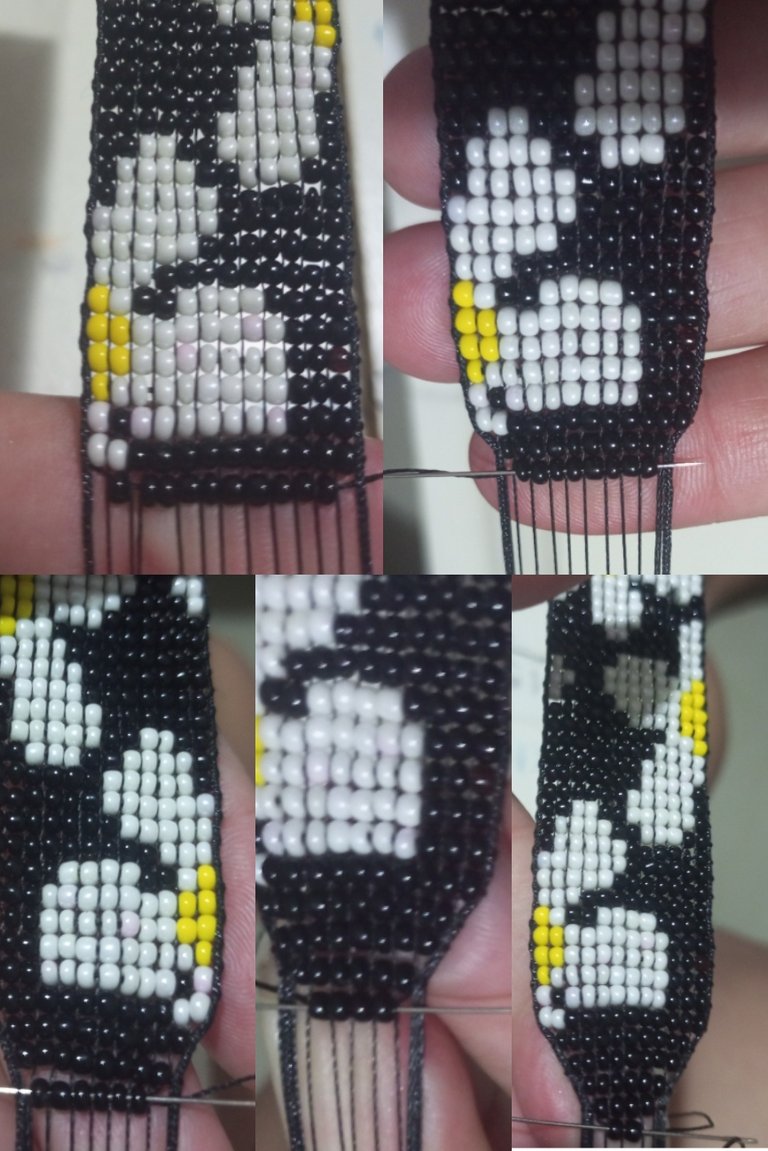
| En éste paso realicé los terminales reduciendo en cada línea hasta llegar a dos. Para los terminales son 4 líneas, 8, 6, 4, 2. | In this step I made the terminals by reducing in each line until I reached two. For the terminals are 4 lines, 8, 6, 4, 4, 2. |
| Paso 14 | Step 14 |
|---|---|
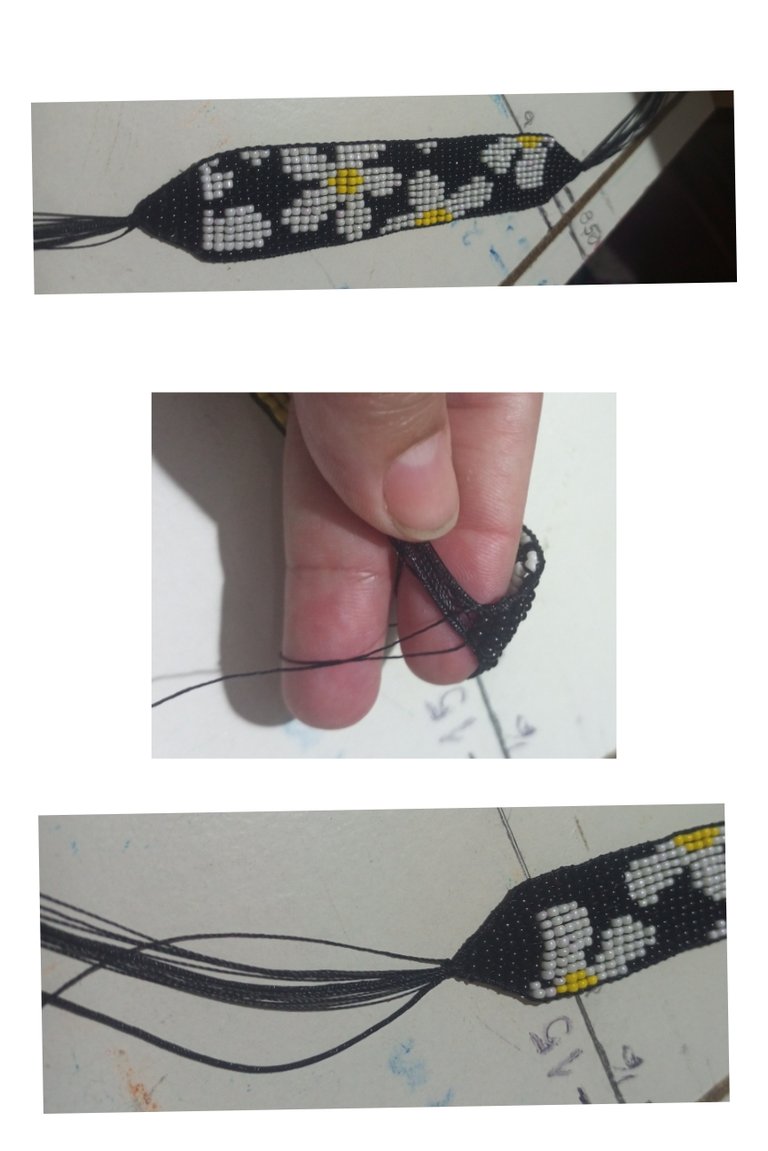
| Bajé el brazalete del telar cortando los hilos y realicé los remates de los hilos en el terminal. | lowered the bracelet from the loom by cutting the threads and made the ends of the threads in the terminal. |
| Paso 15 | Step 15 |
|---|---|
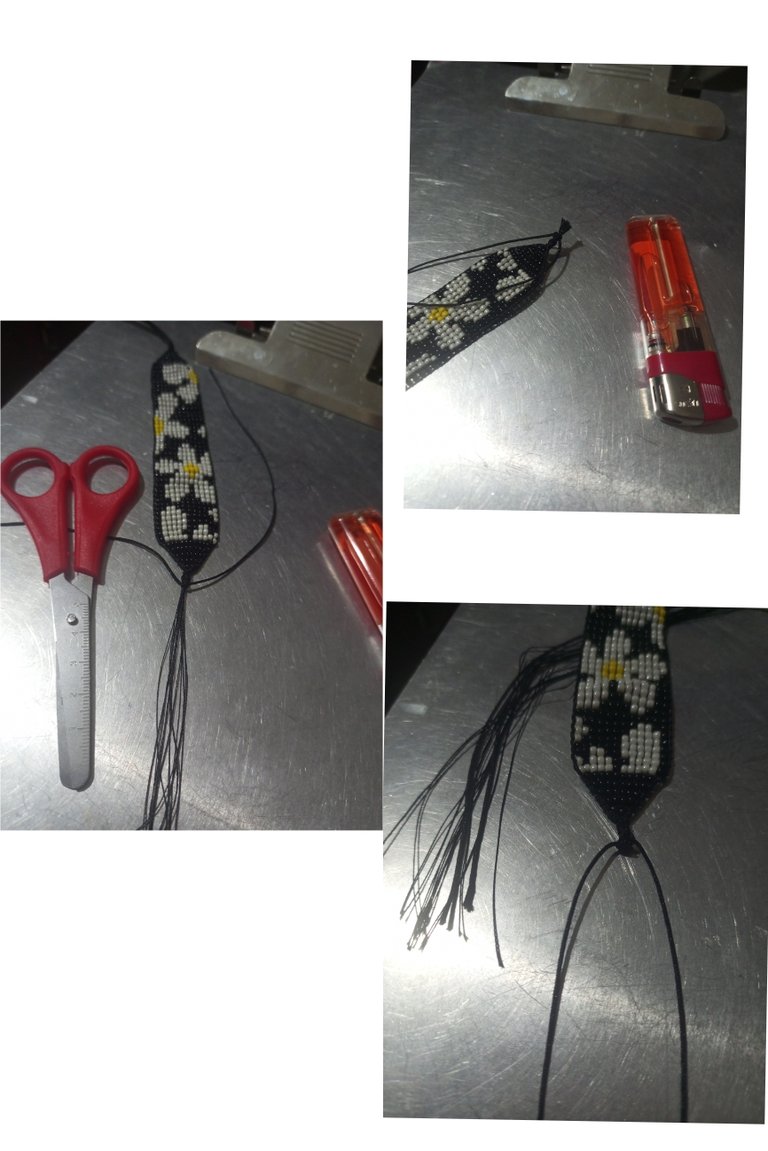
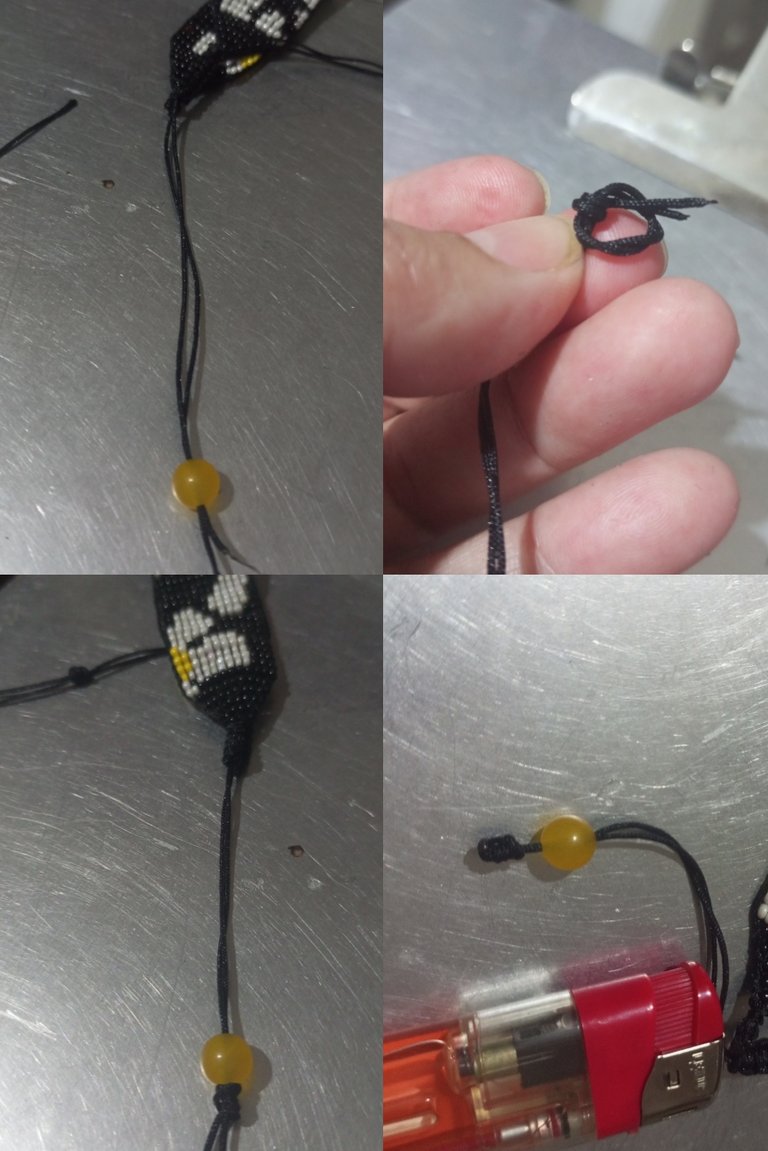
| Separé los hilos dejando los hilos chinos a los lados y los mostacilleros cortando estos y quemandolos con el yesqueros. | Separated the yarns leaving the Chinese yarns on the sides and the mustangs by cutting them and burning them with the tinder. |
| Paso 16 | Step 16 |
|---|---|
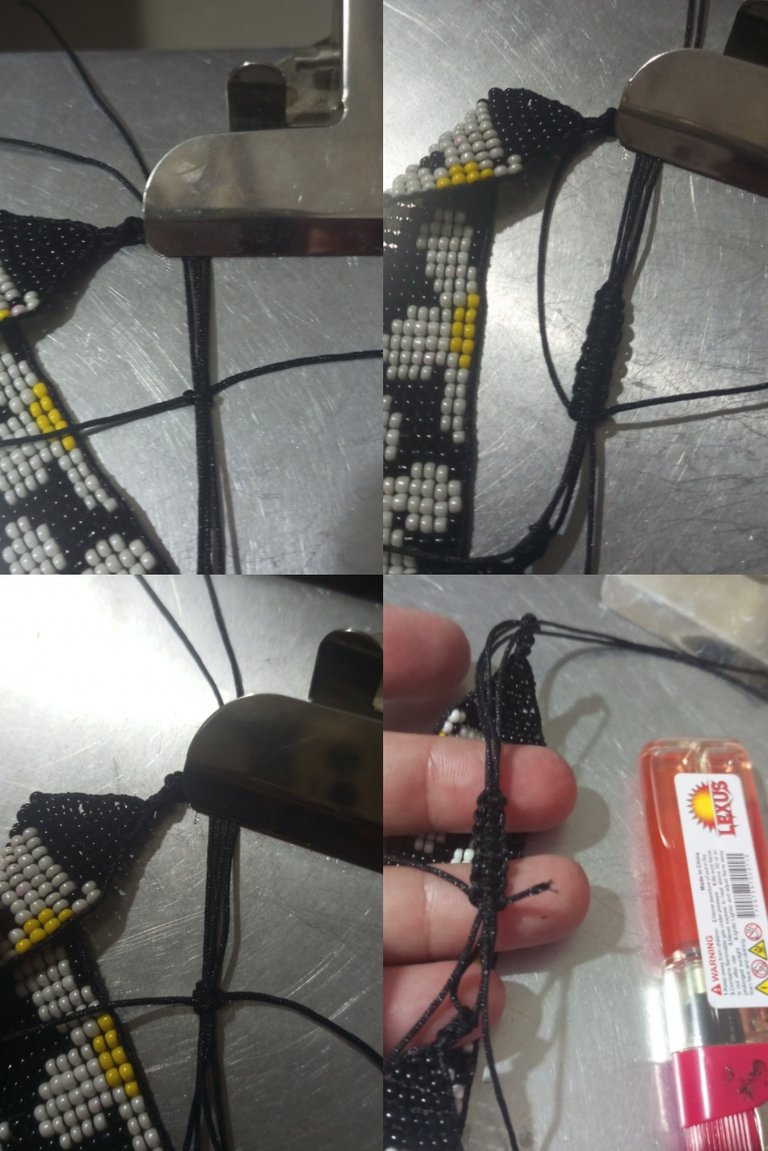
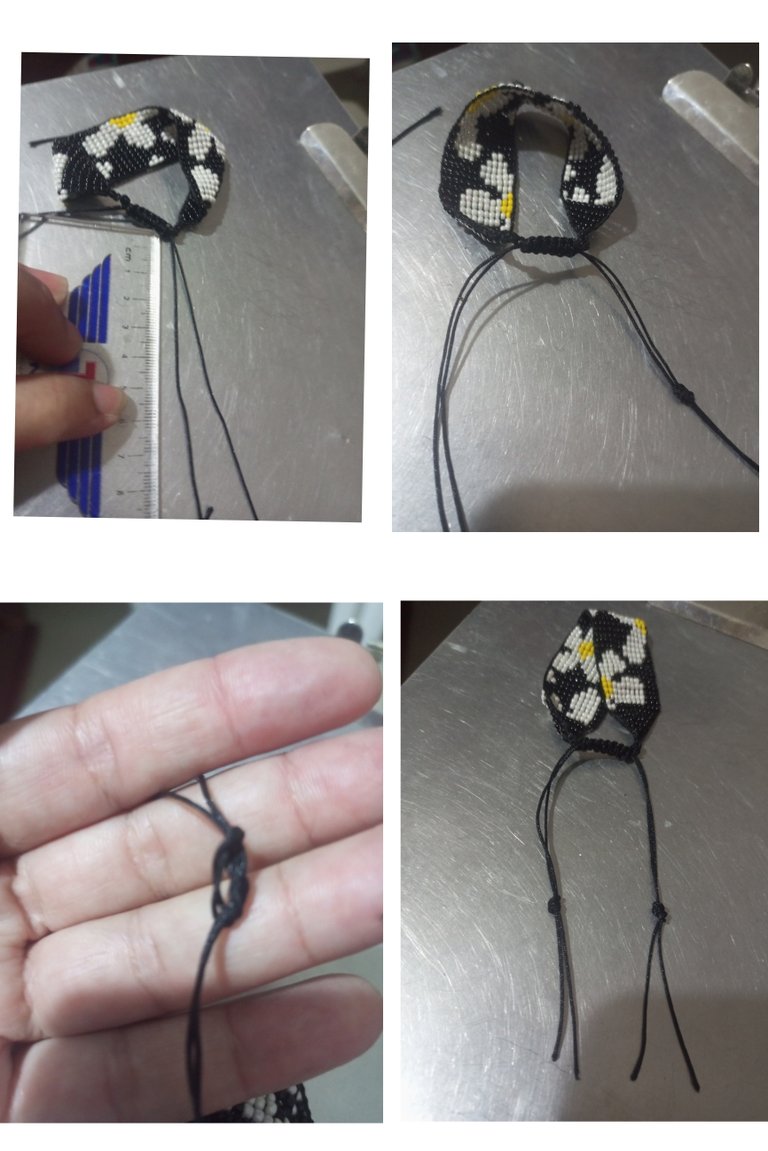
| Elaboré los nudos en cada lado, dispuse 12 cm de hilo chino y realicé un trancadero de 12 hilos chinos, corté y quemé el hilo excedente. | I tied the knots on each side, laid out 12 cm of Chinese thread and made a 12 Chinese thread strand, cut and burned the excess thread. |
| Paso 17 | Step 17 |
|---|---|
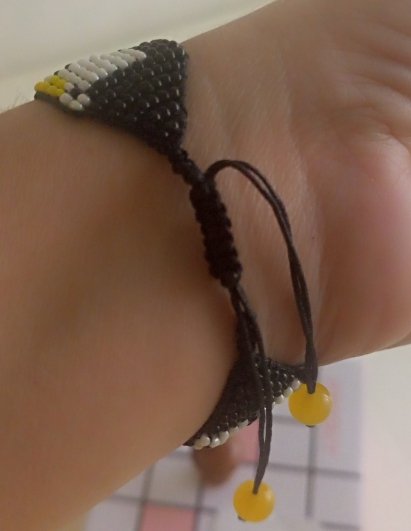
| Hice nudos en las puntas de los hilos para unir y que quedé un solo hilo e introduje cuentas en los hilos, corté y quemé el excedente. | I tied knots at the ends of the strands to join them together so that only one strand remained and I inserted beads in the strands, cut and burned the excess. |
| Despedida | Farewell |
|---|---|
| Y esté es mi post para el día de hoy LINDO BRAZALETE DE MARGARITAS TEJIDAS EN TELAR. Saludos y espero les guste mi post. | And this is my post for today **And this is my post for today NICE MARGARITAS BRAZALET WOVEN IN FABRIC. Greetings and I hope you like my post. |
| Créditos | Credits |
|---|---|
| Traductor: www.DeepL.com/Translator (free version).Las fotos fueron tomadas con mi Celular Tecno Sport 7T. Foto de portada editada con Canva y PhotoRoom. Banner:https://images.app.goo.gl/5N3pujMb9u2AePz87. | Translator: www.DeepL.com/Translator (free version). The photos were taken with my Tecno Sport 7T cell phone. Cover photo edited es Canva and PhotoRoom. Banner:https://images.app.goo.gl/5N3pujMb9u2AePz87. |
 d
d
Sending Love and Ecency Curation Vote!
 Follow Eceny's curation trail to earn better APR on your own HP. : )
Agradezco el apoyo. Feliz día.
Beautiful 😍😍
This is so creative friend, your attention to detail is admirable and thanks for walking us through the creative process of making this beautiful bracelet of yours.
Your bracelet is very nice. I love that combination. The didactic way you explain makes it feel so simple to make.
Peace!!!