| Esp | Eng |
|---|---|
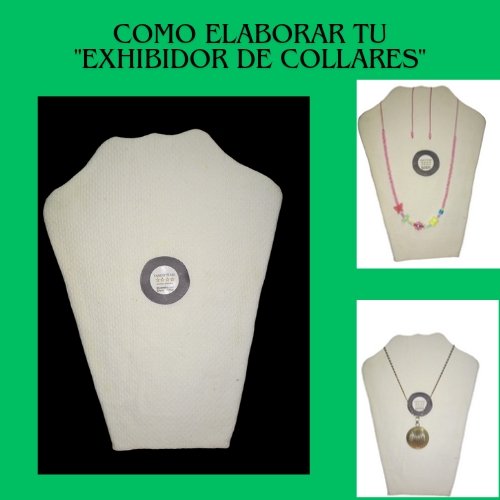
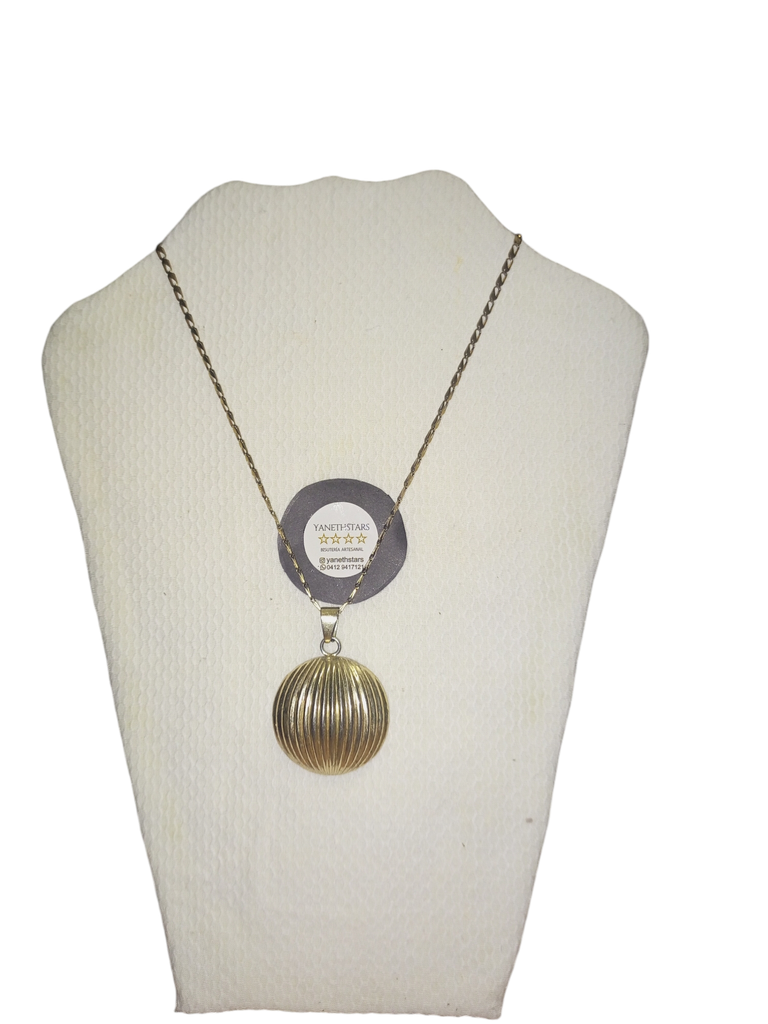
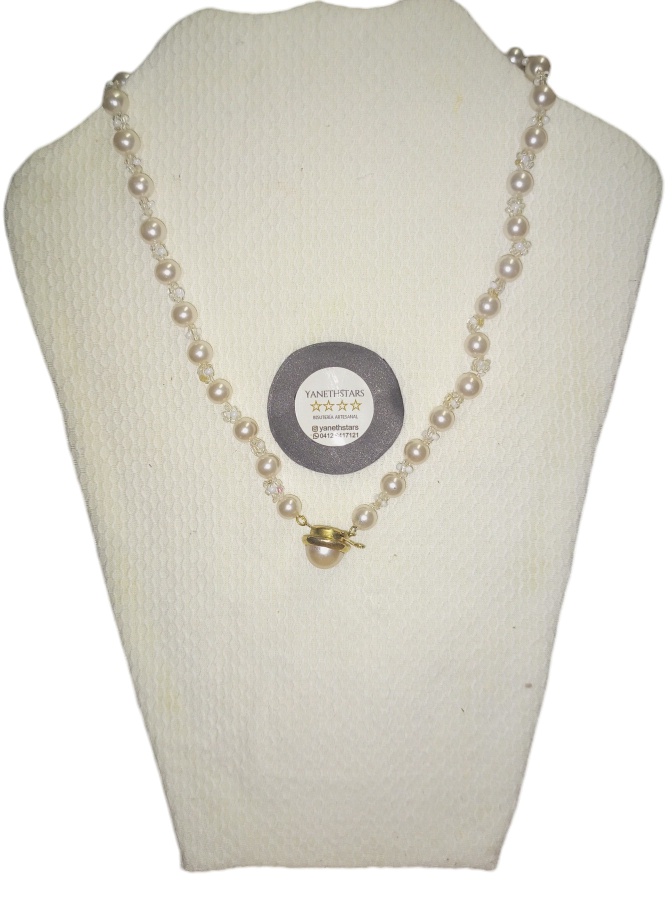
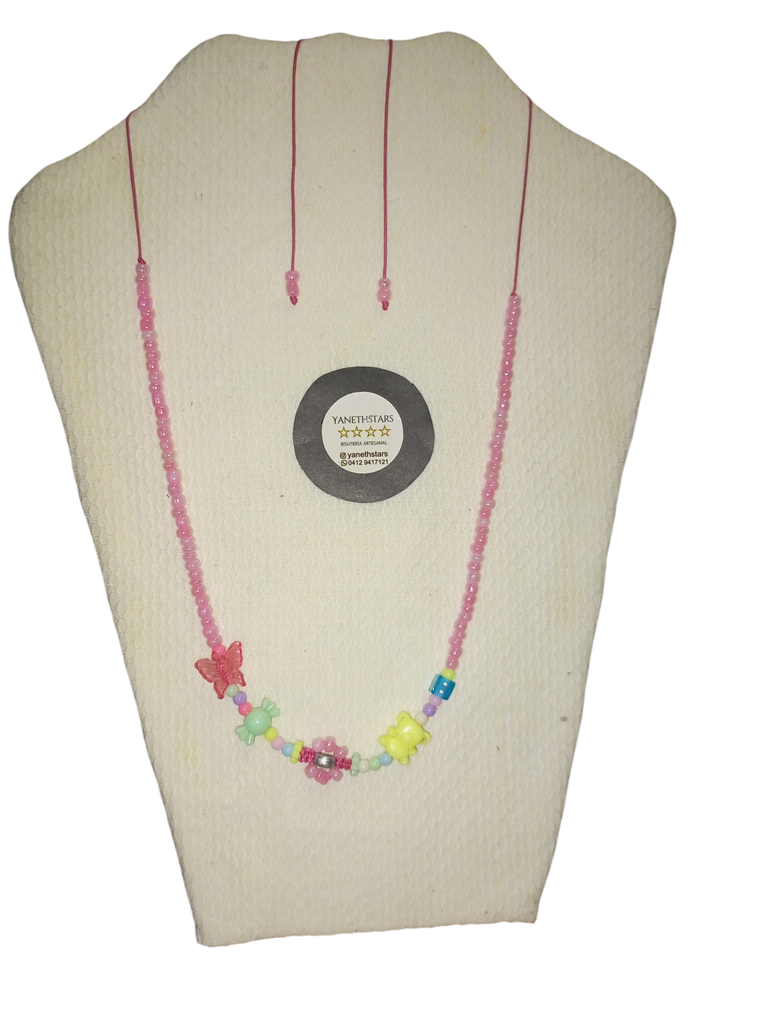
| Hola amigos creativos, desde hace un tiempo he querido ser parte de ferias expositoras de mi región, estoy considerando y estudiando la posibilidad de hacerme presente en un tipo de evento de éstos y así impulsar mi marca y producto. Pero para esto se requiere una inversión monetaria y de trabajo considerable que se debe colocar en mesa y analizar. Como el alquiler del espacio para colocar el STAND, el cual cobran por metros cuadrados y depende también de la ubicación del Stand dentro de la feria, otro gastos a considerar es el precio de la estructura del Stand, si no tenemos uno propio y deseamos alquilar, aunque podemos optar por opciones más accesibles y sencillas como llevar nuestras mesas y preparar nuestro espacio que quedé lindo y llamativo. También es importante invertir en una buena publicidad porque eso vende y da a conocer la marca y producto, como franelas, bolsas, exhibidores, pendones y otro. En fin esté es mi sueño y yo creo que mi sueño con la ayuda de Dios es factible y puede ser realidad, y el día que lo logre lo compartiré con ustedes, mientras tanto yo trabajo todos los días haciendo todo lo que es posible para mí y lo imposible se lo dejo a Dios. En está oportunidad les comparto como realicé mi EXHIBIDOR DE COLLAR con materiales que tenemos todos en casa. Espero les guste y sirva para que también ustedes hagan el suyo, porque se que en está linda Comunidad de Jewelry hay muchos otros soñadores como yo. Esté es mi post que espero les guste y disfruten. | Hello creative friends, for some time now I have wanted to be part of trade fairs in my region, I am considering and studying the possibility of being present in one of these events and thus promote my brand and product. But this requires a considerable monetary investment and work that must be placed on the table and analyzed. As the rental of space to place the STAND, which is charged per square meters and also depends on the location of the Stand within the fair, another expense to consider is the price of the structure of the Stand, if we do not have one of our own and want to rent, although we can opt for more accessible and simple options such as bringing our tables and prepare our space that is nice and striking. It is also important to invest in good advertising because it sells and makes the brand and product known, such as T-shirts, bags, displays, banners and others. Anyway this is my dream and I believe that my dream with God's help is feasible and can be a reality, and the day I achieve it I will share it with you, meanwhile I work every day doing everything that is possible for me and the impossible I leave it to God. In this opportunity I share with you how I made my NECKLACE HANGER with materials that we all have at home. I hope you like it and that it will help you to make yours, because I know that in this beautiful Jewelry Community there are many other dreamers like me. This is my post that I hope. |

| Materiales: | Materials: |
|---|---|
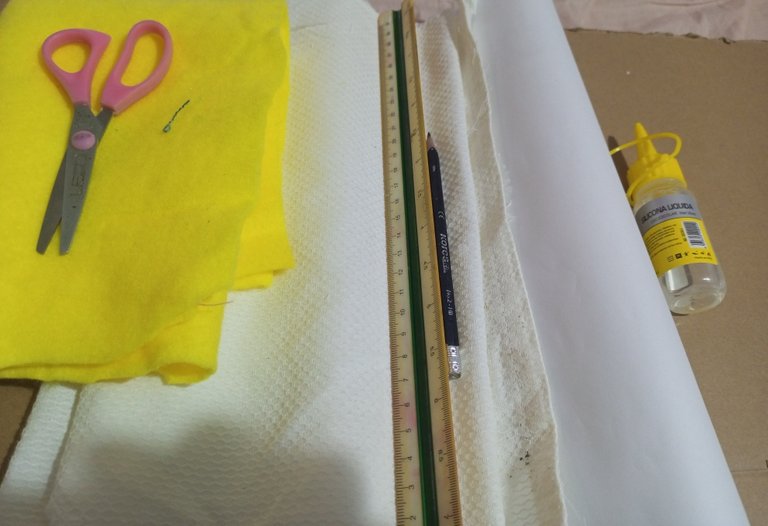
| Cartón duro, cartulina negra, hoja blanca, tela blanca, fieltro, tijeras, pinza de corte exacto, silicón líquido, lápiz de creyón, regla. | Hard cardboard, black cardboard, white sheet, white cloth, felt, scissors, exato cutting tweezers, liquid silicone, creyon pencil, ruler, ruler, etc. |
| Instrucciones: | Instructions: |
|---|

| Paso 1 | Step 1 |
|---|---|
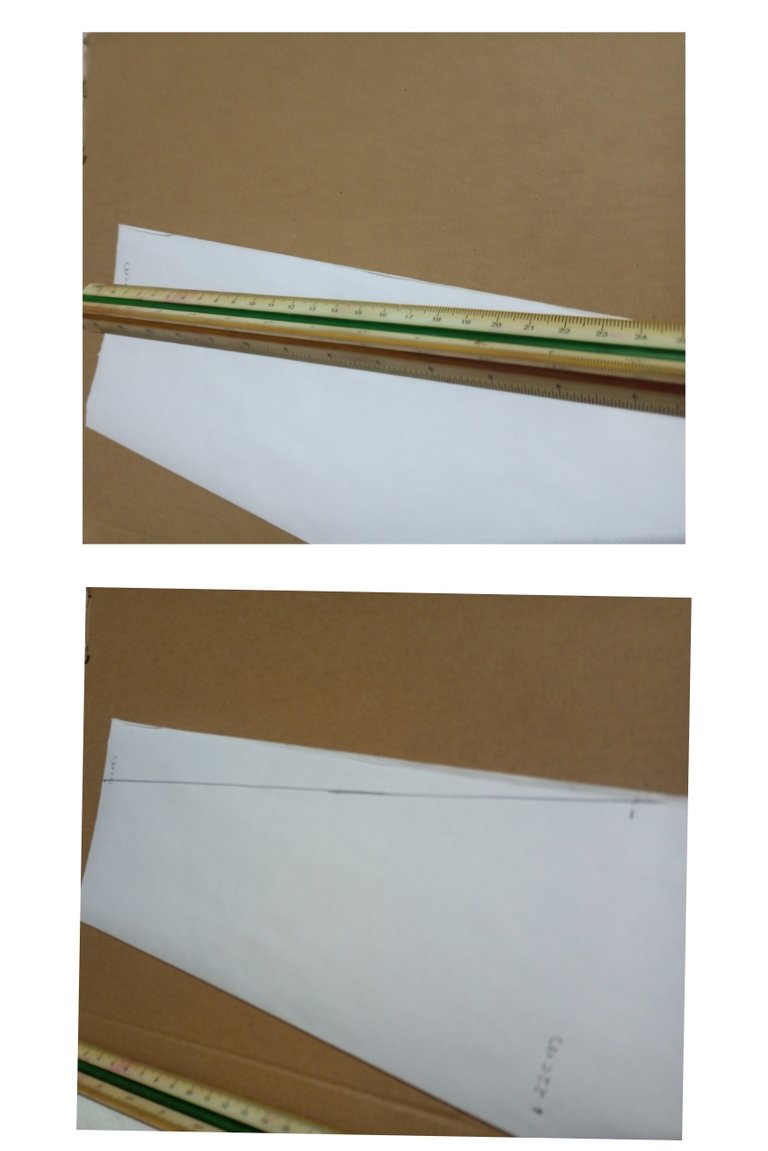
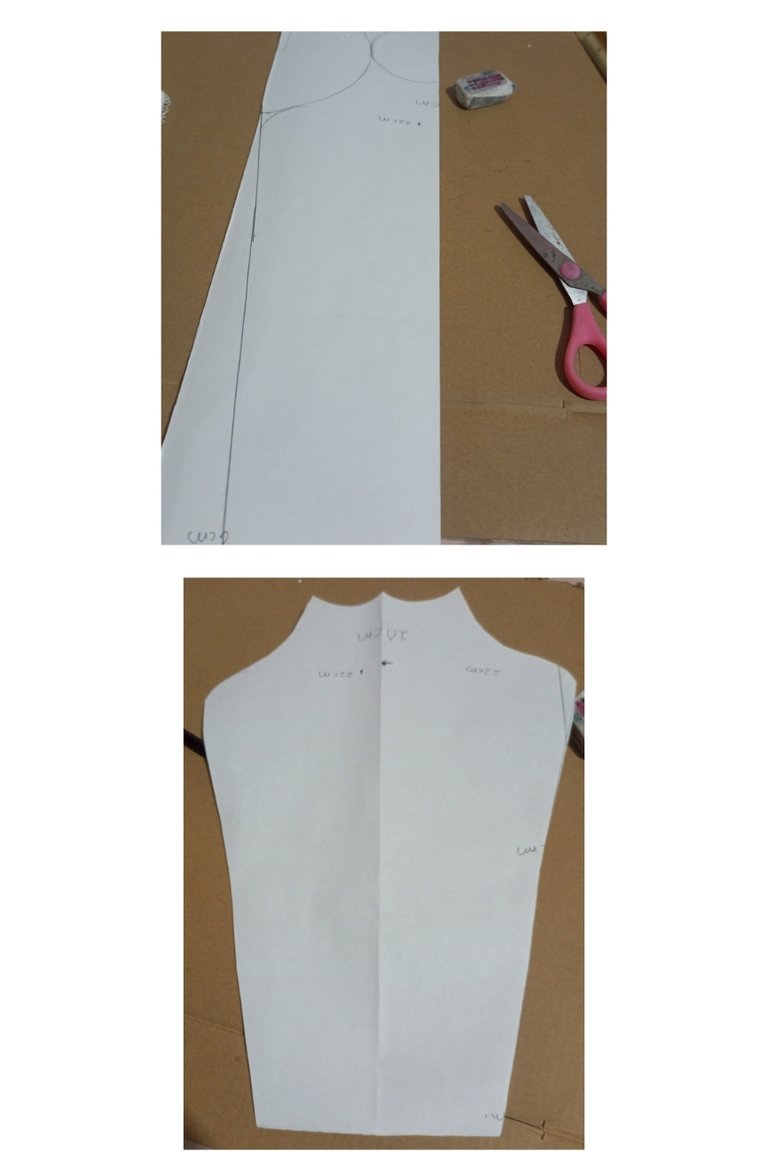
| Tomaremos la hoja blanca y está debe medir 20 cm de ancho por 32 cm de largo. | We will take the white sheet and it should measure 20 cm wide by 32 cm long. |
| Paso 2 | Step 2 |
|---|---|
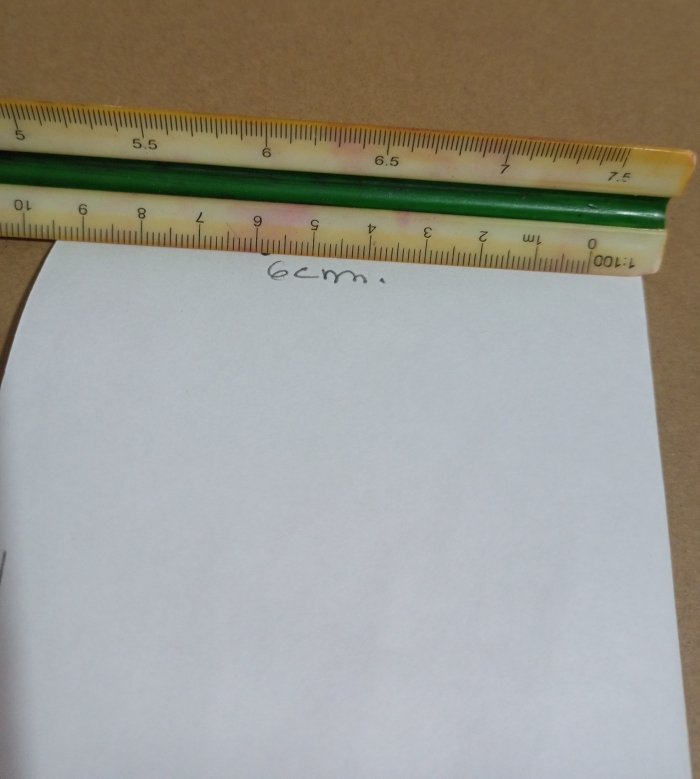
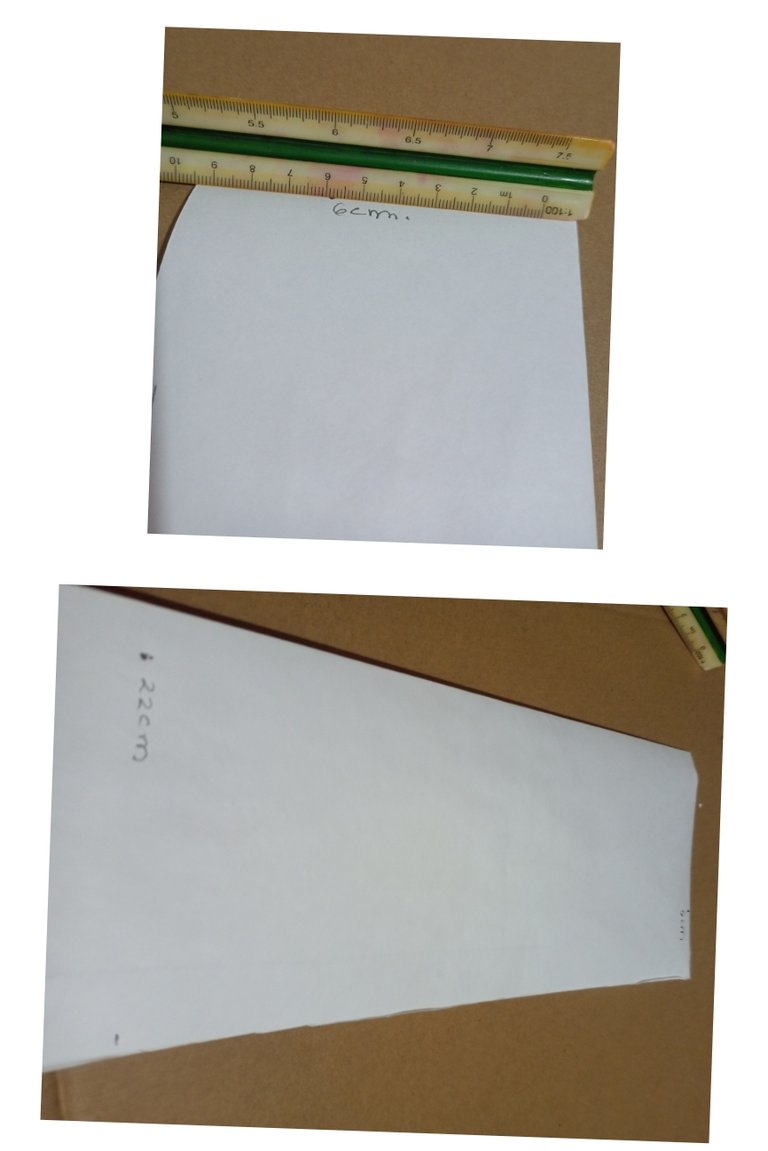
| La doblamos a la mitad y marcamos un punto a los 6 cm de ancho, y otro punto a los 22 cm de largo. | Fold it in half and mark a stitch at 6 cm wide, and another stitch at 22 cm long. |
| Paso 3 | Step 3 |
|---|---|
| Unimos haciendo una recta desde el punto de 6 cm hasta el punto de 22 cm. | We join making a straight line from the 6 cm point to the 22 cm point. |
| Paso 4 | Step 4 |
|---|---|
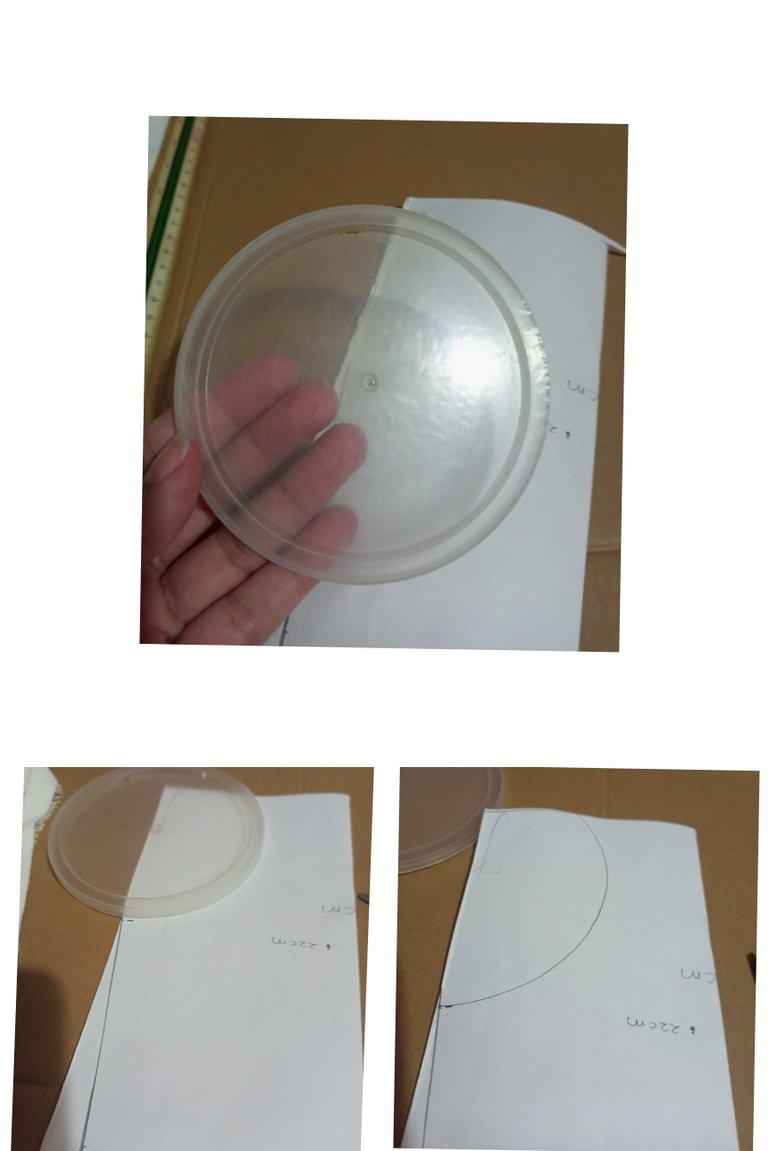
| Dí vueltas al papel y del lado más ancho con una tapa hice un trazo como se observa en la imágen para que quedé medio círculo. | I turned the paper over and on the wider side I made a line with a lid as shown in the image to make a half circle. |
| Paso 5 | Step 5 |
|---|---|
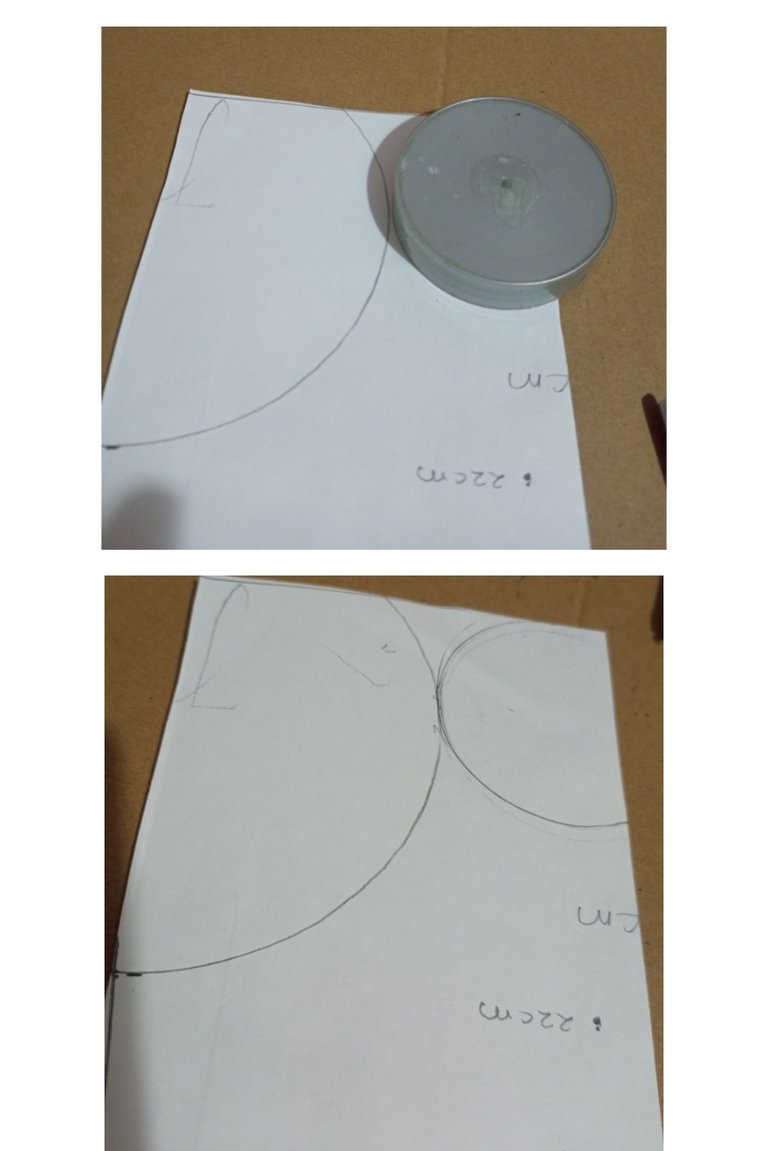
| Con una tapa más pequeña de unos 8 cm de diámetro realicé un medio círculo del otro lado, como se observa en la imágen. | With a smaller lid of about 8 cm in diameter I made a half circle on the other side, as shown in the picture. |
| Paso 6 | Step 6 |
|---|---|
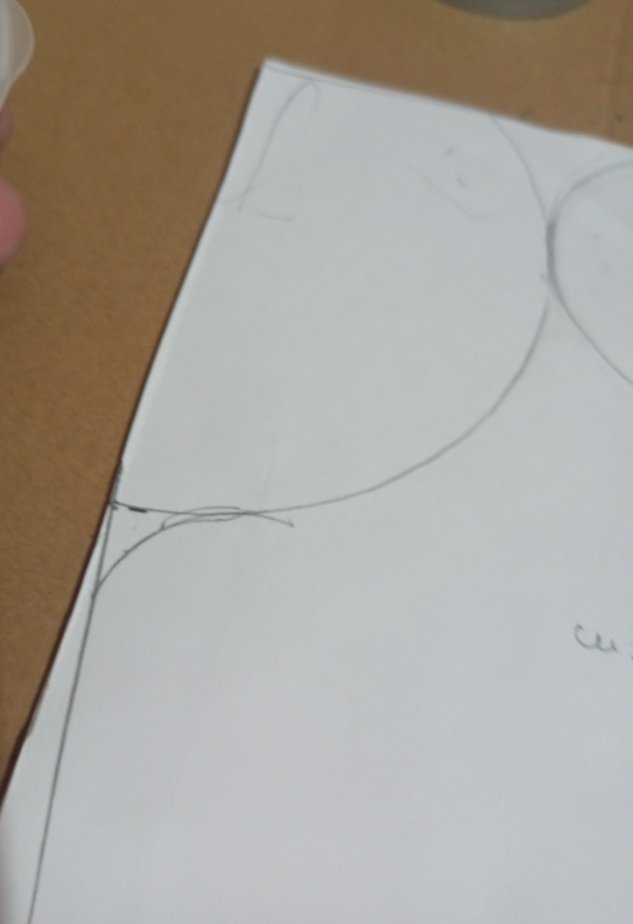
| Con la misma tapa pequeña realicé una curva en la parte de unión de la recta y el círculo. | With the same small cap I made a curve at the junction of the straight line and the circle. |
| Paso 7 | Step 7 |
|---|---|
| Recorte con tijeras el patrón del exhibidor. | Cut out with scissors the pattern of the display stand. |
| Paso 8 | Step 8 |
|---|---|
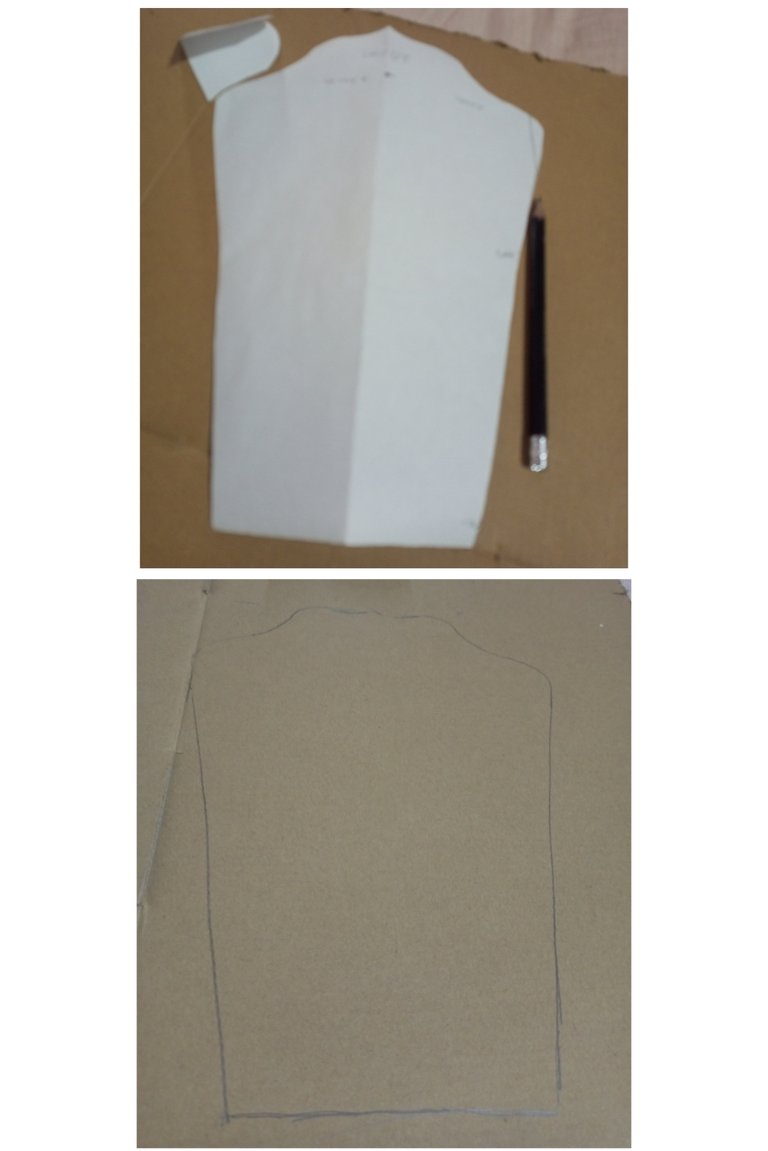
| Transferí el patrón al cartón, calqueando con lápiz de creyón. | I transferred the pattern to cardboard, tracing it with crayon pencil. |
| Paso 9 | Step 9 |
|---|---|
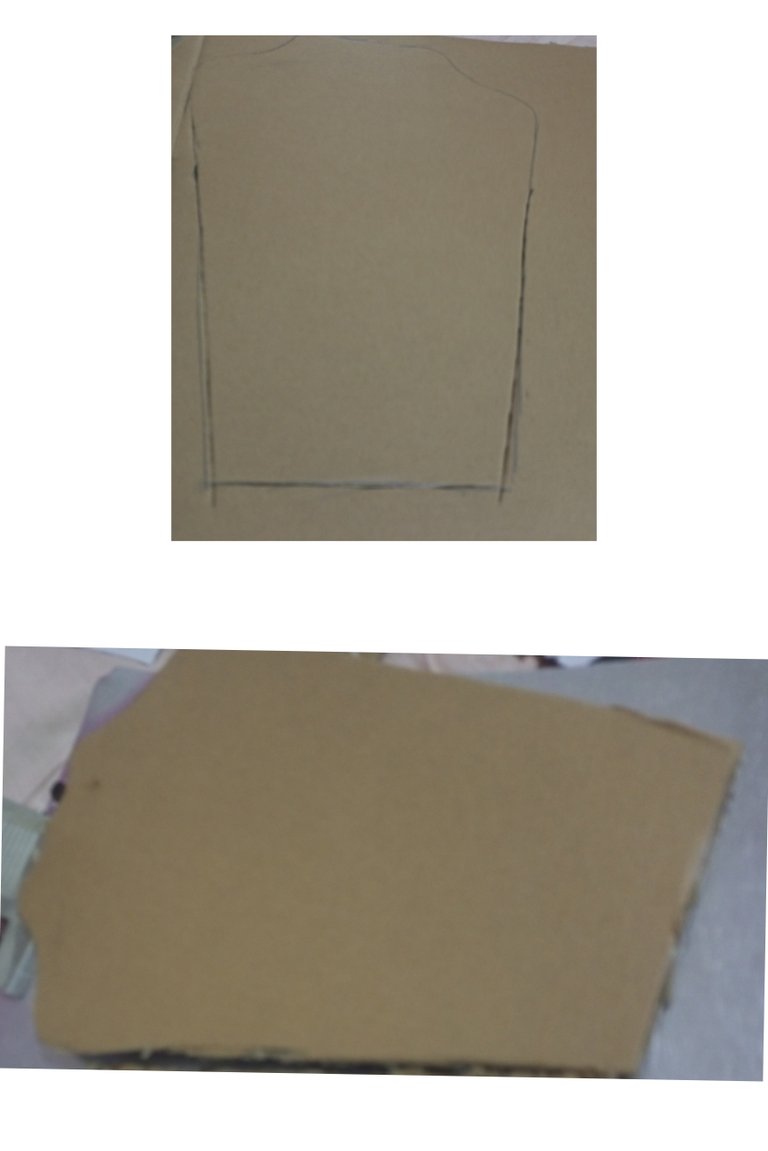
| Con el exacto corté la figura del busto. | With the exact I cut the figure of the bust. |
| Paso 10 | Step 10 |
|---|---|
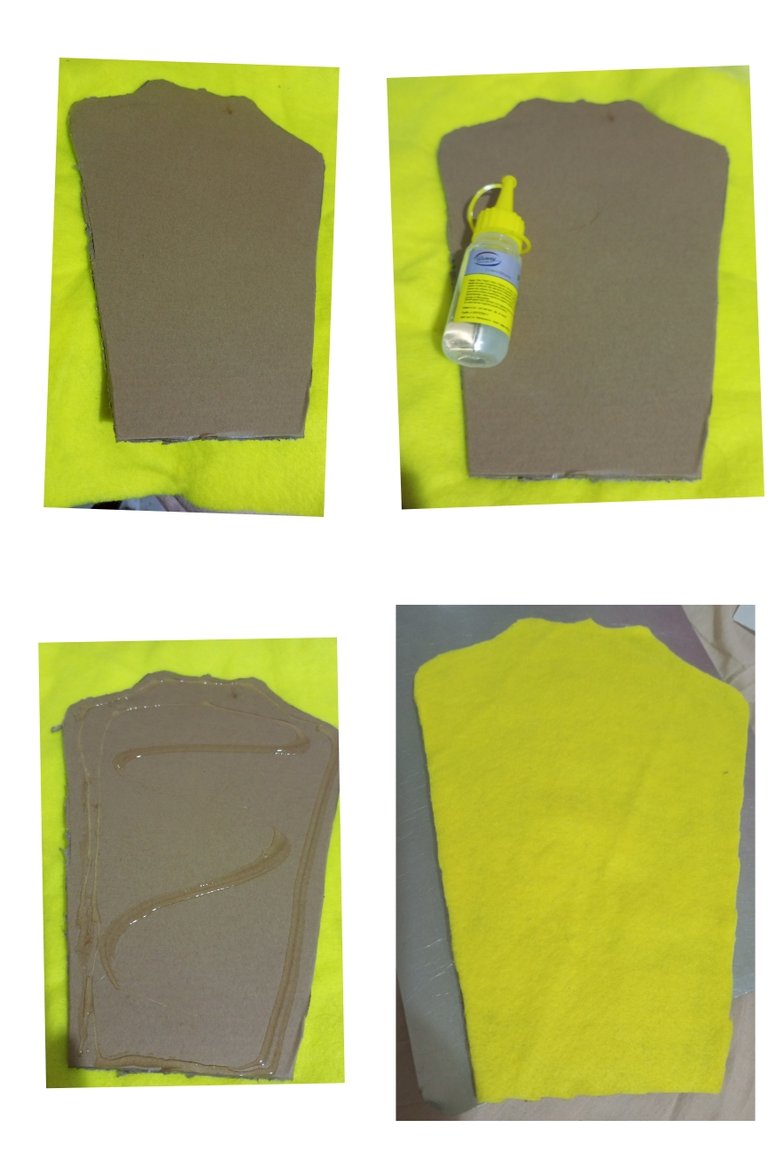
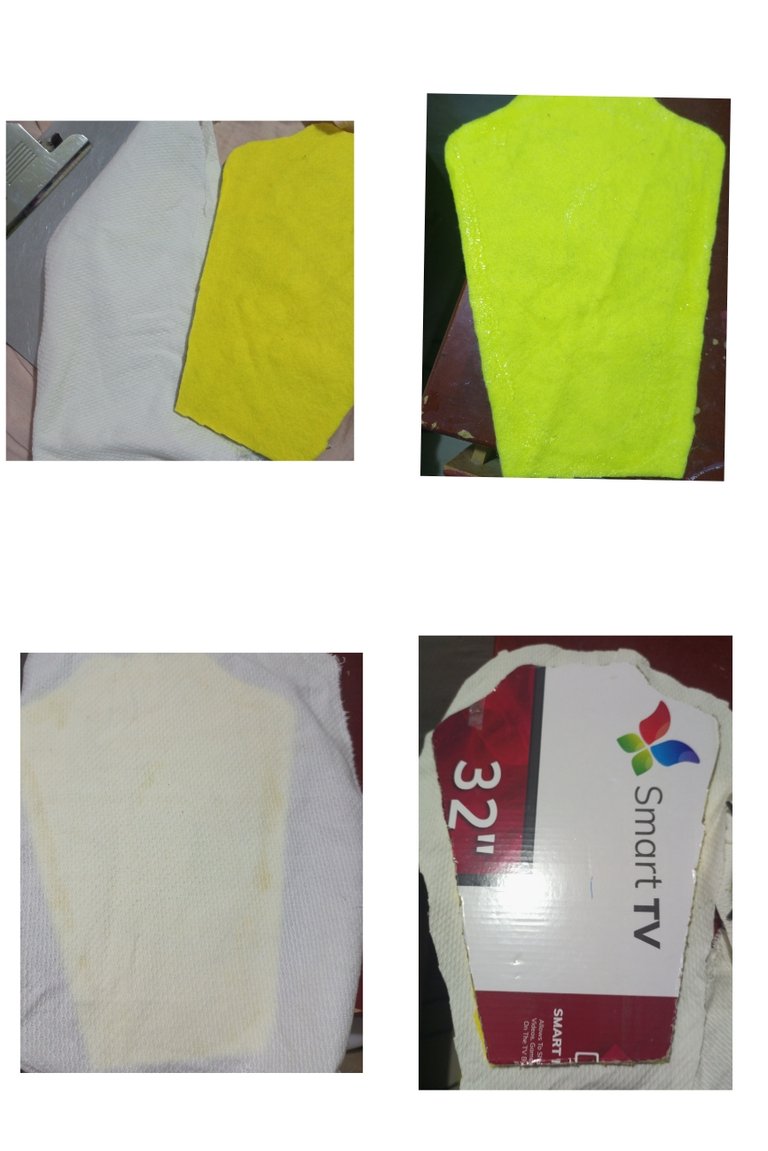
| Coloqué suficiente silicón al busto y coloqué sobre el fieltro, una vez seco el silicón recorte el fieltro del busto al ras del cartón | I put enough silicone on the bust and placed it on the felt, once the silicone was dry I cut the felt of the bust to the cardboard. |
| Paso 11 | Step 11 |
|---|---|
| En éste paso forramos con tela colocaremos suficiente silicón en el busto con fieltro y colocamos sobre la tela, una vez ya seco el silicón cortamos la tela dejando dos centímetro de tela. | In this step we cover with fabric we will place enough silicone on the bust with felt and place it on the fabric, once the silicone is dry we cut the fabric leaving two centimeters of fabric. |
| Paso 12 | Step 12 |
|---|---|
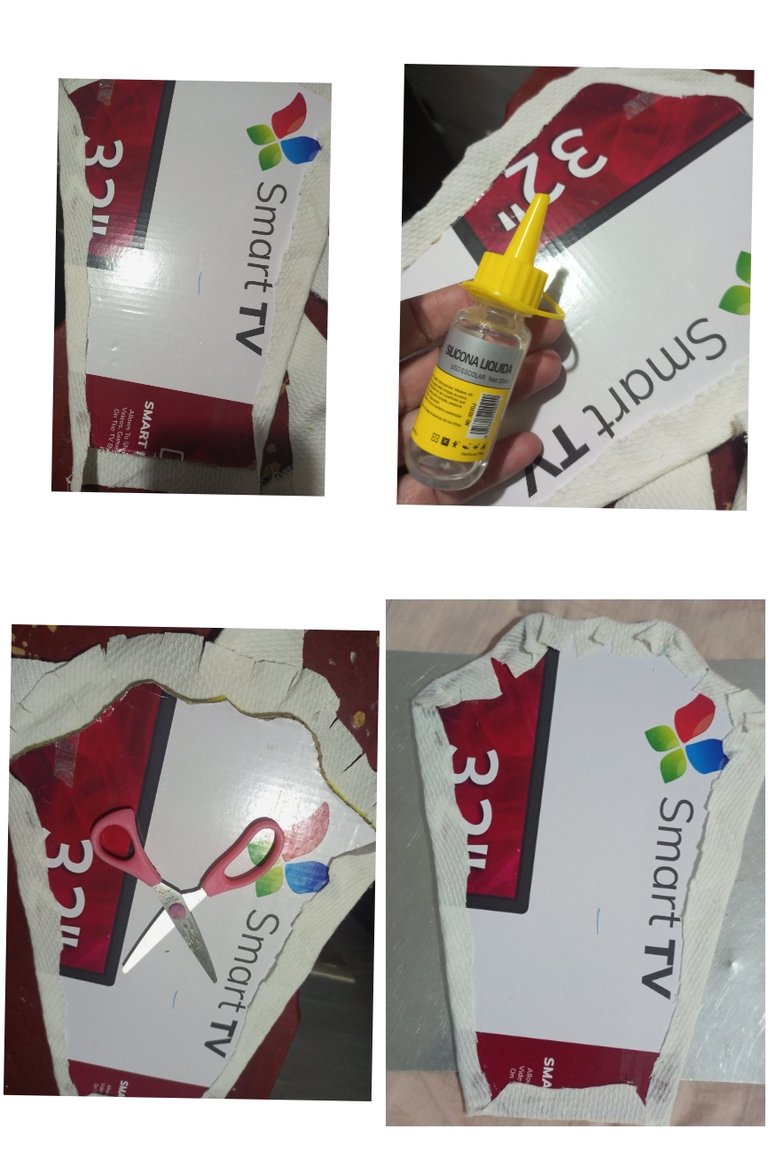
| Coloqué silicón en las orillas para pegar la tela al cartón y en la parte curva hacemos cortes en la tela para que al pegarlo tomen forma y quedé bien en esa parte curva. | I placed silicone on the edges to glue the fabric to the cardboard and in the curved part we made cuts in the fabric so that when glued they take shape and fit well in that curved part. |
| Paso 13 | Step 13 |
|---|---|
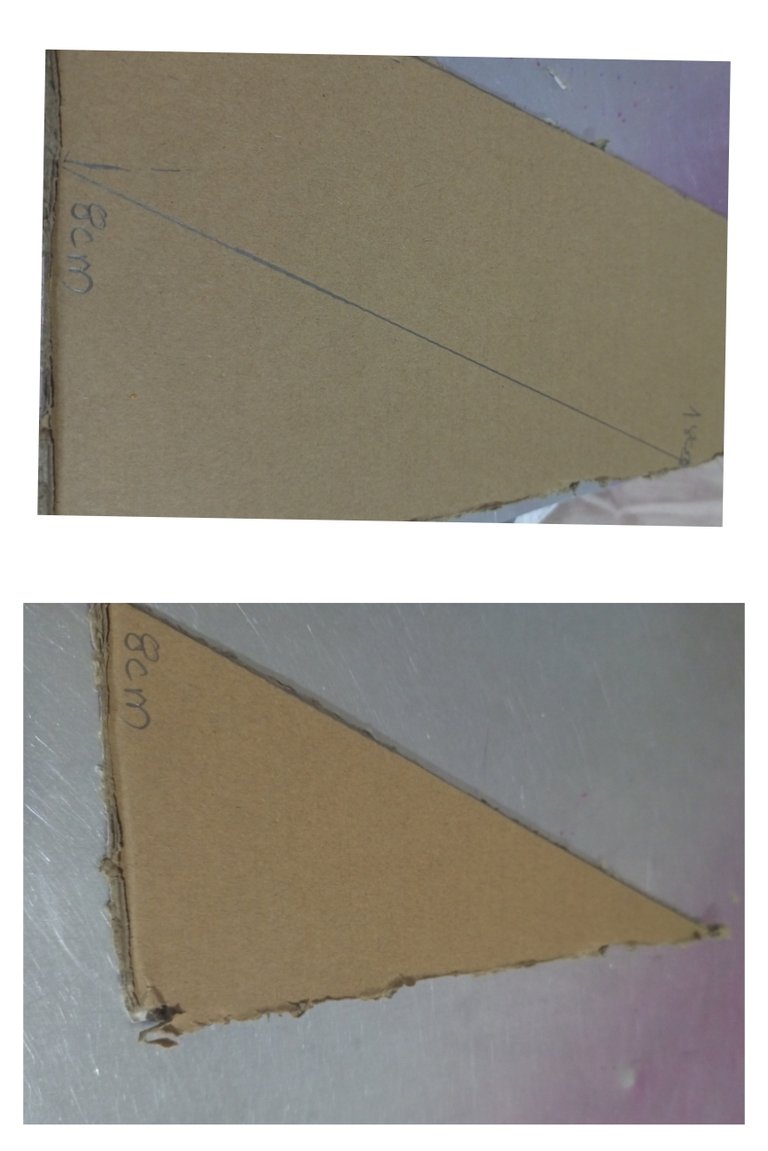
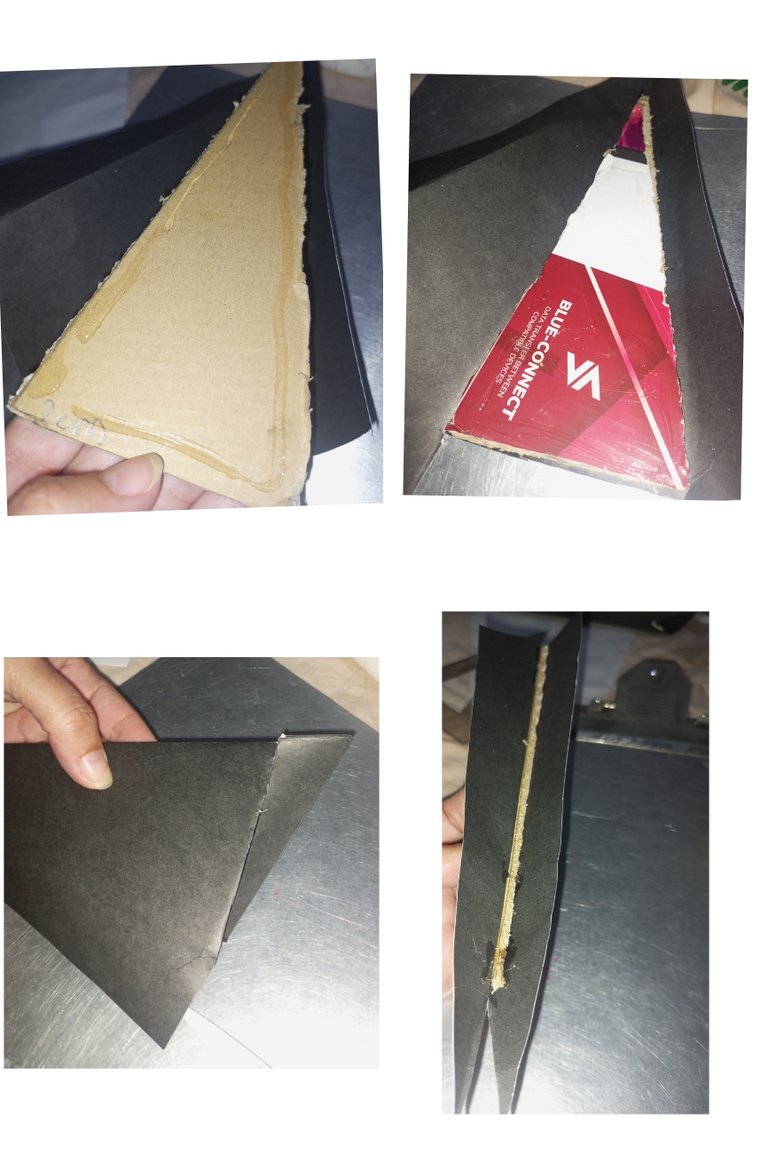
| Corté una pieza que será el paral del busto, está mide 8 cm de ancho y 18 cm de alto, y cortamos con el exacto. | I cut a piece that will be the parallel of the bust, it measures 8 cm wide and 18 cm high, and we cut it with the exact. |
| Paso 14 | Step 14 |
|---|---|
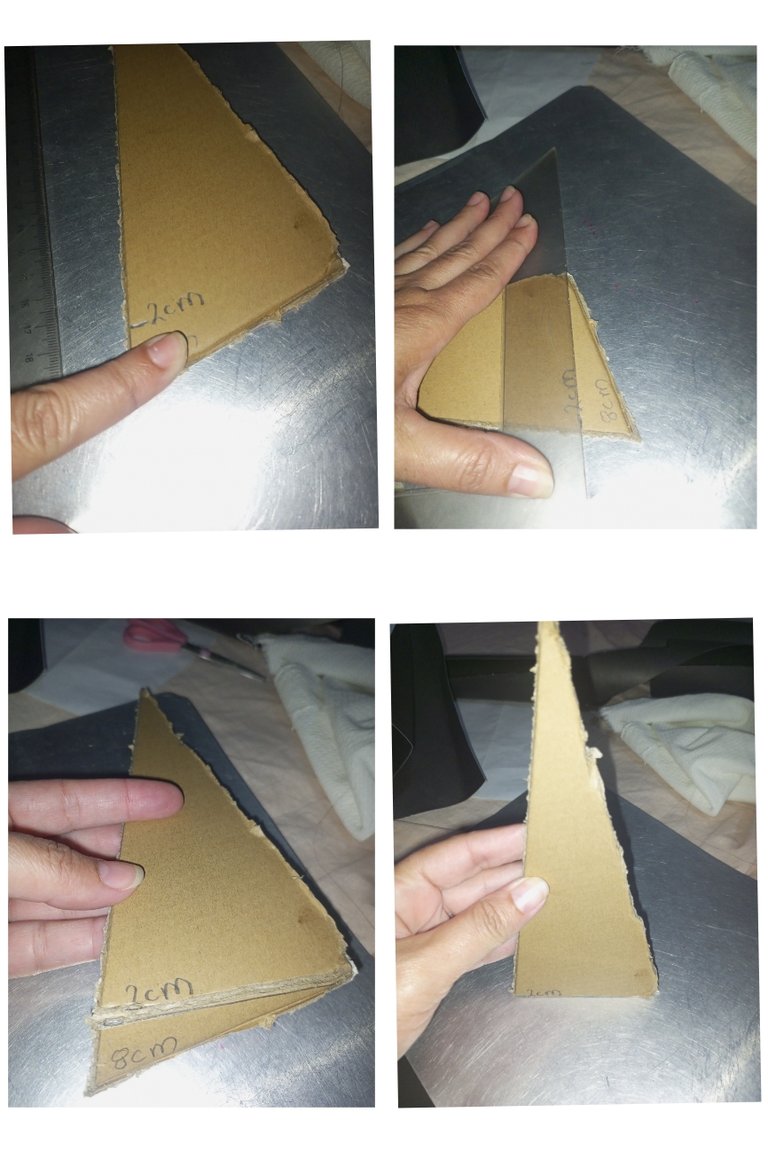
| Le damos caída al paral ubicando 2 cm en la parte de abajo y haciendo una recta hasta el filo del paral. | We drop the parallel by placing 2 cm at the bottom and making a straight line to the edge of the parallel. |
| Paso 15 | Step 15 |
|---|---|
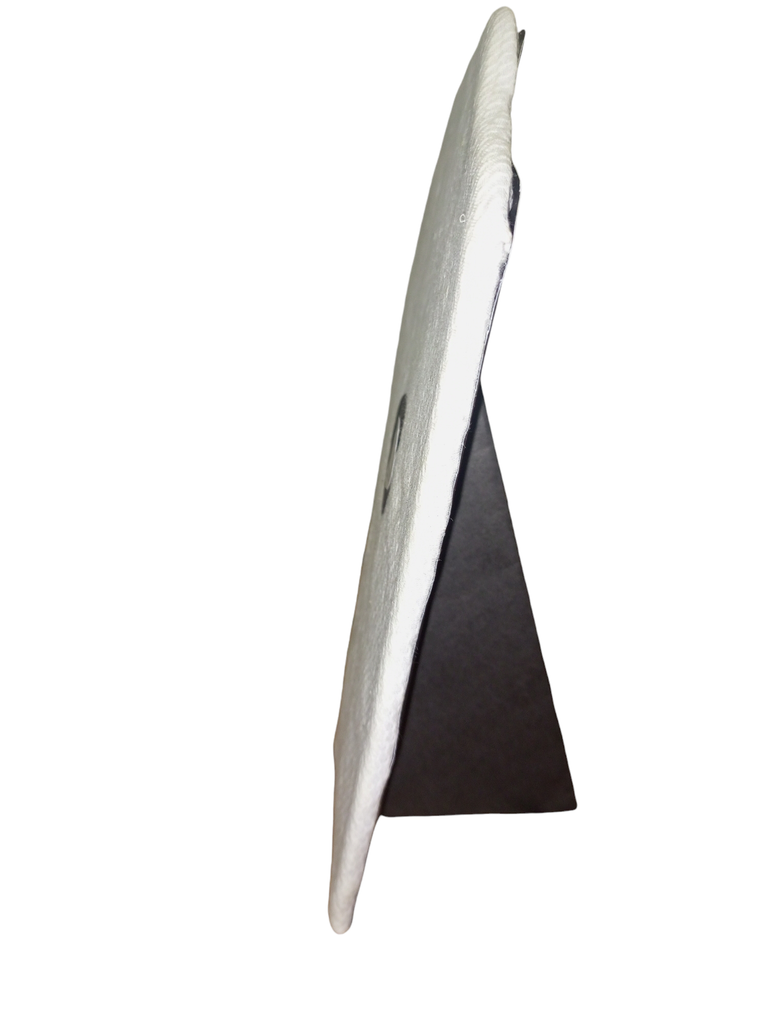
| Forramos el paral con cartulina negra dejando 3 cm de cada lado para pegar el paral al busto. | We line the parallel with black cardboard leaving 3 cm on each side to glue the parallel to the bust. |
| Paso 16 | Step 16 |
|---|---|
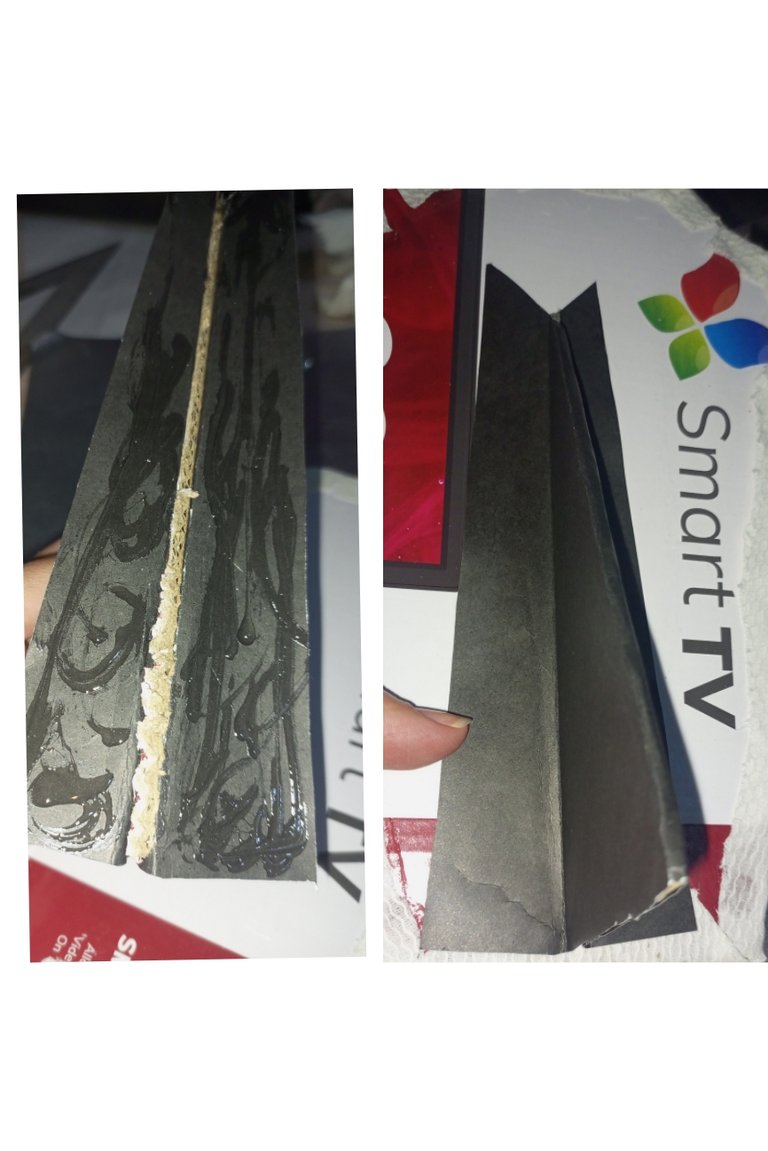
| Colocamos silicón en las pestañas del paral y lo pegamos al busto. | We place silicone on the tabs of the parallel and glue it to the bust. |
| Paso 17 | Step 17 |
|---|---|
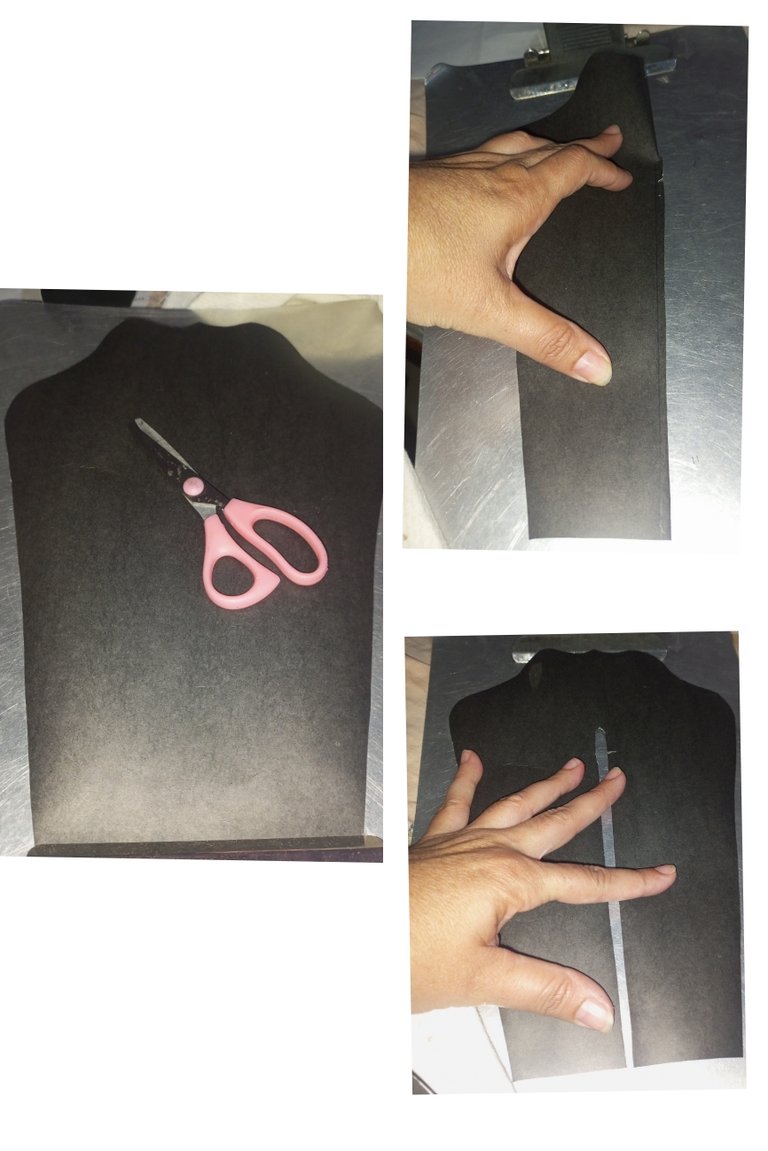
| Con el patrón sacamos una pieza del busto en cartulina negra y medimos 26 cm y realizamos una marca para hacer un corte a la medida del paral. | With the pattern we take a piece of the bust in black cardboard and measure 26 cm and make a mark to make a cut to the size of the parallel. |
| Paso 18 | Step 18 |
|---|---|
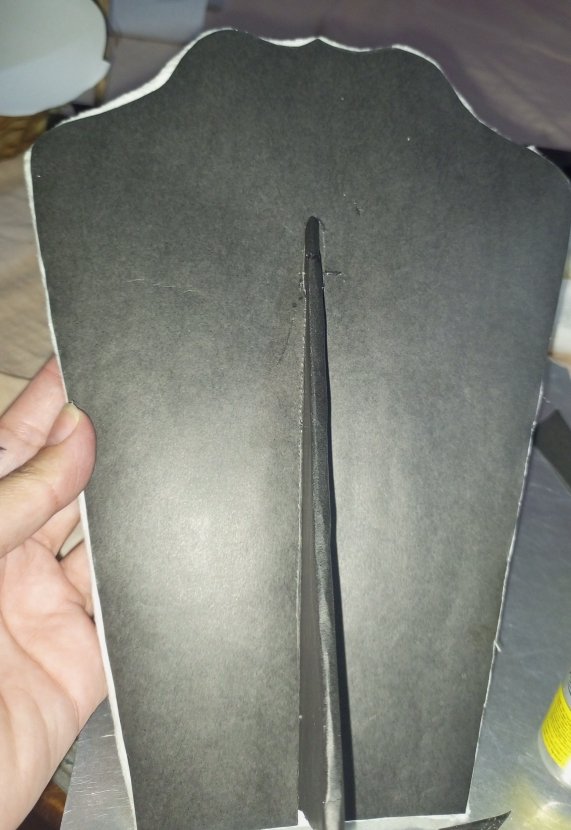
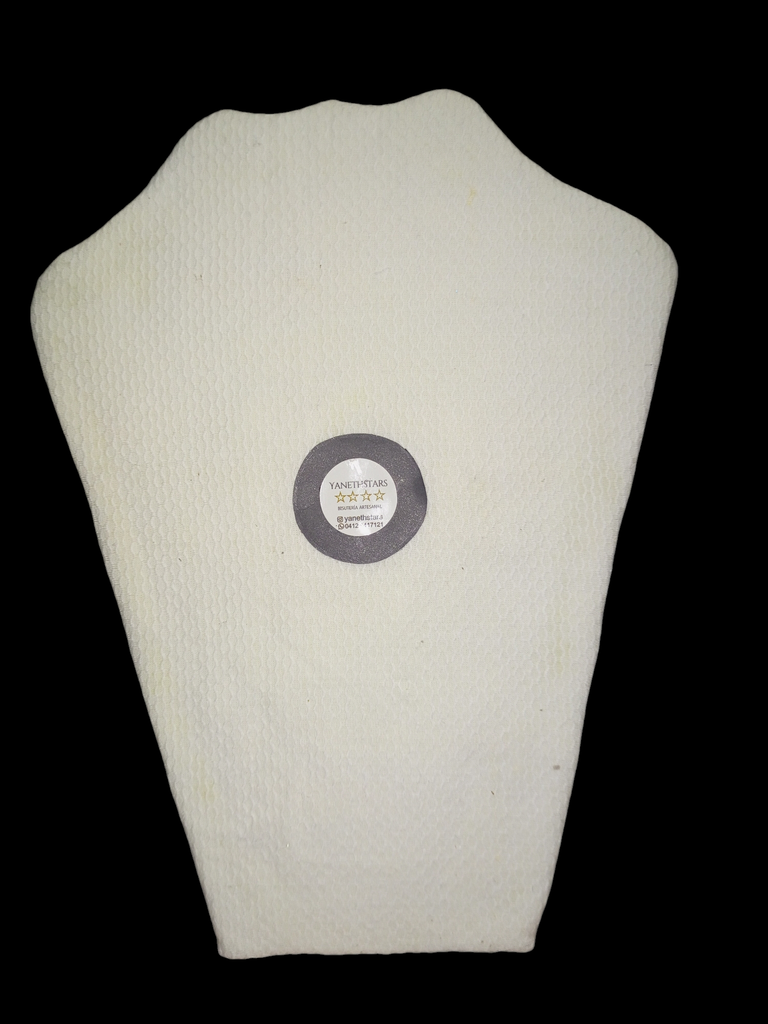
| Colocamos silicón y pegamos en la parte trasera del busto. | Place silicone and glue on the back of the bust. |
| Paso 19 | Step 19 |
|---|---|
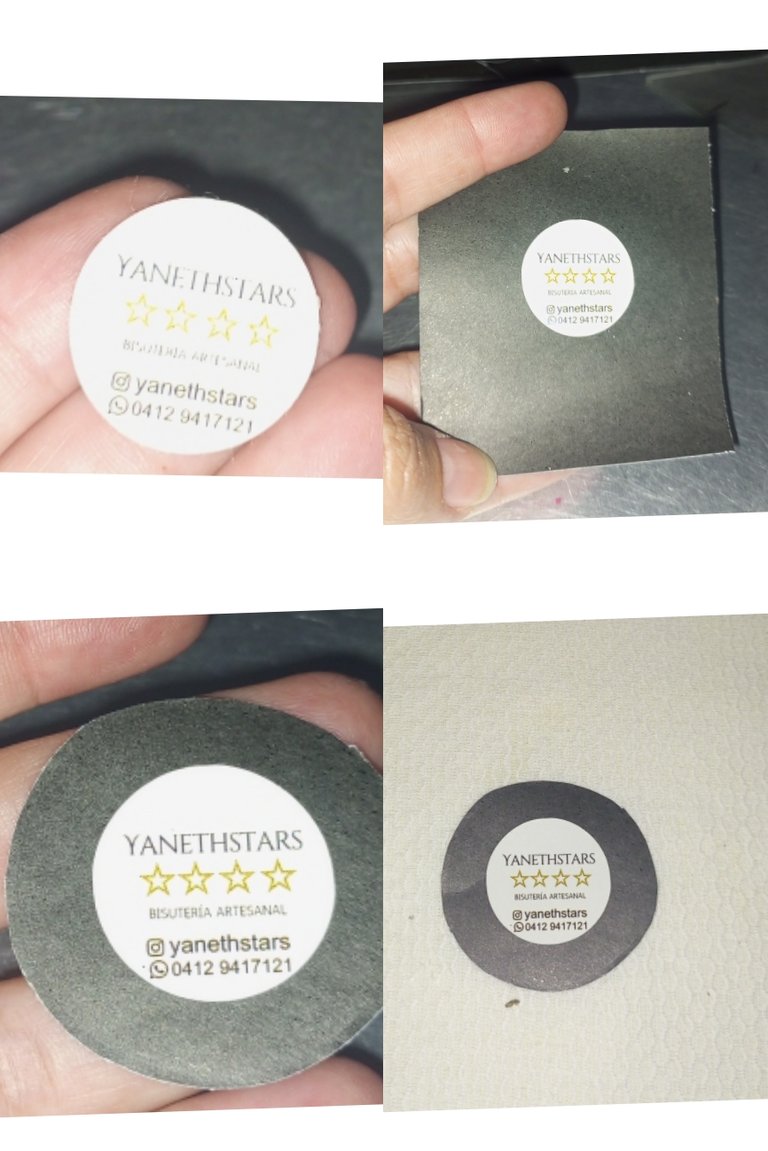
| Pegué el stikerd de mí logo lo coloqué sobre cartulina porqué esté tipo sticker no es para tela y se despegará si lo dejo en la tela. | I stuck the stikers of my logo on cardboard because this type of sticker is not for fabric and it will peel off if I leave it on the fabric. |
| Despedida | Farewell |
|---|---|
| Y esté es mi post para el día de hoy EXHIBIDOR DE COLLARES muy contenta y agradecida con Dios por el resultado. | And this is my post for today NECKLACE HANGER very happy and thankful to God for the result. |

| Créditos | Credits |
|---|---|
| Traductor: www.DeepL.com/Translator (free version). Las fotos fueron tomadas con mi Celular Tecno Sport 7T. Foto de portada editada con Canva y PhotoRoom. Banner:https://images.app.goo.gl/5N3pujMb9u2AePz87. | Translator: www.DeepL.com/Translator (free version). The photos were taken with my Tecno Sport 7T cell phone . Cover photo edited es Canva and PhotoRoom. Banner:https://images.app.goo.gl/5N3pujMb9u2AePz87. |
This necklace look so beautiful. I love it. Thanks for sharing
Genial idea amigos siempre es necesario tener este tipo de mostrario o guardador de joyas...
Graciaa amiga, slaudos
Genial idea amigos siempre es necesario tener este tipo de mostrario o guardador de joyas...
Muy buena idea. Gracias por compartir 😊👍.
Saludos 🤗