| Esp | Eng |
|---|---|
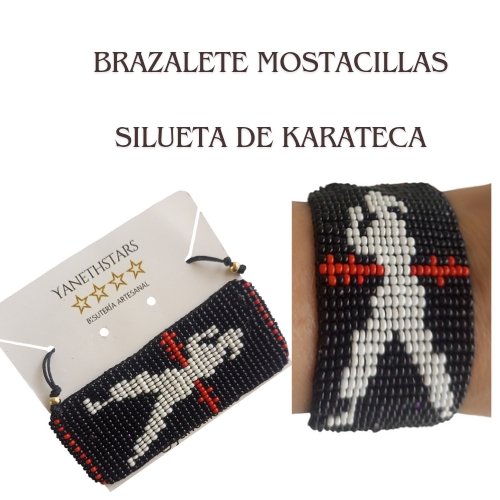
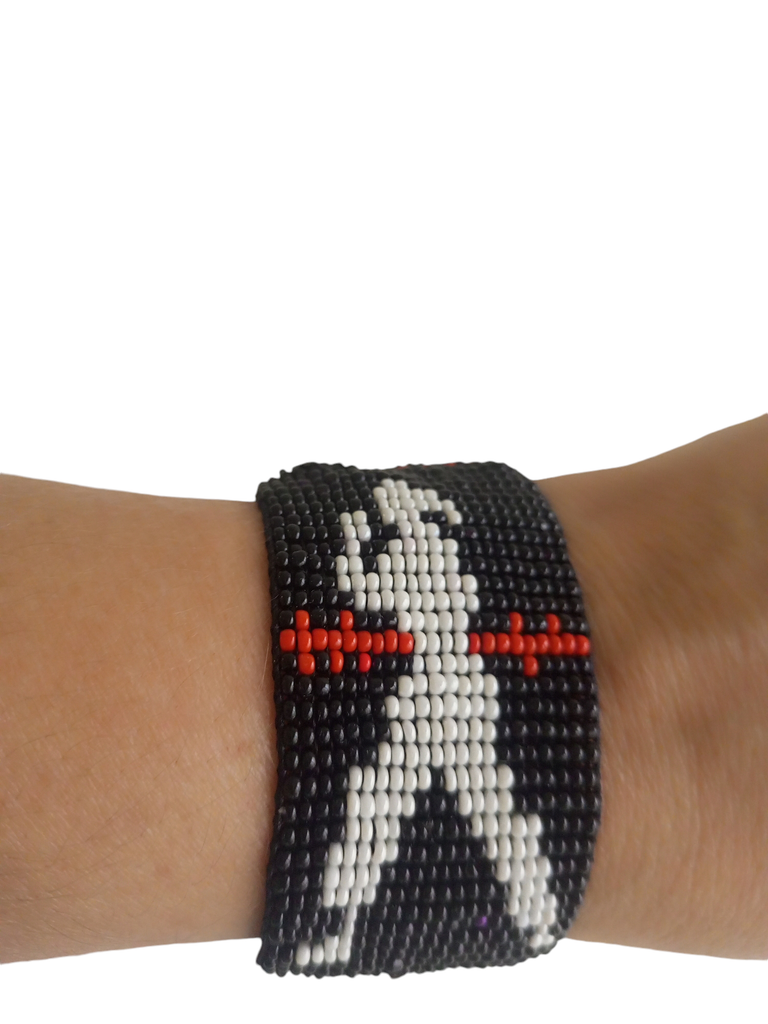
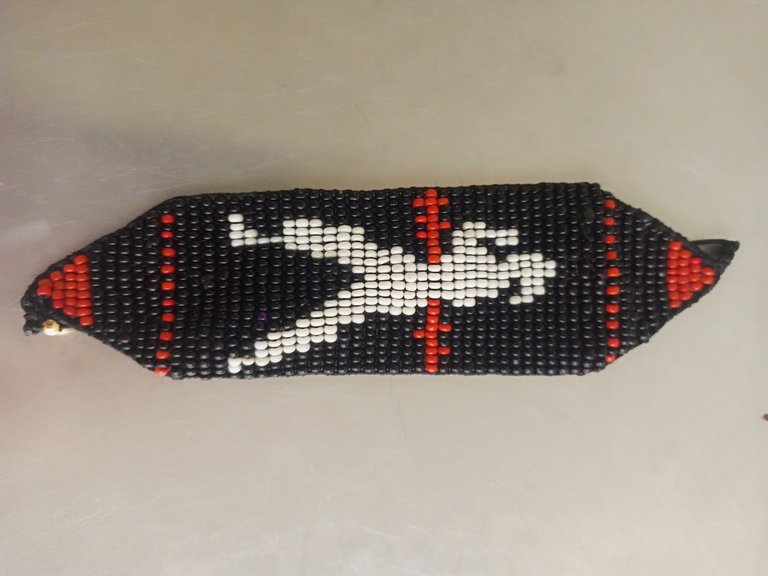
| Estos días me solicitaron el pedido de un BRAZALETE DE MOSTACILLA CON SILUETA DE KARATECA. El cliente me paso unas imagenes de siluetas en poses un poco difíciles de hacer en el sentido que de que eran muy grandes y ocuparían mucho espacio para poder montar en un brazalete que de ancho lo máximo pueden llegar a 30 líneas y de largo 40 líneas. Después de buscar algunas imágenes que pudieran ser hechas en mostacilla conseguí una sencilla pero factible, y así presentarsela a mí exigente cliente, que finalmente después de explicarle varias veces y agotar todos sus argumentos y convencerle que esa era la mejor opción aceptó que le elaborará el brazalete con la opción que yo le presenté. En esta oportunidad más que explicarles el proceso de elaboración en el telar quiero explicarles como hago para realizar el patrón de la figura. Una vez tengo la figura que quiero realizar, debo pixearla para saber cuales son los puntos o líneas que voy a formar para tejer, esto lo puedo hacer de manera manual con una hoja cuadriculada e ir punteando y formando la imagen o también una manera más práctica, rápida y fácil utilizando la inteligencia artificial para eso uso la aplicación BEADS CREATOR, una aplicación genial que facilita el trabajo y el resultado queda excelente. A continuación les muestro todo el proceso de mí bello brazalete para un cliente felíz y complacido. Espero les guste y disfruten mi post. | These days I was asked to order a BRAZALETE DE MOSTACILLA CON SILUETA DE KARATECA. The customer gave me some images of silhouettes in poses a little difficult to make in the sense that they were very large and would take up much space to mount on a bracelet that can reach a maximum width of 30 lines and 40 lines long. After looking for some images that could be made in clay I got a simple but feasible one, and so I presented it to my demanding client, who finally after explaining several times and exhausting all his arguments and convincing him that this was the best option accepted that I would make the bracelet with the option that I presented to him. In this opportunity, rather than explaining the process of making the bracelet on the loom, I want to explain how I make the pattern of the figure. Once I have the figure I want to make, I must pixelate it to know what are the points or lines that I will form to weave, this can be done manually with a grid sheet and go dotting and forming the image or also a more practical, quick and easy way using artificial intelligence for that I use the application BEADS CREATOR, a great application that facilitates the work and the result is excellent. Below I show you the whole process of my beautiful bracelet for a happy and pleased customer. I hope you like it and enjoy my post. |

| Materiales: | Materials: |
|---|---|
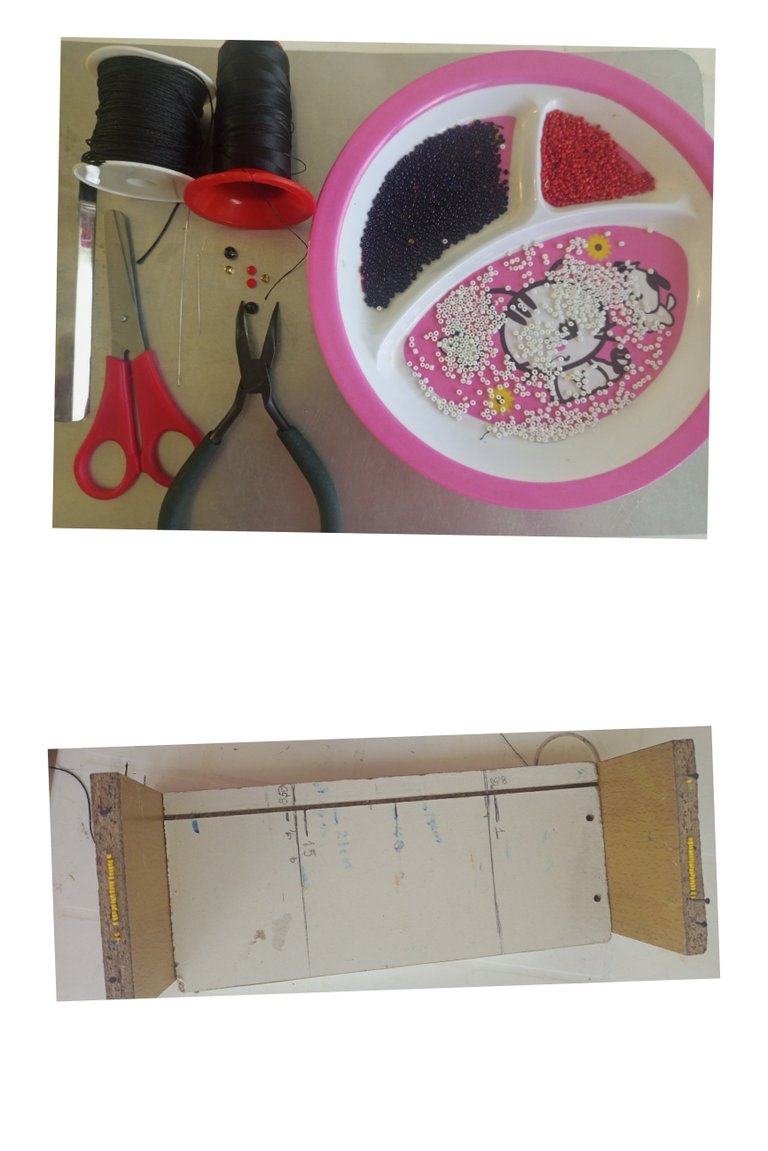
| Mostacillas: negras, blancas, rojas, hilo mostacillero negro, hilo chino negro, 2 balines 0,06 ,010, yesquero, aguja mostacillera, tijeras, telar. | Beads: black, white, red, black beads, black beading thread, black Chinese thread, 2 pellets 0.06 ,010, tinder, beading needle, scissors, loom. |
| Instrucciones: | Instructions: |
|---|

| Paso 1 | Step 1 |
|---|---|
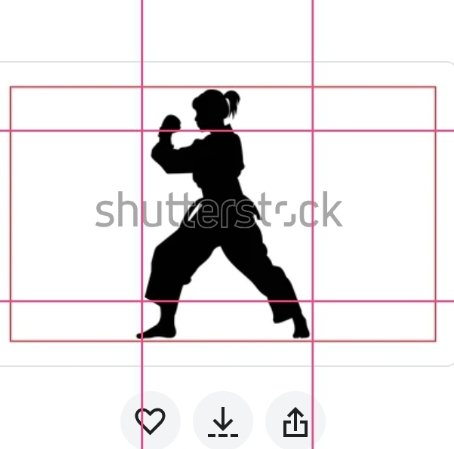
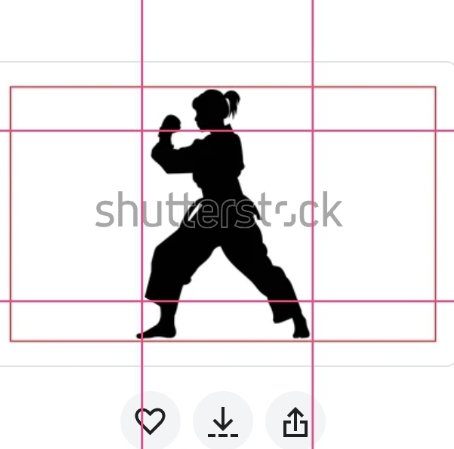
| El primer paso buscar la imagen a plasmar. | The first step is to look for the image to be captured. |
https://images.app.goo.gl/h9iNcxnasP9mzDDHA
| Paso 2 | Step 2 |
|---|---|
| Explicaré como realizó el pixelado con la aplicación Beads Creator. | I will explain how I made the pixelation with the Beads Creator application. |

| Paso 3 | Step 3 |
|---|---|
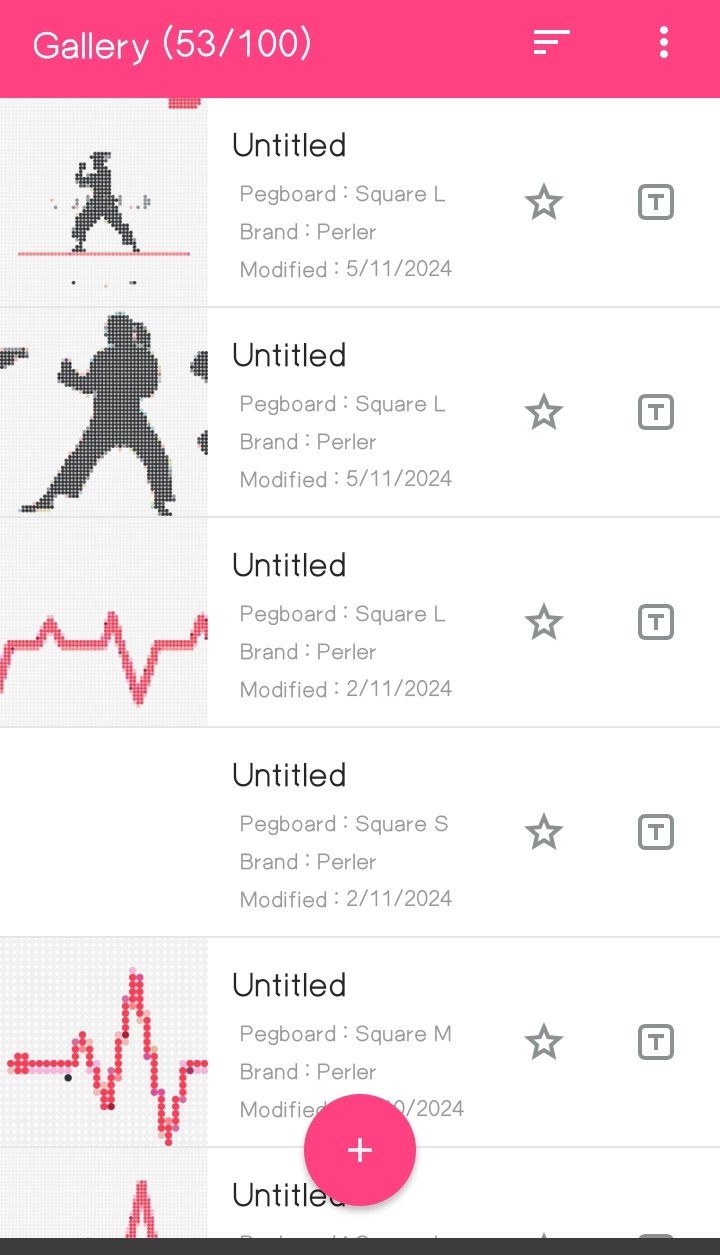
| Una vez ya en la aplicación entramos a la siguiente ventana y presionamos el botón rojo donde está el signo de más ➕. | Once in the application we enter the following window and press the red button where the plus sign is ➕. |
| Paso 4 | Step 4 |
|---|---|
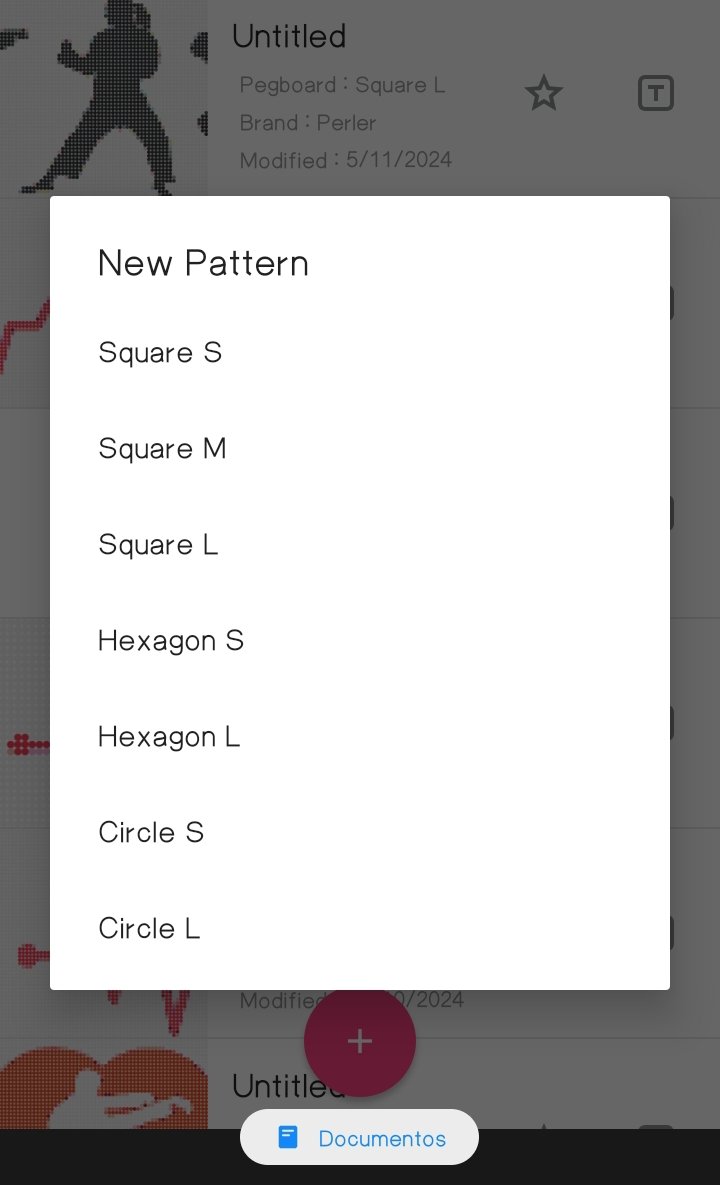
| La siguiente imágen es el tamaño, talla o forma que deseamos nuestra figura, en éste caso utilicé la talla L. | The following image is the size, size or shape that we want our figure, in this case I used size L. |
| Paso 5 | Step 5 |
|---|---|
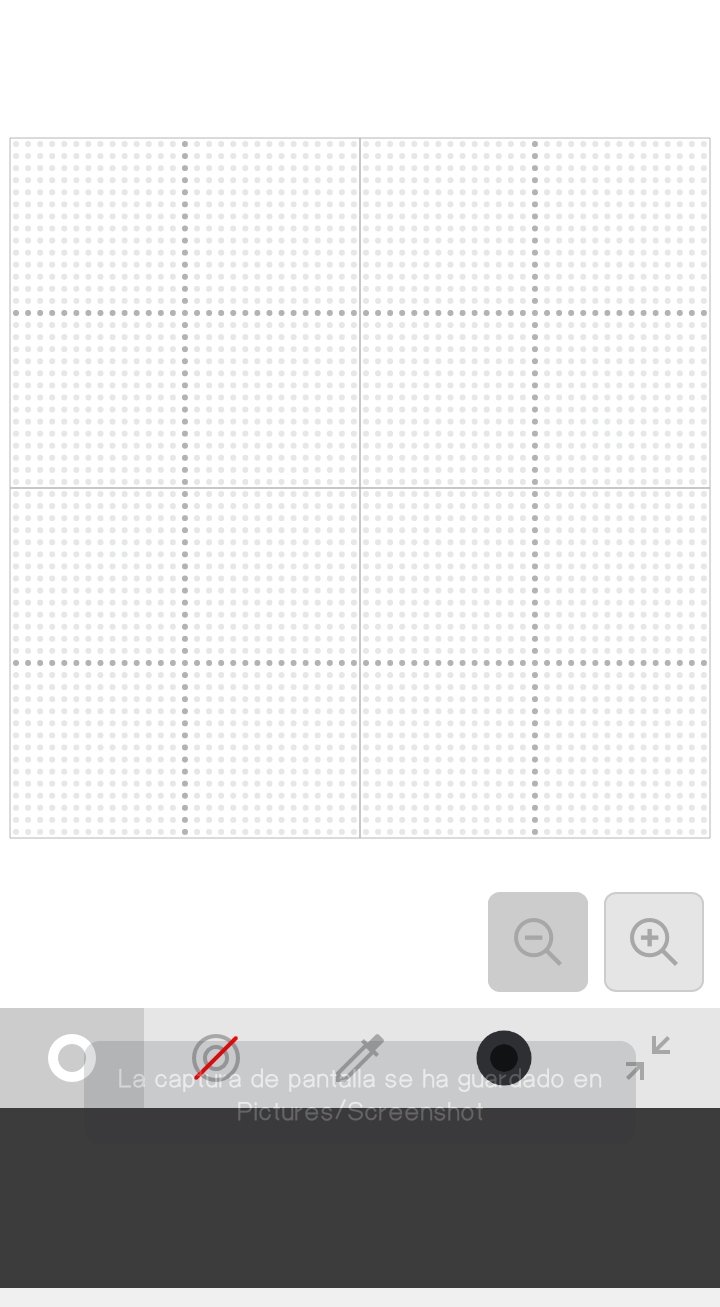
| Así se presenta nuestra hoja para la figura. También podemos crear en esta aplicación nuestras figuras utilizando la función del lápiz. | This is how our sheet for the figure is presented. We can also create our figures in this application using the pencil function. |
| Paso 6 | Step 6 |
|---|---|
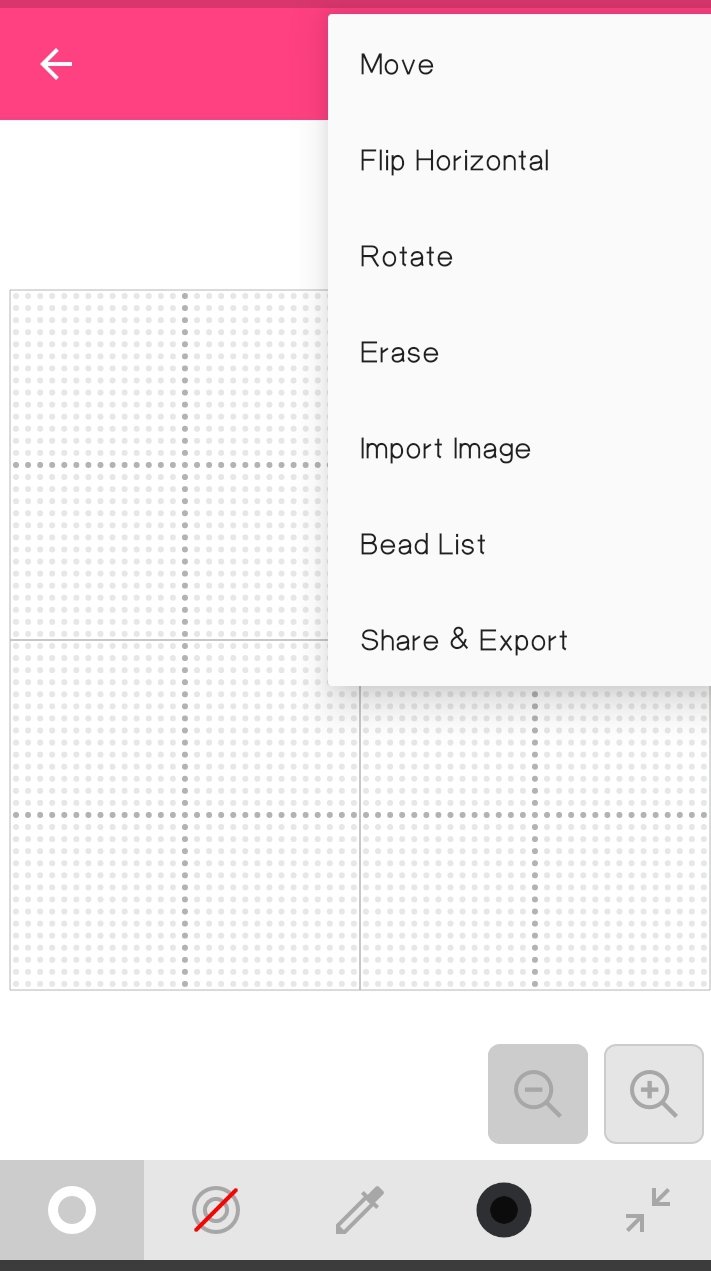
| Desplegamos la pestaña de arriba y al desplegar la ventana presionamos la opción de importar imágen. | We expand the tab above and when the window opens, we click on the option to import image. |
| Paso 7 | Step 7 |
|---|---|
| Buscamos la imágen en la galeria del teléfono e importamos. | We look for the image in the phone gallery and import it. |
| Paso 8 | Step 8 |
|---|---|
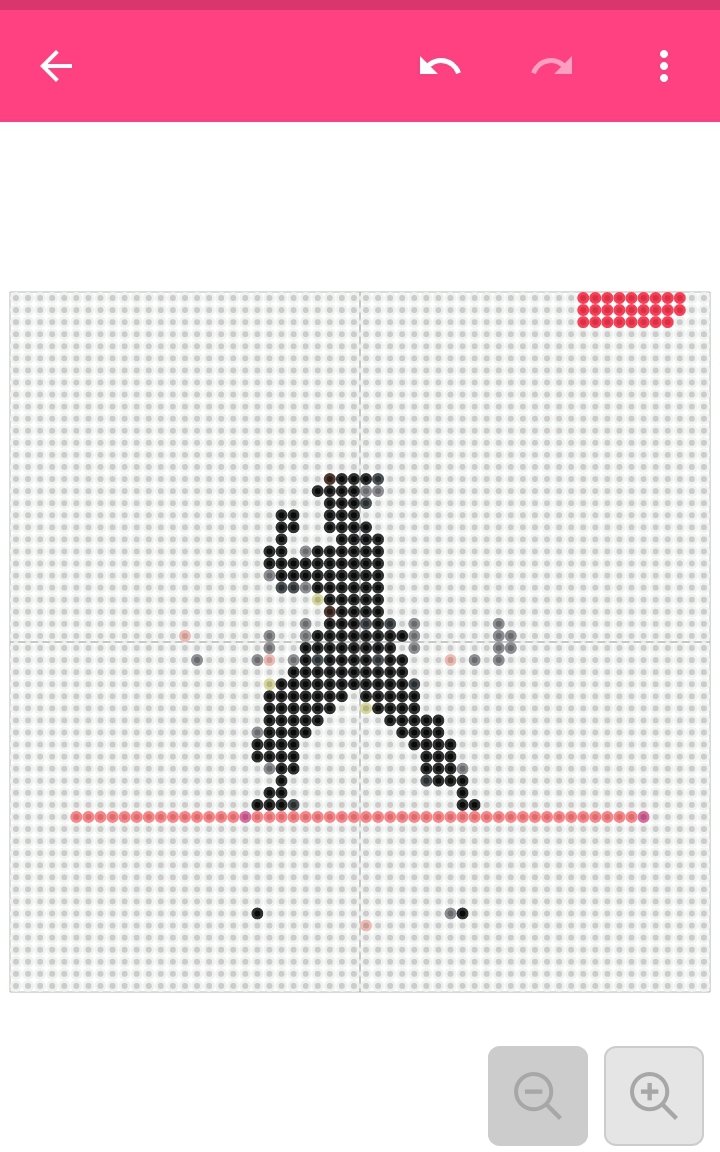
| Lista la imágen pixelada. | Pixel image ready. |
| Paso 9 | Step 9 |
|---|---|
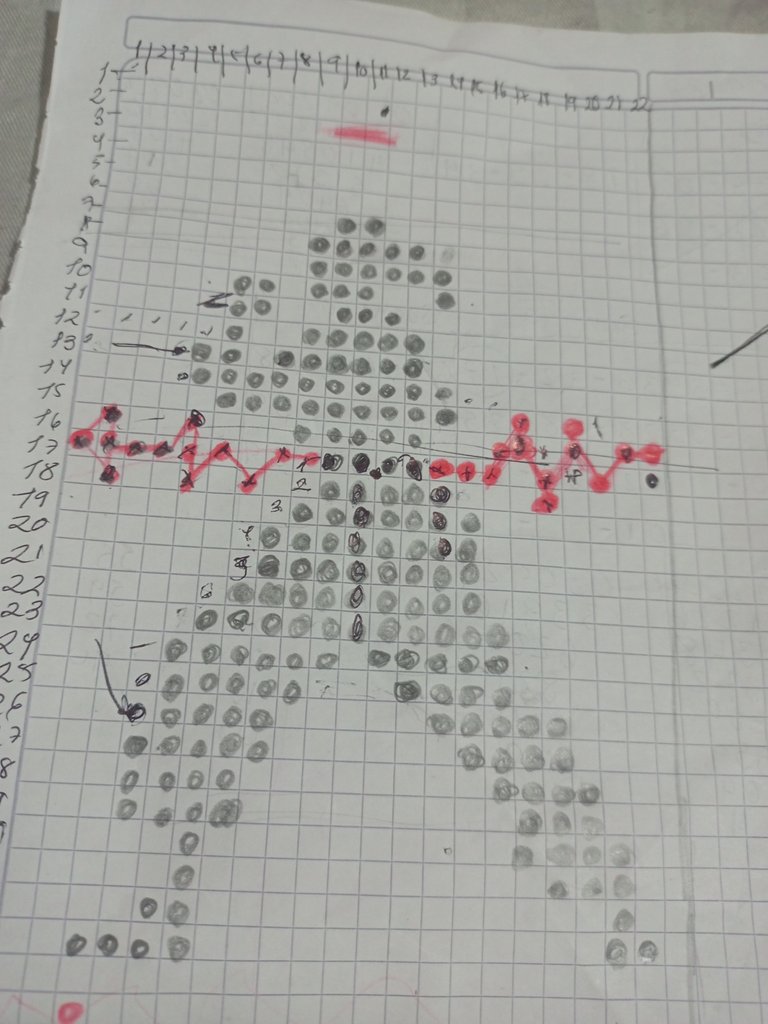
| La segunda opción para pixelar como dije anteriormente es hacerlo en una hoja cuadriculada e ir punto por punto. En la imagen observamos el trabajo de pixelada a mano. El brazalete es de 22 líneas de ancho y 35 de largo, las terminaciones son 11 líneas de cada lado en reducción de 2 mostacillas por cada linea. | The second option to pixelate as I said before is to do it on a grid sheet and go point by point. In the image we can see the pixelated work by hand. The bracelet is 22 lines wide and 35 lines long, the endings are 11 lines on each side in reduction of 2 beads for each line. |
| Paso 10 | Step 10 |
|---|---|
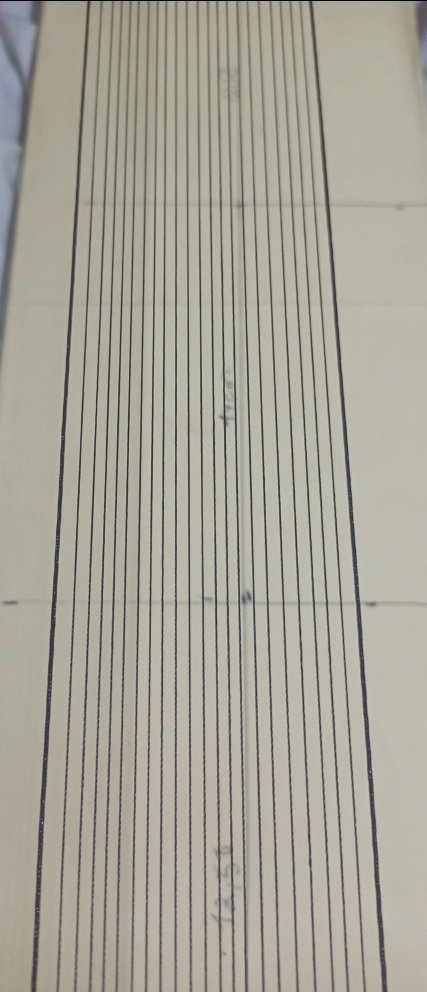
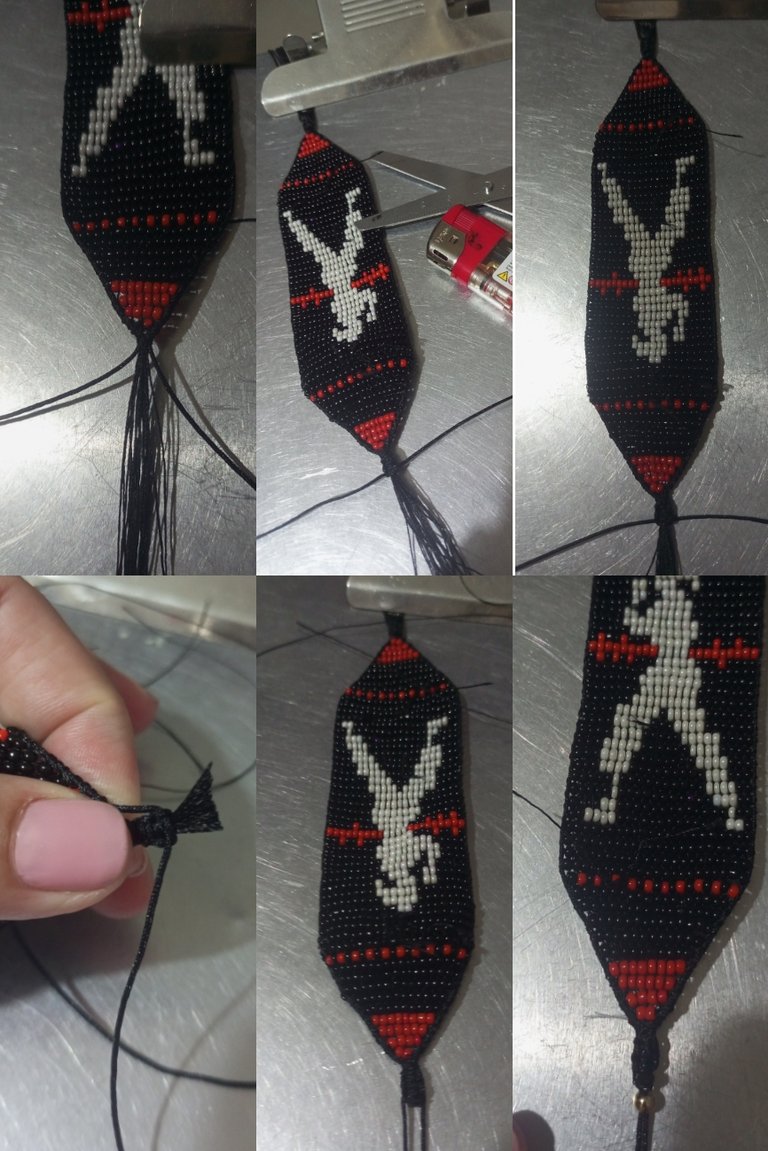
| En la imagen observamos el telar con el hilo ya montado en las 22 líneas. | The image shows the loom with the yarn already mounted on the 22 rows. |
| Paso 11 | Step 11 |
|---|---|
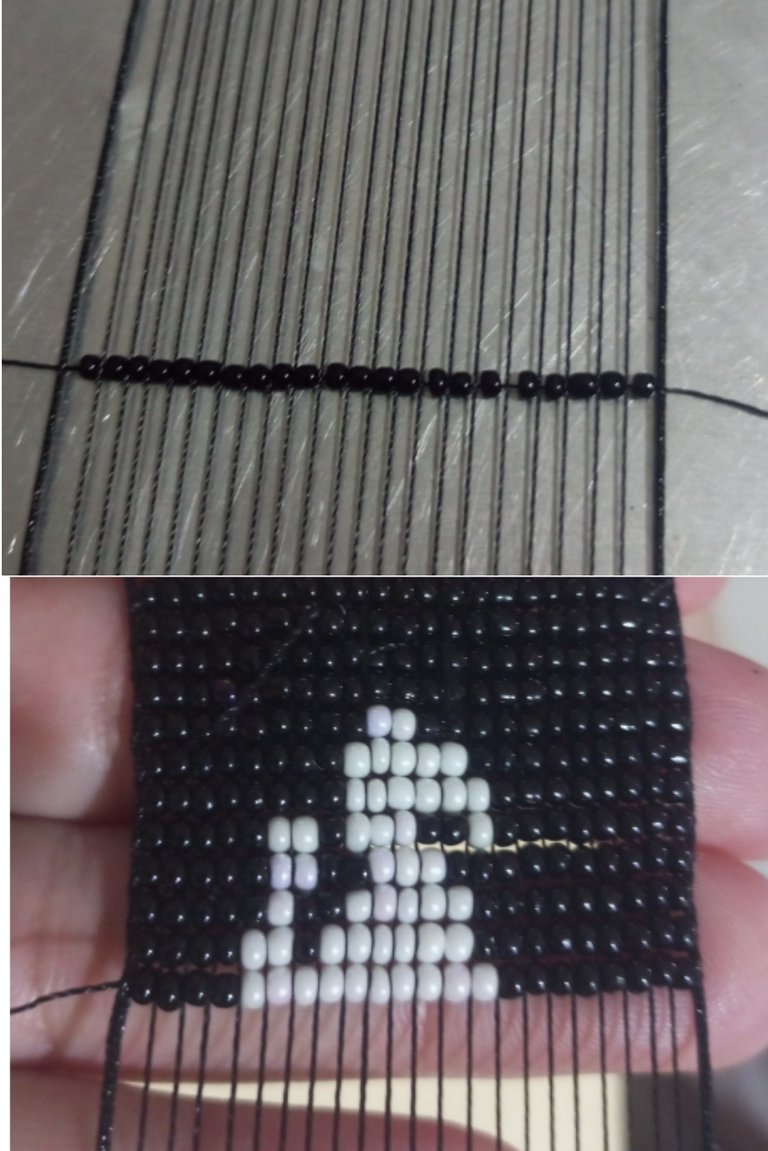
| Observamos el proceso de la elaboración y creación de la silueta. | We observe the process of elaboration and creation of the silhouette. |
| Paso 12 | Step 12 |
|---|---|
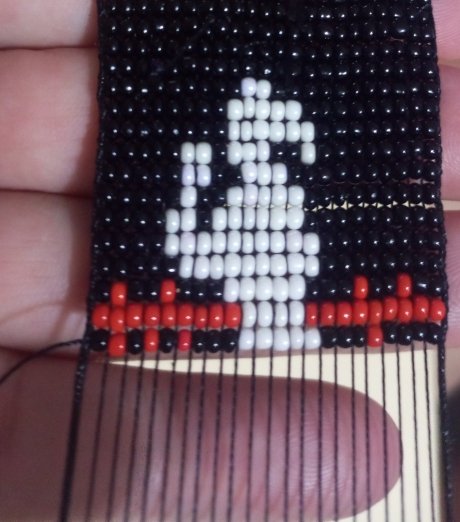
| En estás líneas utilicé mostacillas rojas y realicé una línea cardíaca. | In these lines I used red beads and made a cardiac line. |
| Paso 13 | Step 13 |
|---|---|
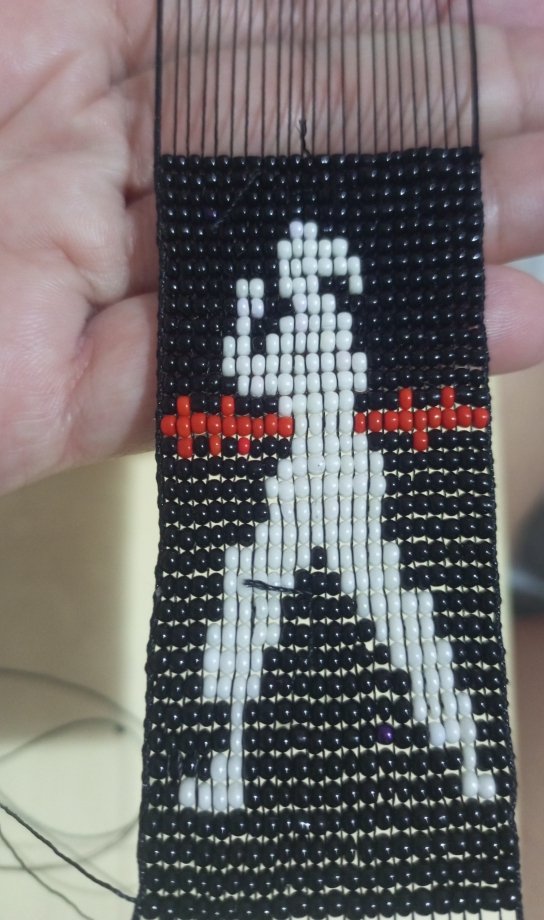
| Repetí el proceso en el hasta culminar la parte central del brazalete que es la silueta completa. | I repeated the process on the until the central part of the bracelet, which is the complete silhouette, is completed. |
| Paso 14 | Step 14 |
|---|---|
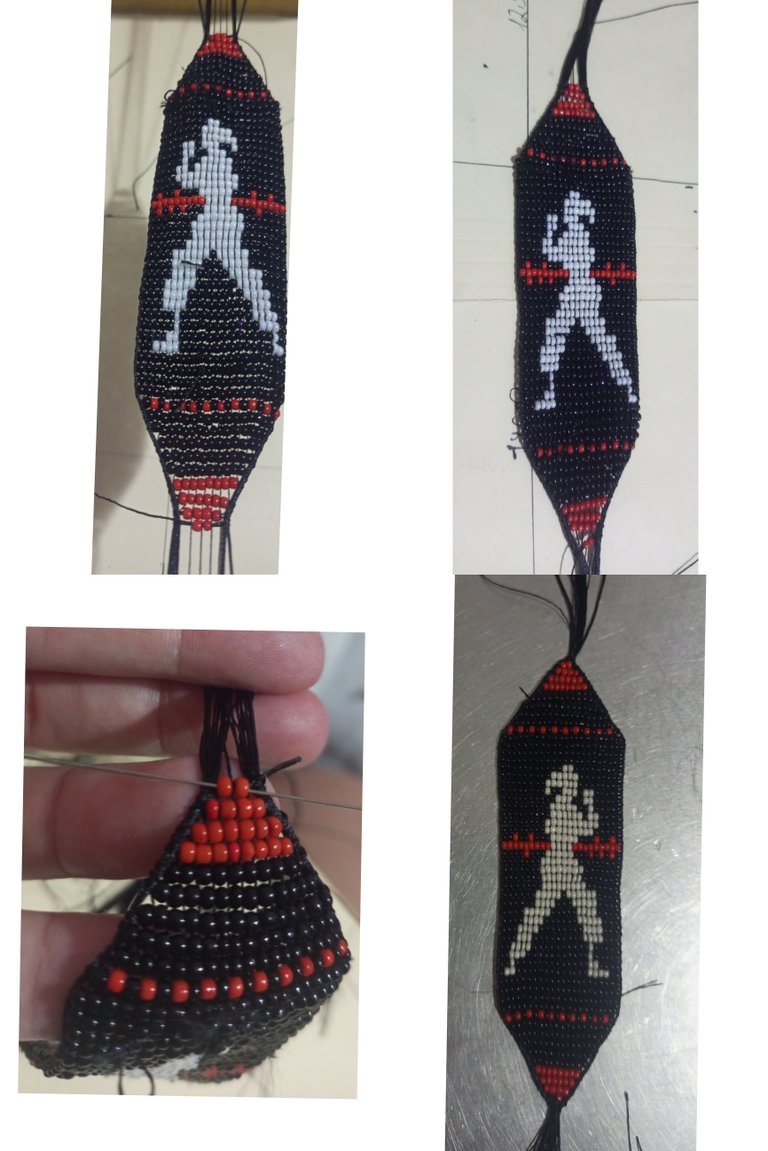
| Realicé las terminaciones de cada lado y baje del telar. Una vez suelto el brazalete rematé las terminaciones. | I made the ends on each side and came down from the loom. Once the bracelet was loose, I finished off the ends. |
| Paso 15 | Step 15 |
|---|---|
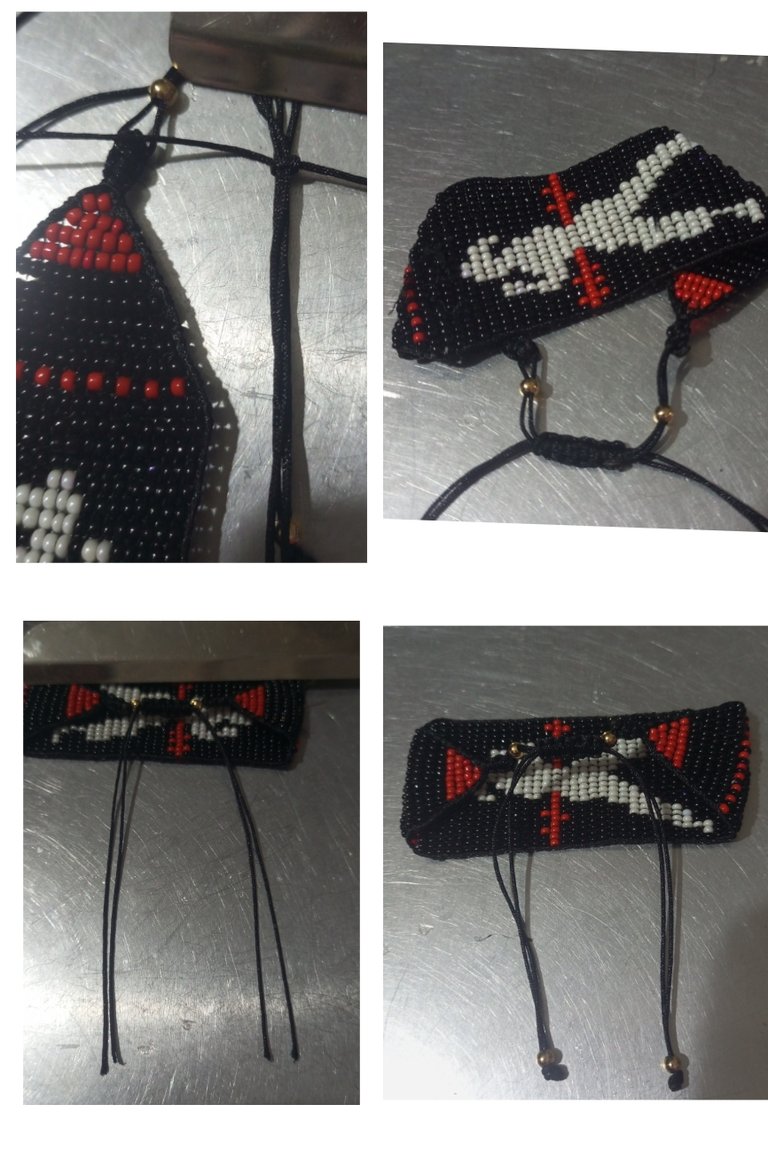
| Realicé 4 nudos planos macramé de cada lado, corté y quemé el hilo excedente. | I made 4 flat macramé knots on each side, cut and burned the excess thread. |
| Paso 16 | Step 16 |
|---|---|
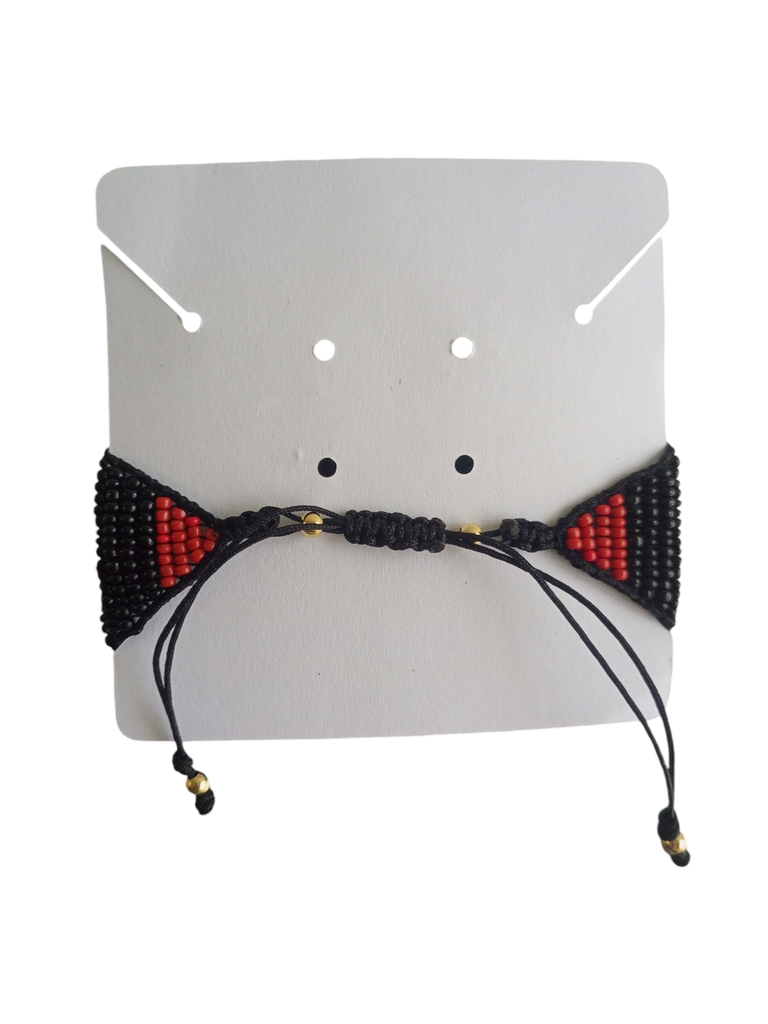
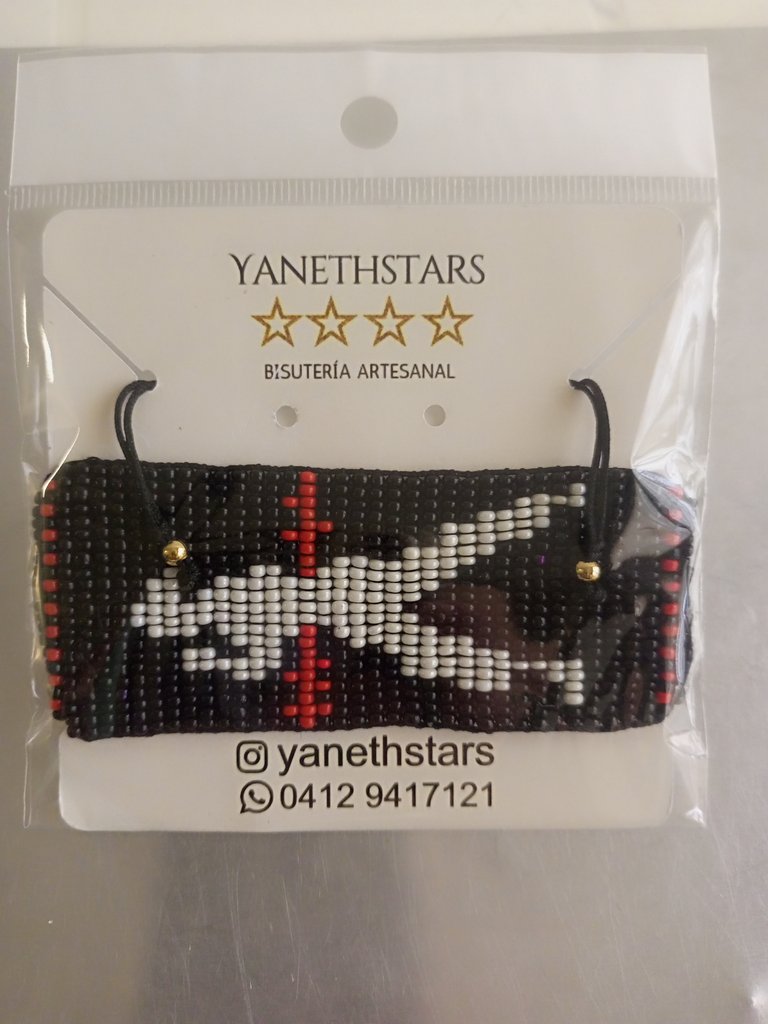
| Realicé un trancadero en nudos planos e introduje balines dorados en los hilos para realizar nudos y terminar con el brazalete. | I made a trancadero in flat knots and introduced golden balls in the threads to make knots and finish with the bracelet. |
| Despedida | Farewell |
|---|---|
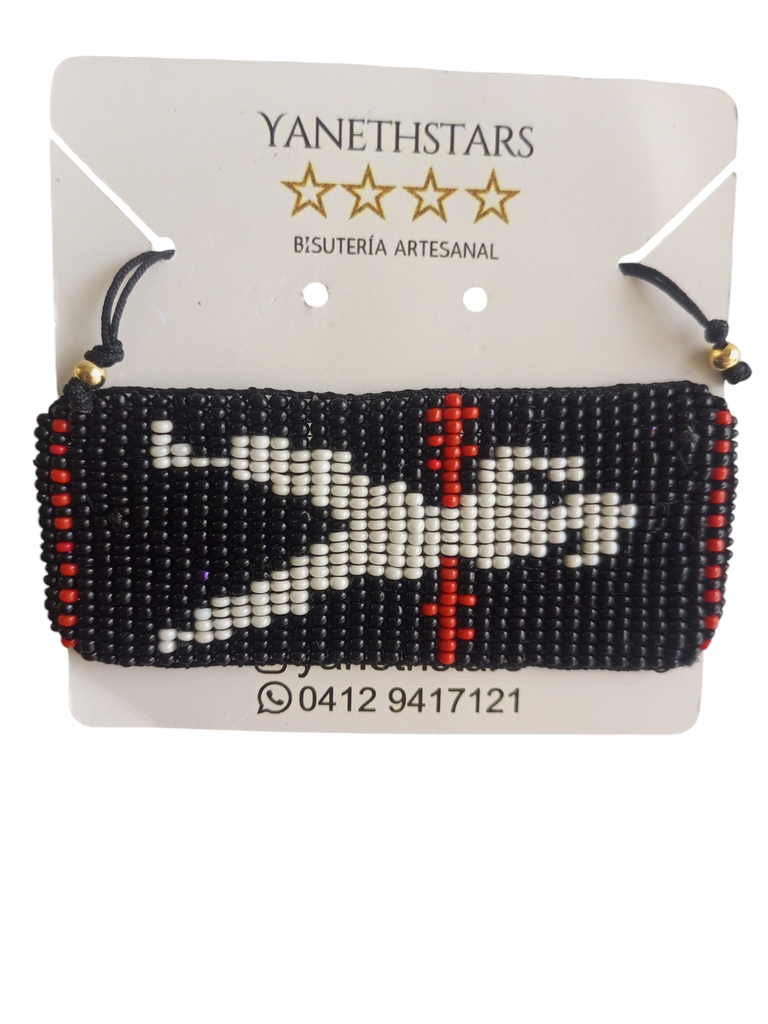
| Y esté es mi post para el día de hoy BRAZALETE DE MOSTACILLA CON SILUETA DE CARATEKA. Como les dije anteriormente más que mostrar el proceso en el telar el interes era mostrarle el proceso de creación del diseño. Saludos y espero les guste y disfruten mi post. | And that's my post for today MOSTACILLA BRACELET WITH CARATEKA SILIPE. As I said before, more than showing the process on the loom, I was more interested in showing you the process of creating the design. Greetings and I hope you like and enjoy my post. |
| Créditos | Credits |
|---|---|
| Traductor: www.DeepL.com/Translator (free version).Las fotos fueron tomadas con mi Celular Tecno Sport 7T. Foto de portada editada con Canva y PhotoRoom. Banner:https://images.app.goo/h9iNcxnasP9mzDDHA/5N3pujMb9u2AePz87. Aplicación para pixelar: Beads Creator. | Translator: www.DeepL.com/Translator (free version). The photos were taken with my Tecno Sport 7T cell phone. Cover photo edited es Canva and PhotoRoom. https://images.app.goo.gl/h9iNcxnasP9mzDDHA. Banner:https://images.app.goo.gl/5N3pujMb9u2AePz87. Aplicación para pixelar: Beads Creator. |
Guao un gran trabajo, que lindo le quedó, felicidades
Wow, this is amazing, what a beautiful creativity, thanks for sharing.
Hola. Lindo trabajo, me encanta la silueta. La forma o postura del karateka se asemeja a la de un antiguo videojuego. Saludos.
Hola amigo @darwinjj aprecio mucho tu comentario. Saludos 🤗