| Esp | Eng |
|---|---|
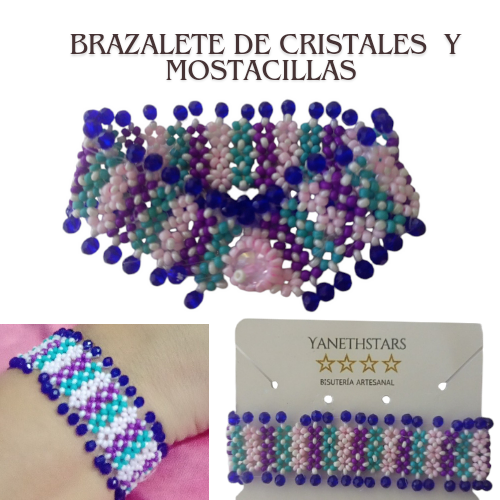
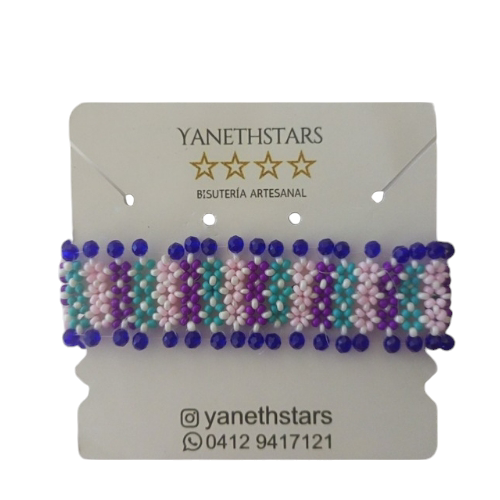
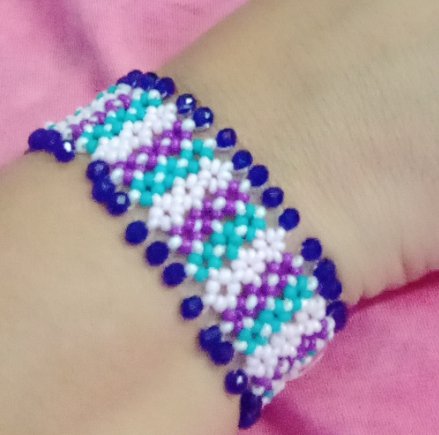
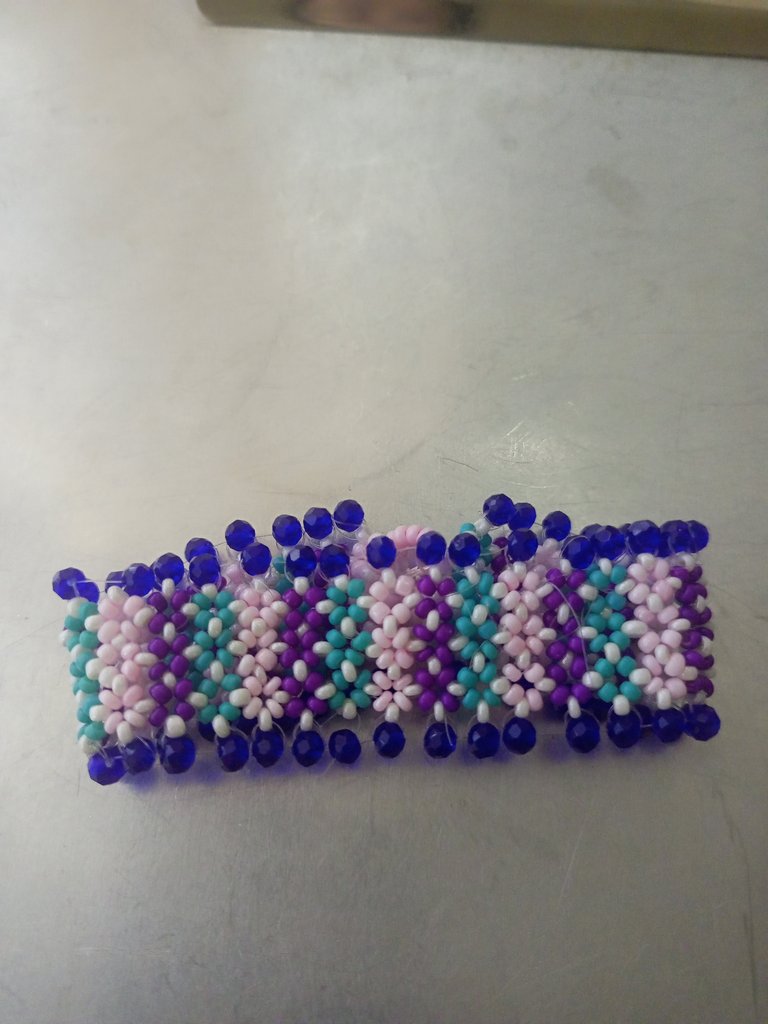
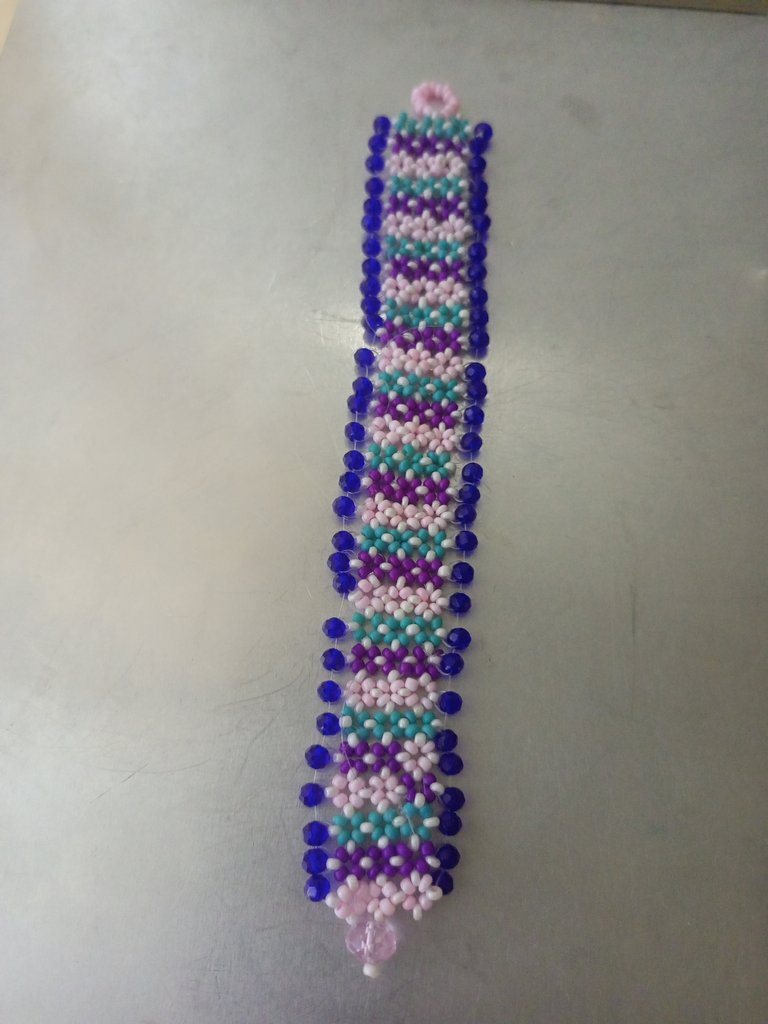
| Yo sigo en mi maravilloso mundo de cristales, mostacillas y colores, combinando, creando, intentando y soñando. Soñando algun dia ver mis deseos y aspiraciones hechas realidad, y así como voy tejiendo y uniendo mostacilla tras mostacilla, cristal tras cristal; imagino a Dios también labrando y abriendo caminos para que cada esfuerzo, intento y lucha de su fruto a su tiempo. Hoy les presento un brazalete más, un trabajo más, pero para mi es más que un brazalete, es un amigo, un confidente, quién pacientemente escuchó mis pensamientos, mientras le daba forma en mis manos, así como mi dulce y amado Allfarero le da forma a mi vida en sus manos. Cada pieza es un pedazo de mí. | I continue in my wonderful world of crystals, beads and colors, combining, creating, trying and dreaming. Dreaming someday to see my desires and aspirations come true, and as I weave and join bead after bead, crystal after crystal; I imagine God also working and opening roads so that every effort, attempt and struggle will bear fruit in time. Today I present to you one more bracelet, one more work, but for me it is more than a bracelet, it is a friend, a confidant, who patiently listened to my thoughts, while shaping it in my hands, just as my sweet and beloved Allfarero shapes my life in his hands. Each piece is a piece of me. |

| Materiales: | Materials: |
|---|---|
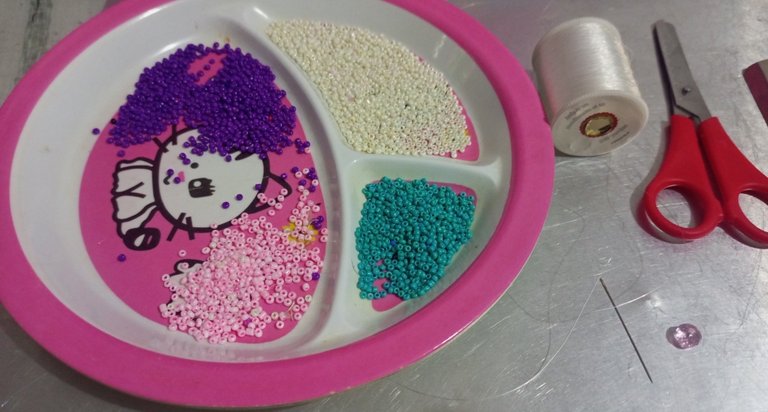
| Mostacillas: rosadas, moradas, verdes turquesa, blancas, cristales número 0,04 mm color azul, 1 cristal número ,010, hilo nylon delgado, yesquero, aguja mostacillera, tijeras. | beads: pink, purple, turquoise green, white, crystals number 0.04 mm blue, 1 crystal number 010, thin nylon thread, tinder, beading needle, scissors, scissors, etc. |
| Instrucciones: | Instructions: |
|---|

| Paso 1 | Step 1 |
|---|---|
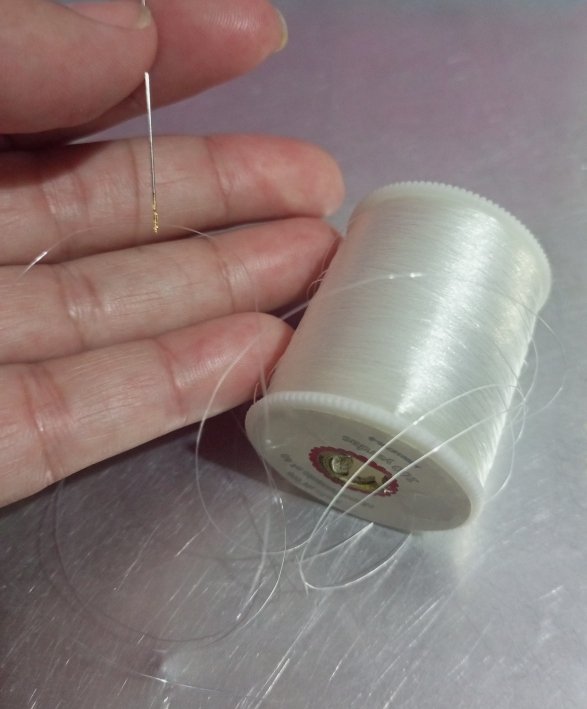
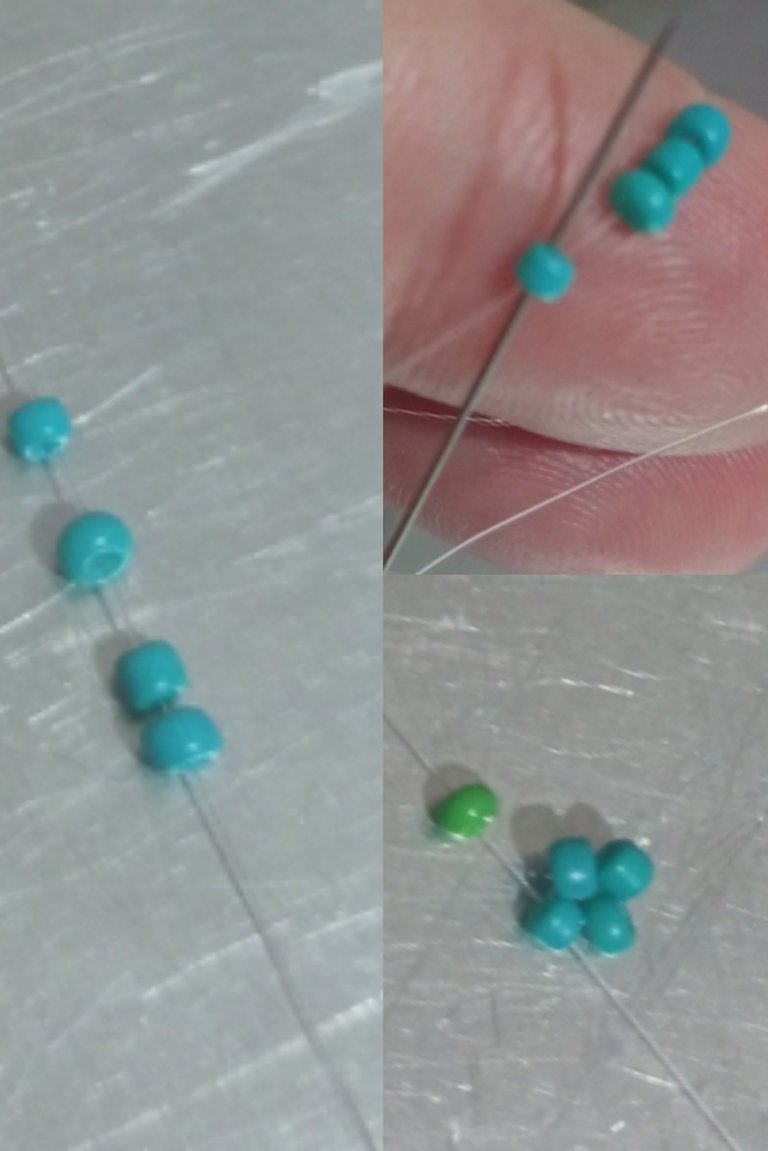
| El primer paso fue cortar 3 hilos de nylon y lo enehbre en la aguja mostacillera. | The first step was to cut 3 strands of nylon and thread it on the needle. |
| Paso 2 | Step 2 |
|---|---|
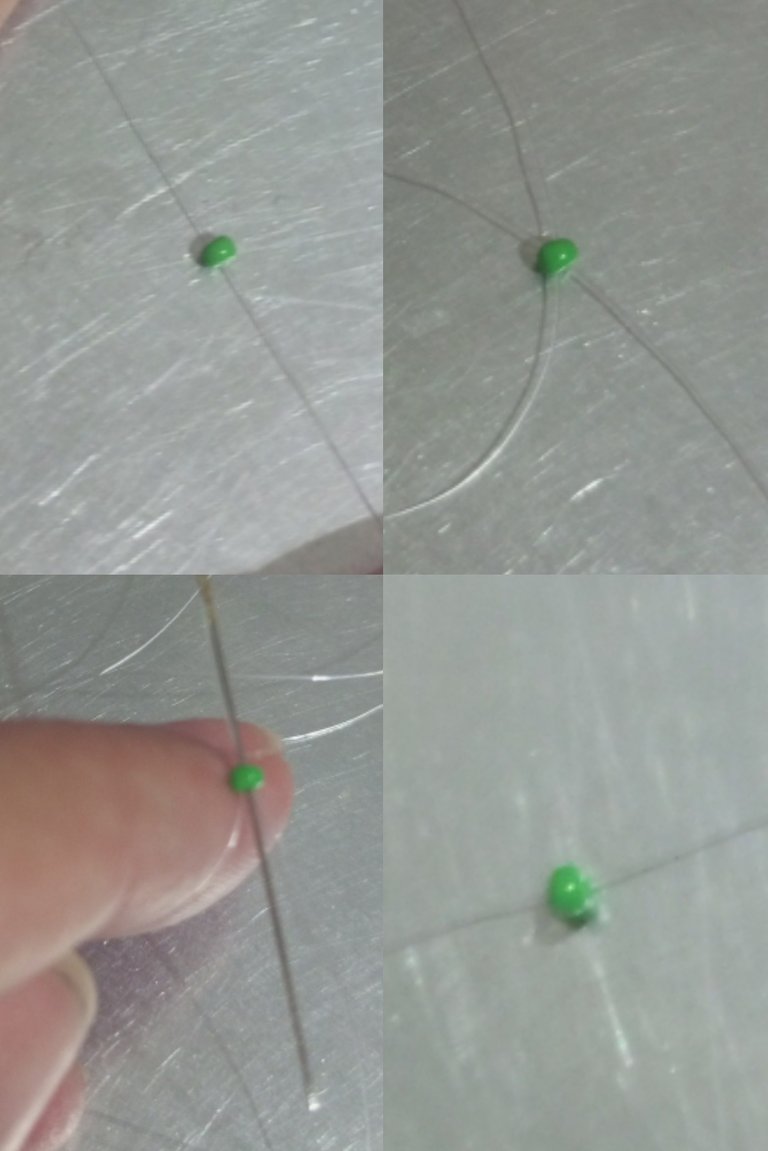
| El siguiente paso es introducir una mostacilla verde y la lleve al final del hilo, reservando 20 centímetro para usarlo en las terminaciones, introduzco la aguja en la mostacilla verde en el sentido del reloj, esta mostacilla es para que sirva de sujetador de la primera florecita de mostacilla, al finalizar la desecharemos. | The next step is to introduce a green bead and take it to the end of the thread, reserving 20 centimeters to use it in the terminations, I introduce the needle in the green bead clockwise, this bead is to serve as a fastener of the first little flower of bead, at the end we will discard it. |
| Paso 3 | Step 3 |
|---|---|
| Introducimos en la aguja 4 mostacillas verdes turquesa en el sentido del reloj y sacamos en la primera mostacllla, queda una florecita de 4 mostacillas. | Insert in the needle turquoise green beads in clockwise direction and take out in the first bead, there remains a small flower of 4 beads. |
| Paso 4 | Step 4 |
|---|---|
| Intercalaremos mostacillas blancas entre las mostacillas verdes para que quede una florecita de 8 mostacillas. | Interlace white beads between the green beads to form a small flower of 8 beads. |

| Paso 5 | Step 5 |
|---|---|
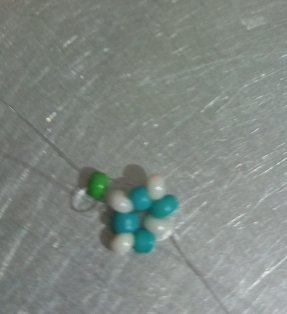
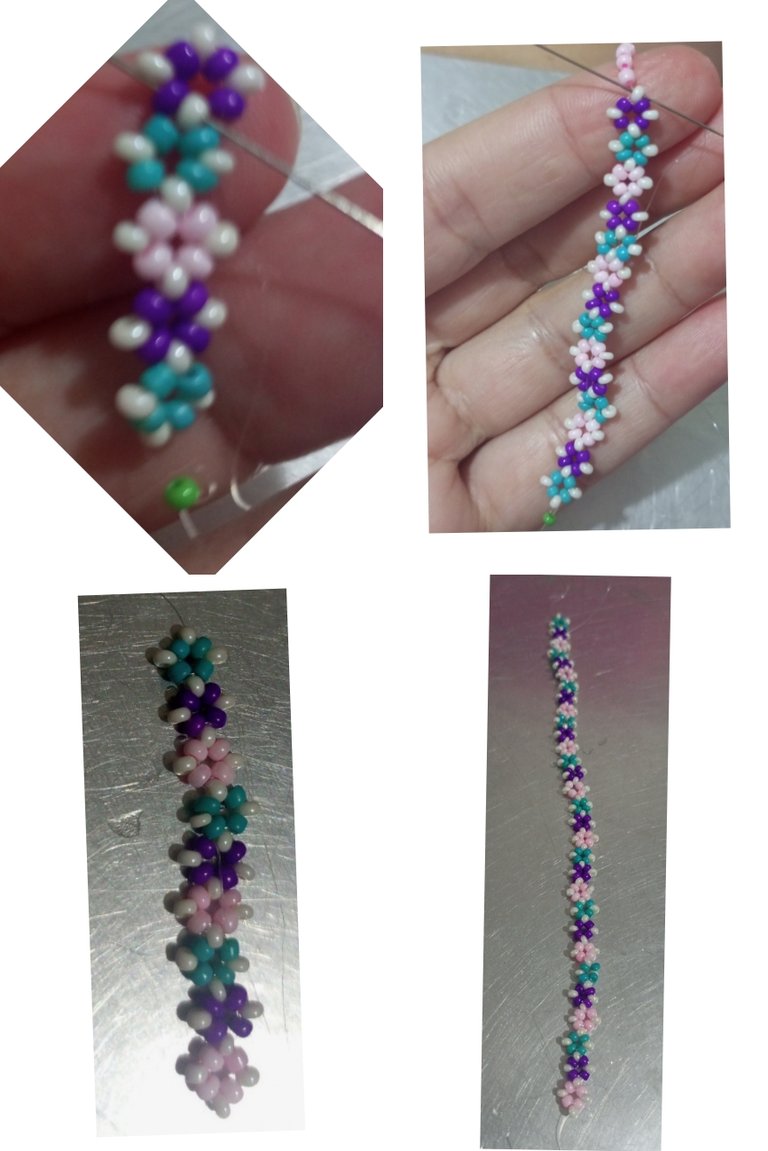
| Vamos a construir una tira de 30 florecitas, intercalando los colores de mostacillas verde turquesa, morada y rosada. Por lo que le damos una vuelta más a está primera florecita para darle soporte y lo hacemos siempre siguiendo el sentido de las agujas del reloj. | We are going to make a strip of 30 little flowers, alternating the colors of turquoise green, purple and pink beads. So we give one more turn to this first flower to give it support and we do it always following the clockwise direction. |
| Paso 6 | Step 6 |
|---|---|
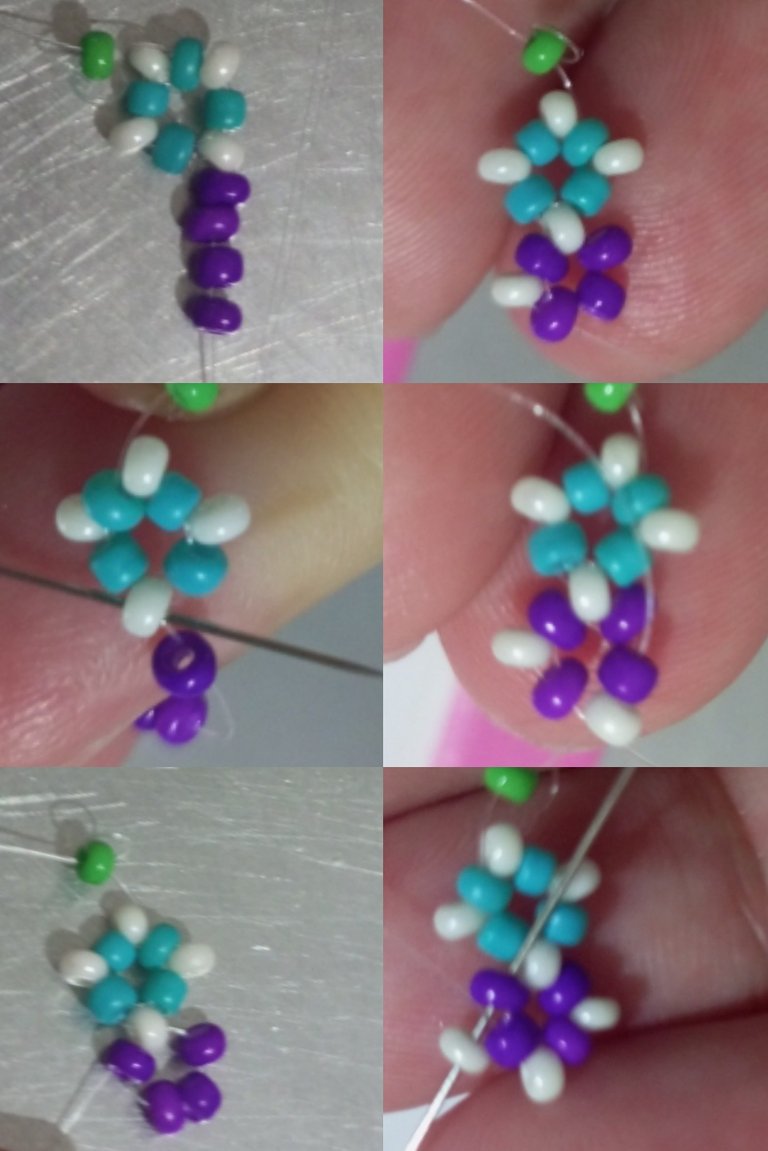
| Para construir la segunda florecita tomamos 4 mostacillas moradas e introducimos la aguja en el sentido de las manecillas del rejoj en la mostacilla blanca de la flor azul y sacamos la aguja en la primera mostacillas morada, intercalamos una mostacilla blanca entre las moradas. | To make the second flower, we take 4 purple beads and insert the needle clockwise in the white bead of the blue flower and pull the needle out in the first purple bead, inserting a white bead between the purple ones. |
| Paso 7 | Step 7 |
|---|---|
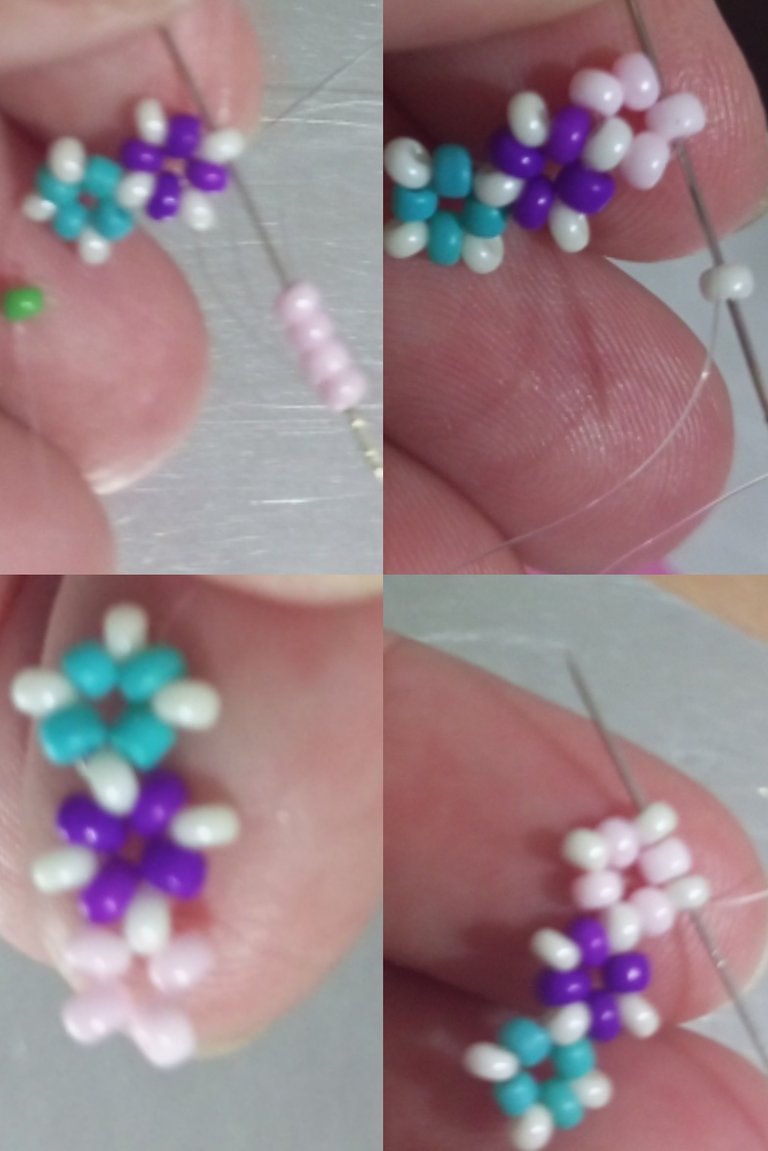
| Repetiremos el procedimiento en la tercera florecita que es de color rosado. | Repeat the procedure on the third pink flower. |
| Paso 8 | Step 8 |
|---|---|
| Construí 30 florecitas intercalado los colores verde, rosado y morado. | I built 30 little flowers with green, pink and purple colors in between. |
| Paso 9 | Step 9 |
|---|---|
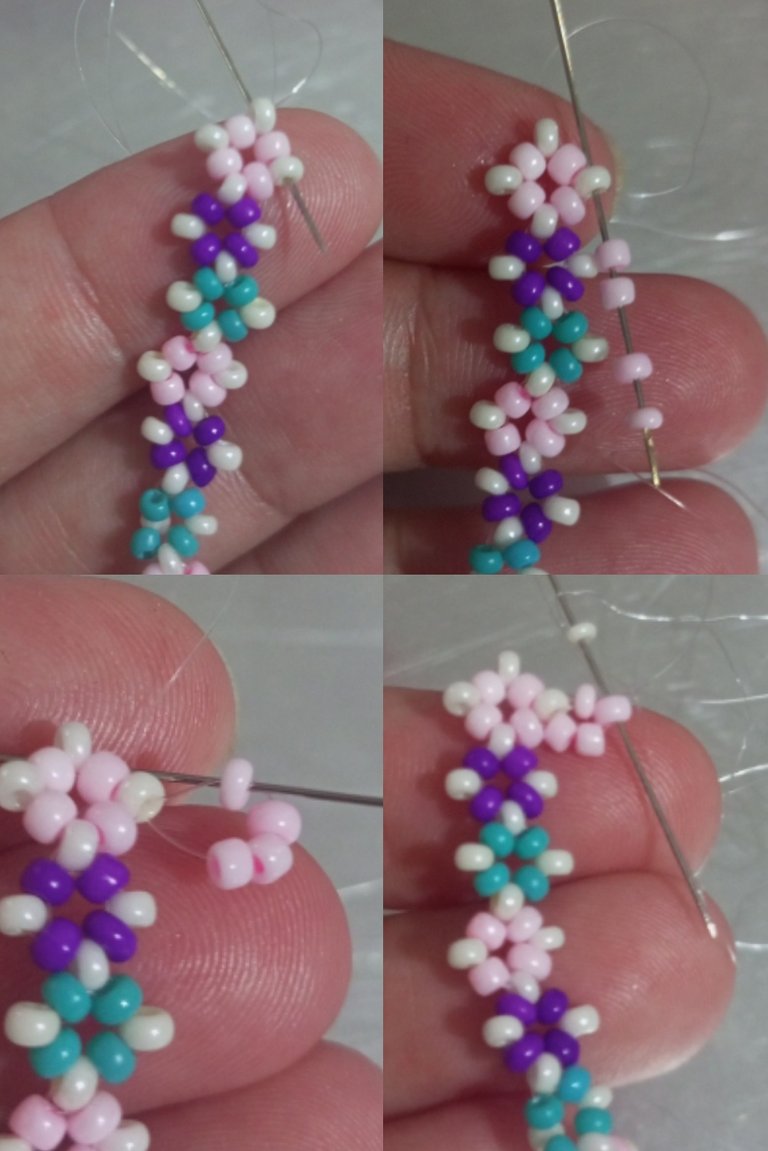
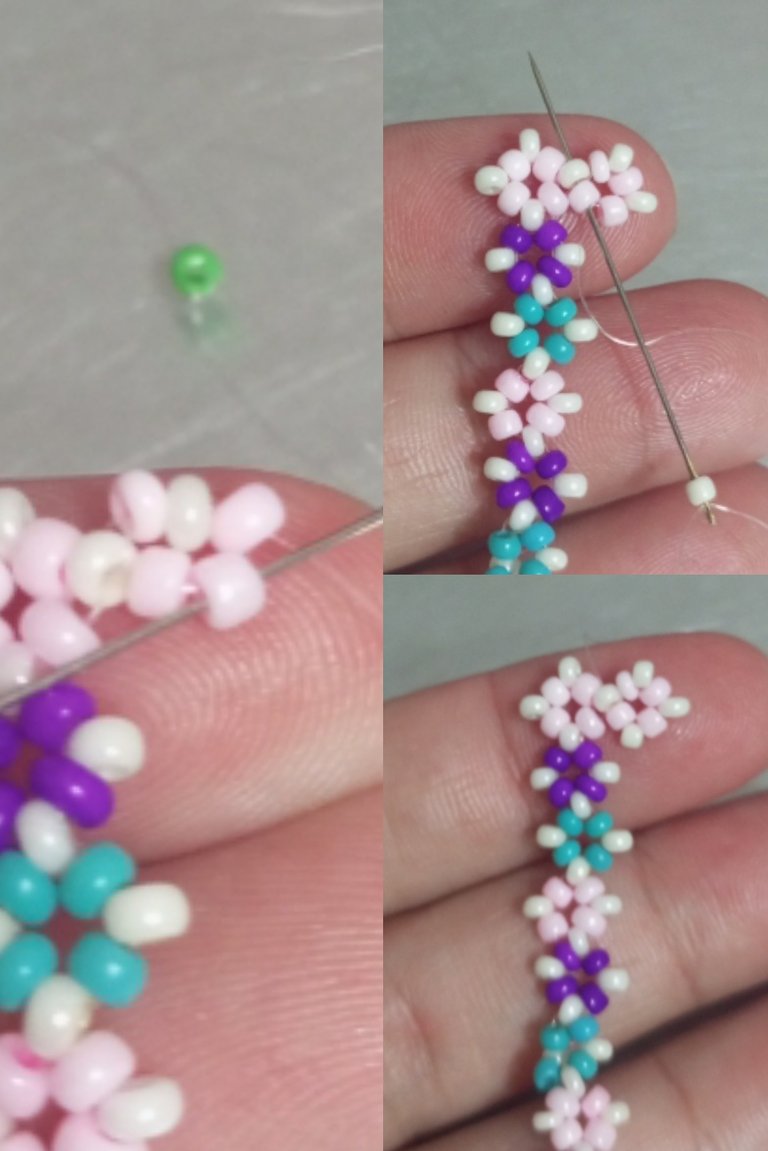
| Para iniciar la segunda línea de flores posicionarnos la aguja en la mostacilla blanca de los laterales, e introducimos 4 mostacillas rosada e introducimos nuevamente la aguja en la mostacilla blanca. Y vamos introduciendo mostacillas blancas intercalando entre las rosadas. | To start the second line of flowers, position the needle in the white beads on the sides, insert 4 pink beads and insert the needle again in the white bead. And we introduce white beads interspersed between the pink ones. |
| Paso 10 | Step 10 |
|---|---|
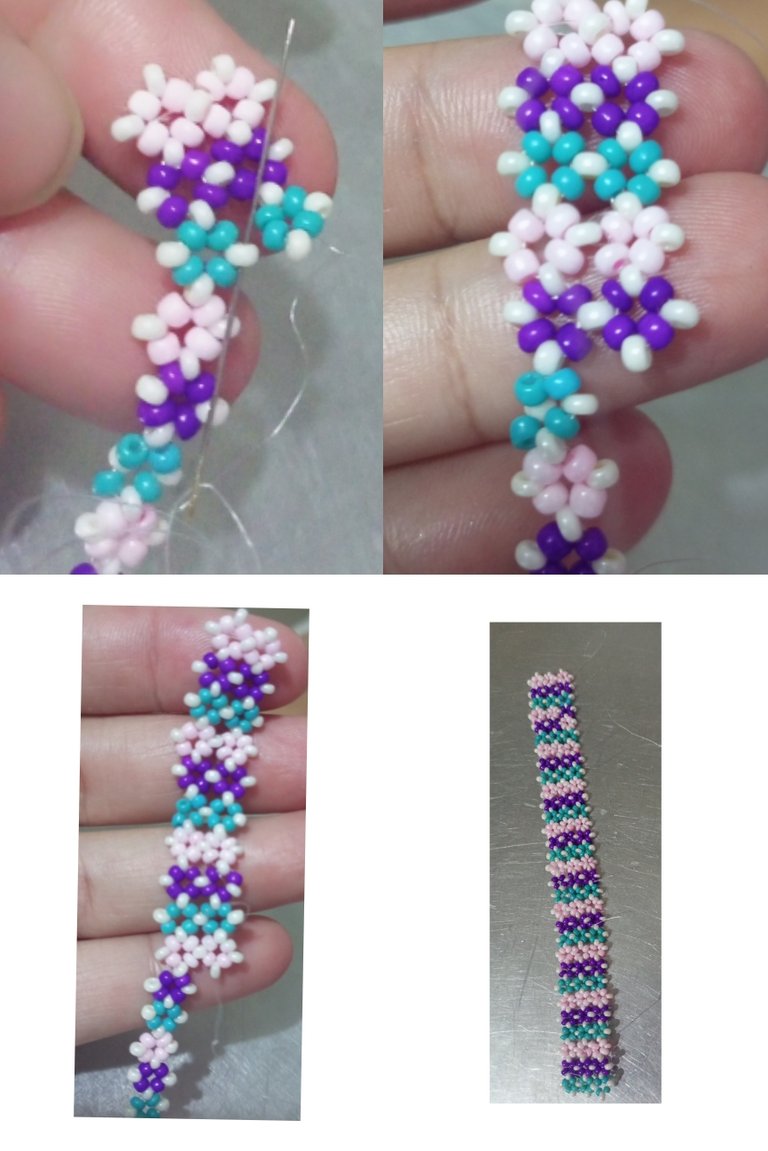
| Vamos construyendo las florecitas y uniendo por la mostacilla blanca de los laterales. | We build the little flowers and join them with the white beads on the sides. |
| Paso 11 | Step 11 |
|---|---|
| En la imagen observamos la construcción de la tercera linea de florecitas usando el mismo procedimiento descrito en los pasos anteriores. | In the image we observe the construction of the third line of flowers using the same procedure described in the previous steps. |

| Paso 12 | Step 12 |
|---|---|
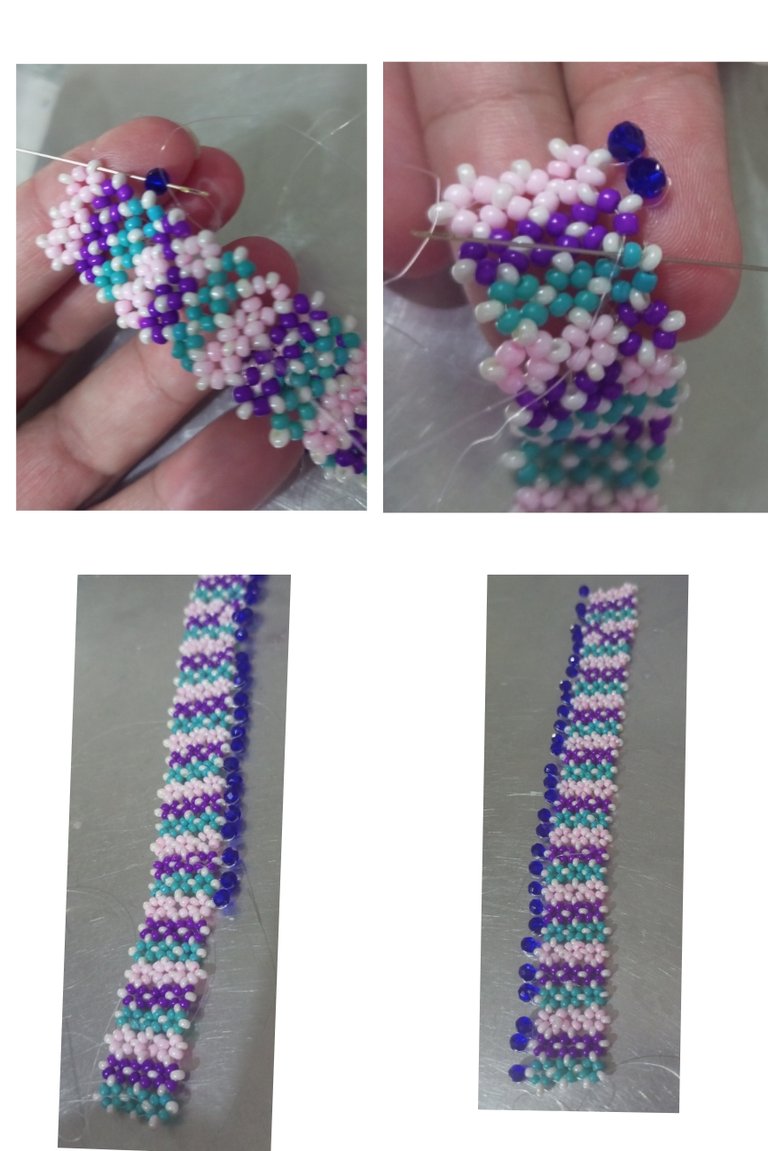
| Posicioné la aguja en las mostacillas blancas que quedan en el lateral y alli, tomando como elabón las mostacillas blancas uniré los cristales al brazalete. | I positioned the needle on the white beads that remain on the side and there, taking the white beads as the elabon, I attached the crystals to the bracelet. |
| Paso 13 | Step 13 |
|---|---|
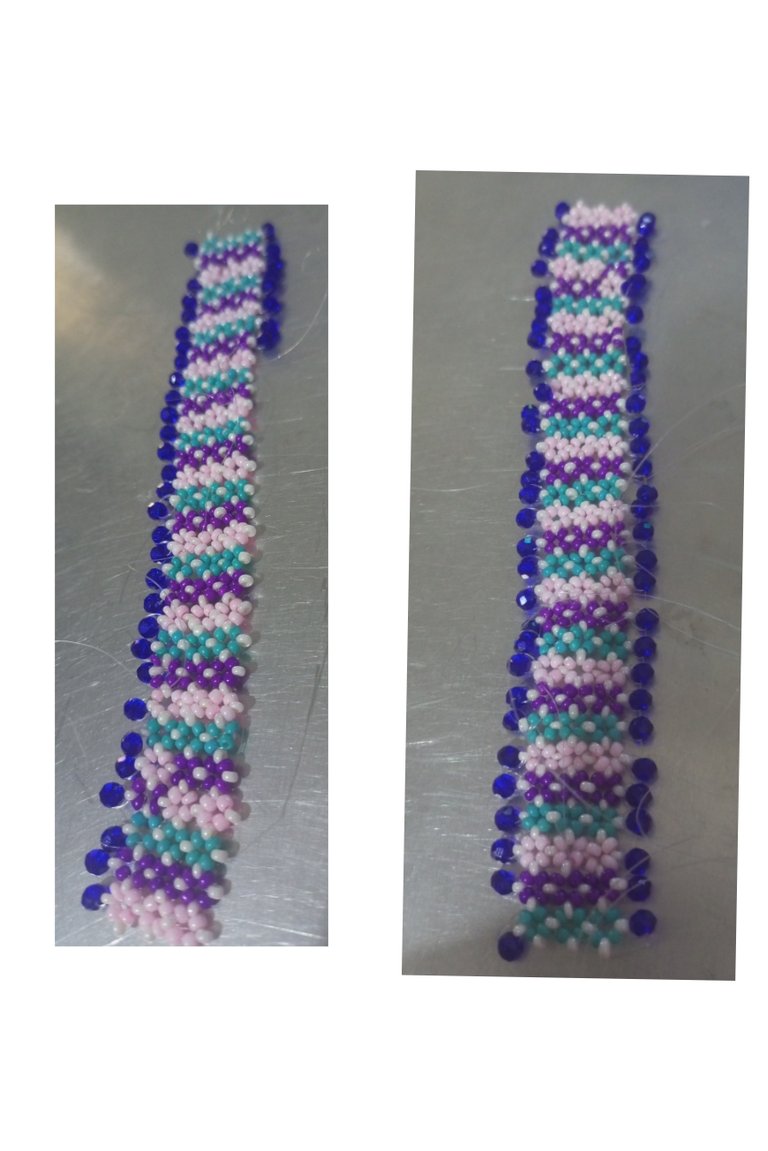
| Repetí el proceso en el otro lareral. | I repeated the process on the other lateral. |
| Paso 14 | Step 14 |
|---|---|
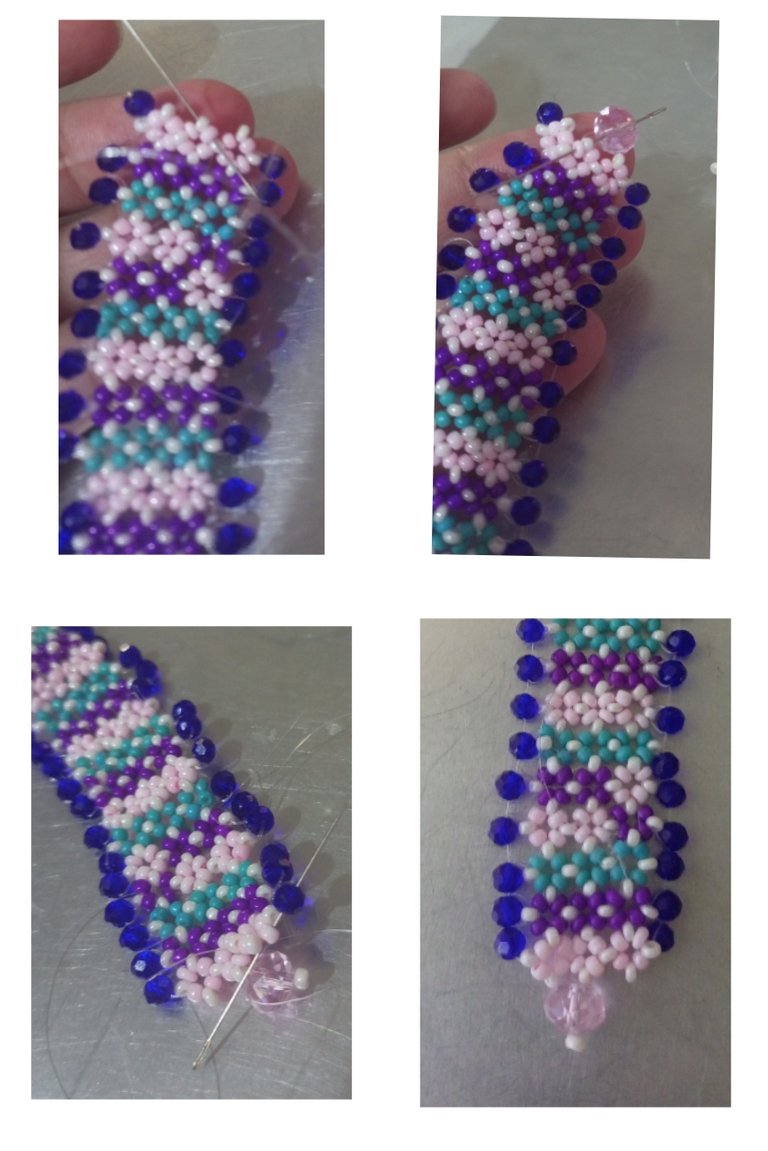
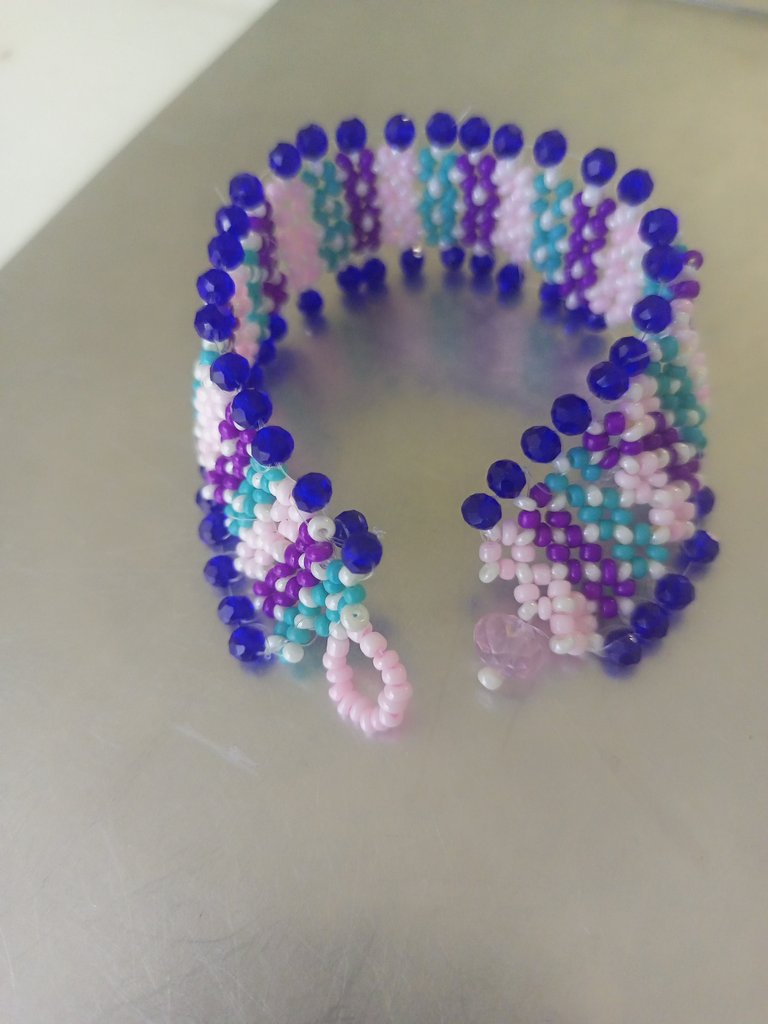
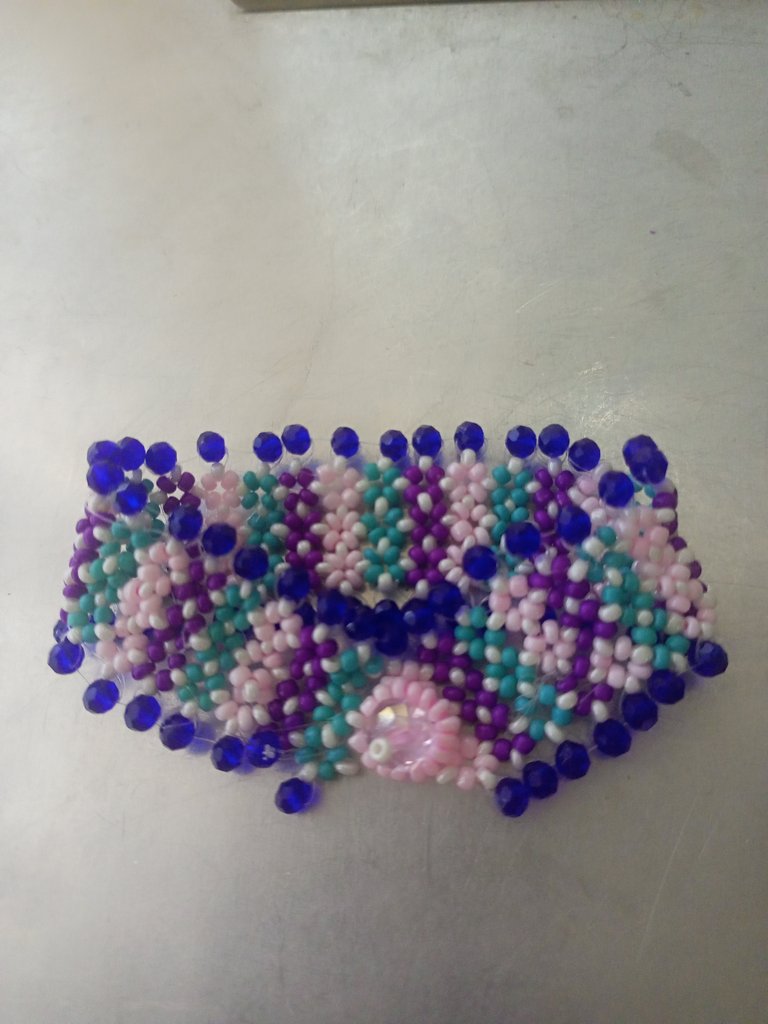
| Para el broche utilicé un cristal rosado número 0,10, para eso posicioné la aguja en el lugar que quiero que vaya el broche que es en el medio, introduzco en la aguja el cristal y una mostacilla y devuelvo la aguja por el cristal dejando a un lado la mostacilla para que sirva de tapón al cristal luego llevamos el hilo a través de las mostacillas para que quedé bien sujeto el cristal. | For the brooch I used a pink crystal number 0.10, for that I positioned the needle in the place where I want the brooch to go which is in the middle, I introduce in the needle the crystal and a bead and return the needle through the crystal leaving aside the bead to serve as a stopper to the crystal then we take the thread through the beads so that the crystal is well attached. |
| Paso 15 | Step 15 |
|---|---|
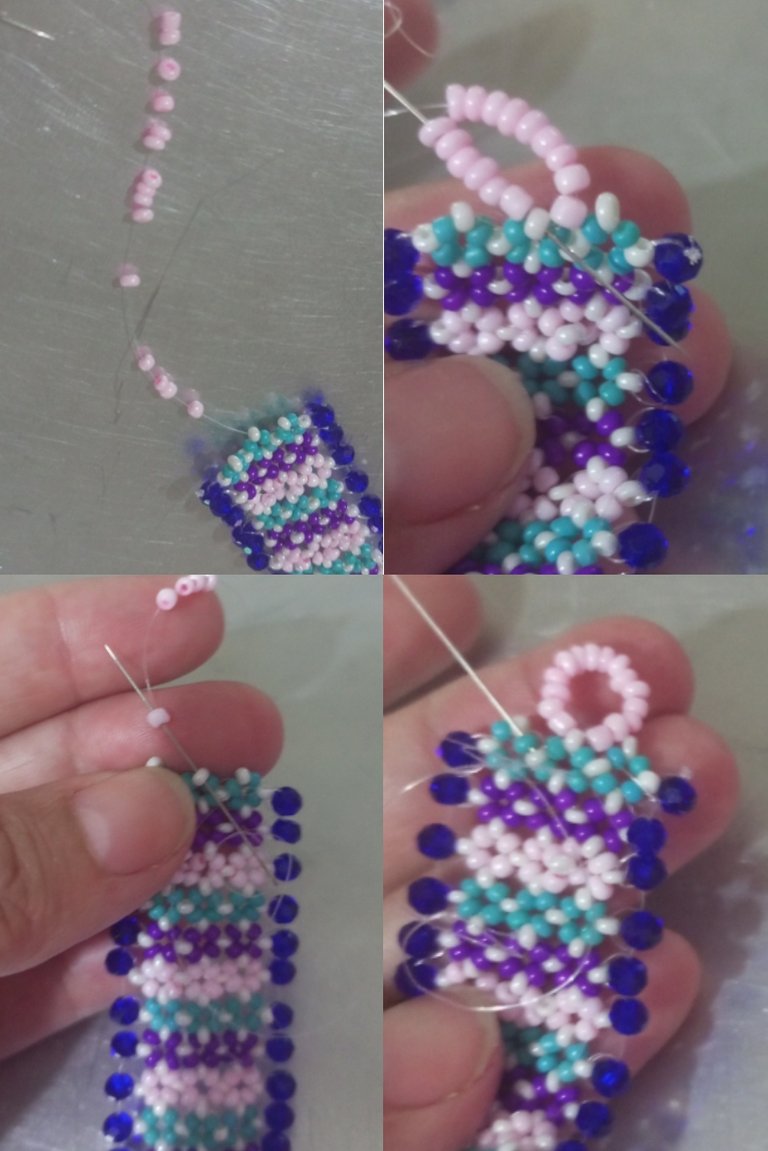
| Para el ojal para el broche colocamos la aguja en la posición que queremos que vaya el ojal, e introducimos en la aguja 15 mostacillas introducimos la aguja en la mostacilla blanca del brazalete, y llevamos el hilo a las mostacillas en el sentido de la aguja del reloj, luego llevamos el hilo al brazalete para que quedé bien sujeto y no se suelte. | For the eyelet for the brooch we place the needle in the position we want the eyelet to go, and introduce 15 beads in the needle, introduce the needle in the white bead of the bracelet, and take the thread to the beads in the direction of the clockwise direction, then we take the thread to the bracelet so that it is well secured and does not come loose. |
| Despedida | Farewell |
|---|---|
| Y esté es mi post para el día de hoy BRAZALETE DE CRISTALES Y MOSTACILLAS. Saludos y espero les guste y disfruten mi post. | And this is my post for today CRYSTAL AND MOSTACILLAS BRACELET. Greetings and I hope you like and enjoy my post. |
| Créditos | Credits |
|---|---|
| Traductor: www.DeepL.com/Translator (free version).Las fotos fueron tomadas con mi Celular Tecno Sport 7T. Foto de portada editada con Canva y PhotoRoom. Banner:https://images.app.goo.gl/5N3pujMb9u2AePz87. | Translator: www.DeepL.com/Translator (free version). The photos were taken with my Tecno Sport 7T cell phone. Cover photo edited es Canva and PhotoRoom. Banner:https://images.app.goo.gl/5N3pujMb9u2AePz87. |
Congratulations @yanethstars! You have completed the following achievement on the Hive blockchain And have been rewarded with New badge(s)
Your next target is to reach 10000 upvotes.
You can view your badges on your board and compare yourself to others in the Ranking
If you no longer want to receive notifications, reply to this comment with the word
STOPCheck out our last posts:
Great job you did here
Thank you. 🤗
A lot of time and effort was put into making this bracelet as stunning as it is, you did an amazing job. Paying attention to details and crafting this bracelet into something this beautiful was not a walk in the park. Well done.
Thank you. 🤗
Great job