Hola a todos✨❤️
Hello everyone✨💔
I hope you are very well in this nice afternoon, a very special greeting to all the Jewelry community.💎 I really like this community and how each person has a different style when creating any piece, it's quite nice.❤️✨

A few posts back I have been mentioning that I have at my disposal quite a few pieces of copper wire which I took with a lot of effort from the inside of a cable; little by little I have been using it for different things.♻️💡 I have two wires of different thickness but being recycled I can't specify much, the first one is a bit hard and I find it a bit difficult to shape with this one. The other wire is a little thinner and more malleable.👍🏻

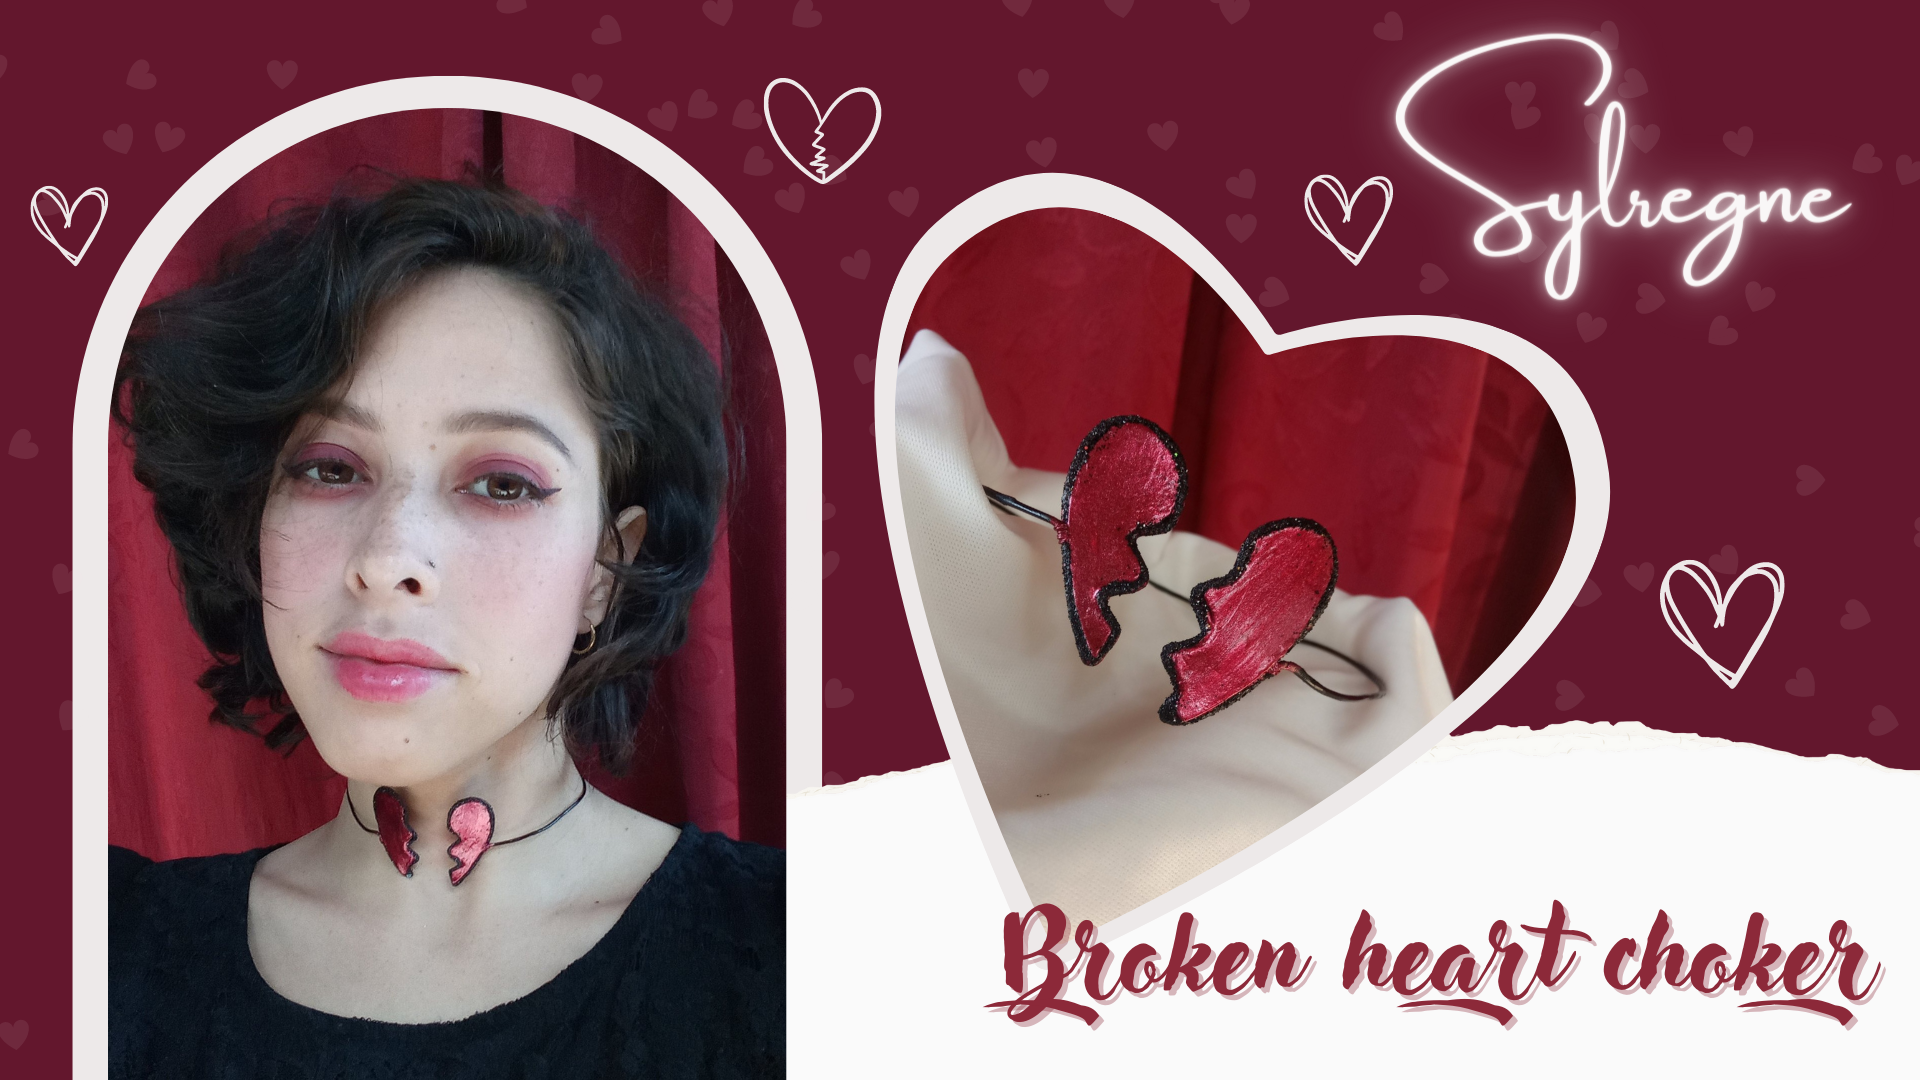
The fact is that it occurred to me to craft a choker in the shape of a broken heart just with wire and I have taken quite a while to do it just thinking about the way of crafting.😅💡 I like to have different things and I think it matches very well with my style.💗💖✨
Espero te guste este pequeño tutorial ✨
I hope you like this little tutorial ✨

| Materiales que necesitas | Materials you need |
|---|---|
| • Alambre | • Wire |
| • Esmalte de uñas | • Nail polish |
| • Silicón | • Silicone |
| • Pegamento | • Glue |
| • Brillantina | • Glitter |
| • Foami | • Foam |
Empecemos💔✨
Let's start 💔✨
1- First I drew the broken heart shape on a little piece of cardboard,💔📦 then I took the wire and started to shape it with the tweezers little by little until I had a shape similar to the one in the drawing.👍🏻
.png)
.png)
2- I put the wire around my neck and marked the place where I would start shaping the other half of the heart.✨ I then did it little by little.
.png)
3- I cut with the pliers the excess wire and only left a little bit of wire. ✂️ With the thinner wire I adjusted both sides so that both parts of the heart would not come apart.
.png)
4- I took the nail polish and applied the red color on both parts of the heart 💔. 🖤 The rest of the wire I painted it black and let it dry.
.png)
5- I placed the foami under the wire and with a needle I marked the shape of both parts of the heart, then I cut it ✂️ very carefully so that they were almost the exact shape of these 💔.
.png)
6- I glued the foami parts very carefully on the inside with cold silicone and then applied two coats of enamel and let it dry for about an hour.⏳
.png)
7- Finally, using glue and a brush, I applied black glitter around the edges of the heart and finished by applying a coat of clear varnish.✨
.png)
Resultado final💔✨
Final result💔✨
.png)
.png)
I hope you liked this little tutorial, remember that you can make things just as nice and even better than this with a lot of love and dedication.❤️ ♻️Recycling is one thing I always try to do in my tutorials, just to show that you can make very nice things with recycled material.

My mother often jokingly says that I keep junk, but it's just that I try to throw away as little as possible some things that I find useful.✨💡 I have used this cable for many things and I am very happy with the results I have gotten.❤️✨💔
Espero lo intentes✨💔
I hope you try✨💔
¡Nos vemos pronto!❤️✨
See you soon!❤️✨

Hola amiga 👋
Que linda luce tu gargantilla con forma de corazón roto, se puede evidenciar que eres muy creativa.
Te deseo mucho éxito, saludos 🤗
Hola amiga❤️ muchas gracias, que bueno que te haya gustado, me alegra ✨❤️
Saludos @sylregne primero que nada re felicitamos por tu creatividad porque está gargantilla te ha quedado realmente hermosa, nos encanta ver como le has dado forma de corazón roto en cada extremo y lo hermosa que luce en tu cuello, felicidades por este increíble paso a paso que nos has regalado hoy, el alambrismo es un hermoso trabajo que requiere dedicación, gracias por ello 👏👏
Saludos pa ti también💗 estoy muy contenta de formar parte de esta linda comunidad, muchas gracias por tu comentario, me ha hecho muy feliz. ¡Espero pronto presentar nuevos proyectos!✨💎💗
The rewards earned on this comment will go directly to the people sharing the post on Twitter as long as they are registered with @poshtoken. Sign up at https://hiveposh.com.
pretty!
💗💗💗
Muy bien... una pieza interesante... Solo considero que viendo el espesor del alambre creo queda lo suficiente duro y quizás no hacía falta el amarre, podías con un martillo y algo de metal duro como un yunque darle unos golpes para templar el metal más, por lo menos en esa zona.
Igual un buen proyecto para probar
Hola!!! Excelente manera de aprovechar el alambre recuperado.
Tu collar quedó precioso. Usar el silicón me pareció un genial idea. Me encantó.
Congratulations @sylregne! You have completed the following achievement on the Hive blockchain and have been rewarded with new badge(s):
Your next target is to reach 400 replies.
You can view your badges on your board and compare yourself to others in the Ranking
If you no longer want to receive notifications, reply to this comment with the word
STOPSupport the HiveBuzz project. Vote for our proposal!
Te quedo hermoso. Realmente tu técnica de alambrismo me encanta, y mas el enfoque que le das es muy yo, amo ese tipo de accesorios pero sobre todo el estilo dark jajajaja. Me encanta.
Felicidades, y éxitos @sylregne✨
Muy linda tu gargantilla eres muy creativa me encanta tu estilo
🌼🤪🌹🌼🤪🌹🌼🤪🌹🌼🤪🌹🌼🤪🌹☀️☀️☀️☀️🤪🌹🌼🤪🌹🤪☀️🌼🤪⭐🌼🤪🌹⭐🌼🤪🌹🌼☀️☀️☀️🌼🤪🌹🌼⭐🤪
Eres muy creativa @sylregne te ha quedado realmente bello, un trabajo super original gracias por este paso a paso tan bien explicado
Gracias a ti amiga por tomar de tu valioso tiempo para visitar mi publicación 💗❤️💖