Antes que nada, un cordial saludo a todos los integrantes de esta amplia plataforma de trabajo, espero que se encuentren muy bien, feliz y bendecido año nuevo.
First of all, a cordial greeting to all the members of this broad work platform, I hope you are well, happy and blessed new year.
Un nuevo año, nuevos propósitos, nuevas metas, nuevas expectativas en nuestra vida y muchas ganas de superarnos, de emprender, de salir adelante, de cumplir con todo lo que nos hemos propuesto y que hasta ahora por circunstancias de la vida no hemos podido. para concluir, pues mi deseo es que en este nuevo año todos podamos cumplir todos nuestros propósitos y
que este 2023 nos traiga mucha salud, amor, paz, alegría, prosperidad, abundancia, buena vibra... Que nuestro Dios Todopoderoso guíe cada uno de nuestros pasos y nos de la sabiduría, entendimiento y fortaleza necesaria para continuar el maravilloso camino llamado vida.
A new year, new purposes, new goals, new expectations in our lives and a great desire to improve ourselves, to undertake, to get ahead, to fulfill everything that we have proposed and that until now due to life circumstances we have not been able to conclude, Well, my wish is that in this new year we can all fulfill all our resolutions and
may this 2023 bring us lots of health, love, peace, joy, prosperity, abundance, good vibes... May our Almighty God guide each of our steps and give us the wisdom, understanding and strength necessary to continue the wonderful path called life
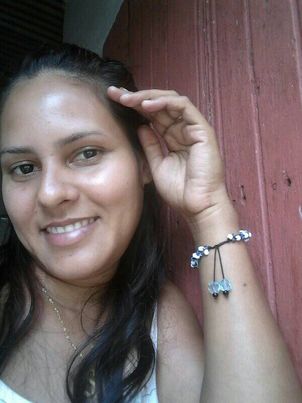
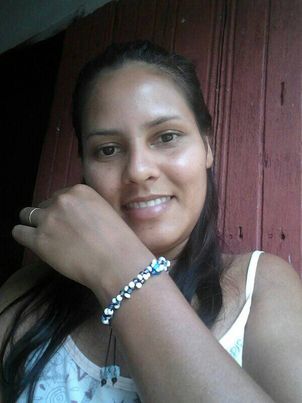
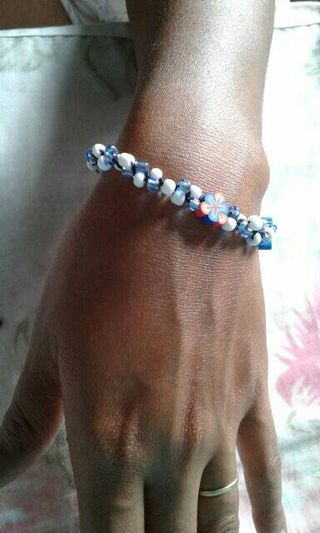
El día de hoy quise compartirles un nuevo trabajo y en este nuevo post les mostrare mi paso a paso para hacer una hermosa pulsera elaborada con mostacillas y lindas piedras decorativas, espero les guste este material que les mostrare a continuación.
Today I wanted to share a new job with you and in this new post I will show you my step by step to make a beautiful bracelet made with beads and beautiful decorative stones, I hope you like this material that I will show you below.

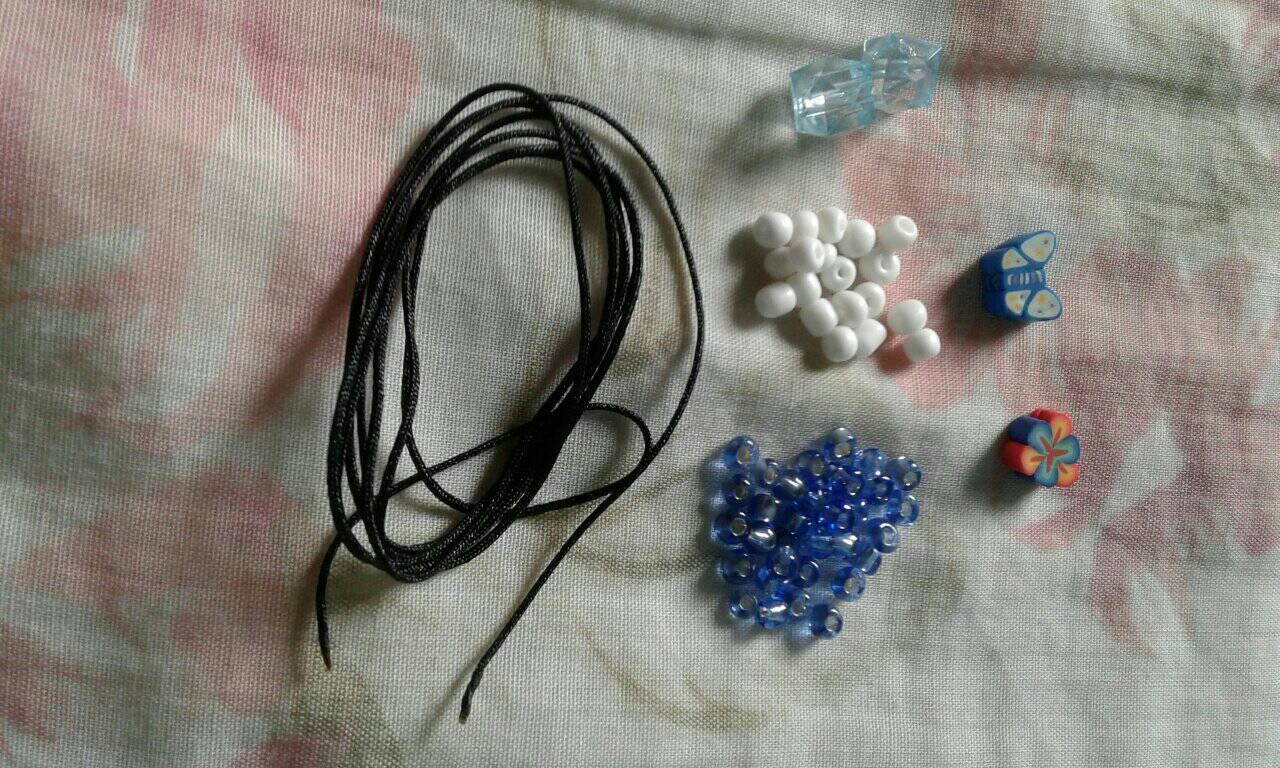
Estos son los materiales a utilizar:
- Hilo chino del color que mas te guste.
- Mostacillas y piedras decorativas, el color y modelo de las mismas es opcional.
- Tijera y yesquero.
These are the materials to use:
- Chinese thread of the color that you like the most.
- Beads and decorative stones, their color and model is optional.
- Scissors and tinderbox.
Empecemos a trabajar:
Let's start working:
Primer paso:
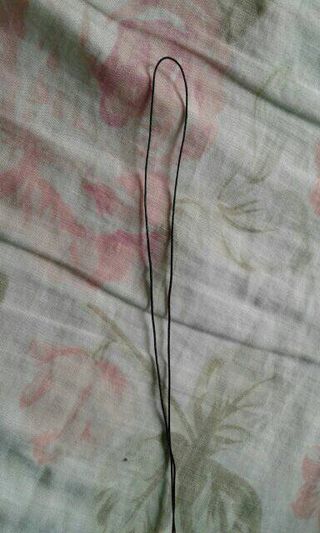
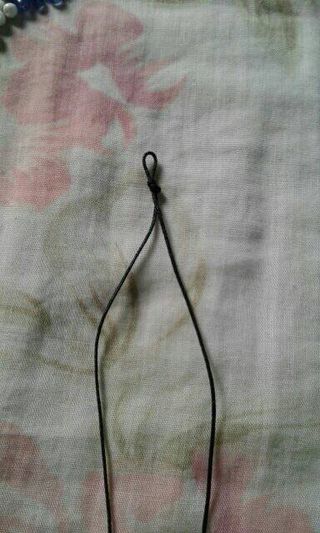
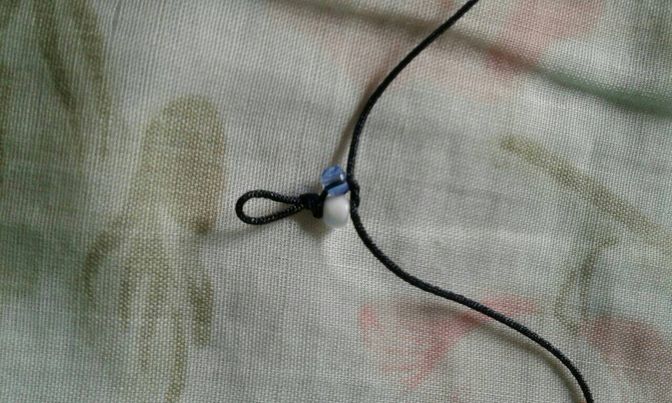
Toma el hilo chino y procede a doblarlo por la mitad y luego haz un nudo como se muestra en la imagen, esto te servirá para amarrar la pulsera.
First step:
Take the Chinese thread and proceed to fold it in half and then tie a knot as shown in the image, this will serve to tie the bracelet.
Segundo paso:
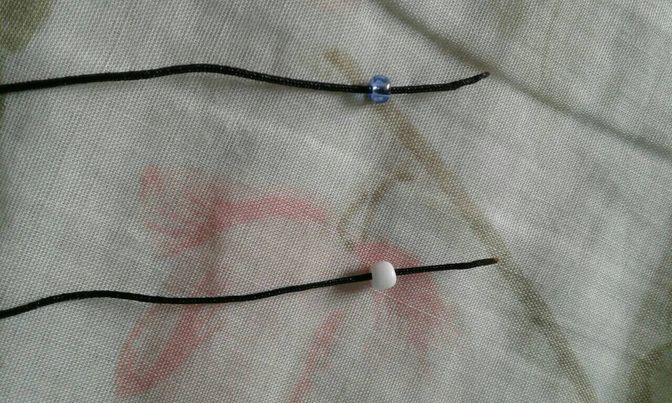
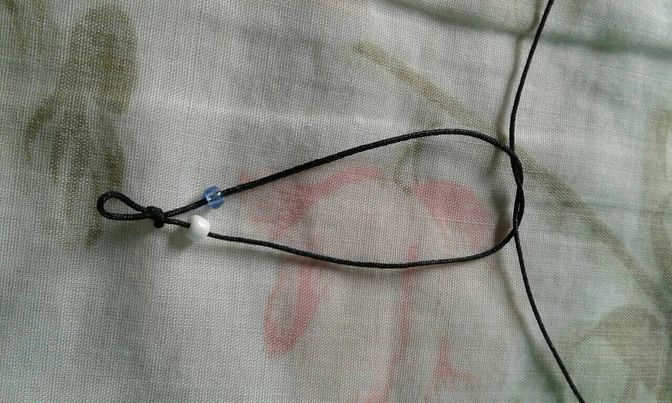
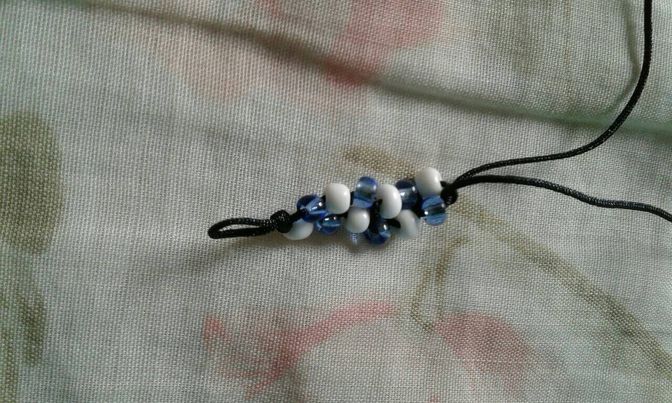
Luego de esto, comienza a insertar las mostacillas en ambos extremos del hilo, el diseño y el color es opcional yo elegí colocar una mostacilla blanca en un extremo y una mostacilla azul en el otro extremo, después haz un nudo muy apretado asegurándote de que estas no se vallan a aflojar, repite el procedimiento hasta llegar al punto donde desees insertar las piedras decorativas.
Second step:
After this, begin to insert the beads into both ends of the thread, the design and the color is optional I chose to place a white bead on one end and a blue bead on the other end, then make a very tight knot making sure that you are do not go to loosen, repeat the procedure until you reach the point where you want to insert the decorative stones.
Tercer paso:
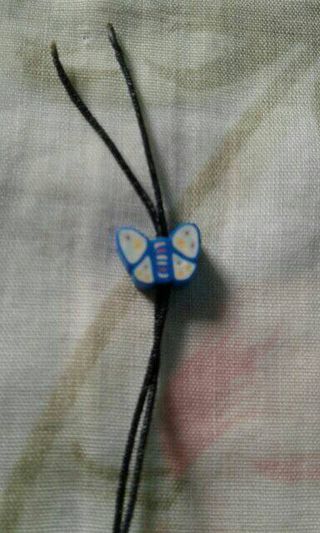
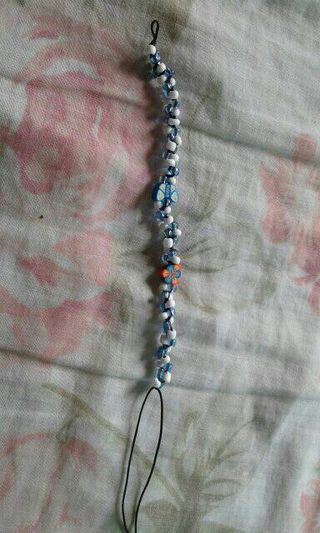
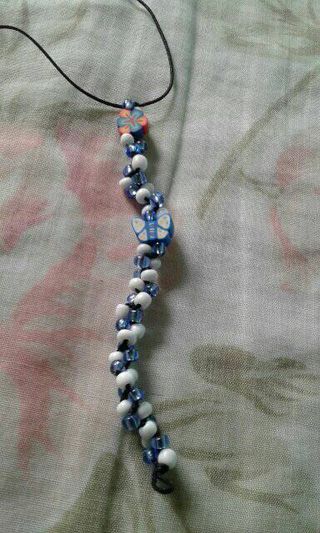
Procede a colocar las piedras decorativas en este caso yo le coloque una mariposa azul, repite el segundo paso y luego coloca la piedra decorativa que mas te guste y continua colocando las mostacillas y al culminar haz un nudo para que no vallan a soltar.
Third step:
Proceed to place the decorative stones, in this case I put a blue butterfly on it, repeat the second step and then place the decorative stone that you like the most and continue placing the beads and when you finish tie a knot so that they do not come loose.
Cuarto paso:
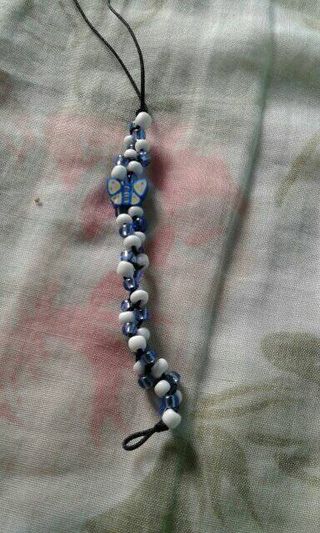
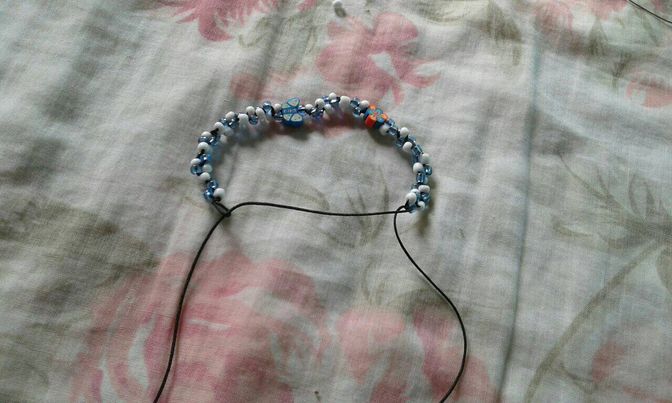
Procede a introducir uno de los extremos en el orificio del nudo que hiciste al principio y corta un poco las puntas de ambos lados , para darle un poco mas de detalle colócale una piedra decorativa a cada lado y procede a quemar ambas puntas para que estas no se valla a salir.
Fourth step:
Proceed to introduce one of the ends into the hole of the knot that you made at the beginning and cut a little the tips on both sides, to give it a little more detail, place a decorative stone on each side and proceed to burn both ends so that they do not go out.
Esto es todo por hoy, muchas gracias de antemano por tomar unos minutos de su tiempo para leer mi post hasta el final, hasta una próxima oportunidad, que tenga una feliz y bendecida tarde.
This is all for today, thank you very much in advance for taking a few minutes of your time to read my post until the end, until a next opportunity, have a happy and blessed afternoon.
.jpg)

Las fotos fueron tomadas por mi teléfono Samsung ace J1.
The photos were taken by my Samsung ace J1 phone.
!discovery 25
This post was shared and voted inside the discord by the curators team of discovery-it
Join our community! hive-193212
Discovery-it is also a Witness, vote for us here
Delegate to us for passive income. Check our 80% fee-back Program
Thank you for sharing this post on HIVE!
Your content got selected by our fellow curator stevenson7 & you just received a little thank you upvote from us for your great work! Your post will be featured in one of our recurring compilations which are aiming to offer you a stage to widen your audience within the DIY scene of Hive. Stay creative & HIVE ON!
Please vote for our hive witness <3
Amen to all the prayers for the year 2023. The white-stone color combination is actually a nice one for the making of bracelets. I love how simple the bracelet turned out to look.
Buen trabajo amiga @sergimarmartinez el trenzado es muy bonito y la explicación es buena, gran trabajo 🎊