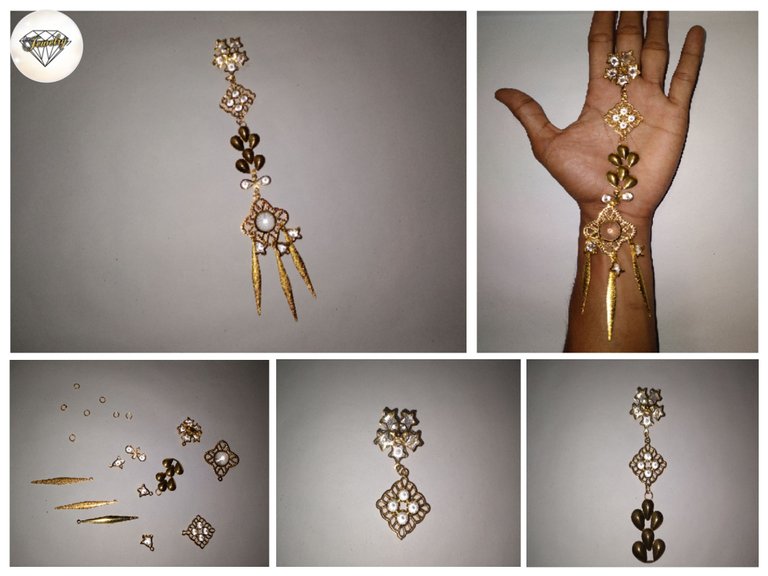
Hola Amantes de la Joyería..
Esta vez quiero compartir un Tutorial sobre cómo hacer e instalar el broche correcto y hermoso. Este broche es perfecto para usar cuando vamos a grandes eventos como fiestas y otros que tienen un color amarillo a dorado que hace que el broche se vea lujoso.
Este broche es el material que compré en el mercado que vende materias primas como cuentas de broche, solo necesitamos instalarlo con nuestras propias ideas creativas. Por eso, hoy os quiero enseñar mi idea creativa para poner este broche.
Hello Jewelry Lovers..
This time I want to share a Tutorial on making and installing the correct and beautiful brooch. This brooch is perfect for use when we go to big events such as parties and others which have a yellow to gold color makes the brooch look luxurious.
Thank you for reading my blog and reblog if you want my blog to be read by others this time.
This brooch is the material I bought from the market that sells raw materials such as brooch beads, we only need to install it with our own creative ideas. So, today I want to show you my creative idea to put this brooch.
Brooch Raw Material
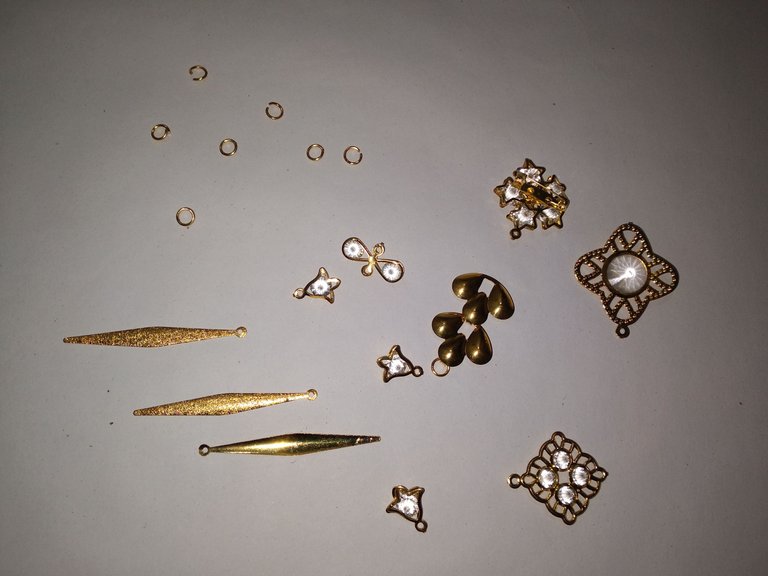
Todo este material lo compré en el mercado que vende varios accesorios, pero elegí algunas partes para este broche, lo que significa que tengo que pensar en cómo elegiré el material cuando lo ate. El precio de todos estos ingredientes es de solo $1, lo cual es barato porque en este mercado se vende por kilo y los ingredientes son los siguientes.
All of this material I bought in the market that sells various accessories, but I chose some parts for this brooch which means I have to think about how the material I will choose when I tie it. The price of all these ingredients is only $1 which is cheap because it is in this market sold per kilo and the ingredients are as follows.
Tipo de Materia Prima del Broche
- Abrazadera principal del broche
- Caja de perlas
- Semillas de judías Stenlis
- Ojos de perla
- Flor de perla
- Estenlis Puntiagudo
Brooch Raw Material Type
- Brooch main clamp
- Pearl box
- Stenlis bean seeds
- Pearl eyes
- Pearl flower
- Pointed Stenlis
The Process Of Creating Bros
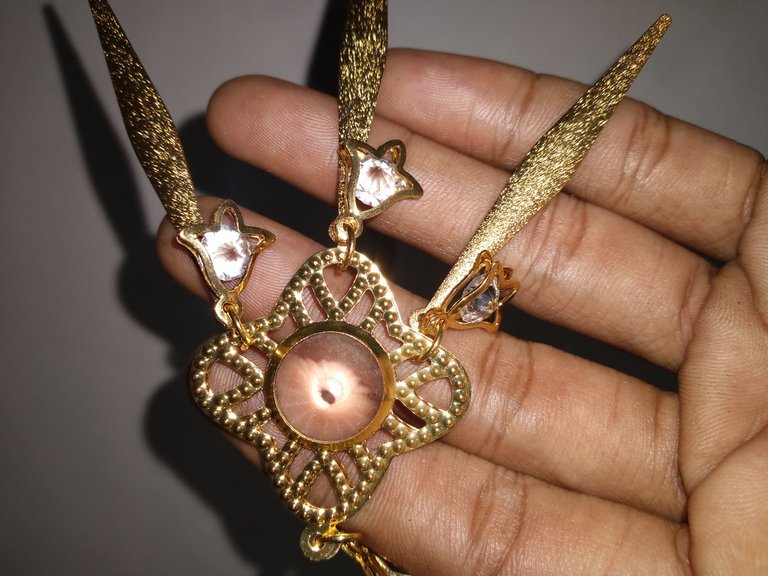
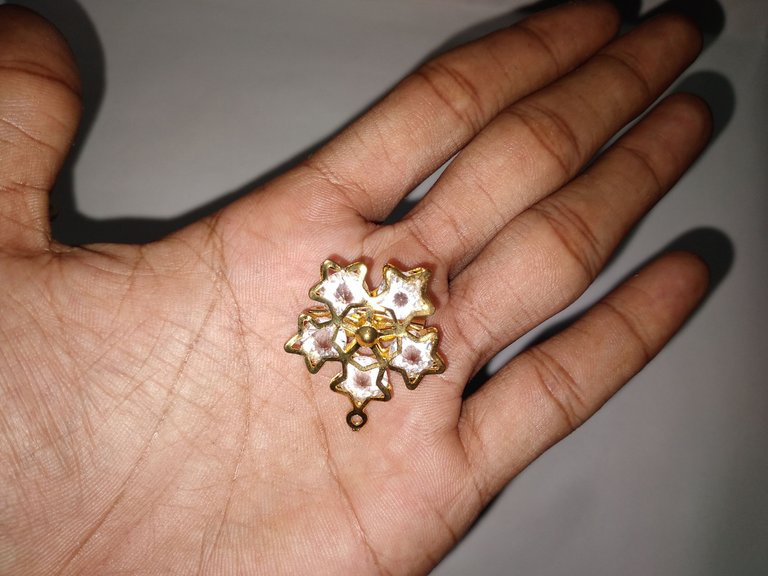
El paso que hago como de costumbre es organizar los materiales que usaré primero porque si no los organizamos primero más tarde cuando el proceso hace que nuestras mentes sean tan caóticas. luego tomé la abrazadera del broche, que es el material principal del broche, y la enganché en la caja de perlas con un cable de conexión redondo.
The step I do as usual is to arrange the materials that I will use first because if not we arrange them first later when the process makes our minds so chaotic. then I took the brooch clamp which is the main material in the brooch and hooked it on the Pearl box using a round connecting wire.
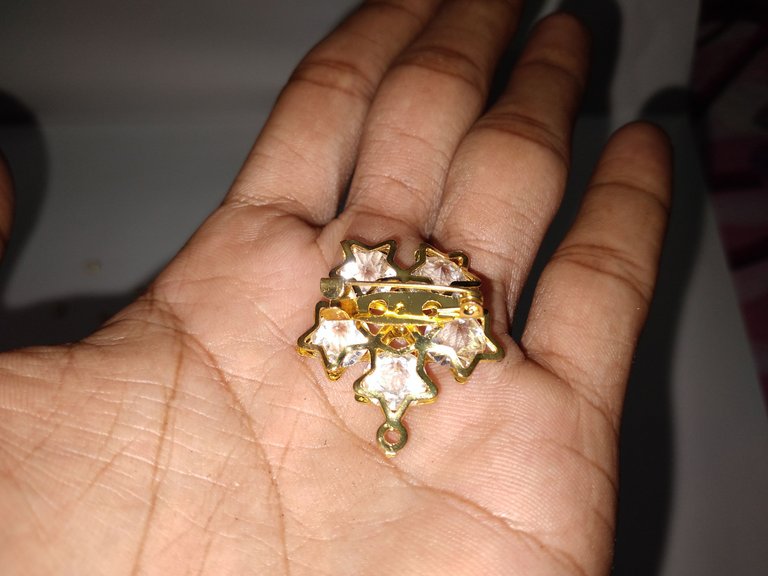
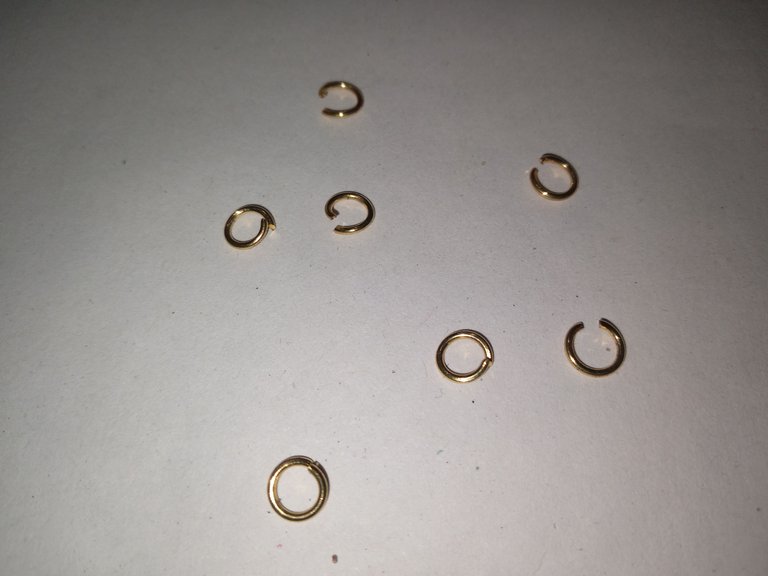
La encuadernación con un alambre redondeado debe sujetarse suave pero firmemente porque el alambre que uso aquí no es tan duro como la imagen de abajo.
Binding by using a wire that is rounded must be clamped gently but firmly because the wire I use here is not as hard as the picture below.
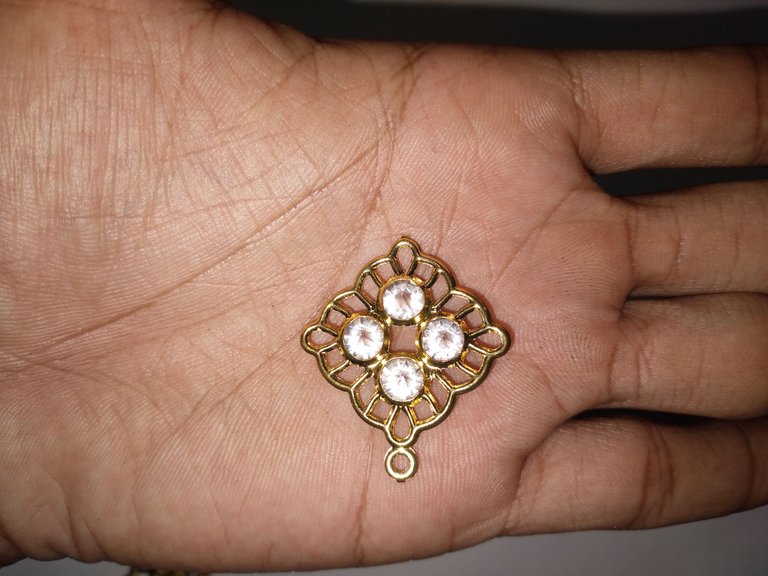
A continuación lo combinamos con perlas Cuadradas y recomiendo no poner los ojos de Perlas boca abajo.
Next we combine it with Square pearls and I recommend not turning the Pearl eyes upside down.
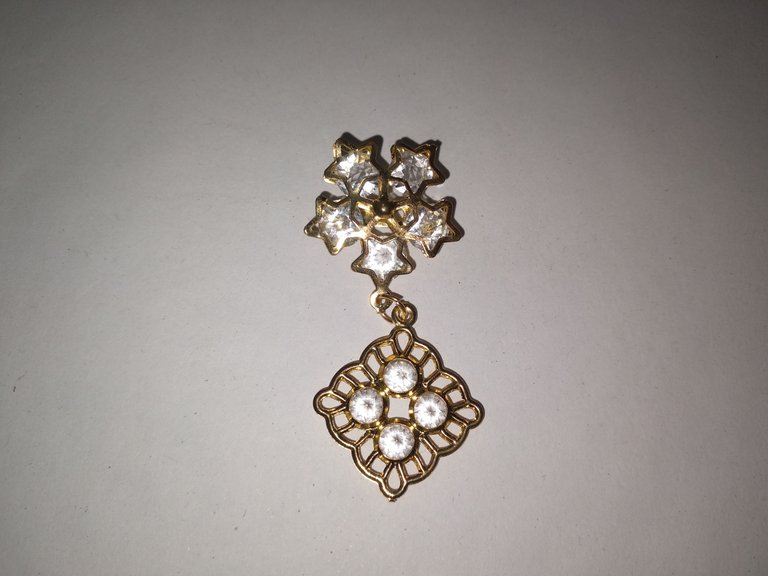
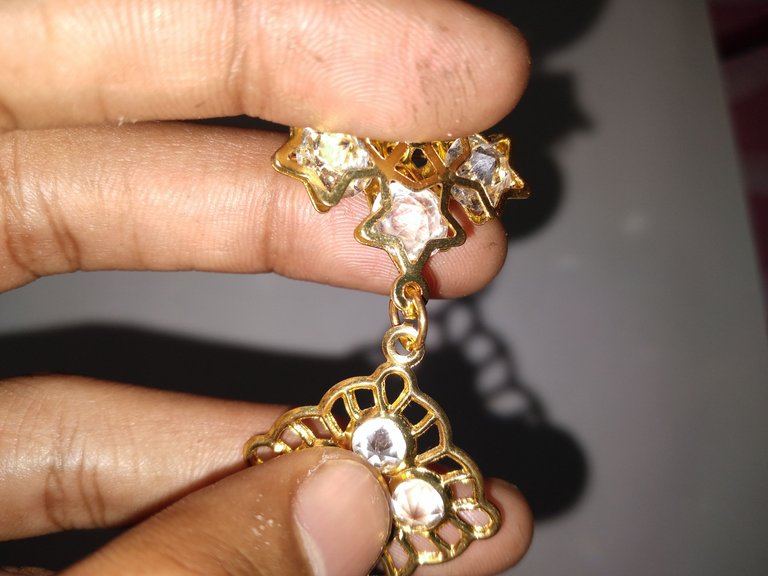
A continuación, lo atamos al estenlis de las semillas de frijoles también con un alambre redondo. Esta semilla de frijol que elegí al comprar era muy difícil, por lo que tuve que desenterrar otro material de broche debajo.
Next, we tie it to the stenlis of the bean seeds also using a round wire. This bean seed I chose when buying was very difficult which I had to dig out some other brooch material underneath.
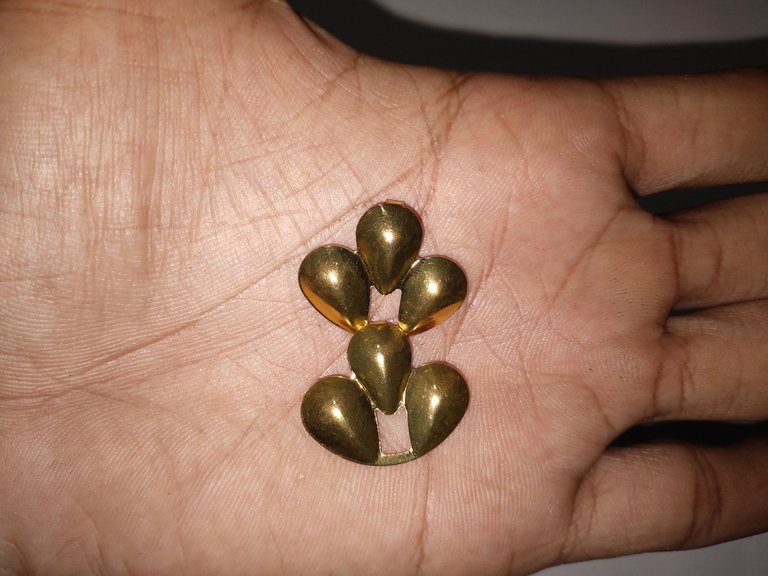
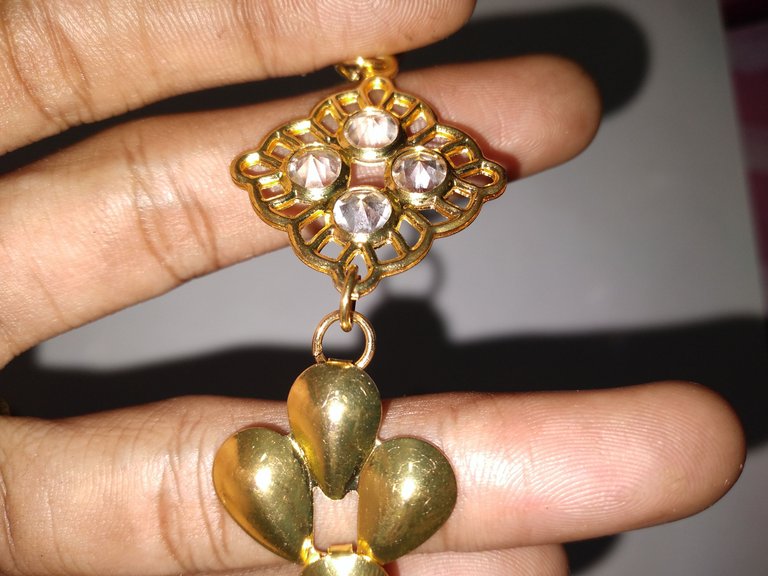
La siguiente etapa es la unión de la Perla del ojo, donde el tipo más pequeño de material de broche es la Perla del ojo después del alambre redondo.Estos ojos de perlas los atamos a flores de perlas.
The next stage is binding on the eye Pearl where the smallest type of brooch material is the eye Pearl after the round wire.These pearl eyeswe tie to pearl flowers.
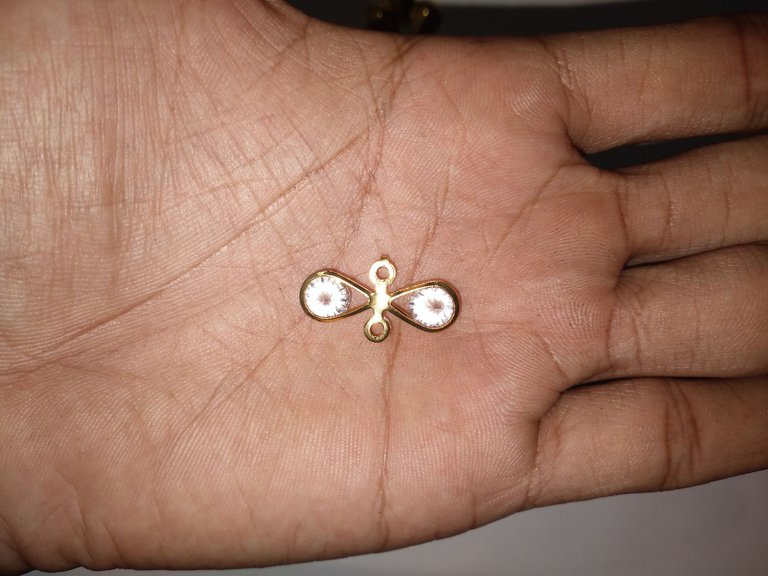
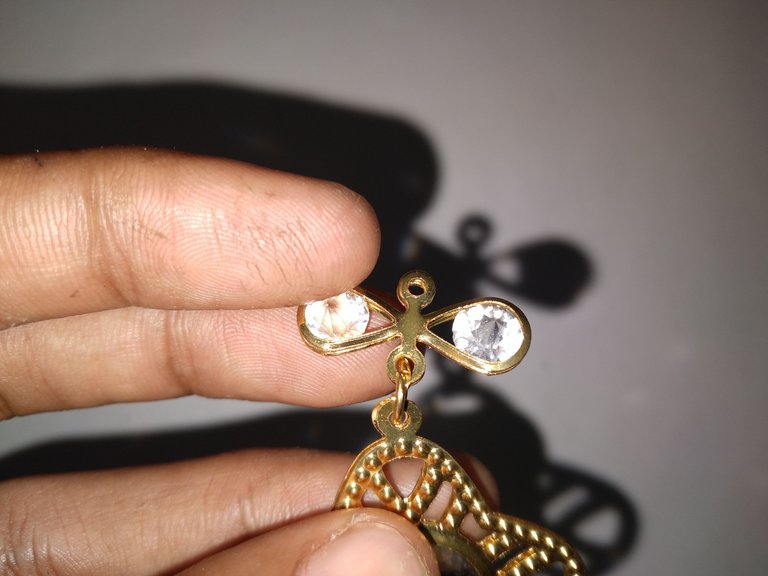
A continuación, atamos el material del broche de estenlis puntiagudo a la flor de perlas en el orificio en tres lados, a saber, kana, izquierda y centro debajo de la flor de perlas. Este material de broche de estenlis puntiagudo también tiene un ojo pequeño para que la Perla emita un sonido al mecerse y se vea más brillante.
Next we tie the pointed stenlis brooch material to the pearl flower in the hole on three sides,namely kana, left and middle under the pearl flower. This pointed stenlis brooch material also has a small eye on it so that the Pearl makes a sound when rocking and looks more shiny.
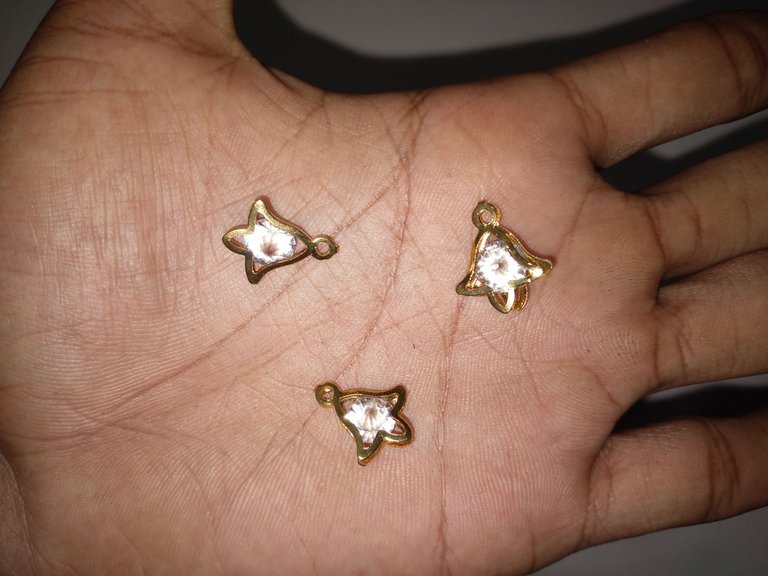
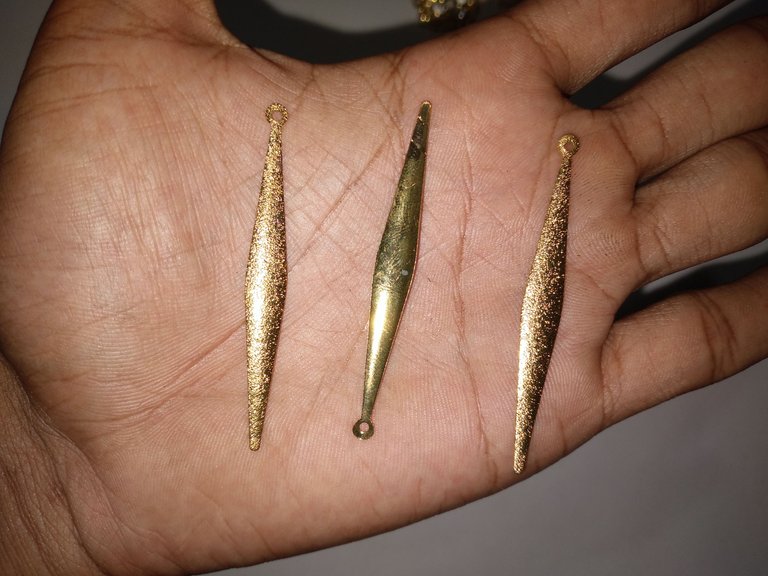
El segundo lado del Canal y el izquierdo lo puse debajo del gran agujero para que se vea más ordenado como la imagen de abajo.
The second side of the Cana and the left I put under the big hole to make it look neater like the picture below.

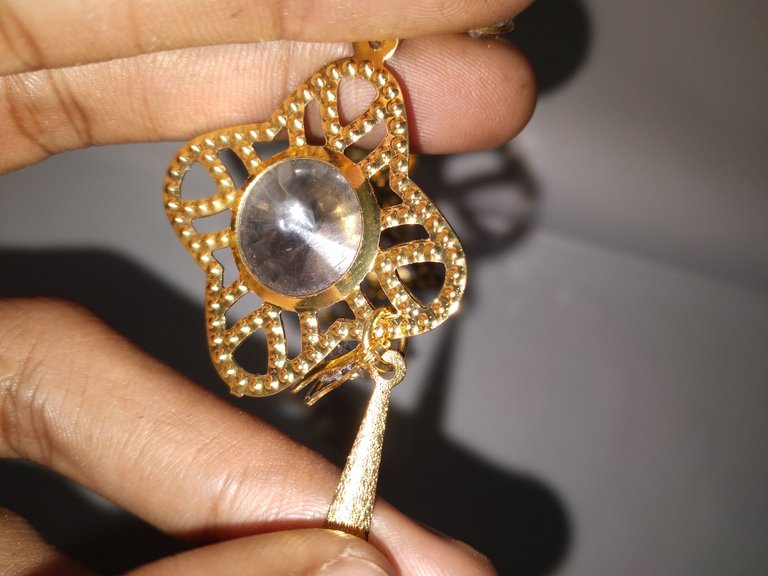
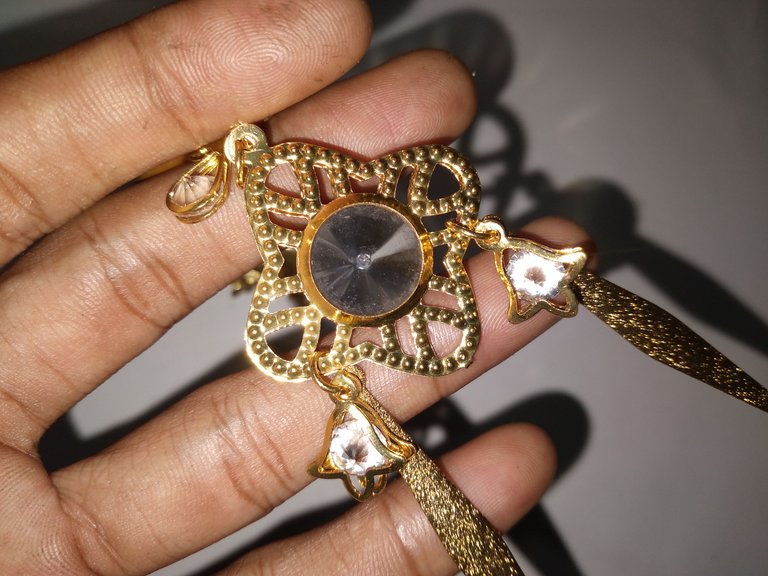
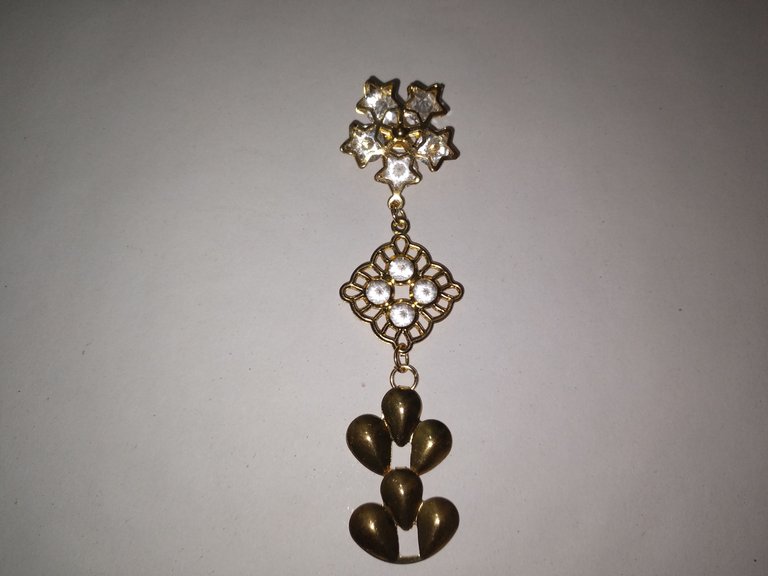
Hasta esta etapa, todo el proceso de fabricación e instalación del broche está completo.
Up to this stage all the process of making and installing the brooch is complete.
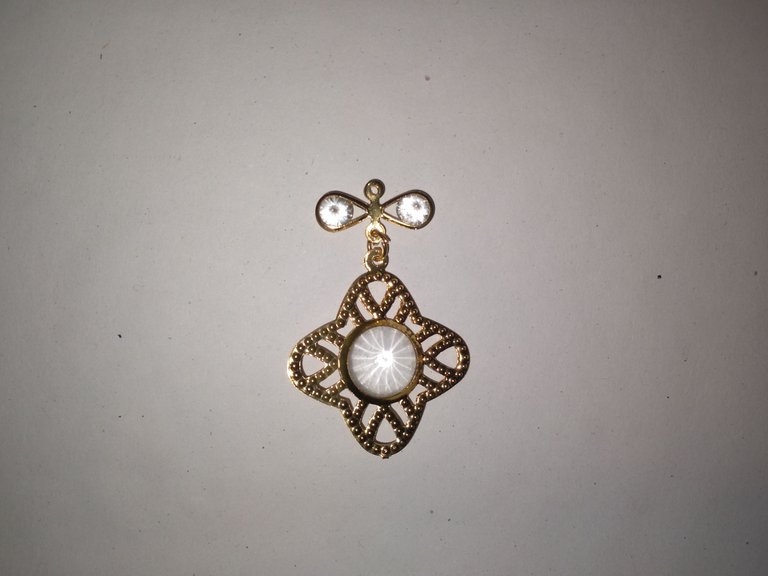
Brooch Ready
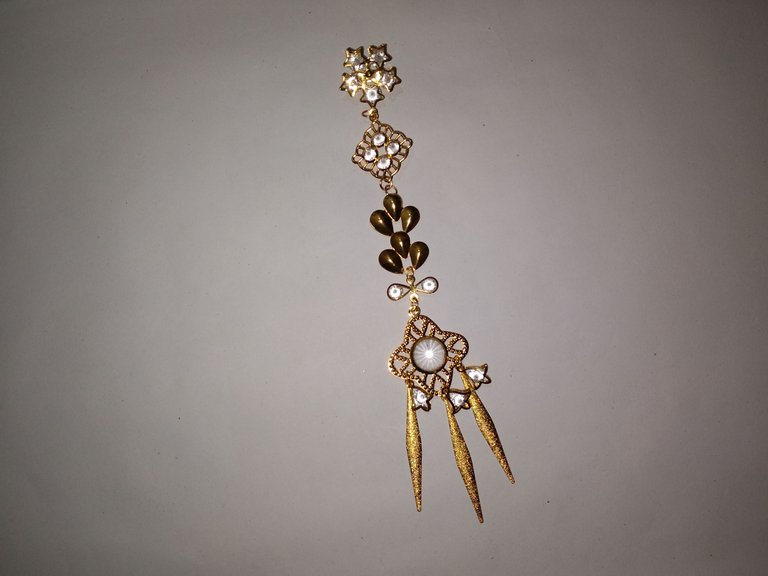
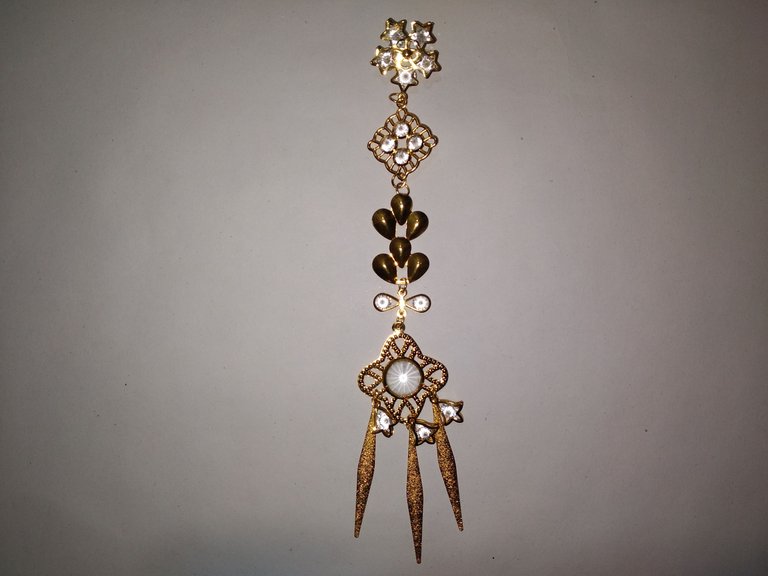
Finalmente, después del trabajo que duró unos 30 minutos, hice un broche terminado. Cuando veo este broche es muy hermoso en comparación con el precio, que es solo de $1. Le daré este broche a mi hermana para ir a fiestas y otros eventos, parece dorado cuando se usa por la mañana, aunque la gente sabe que los broches rara vez están hechos de oro, que se desprende fácilmente al caerse.
Finally after the work that took about 30 minutes I made a finished brooch. When I see this brooch is very beautiful compared to the price which is only $1 only. I will give this brooch to my sister to go to parties and other events, it looks like gold when used in the morning although people know that brooches are rarely made of gold which is easily detached when falling.
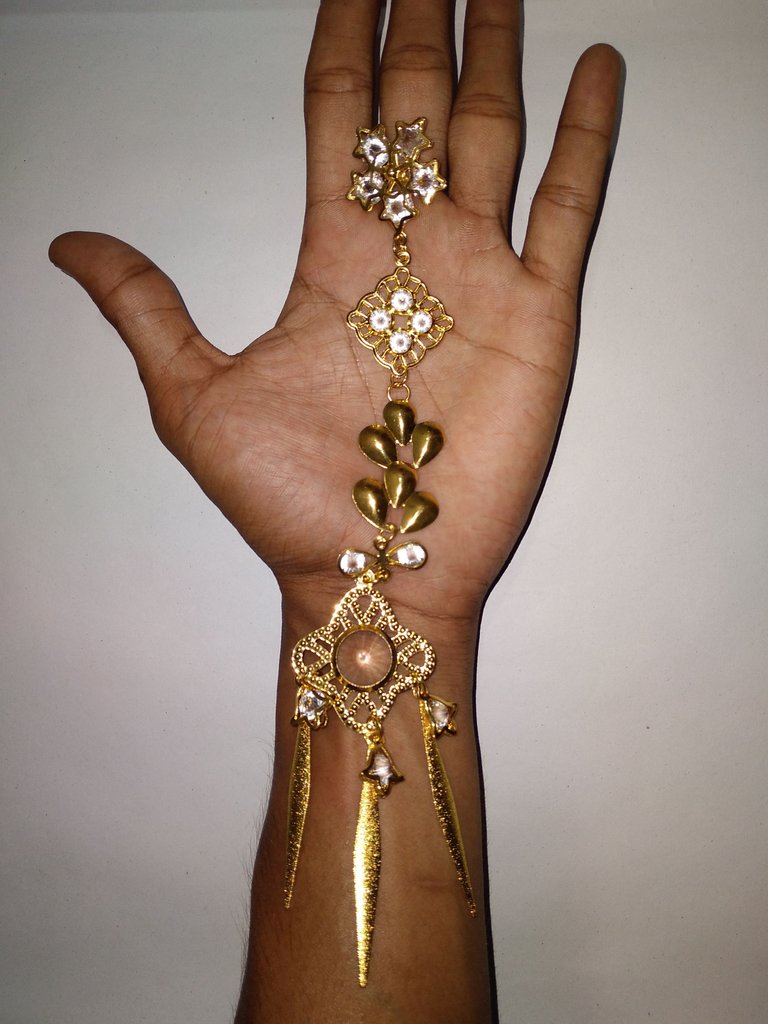
Tal vez este sea el único tutorial de instalación de broches correcto y hermoso para este momento, muchas gracias.
Maybe this is the only correct and beautiful brooch installation tutorial for this time Thank you very much.
Regards,
Rebon Re
Congratulations @rebonre! You have completed the following achievement on the Hive blockchain And have been rewarded with New badge(s)
Your next target is to reach 200 upvotes.
You can view your badges on your board and compare yourself to others in the Ranking
If you no longer want to receive notifications, reply to this comment with the word
STOPTo support your work, I also upvoted your post!
Hola, buen trabajo, se ve que es una excelente pieza, me agrada la presentación. Saludos.
!PIZZA
$PIZZA slices delivered:
@darwinjj(1/5) tipped @rebonre
Hermoso trabajo. Y el color me encanta. Saludos