Hola queridos amigos , feliz noche , Dios les bendiga a todos , espero que se encuentren feliz , siempre positivos y con muchísima fe , les traigo un tutorial de cómo elaborar unos zarcillos de hilo , con materiales sencillos y faciles de conseguir desde nuestras bellas casas , un excelente accesorio que nos mantendrá lindo y a la moda
Hello dear friends, happy evening, God bless you all, I hope you are happy, always positive and with lots of faith, I bring you a tutorial on how to make some thread tendrils, with simple and easy to get materials from our beautiful homes, an excellent accessory that will keep us cute and fashionable.
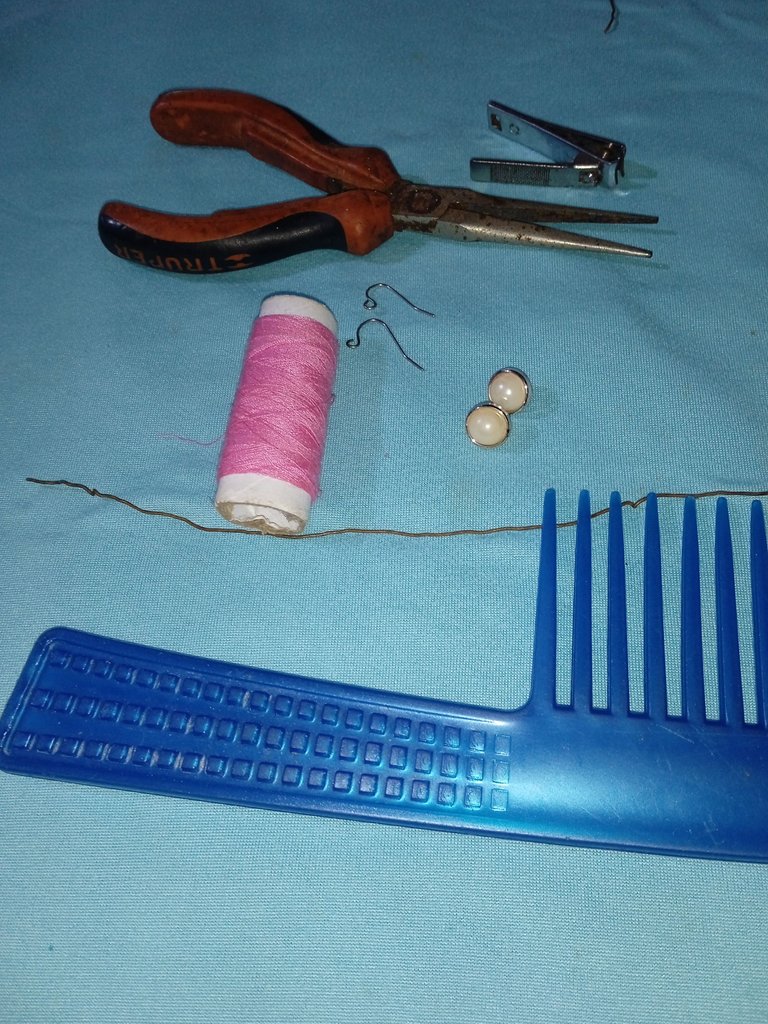
Materiales para realizar unos zarcillos de hilo :
-Hilo de cocer
-Alambre delgado
-Pinza
-Corta uñas
-Botones plásticos
-Cepillo o regla
Materials to make some tendrils of thread :
-Baking thread
-Thin wire
-Tweezers
-Nail clippers
-Plastic buttons
-Brush or ruler
Pasos para realizar nuestros accesorios :
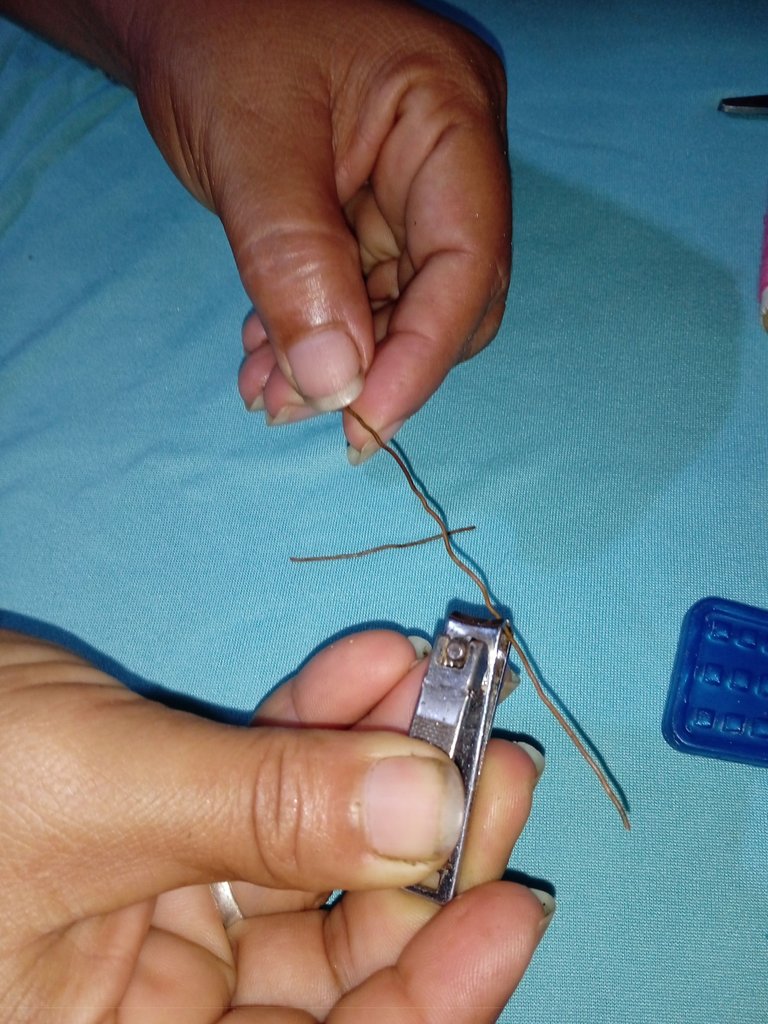
Primer paso : Comenzaremos cortando nuestro alambre al tamaño que nos guste , para unos accesorios no exagerados como estos que realice utilizaremos cuatro centímetros , de estos debemos recortar dos para el pars
Steps to make our accessories:
First step: We will begin cutting our wire to the size that we like, for some accessories not exaggerated as these that I make we will use four centimeters, of these we must cut two for the pars
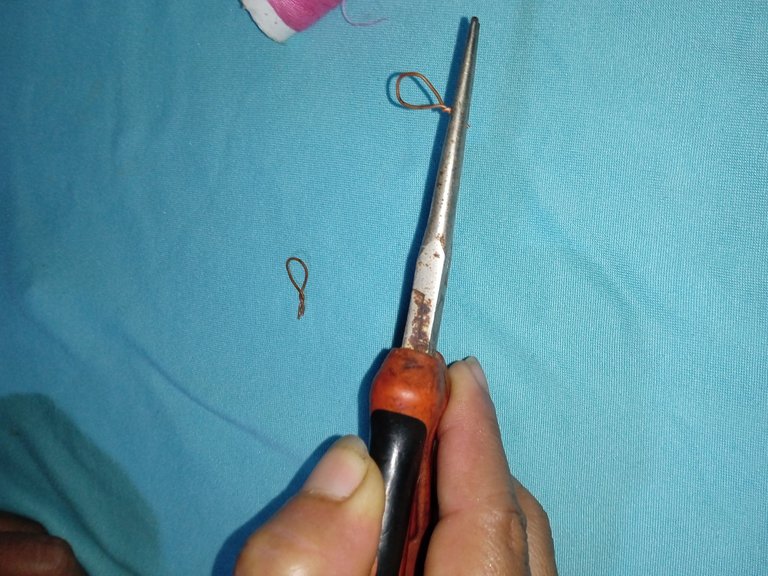
Segundo paso : Luego con la ayuda de nuestra pinza vamos a moldear nuestro alambre deq forma circular ya que necesitaremos son dos aros
Second step: Then with the help of our pliers we are going to shape our wire in a circular form since we will need two rings.
Tercer paso : A continuación vamos a tomar la parte de abajo de nuestro cepillo como apoyo y comenzaremos a enrollar en el nuestro hilo de coser , para tener cuenta clara y explicar bien mi post ,decidí contar las vueltas que considere necesarias para mis zarcillos , en total realice cincuenta vueltas , les cuento que fueron tantas por el material ,debido que el hilo es sumamente delgado y para que quede abundante flecos era necesario , si ustedes poseen en casa un hilo más grueso serían menos vueltas
Third step: Then we will take the bottom of our brush as a support and begin to wind our sewing thread on it, to have a clear account and explain my post well, I decided to count the turns I considered necessary for my tendrils, in total I made fifty turns, I tell you that they were so many because of the material, because the thread is extremely thin and to be abundant bangs was necessary, if you have at home a thicker thread would be fewer turns.
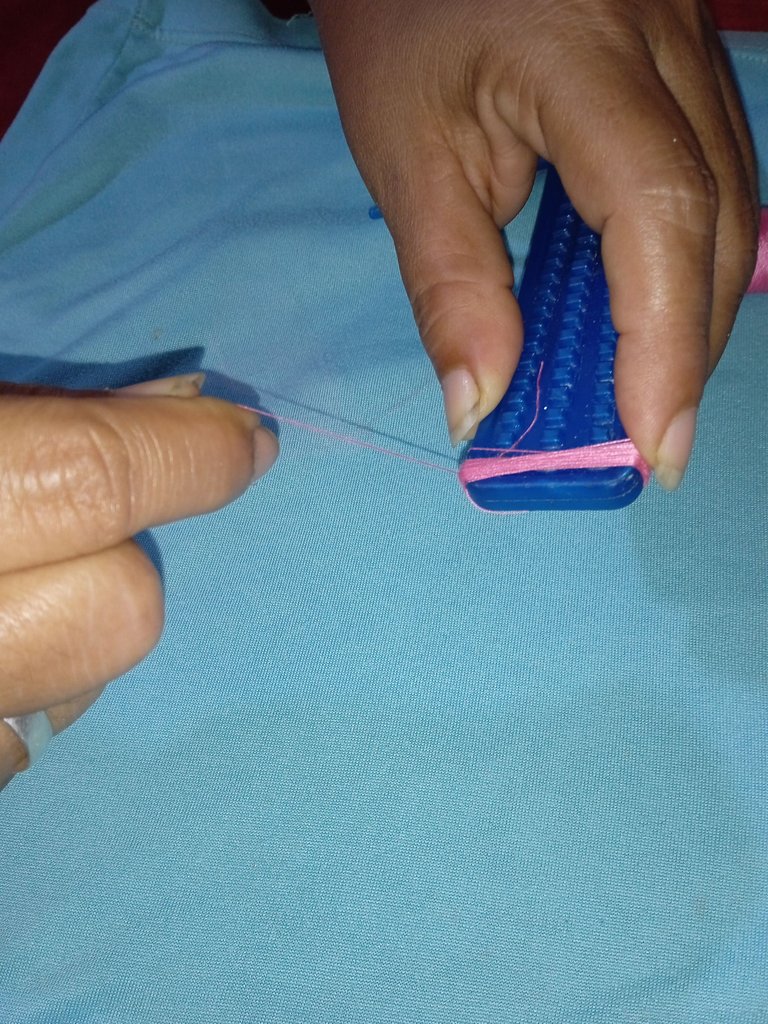
Cuarto paso : Luego que di la cantidad de vueltas y el hilo se veía voluminoso procedí a sacar lo de la base con mucho cuidado , para realizar nuestros flecos tomé los aros de alambre , lo introduje y presione dando dos vueltas ,de esta manera obtendría nuestros lindos flecos de hilo
Fourth step: After I made the number of turns and the thread looked bulky, I proceeded to remove it from the base very carefully, to make our bangs I took the wire rings, I introduced it and pressed it giving two turns, in this way I would get our beautiful thread bangs.
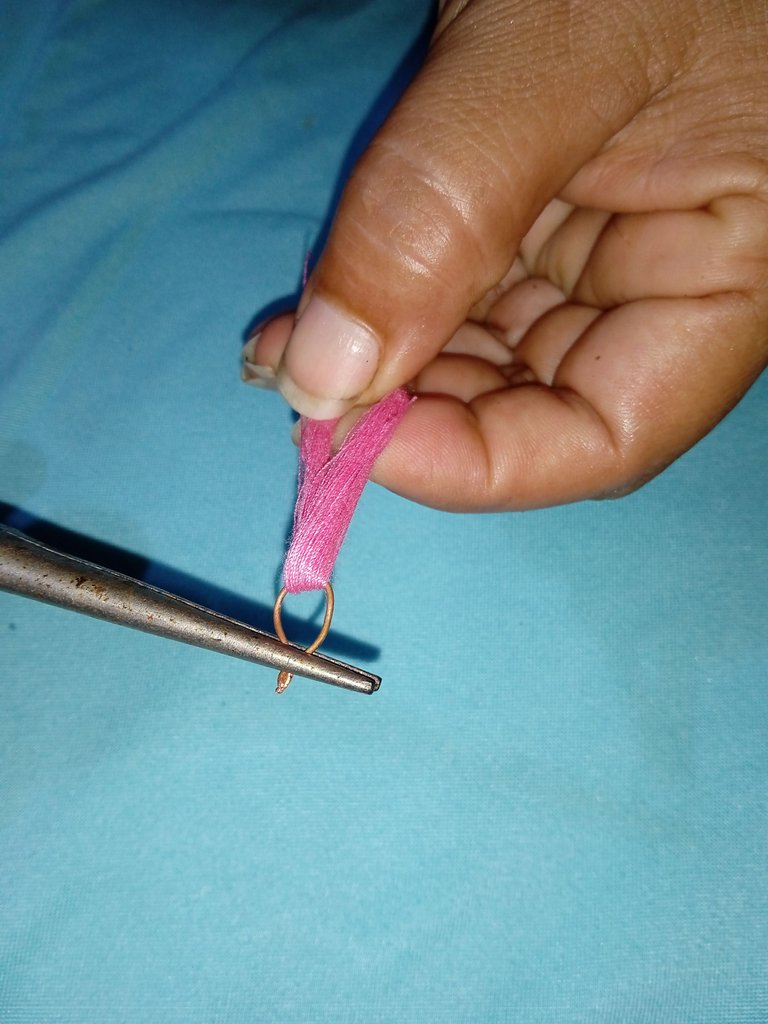
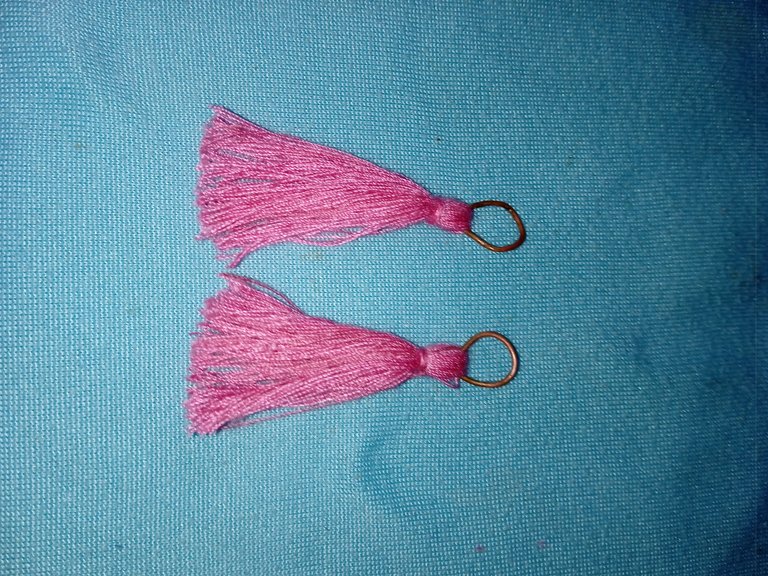
Quinto paso : En este siguiente paso continúe tomando botón redondo torno perlado , añadí silicon en tres puntos semi separados y forme unos tres arcos o forma de pétalos para que tenga un diseño más llamativo y menos simple ,si delicado y sencillo pero hermoso
Fifth step: In this next step continue taking round pearl lathe button, I added silicon in three semi separated points and formed three arches or petals shape to have a more striking and less simple design, if delicate and simple but beautiful.
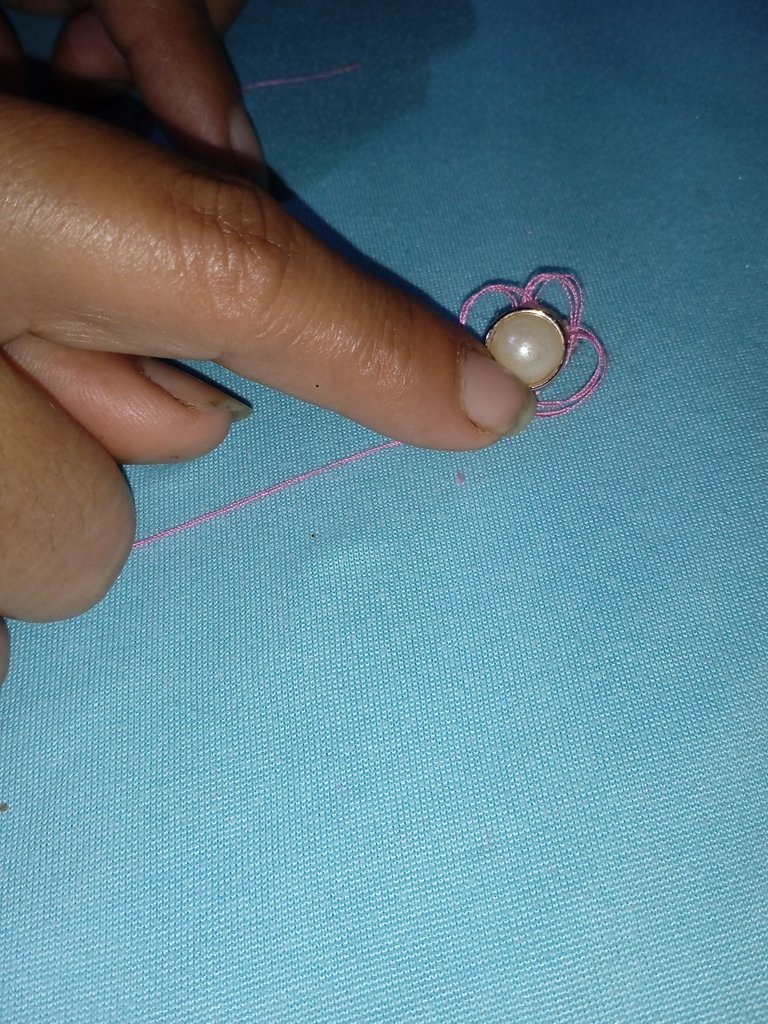
Sexto paso : como en la parte de atrás de nuestro botón hay un agujero continúe introduciendo el hilo y amarrando lo junto con el aro de alambre, además de ese paso para asegurar el proceso añadí silicon para sellar de forma más segura ahí justo donde realice los nudo con el hilo
Sixth step: as in the back of our button there is a hole continue introducing the thread and tying it together with the wire ring, in addition to this step to ensure the process I added silicone to seal more securely there just where I made the knot with the thread
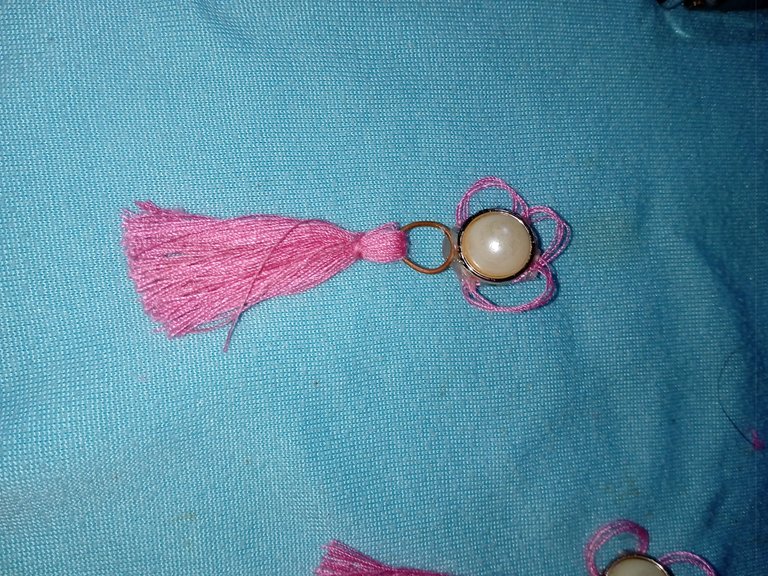
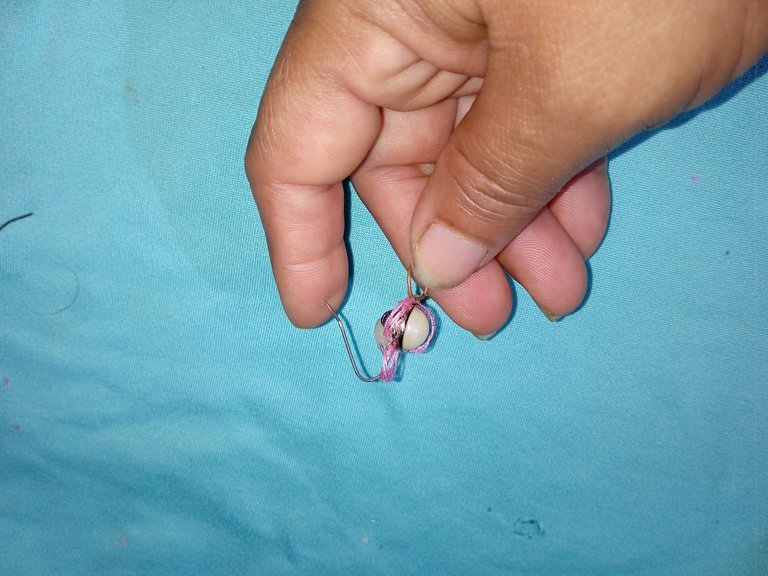
Séptimo paso : en este siguiente paso tomaremos el aro de nuestro zarcillo y comenzaremos a adaptarlo en la parte de arriba de nuestros zarcillos para poder lucirlo
Seventh step: in this next step we will take the hoop of our tendril and begin to adapt it to the top of our tendrils to be able to show it off
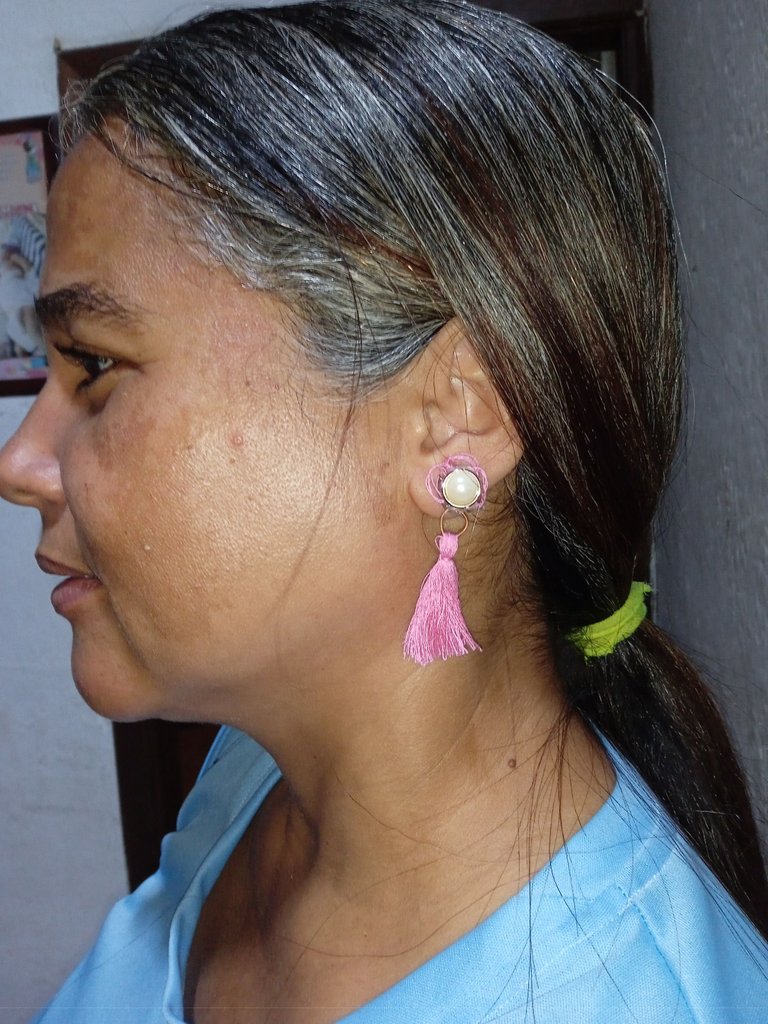
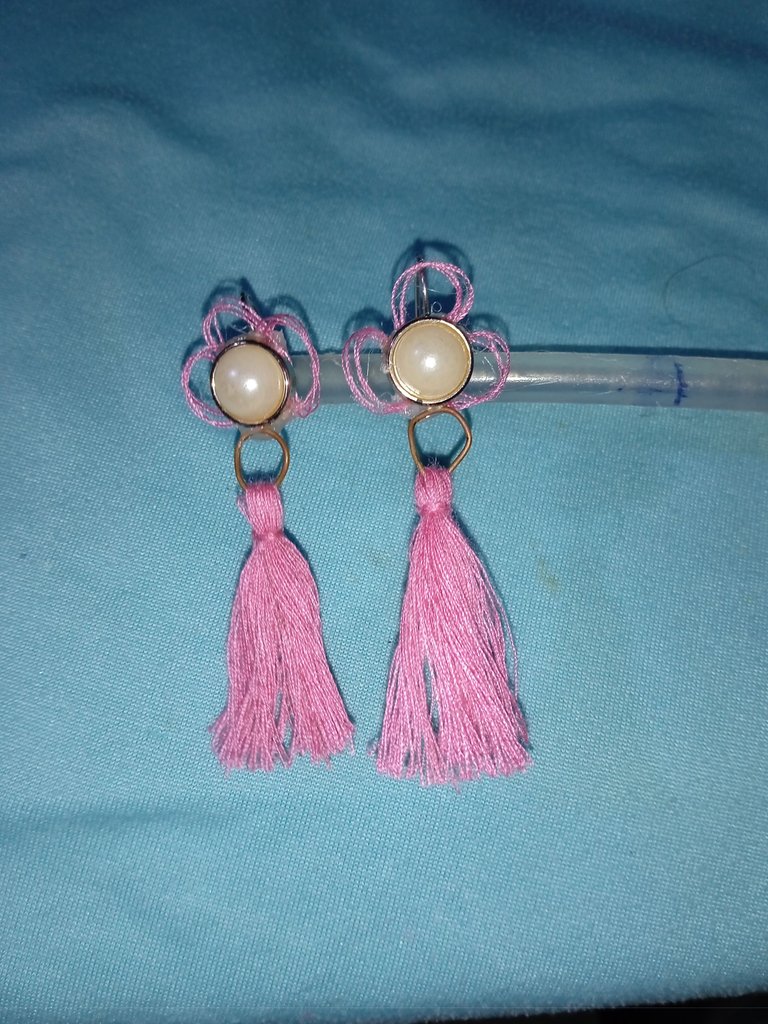
Resultado final : este es el resultado de mis zarcillos de hilo,excelentes para lucir en una noche o tarde casual no son extravagantes ,además color rosa la nueva tendencia Barbie y lo mejor de todo a un costo económico dónde podemos conseguir estos materiales dentro de nuestro hogar queridos amigos ,creando en todo momento dando lo mejor de nosotros , les invito que lo realicen y nos cuenten que tal les fue y como les quedó, que pasen una bella noche ,que Dios les bendiga a todos ,los aprecio mucho
Final result: this is the result of my tendrils of thread, excellent to wear on a night or casual evening are not extravagant, plus pink color the new trend Barbie and best of all at an affordable cost where we can get these materials within our home dear friends, creating at all times giving the best of us, I invite you to make it and tell us how it was and how it was, have a beautiful night, God bless you all, I appreciate you very much.
Me encantan las borlas le quedaron lindos.
Gracias amiga ,dios te bendiga
Son bellos y fácil su elaboración.
Así es amiga y abajo costo