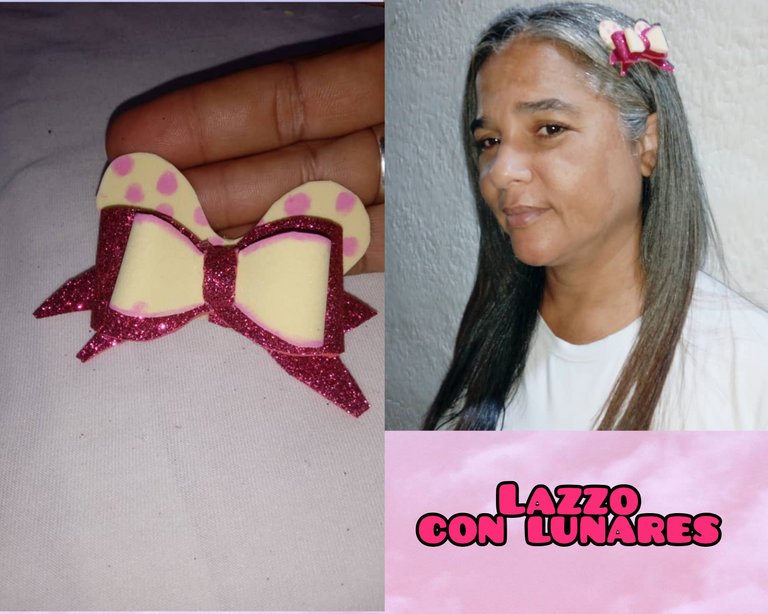
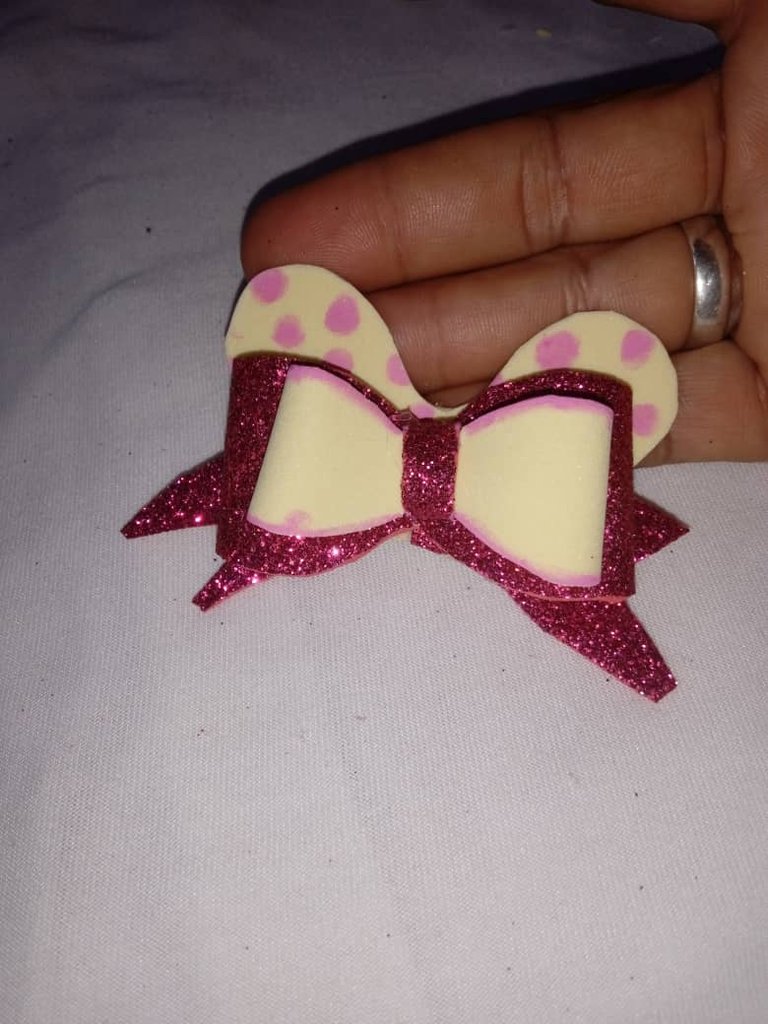
Feliz noche , Dios les bendiga, abrazos desde la distancia, de corazón que se encuentren bien, sanos que es lo más importante, aprovecho el momento que tengo de descanso para mostrarles un lazo de foamis con lunares, realizado por mi persona, con amor para una nieta , el tutorial es breve lo cuál permitirá aprender rápido
Happy evening, God bless you, hugs from afar, from my heart that you are well, healthy which is the most important thing, I take advantage of the time I have to rest to show you a foamis bow with polka dots, made by me, with love for a granddaughter, the tutorial is brief which will allow you to learn quickly.
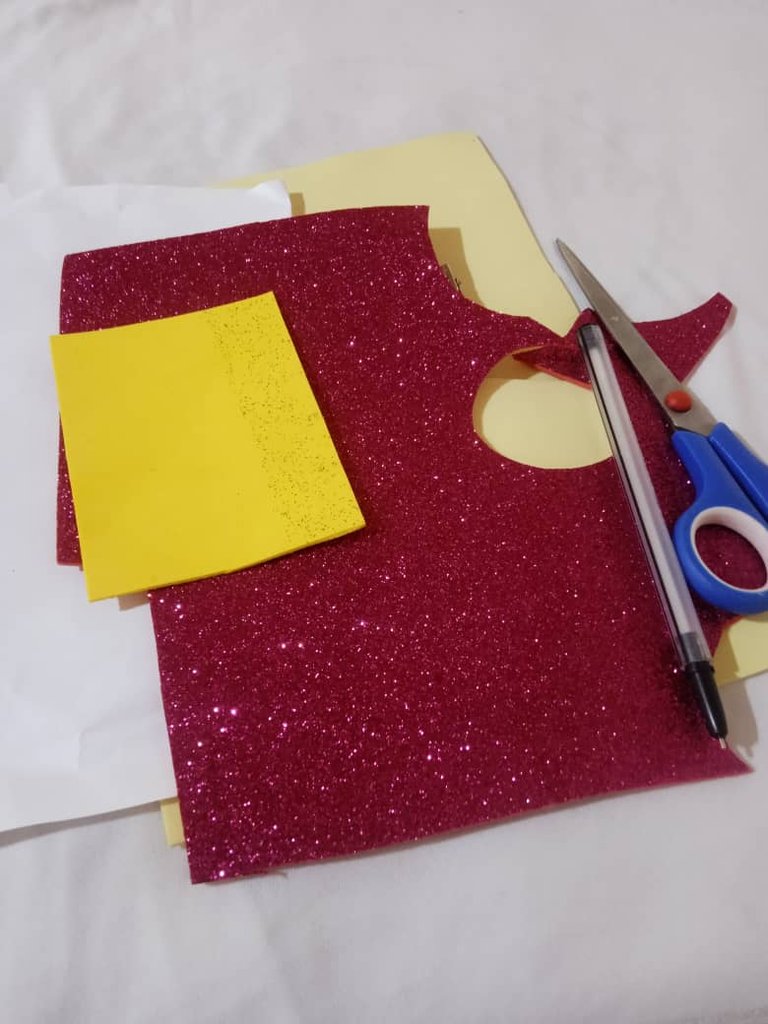
Materiales:
-Foamis
-Tijera
-Silicon
-Lapiz
Materials:
-Foamis
-Scissors
-Silicon
-Pencil
Pasos pasos :
Paso número 1: en el primer paso vamos a comenzar recortando una tira de foamis escarchada o el color que le guste más o dependiendo con que lo va a combinar, recortaremos la tira y le haremos un molde medio redondo ,bajando hacia el centro,para hacer la forma del lazo
Steps :
Step number 1: in the first step we will start by cutting a strip of foamis frosted or the color you like more or depending on what you are going to combine it with, we will cut the strip and we will make a half round mold, going down towards the center, to make the shape of the bow.
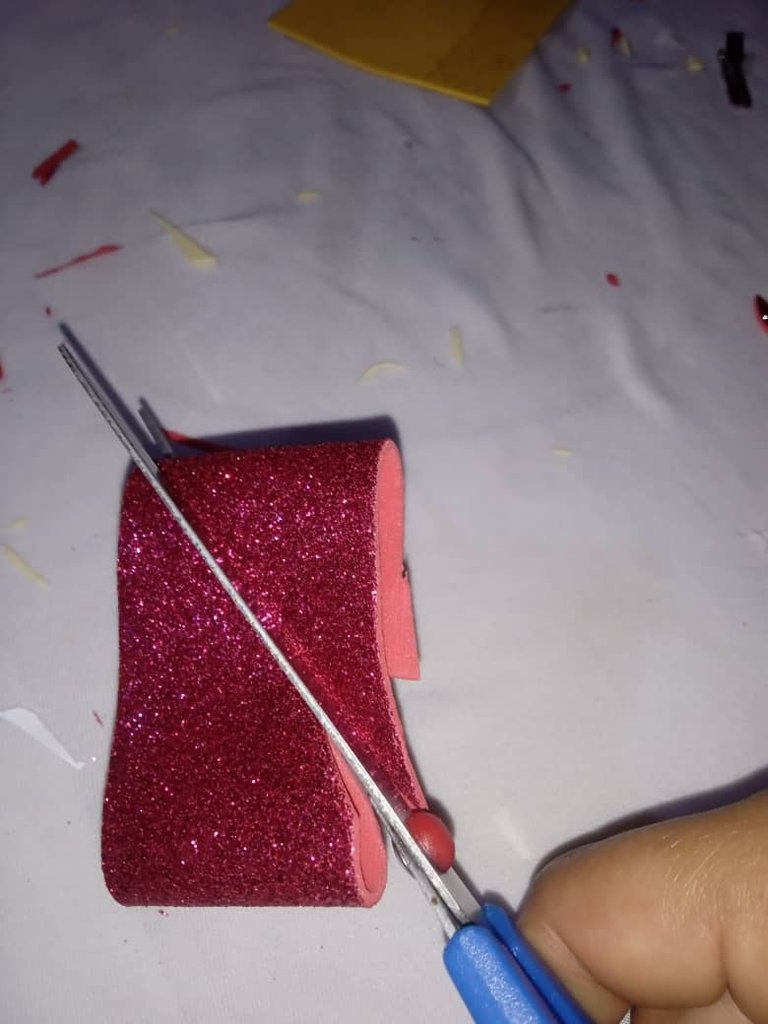
Paso número 2: tomaremos borde con borde en este segundo paso , continuamos pegando los bordes hacia la parte de atrás , para que quede un lazo bien formado
Step number 2: we will take edge to edge in this second step, we continue gluing the edges towards the back, so that it is a well formed bow.
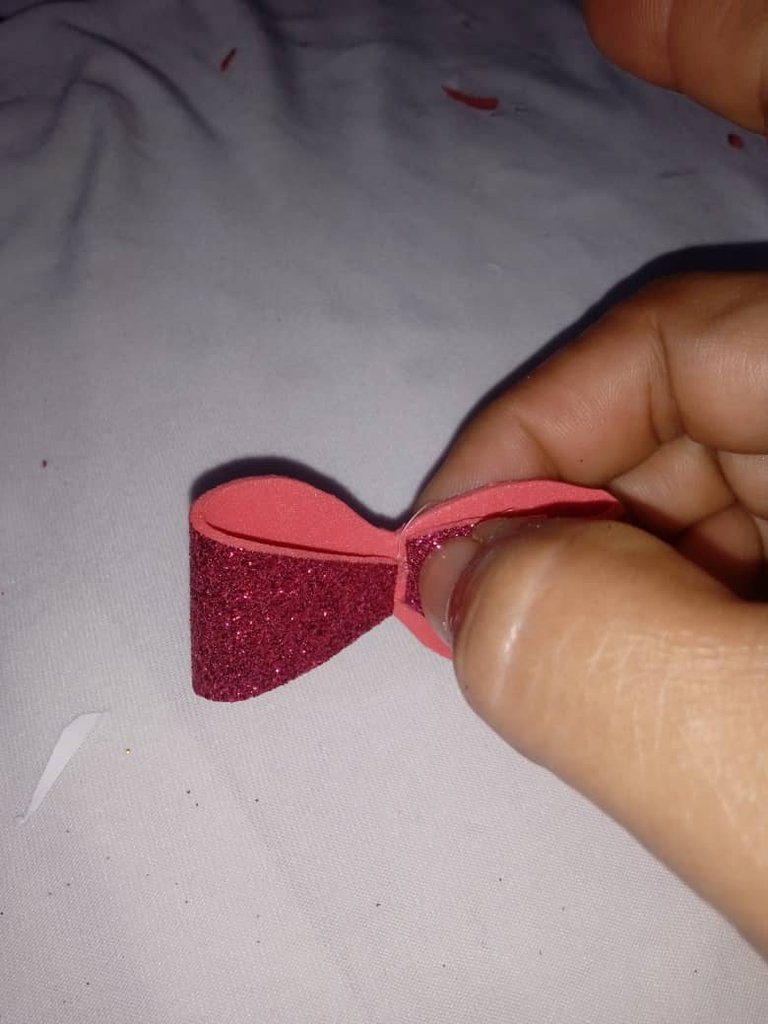
Paso número 3: en este tercer paso , vamos a recortar dos piezas adicionales, una tendrá forma de orejas en la parte de arriba , la otra será un lazo al igual que el que hicimos en el paso anterior, pero de diferente tamaño y como observarán del mismo color que la base de las orejas
Step number 3: in this third step, we will cut out two additional pieces, one will have the shape of ears at the top, the other will be a loop like the one we did in the previous step, but of different size and as you can see the same color as the base of the ears.
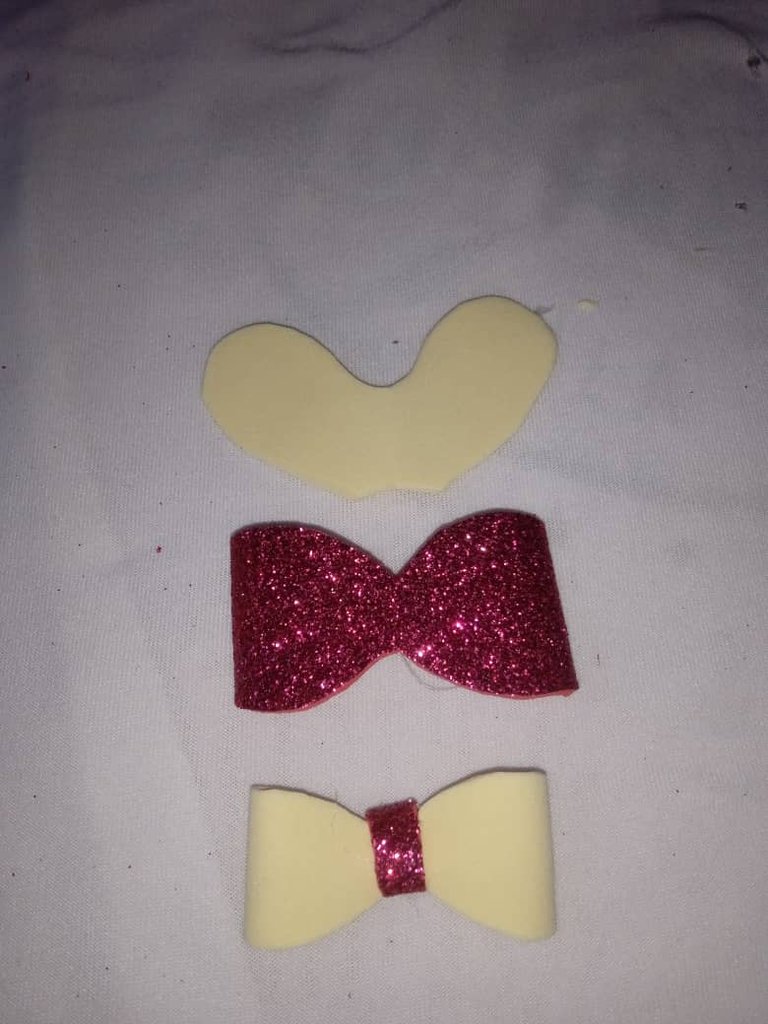
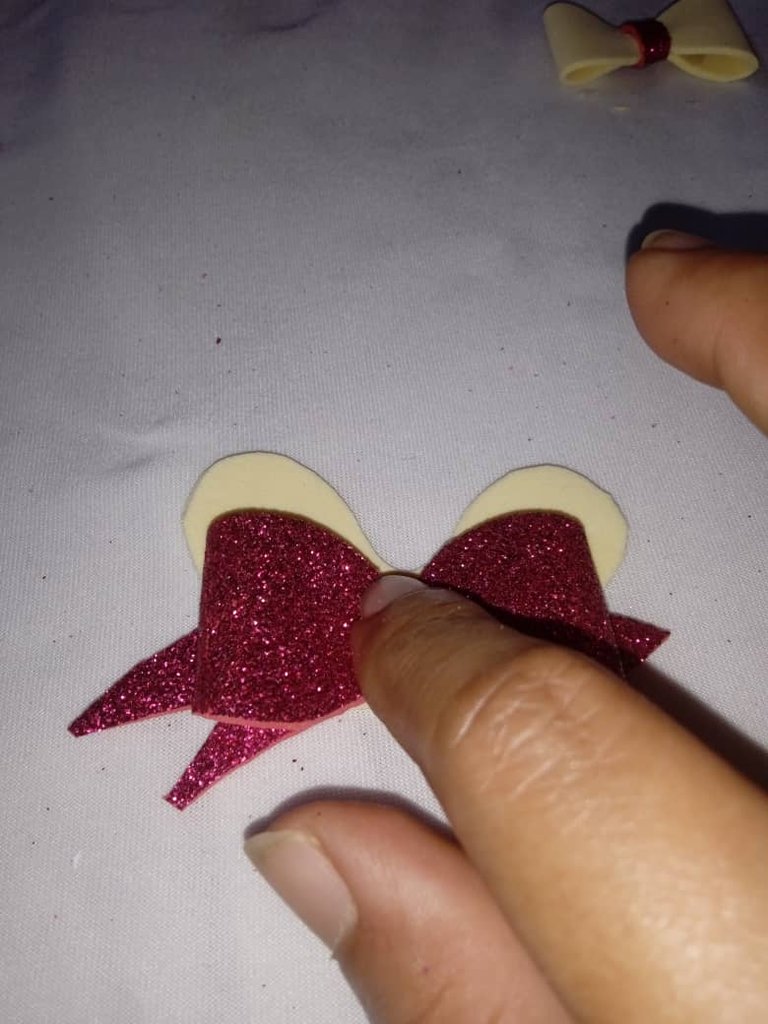
Paso número 4: en este cuarto paso vamos a pegar y formar el lazo , pegaremos a las orejas el lazo en la parte de arriba como observarán
Step number 4: in this fourth step we are going to glue and form the ribbon, we will glue the ribbon to the ears at the top as you will see.
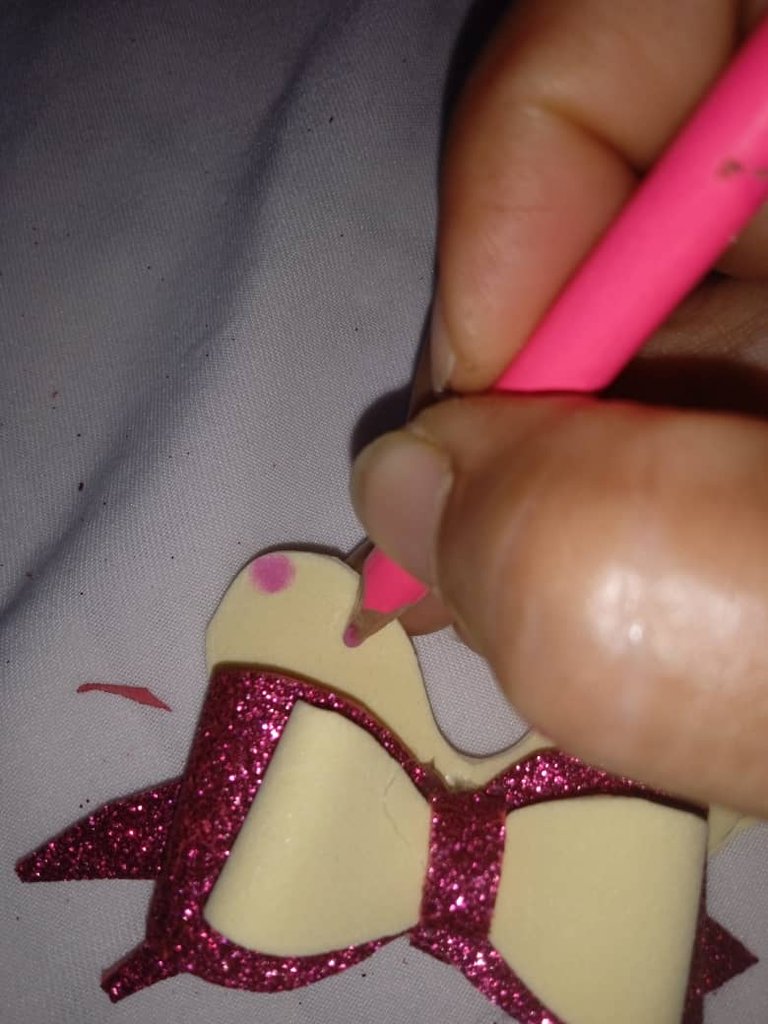
Paso número 5: para culminar con el lazo vamos a continuar en este quinto paso tomando el lápiz color rosa y le realizaremos unos lunares a la parte de arriba de las orejas , de forma separada , para que queden alrededor
Step number 5: to finish with the bow we will continue in this fifth step taking the pink pencil and we will make some polka dots on the top of the ears, separately, so that they are around the ears.
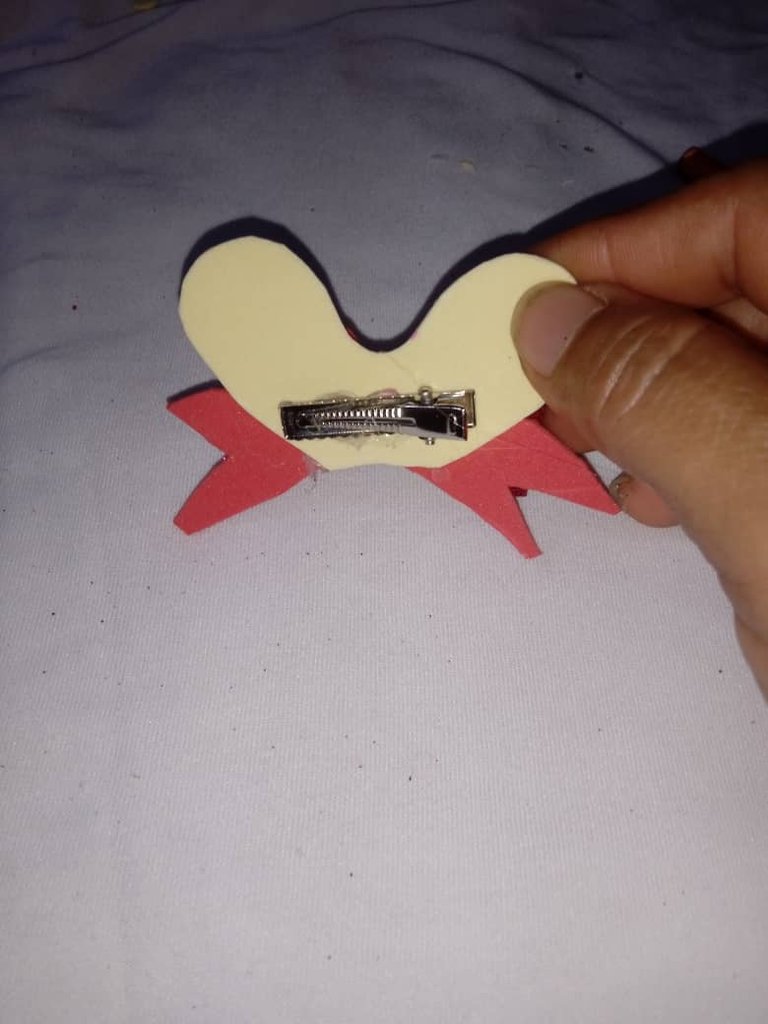
Paso número 6: una vez que se encuentre listo el lazo en este sexto y último paso , vamos a continuar tomando la pinza y la pegaremos en la parte de tras terminando nuestro cintillo
Step number 6: once the bow is ready in this sixth and last step, we will continue taking the clip and we will glue it on the back part finishing our headband.
Así fue cómo fabrique mi lindo lazo de foamis orejas de lunares, gracias por prestarme su atención, hasta la próxima, bendecida noche , que la pasen bien
Lazo de foamis orejas de lunares
This is how I made my cute foamis bow with polka dots ears, thank you for your attention, until next time, blessed night, have a good time.
Lovely
Your bow is so beautiful, see it sitting so pretty on your hair. Your granddaughter would be more than happy to get this lovely bow from her grandma as a gift. As you mention the steps are super easy, just anyone can go through the steps and make their own bow with ease. We love it and we are proud of your work, thanks for sharing, and have a great day dearest Lady😊