<
Saluditos Artistas Creativos de las Manualidades y la Joyería, como es de mi costumbre les deseo las mejores bendiciones, muchísima salud, prosperidad, y grandes éxitos para todos, hoy es el comienzo del último fin de semana del mes de enero pues el próximo fin ya estaremos en febrero, mes de veintiocho días este año ya que para otro año en que febrero tenga 29 días será en el dos mil veintiocho.
Bueno y las festividades para festejar a Momo están a la vuelta de la esquina, ya gritos de carnaval, elaboración de carrozas, comparsas, disfraces, elección de reinas, están en pleno apogeo, los timbales suenan alegremente y ya una que otra negrita suelta su conocida frase de: "A que no me conoces" 🤣🤣.
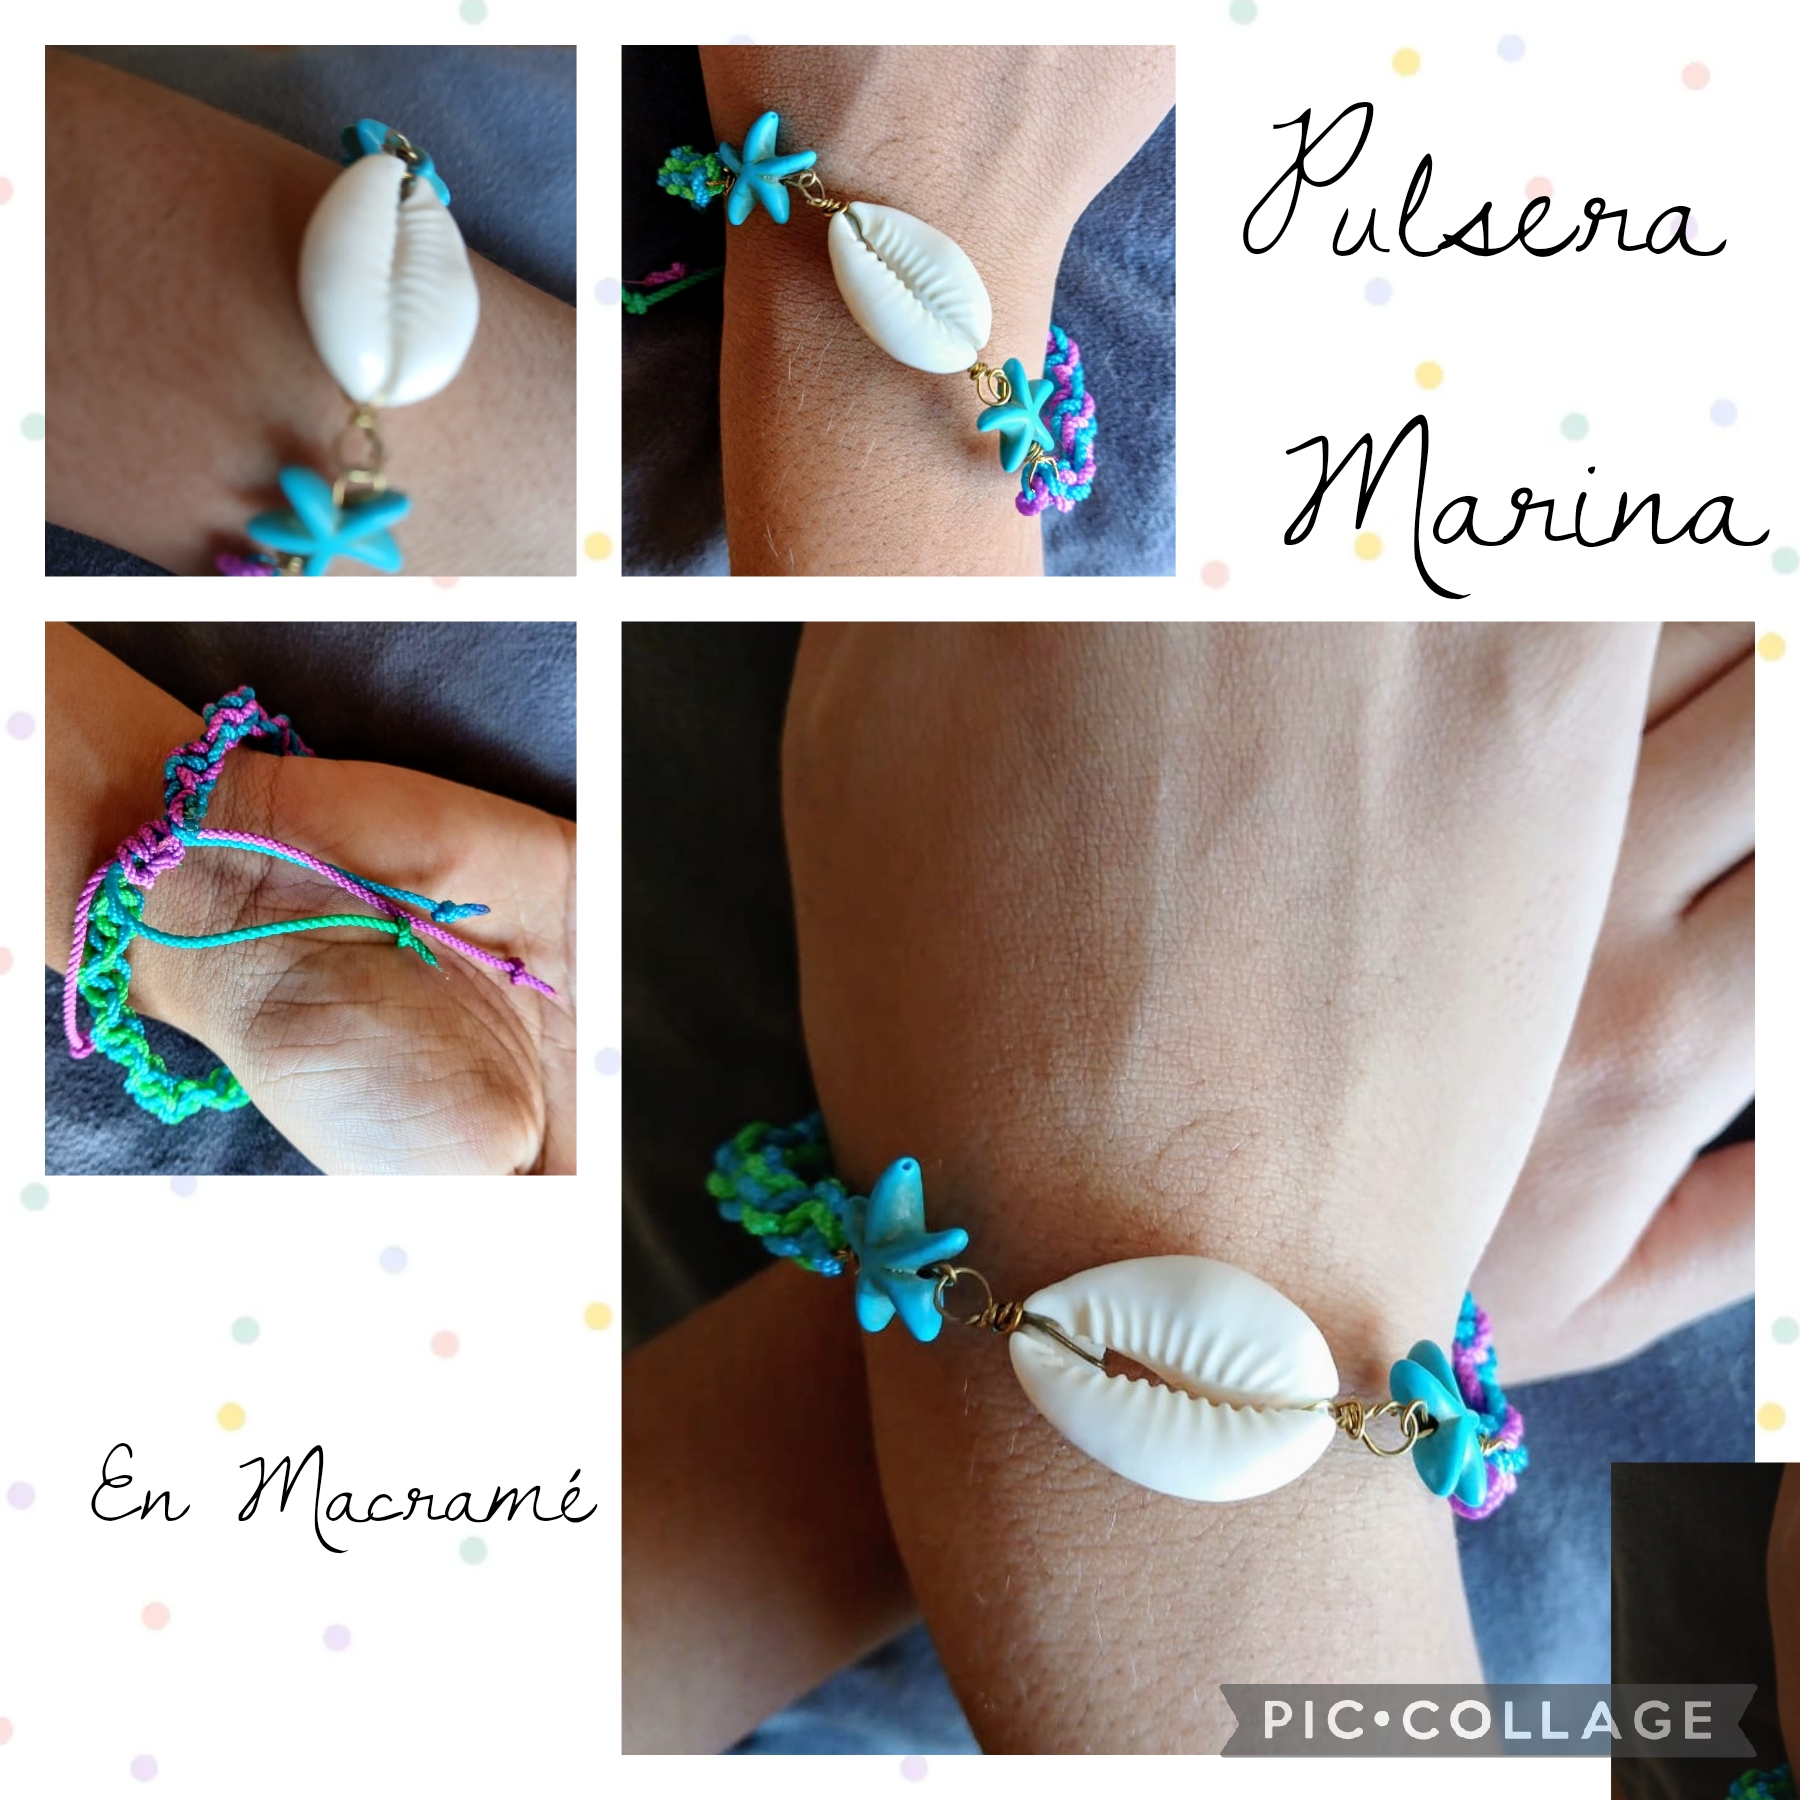
Yo, como todos los años ya tengo listo mi tarantin en la playa para deleitarme recibiendo a los turistas que todos los años nos visitan y ofrecerles la variedad de accesorios que de acuerdo a la fecha elaboro para mis visitantes; gran parte de mi Stand siempre es la Joyería ya que los collares, pulseras, anillos, cintillos, carteras, etc., son los más solicitados; los trabajos de conchas marinas y nudos de cordones mientras más artesanales son tienen preferencia. Hoy les voy a compartir como realicé con conchas marinas y unas sintéticas estrellitas de mar apoyadas en un Nudo Espiral de la técnica macramé una delicada Pulsera que puede ser usada en distintas y especiales ocasiones .
Sigan leyendo el paso a paso para que vean cómo la hice.
Greetings Creative Artists of Crafts and Jewelry, as is my custom I wish you the best blessings, lots of health, prosperity, and great success for all, today is the beginning of the last weekend of the month of January because next weekend we will be in February, a month of twenty-eight days this year since for another year in which February has 29 days it will be in two thousand twenty-eight.
Well, the festivities to celebrate Momo are just around the corner, already shouts of carnival, making of floats, troupes, costumes, election of queens, are in full swing, the kettledrums are sounding happily and already one or another black girl lets out her well-known phrase: "I bet you don't know me" 🤣🤣.
I, like every year, already have my tarantin ready on the beach to delight myself by receiving the tourists who visit us every year and offer them the variety of accessories that I make for my visitors according to the date; A large part of my stand is always jewelry, since necklaces, bracelets, rings, headbands, purses, etc., are the most requested; the more artisanal the seashells and cord knots are, the more preferred. Today I am going to share with you how I made a delicate bracelet with seashells and some synthetic starfish supported by a spiral knot using the macramé technique. It can be used on different and special occasions.
Keep reading the step by step to see how I made it.
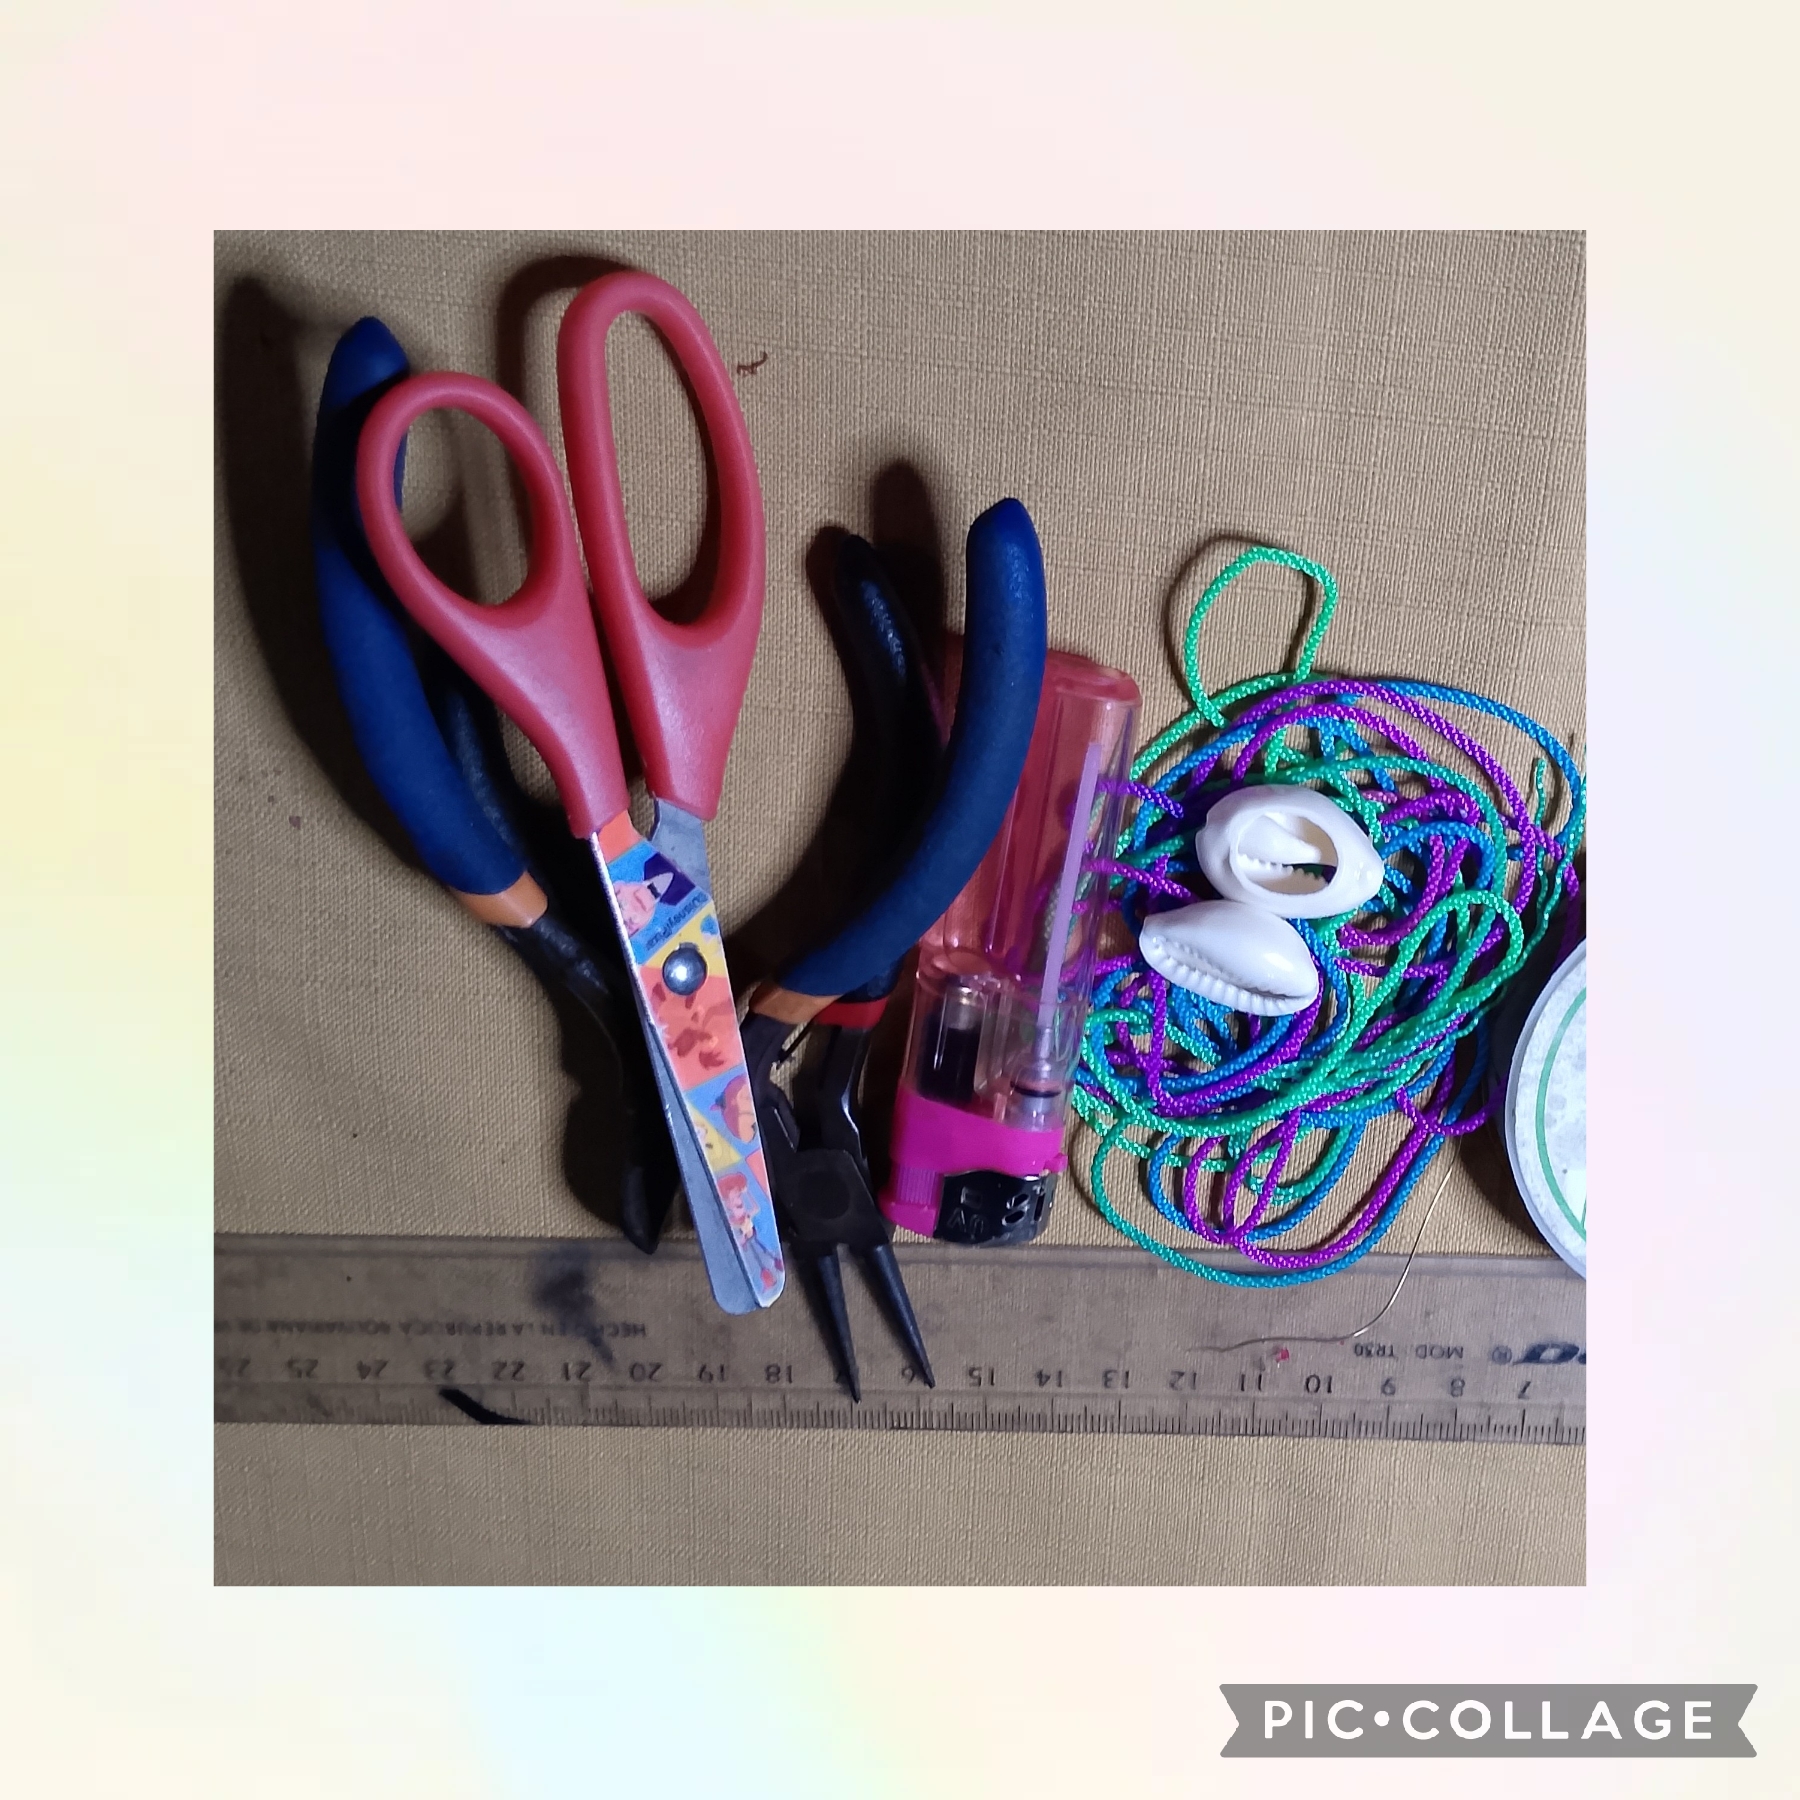
MATERIALES USADOS EN SU ELABORACIÓN:
✓ Dos estrellitas de mar, color azul
turquesa.
✓ Una concha perlada de caracol.
✓ Dos metros de cordón multicolor.
✓ Alambre de cinco milímetros.
✓ Encendedor.
✓ Regla.
✓ Pinzas.
✓ Tijeras.
MATERIALS USED IN ITS PREPARATION:
✓ Two turquoise blue starfish.
✓ A pearly snail shell.
✓ Two meters of multi-colored cord.
✓ Five-millimeter wire.
✓ Lighter.
✓ Ruler.
✓ Tweezers.
✓ Scissors.
USE ESTOS PASOS SENCILLOS PARA ELABORAR LA PULSERA MARINA.
PRIMER PASO:
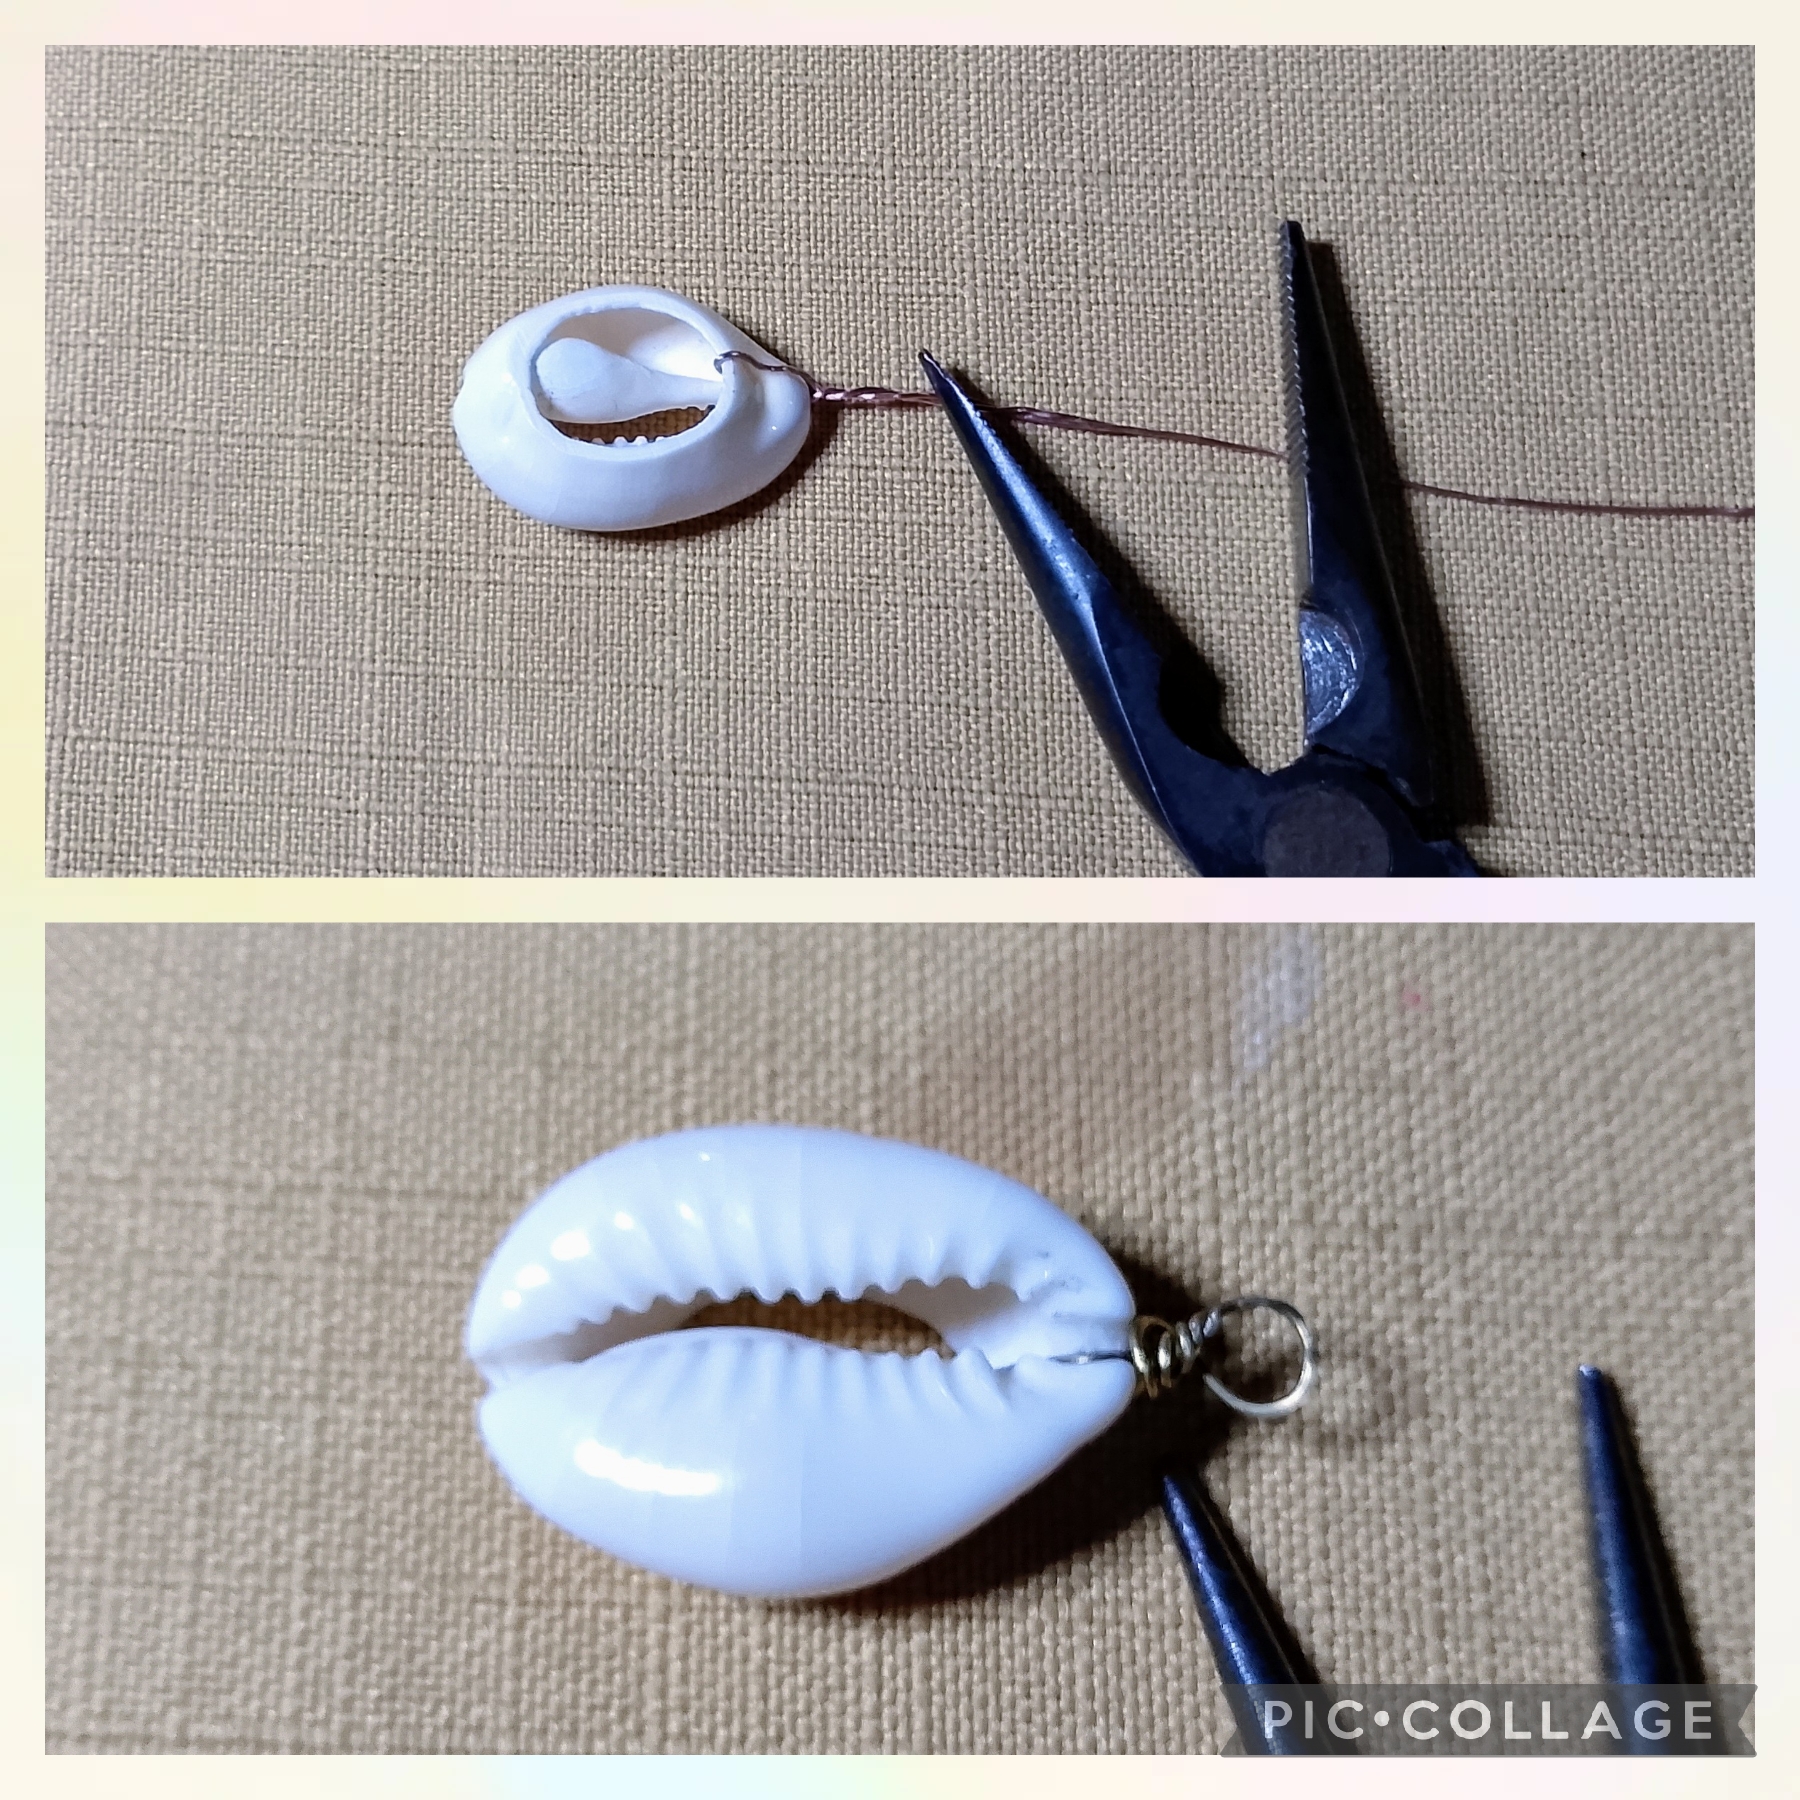
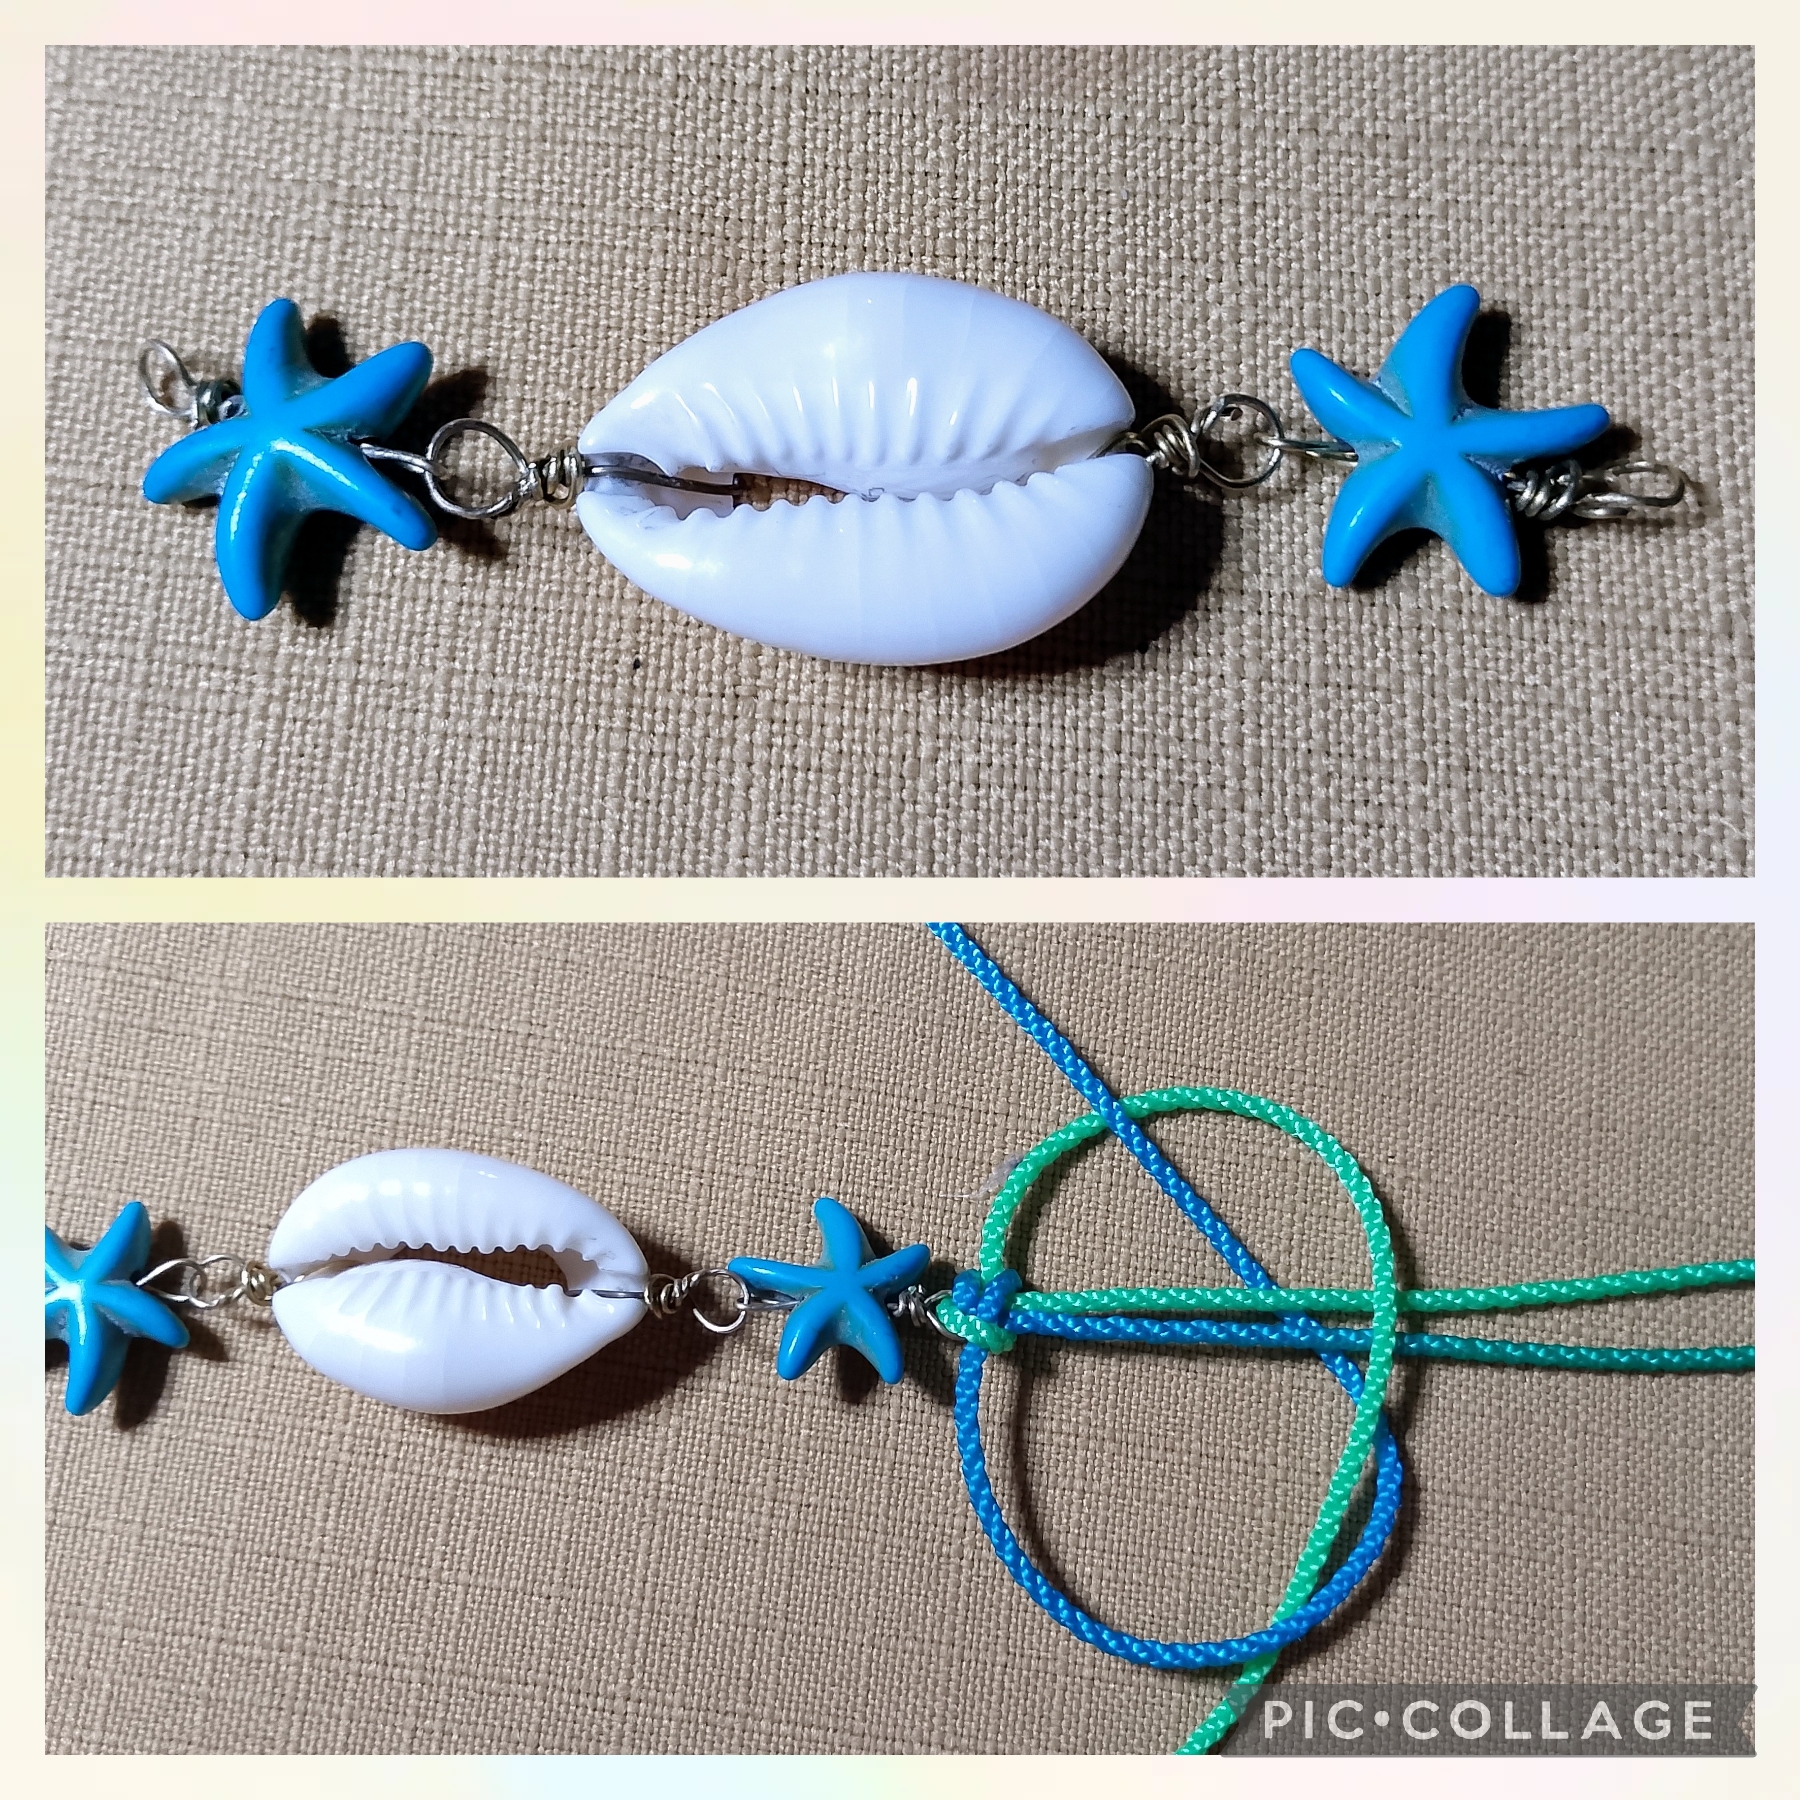
Comienzo usando la regla para medir cinco centímetros de alambre para bisutería que corto con la pinza, lo introduzco por la abertura de la concha en uno de los extremos, uso la pinza de punta redonda y realizo una argolla, igual procedimiento uso en el otro extremo y tengo este resultado.
USE THESE SIMPLE STEPS TO MAKE THE MARINE BRACELET.
FIRST STEP:
I start by using the ruler to measure five centimeters of jewelry wire that I cut with the pliers, I insert it through the opening of the shell at one end, I use the round-tipped pliers and make a ring, I use the same procedure at the other end and I have this result.
SEGUNDO PASO:
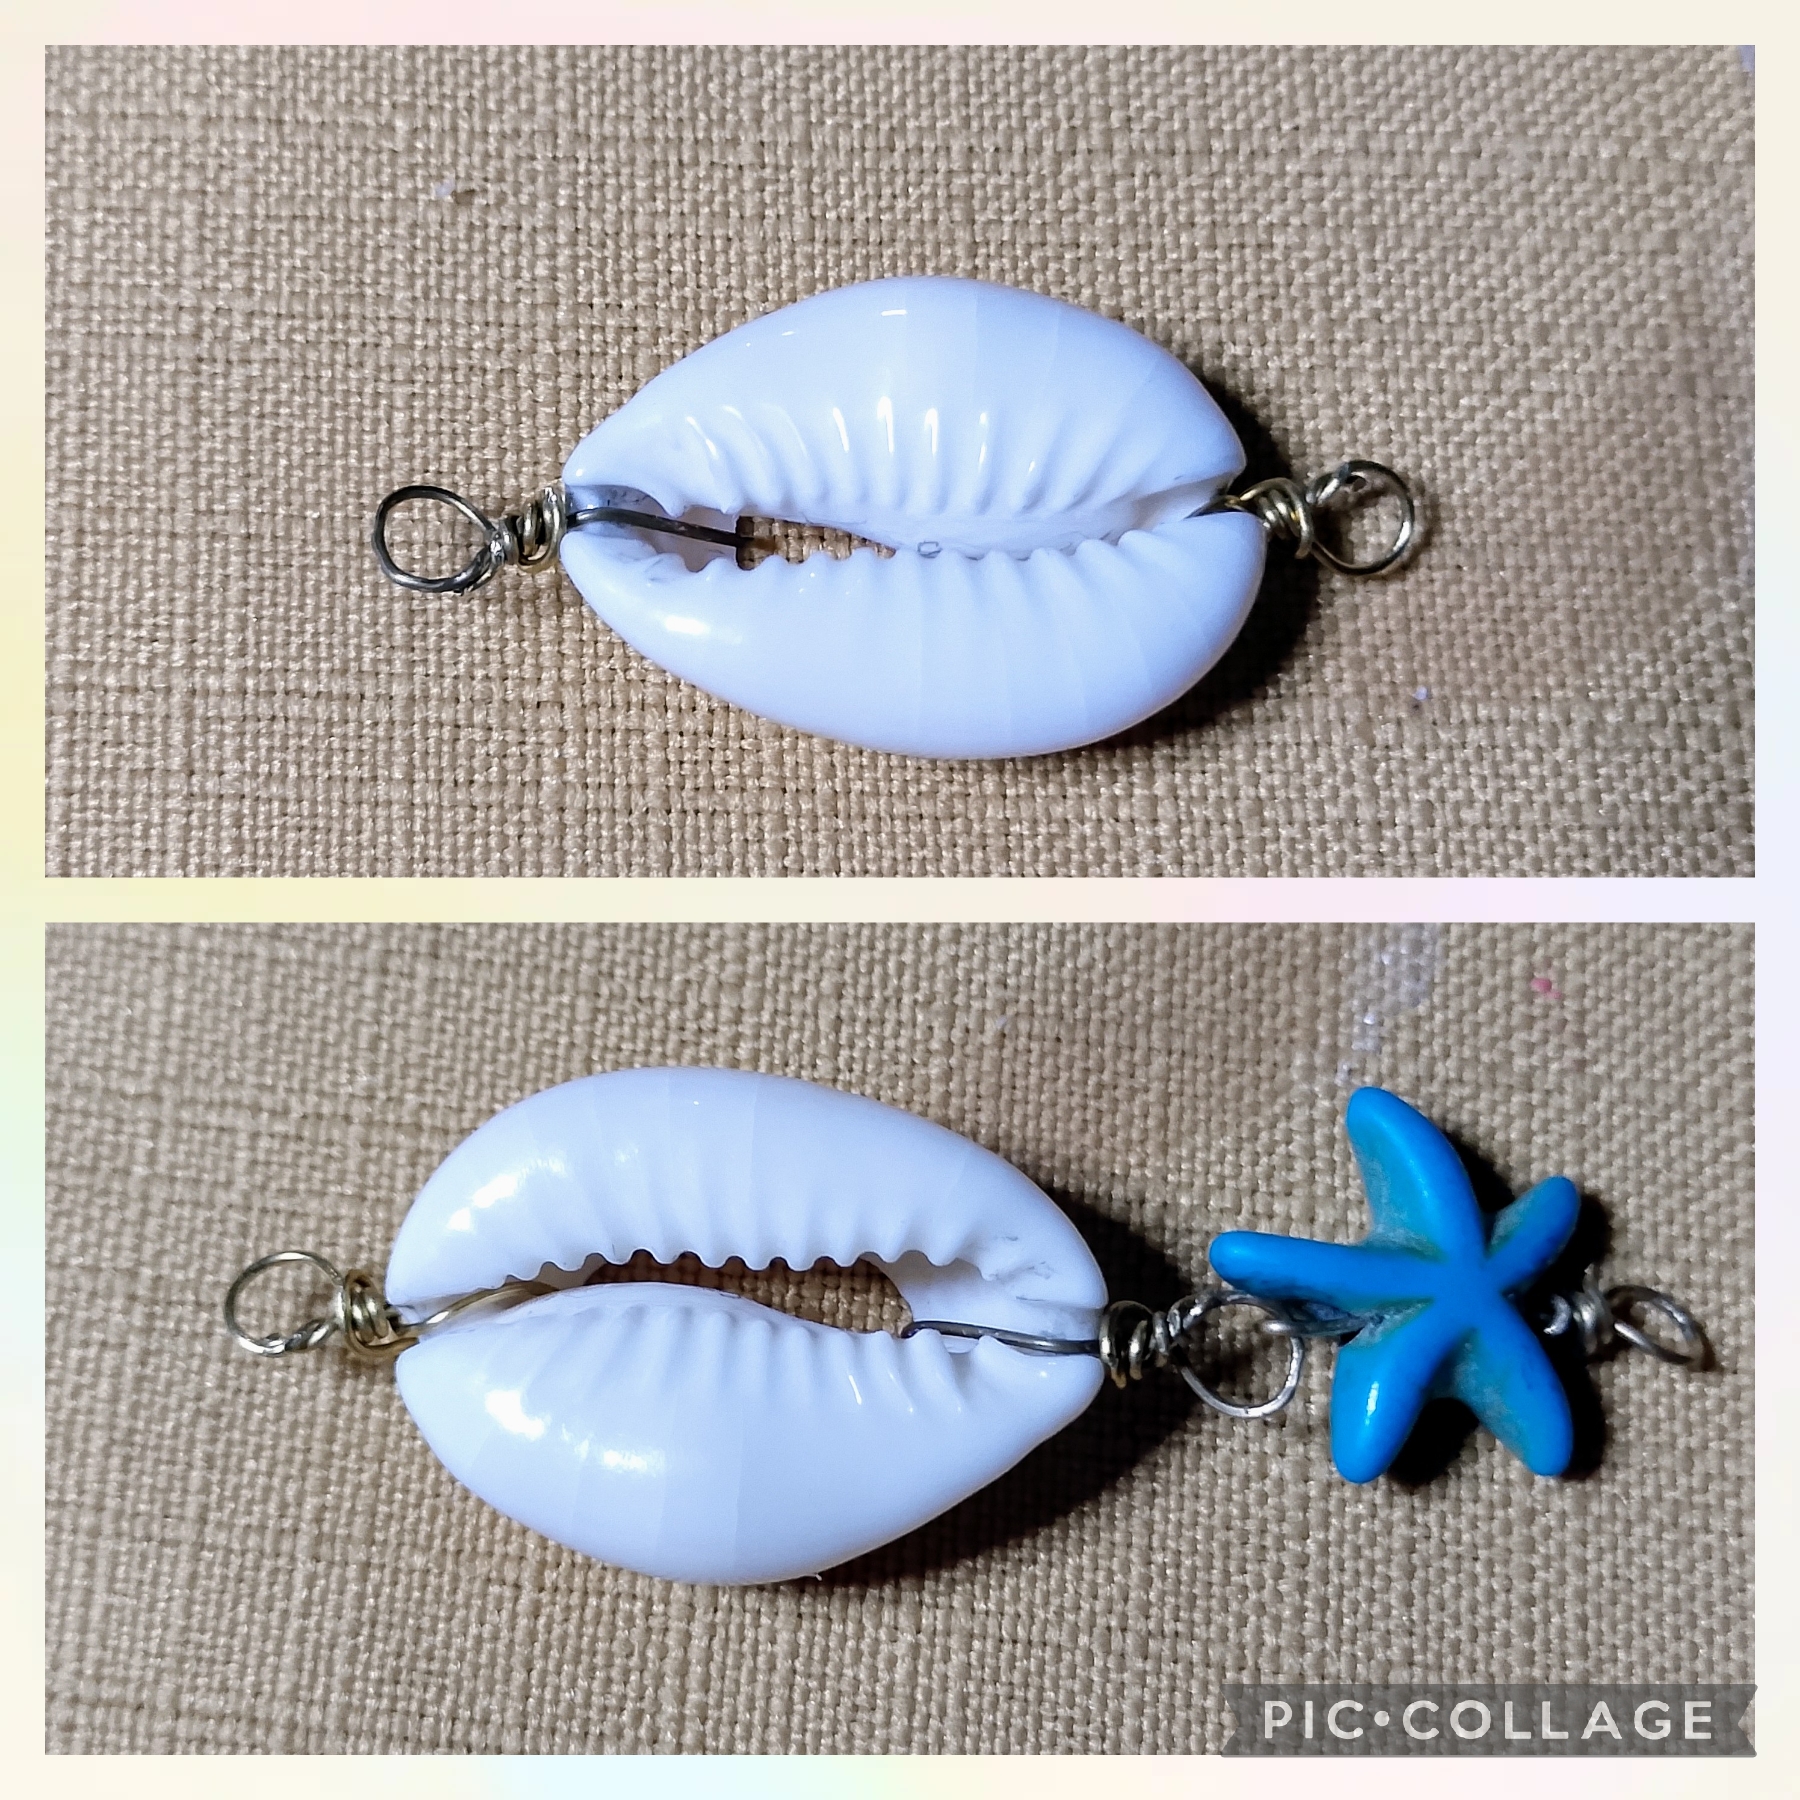
Una vez listas las argollas en la concha, tomo de nuevo la regla y mido seis centímetros de alambre para bisutería, inserto una de las estrellitas de mar que ahora paso un extremo del alambre por la argolla de la concha y lo paso de nuevo por el orificio de la estrella halo formando un ojal para quedar engarzada con la concha, repito este proceso del otro lado y así queda.
SECOND STEP:
Once the rings are ready on the shell, I take the ruler again and measure six centimeters of jewelry wire, insert one of the starfish, and now I pass one end of the wire through the ring on the shell and pass it again through the hole in the starfish halo, forming an eyelet to be attached to the shell. I repeat this process on the other side and that's how it looks.
TERCER PASO:
Aquí en este paso una vez que tengo las estrellas una en cada extremo; voy a realizar el Nudo Espiral de macramé, este nudo se realiza igual que el nudo plano, pero se trabaja de un solo lado lo que hace que se enrolle y forme el espiral.
Corto de los dos metros del cordón multicolor una medida de veinticuatro centímetros que doblo a la mitad y otra medida de ochenta centímetro que doblo también a la mitad, los cordones más cortos los coloco en el centro y los largos a los lados para tejer el nudo coloco el cordón del lado derecho encima de los cordones centrales haciendo una especie de P, luego paso el cordón de la izquierda por encima del cordón derecho y luego lo paso por debajo halo las dos puntas del cordón y asi realizo el Nudo.
THIRD STEP:
Here in this step once I have the stars, one at each end; I am going to make the macramé Spiral Knot. This knot is made the same as the flat knot, but it is worked on one side only, which makes it roll up and form the spiral.
From the two meters of multicolored cord, I cut a twenty-four centimeter length that I fold in half and another eighty centimeter length that I also fold in half. I place the shorter cords in the center and the longer ones on the sides. To weave the knot, I place the cord on the right side on top of the central cords making a kind of P, then I pass the cord on the left over the right cord and then I pass it underneath, I pull the two ends of the cord and thus I make the knot.
CUARTO PASO:
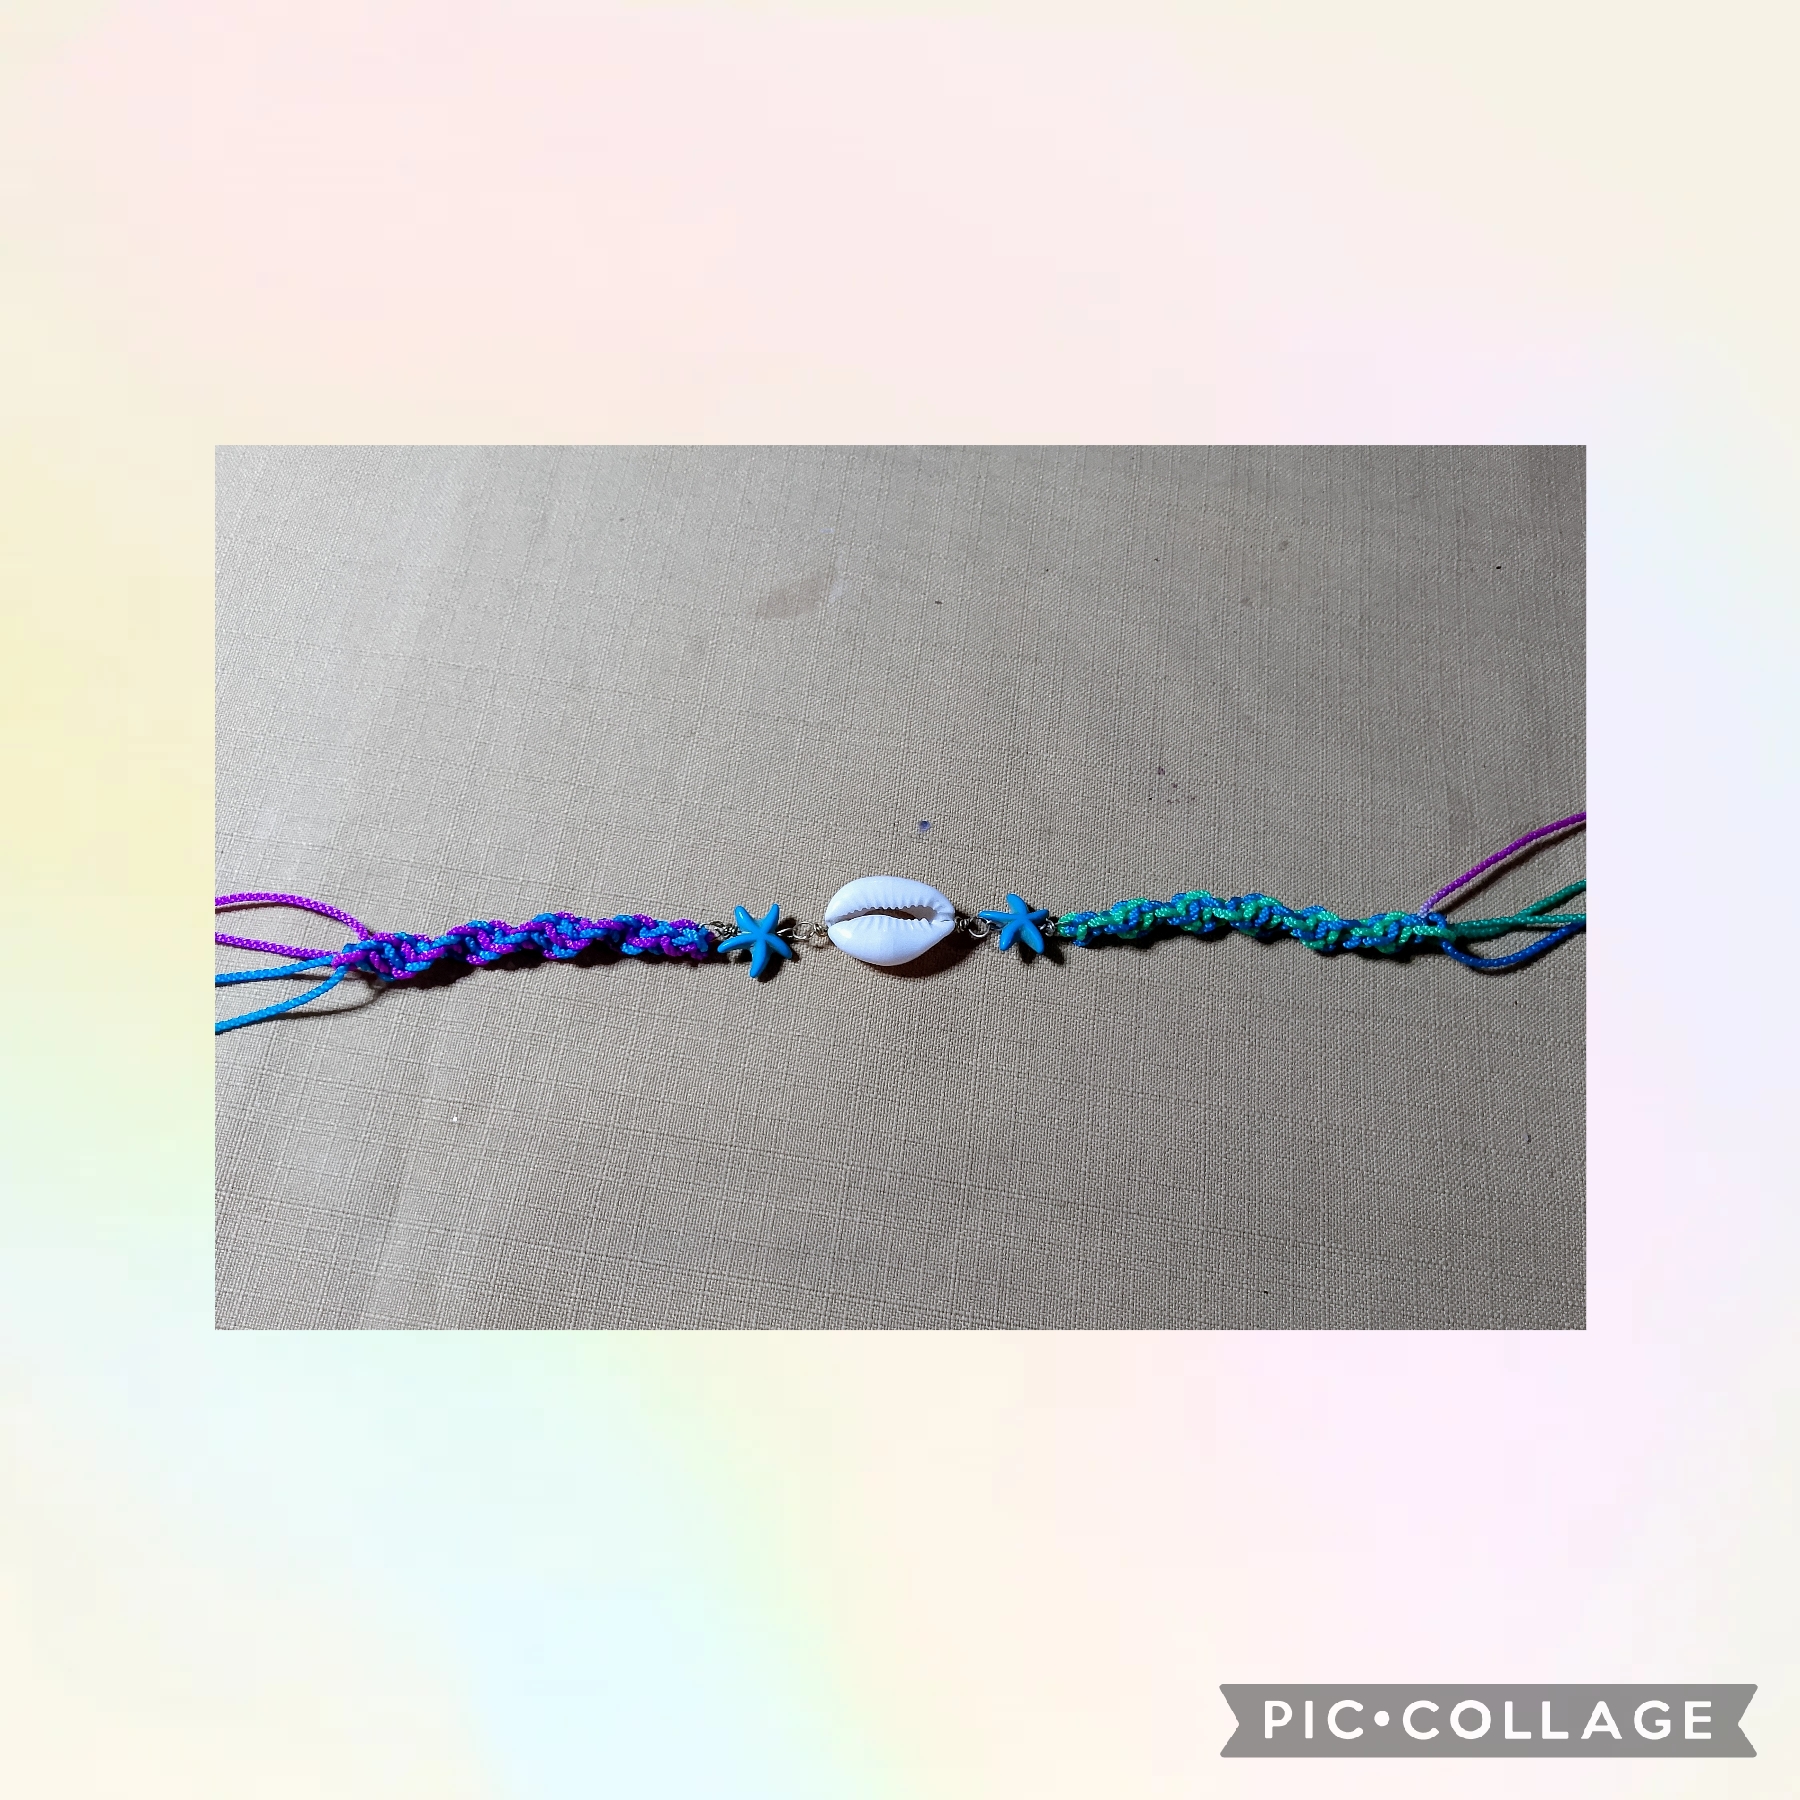
Ahora realizo el otro lado de igual forma y una vez que tengo el largo corto los cordones del centro y sello con el encendedor, ahora coloco los cuatro cordones dos encima de los otros dos en forma invertida y paso hacer tres nudos plano para el cierre, hago un nudo en cada una de las puntas y así queda.
STEP FOUR:
Now I do the other side in the same way and once I have the short length, I cut the center cords and seal them with the lighter. Now I place the four cords, two on top of the other two, inverted, and I tie three flat knots to close it. I tie a knot at each of the ends and that's how it looks.
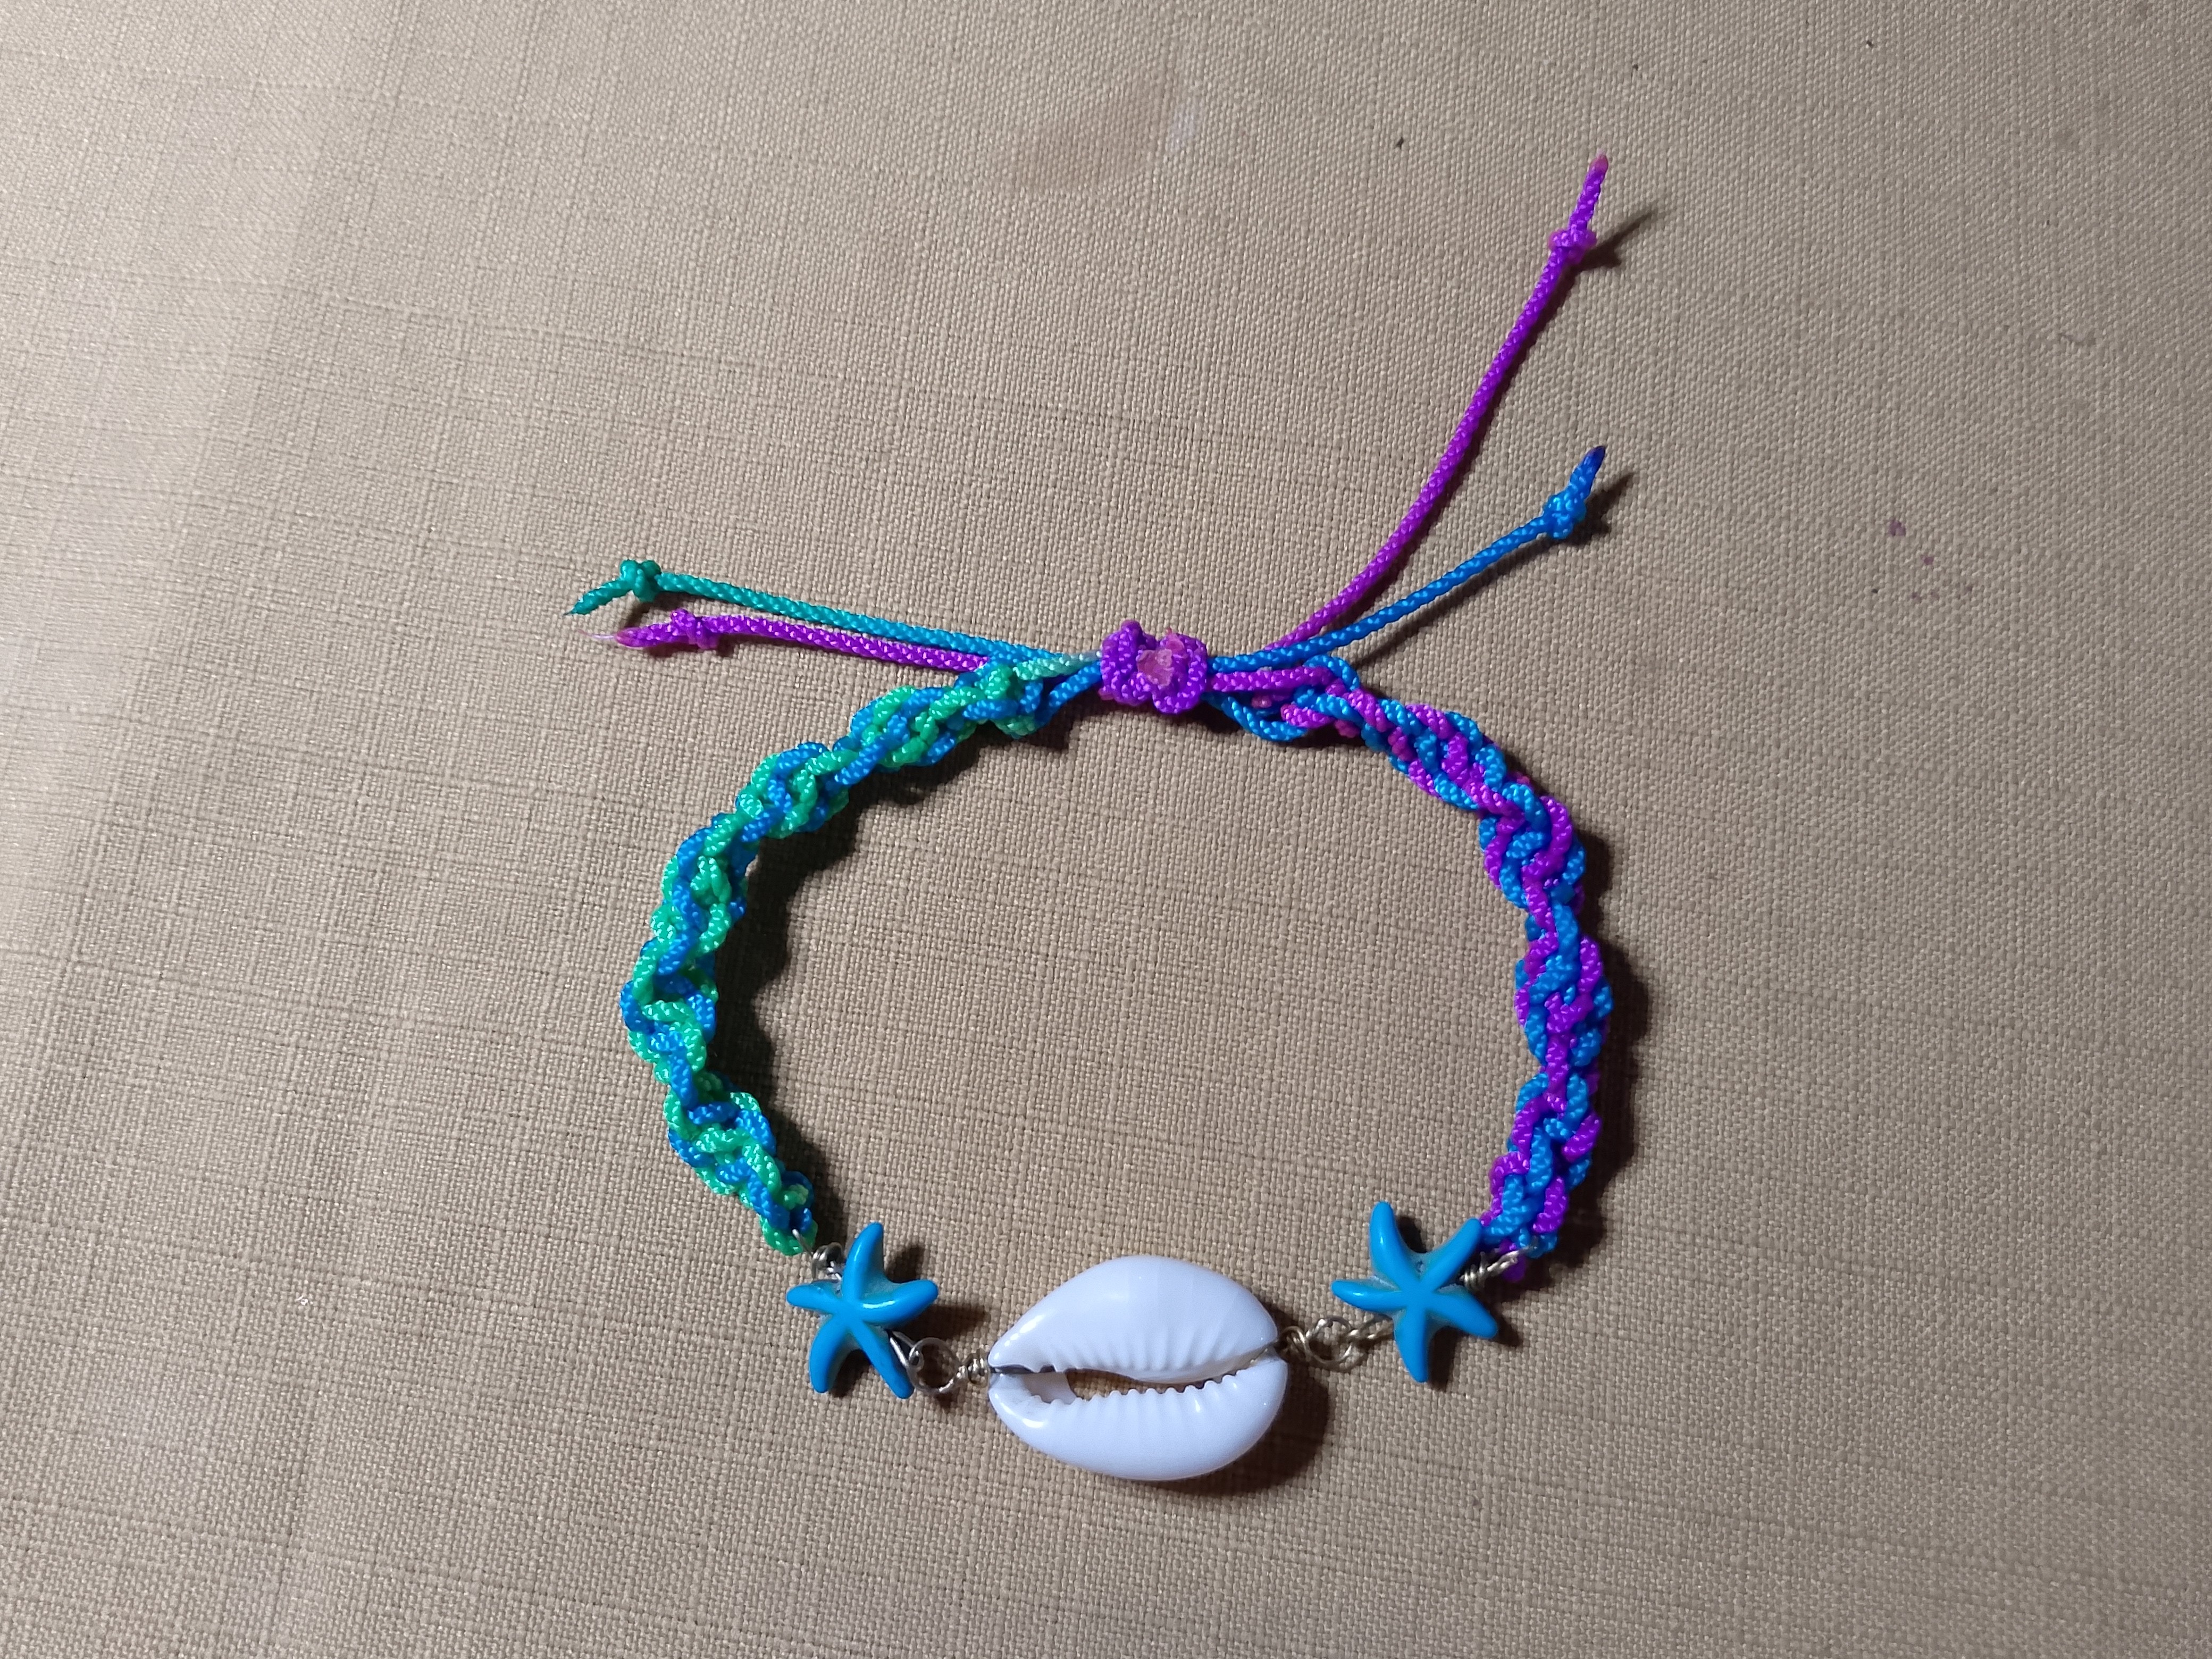
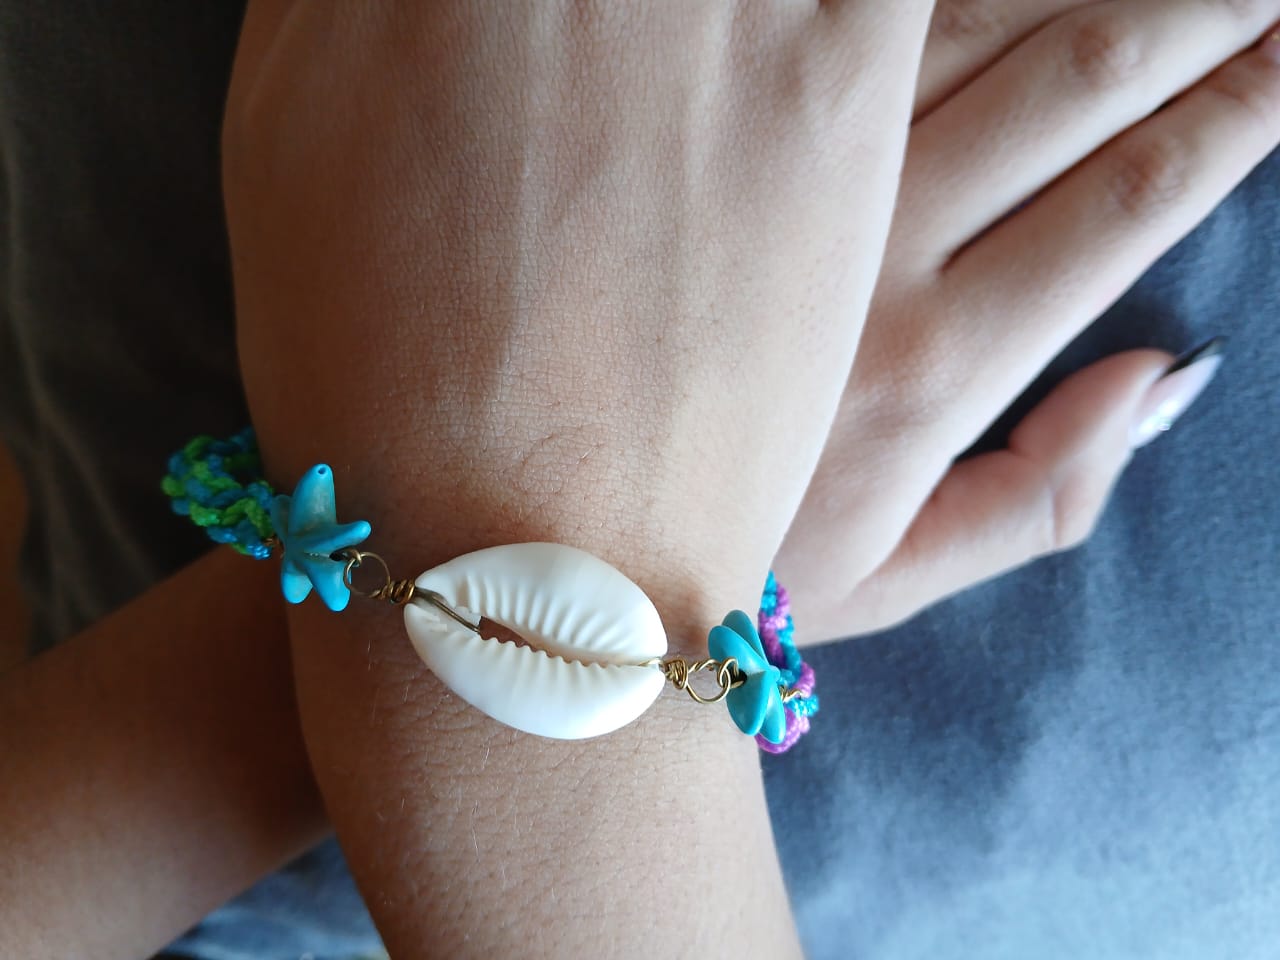
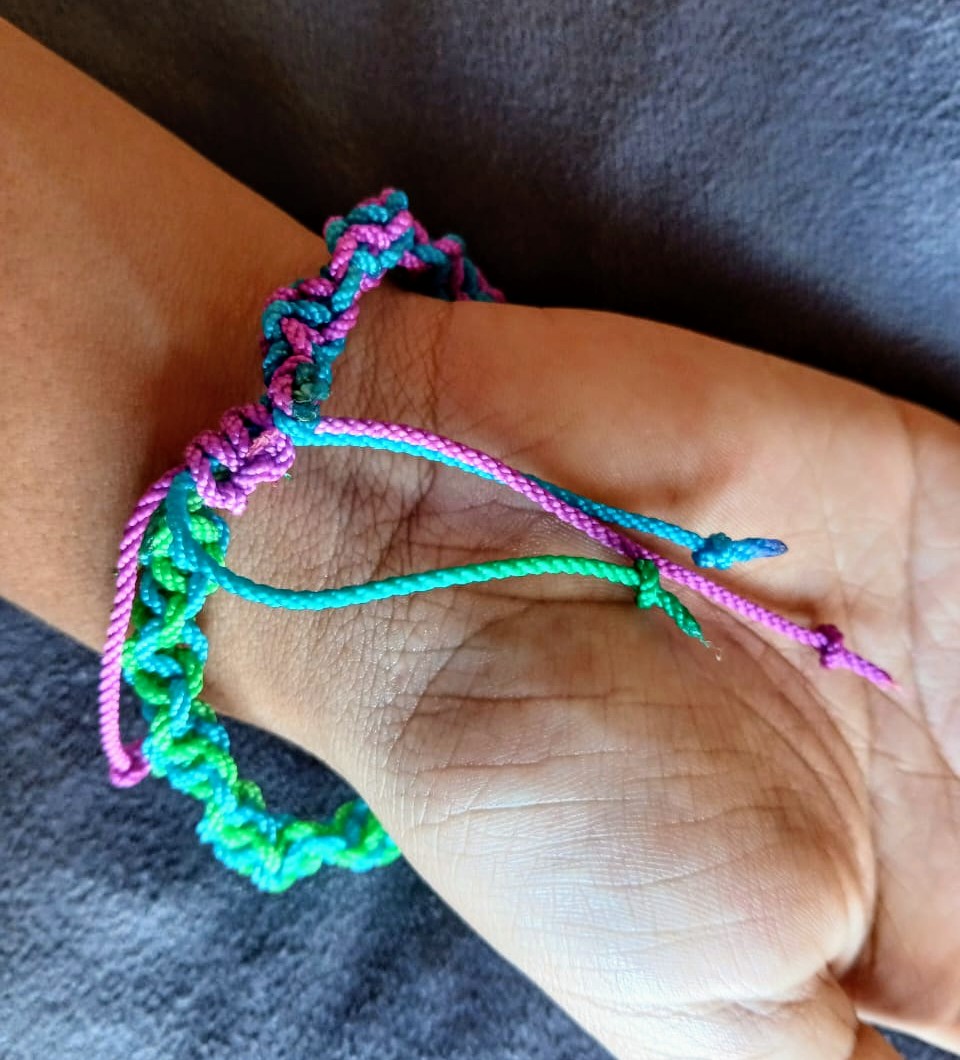
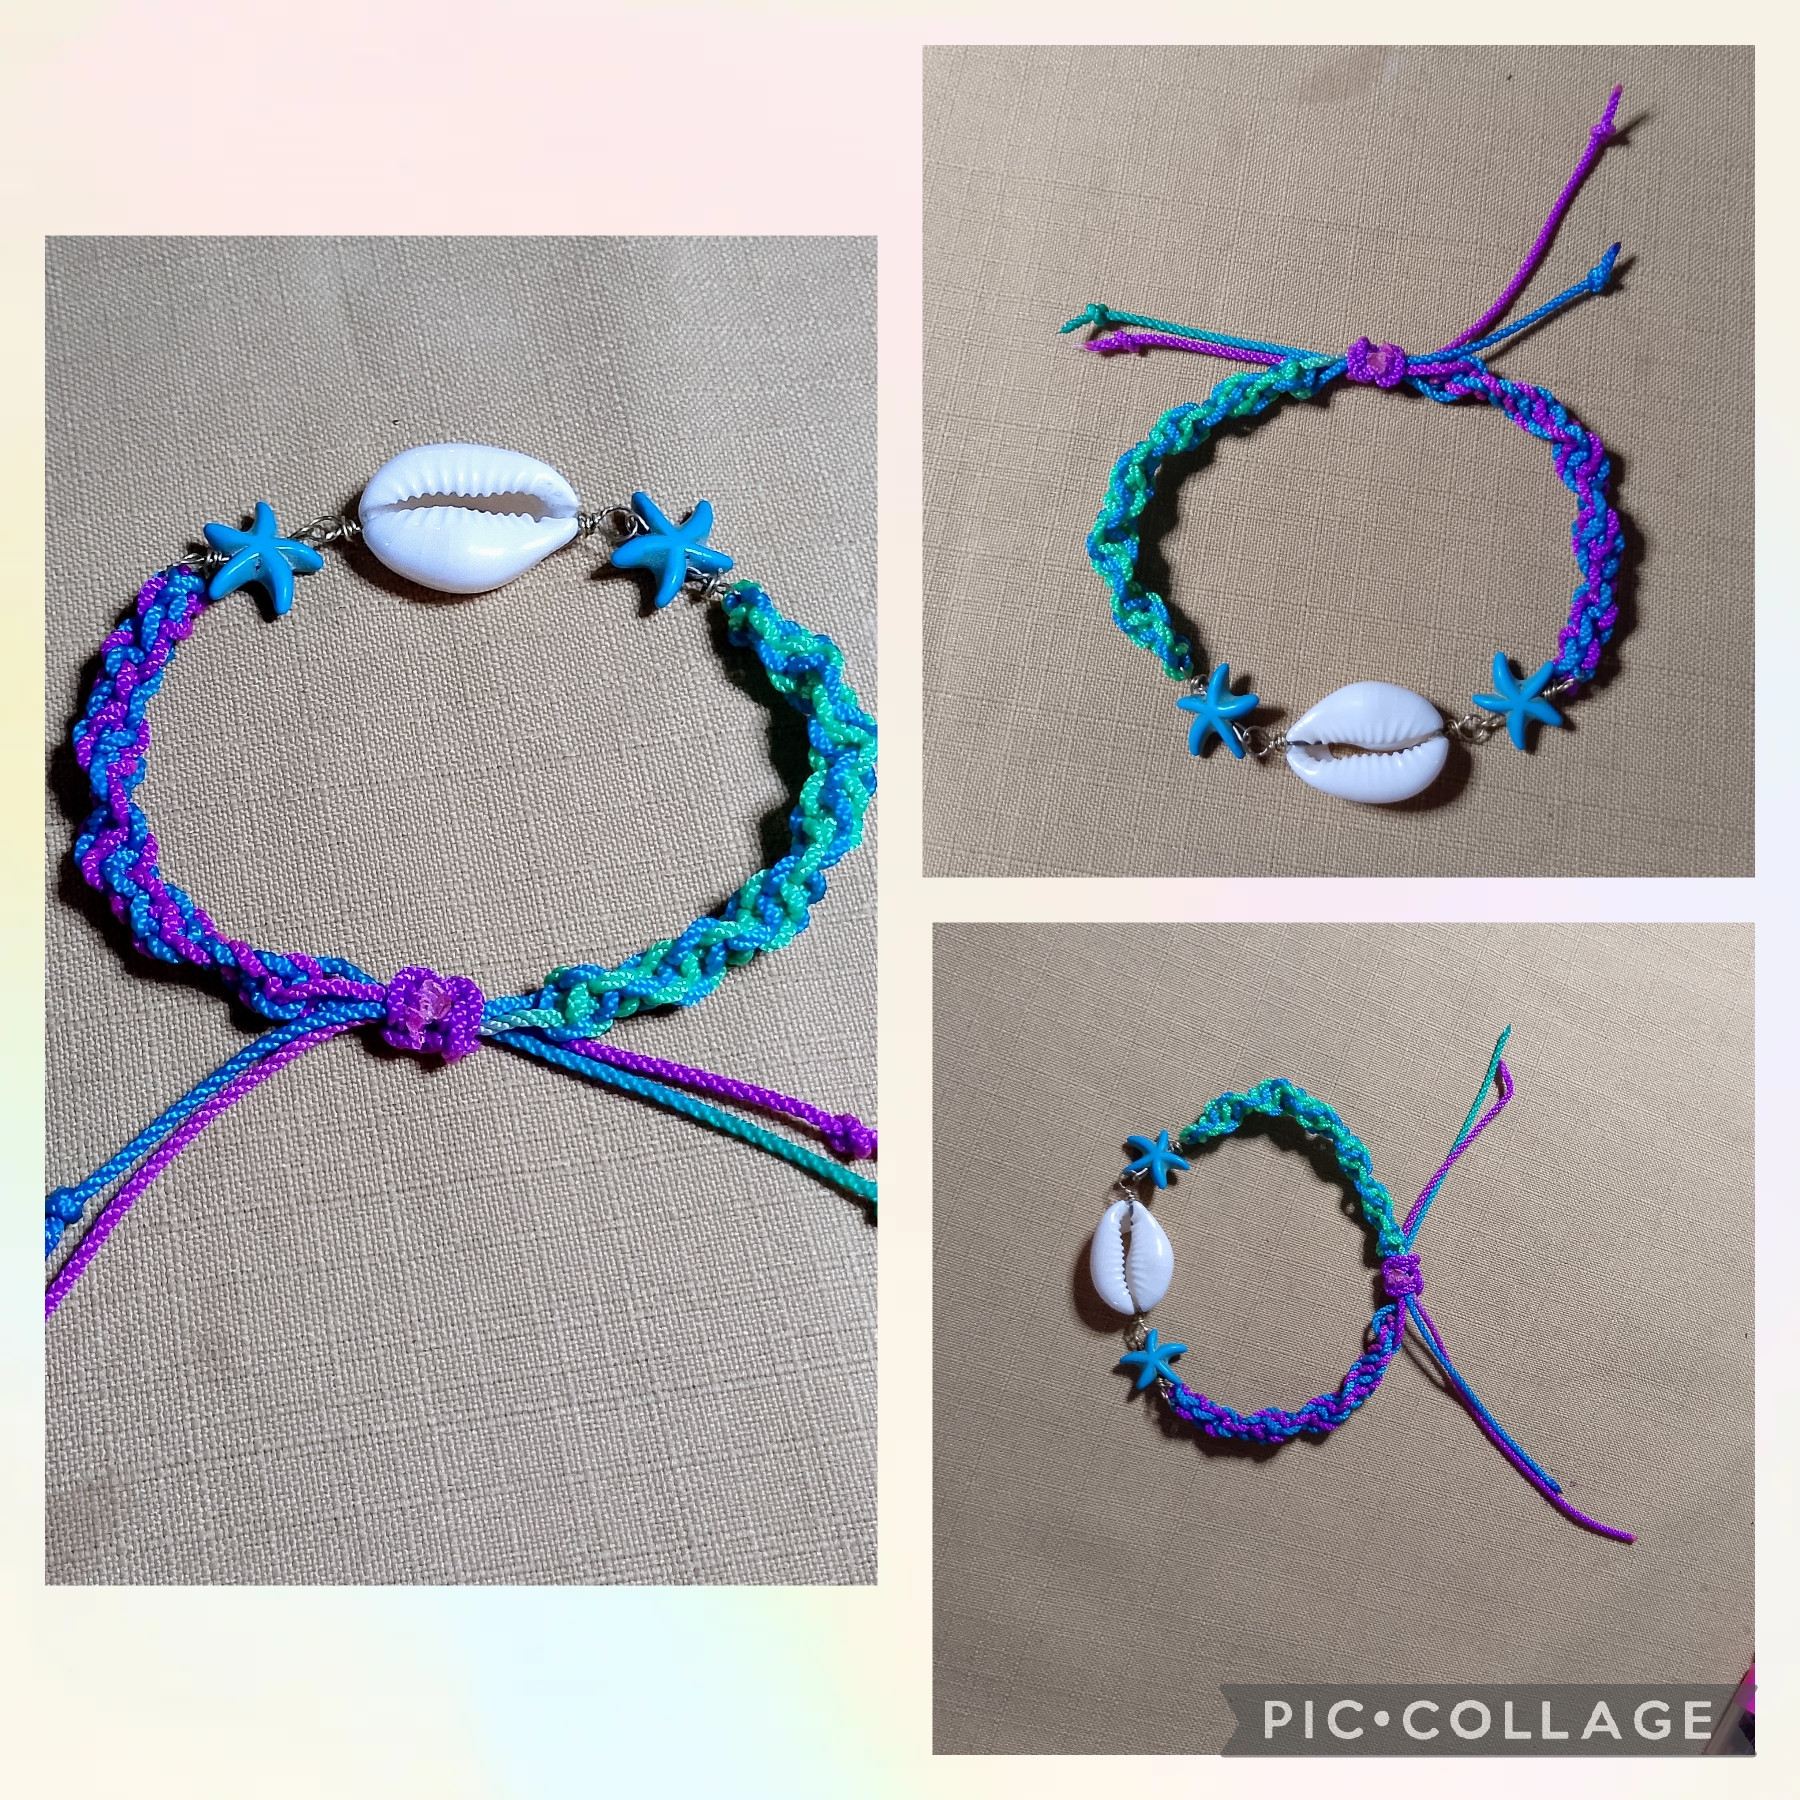
Artistas Creativos de las Manualidades y la Joyería este es el resultado final de mi manualidad, una Pulsera con tonalidades multicolor y accesorios marinos que se puede usar en un estilo casual o deportivo, espero que les agrade y como siempre me apoyen con sus valiosos comentarios. Feliz fin de semana y nos vemos en la próxima manualidad, bye bye.
Creative Artists of Crafts and Jewelry this is the final result of my craft, a bracelet with multicolored tones and marine accessories that can be worn in a casual or sporty style, I hope you like it and as always support me with your valuable comments. Happy weekend and see you in the next craft, bye bye.
Las imágenes y redacción de este tutorial son de mi exclusiva propiedad, las fotos fueron tomadas con mi teléfono celular Tecno Spark Go y las edite con una aplicación gratis del mismo.
Para traducir texto use Google traductor.
The images and writing of this tutorial are my exclusive property, the photos were taken with my Tecno Spark Go cell phone and I edited them with a free application of the same.
To translate text use Google Translate.

Congratulations @nhaydu! You have completed the following achievement on the Hive blockchain And have been rewarded with New badge(s)
Your next target is to reach 55000 upvotes.
You can view your badges on your board and compare yourself to others in the Ranking
If you no longer want to receive notifications, reply to this comment with the word
STOP¿ᴺᵉᶜᵉˢᶦᵗᵃˢ ᴴᴮᴰ? ᵀᵉ ˡᵒ ᵖʳᵉˢᵗᵃᵐᵒˢ ᶜᵒⁿ @ruta.loans
Quedó preciosa, cada elemento en este brazalete es hermoso. El entramado del hilo que se va entorchando sobre si mismo, es genial y le da una especie de aire despreocupado al diseño. Perfecto para la temporada.
Buen día @karen.art, siempre agradecida con tu apoyo me gustó tu comentario de verdad lo aprecio que tengas un día maravilloso.🤗
Me encantan los accesorios con conchas de mar, esta pulsera te quedó preciosa, me encantó el diseño que le diste y la combinación de colores.
Definitivamente un accesorio muy hermoso, para lucir en esto venideros carnavales 💕
!discovery 35
Saluditos @dayadam, me encanta cuando leo tus comentarios por ese detalle que tienes para valorar mis publicaciones y apoyarlos, feliz y espléndido día.🤗
This post was shared and voted inside the discord by the curators team of discovery-it
Join our Community and follow our Curation Trail
Discovery-it is also a Witness, vote for us here
Delegate to us for passive income. Check our 80% fee-back Program
This is so lovely and unique. Finding one’s style and making it shine is always nice. Great job friend, thanks for sharing.
Thank you for supporting me, I'm excited.
jajjaajj así es cerramos los ojos y ya estamos en carnavales y estas pulseras son las favoritas de las que piensan visitar o están en la playa para combinarlas con los trajes de baño, te ha quedado preciosa con los detalles marinos.
Gracias amiga por ese comentario, que bueno que te gustó la pulsera a mi me pareció genial para la fecha, saluditos 🤗