Holaaaaa! Artistas Creativos de la joyería, un saludo con mucha energía positiva para todos.
Inicio de semana, y me encanta comenzar. Relajadita, pues nada mejor que dedicarme a la creatividad. Y es que ayer fué el Día Mundial de las Playas, como siempre les comento que vivo y trabajo en zonas costeras y la actividad laboral no falta en esas festividades, ahí los artesanos se botaron como comúnmente decimos, comidas, bebidas,souvenirs, de todo todito había allí; yo ni corta ni perezosa también puse mi Stand y les digo me fue espectacular, salí con una agenda de trabajo como para un mes pero feliz; mis amigas siempre me dicen: como aguantas? Yo estuviera estresada! Pues no! Ya pongo manos a la obra y voy a empezar elaborando unas Tiaras de cintas y perlas que usarán el cortejo de mujeres y niñas que acompañaran a Lucia en su boda dentro de un mes.
Así que sigan leyendo y fíjense en el paso a paso de cómo las hice:
Hellooooo! Creative jewelry artists, greetings with a lot of positive energy to all.
Start of the week, and I love to start. Relaxed, because nothing better than dedicating myself to creativity. And it is that yesterday was World Beach Day, as I always tell you that I live and work in coastal areas and work activity is not lacking in these festivities, there the artisans were thrown away as we commonly say, food, drinks, souvenirs, everything everything was there; I was neither short nor lazy, I also put up my Stand and I tell you it was spectacular, I left with a work schedule for a month but I was happy; my friends always tell me: how do you hold on? I was stressed! Well no! I'm already getting to work and I'm going to start making some Tiaras of ribbons and pearls that will be worn by the procession of women and girls who will accompany Lucia at her wedding in a month.
So read on and check out the step by step how I made them:
Bueno como siempre me gusta comentar acerca de lo que hago, pues soy tradicionalista y me encanta ver cómo jóvenes también siguen las tradiciones entre las cuales algunas tienen mucho de romanticismo. Esto lo comento porque cuando te ibas a casar debías llevar algo azul, algo prestado y algo viejo; no podías usar perlas porque te auguraban lágrimas e infelicidad en el matrimonio, por supuesto puras leyendas de la cultura romana; más la cultura griega decía que las perlas eran portadoras de buena suerte, las novias incluso bordaban sus vestidos con ellas, su tradición decía que las perlas venían del mar igual que la Diosa Afrodita.
Diosa del Amor.
Lucia se decidió por la cultura griega y muchos de sus accesorios serán adornados con perlas. Y también las tiaras de su cortejo.
Well, as always, I like to comment on what I do, because I am a traditionalist and I love seeing how young people also follow traditions, some of which are very romantic. I mention this because when you were going to get married you had to wear something blue, something borrowed and something old; you could not wear pearls because they predicted tears and unhappiness in marriage, of course pure legends of Roman culture; plus the Greek culture said that pearls were bearers of good luck, brides even embroidered their dresses with them, their tradition said that pearls came from the sea just like the Goddess Aphrodite.
Goddess of love.
Lucia decided on the Greek culture and many of her accessories will be adorned with pearls. And also the tiaras of her courtship.
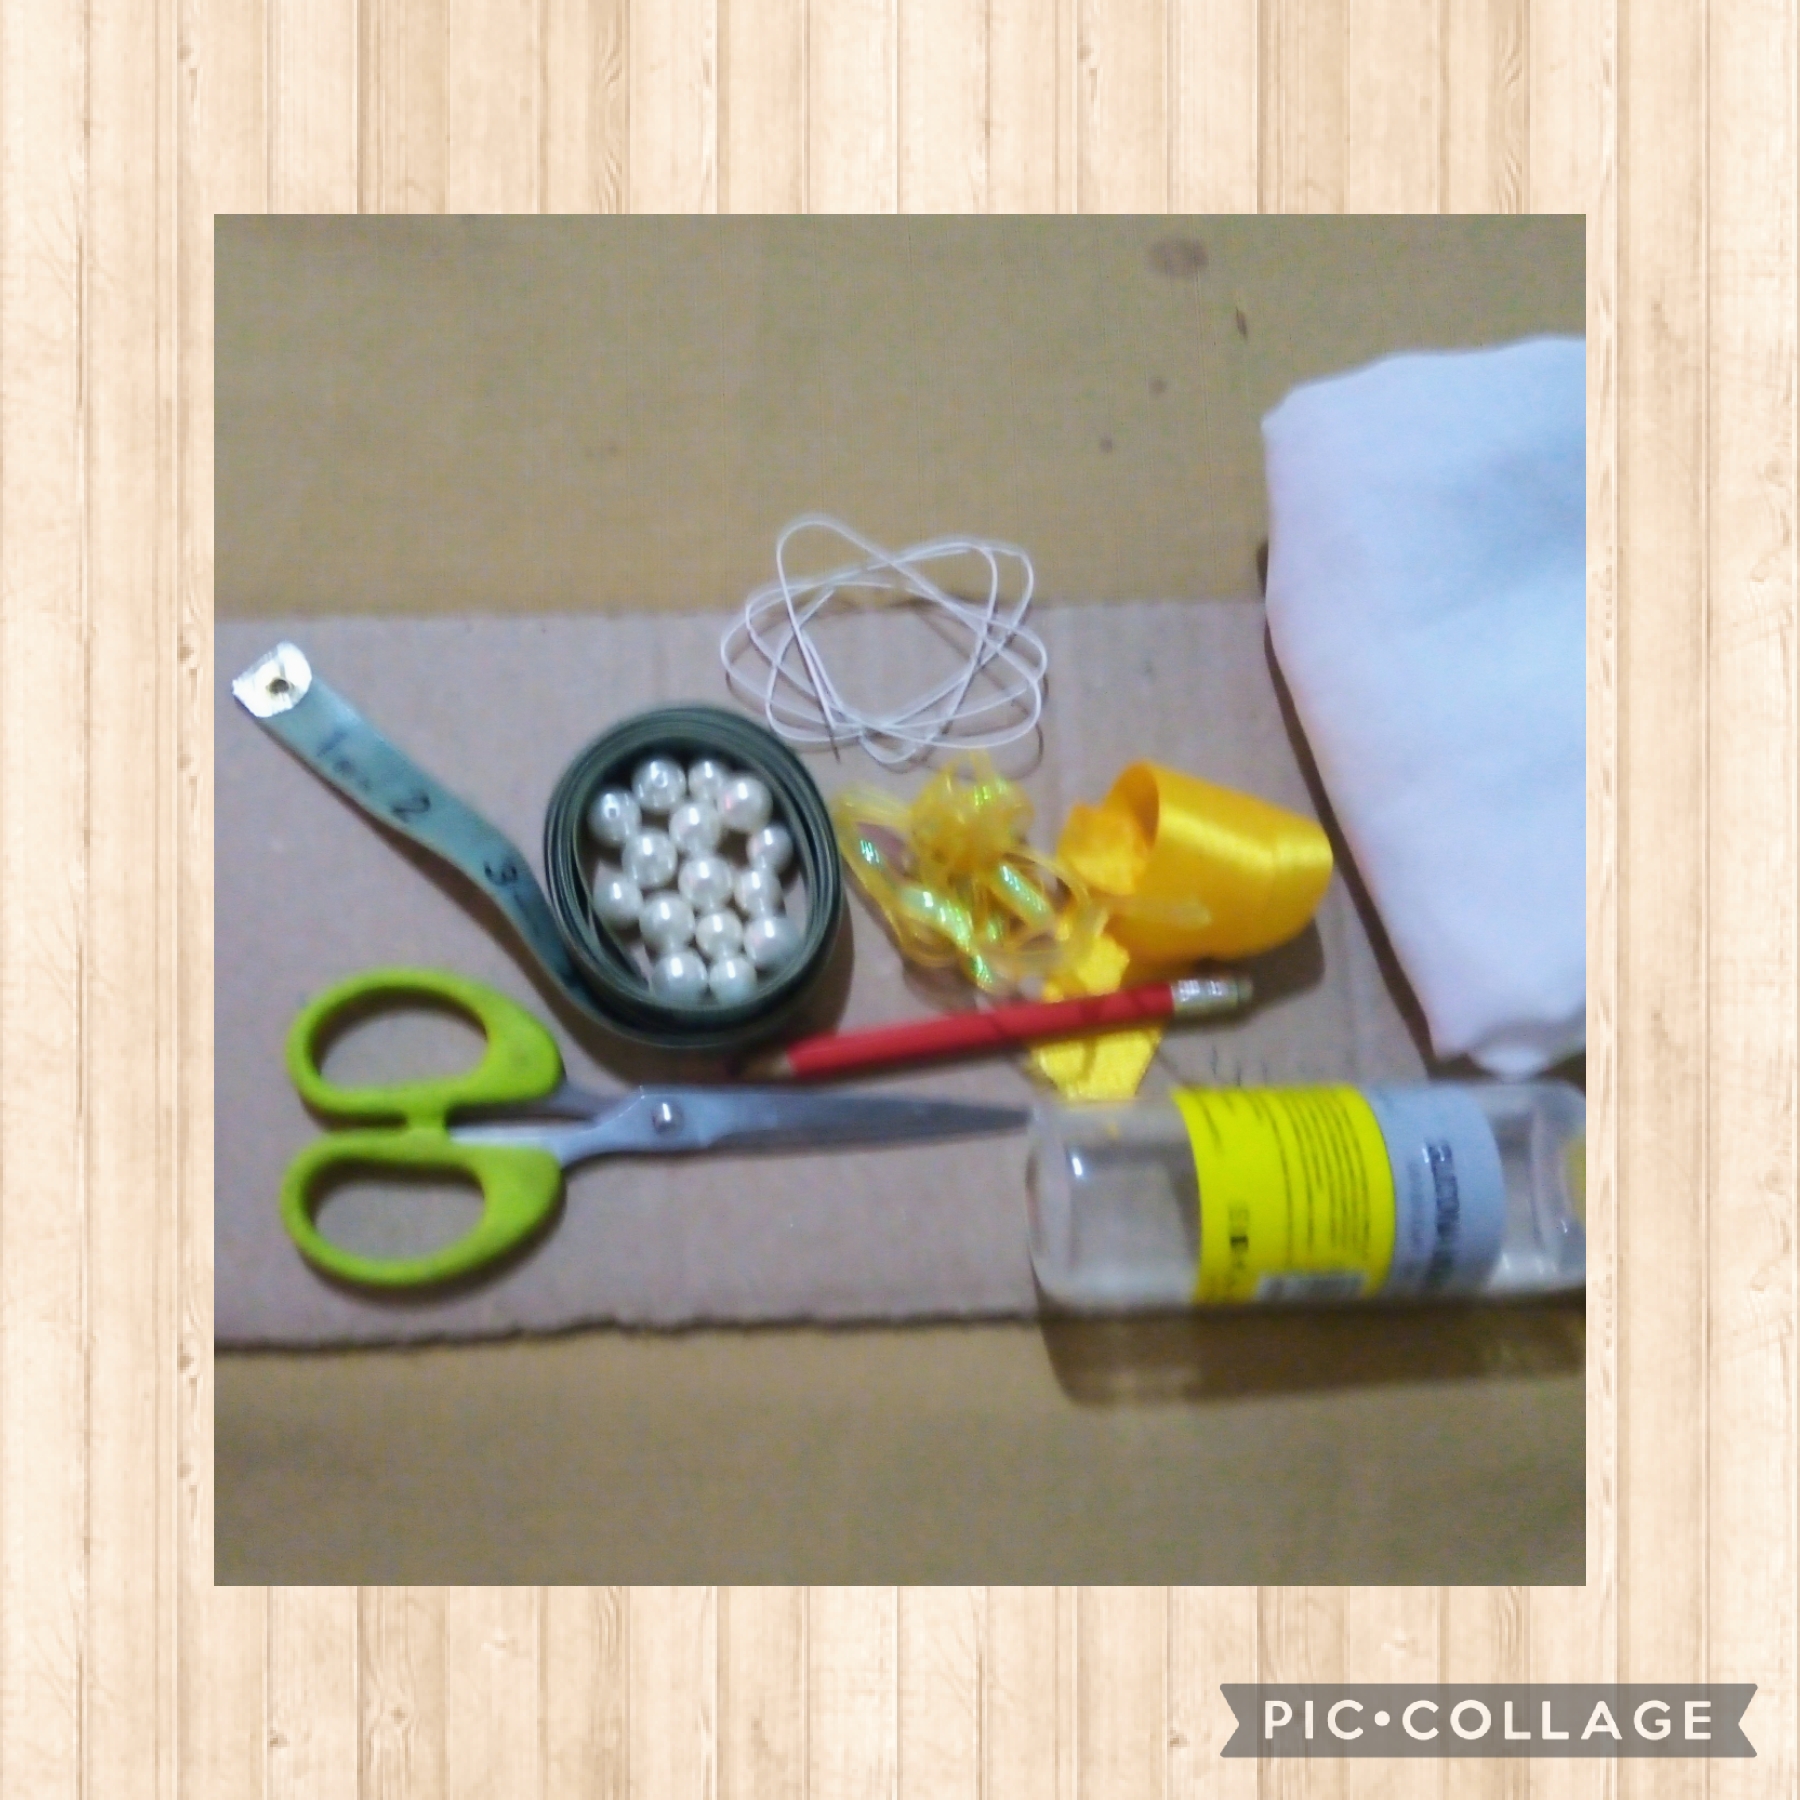
CON ESTOS MATERIALES REALICE SU ELABORACIÓN:
-Carton.
-Tijeras.
-Lapiz.
-Silicon frío.
-Perlas.
-Cinta dorada delgada.
-Cinta dorada gruesa.
-Cinta dorada gruesa
transparente .
-Tela blanca.
-Alambre.
-Cinta métrica.
WITH THESE MATERIALS MAKE YOUR ELABORATION:
-Cardboard.
-Scissors.
-Pencil.
-Cold sylicon.
-Pearls.
-Thin gold ribbon.
-Thick gold ribbon.
-Thick gold ribbon
transparent .
-White cloth.
-Wire.
-Measuring tape.
CON ESTOS PASOS SENCILLOS HICE LA REALIZACIÓN DE LA TIARA.
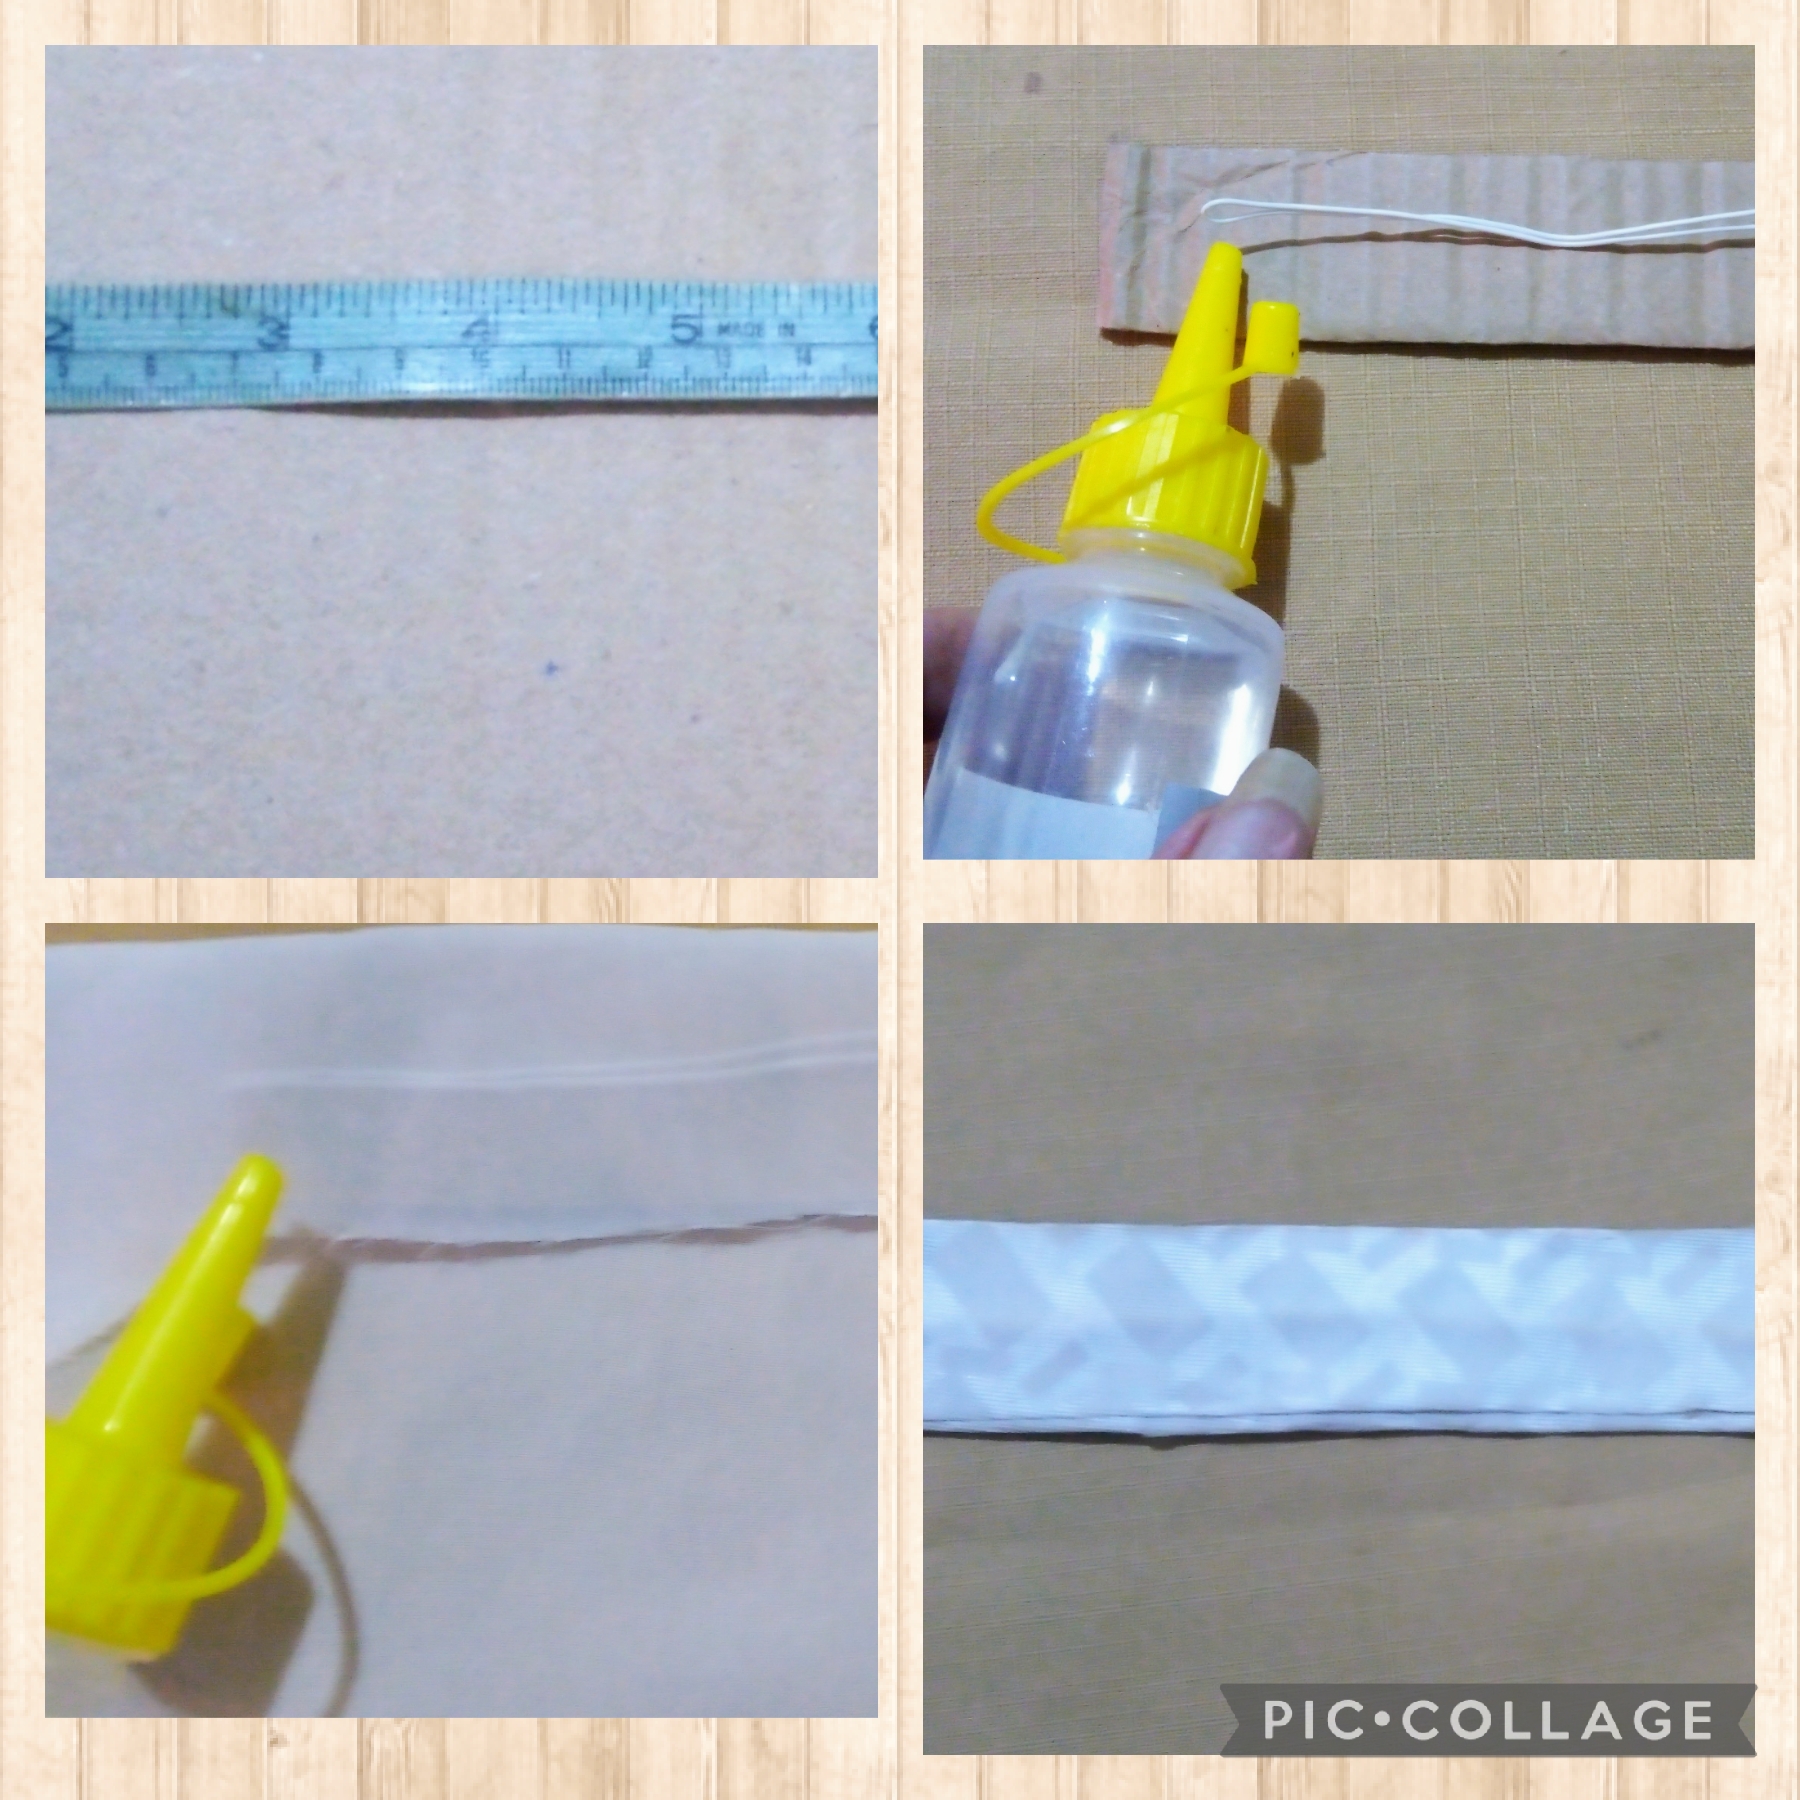
PRIMER PASO: con la cinta métrica mido un rectángulo de cartón de 60 cms., de largo y 3,5 cms., de ancho. Luego corto con las tijeras, así mismo corto el alambre del mismo largo del cartón,
y lo pegó al mismo. Con un trozo de tela blanca usando silicón frío forro el rectángulo de cartón al cual ya se pegó el alambre (ver fotos).
WITH THESE SIMPLE STEPS I MADE THE REALIZATION OF THE TIARA.
FIRST STEP: with the tape measure I measure a rectangle of cardboard 60 cm long and 3.5 cm wide. Then I cut with the scissors, likewise I cut the wire of the same length of the cardboard,
and glued it to it. With a piece of white cloth, using cold silicone, I line the cardboard rectangle to which the wire has already been glued (see photos).
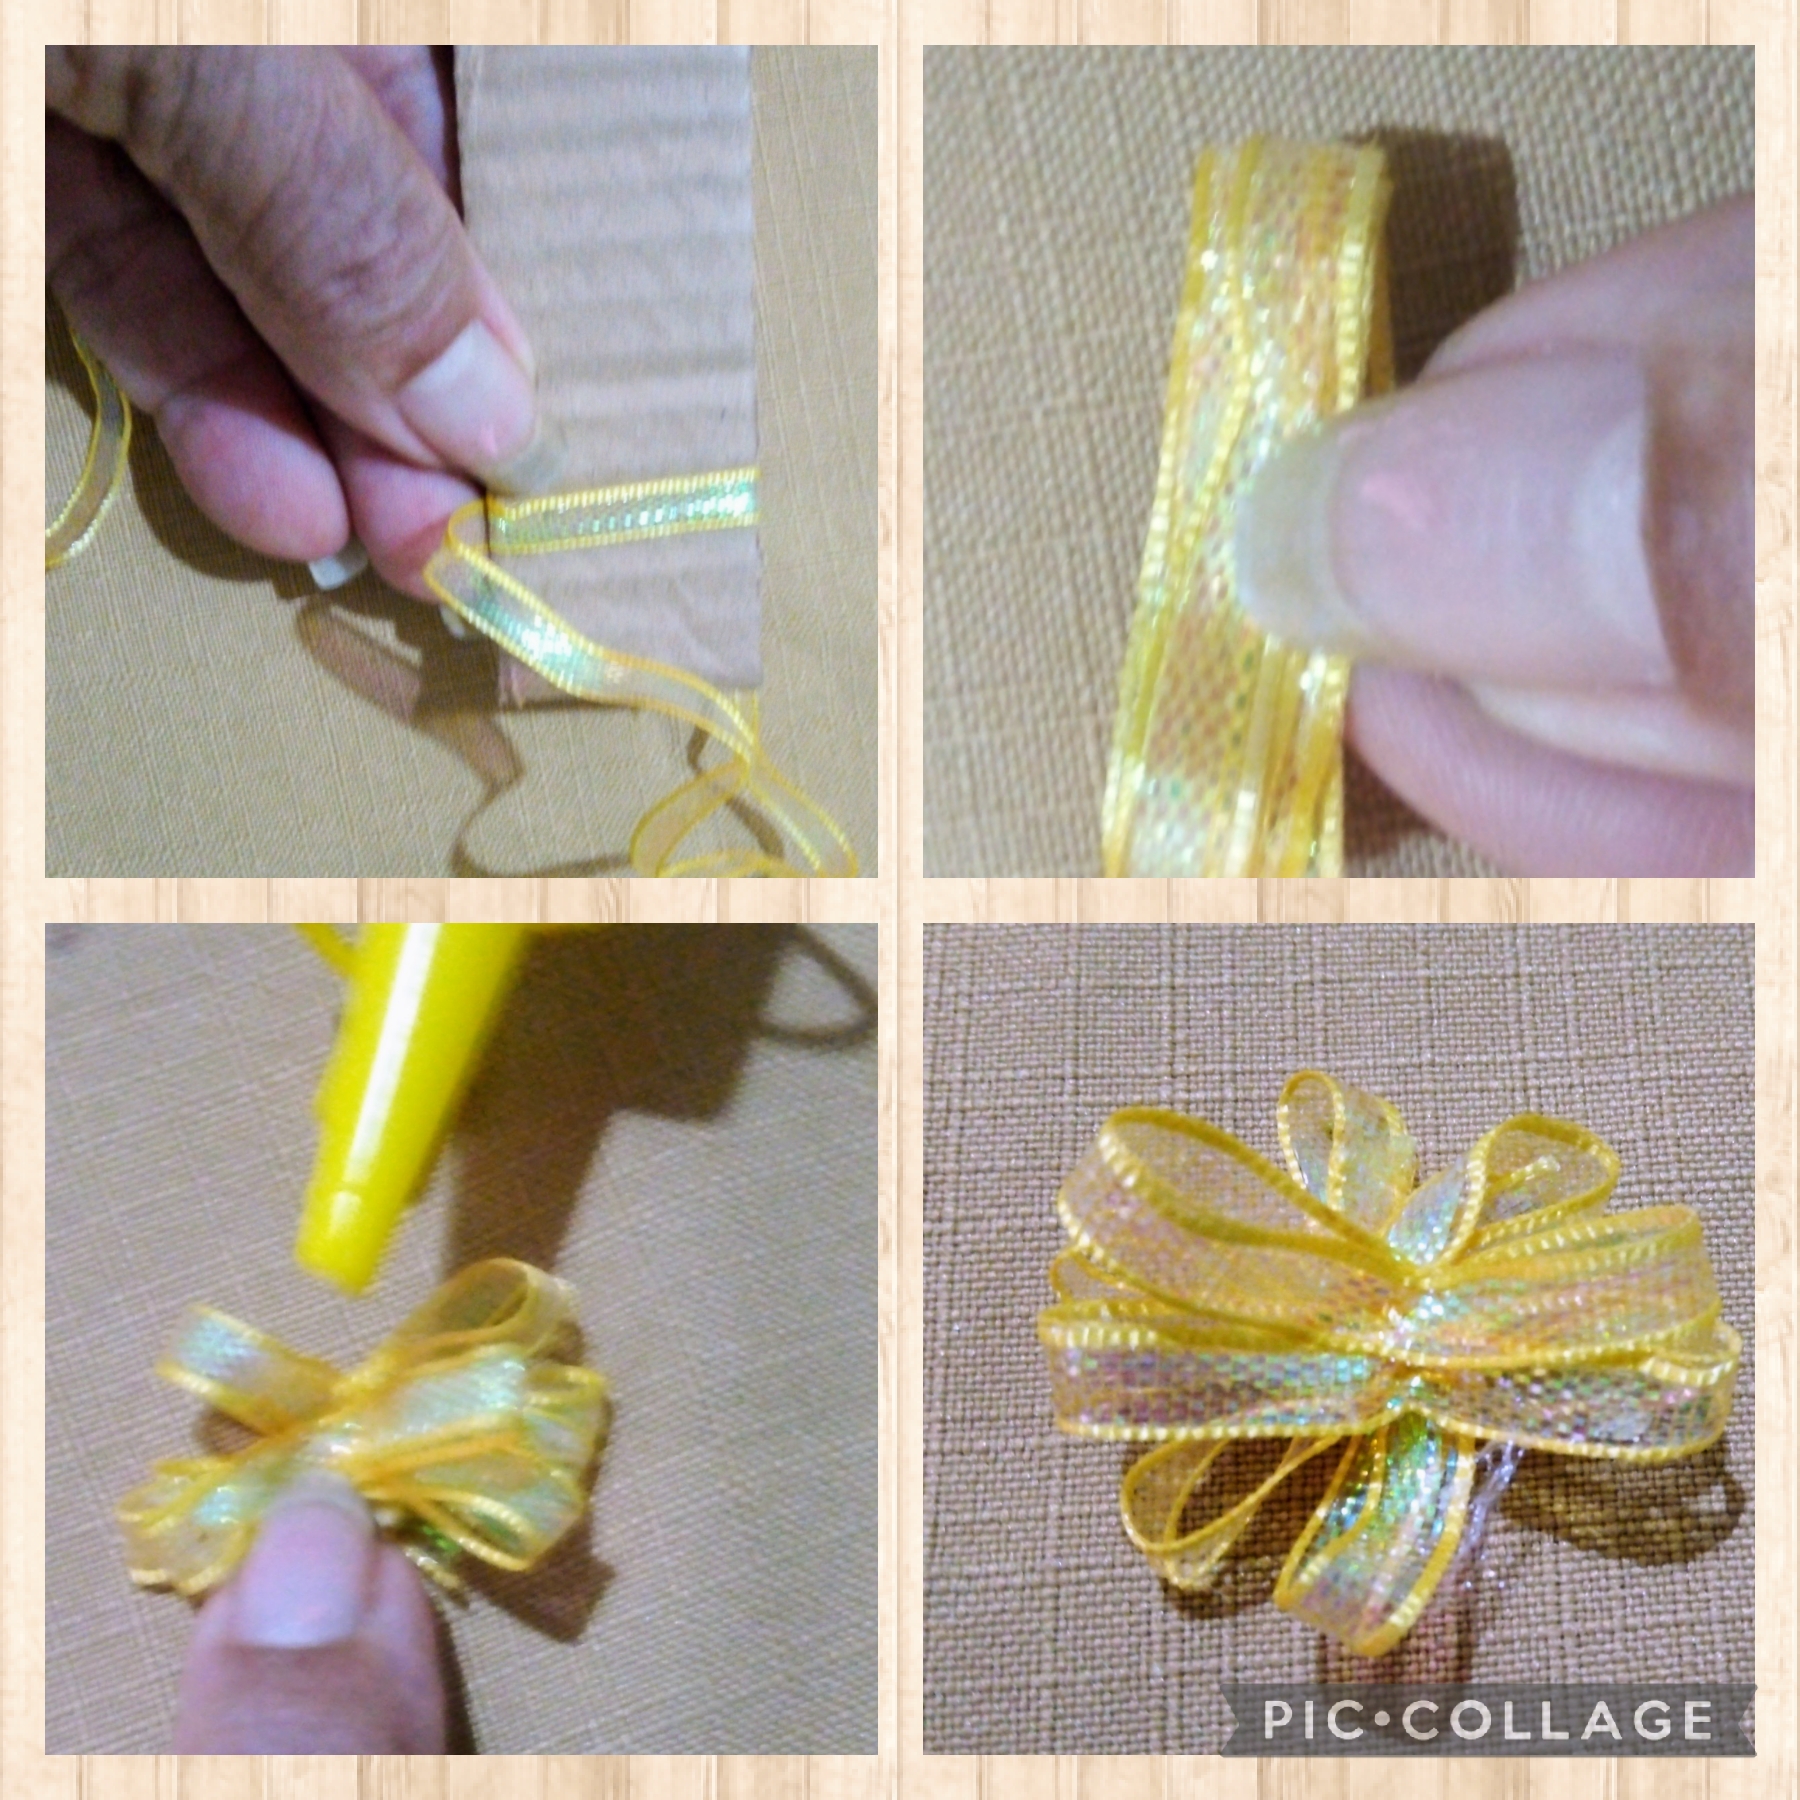
PASO DOS: en este paso elaboró dieciseis lacitos con forma de flores. Para ello corto de la cinta transparente delgada dorada 16 trozos de cincuenta cms., cada uno, usando las tijeras.
Ahora en un rectángulo de cartón pequeño de cuatro centímetros de ancho voy enrrollando uno de los trocitos de la cinta de los dieciséis cortados y fijo con el silicón frío , saco del cartón y le doy forma de flor, como en las fotos.
STEP TWO: In this step, you made sixteen flower-shaped bows. To do this, I cut 16 pieces of 50 cm each from the thin transparent gold ribbon, using scissors.
Now in a small rectangle of cardboard four centimeters wide I roll one of the pieces of the tape of the sixteen cut and fix it with cold silicone, I take it out of the cardboard and I give it the shape of a flower, as in the photos.
PASO TRES: realizado el paso dos tengo listos los dieciséis lacitos; ahora como muestro en las fotos empiezo a pegarlos en el rectángulo de cartón forrado de blanco.
STEP THREE: after step two I have the sixteen little bows ready; Now, as I show in the photos, I start to glue them on the white-lined cardboard rectangle.
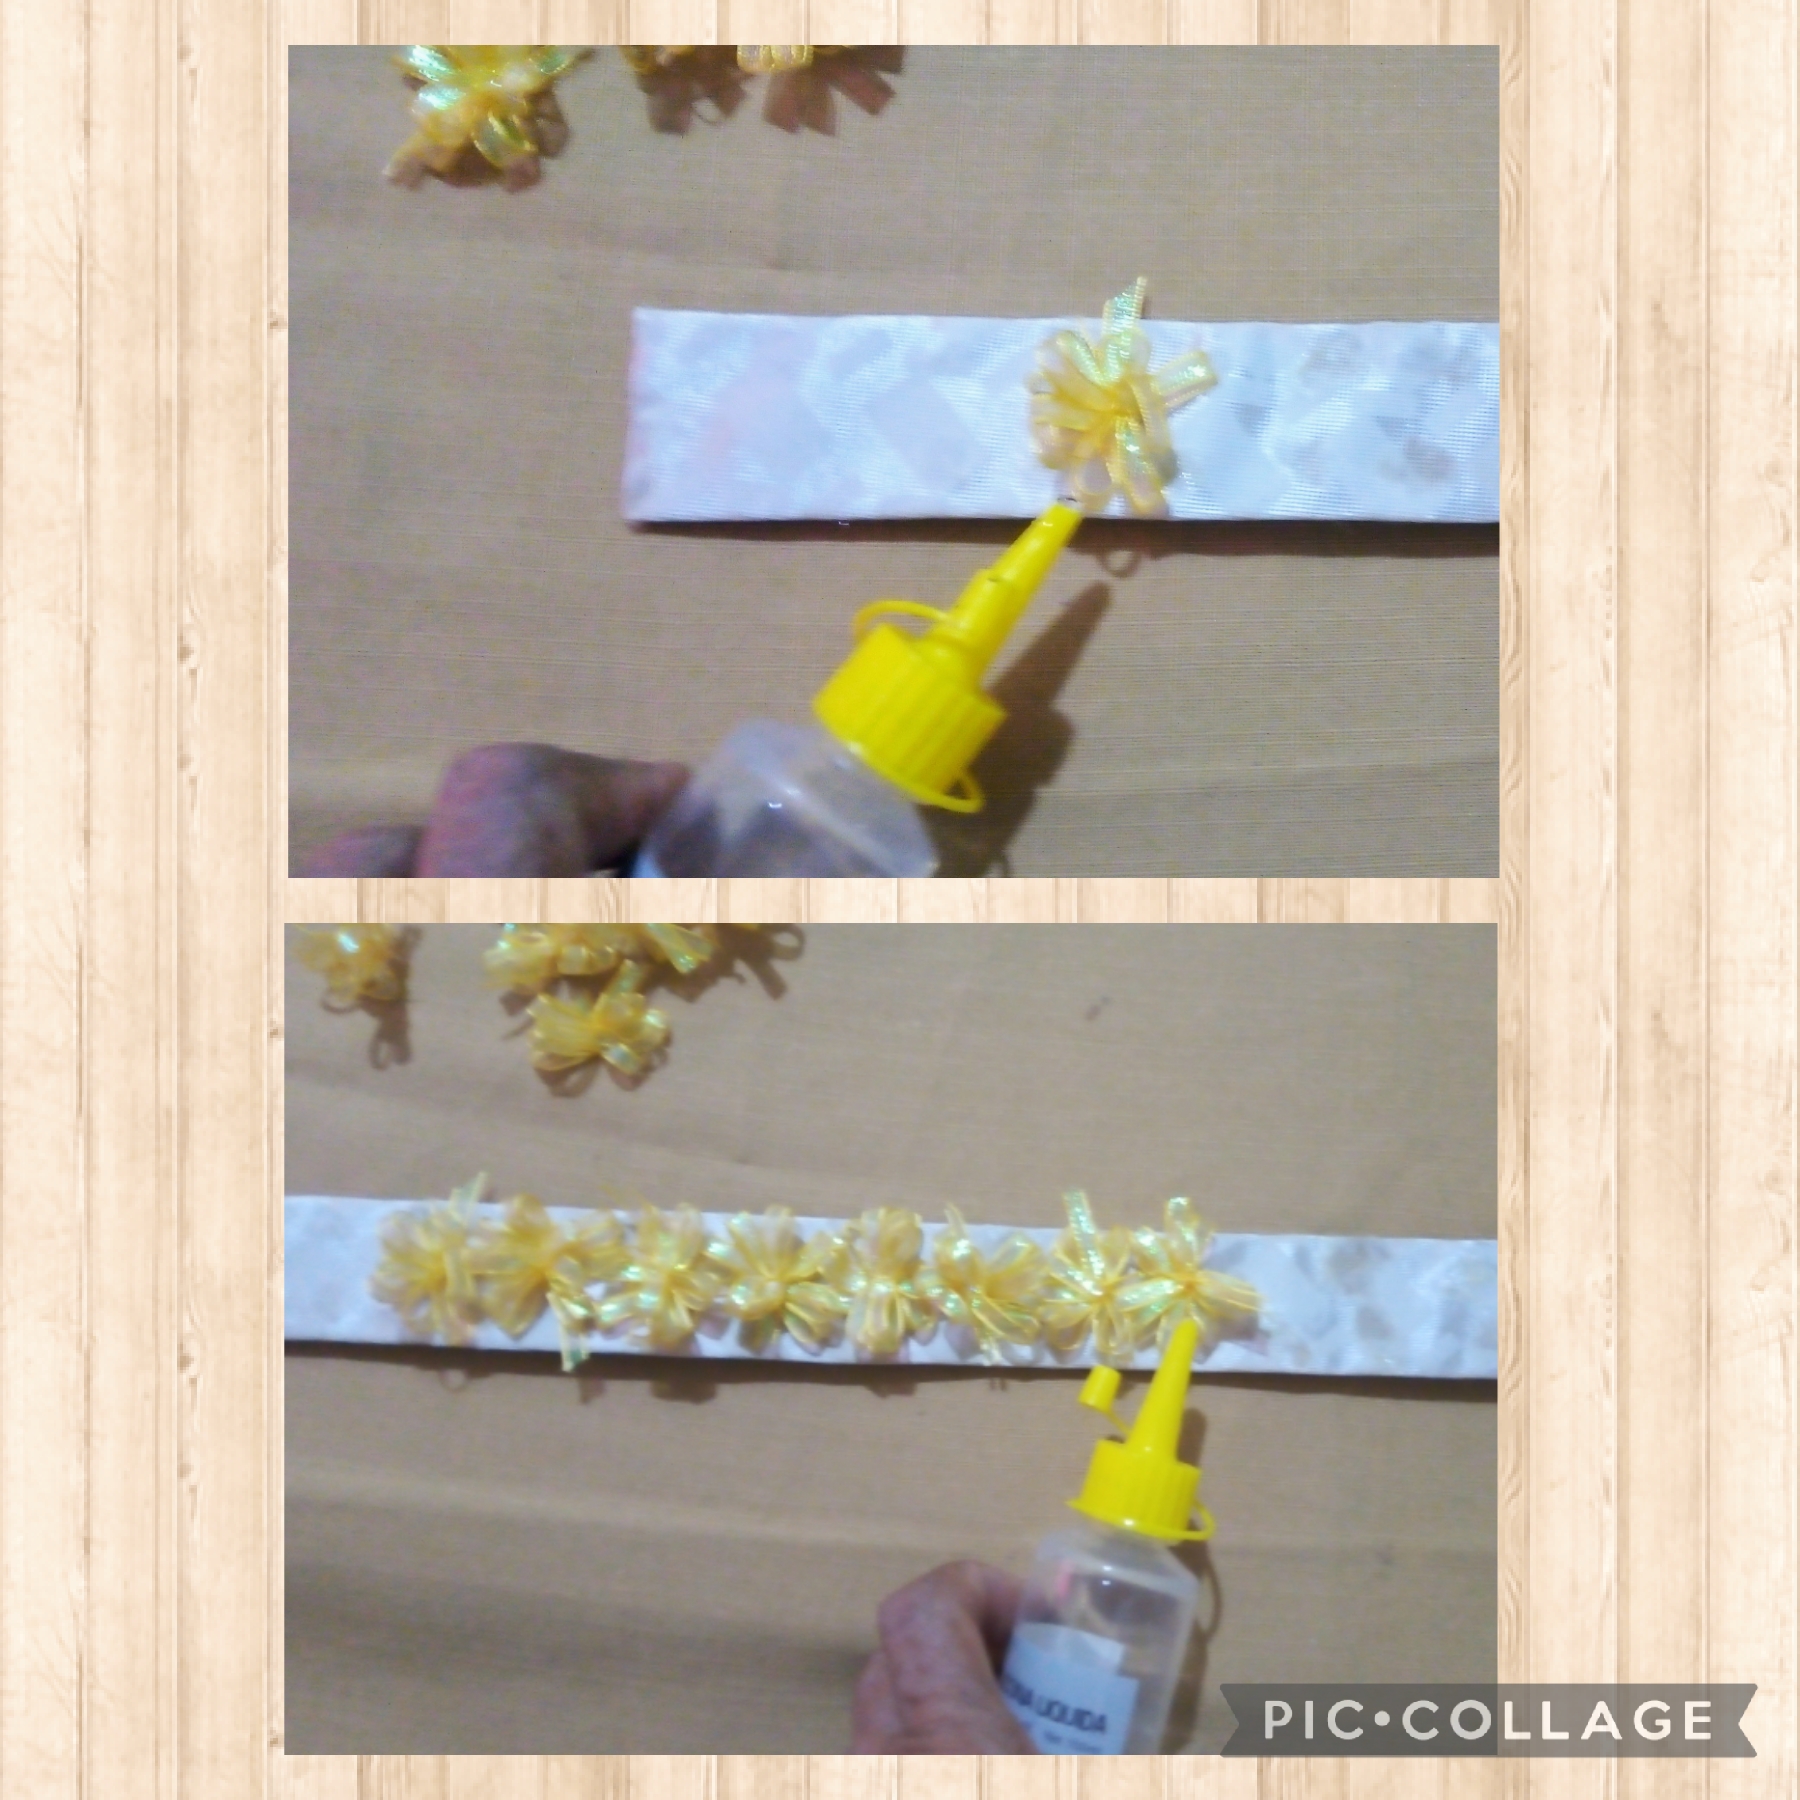
PASO CUATRO: después de pegados los dieciséis lacitos; como se pueden ver en las fotos, empiezo a pegar con el silicón una perla en el centro de cada uno y así se verá más como flor.
STEP FOUR: after the sixteen little bows have been glued; As you can see in the photos, I start to glue a pearl in the center of each one with the silicone and it will look more like a flower.
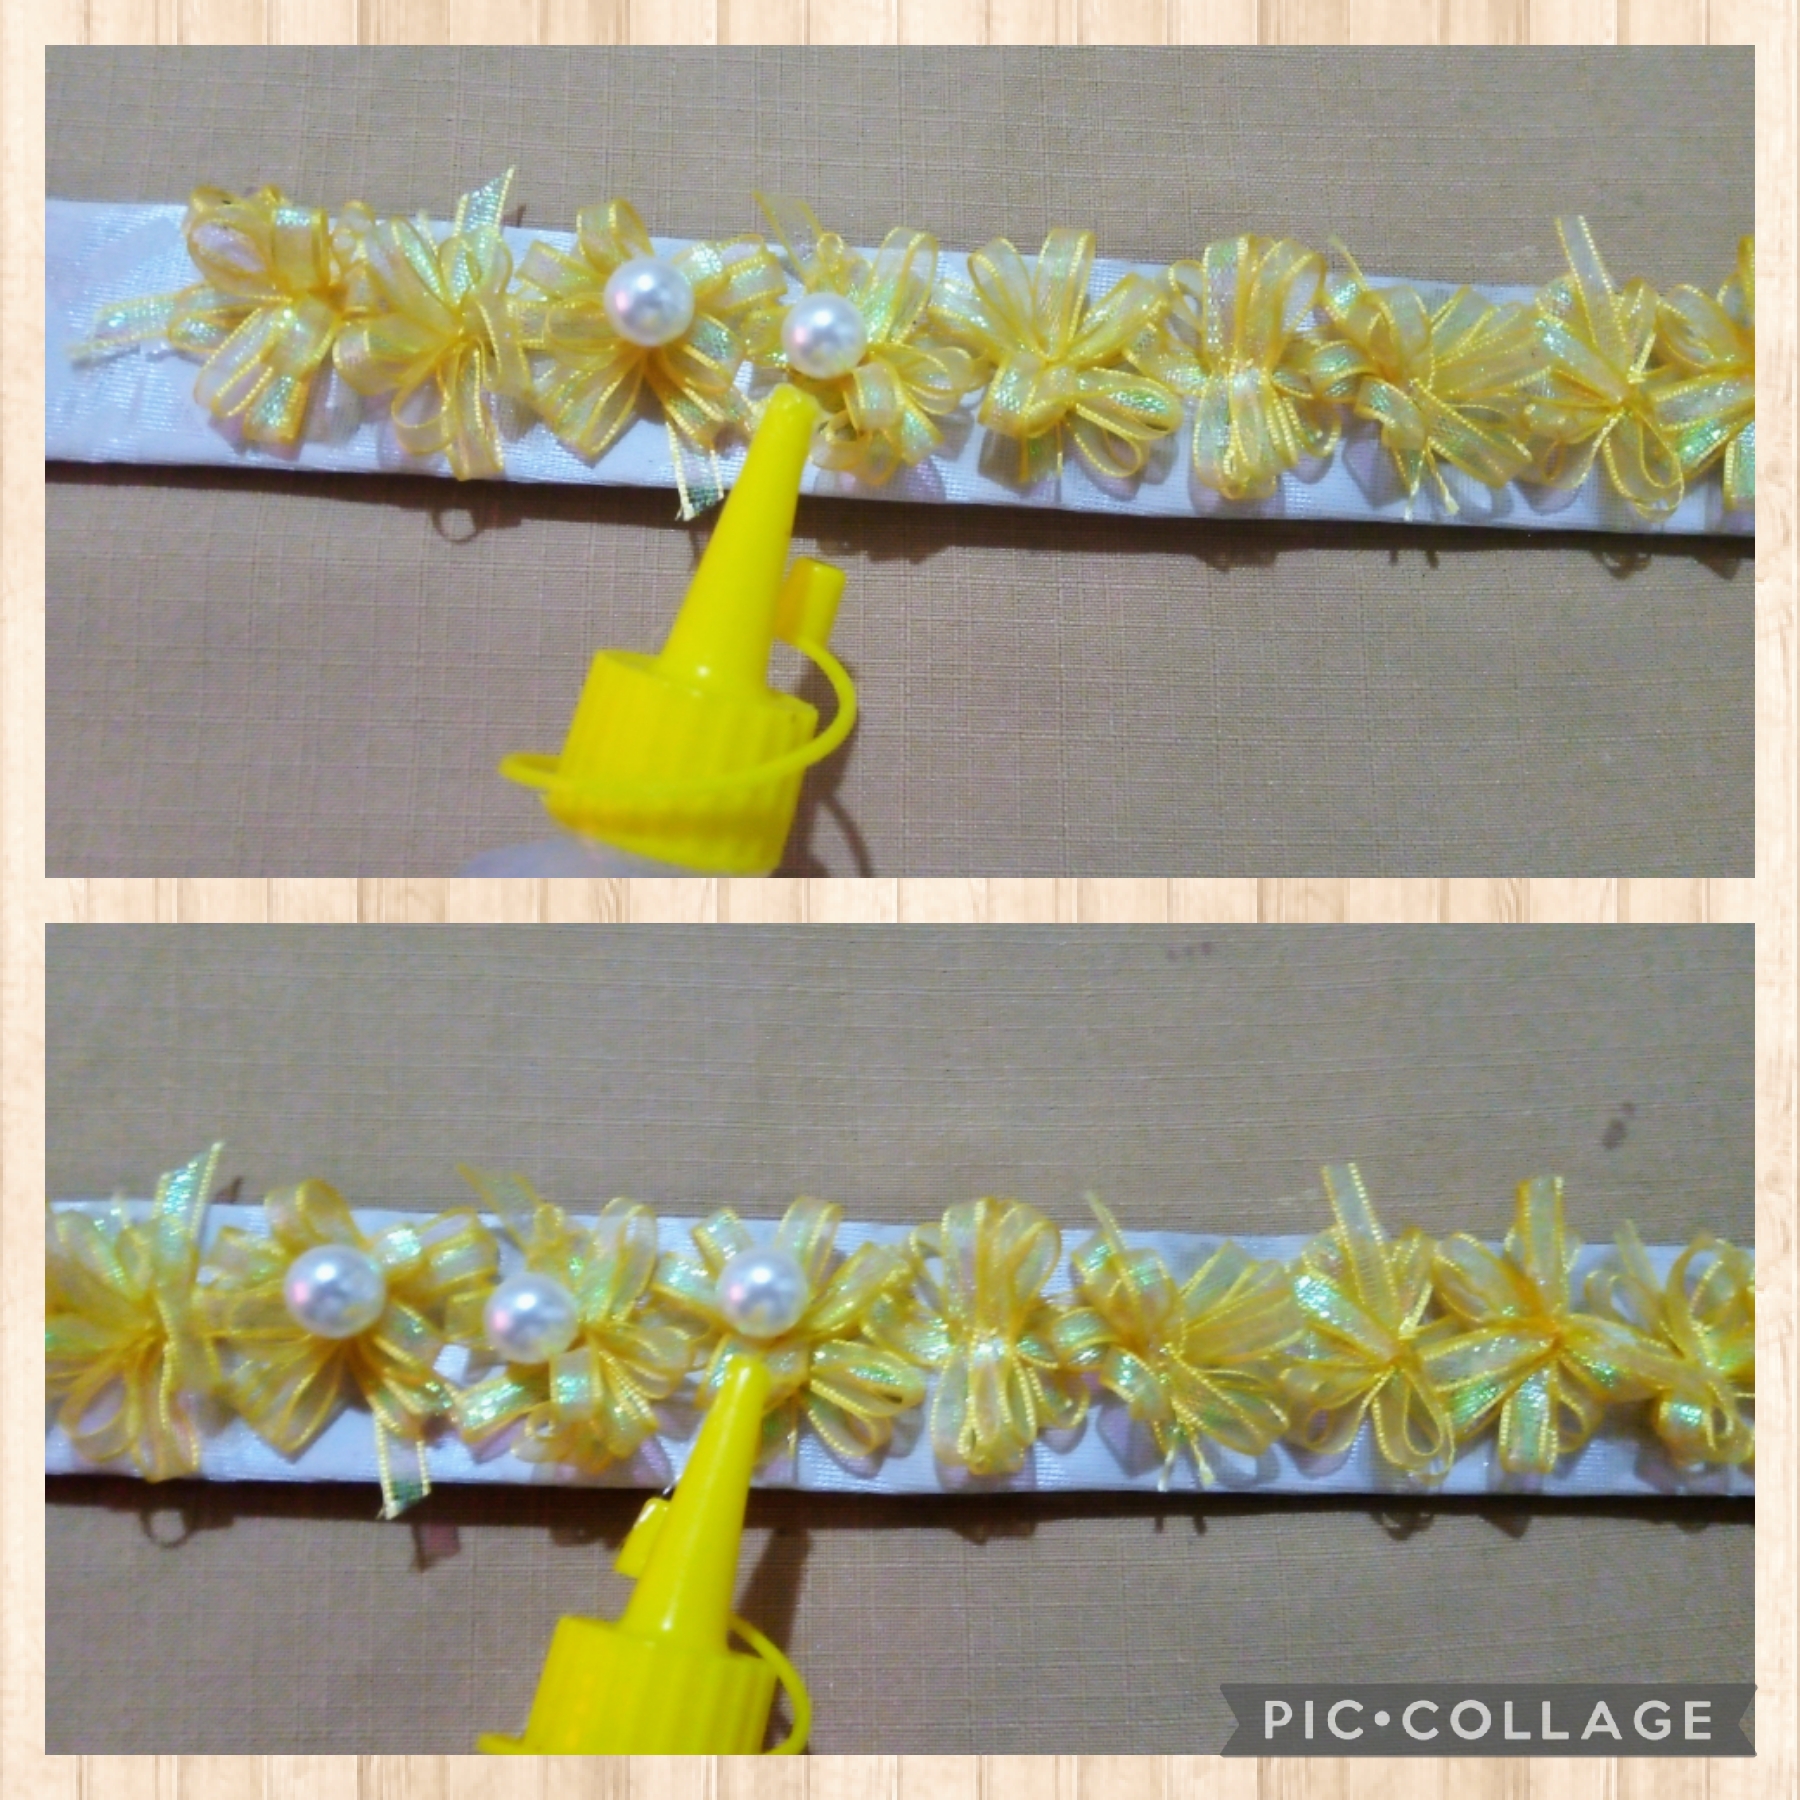
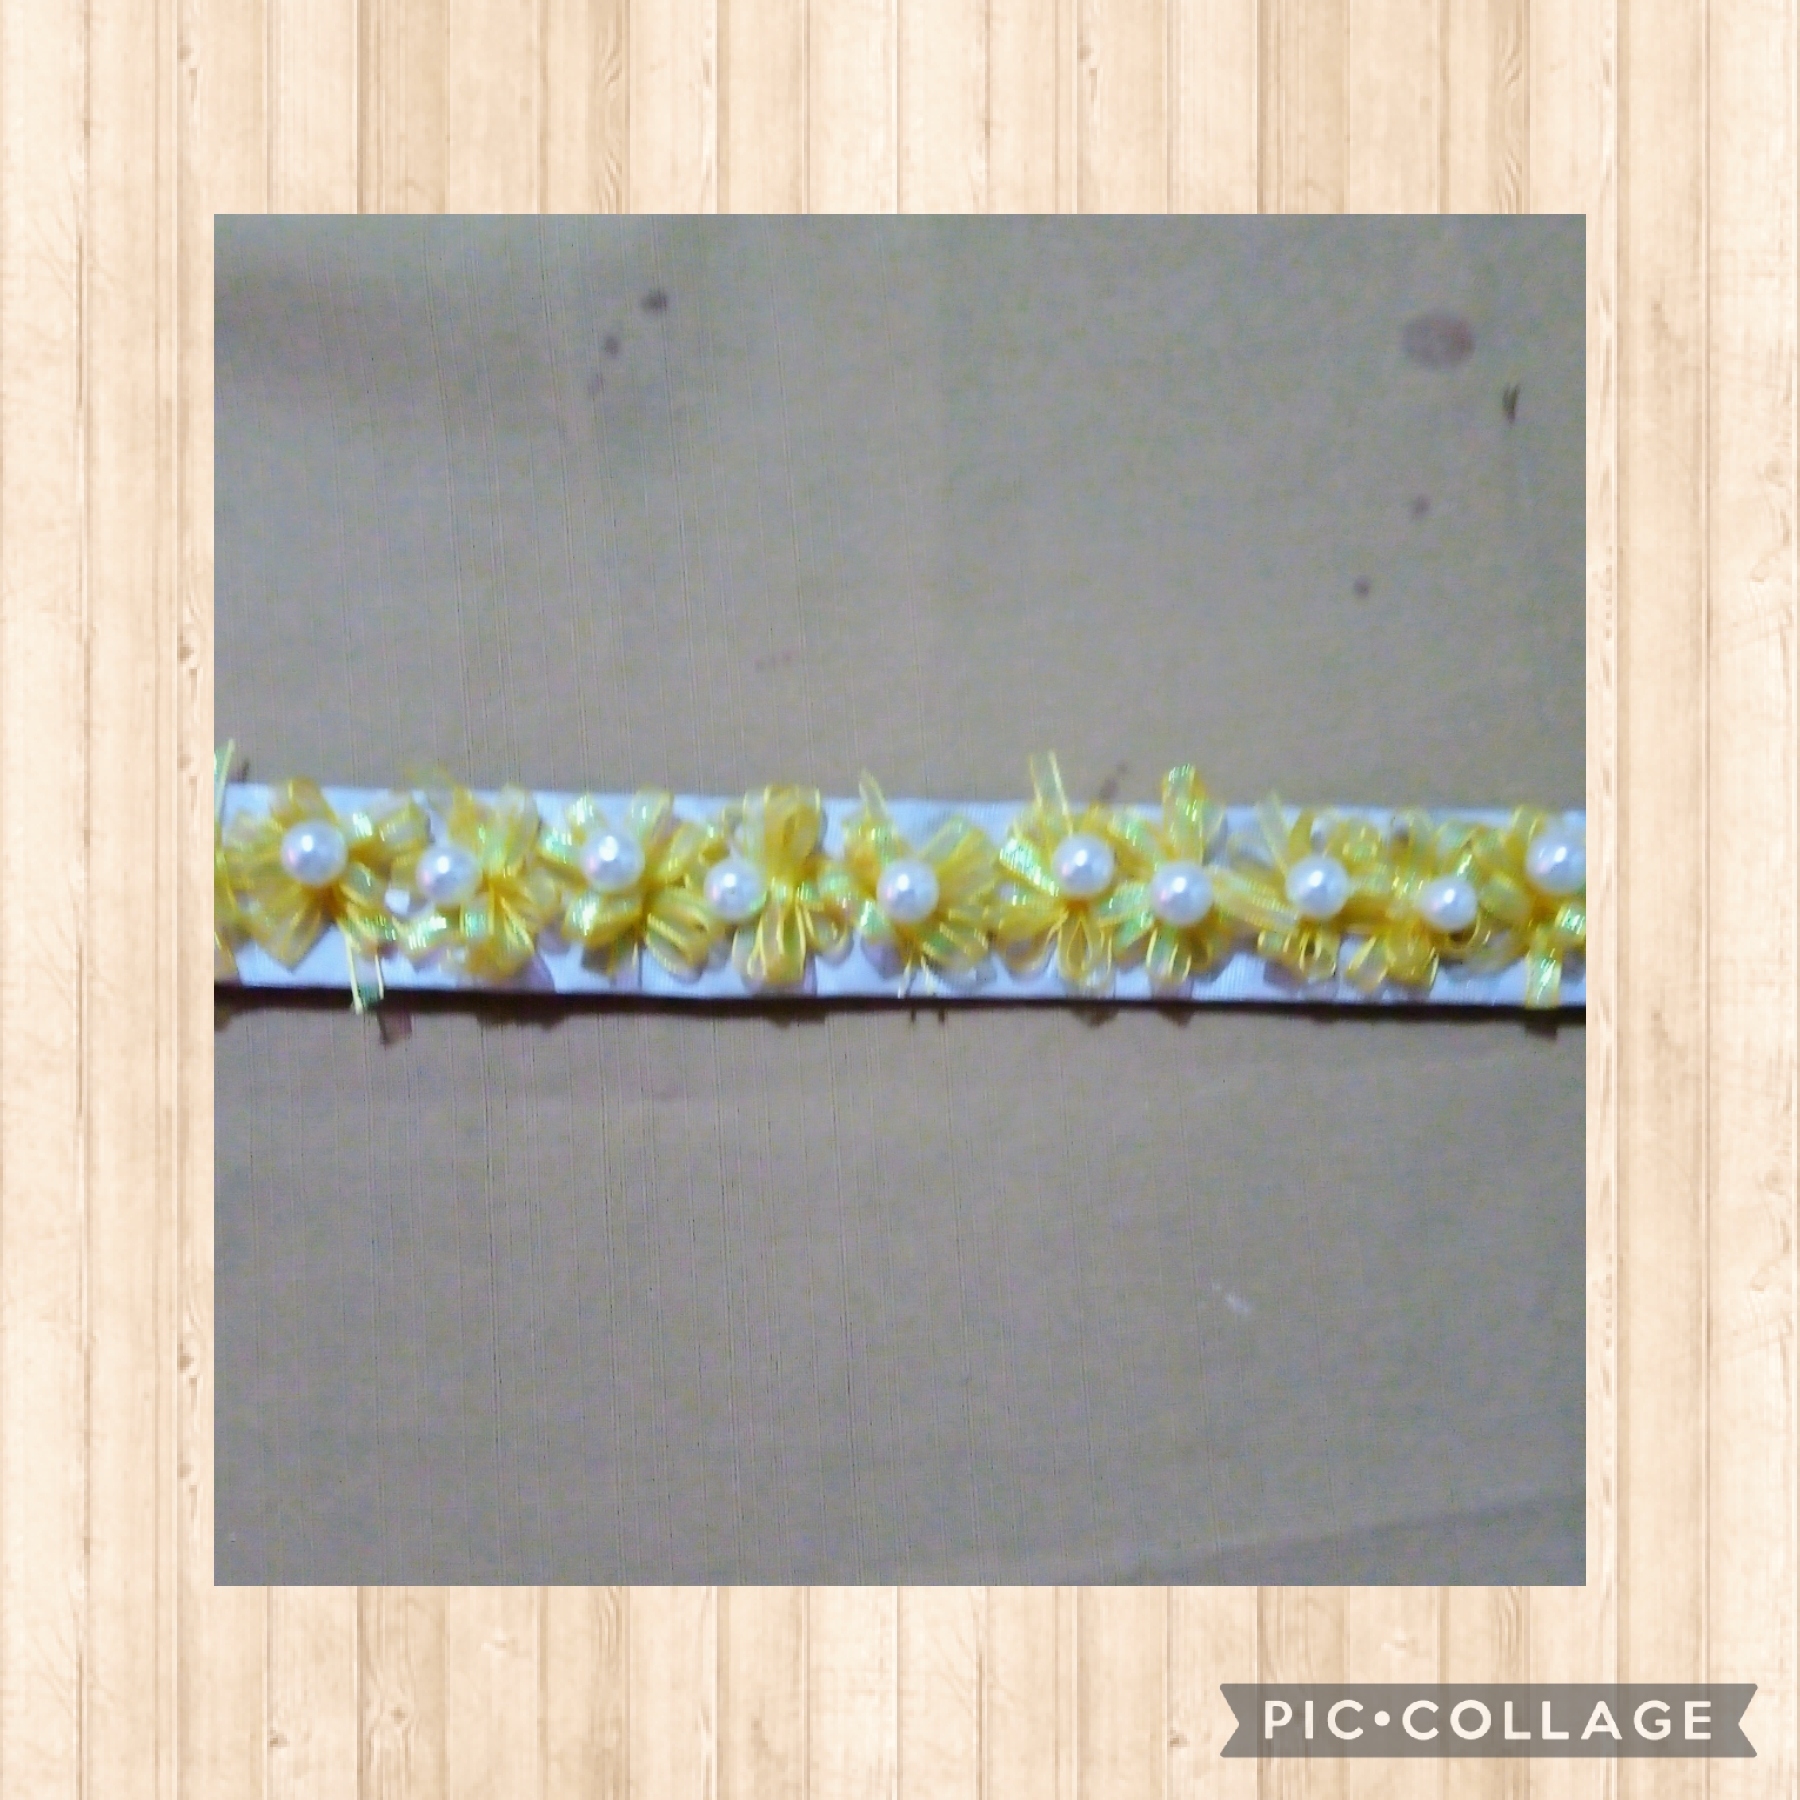
PASO CINCO: pegue las dieciseis perlitas en los lacitos y así va quedando
.STEP FIVE: stick the sixteen pearls in the bows and that's how it looks
PASO SEIS: En este paso voy a elaborar el cierre de la tiara de esta forma, con la cinta dorada de raso elaboro un lazo, a la tiara le doy forma redonda y pegó por la parte de adentro de los extremos el lazo (ver fotos y así ya queda cerrada.
STEP SIX: In this step I am going to make the closure of the tiara in this way, with the gold satin ribbon I make a bow, I give the tiara a round shape and glue the bow on the inside of the ends (see photos and so it is closed.
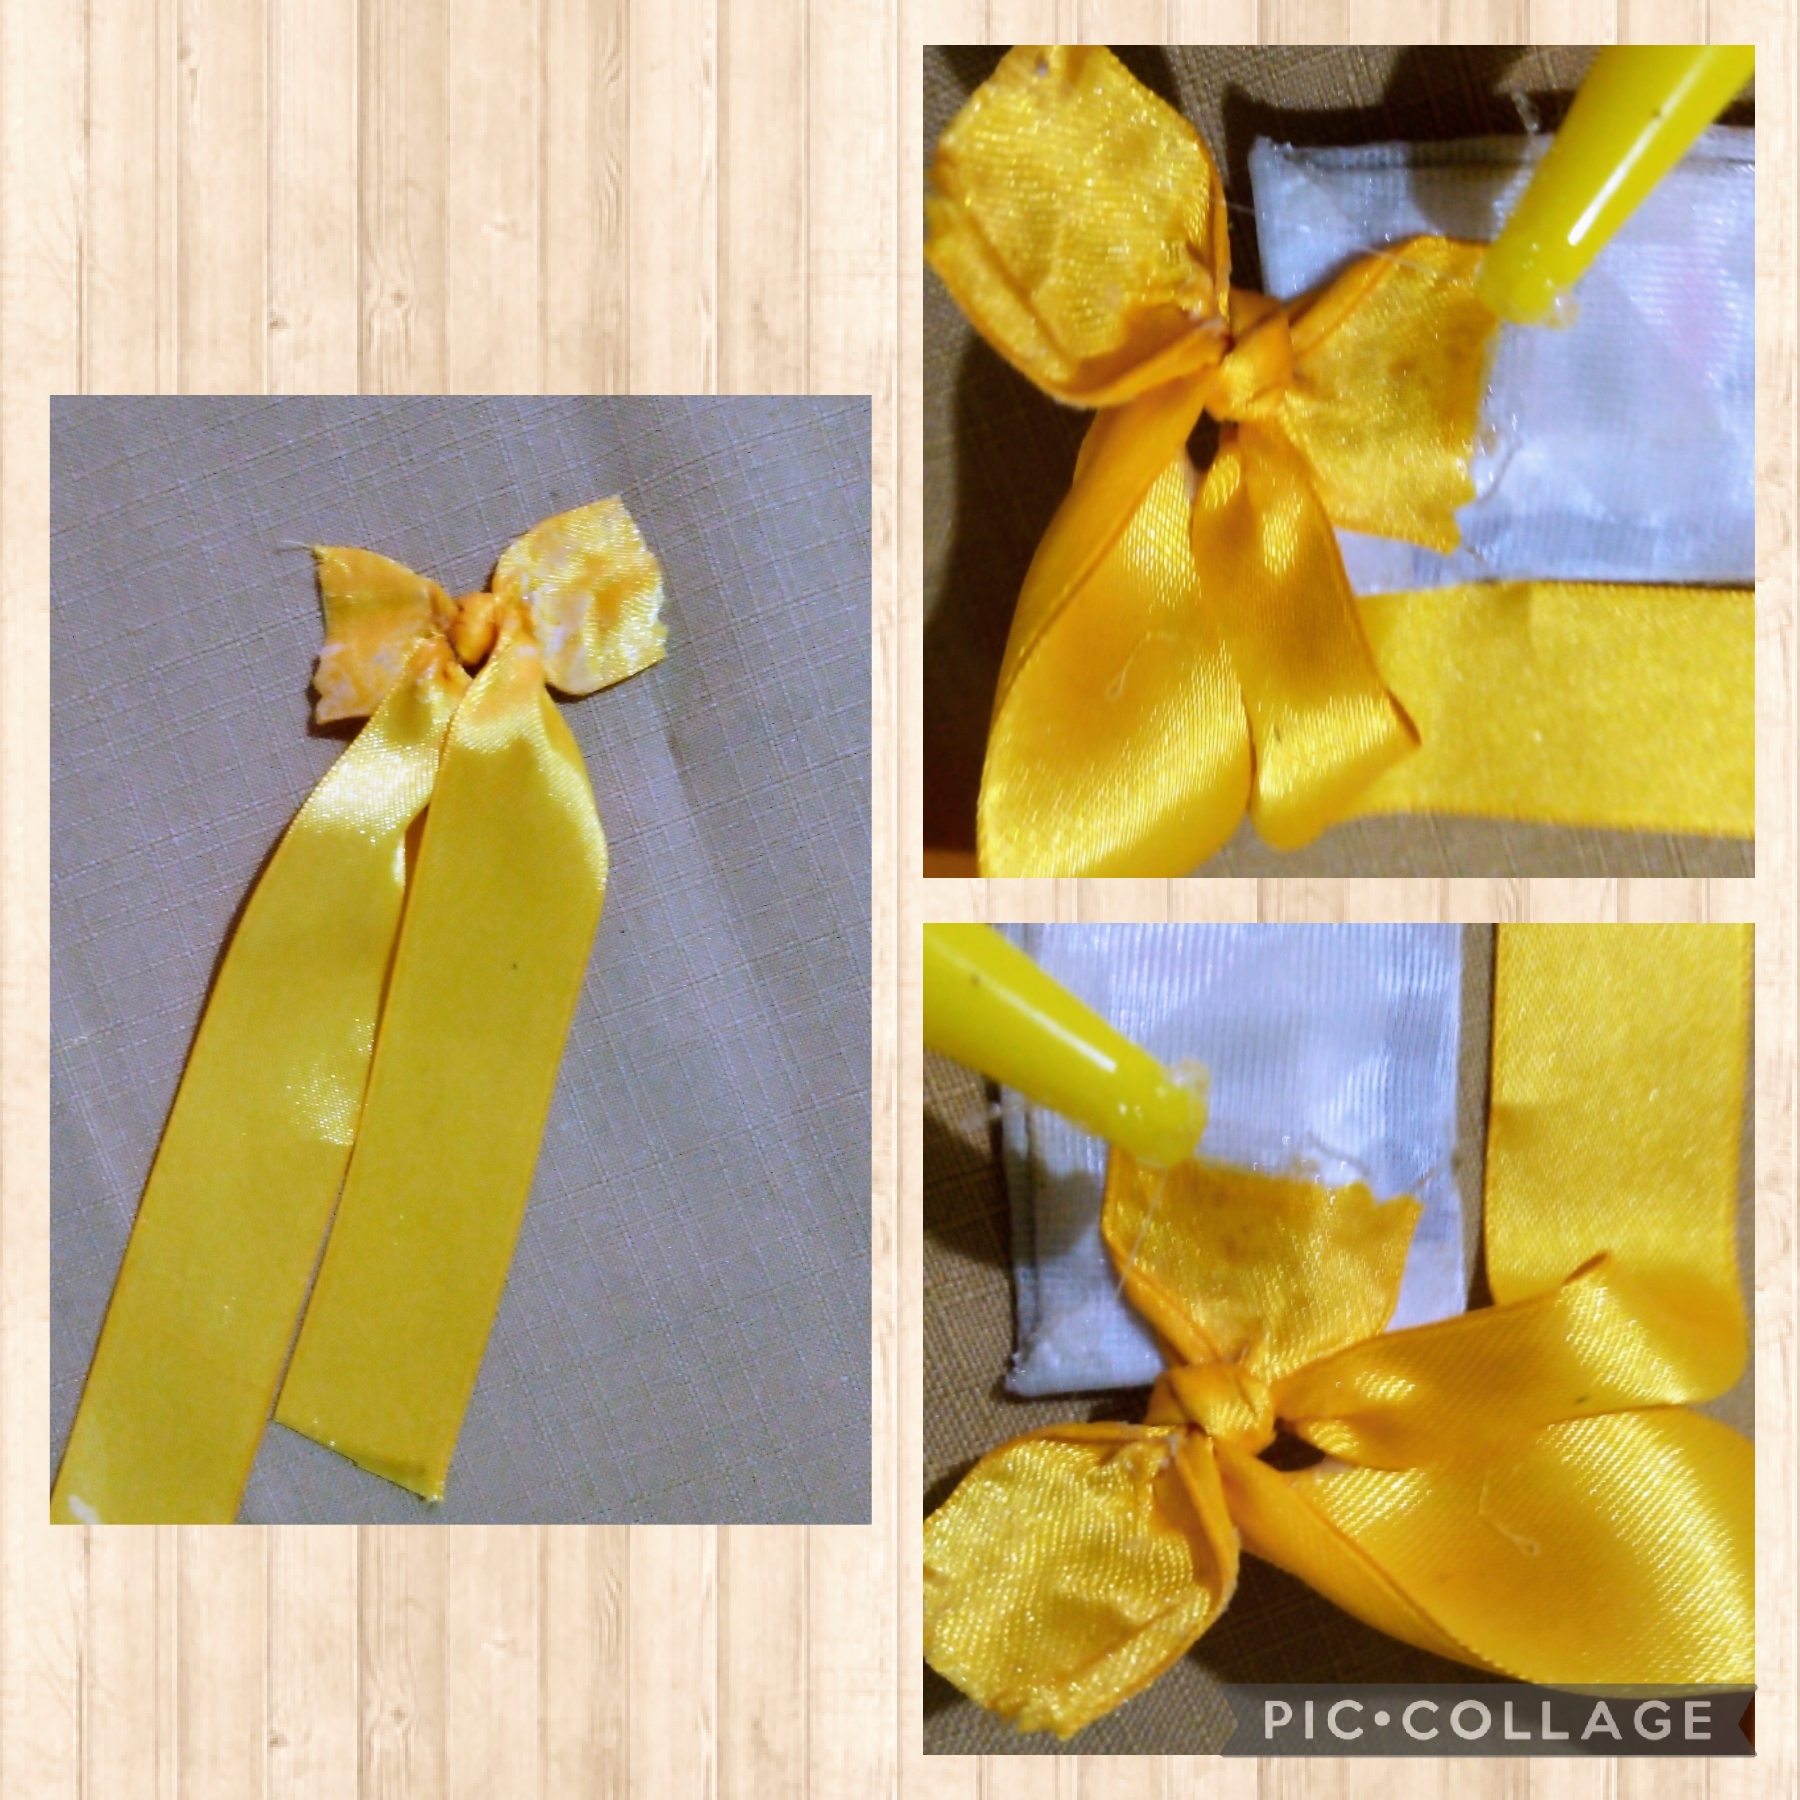
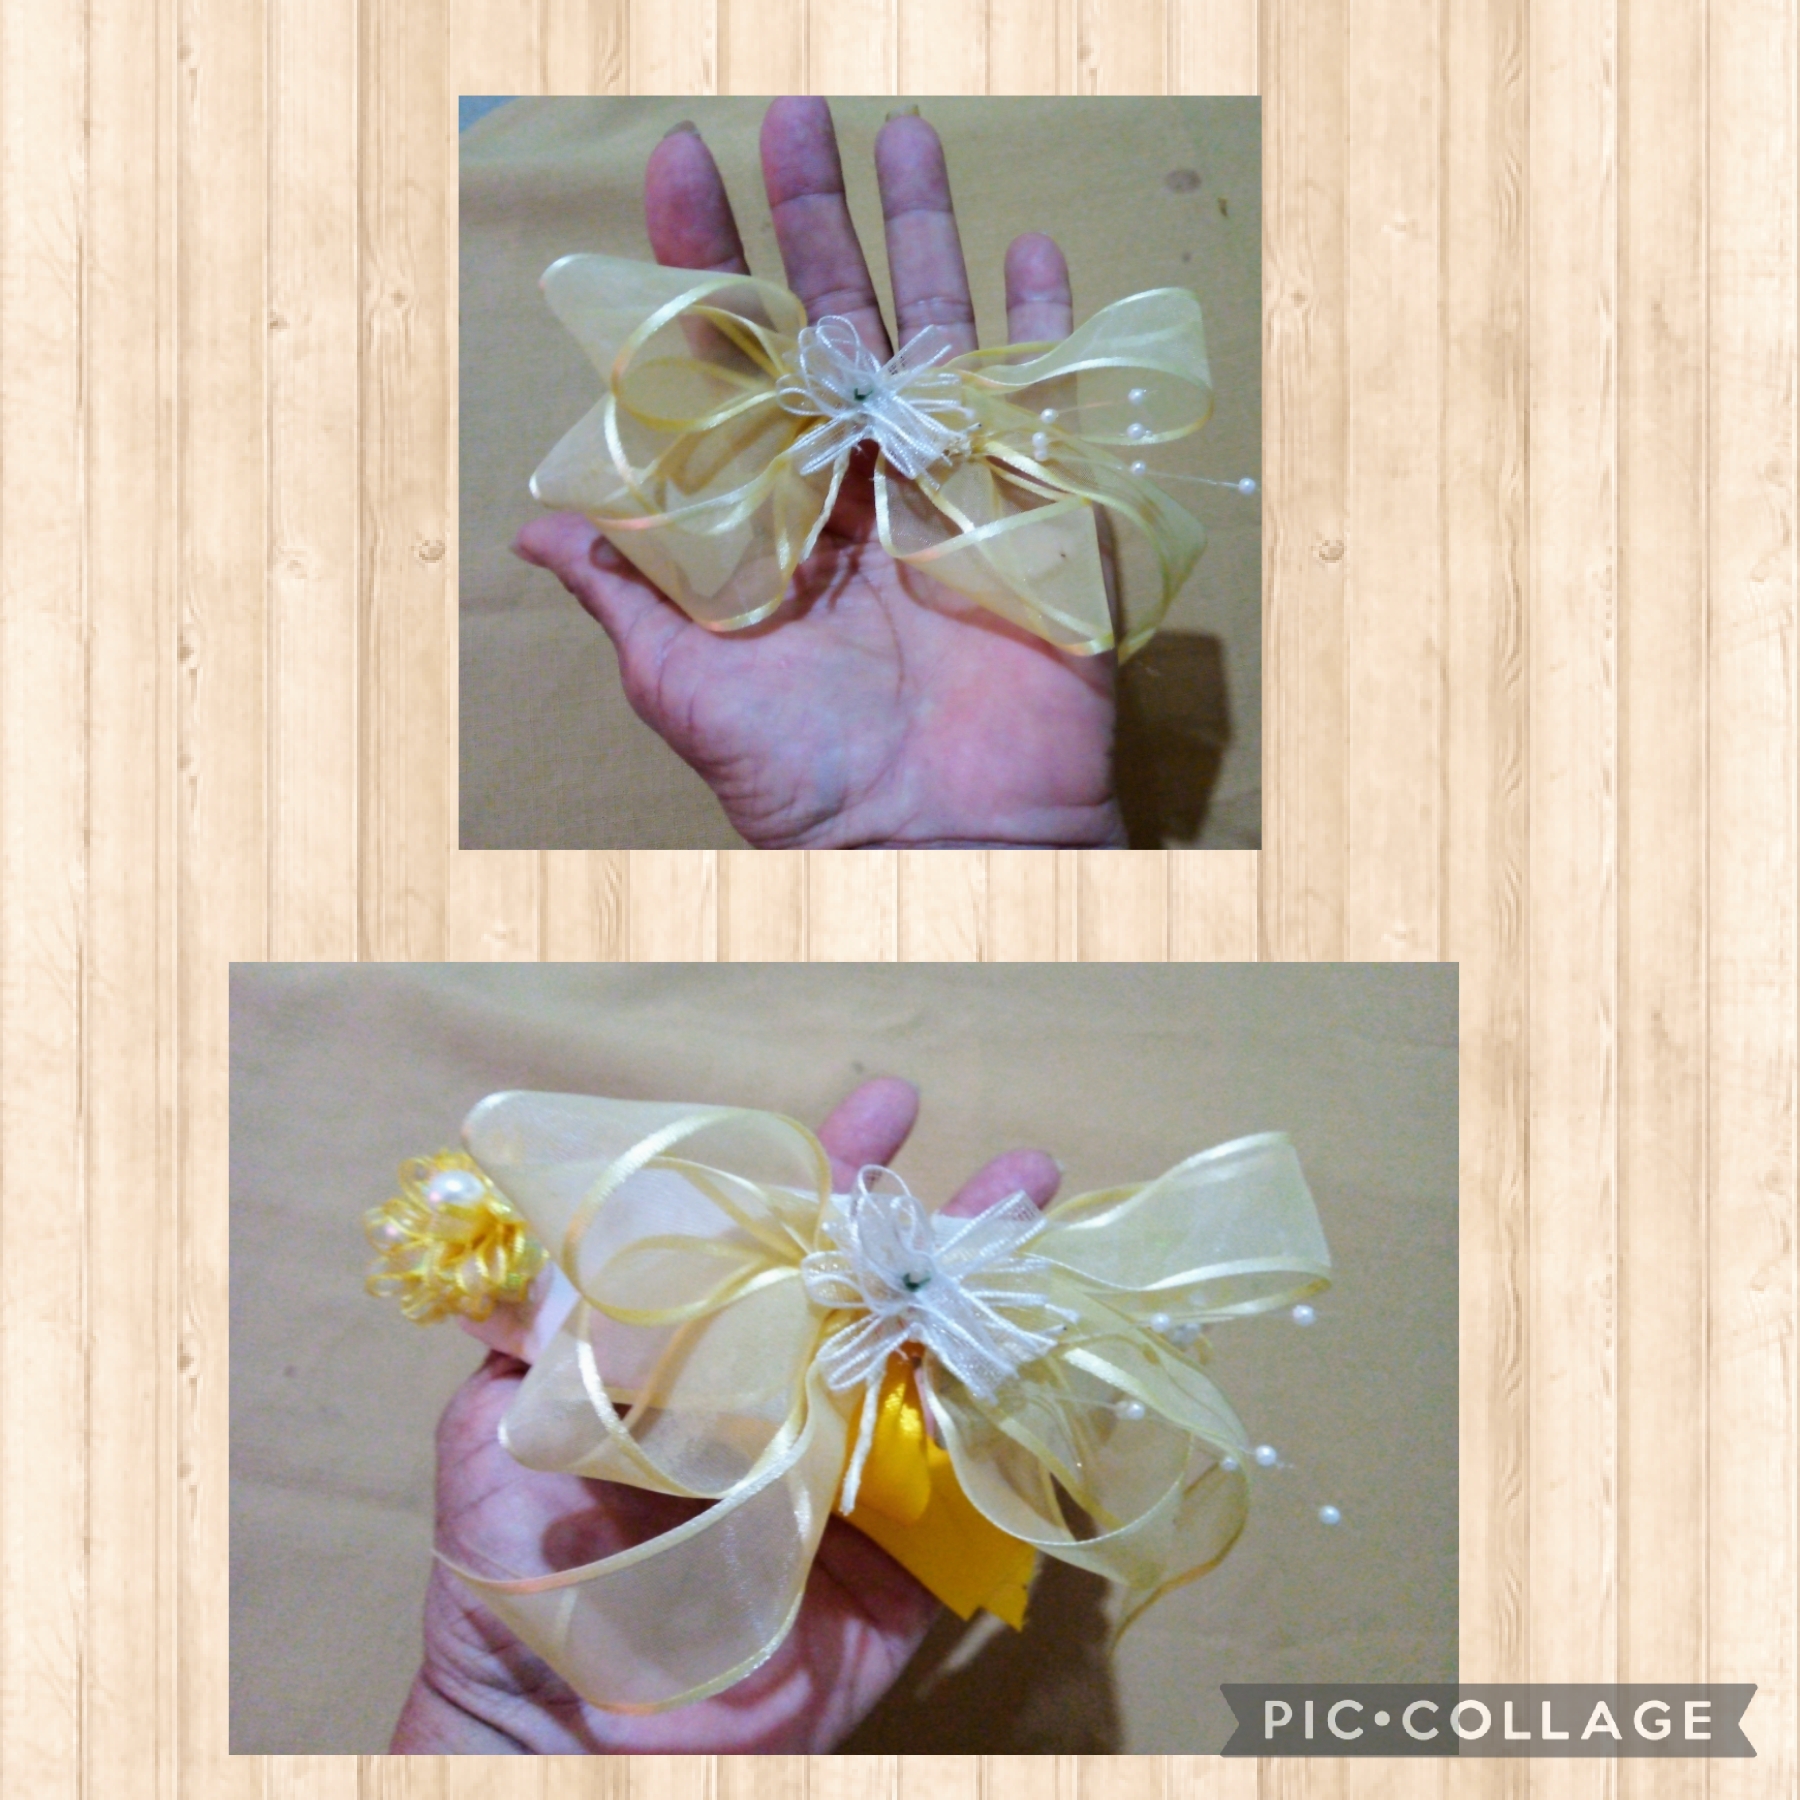
PASO SIETE: ya tenemos cerrada la tiara, ahora usando un moño que realicé con anterioridad, se lo coloco encima del cierre para ocultar la unión y así quedó lista la tiara.
STEP SEVEN: We already have the tiara closed, now using a bow that I made previously, I place it on top of the closure to hide the union and thus the tiara is ready.
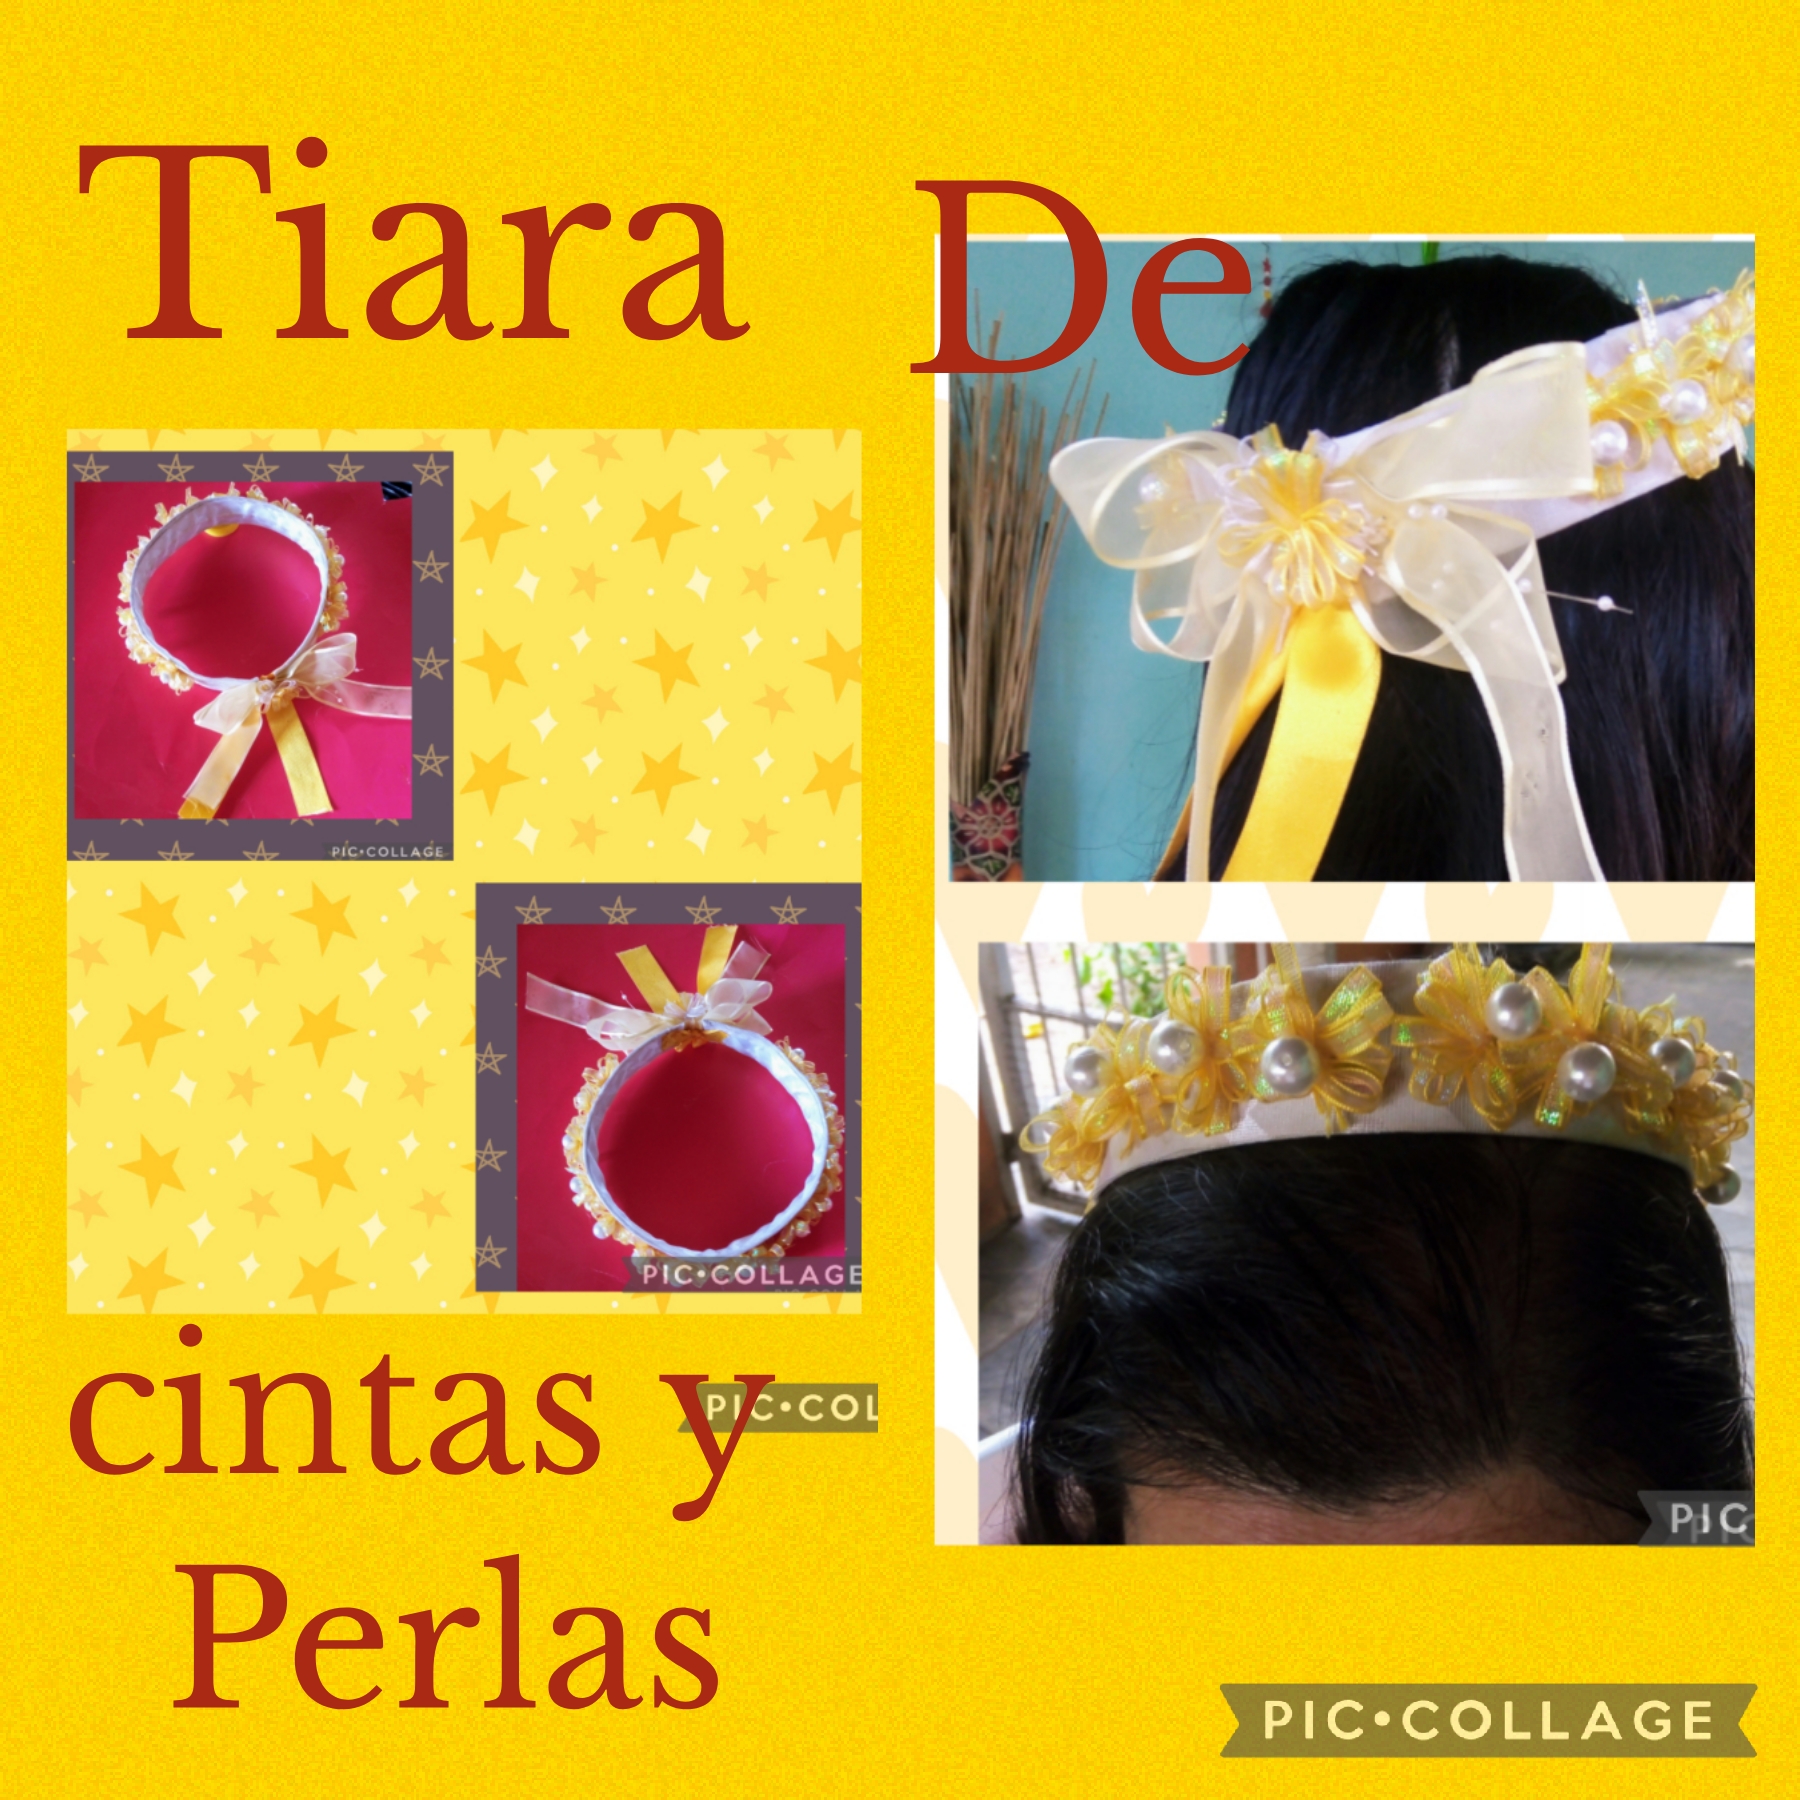
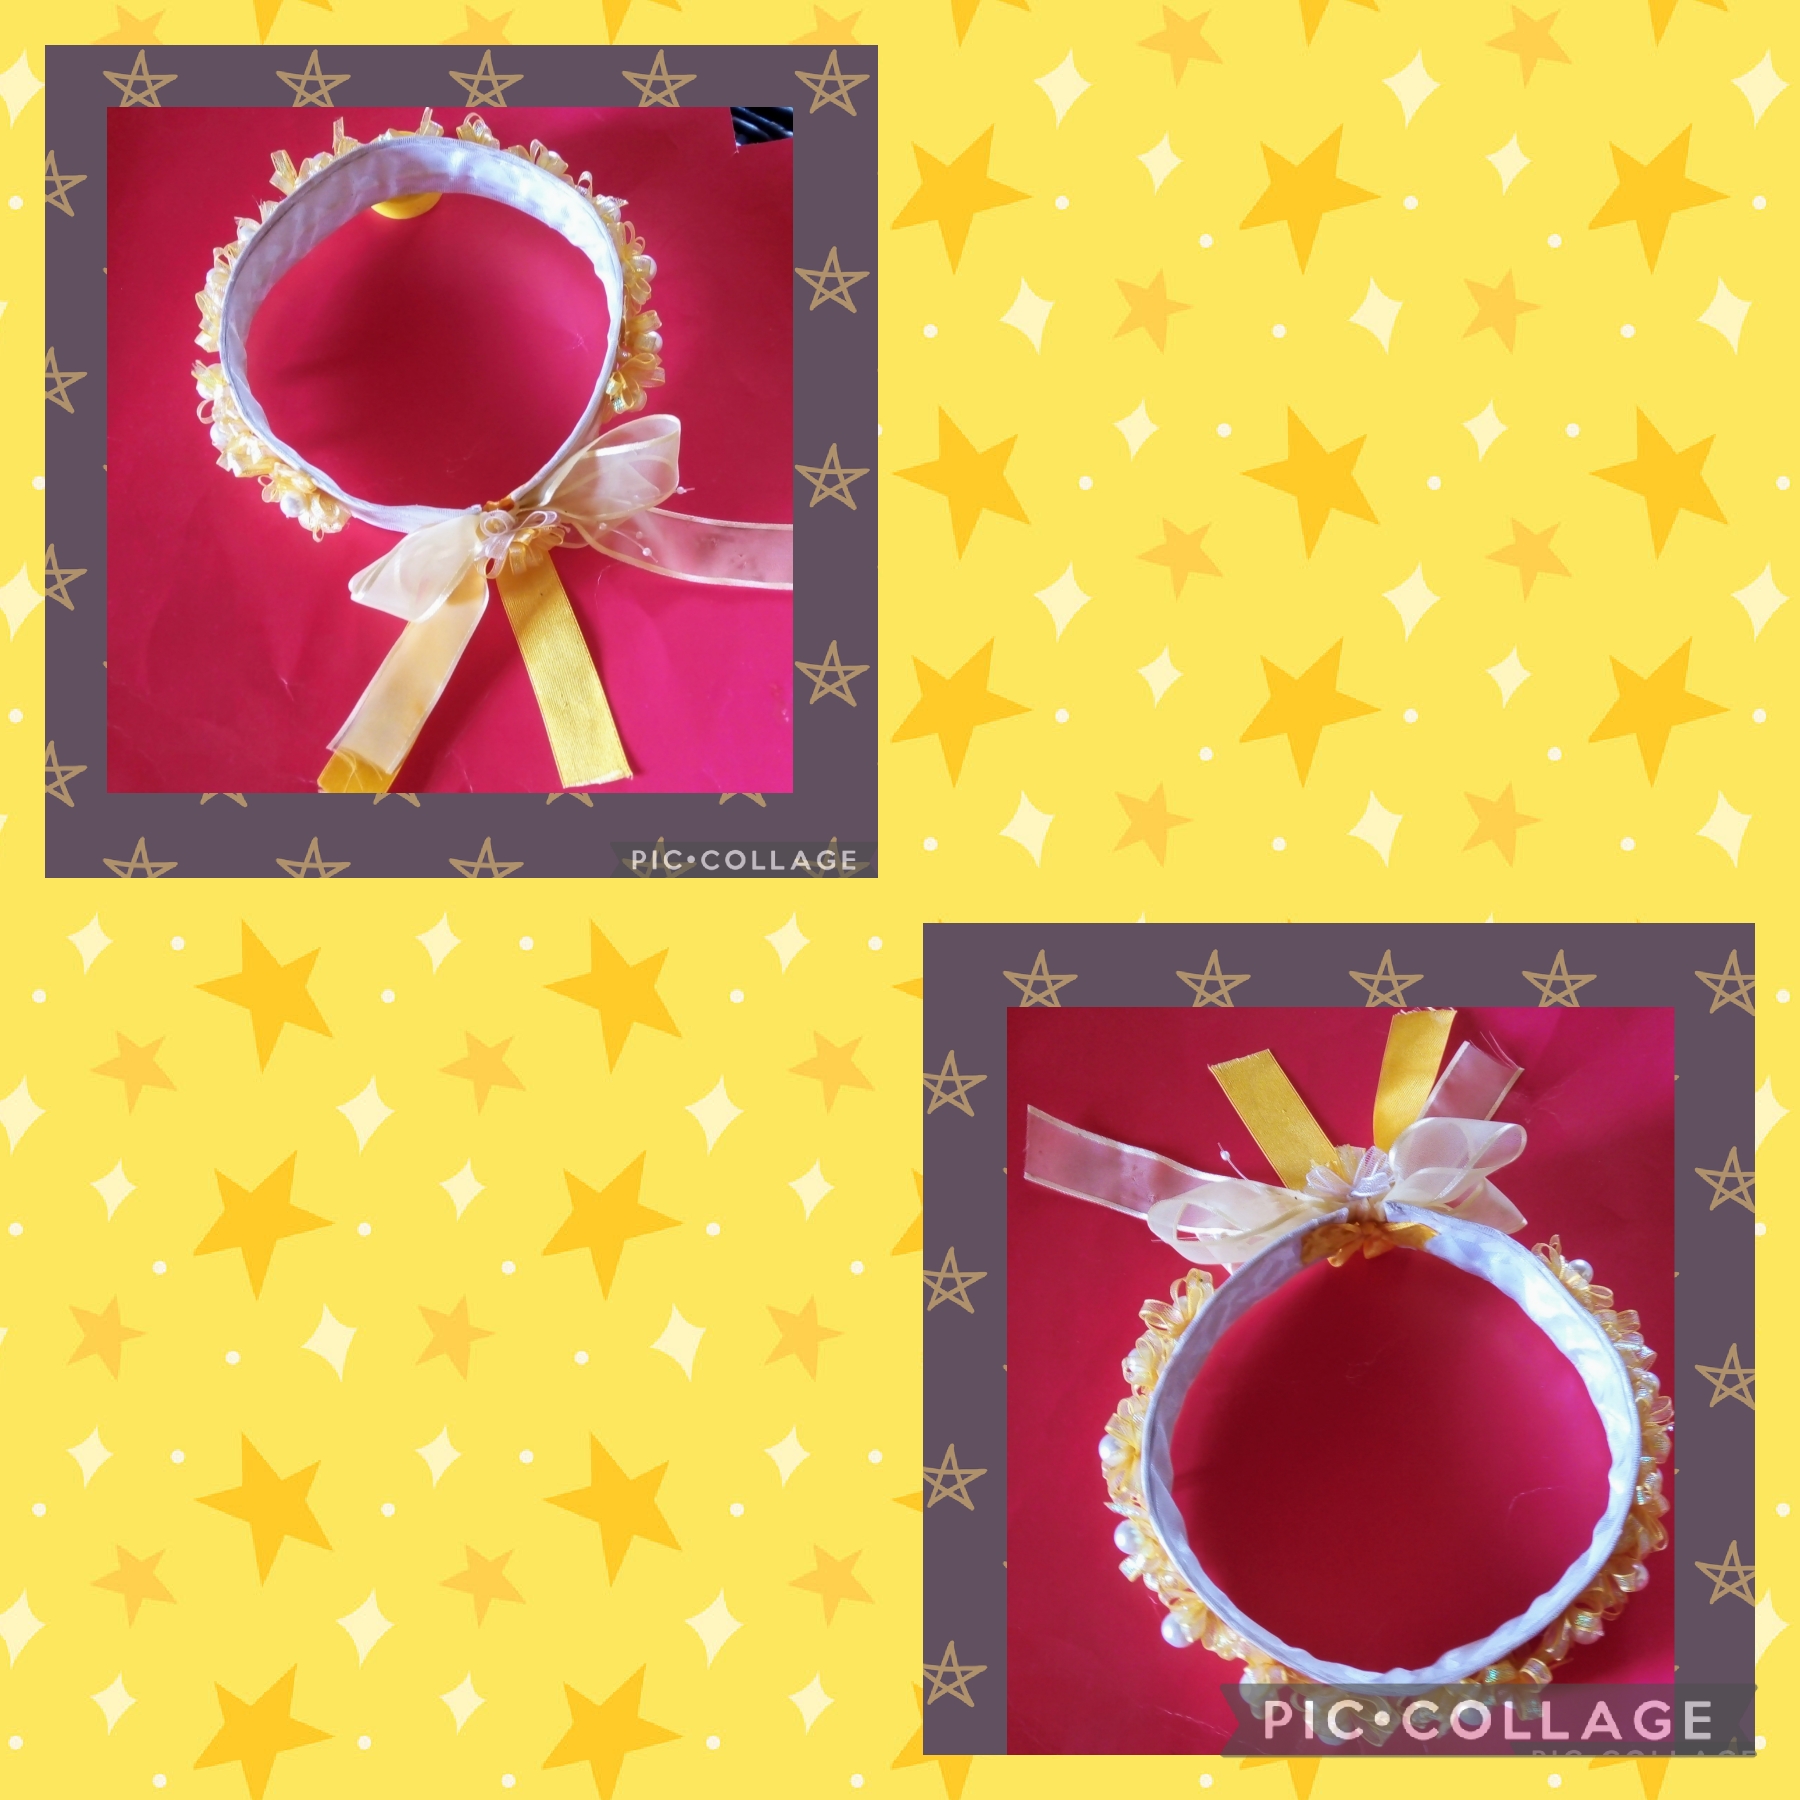
Artesanos de esta comunidad de joyas, así quedó el resultado final de mi manualidad creativa de hoy, una hermosa Tiara de cintas y perlas para un cortejo nupcial; espero verlos pronto elaborando sus tiaras por supuesto con su toque personal, aquí solo les dejo la idea. Gracias por todos sus agradables comentarios y nos vemos en la próxima manualidad.
Artisans of this jewelry community, this is the final result of my creative craft today, a beautiful Tiara of ribbons and pearls for a bridal party; I hope to see you soon making your tiaras of course with your personal touch, here I just leave you the idea. Thank you for all your nice comments and see you in the next craft.
Las imágenes de este tutorial son de mi propiedad, las fotos fueron tomadas con mi celular Motorola E6 y las edite con una aplicación gratis del mismo.
Para traducir texto usé geogle traduuctor.
The images in this tutorial are my property, the photos were taken with my Motorola E6 cell phone and I edited them with a free application of the same.
To translate text I used geogle translator.

Quedó hermosa y delicada , excelente trabajo 😘
Gracias @lorennys, tus comentarios siempre me realzan y halagan, me encanta, un abrazotote.🥰
Que tiara tan bonita y delicada como para una comunión o ocasión especial, imagino que trabajaste bastante en las ferias, esperamos pudieras vender tus accesorios, este sin duda es un excelente tutorial que muy pocas personas hacen. Saludos
Cómo siempre muy feliz por recibir esos halagadores comentarios hive-189504, la tiara en efecto es para un cortejo nupcial, y la llevarán las niñas más pequeñas, es una alegría que te haya gustado, saluditos.
Wow te quedo hermosa!
Gracias @monicamm, me encantó tu comentario, saludos.
Que preciosura @nhaydu, me encantó esta delicada pieza con ese toque romántico y super angelical. Un fuerte abrazo.
Gracias por la gentileza de visitar mi blog, querida @aksurevm, me encantó tu comentario, un abrazo grandote.