✨️💕Bienvenidos | Welcome💕✨️
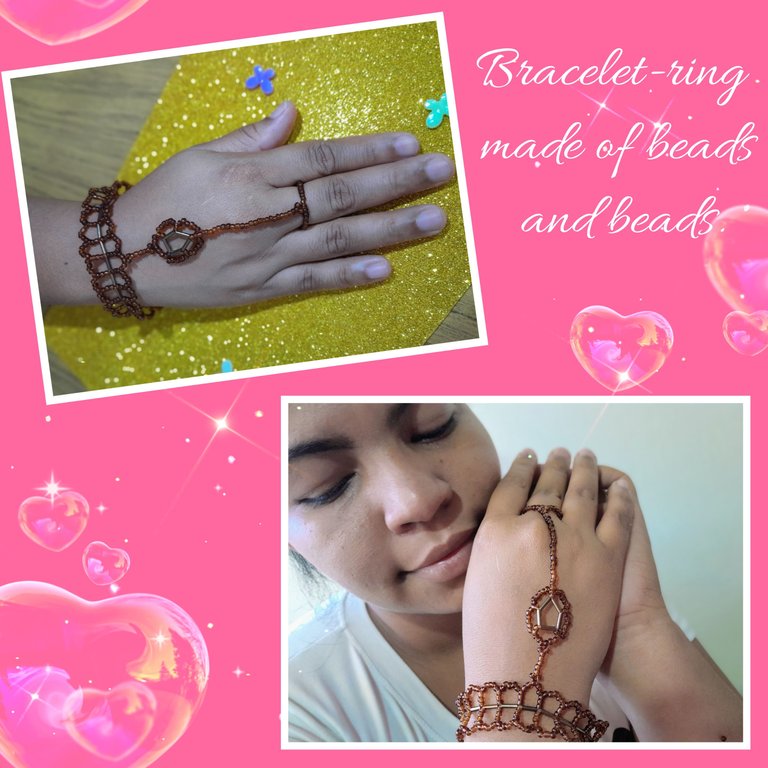
Hola amigos de Jewelry 💎, un cordial saludo para esta linda comunidad llena de creatividad y talento, es un placer poder compartir con ustedes nuevamente, en esta ocasión muestro la elaboración de una linda Pulsera-Anillo elaborada con mostacillas y canutillos, quise darle un estilo árabe, aquí les dejo el paso a paso para su elaboración.
Hello friends of Jewelry 💎, a warm greeting for this beautiful community full of creativity and talent, it is a pleasure to share with you again, this time I show the development of a nice Bracelet-Ring made with beads and beads, I wanted to give it an Arabian style, here I leave the step by step for its development.
Materiales| Materials
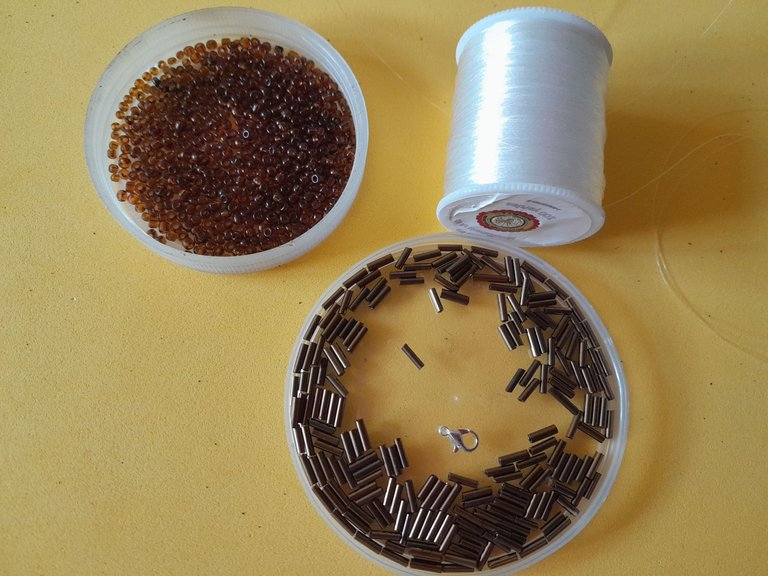
Mostacillas marrones.
Canutillos marrones.
Hilo de nailon.
Cerrador.
Aguja.
Brown beads.
Brown beads.
Nylon thread.
Nylon thread.
Needle.
Paso 1| Step 1
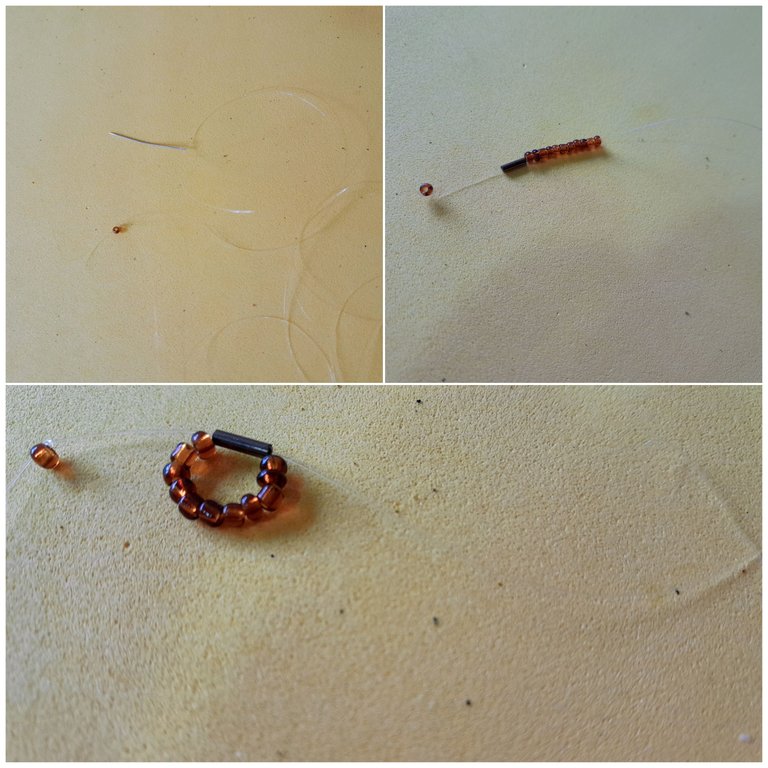
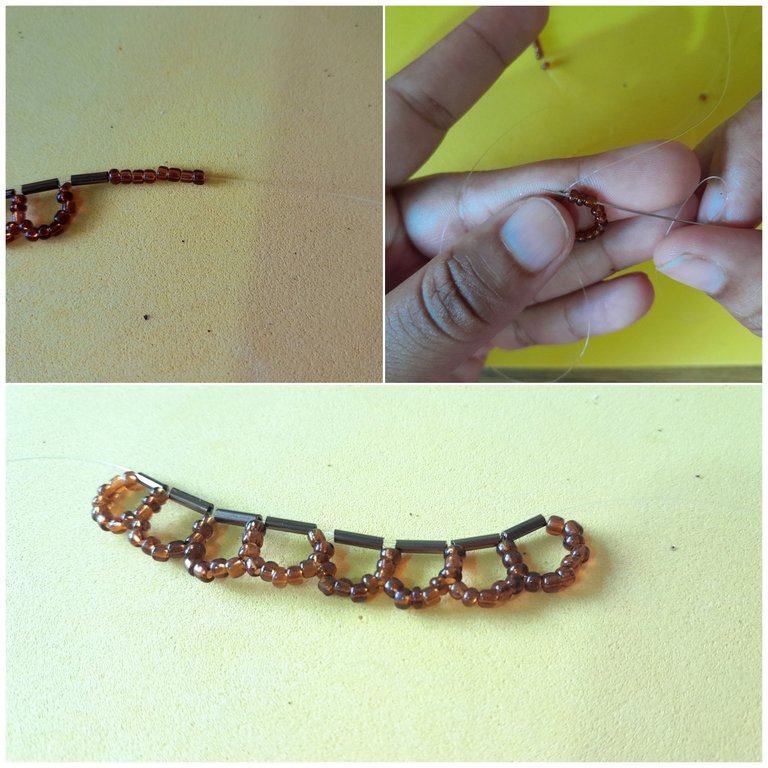
Para esta pulsera usé nailon del más fino, para trabajar mejor le puse aguja, facilita mucho a la hora de pasar la pedrería.
Ajusto la punta con una Mostacilla, luego meto un canutillo y 11 Mostacilla, paso el hilo por el canutillo, dando forma de semicírculo.
For this bracelet I used the finest nylon, to work better I put needle, it makes it much easier to pass the rhinestones.
I adjust the tip with a Mostacilla, then I put a bead and 11 Mostacilla, I pass the thread through the bead, giving a semicircle shape.
Paso 2| Step 2
Introduzco un canutillo, a diferencia del paso anterior, esta vez solo puse 8 mostacillas, y paso el hilo por las tres mostacillas del semicírculo anterior, luego lo paso por el canutillo, lo sigo haciendo hasta lograr el tamaño deseado.
I introduce a bead, unlike the previous step, this time I only put 8 beads, and I pass the thread through the three beads of the previous semicircle, then I pass it through the bead, I keep doing it until I reach the desired size.

Paso 3| Step 3
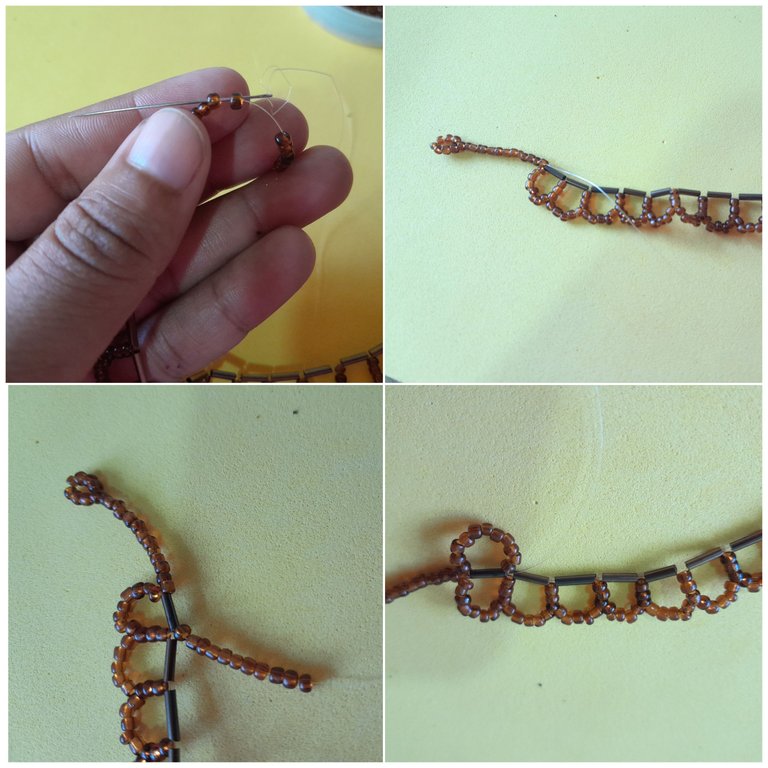
Introduzco 20 mostacillas, luego paso el hilo por la mostacilla número 11 formando un círculo, termino de pasar el hilo por el resto de las mostacillas, y por el primer canutillo, al igual que en el paso 1, meto 11 mostacillas y luego paso por el canutillo.
I insert 20 beads, then I pass the thread through bead number 11 forming a circle, I finish passing the thread through the rest of the beads, and through the first bead, as in step 1, I insert 11 beads and then I pass through the bead.
Paso 4| Step 4
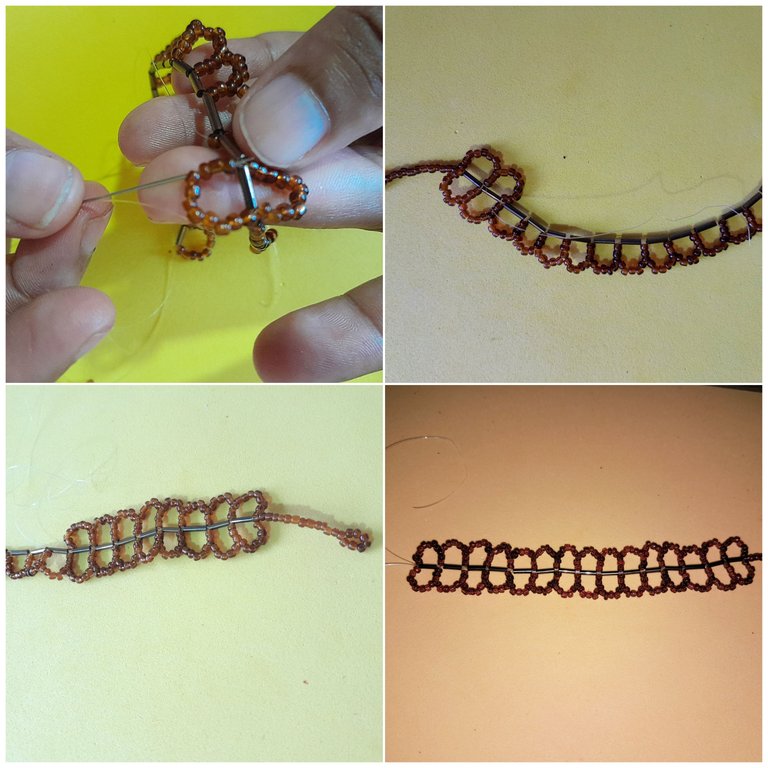
Cómo esta es una pulsera que tiene 2 lados, la parte de apoyo será nuestros canutillos centrales, ya tenemos nuestro primer semicírculo de mostacilla, entonces seguimos con el mismo procedimiento, en este caso pase el hilo por segundo Canutillo, introduzco 8 mostacillas luego pasó el hilo por las tres primeras mostacillas del semicírculo anterior, así sucesivamente como ya dije nuestra parte central serán los canutillos que ya habíamos hecho en el primer lado y así sucesivamente hasta que termine el segundo lado de la pulsera, luego introduje 20 mostacillas, el cerrador y asegure bien para que no se suelte
As this is a bracelet that has 2 sides, the support part will be our central beads, we already have our first semicircle of beads, then we continue with the same procedure, in this case pass the thread through the second bead, I introduce 8 beads then passed the thread through the first three beads of the previous semicircle, and so on as I said our central part will be the beads that we had already done on the first side and so on until the end of the second side of the bracelet, then introduced 20 beads, the closer and secure well so it does not come loose.
Paso 5| Step 5
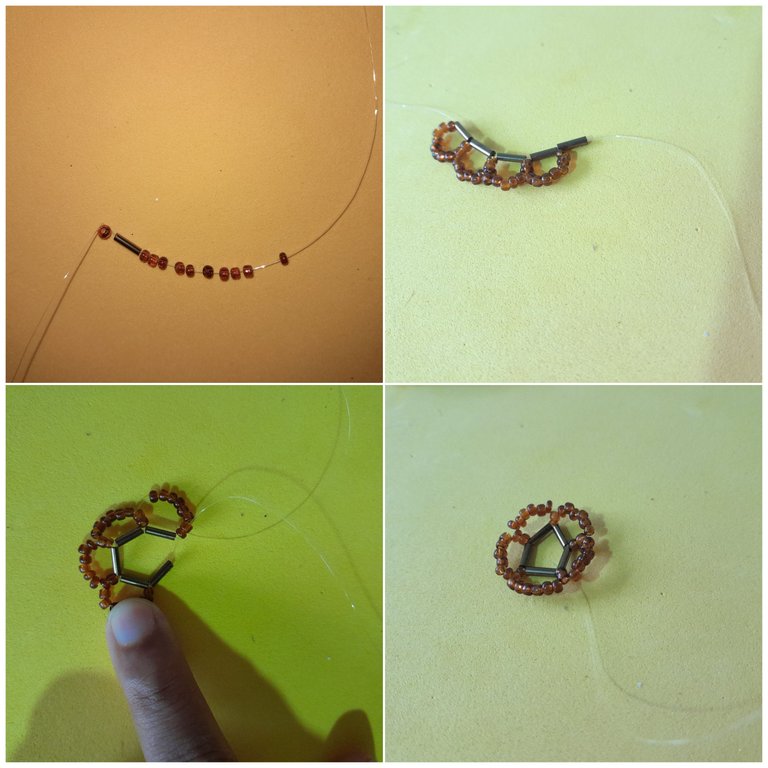
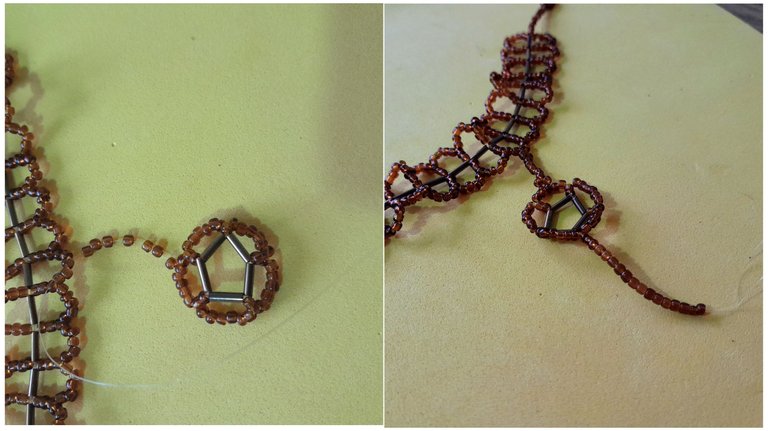
Para la flor introduje un Canutillo 10 mostacilla, luego pasa el hilo por el Canutillo, igualmente como hicimos con nuestra pulsera introducimos un Canutillo 8 mostacillas, Luego pasamos el hilo por las primeras dos mostacillas del semicírculo anterior y así sucesivamente hasta formar cuatro semicírculos, esta parte será un poco diferente porque aquí ya estoy cerrando la flor, paso el hilo por las 2 mostacillas del primer semicírculo, luego introduzco 6 mostacillas y pasó el hilo por el último semicírculo que ya había hecho, cierro en el canutillo.
For the flower I introduce a bead 10 beads, then pass the thread through the bead, the same as we did with our bracelet we introduce a bead 8 beads, then we pass the thread through the first two beads of the previous semicircle and so on until we form four semicircles, this part will be a little different because here I am already closing the flower, I pass the thread through the 2 beads of the first semicircle, then I introduce 6 beads and passed the thread through the last semicircle that I had already made, I close in the comb.

Paso 6| Step 6
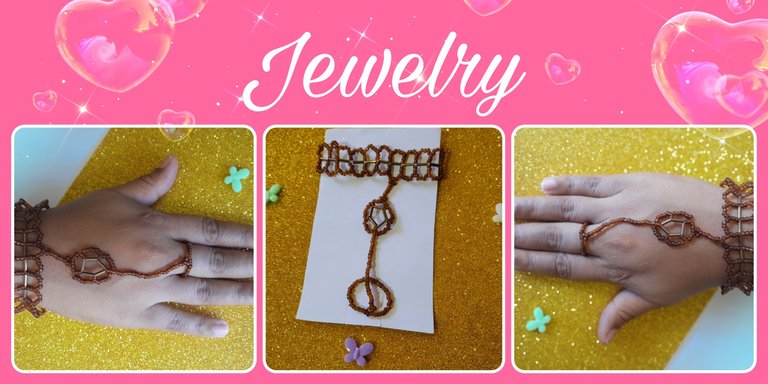
Con la flor ya elaborada paso el hilo por la mostacilla hasta llegar a la central, introduzco 7 mostacillas y paso por la mostacilla central de la pulsera, devuelvo el hilo por la flor, paso por la parte central hasta llegar al otro extremo, luego meto 20 mostacillas, luego hago un anillo sencillo con 15 mostacillas, y ya tengo lista mi pulsera-anillo.
With the flower already elaborated I pass the thread through the bead until I reach the central one, I introduce 7 beads and I pass through the central bead of the bracelet, I return the thread through the flower, I pass through the central part until I reach the other end, then I introduce 20 beads, then I make a simple ring with 15 beads, and I have my bracelet-ring ready.
Presentación final/Final presentation.
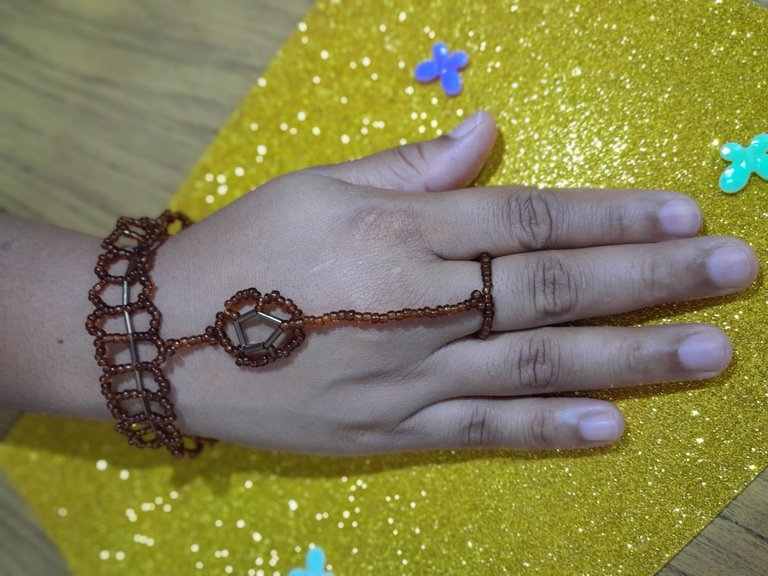
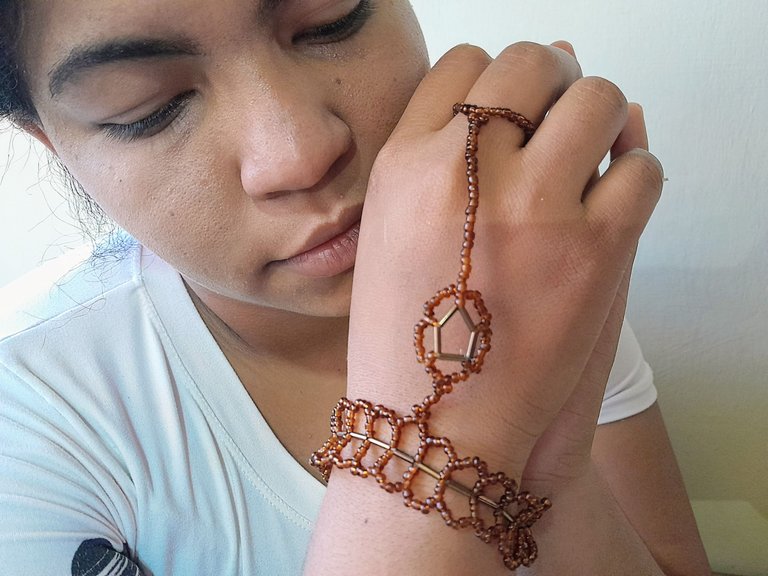
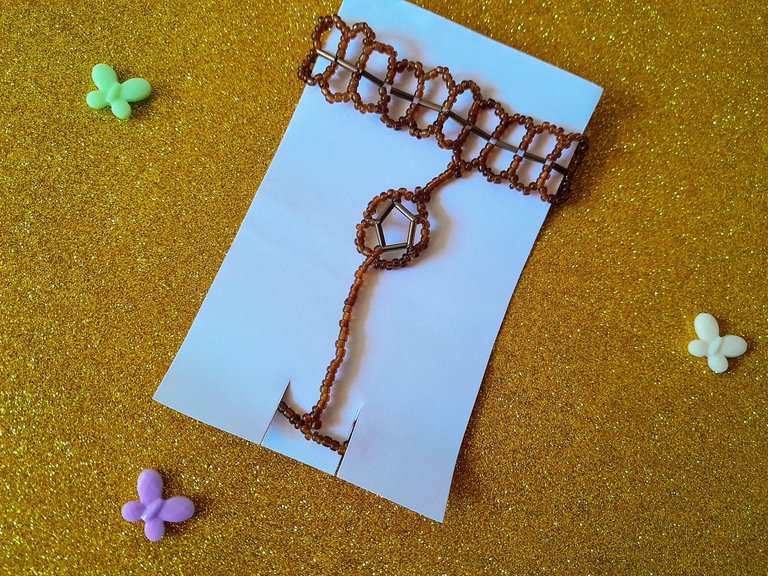
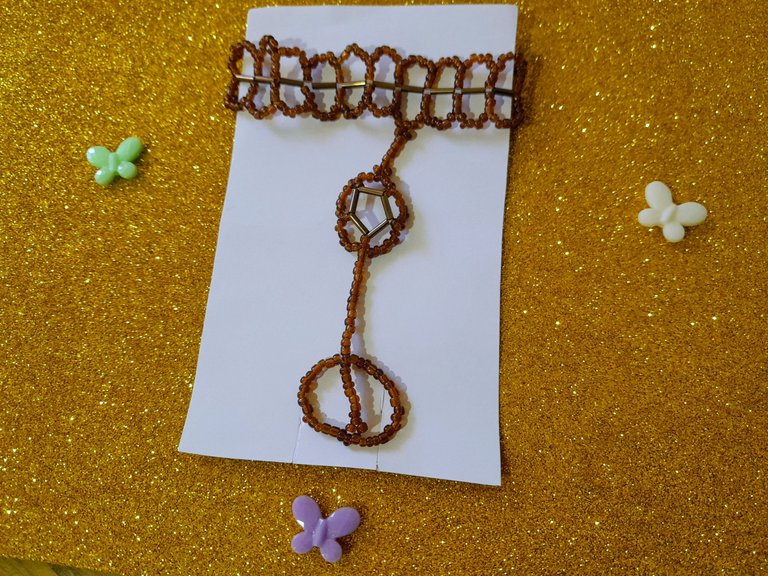
Muchas gracias por este lindo espacio, espero les haya gustado mi elaboración de hoy, mis mejores deseos, nos vemos pronto, saludos ☺️.
Thank you very much for this nice space, I hope you liked my elaboration today, best wishes, see you soon, greetings ☺️.
Fotos propias tomadas con mi teléfono Samsung A13, 50 mp. Edición de portada con Picsart collage en Gridart.
Own photos taken with my Samsung A13 phone, 50 mp. Cover editing with Picsart collage in Gridart.
Contenido exclusivo para hive. / Exclusive content for hive.
Traducción/ translation --->deepl
Este tipo de pulsera quedan hermosas, nos encanta la forma que le diste y los materiales que usaste, una hermosa pulsera muy elegante a bajo costo, gracias por ese tutorial 😉
Muchas gracias, así es los materiales son de bajo costo, 6 con muy poco se pude hacer lindas creaciones.
Your content has been voted as a part of Encouragement program. Keep up the good work!
Use Ecency daily to boost your growth on platform!
Support Ecency
Vote for new Proposal
Delegate HP and earn more
Thank you very much for your support.
Thank you for sharing this amazing post on HIVE!
Your content got selected by our fellow curator @rezoanulvibes & you just received a little thank you via an upvote from our non-profit curation initiative!
You will be featured in one of our recurring curation compilations and on our pinterest boards! Both are aiming to offer you a stage to widen your audience within and outside of the DIY scene of hive.
Join the official DIYHub community on HIVE and show us more of your amazing work and feel free to connect with us and other DIYers via our discord server: https://discord.gg/mY5uCfQ !
If you want to support our goal to motivate other DIY/art/music/homesteading/... creators just delegate to us and earn 100% of your curation rewards!
Stay creative & hive on!
Thank ☺️☺️☺️