¡Hola querida comunidad! Estaba viendo entre mis cuentas y encontré unas preciosas mariquitas, estas son de mis insectos favoritos, por sus llamativos colores y su forma redondita, por lo que decidí hacerme unos bonitos zarcillos y por supuesto, vine a compartir el paso a paso con todos ustedes para que vean que es bastante sencillo y con un resultado excelente.
English Version
Hello dear community! I was looking through my beads and I found some beautiful ladybugs, these are my favorite insects, for their bright colors and their round shape, so I decided to make myself some nice tendrils and of course, I came to share the step by step with you all so you can see that it is quite simple and with an excellent result.
Imagen creada por mí en Canva / Image created by me in Canva
Materiales:
- Cuentas varias (las mariquitas y otras decorativas que le combinen)
- Perlitas doradas
- Alambre (0.8mm)
- Pinzas y alicates para joyería
Procedimiento:
Para empezar seleccionaremos las cuentas que usaremos en nuestra creación, obviamente, como las protagonistas son las mariquitas, ellas no pueden faltar, además, elegiremos varias cuentas para realzar la belleza de las mariquitas, este paso es al gusto de quien hace el diseño, yo he elegido unas cuentas que son como cristales en un color morado grisáceo, siento que el morado va muy bien con el rojo y en este tono me gusta porque no opaca para nada a las hermosas mariquitas. Para complementar, seleccioné también un par de cristales rojos más grandecitos para que hagan juego con el color de las mariquitas.
English Version
Materials:
- Various beads (ladybugs and other matching decorative beads).
- Gold beads
- Wire (0.8mm)
- Tweezers and pliers for jewelry
Procedure:
To begin we will select the beads that we will use in our creation, obviously, as the protagonists are the ladybugs, they can not miss, in addition, we will choose several beads to enhance the beauty of the ladybugs, this step is to the taste of who makes the design, I have chosen some beads that are like crystals in a grayish purple color, I feel that purple goes very well with red and in this tone I like it because it does not overshadow the beautiful ladybugs at all. To complement, I also selected a couple of larger red crystals to match the color of the ladybugs.
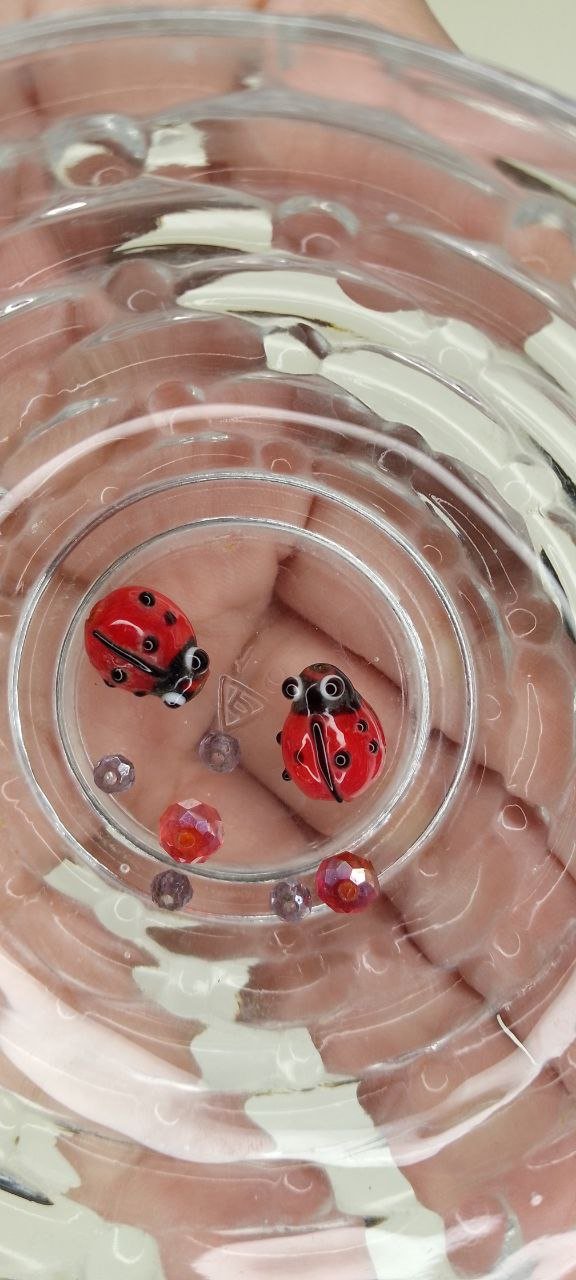
Cuentas / Beads
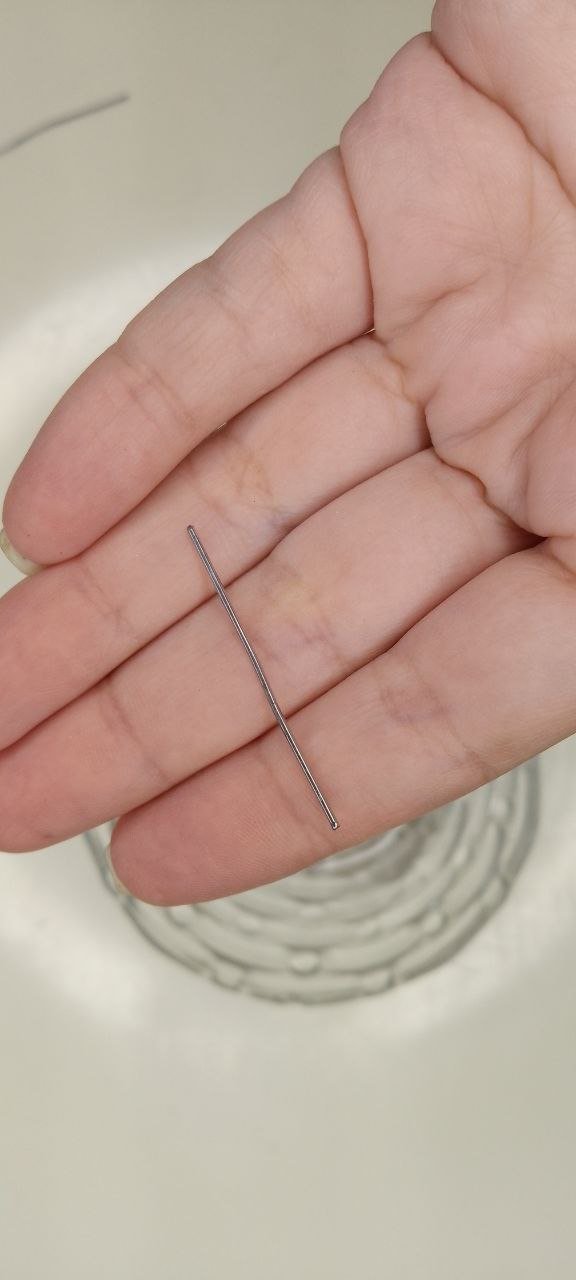
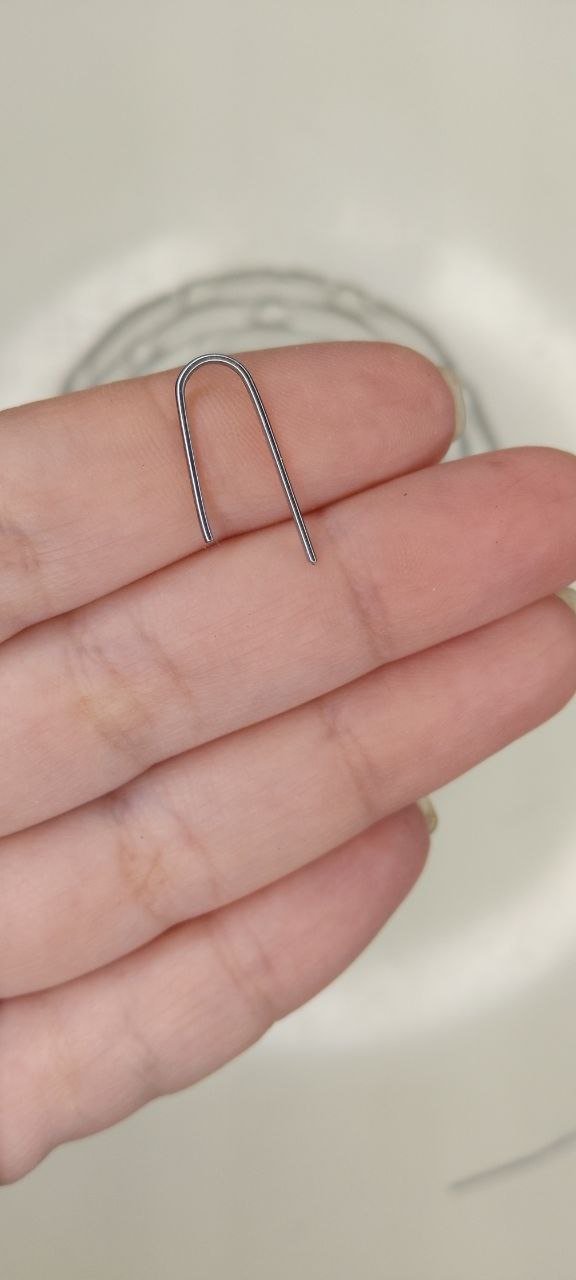
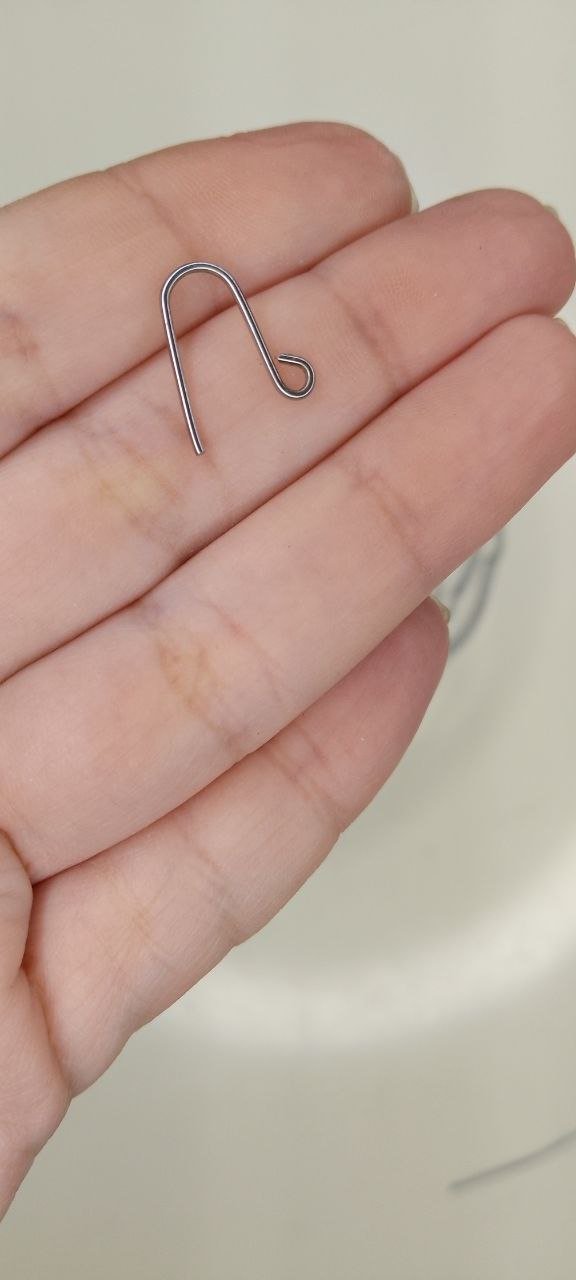
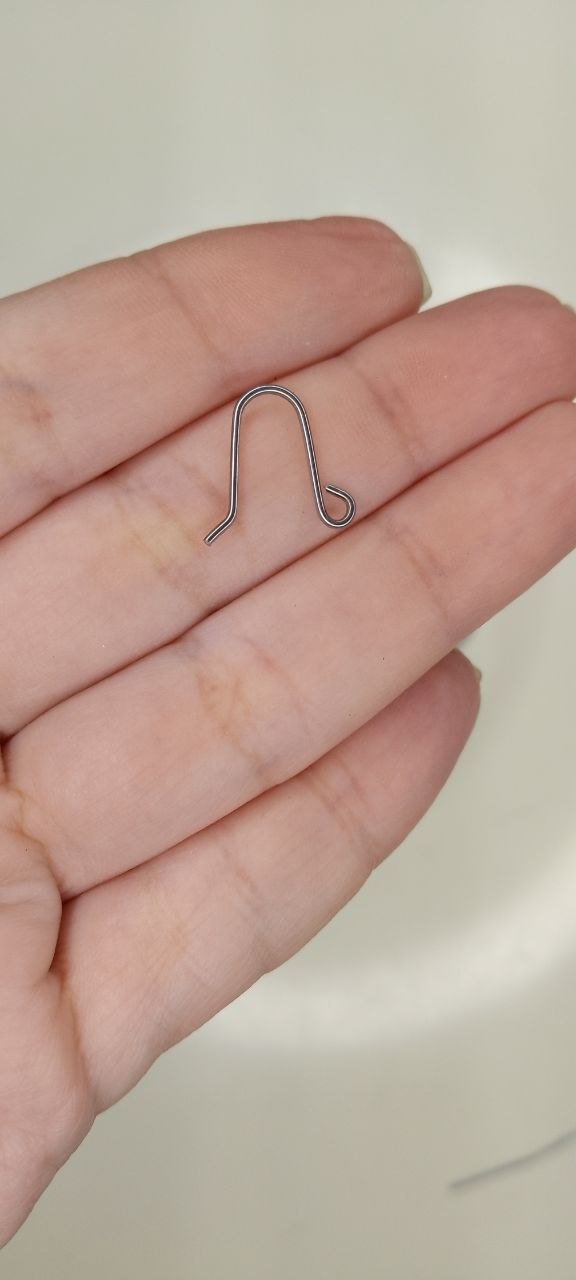
Ahora, tomamos una barrita de alambre para hacer el anzuelo del zarcillo y con la pinza que es tubular o con algún elemento cilíndrico por ejemplo, damos una curvatura como verán en las imágenes. Noten que un lado queda más largo que el otro, este lado más largo, ahora le haremos un ojal con la misma herramienta y en el otro extremo, haremos un pequeño doblez y listo, tenemos un anzuelo, repitiendo estos pasos entonces obtendrás el segundo anzuelo.
English Version
Now, we take a rod of wire to make the hook of the tendril and with the clamp that is tubular or with some cylindrical element for example, we give a curvature as you will see in the images. Notice that one side is longer than the other, this longer side, now we will make an eyelet with the same tool and at the other end, we will make a small bend and ready, we have a hook, repeating these steps then you will get the second hook.
 |  |
|---|
 |  |
|---|
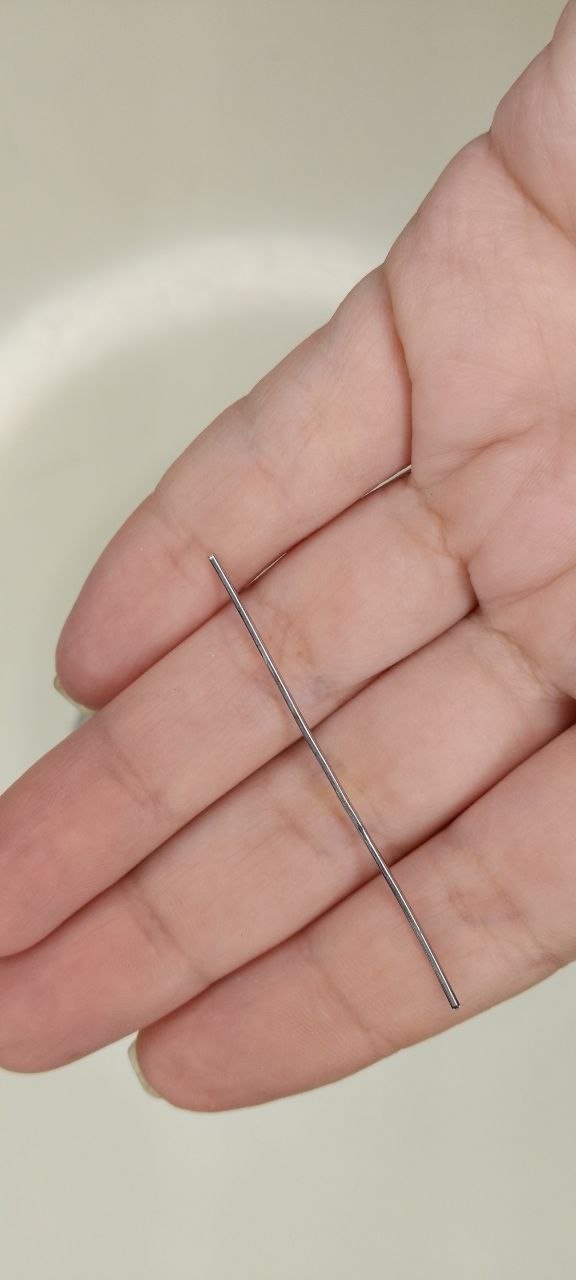
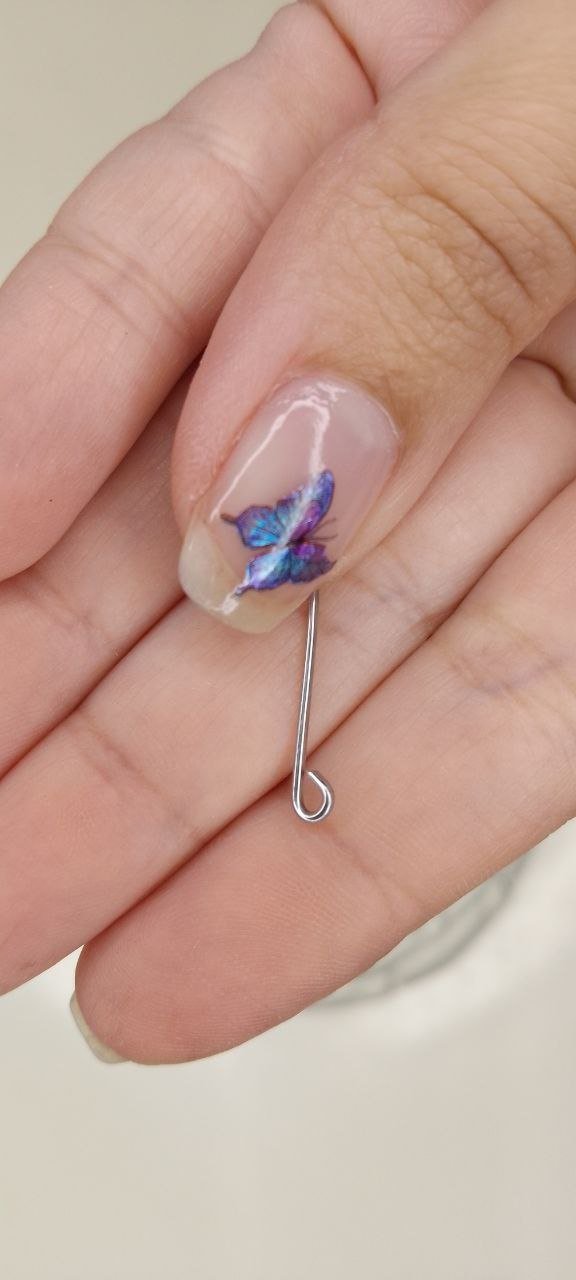
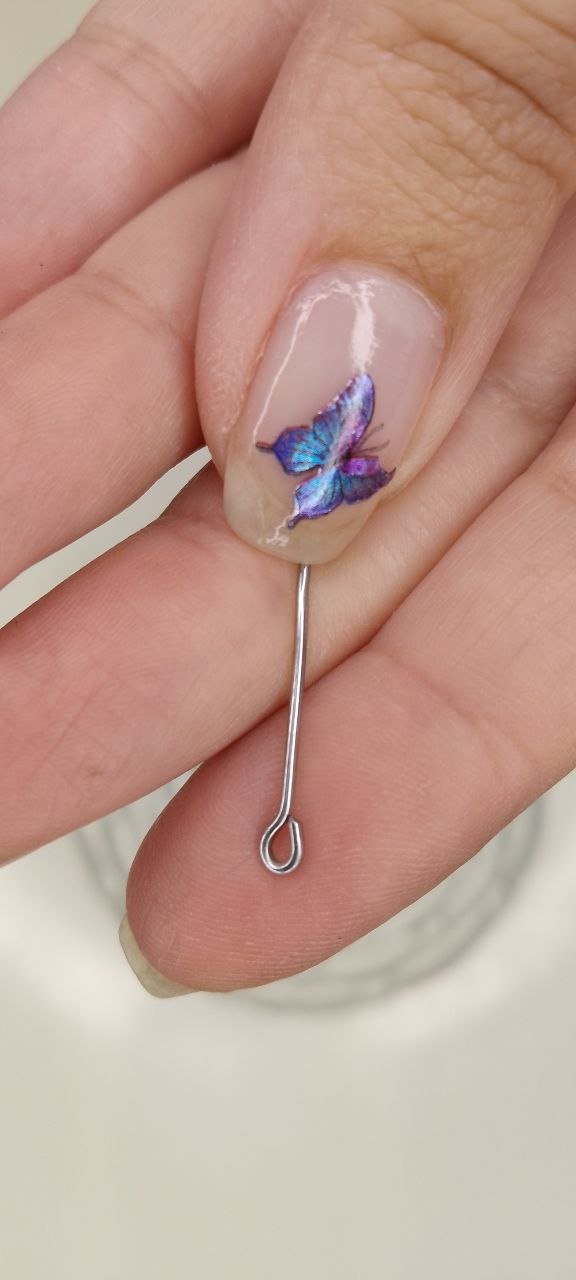
Con una barrita de alambre más larga y ten en cuenta que este largo dependerá de qué tan largo quieres el zarcillo, haremos un ojal en uno de sus extremos siguiendo el procedimiento ya descrito y puedes dejarlo así, sin embargo, a mí me gusta tomar la pinza tubular y doblar un poco la base del ojal hacia el lado del alambre principal, para que así me quede centrado. Esto es muy a mi gusto, siento que se ve más bonito y elegante.
English Version
With a longer rod of wire and keep in mind that this length will depend on how long you want the tendril, we will make an eyelet at one of its ends following the procedure already described and you can leave it like this, however, I like to take the tubular clamp and bend the base of the eyelet a little bit towards the side of the main wire, so that it is centered for me. This is very much to my liking, I feel it looks nicer and more elegant.
 |  |  |
|---|
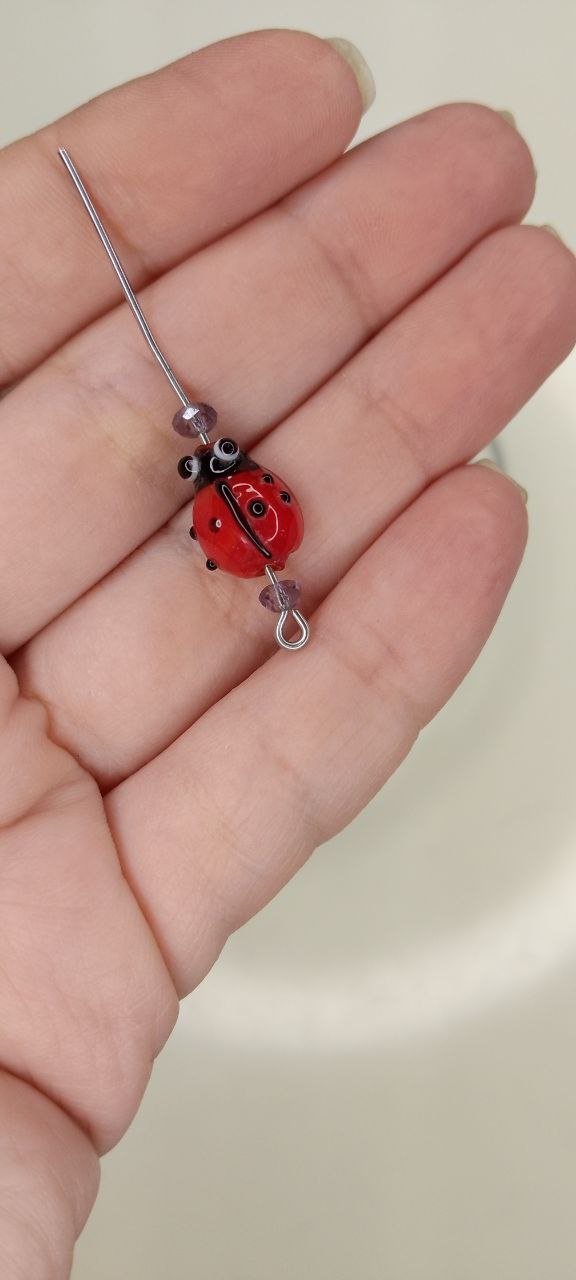
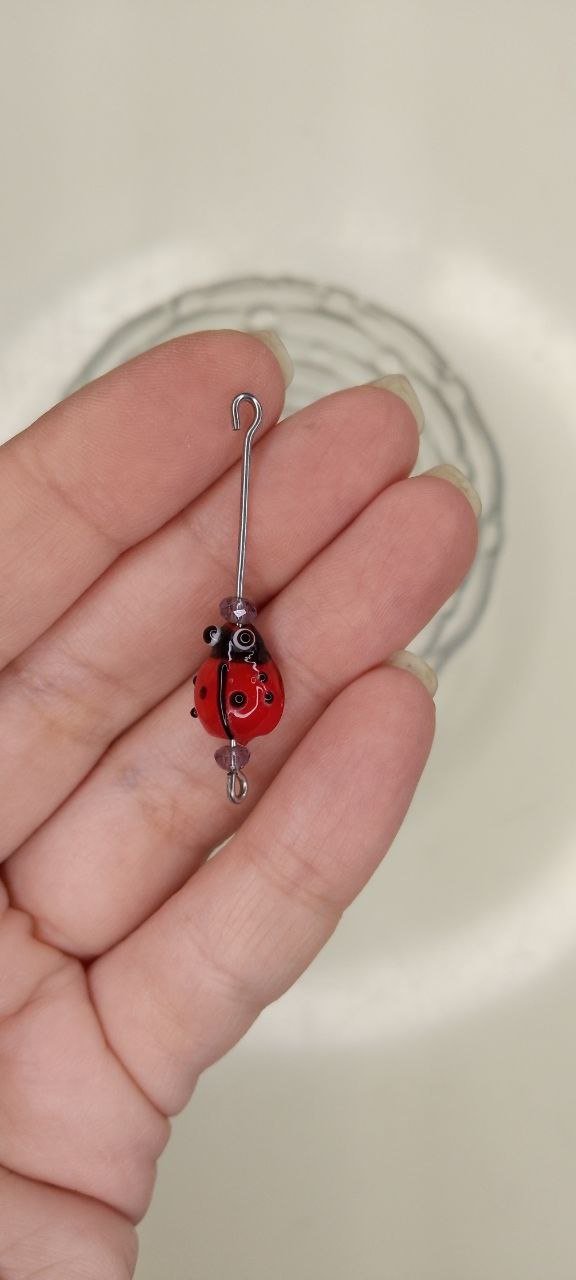
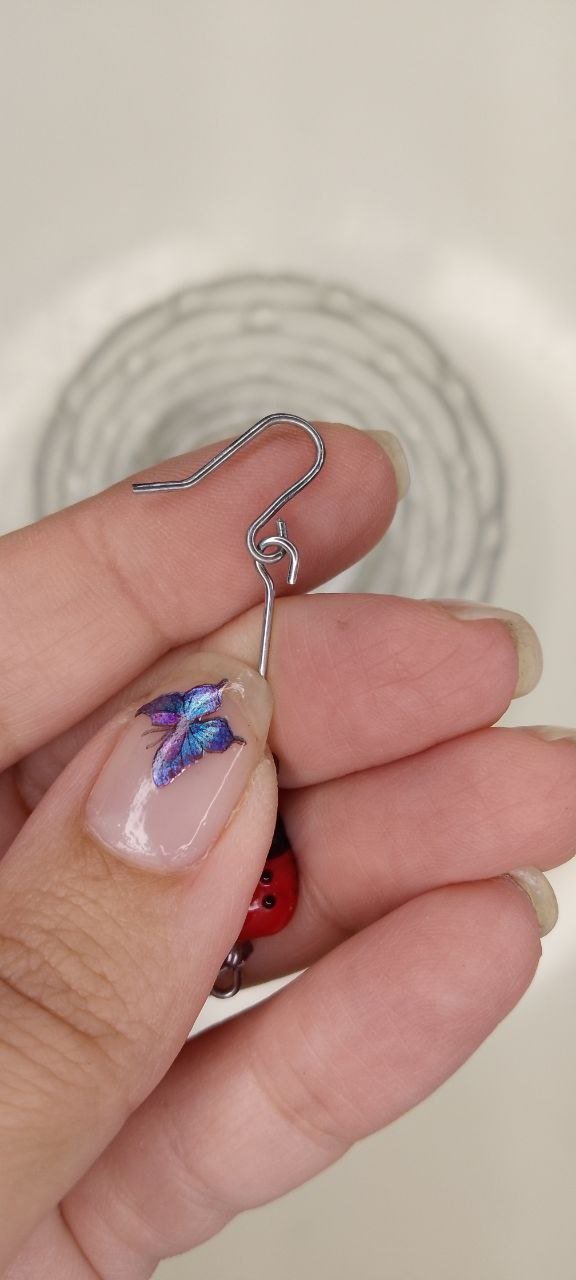
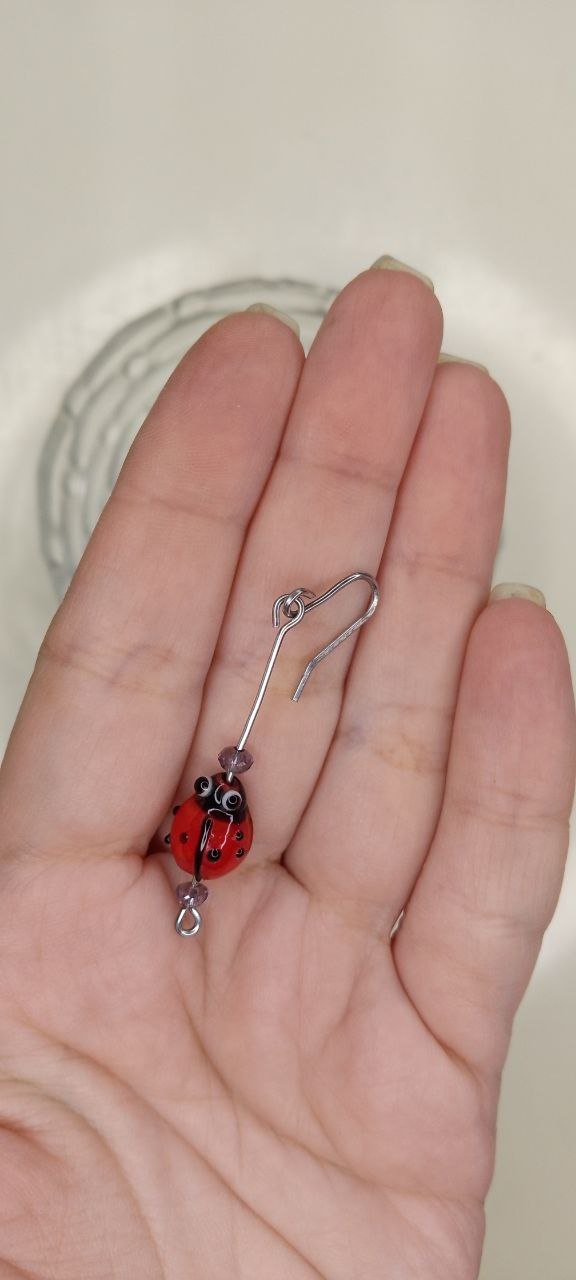
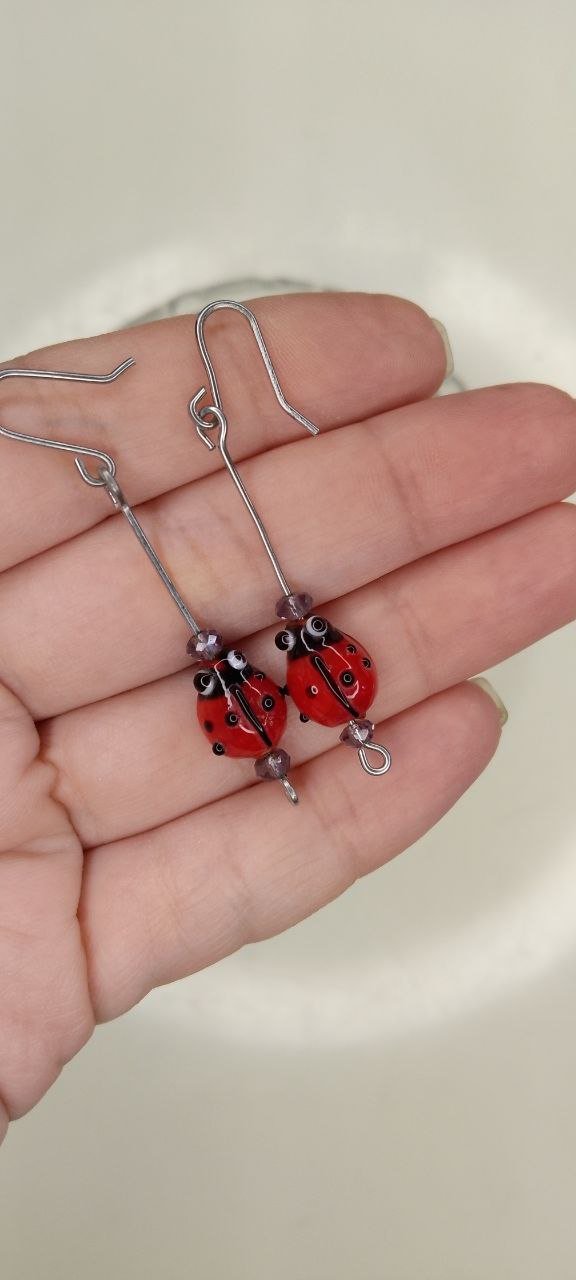
Empieza lo divertido, es momento de ingresar las cuentas de mariquitas que tanto me han gustado y para ello, primero coloco uno de los pequeños cristales morado grisáceos, luego una mariquita y por último, un cristal morado grisáceo más y con la técnica ya descrita, haremos un ojal en el otro extremo usando la pinza tubular, con la diferencia, de que este ojal no debe quedar cerrado completamente, si no abierto, para poder anexarlo al ojal del anzuelo que hicimos al principio. Una vez posicionado, cerramos el ojal con ayuda del alicate y repetimos el proceso para el segundo zarcillo.
English Version
The fun begins, it is time to insert the ladybug beads that I have liked so much and for this, first I place one of the small grayish purple crystals, then a ladybug and finally, one more grayish purple crystal and with the technique already described, we will make an eyelet at the other end using the tubular pliers, with the difference that this eyelet should not be completely closed, but open, to be able to attach it to the eyelet of the hook we made at the beginning. Once positioned, we close the eyelet with the pliers and repeat the process for the second tendril.
 |  |  |
|---|
 |  |
|---|
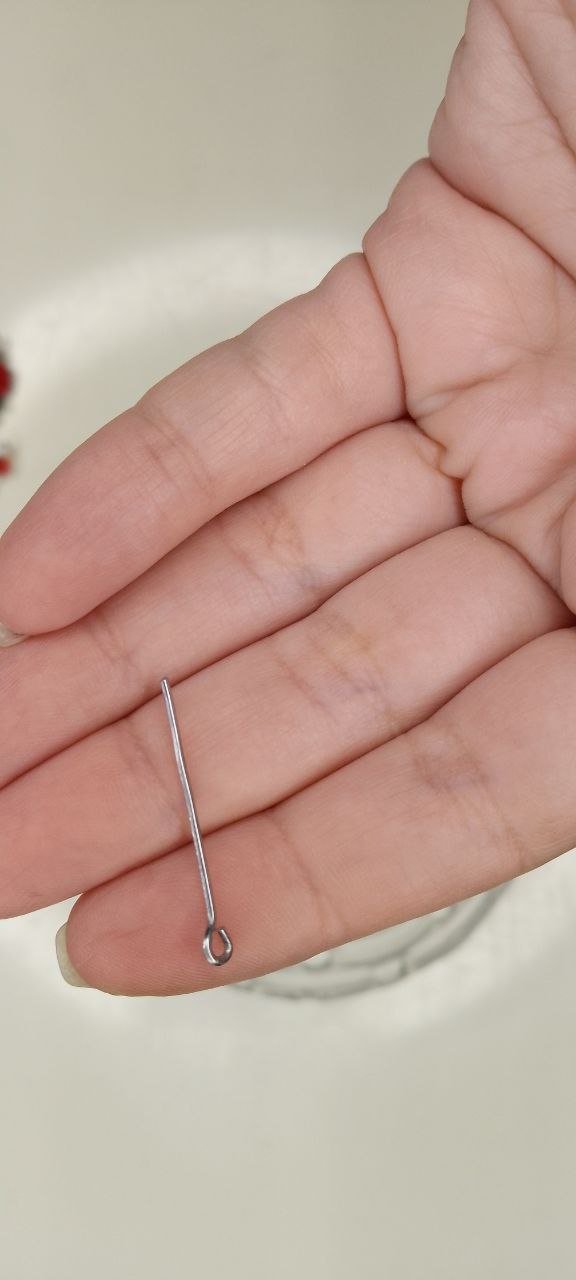
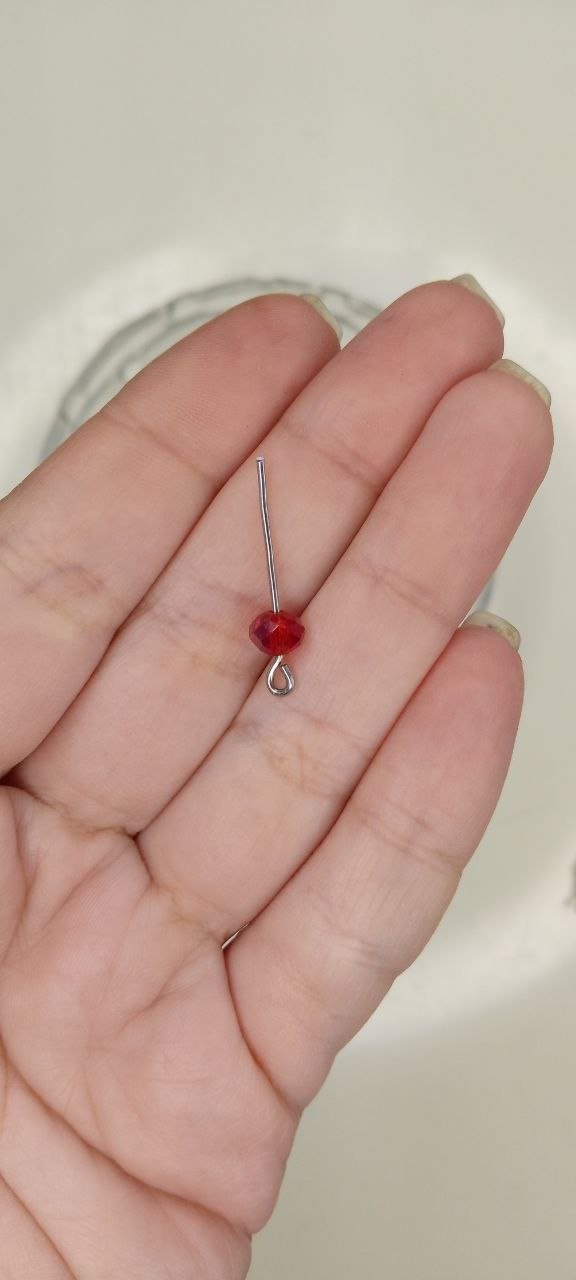
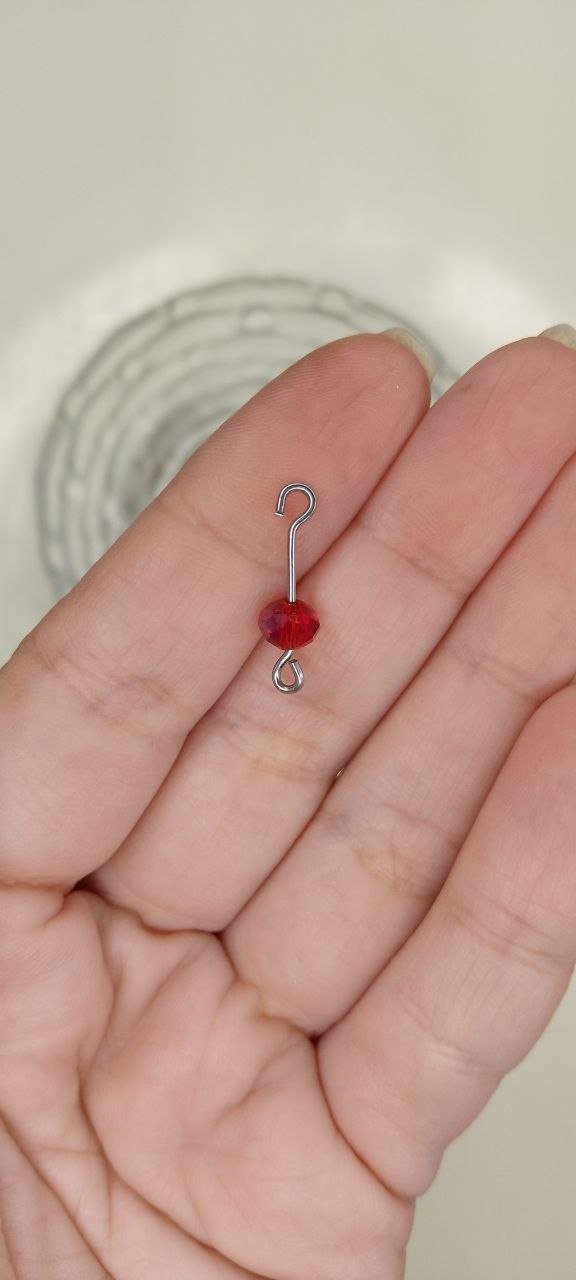
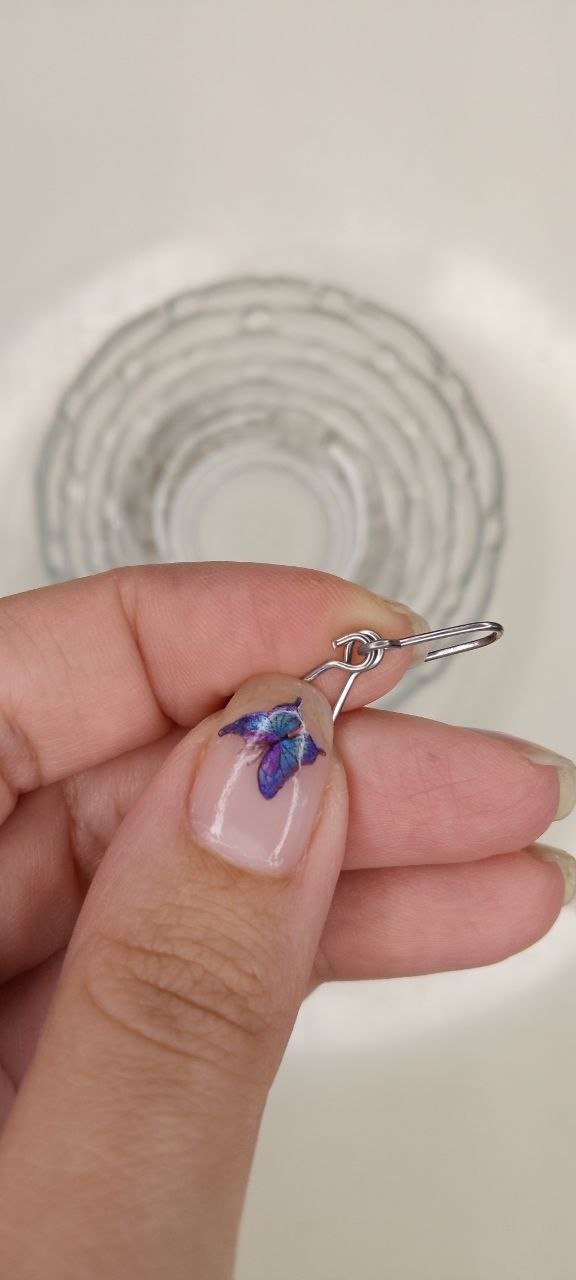
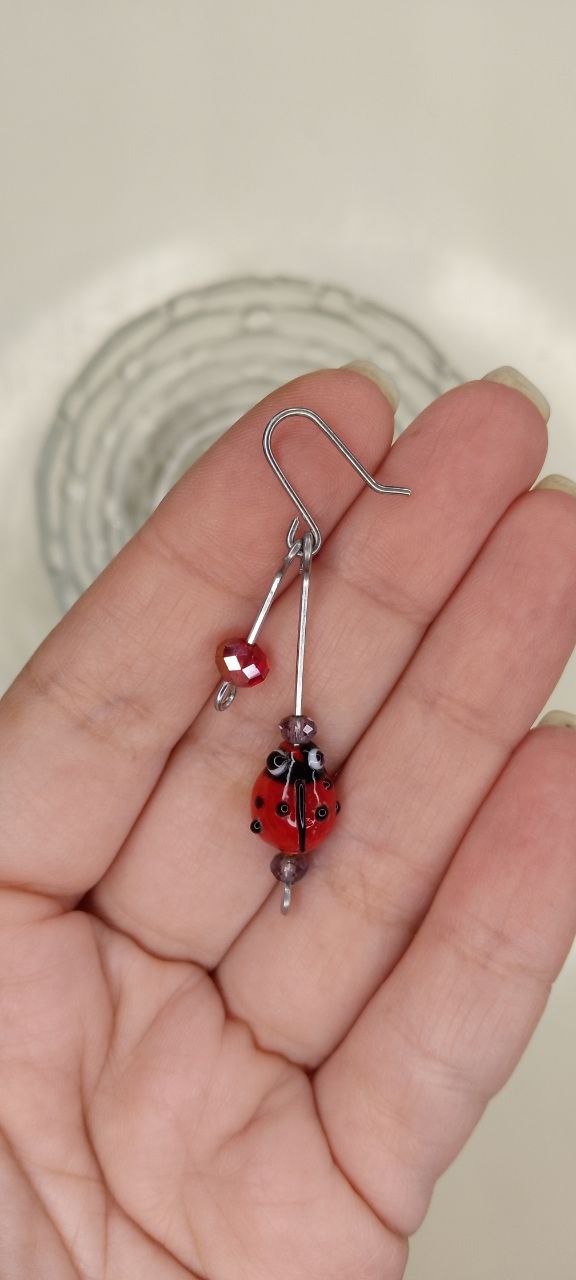
Con una barra de alambre más corta que la anterior, de nuevo, esto es según el gusto de cada quien, pero mi intención es que, el segundo adorno quede más arriba que la mariquita, para dar dinamismo al espacio vacío formado por el alambre de donde cuelga la mariquita, hacemos el ojal como ya sabemos hacer e ingresamos el bonito cristal rojo, de nuevo hacemos un ojal abierto en el otro extremo y lo anexamos al anzuelo, no olviden cerrar el ojal luego de posicionarlo.
English Version
With a shorter bar of wire than the previous one, again, this is according to the taste of each one, but my intention is that the second ornament is higher than the ladybug, to give dynamism to the empty space formed by the wire where the ladybug hangs, we make the eyelet as we already know how to do and enter the pretty red crystal, again we make an open eyelet at the other end and attach it to the hook, do not forget to close the eyelet after positioning it.
 |  |  |
|---|
 |  |
|---|
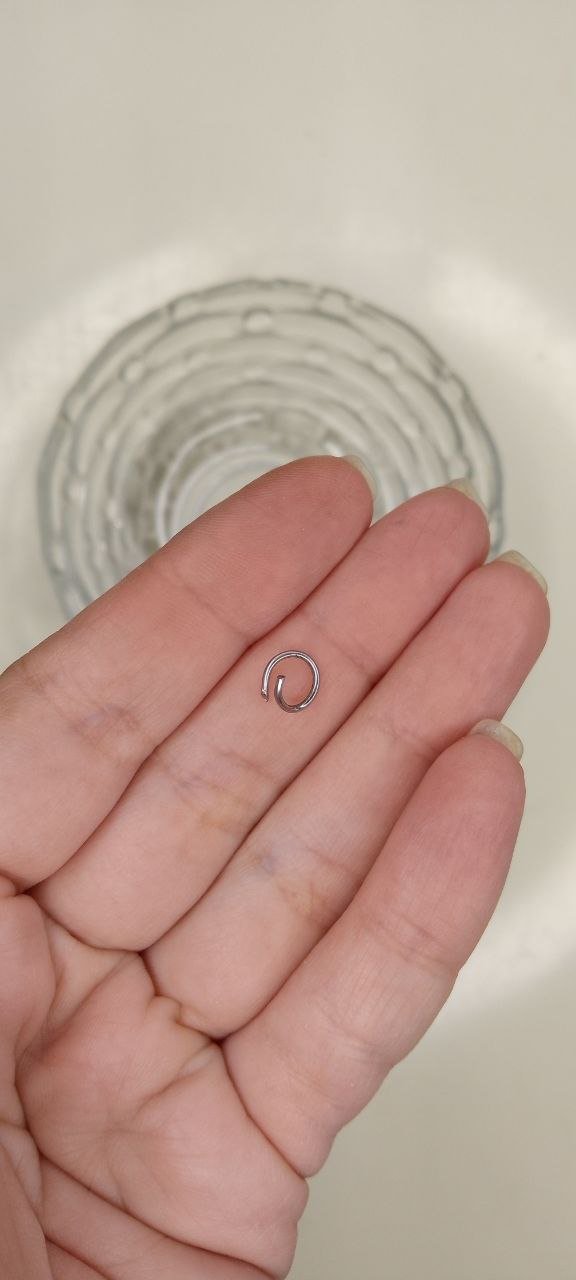
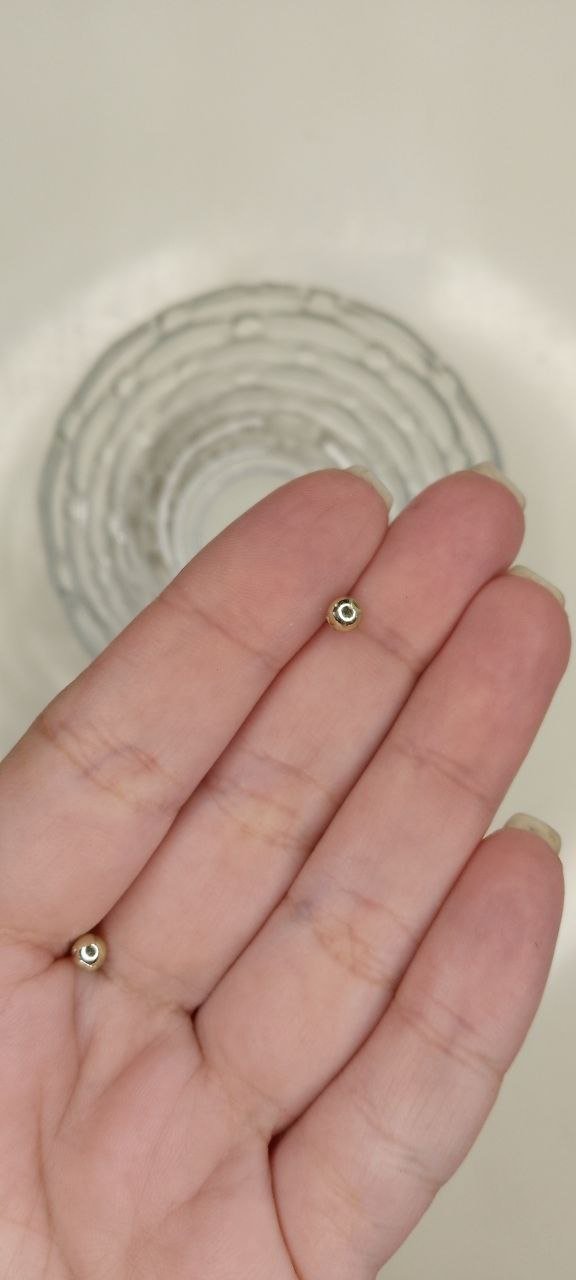
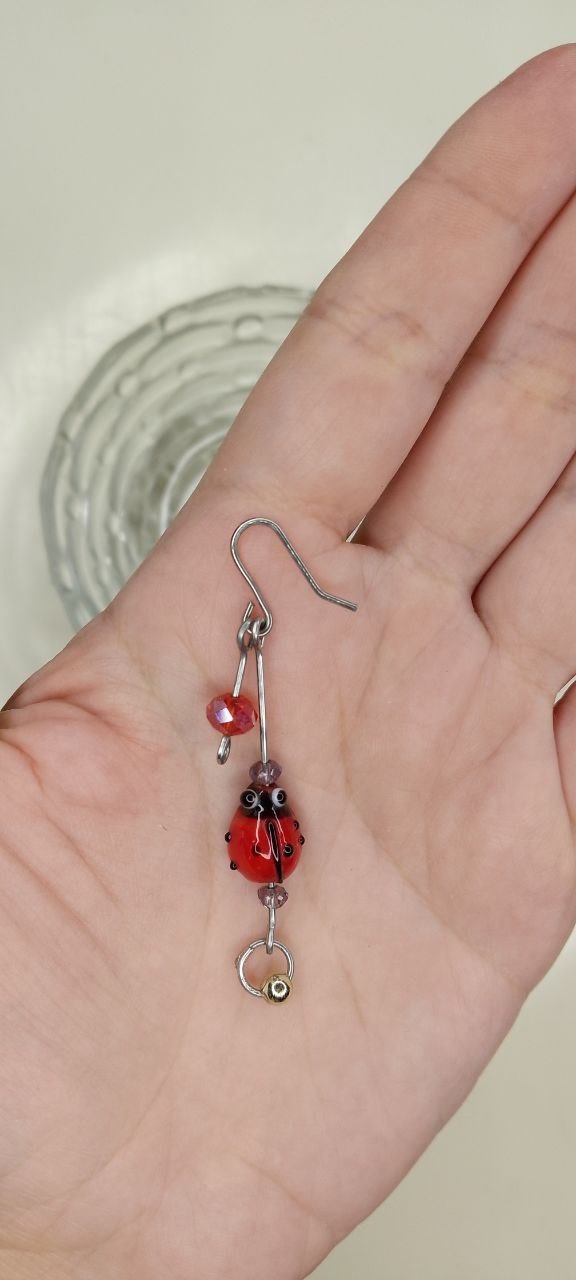
En este punto me gustaba bastante como se veían mis zarcillos, pero sentía que me faltaba algo más, es por ello que, con otro trocito de alambre, formé un arito, al mismo le añadí una perlita dorada y lo colgué del ojal bajo la mariquita.
English Version
At this point I quite liked how my tendrils looked, but I felt that I was missing something else, so with another piece of wire, I made a little earring, added a gold bead to it and hung it from the buttonhole under the ladybug.
 |  |  |
|---|
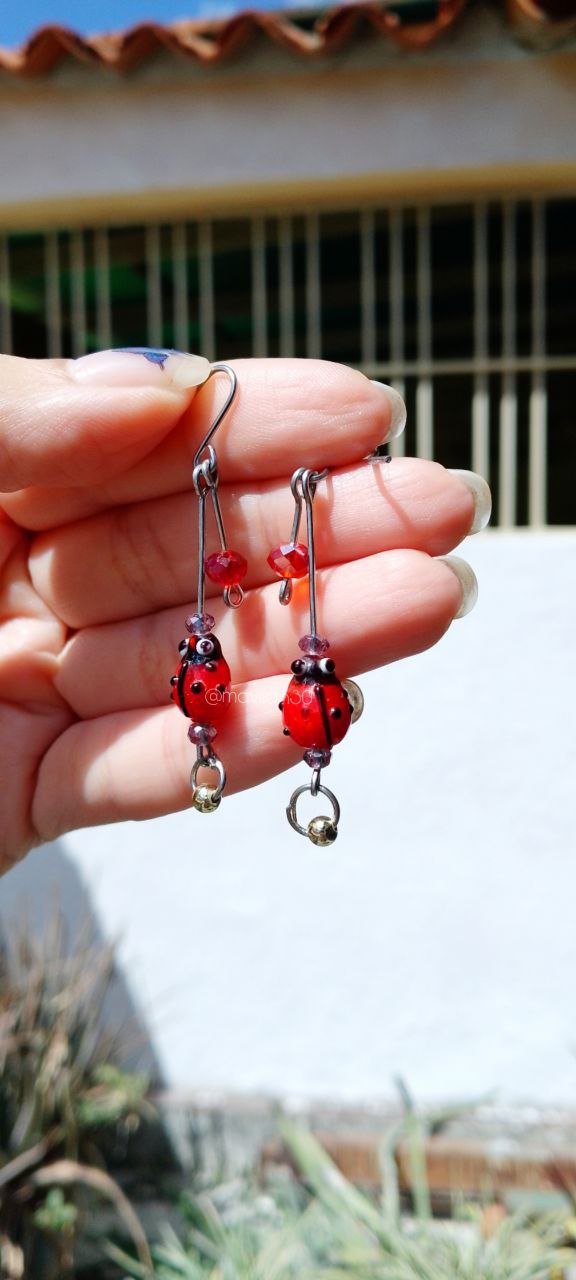
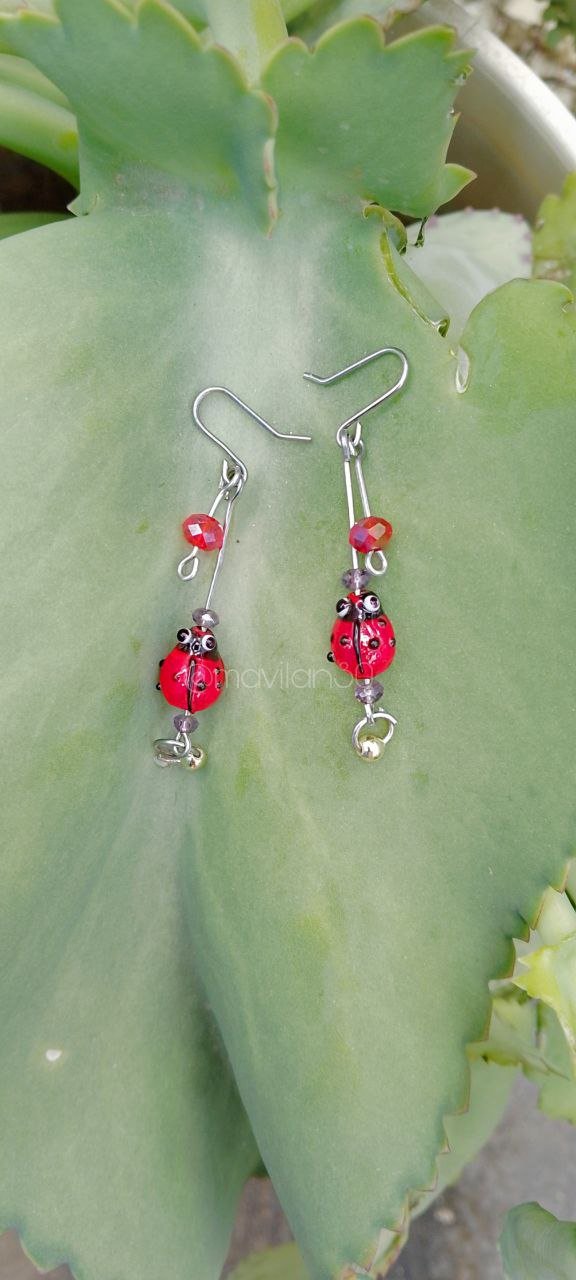
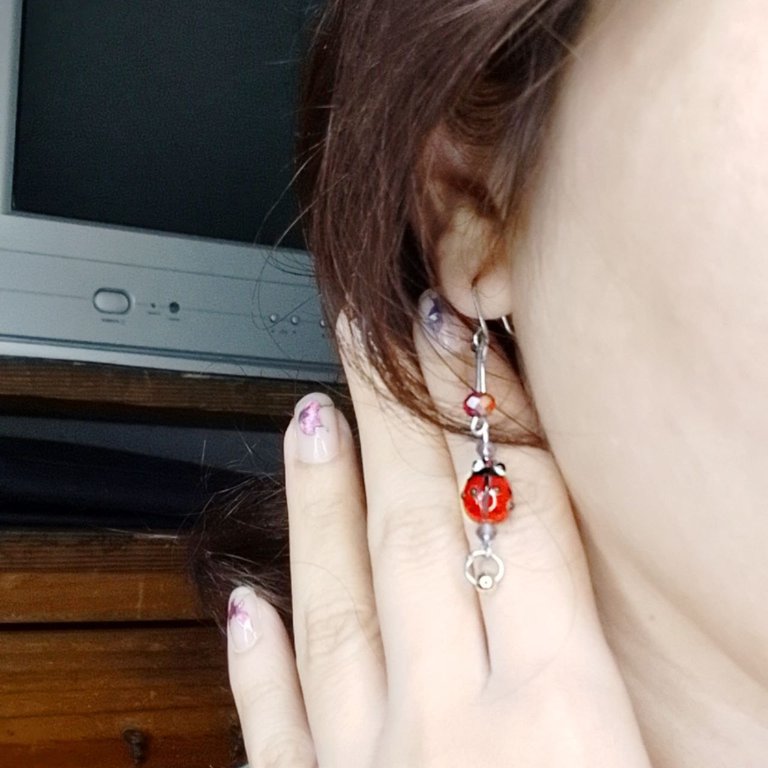
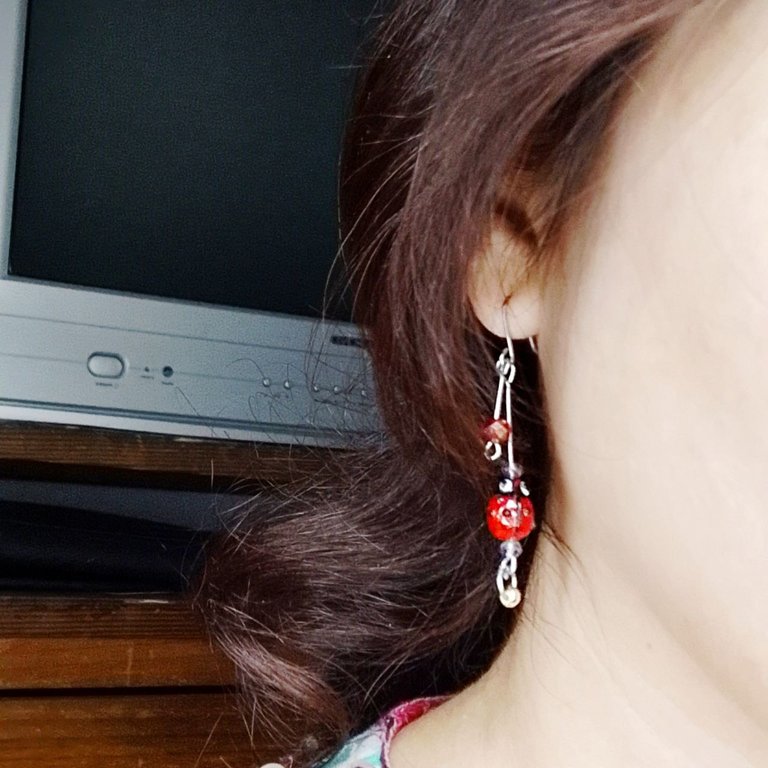
Y ahora sí, mis zarcillos estaban listos para una sesión de fotos.
English Version
And now yes, my tendrils were ready for a photo shoot.
 |  |
|---|
 |  |
|---|
¡Muchas gracias por leerme!
Thank you so much for reading me!
Fotografías propias, tomadas con mi Tecno Spark 10C.
Traducido al inglés con DeepL.
English Version
Own photographs, taken with my Tecno Spark 10C.
Translated to English with DeepL.

Sencillas pero bonitas!
Te quedaron geniales y se ven muy bien puestos Amor!!!
Muchas gracias amor🤗
Hola.
Me gusta como han quedado, las mariquitas quedan muy bien en los accesorios. Buen trabajo. Saludos.
Muchas gracias! Me alegra que te gustara☺️
Quedó bello el resultado, sencillos y coquetos, y de paso,del animalito de la suerte 🍀🐞😁 jeje
Jeje había olvidado que era el de la suerte🤭 gracias por tu comentario y visita☺️
It is beautiful, charming, and lovely. It shows your skills and creativity. You did a wonderful job! Thank you for sharing this.
Thank you so much for such a nice comment 💖 I'm so glad you liked it ✨.
Lindos, las mariquita 🐞 hermosas en cualquier proyecto.
Muchas gracias✨
Waoooo 👍
Thank you☺️