Un saludo a todos. Esta será mi primera publicación en esta comunidad y la verdad espero que sea la primera de muchas. En esta ocasión, quiero compartirles el paso a paso para hacer una bonita pulsera cuya decoración principal es un lazo, esta prenda se ve muy romántica y delicada, así que le aportaría un plus a cualquier atuendo de este estilo. Sigue leyendo para que te animes a hacer una a tu propio estilo.
English Version
Greetings to all. This will be my first publication in this community and I hope it will be the first of many. On this occasion, I want to share with you the step by step to make a beautiful bracelet whose main decoration is a bow, this garment looks very romantic and delicate, so it would add a plus to any outfit of this style. Keep reading so you can make one in your own style.
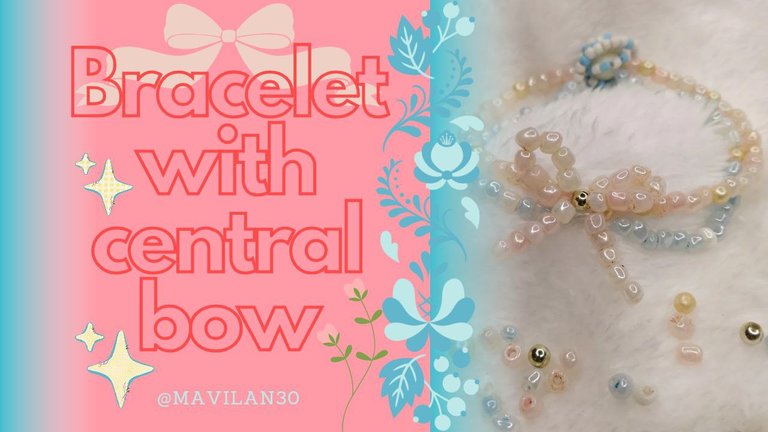
Imagen creada por mí en Canva / Image created by me in Canva
Materiales:
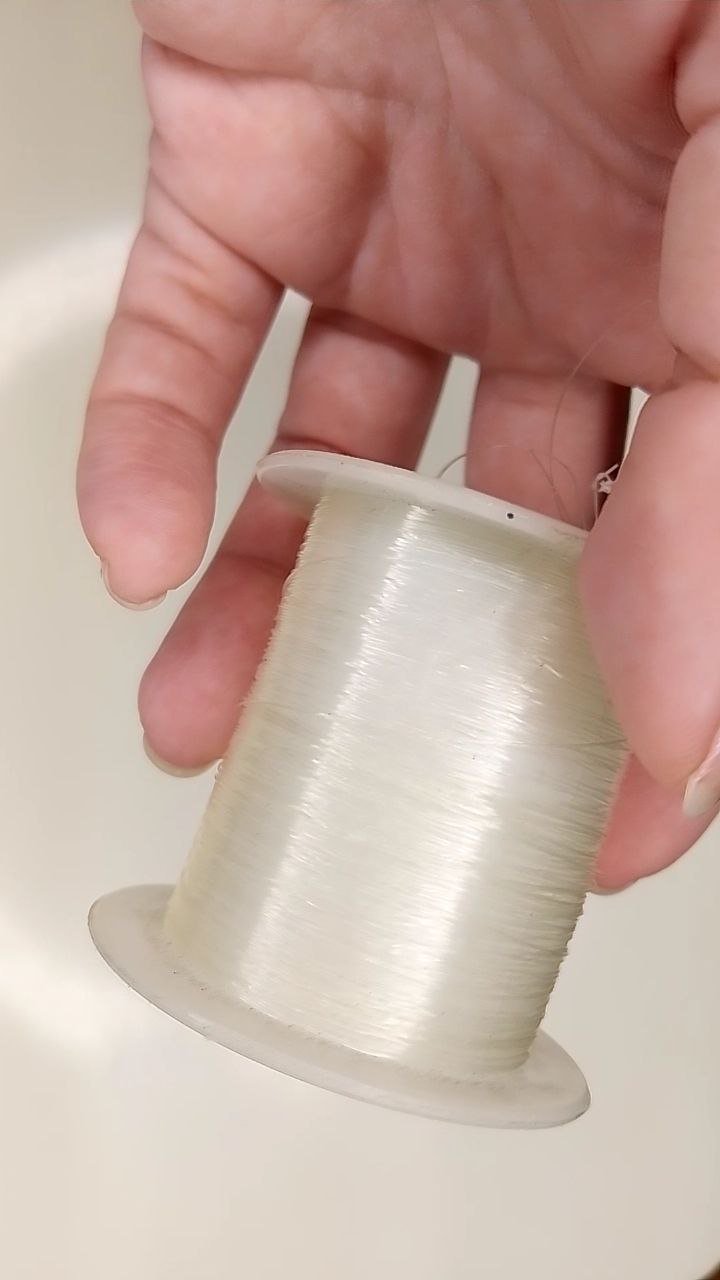
- Nilón (0.25mm)
- Cuentas (melocotón, azul cielo, blanco, perlas marfil y dorado, mostacillas azul cielo y blanco)
- Tijeras
- Aguja
Procedimiento:
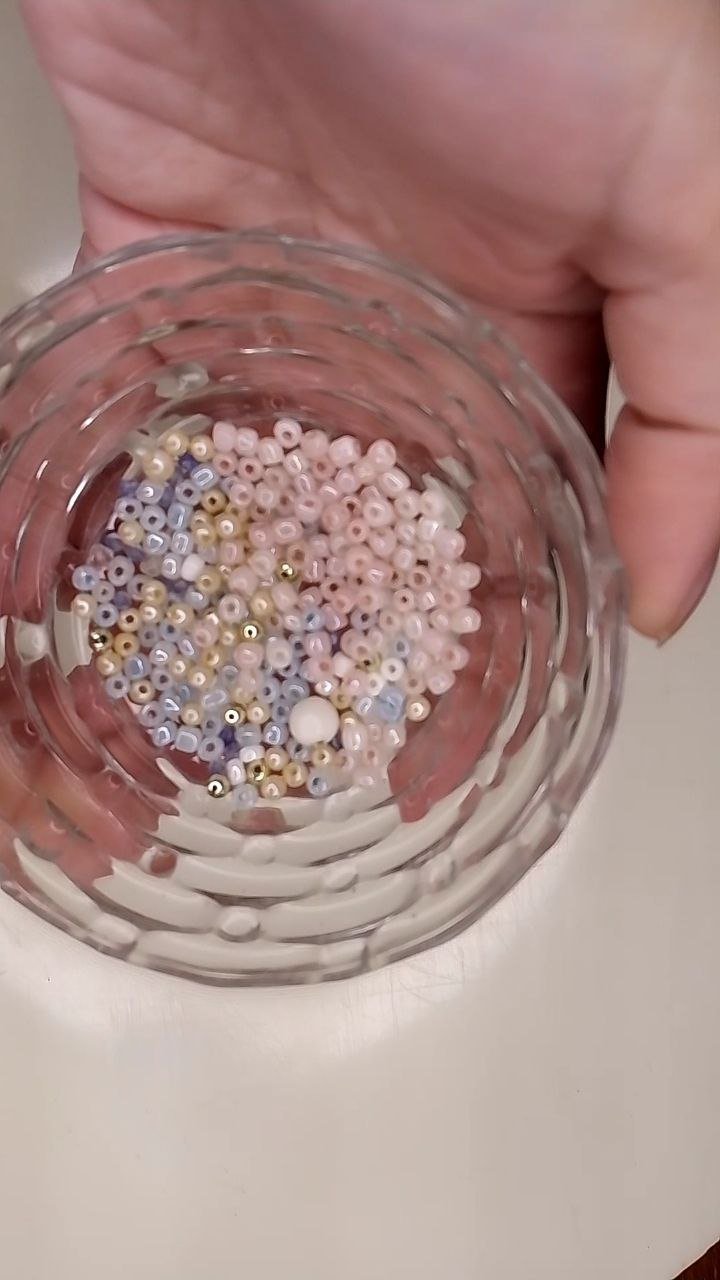
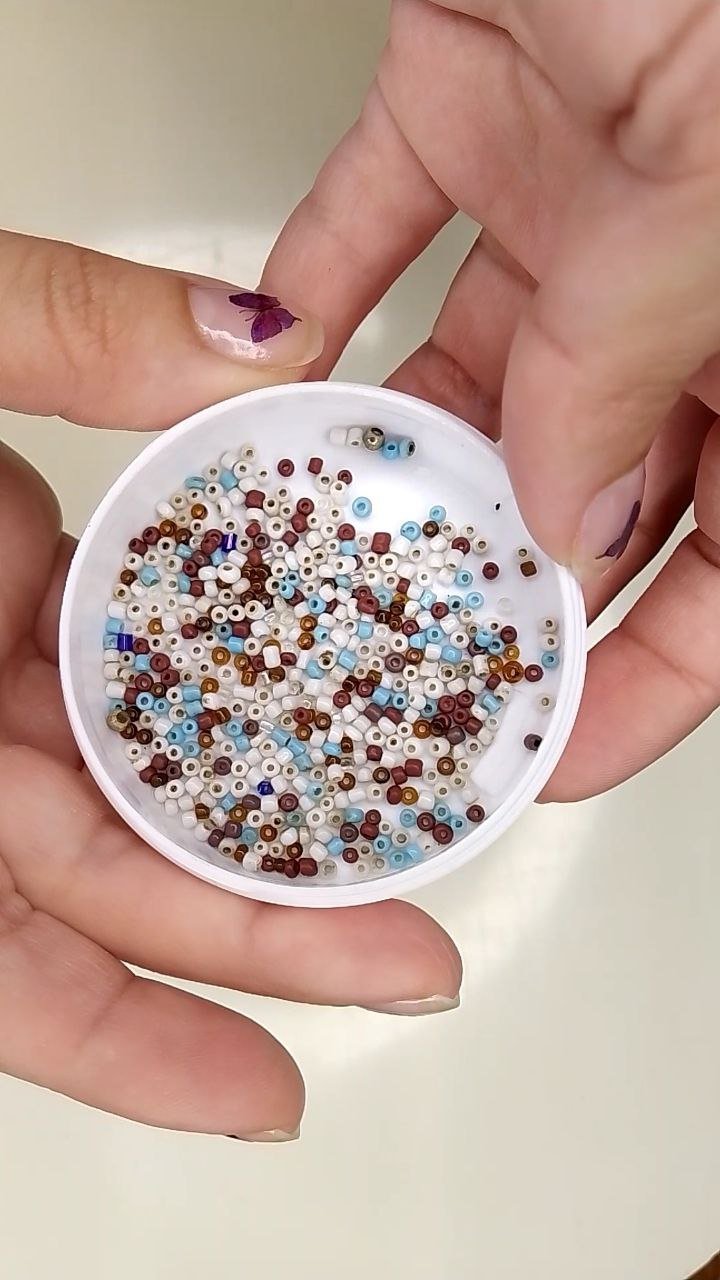
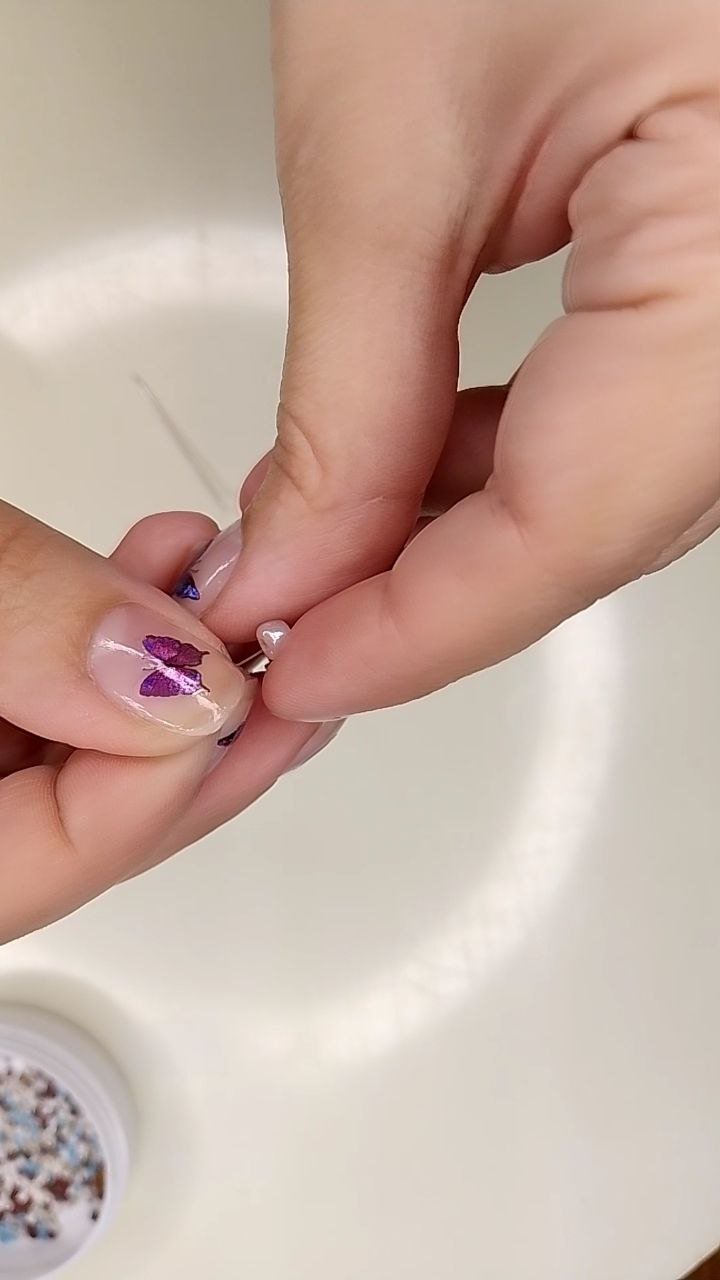
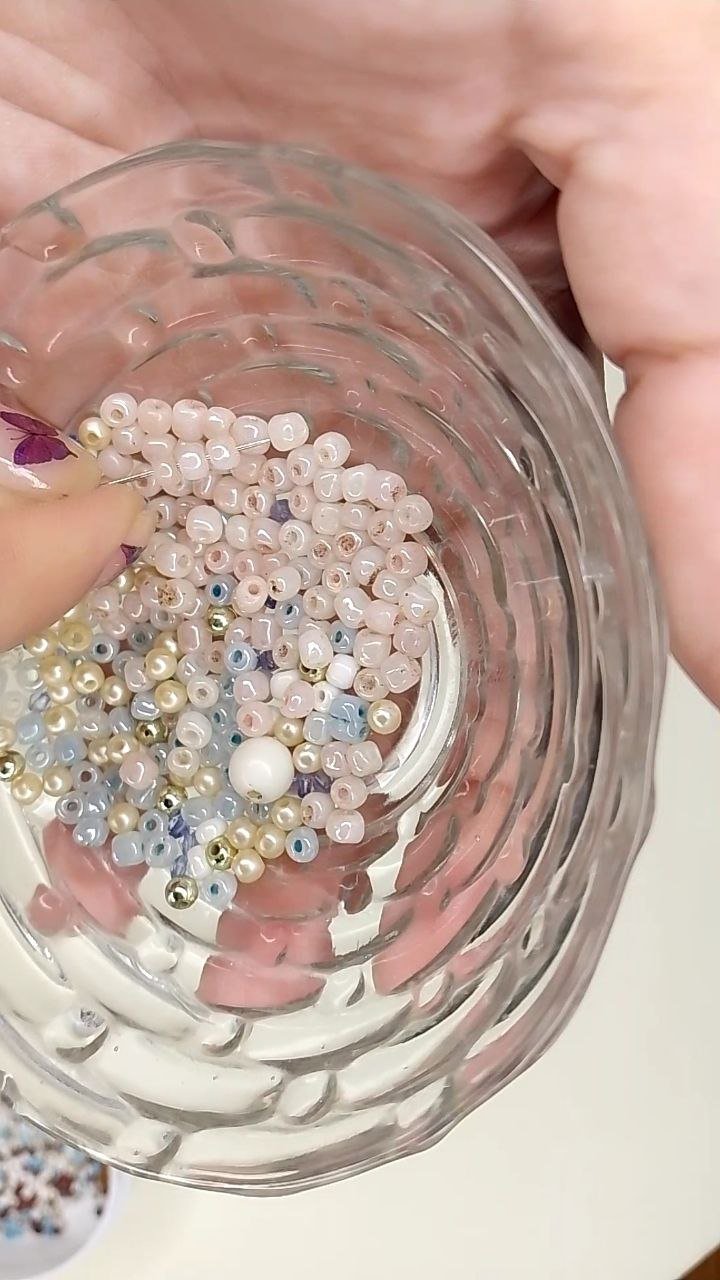
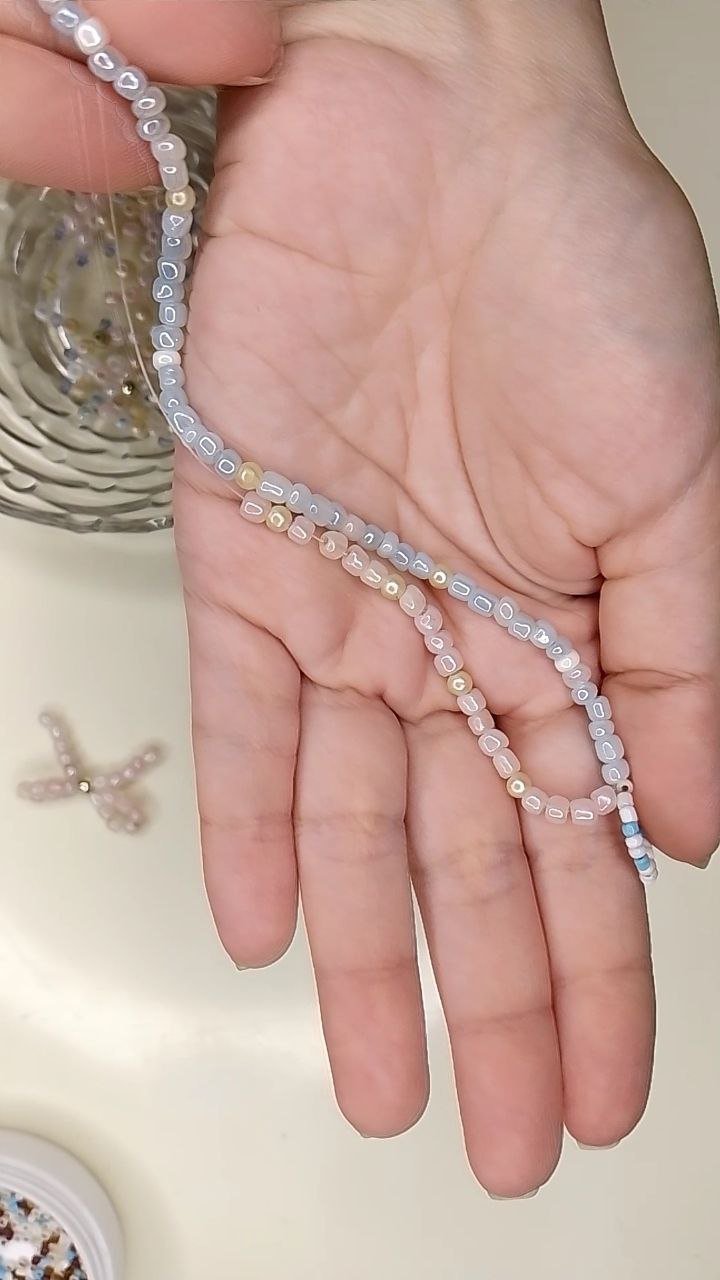
Iniciamos eligiendo las cuentas con las que deseamos hacer nuestra pulsera, yo elegí colores muy delicados puesto que quería un estilo romántico, en las imágenes les estaré dejando las cuentas para que las aprecien mejor. Una vez elegidas, hacemos el lazo, para ello tomaremos una cuenta melocotón y amarraremos con un nilón de unos 40 cm.
English Version
Materials:
- Nylon (0.25mm).
- Beads (peach, sky blue, white, ivory and gold beads, sky blue and white beads)
- Scissors
- Needle
Procedure:
We start by choosing the beads with which we want to make our bracelet, I chose very delicate colors since I wanted a romantic style, in the images I will be leaving the beads for you to appreciate them better. Once chosen, we make the loop, for this we will take a peach bead and tie it with a 40 cm nylon.
 |  |  |  |
|---|
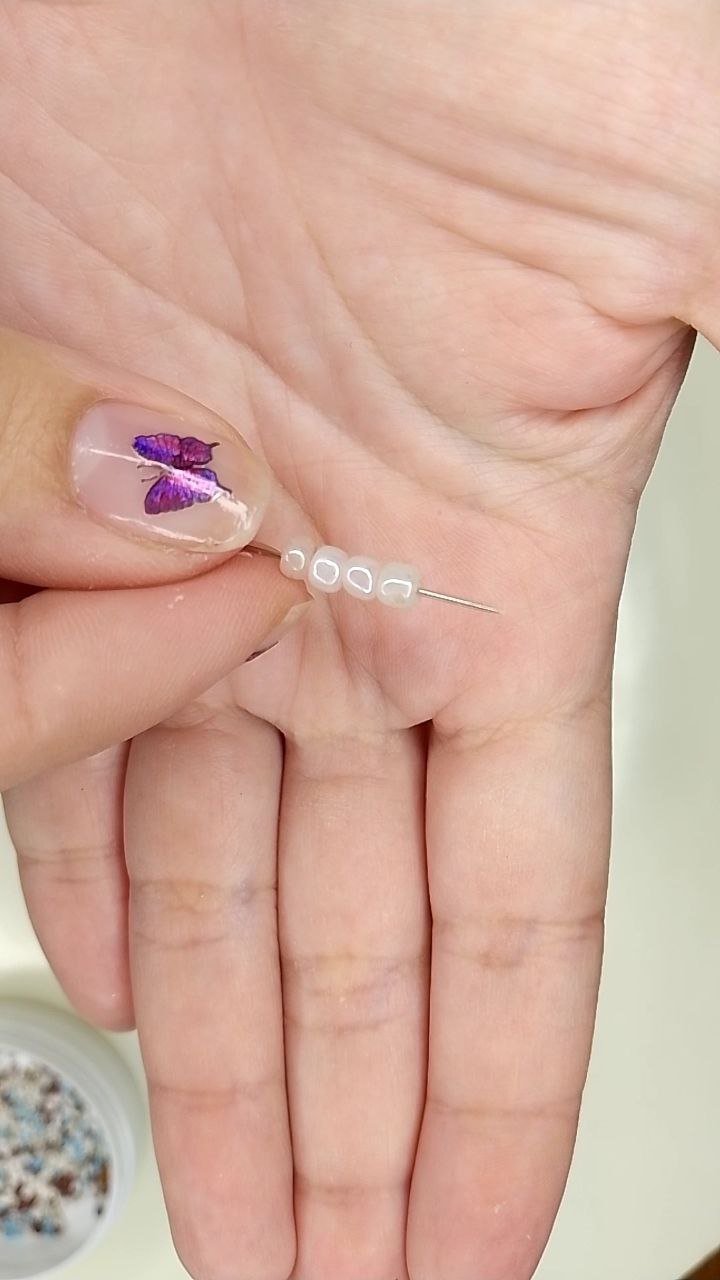
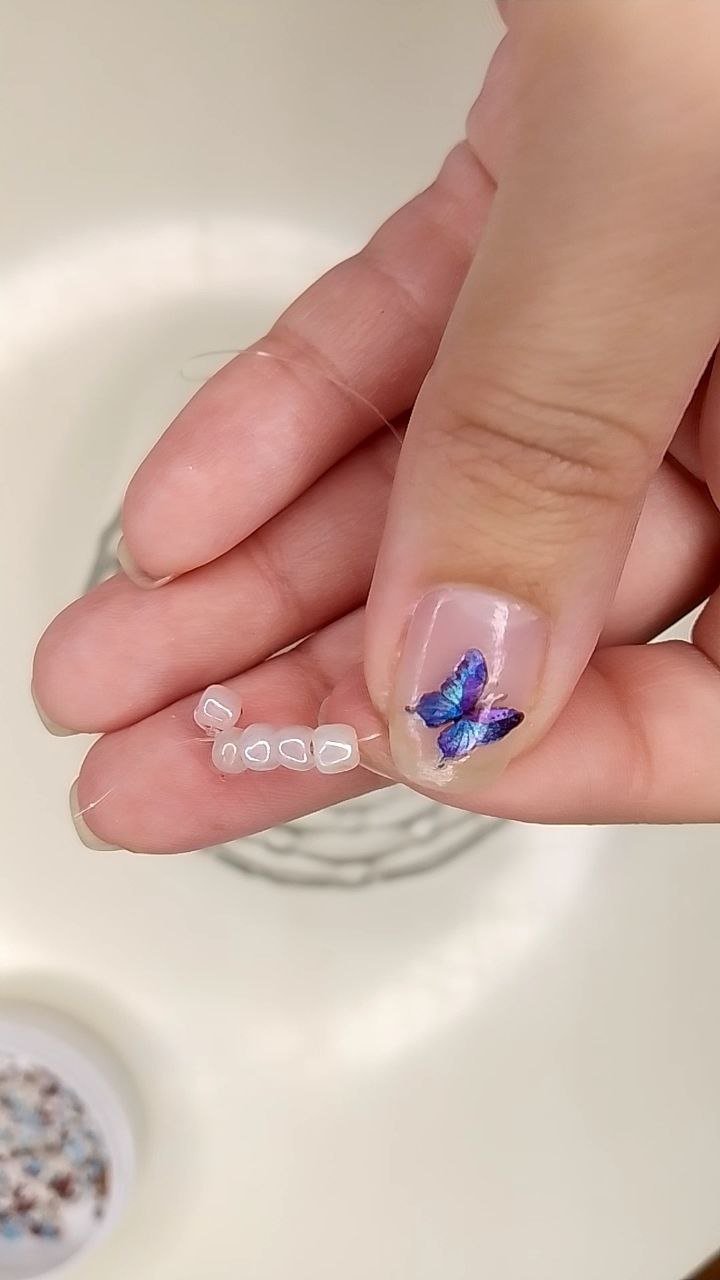
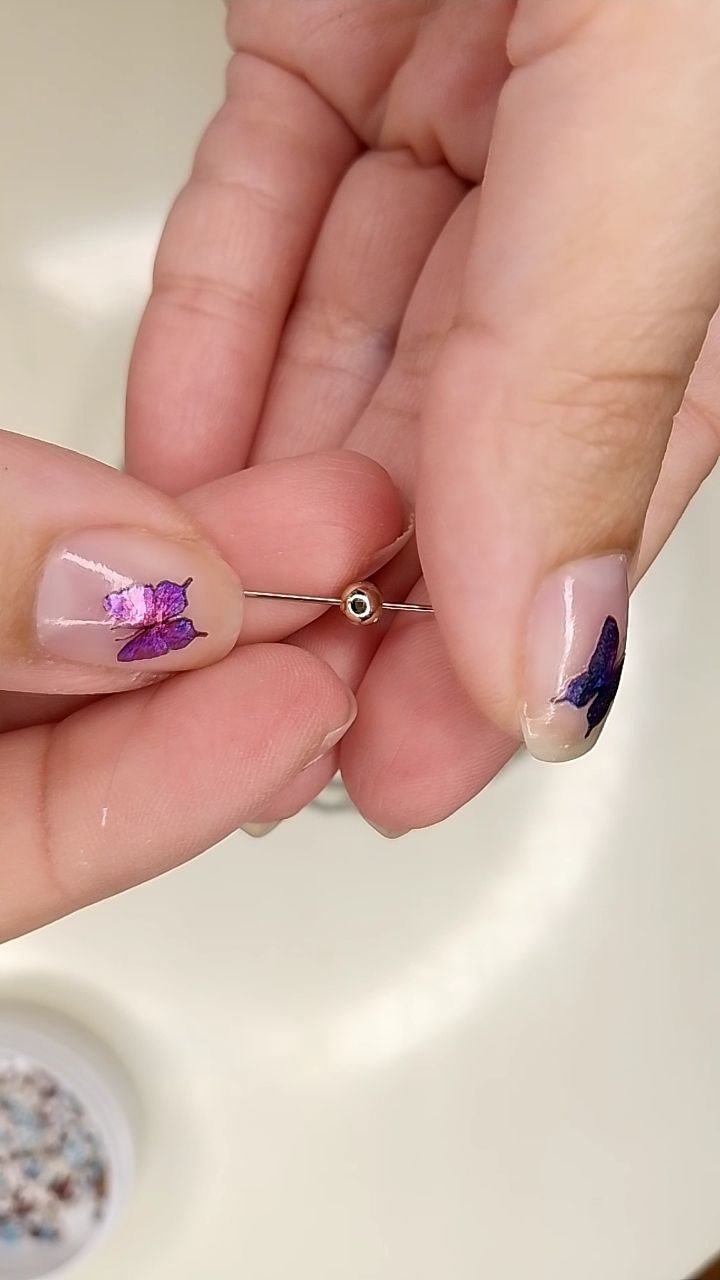
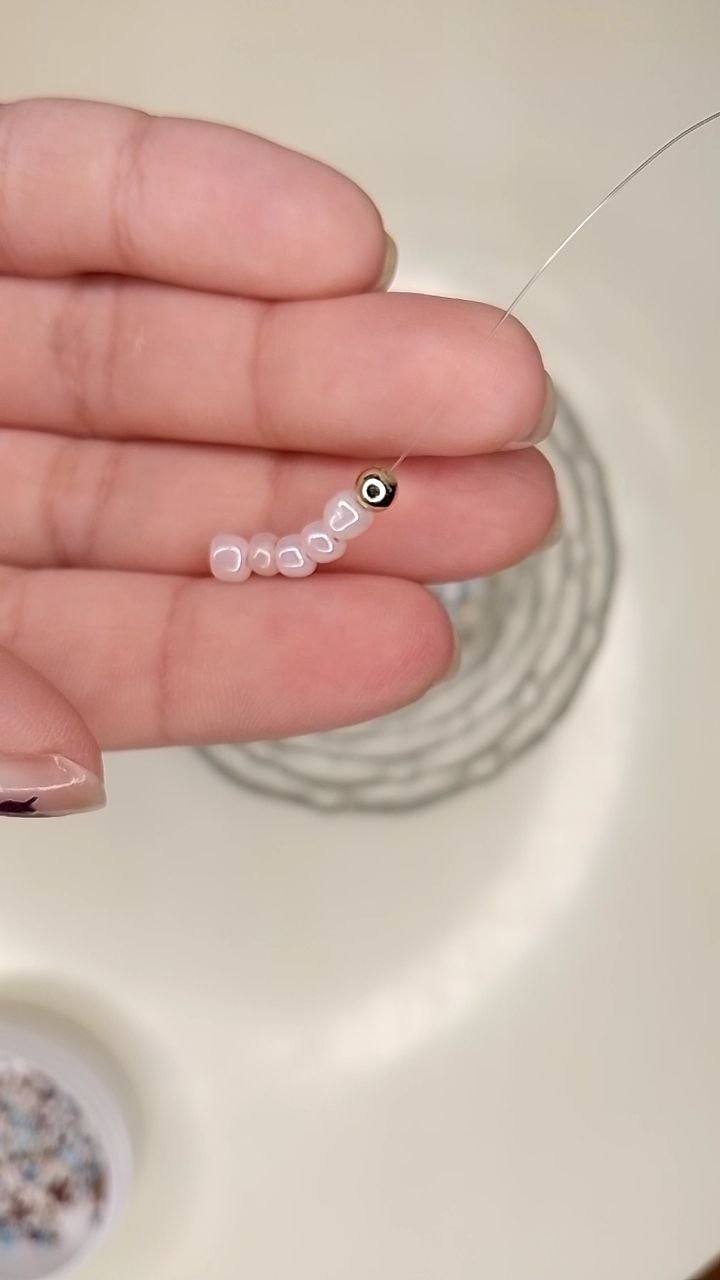
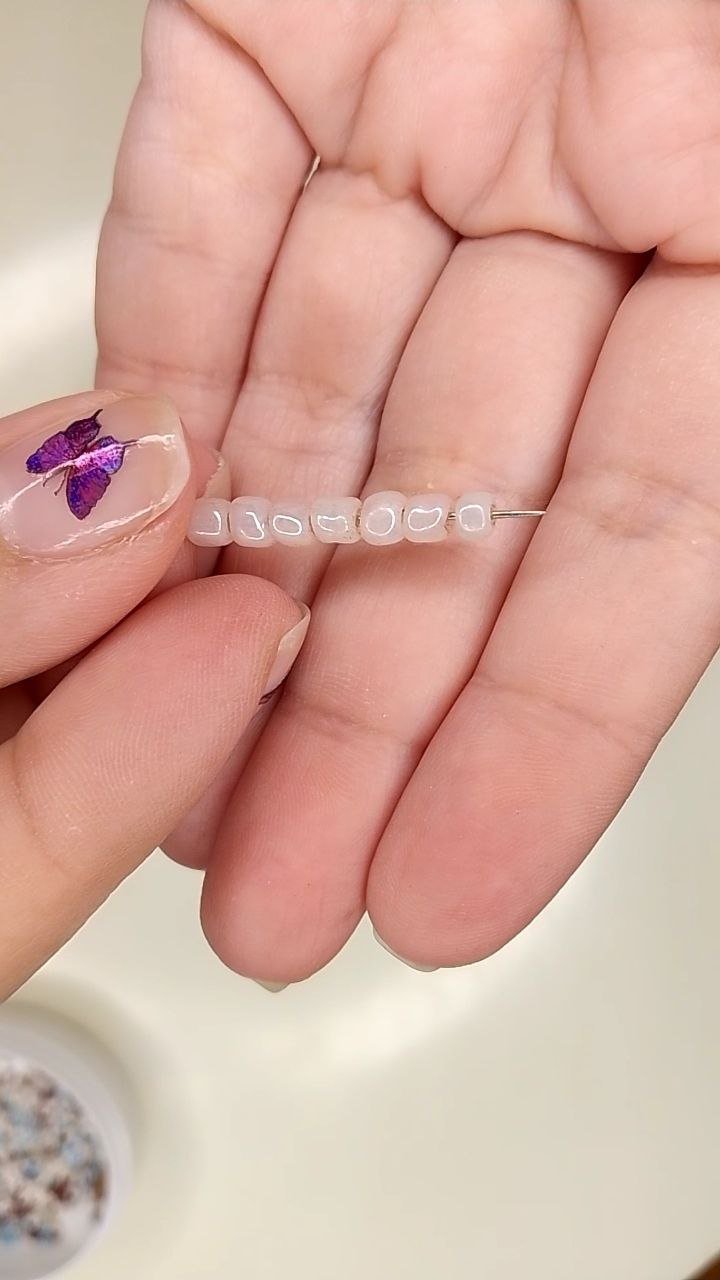
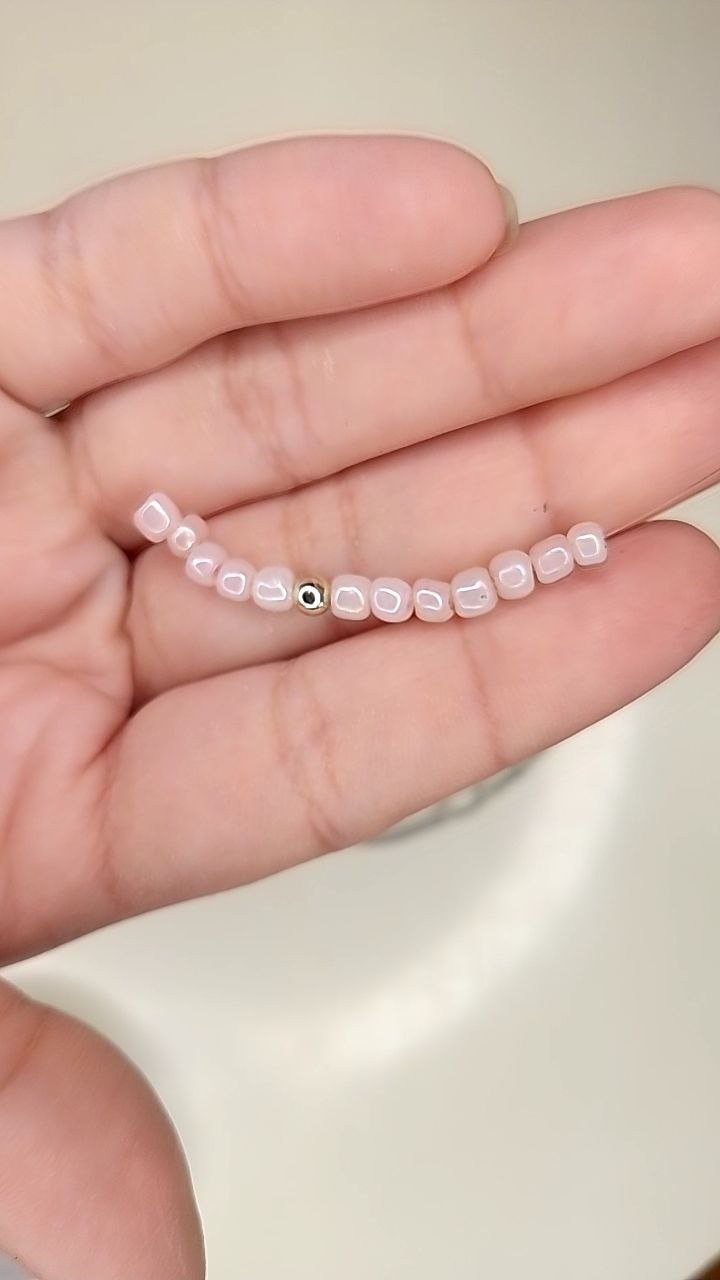
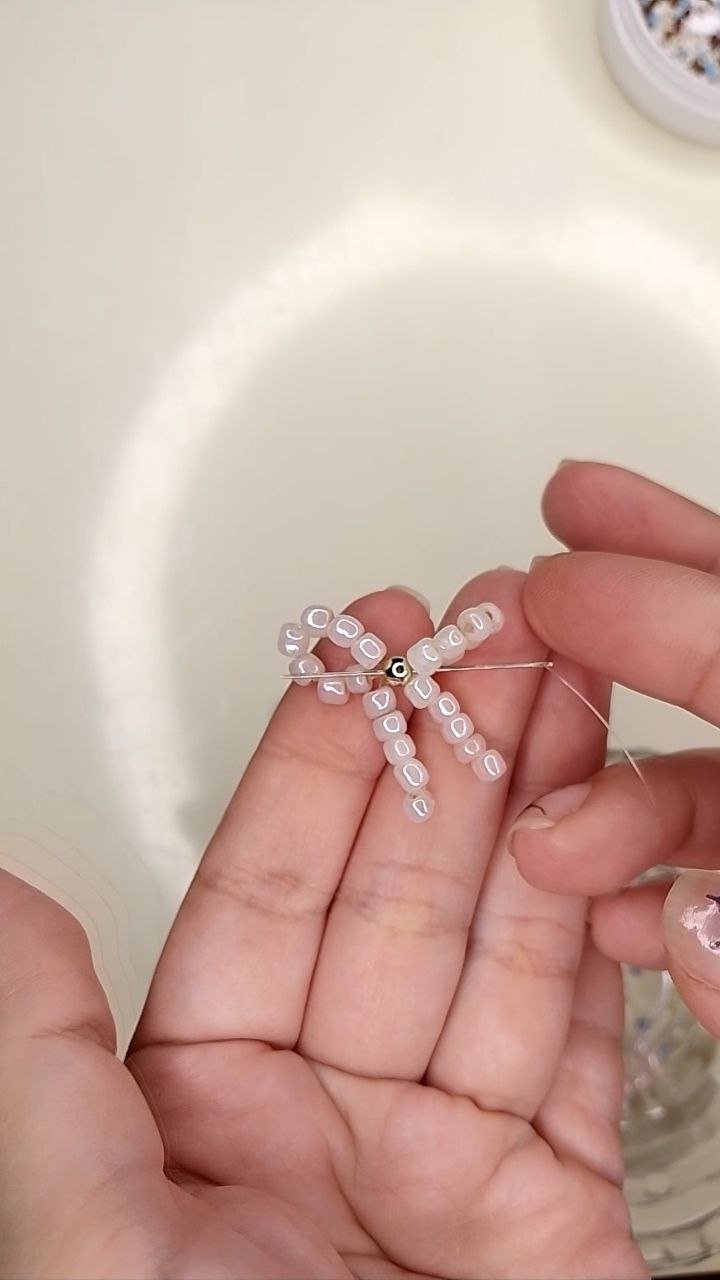
El extremo libre del nilón lo introducimos en una aguja para que nos sea más fácil tomar el resto de las cuentas y así tomamos cuatro cuentas melocotón que llevaremos hasta el otro extremo del nilón para acompañar a la cuenta inicial. Acto seguido, agregamos una perla dorada y siete cuentas melocotón más.
English Version
The free end of the nylon we introduce it into a needle to make it easier to take the rest of the beads and so we take four peach beads that we will take to the other end of the nylon to accompany the initial bead. Then, we add a golden pearl and seven more peach beads.
 |  |  |  |  |  |  |
|---|
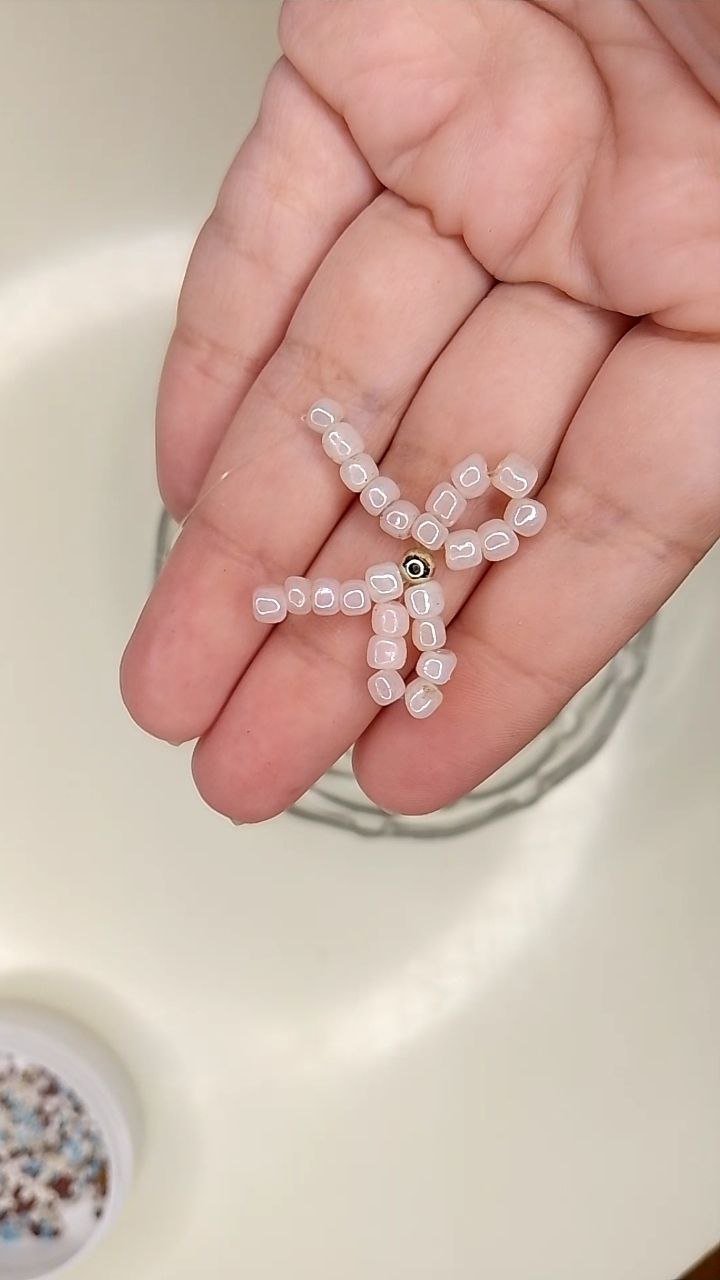
Ahora, pasaremos la aguja de vuelta por la perla dorada formando la primera “orejita del lazo”. Agregamos siete cuentas melocotón más y de nuevo pasamos de vuelta la aguja por la perla dorada formando la segunda “orejita” y terminamos añadiendo cinco cuentas melocotón y asegurando con un nudo (o varios) en la cuenta final.
English Version
Now, we pass the needle back through the golden bead forming the first “ear of the loop”. We add seven more peach beads and again pass the needle back through the golden bead forming the second “ear” and finish by adding five peach beads and securing with a knot (or several) in the final bead.
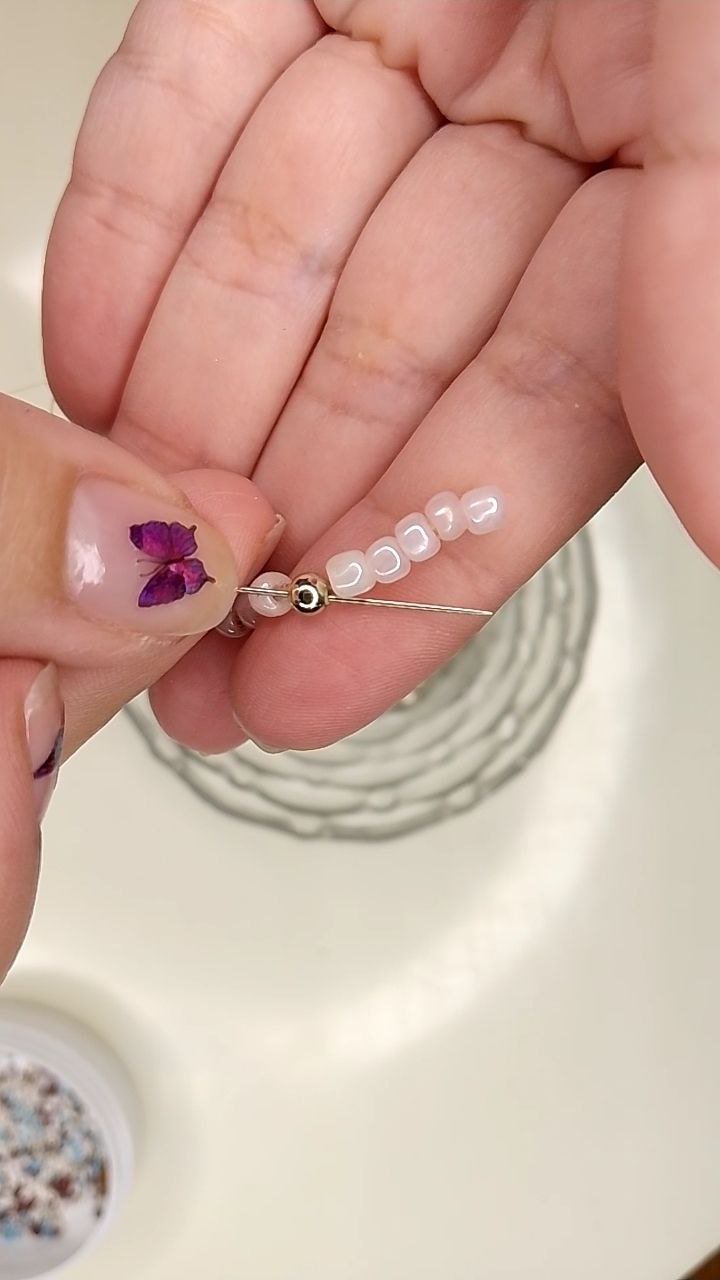 | 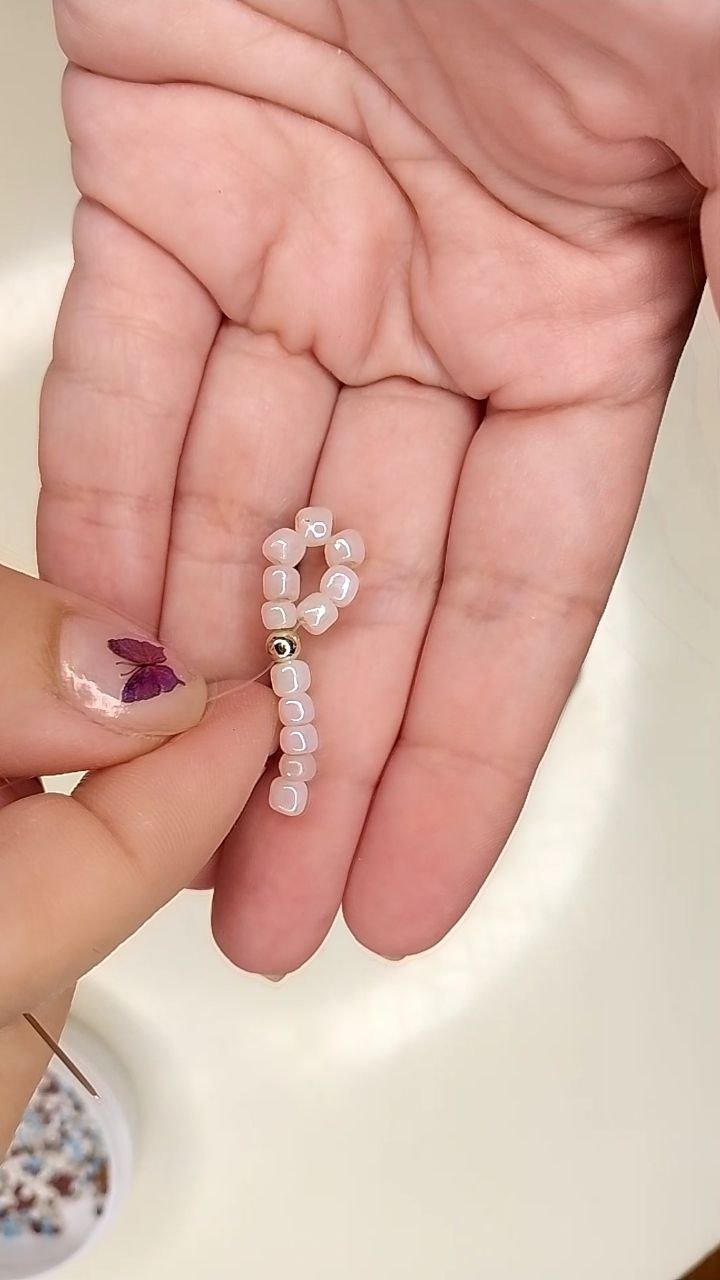 | 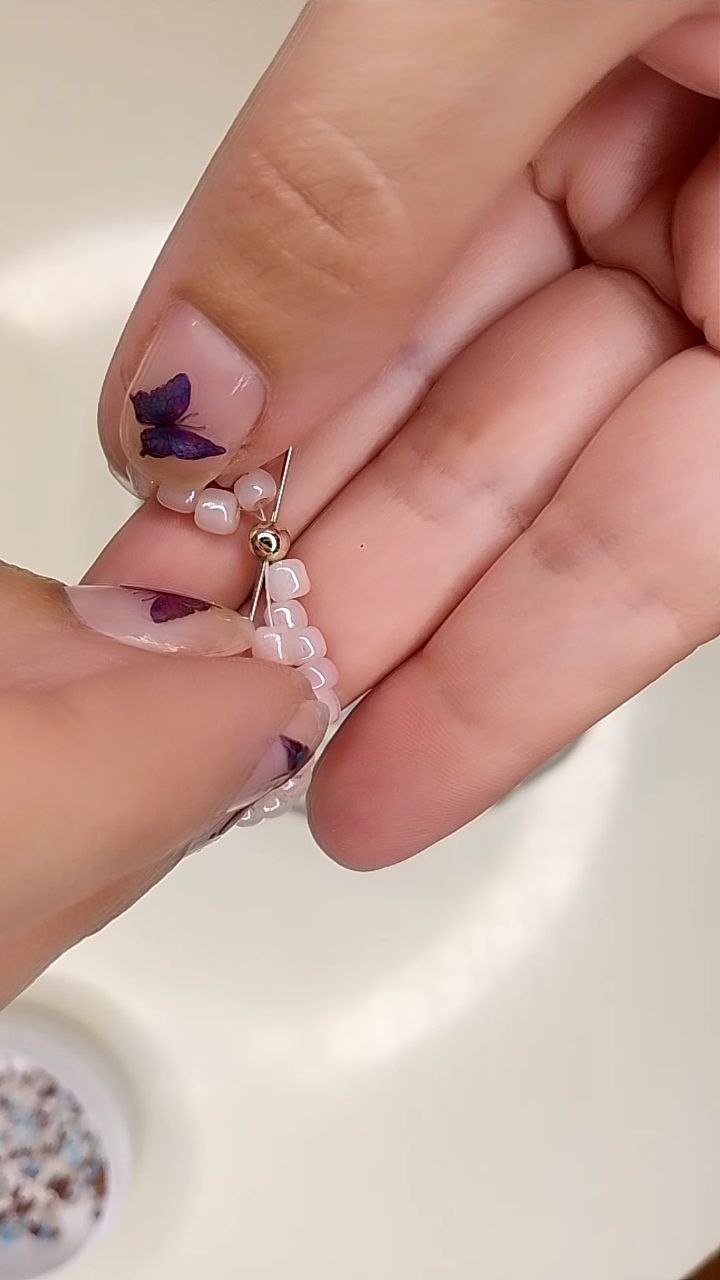 | 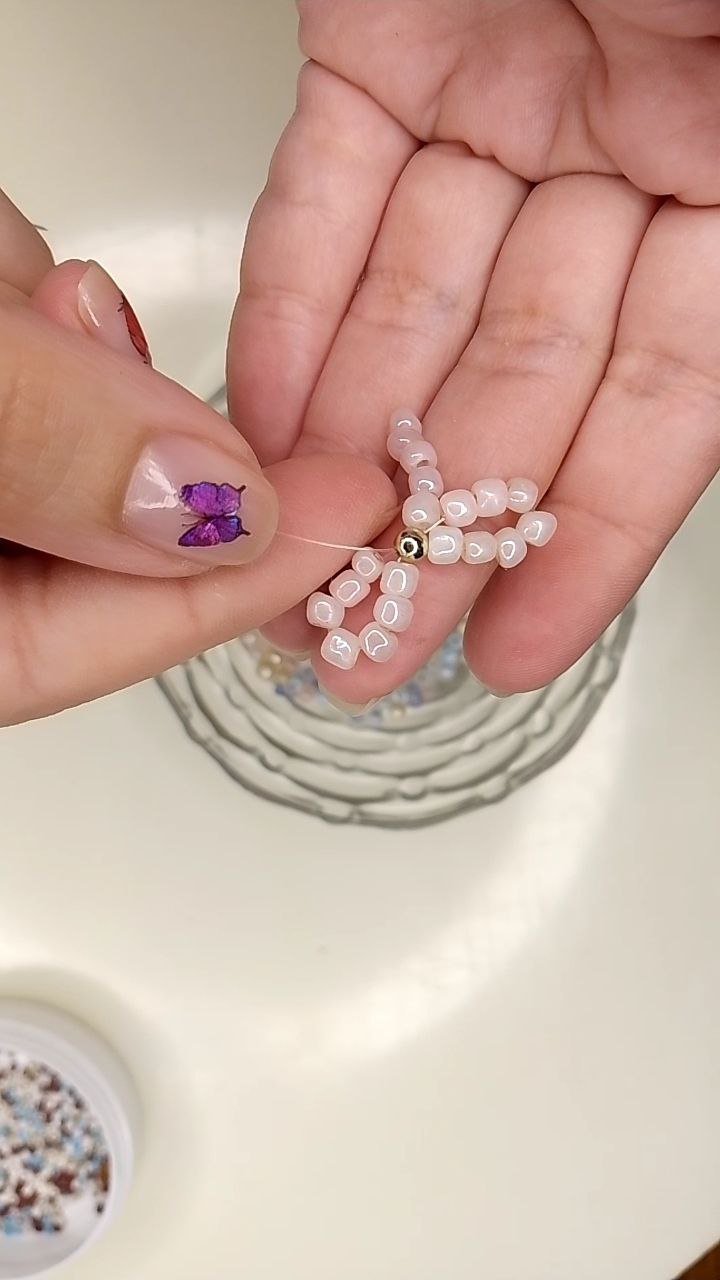 |  |
|---|
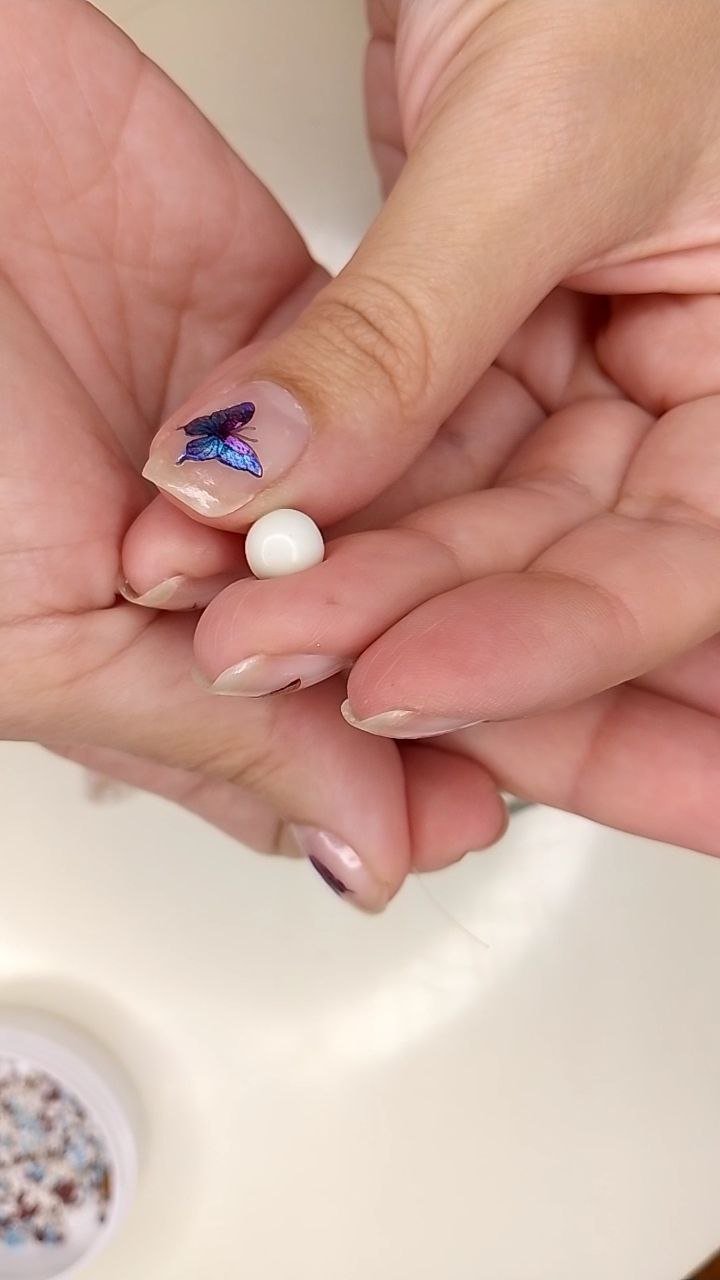
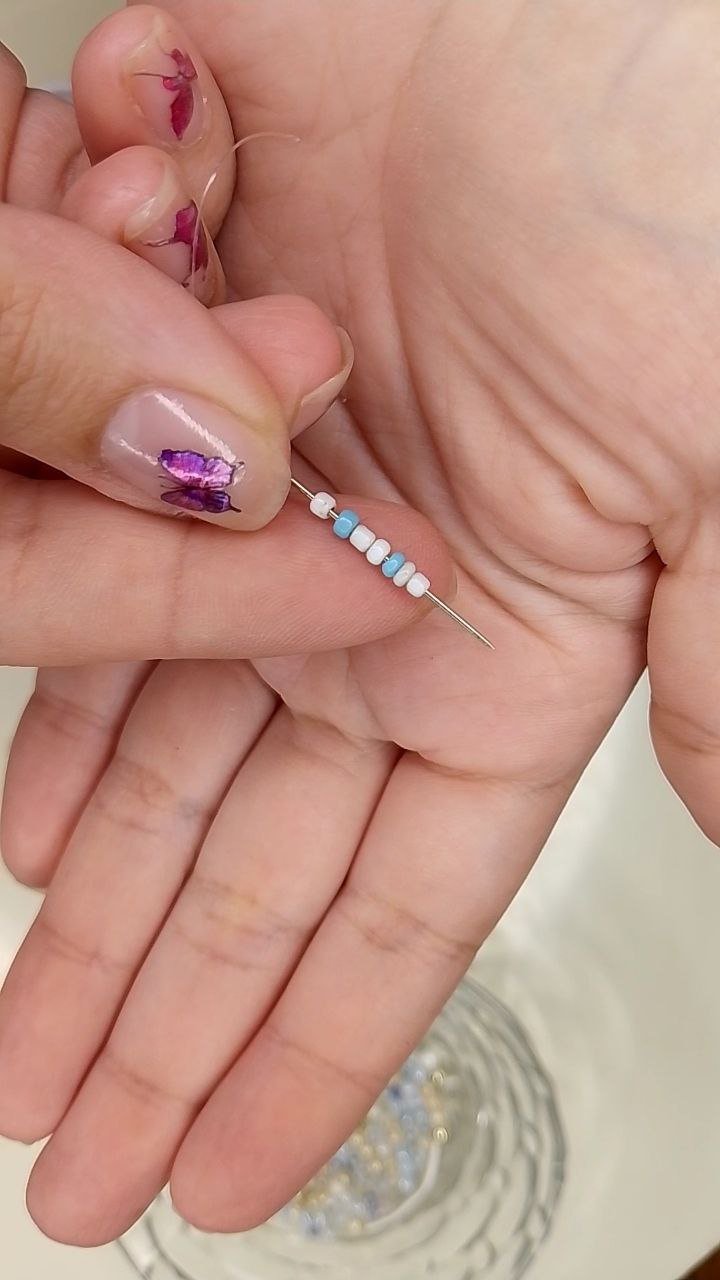
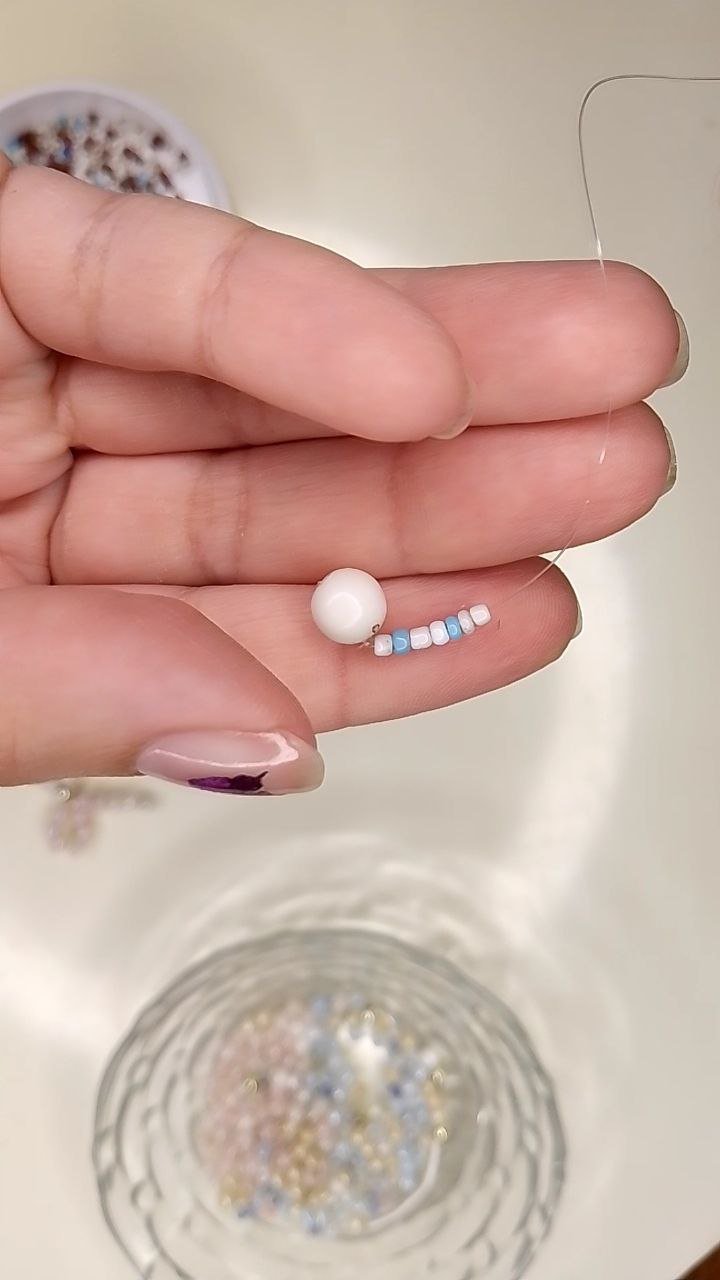
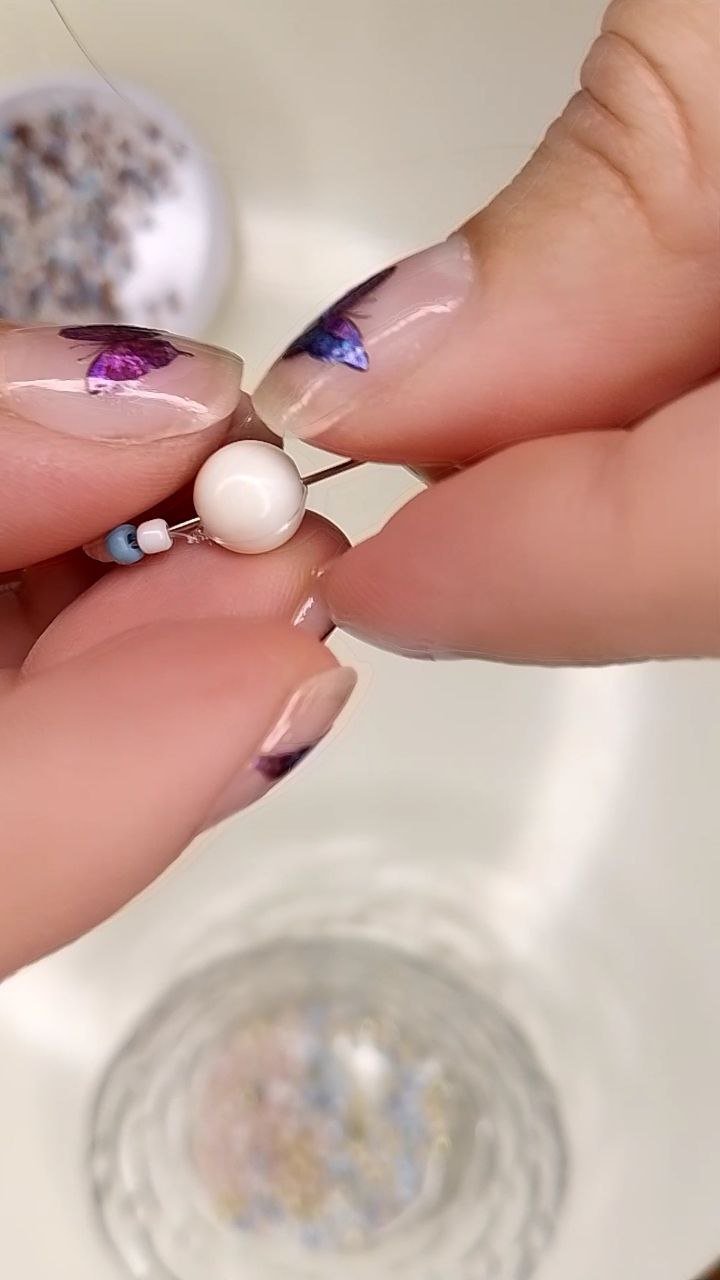
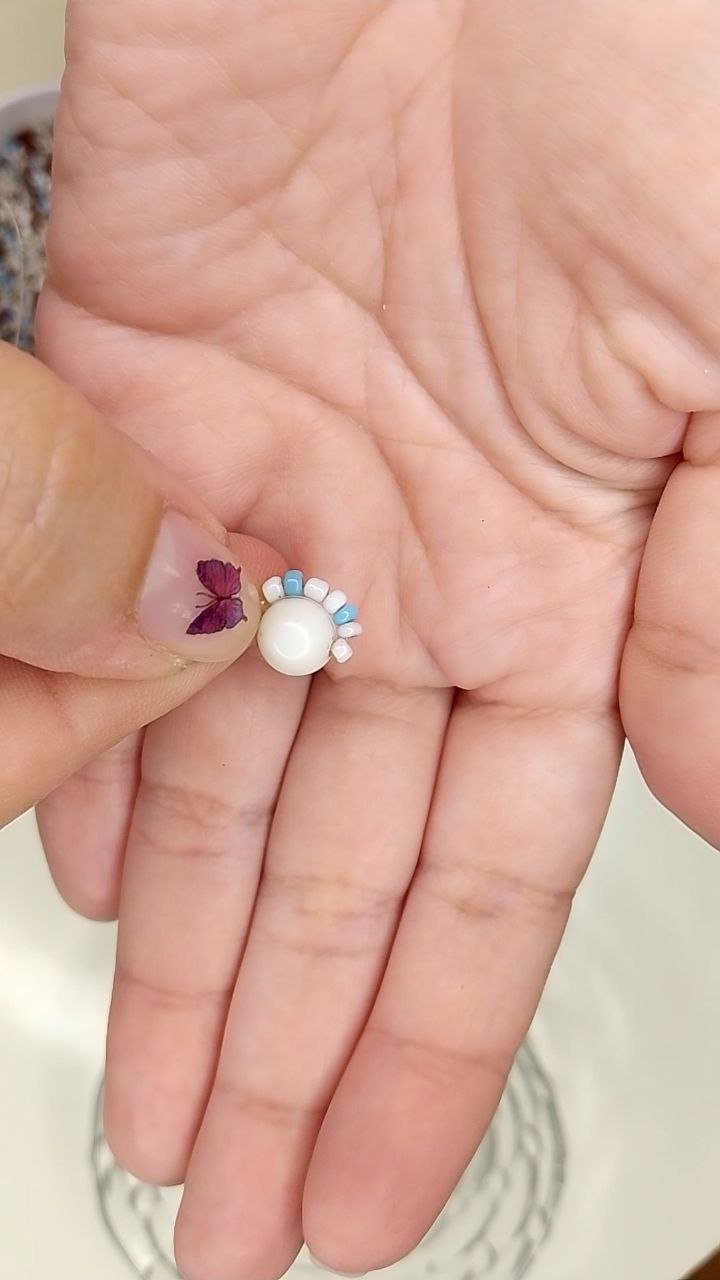
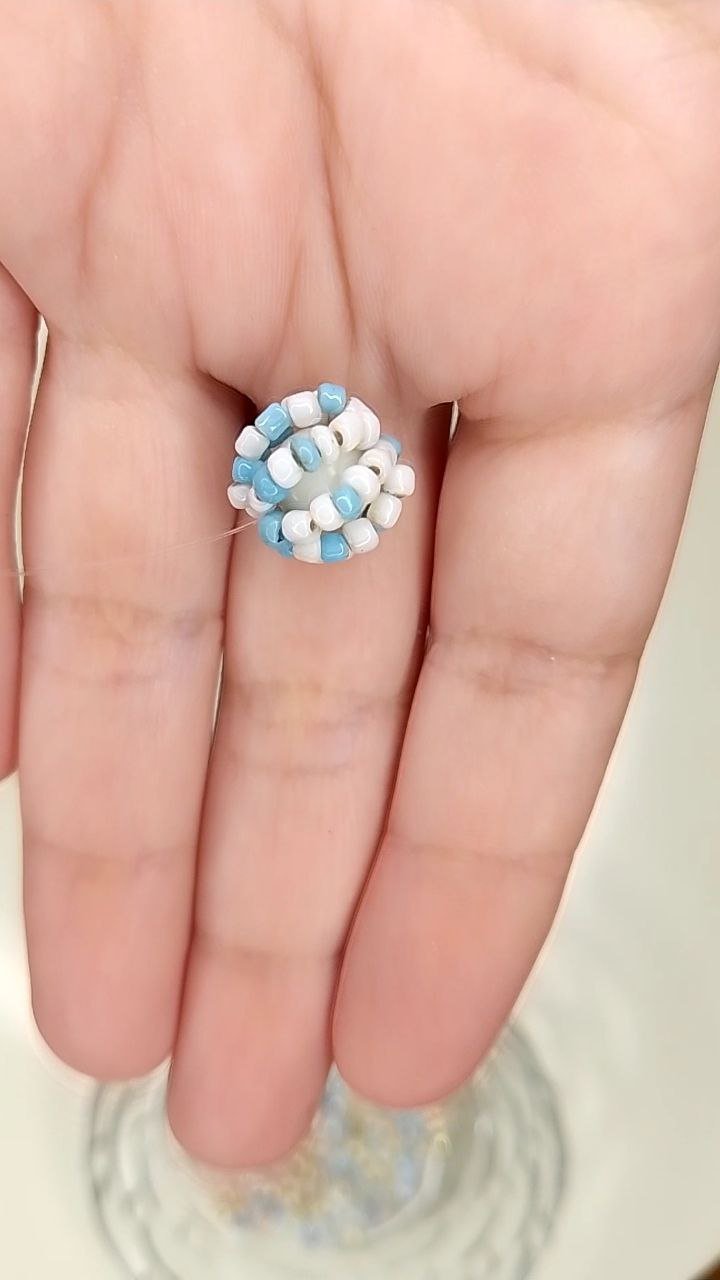
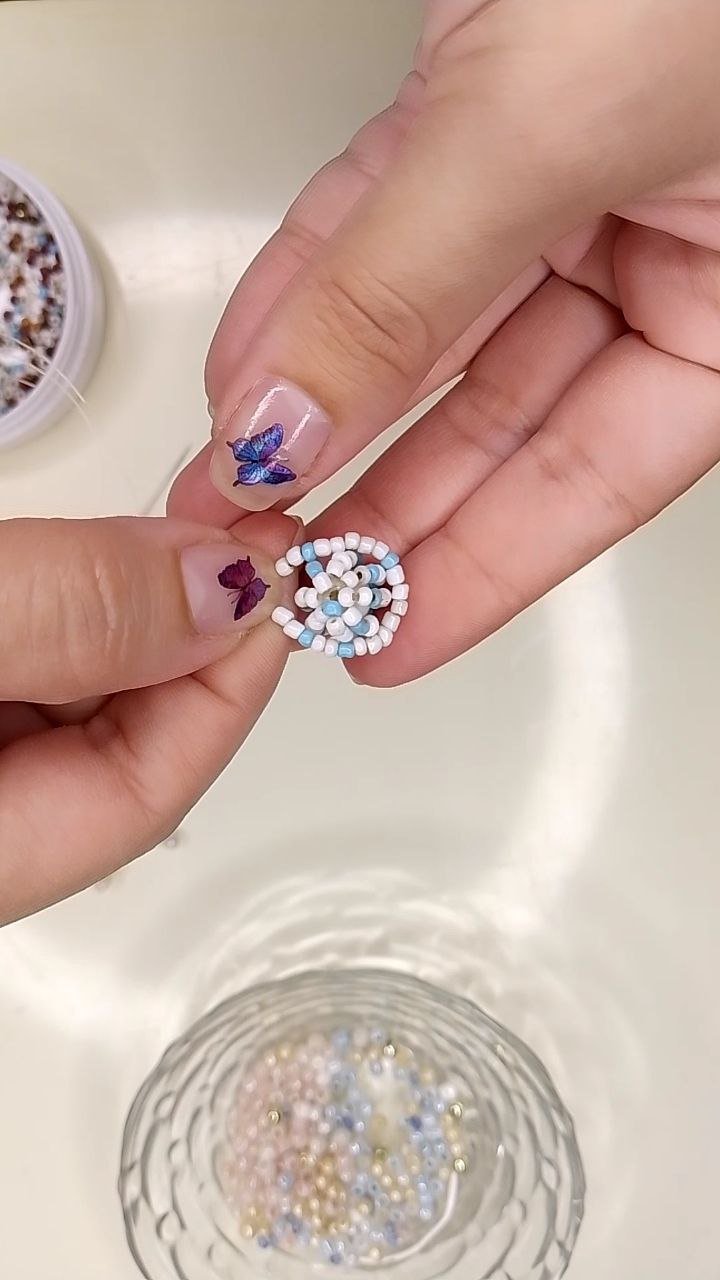
Apartamos por un rato el lazo y ahora tomaremos una perla blanca grande, con esta formaremos lo que será el broche que permitirá cerrar y abrir nuestra pulsera. Una vez más, esta la amarraremos con el nilón (de longitud 90 cm aproximadamente) y agregamos siete mostacillas blancas y azules sin un orden específico de colores, las llevamos hasta el costado de la perla grande e ingresamos el nilón por el orificio de la perla en el lado contrario al que se encuentran las mostacillas, de forma que éstas rodeen la perla. Este paso lo repetiremos las veces que sean necesarias hasta cubrir toda la superficie de la perla y por supuesto, terminamos con un nudo.
English Version
We put the loop aside for a while and now we will take a large white pearl, with this we will form what will be the clasp that will allow us to close and open our bracelet. Once again, we will tie it with the nylon (length 90 cm approximately) and add seven white and blue beads without a specific order of colors, we take them to the side of the big pearl and we introduce the nylon through the hole of the pearl on the opposite side to the one where the beads are, so that they surround the pearl. We will repeat this step as many times as necessary until we cover the whole surface of the pearl and of course, we finish with a knot.
 |  |  |  |  |  |
|---|
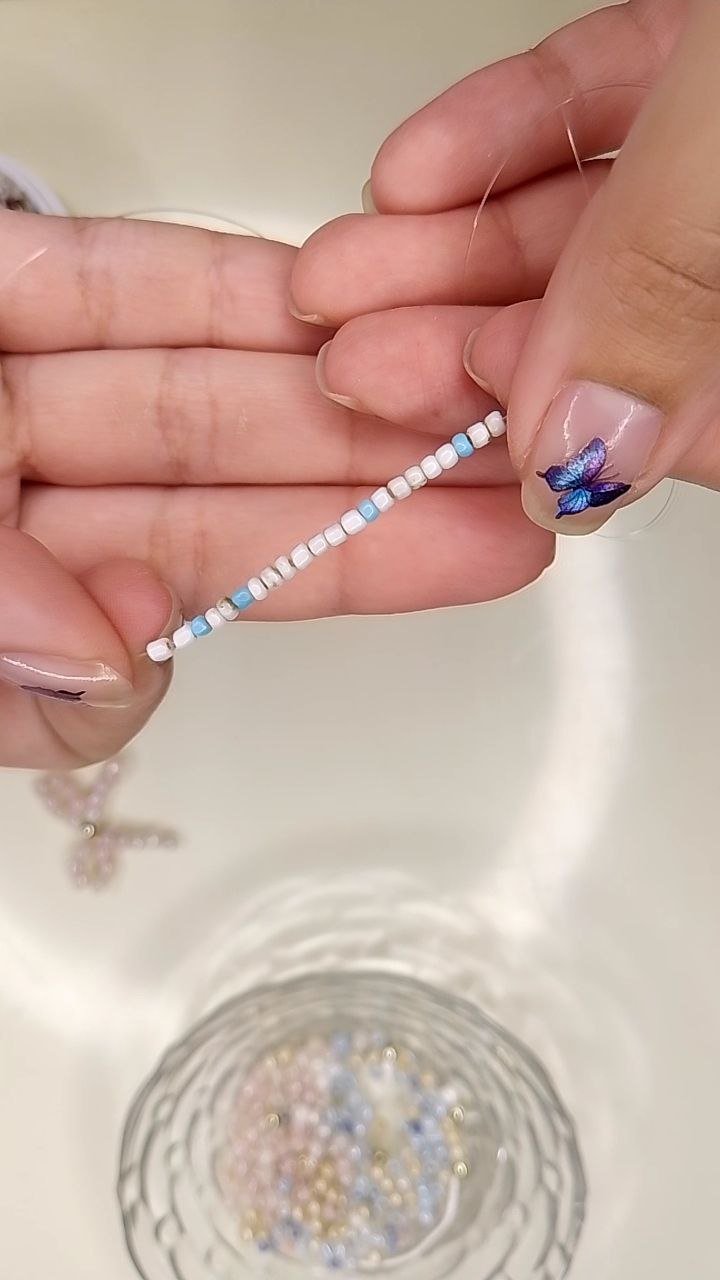
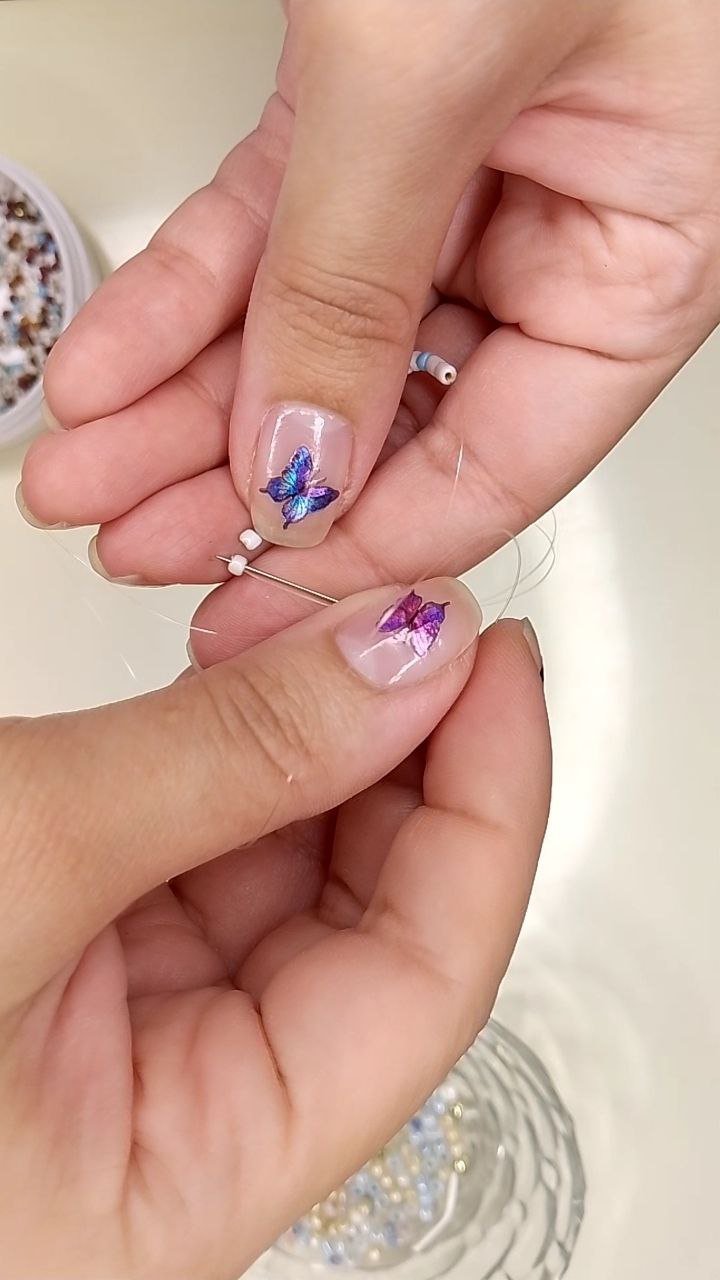
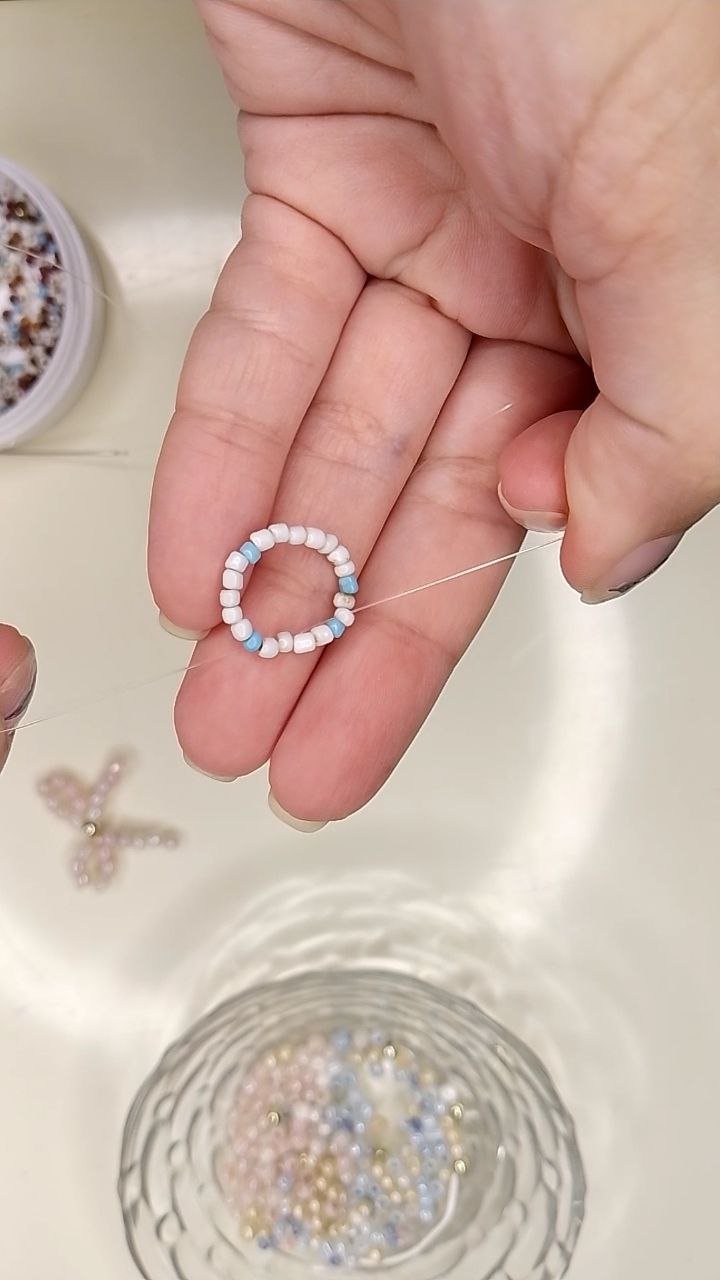
De momento también apartaremos el broche y empezaremos con el cuerpo de la pulsera. Tomamos un nilón de un metro aproximadamente y agregaremos en él unas veintidós mostacillas alternando colores blanco y azul (sin ningún orden específico), las mismas deben quedar centradas en el nilón y también es muy importante asegurarnos que puedan rodear al broche, si no, se agregan más mostacillas, y si sobran entonces se quita el excedente, la idea es que quede lo más completo posible para que pueda funcionar el sistema de cierre. Pasamos el nilón por dentro de la última mostacilla y aseguramos con un nudo.
English Version
At this point we will also set aside the clasp and start with the body of the bracelet. We take a nylon of about one meter and add on it about twenty-two beads alternating white and blue colors (without any specific order), they must be centered on the nylon and it is also very important to ensure that they can surround the clasp, if not, add more beads, and if left over then remove the excess, the idea is to be as complete as possible so that the locking system can work. We pass the nylon inside the last bead and secure it with a knot.
 |  |  |  |
|---|
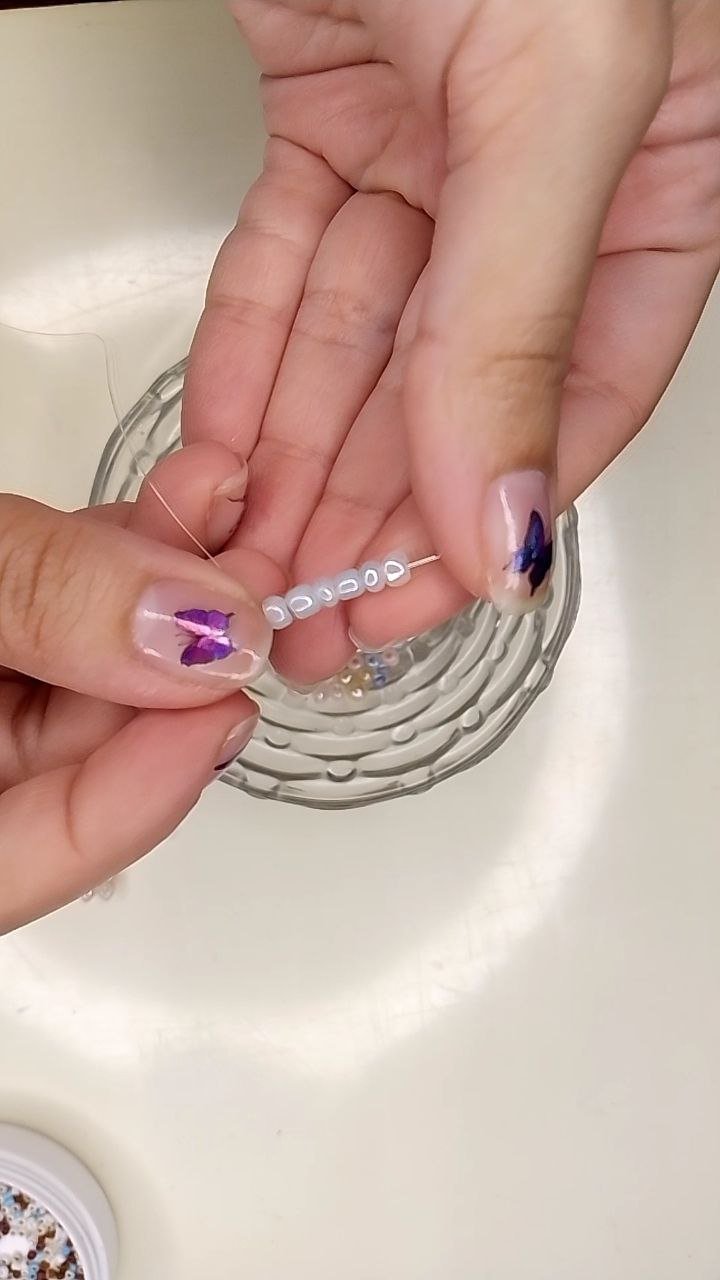
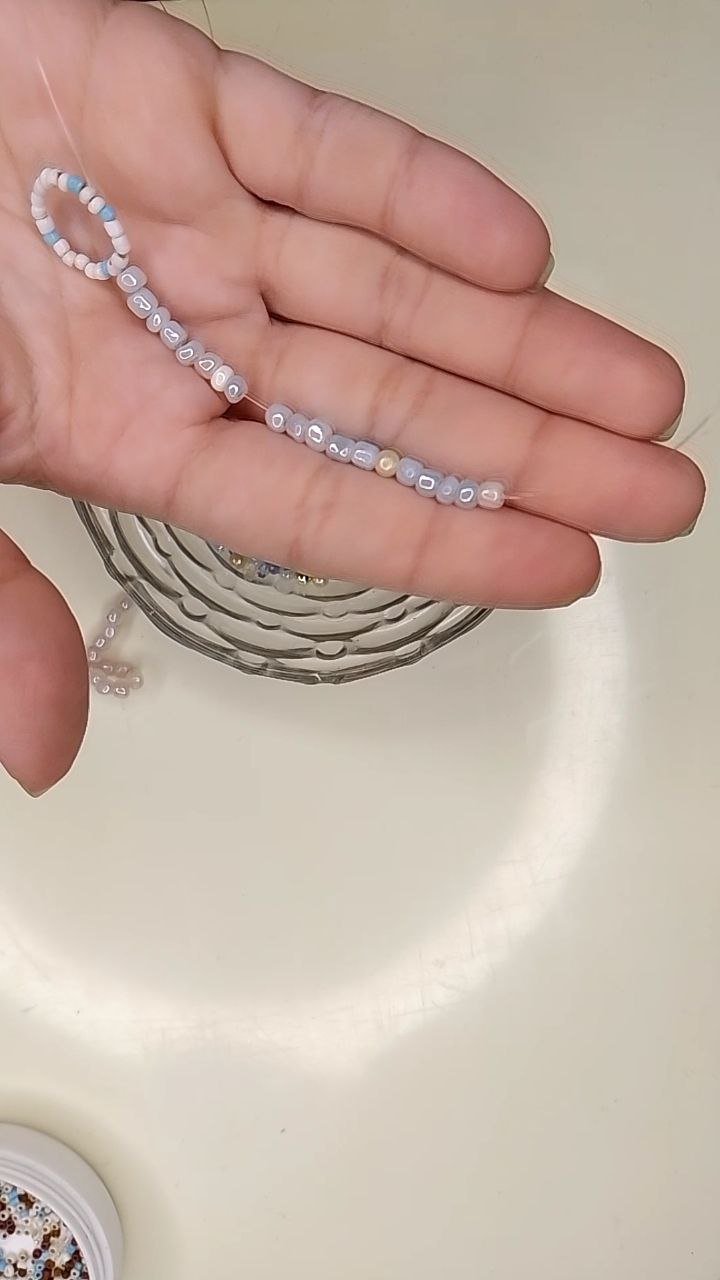
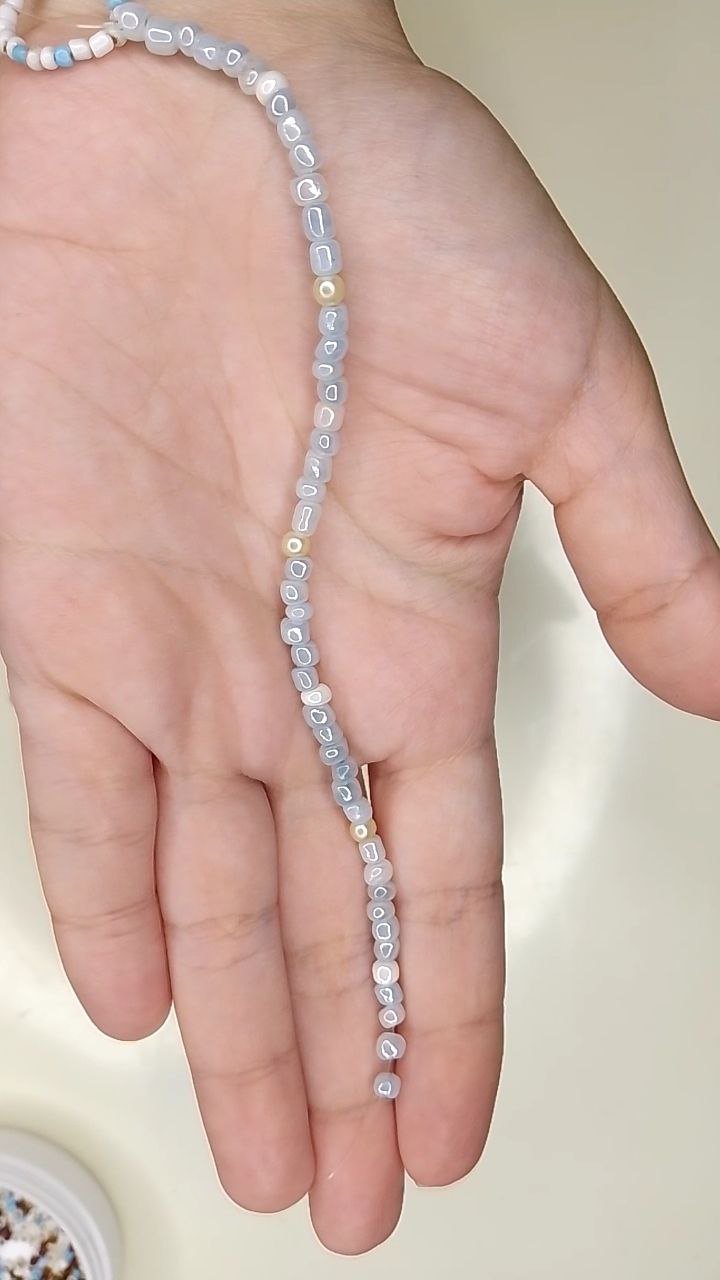
En uno de los extremos libres ingresamos seis cuentas azules, luego una blanca y de nuevo seis azules y a continuación una perla y así sucesivamente. Sin embargo, con esta parte de la pulsera, a la que llamaré el “lado azul”, no busqué que tuviera una simetría perfecta, no hay un patrón específico, por lo que no es exactamente igual un tramo de otro. Es muy importante ir midiendo con la muñeca para tener certeza de que nos quedará. Terminamos este lado con un nudo pero sin cortar el sobrante del nilón.
English Version
On one of the free ends we put six blue beads, then one white bead, then six blue beads and then one pearl and so on. However, with this part of the bracelet, which I will call the “blue side”, I did not seek to have a perfect symmetry, there is no specific pattern, so it is not exactly the same a section of another. It is very important to measure with the wrist to be sure that it will fit. We finish this side with a knot but without cutting the excess nylon.
 |  |  |
|---|
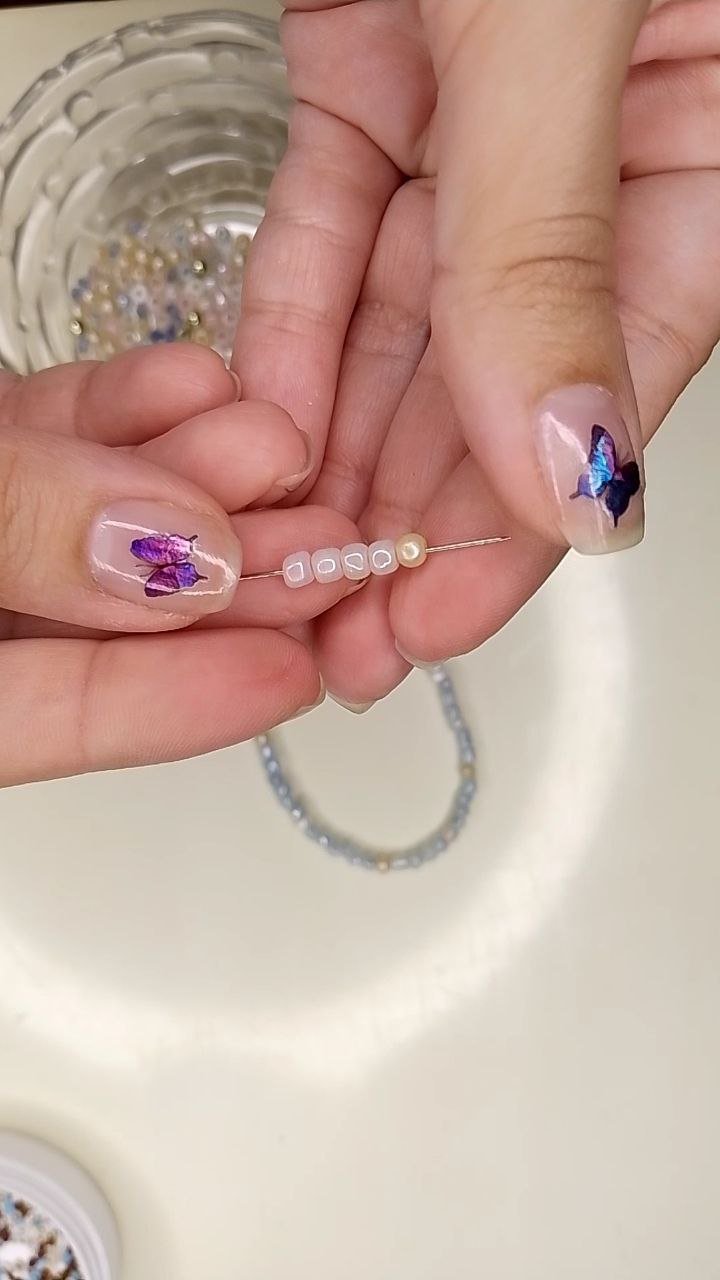
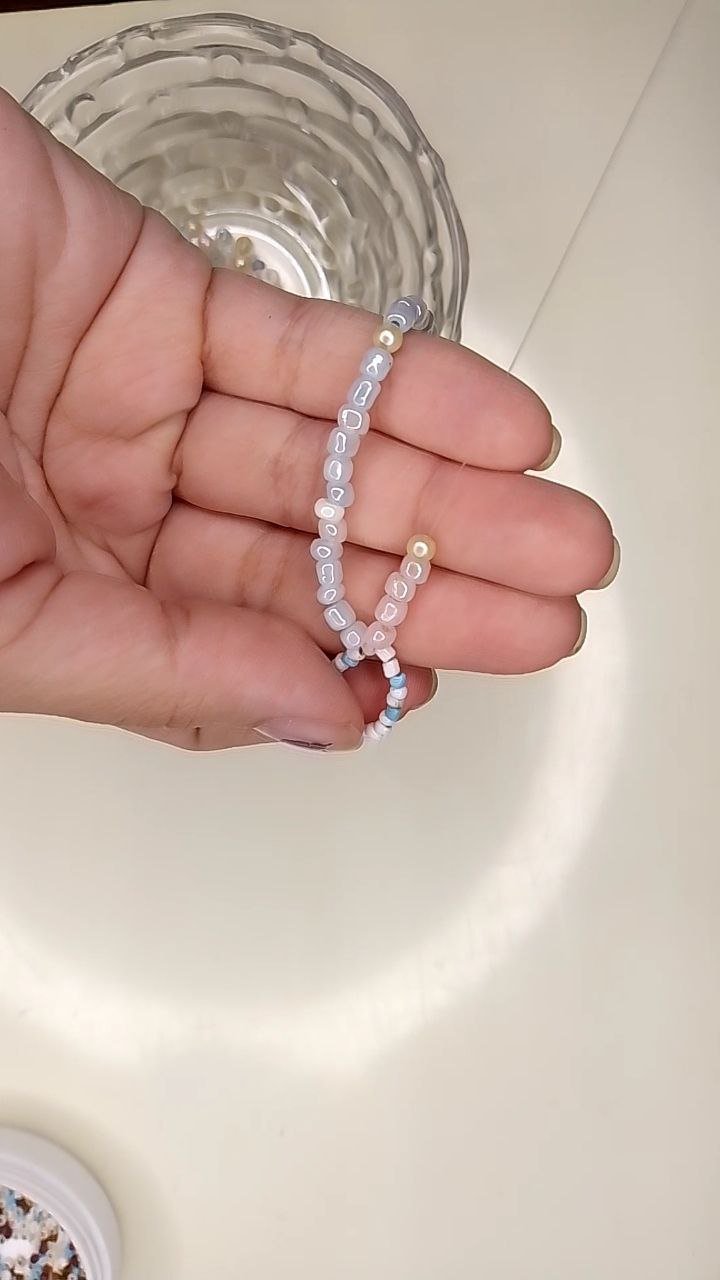
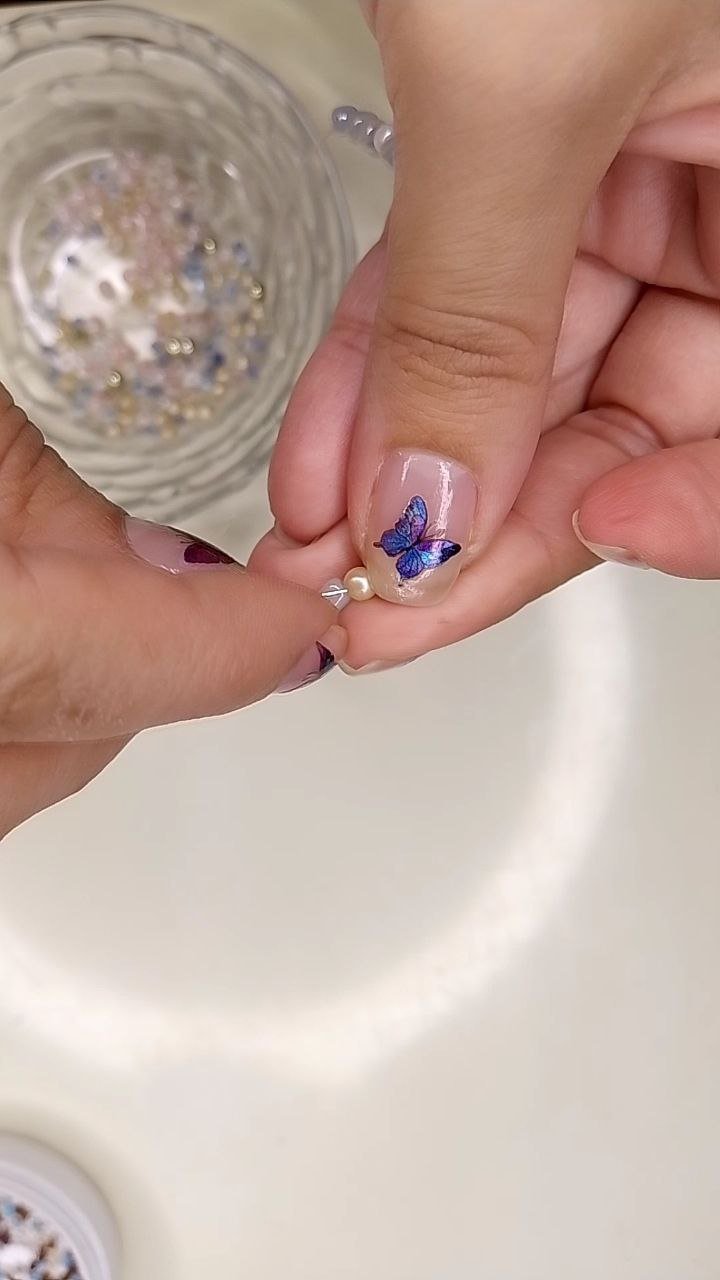
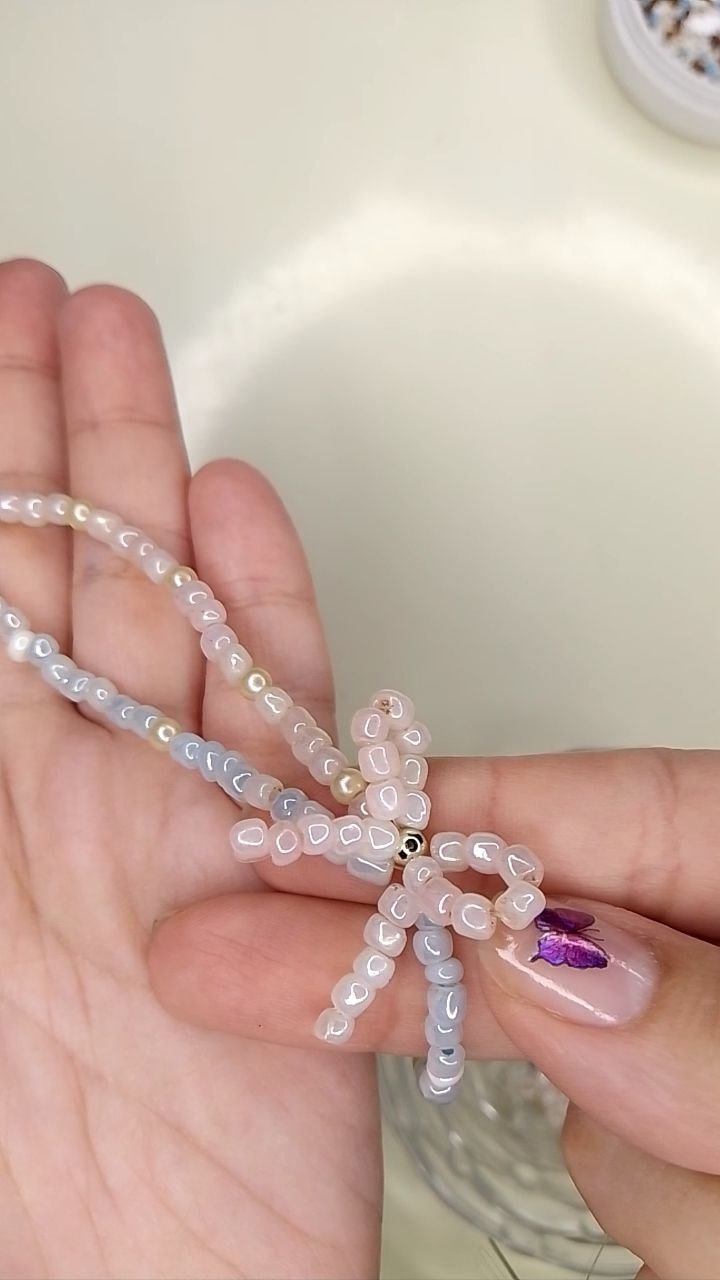
Ahora es el turno del lado melocotón y en este caso, sí establecí un patrón simétrico de cuatro cuentas melocotón y una perla marfil. Al llegar al centro agregué el lazo, pasando el nilón a través de la perla dorada central del mismo, también verifiqué cuál era la cuenta central del lado azul y resultó ser una perla marfil, por allí también pasé el nilón, de modo que ambas partes de la pulsera quedan unidas en su centro por el lazo.
English Version
Now it is the turn of the peach side and in this case, I did establish a symmetrical pattern of four peach beads and an ivory pearl. When I reached the center I added the loop, passing the nylon through the central golden bead of the loop, I also checked which was the central bead on the blue side and it turned out to be an ivory bead, through there I also passed the nylon, so that both parts of the bracelet are joined in its center by the loop.
 |  |  |  |  |  |
|---|
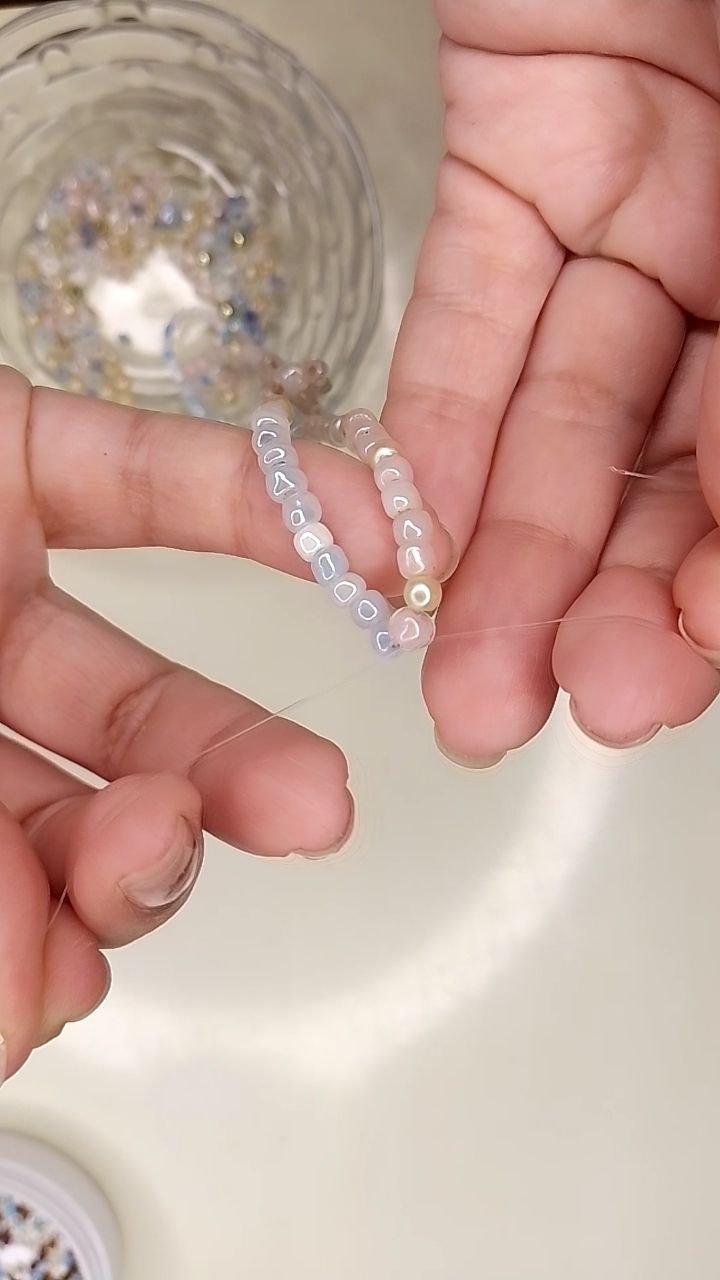
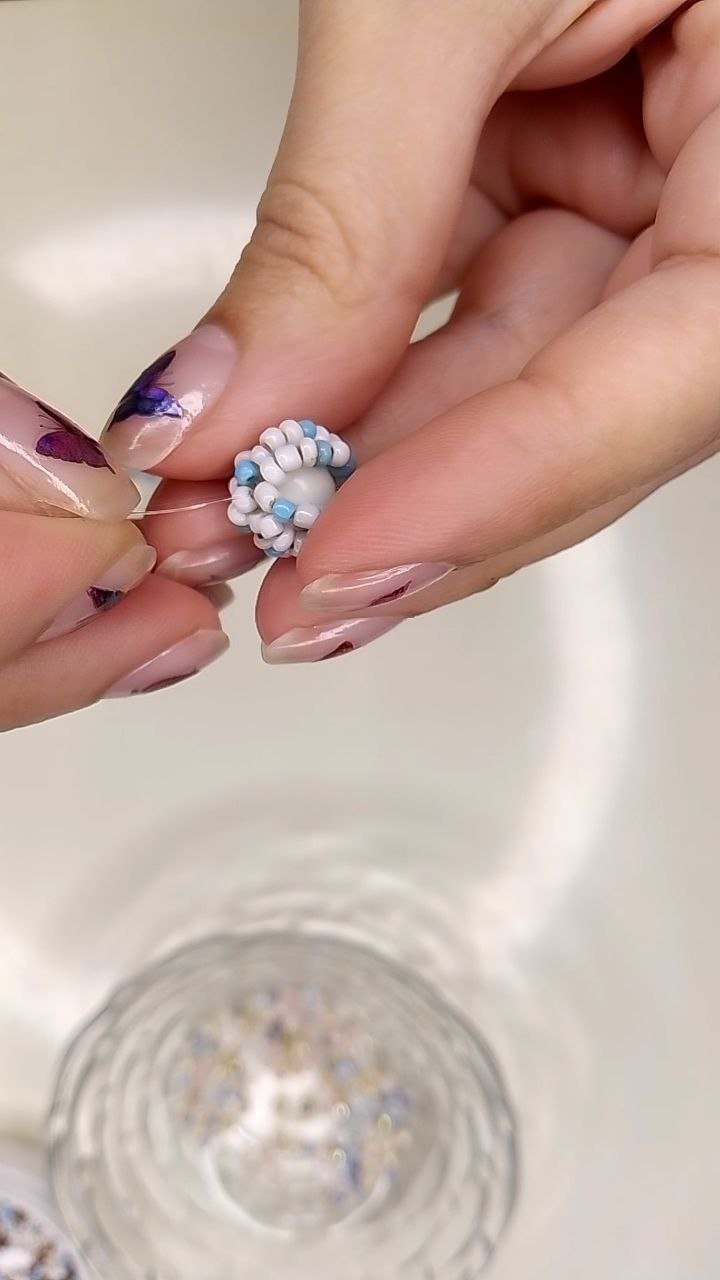
Una vez hecho esto, terminamos de llenar la mitad restante del lado melocotón y aseguramos con un nudo en su última cuenta. Posteriormente, unimos el final de ambas partes con un nudo y pasamos uno de los excedentes de nilón a través del broche y aseguramos con un nudo final con los dos sobrantes de nilón. No olviden cortar el sobrante.
English Version
Once this is done, we finish filling the remaining half of the peach side and secure with a knot in its last bead. Afterwards, we join the end of both parts with a knot and pass one of the excess nylon through the brooch and secure with a final knot with the two excess nylon beads. Don't forget to cut off the excess.
 |  |
|---|
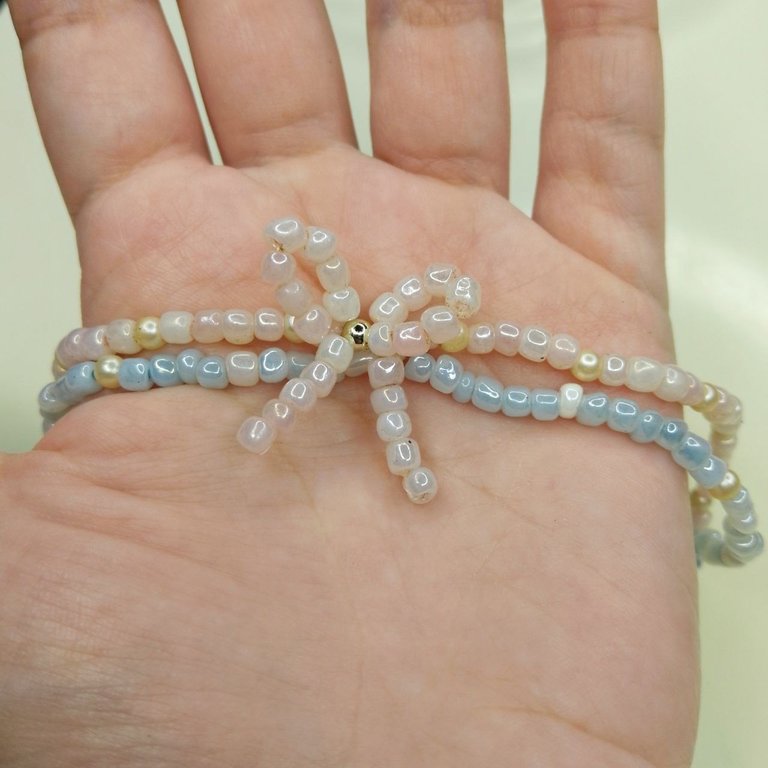
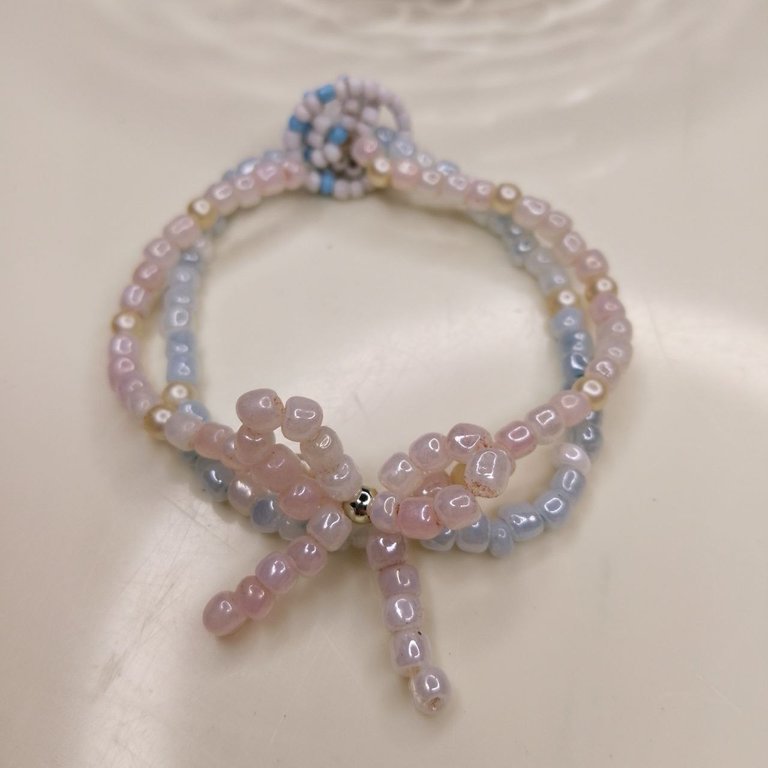
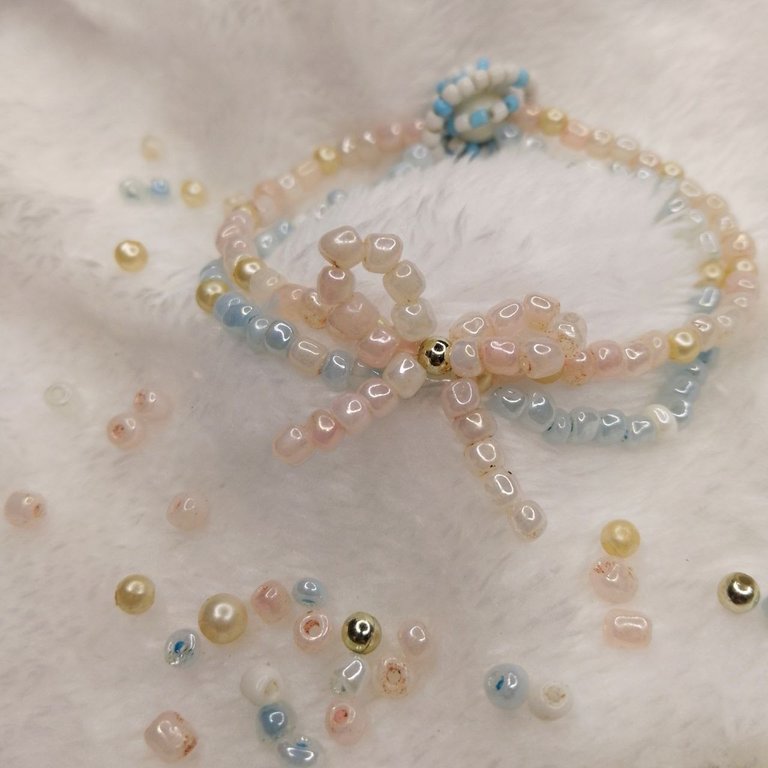
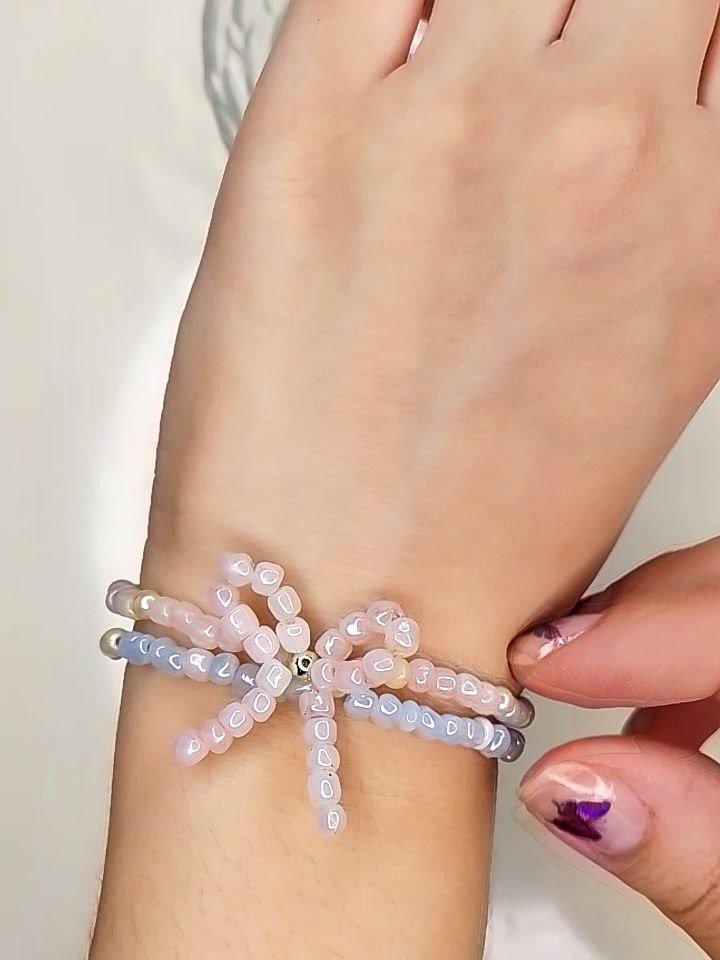
Y listo, el resultado es realmente hermoso, ya estoy buscando la ocasión para lucir esta nueva creación (risas).
English Version
And ready, the result is really beautiful, I'm already looking for the occasion to show off this new creation (laughs).
 |  |  |  |
|---|
¡Muchas gracias por leerme!
Thank you so much for reading me!
Fotografías propias, tomadas con mi Tecno Spark 10C.
Traducido al inglés con DeepL.
English Version
Own photographs, taken with my Tecno Spark 10C.
Translated to English with DeepL.

Quedó impresionante el post Amor! De los más completos que te he visto hasta hoy y un arte muy muy bonito.
Felicitaciones Amor!!! 😘
Muchas gracias mi amor🥰 me gustó mucho el resultado, quedó aún más bonita de lo que esperaba😍
Making this bracelet this beautiful might have been a whole lot of work but you did it, you made it so beautiful. Well done.
Thank you very much💖 I'm really happy with the result, I'm glad you liked it✨.
Congratulations @mavilan30! You have completed the following achievement on the Hive blockchain And have been rewarded with New badge(s)
Your next target is to reach 15000 upvotes.
You can view your badges on your board and compare yourself to others in the Ranking
If you no longer want to receive notifications, reply to this comment with the word
STOPCheck out our last posts:
Me encantó, soy fanática de las pulseras.
Bienvenida a esta comunidad amiga, te va a encantar estar por aquí. Muchas gracias por unirte y compartir tus creaciones. 🙋❤️🌼
Muchas gracias por la bienvenida y tus palabras amiga🤗 me alegra que te gustara💖
Waao this is so cute.
Thank you so much✨