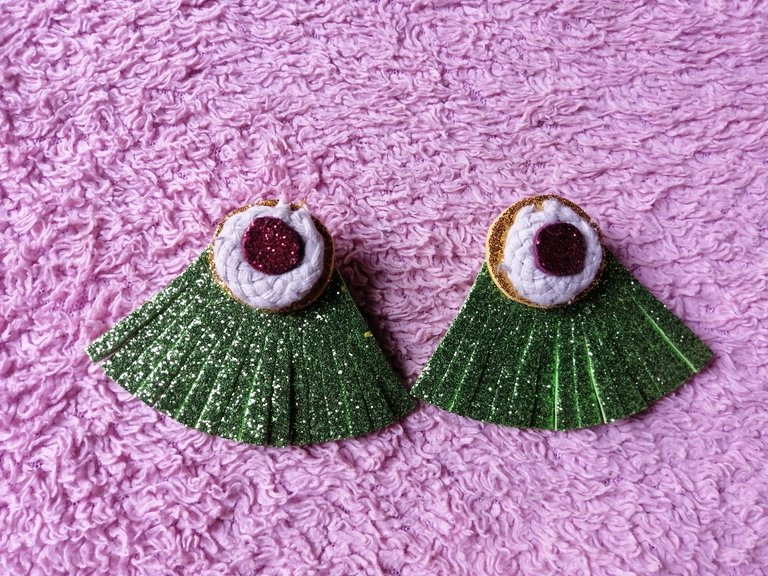
Tengan un gran saludo todos mis queridos amigos lectores y creadores de contenido de esta linda comunidad, espero la estén pasando excelentemente bien. En esta oportunidad he sido invitada a formar parte de esta comunidad por la amiga @yolimarag y así aprender un poco más acerca de este mundo de la joyería y accesorios. Hoy quisiera compartirles y mostrarles un hermoso arete que hice con mucho amor, este es un arete con colores muy vivos, con este arete podemos lucir muy hermosa si se usa en la ocasión indicada (tema carnaval). Me gustaría aprender mucho de esta comunidad, espero me acepten y apoyen, gracias, sin más que decir les muestro los paso a seguir. A continuación les explicaré el paso a paso y los materiales que utilice para realizar este hermoso arete.
Have a big hello to all my dear reader and content creator friends of this beautiful community, I hope you are having an excellent time. On this occasion I have been invited to be part of this community by a friend @yolimarag and thus learn a little more about this world of jewelry and accessories. Today I would like to share and show you a beautiful earring that I made with a lot of love, this is an earring with very bright colors, with this earring we can look very beautiful if it is used on the indicated occasion (carnival theme). I would like to learn a lot from this community, I hope you accept me and support me, thank you, without further ado I will show you the steps to follow. Next I will explain the step by step and the materials used to make this beautiful earring.
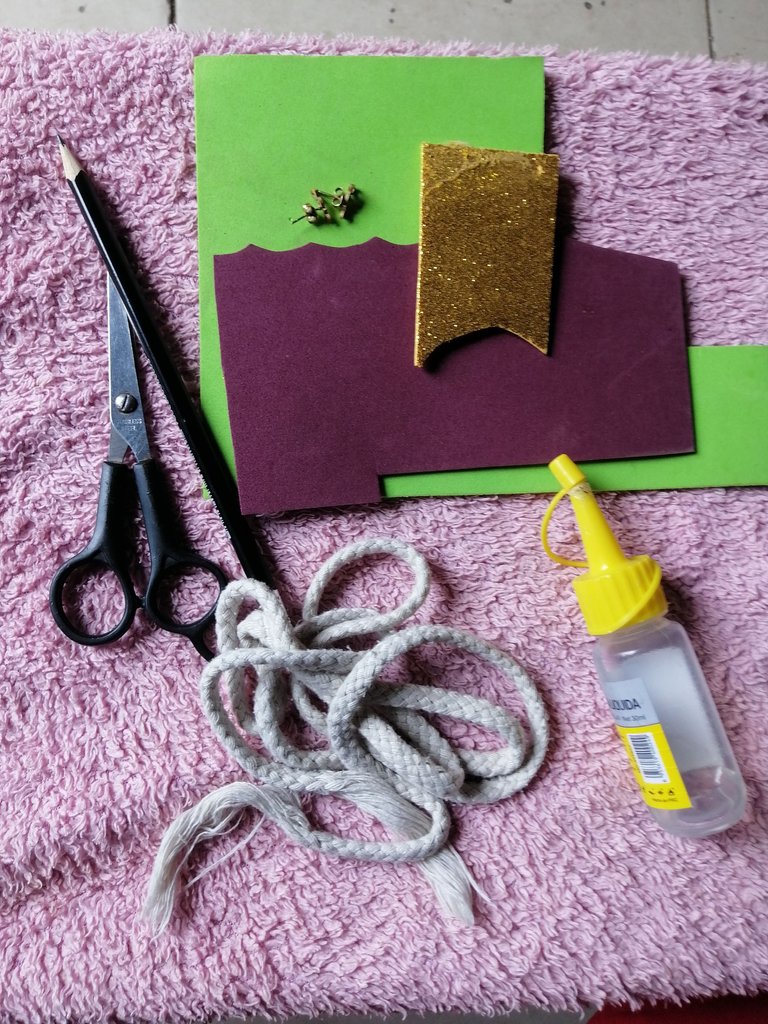
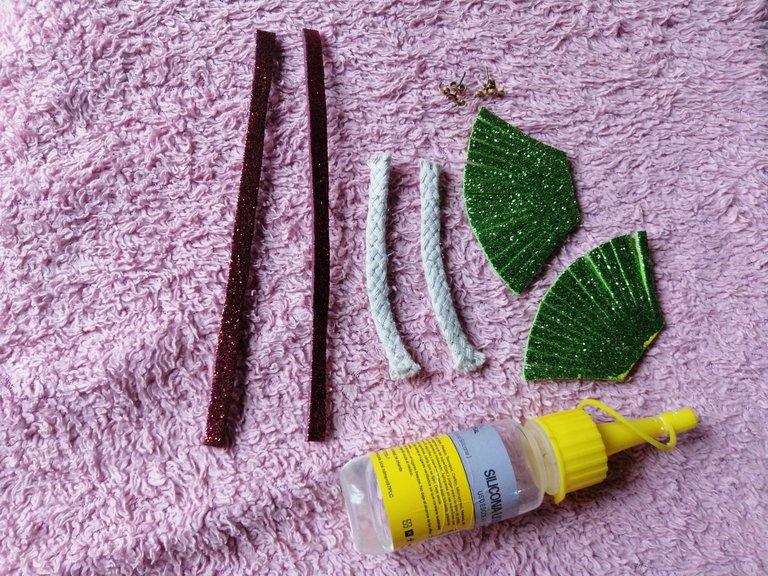
Materiales que utilice
Zarcillos viejos
Foamis escarchado (verde, rojo y amarillo)
Trenza blanca
Tijera
Silicón liquido
Lápiz
Molde
materials you use
old tendrils
Frosty foamis (green, red and yellow)
white braid
Scissors
liquid silicone
pencil
mold
Paso 1
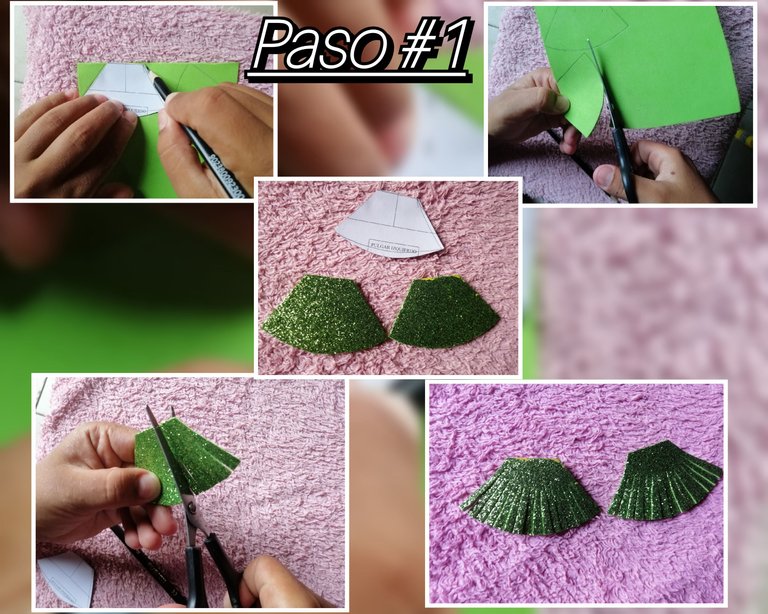
Lo primero que haremos es marcar con el molde el Foamis, de esta forma pueden realizarlo del tamaño que más le guste, yo lo hice de este tamaño porque es más adaptable para mí, ya que marquemos ambos patrones del zarcillo procedemos a recortar con ayuda de nuestra tijera. De esta manera quedará nuestros dos pares de aretes, con ayuda de nuestra tijera recortamos hasta cierto punto para hacer los flequillos de nuestro arete, ya casi va tomando forma nuestra creación.
Step 1
The first thing we will do is mark the Foamis with the mold, in this way you can make it the size you like best, I did it this size because it is more adaptable for me, once we mark both tendril patterns we proceed to cut with the help of our scissors. In this way, our two pairs of earrings will remain, with the help of our scissors we cut to a certain point to make the fringes of our earring, our creation is almost taking shape.
Paso 2
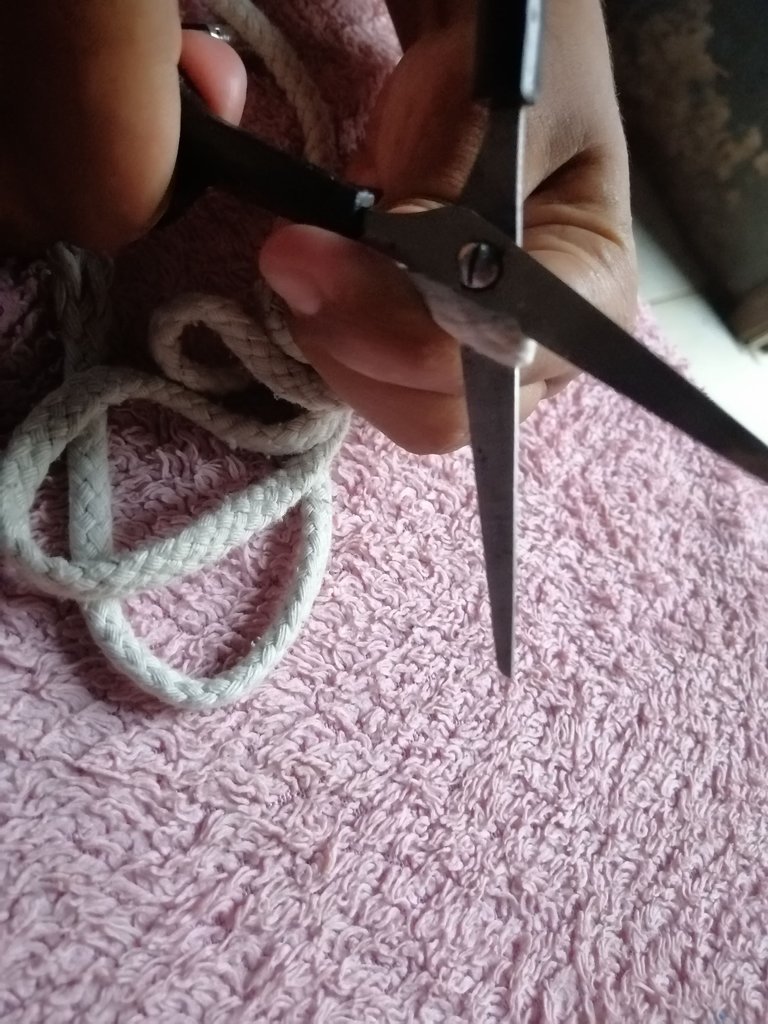
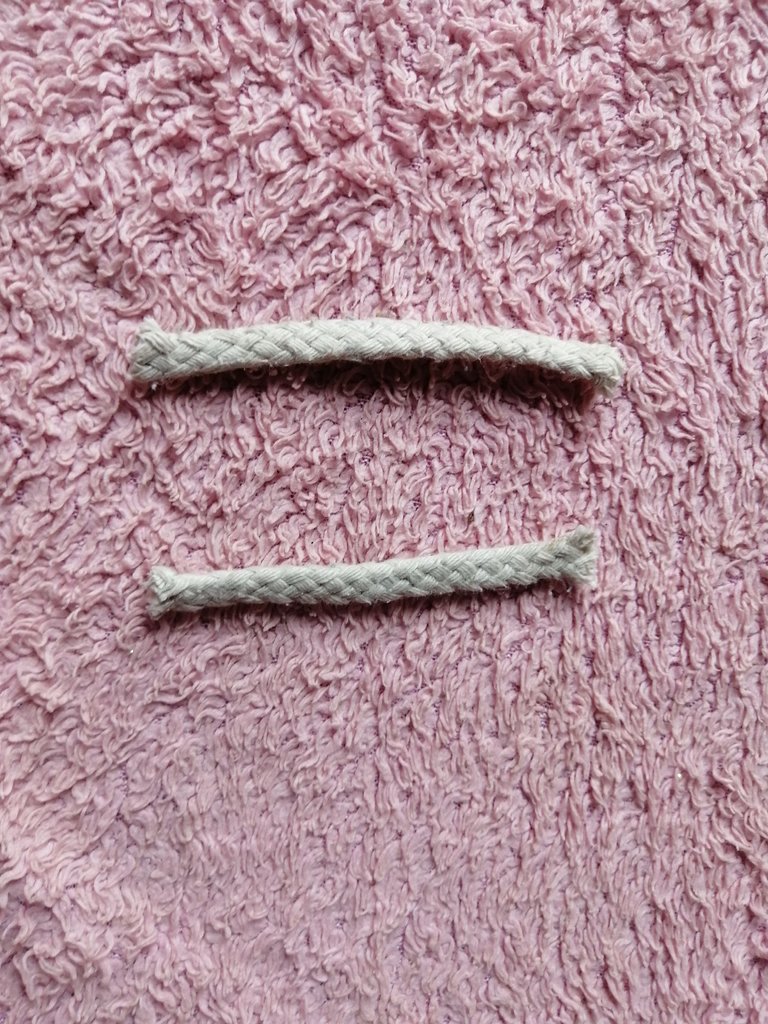
Tomaremos nuestra trenza y procedemos a recortar para realizar nuestro círculo en el arete, también puede realizarlo del tamaño de su preferencia, ya que tengamos todas las piezas listas vamos a continuar armando nuestro hermoso zarcillo, con ayuda del Silicón pegaremos todas las piezas.
Step 2
We will take our braid and proceed to cut to make our circle in the earring, you can also make it the size of your preference, once we have all the pieces ready we will continue assembling our beautiful tendril, with the help of Silicone we will glue all the pieces.
Paso 3
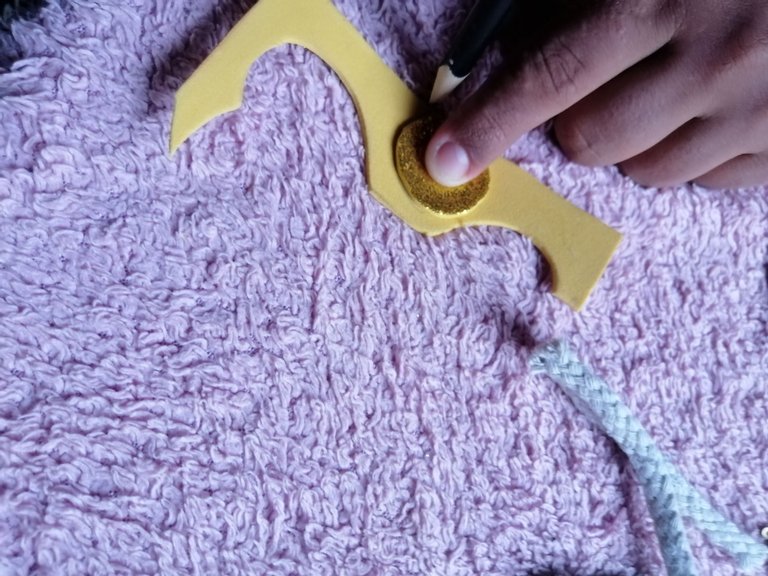
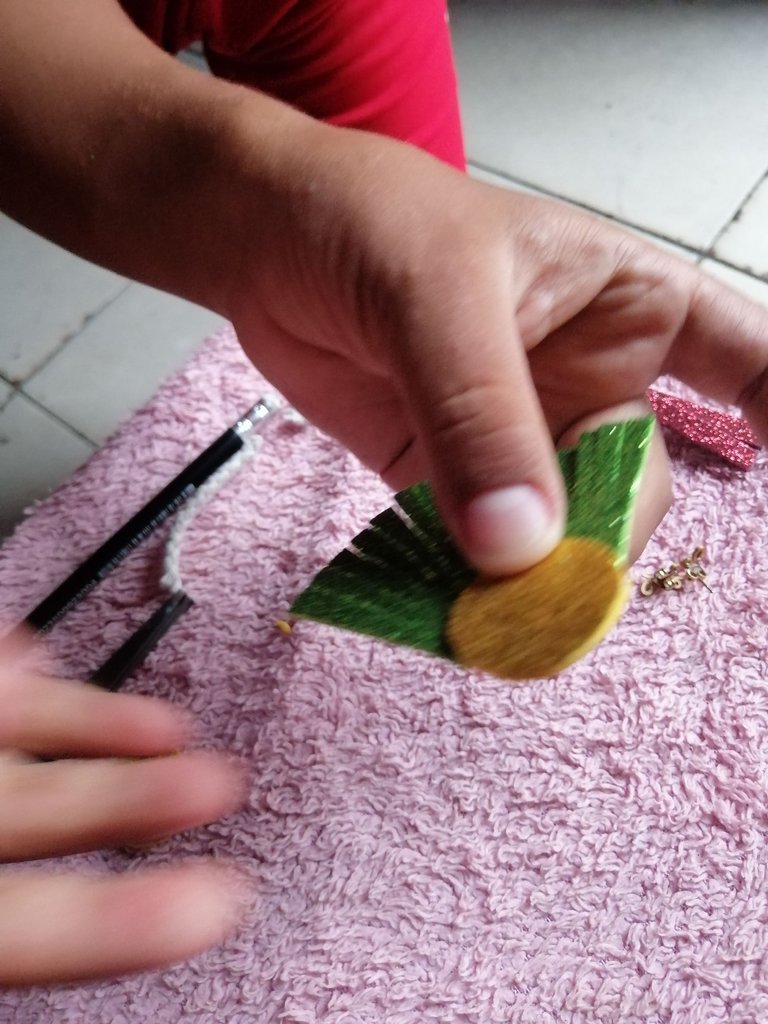
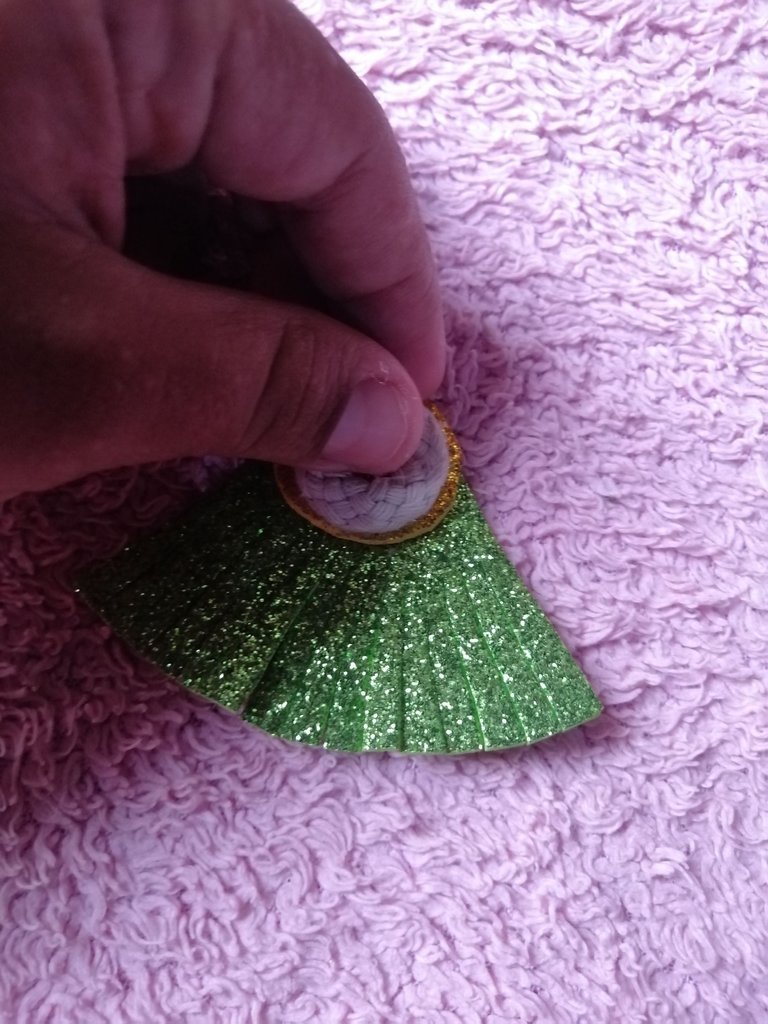
Con el Foamis amarillo escarchado haremos un círculo ovalado, lo marcamos y recortamos con nuestra tijera, ya que este listo procedemos a pegarlo al arete de esta manera como lo hice yo, luego tomamos la trenza formando un círculo de esta manera y pegamos con ayuda de nuestro silicón, como es líquido mantenemos presión unos segundos hasta que pegue.
Step 3
With the frosty yellow Foamis we will make an oval circle, we mark it and cut it with our scissors, since it is ready we proceed to glue it to the earring in this way as I did, then we take the braid forming a circle in this way and glue it with the help of our silicone, as it is liquid, we maintain pressure for a few seconds until it sticks.
Paso 4
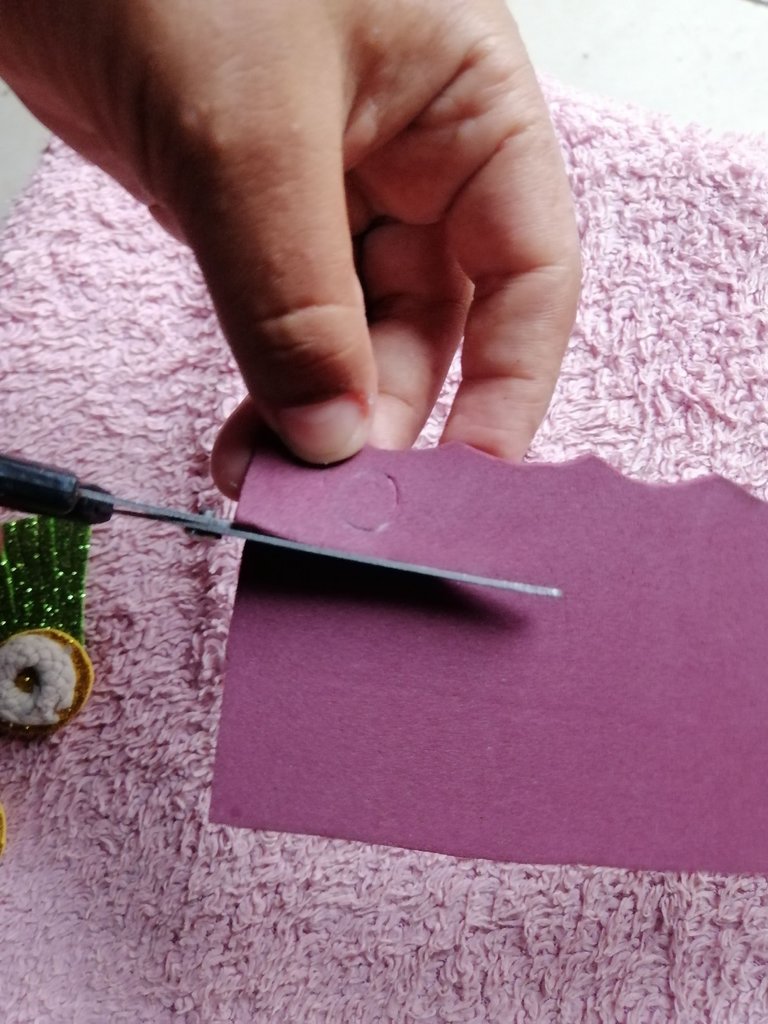
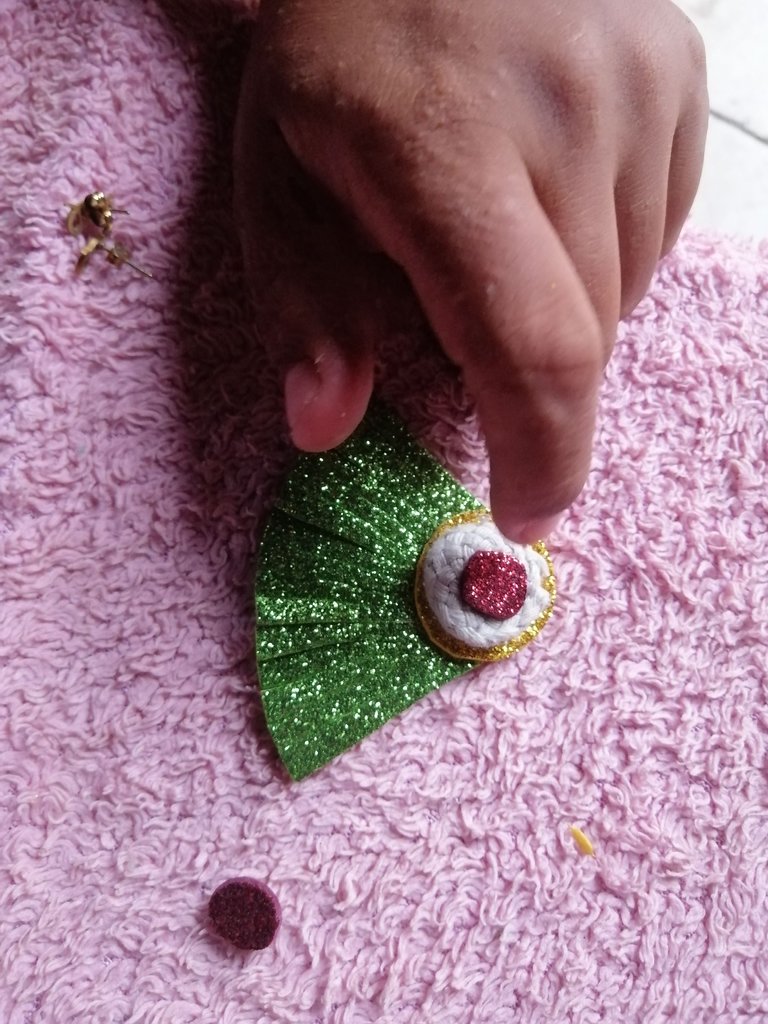
Con el Foamis rojo haremos un mini círculo, marcamos y recortamos con nuestra tijera, ya listo preocedemos a pegarlos de esta manera. Ya tenemos listo nuestro hermoso arete, vamos a continuar pegando el zarcillo al arete con ayuda del silicón, mantenemos presión por unos segundos para que quede bien pegado y no se nos caiga.
Step 4
With the red Foamis we will make a mini circle, we mark and cut with our scissors, ready we proceed to paste them in this way. We already have our beautiful earring ready, we are going to continue gluing the tendril to the earring with the help of silicone, we maintain pressure for a few seconds so that it is well attached and does not fall off.
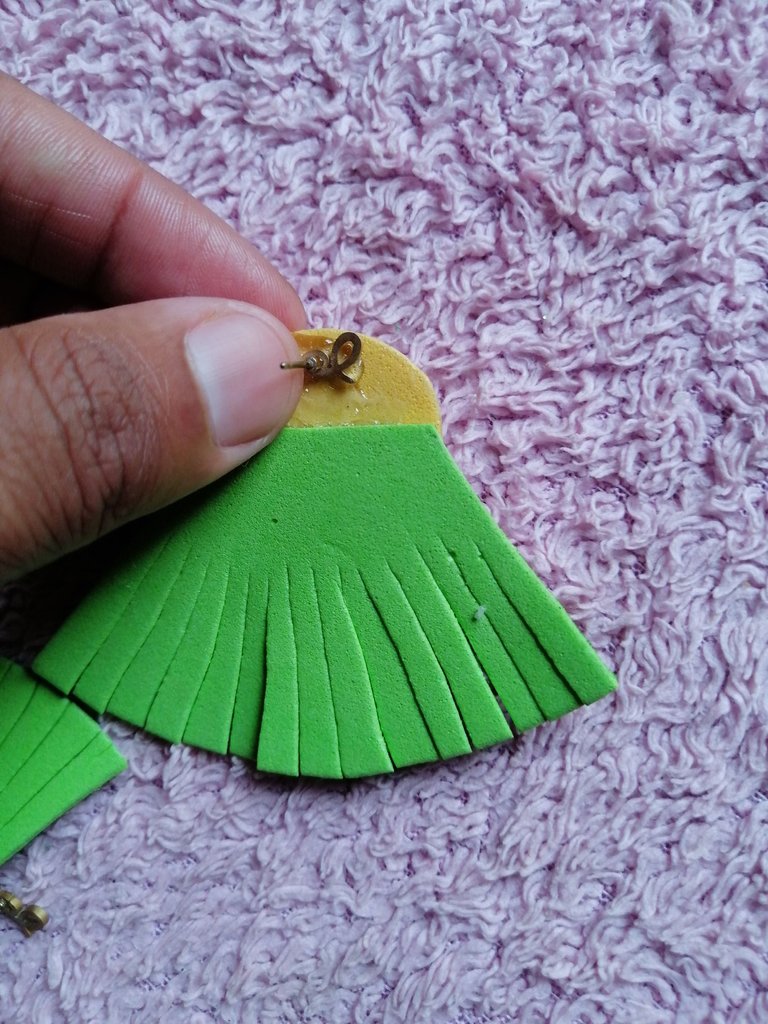
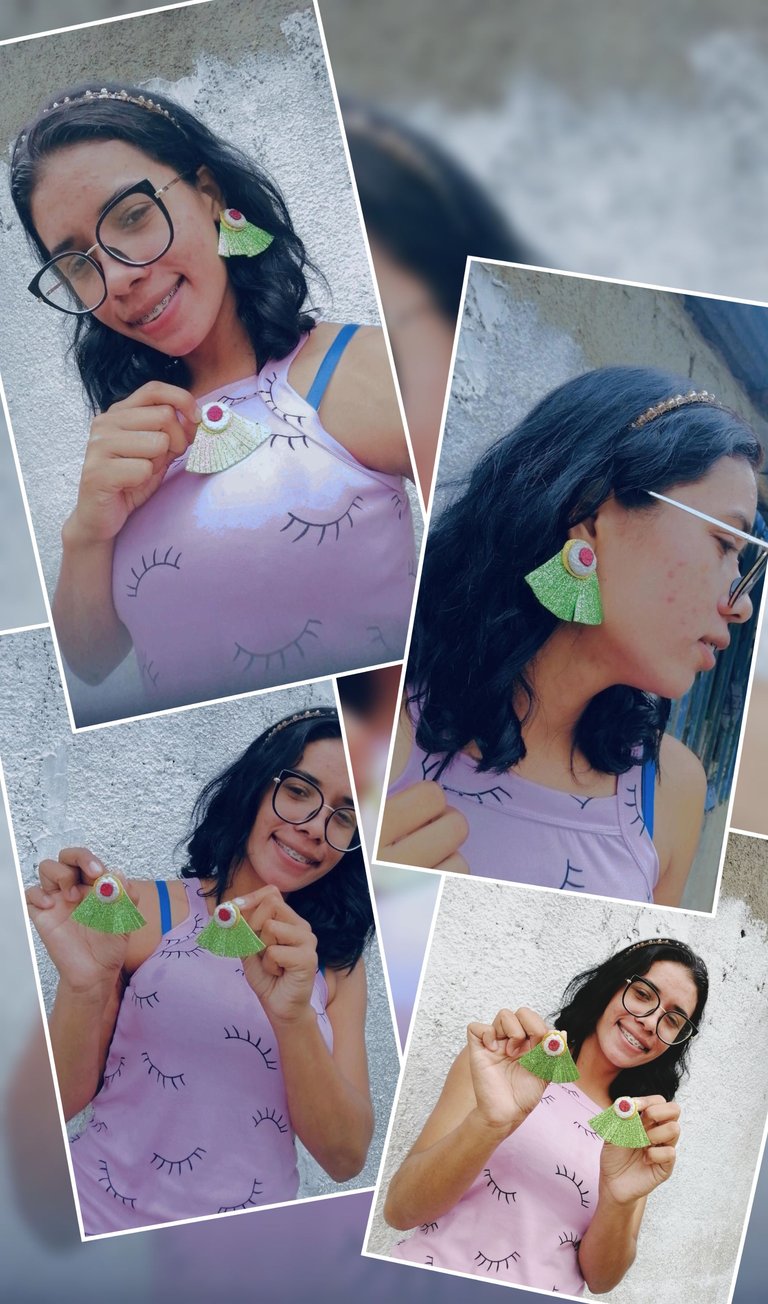
Y así te está manera quedó nuestro hermoso arete, este es el resultado... Un lindo arete para lucir hermosa en cualquier ocasión, espero les guste mí creación, cuento con todo su apoyo y sea de su agrado estar en esta linda comunidad para aprender un poco más del mundo de la joyería... ¡Gracias por todo! Que pasen muy bonita tarde 😘
Los textos los traduje con el traductor DeepL y las fotos fueron tomadas por mí, con mi teléfono Huawei Y9 Prime.
And this is how our beautiful earring turned out for you, this is the result... A beautiful earring to look beautiful on any occasion, I hope you like my creation, I have all your support and it is your pleasure to be in this beautiful community to learn a little more about the world of jewelry... Thank you for everything! Have a very nice afternoon 😘
The texts were translated with the DeepL translator and the photos were taken by me, with my Huawei Y9 Prime phone.
Bienvenida a la comunidad, me alegra que te animaras a participar 😊, lindos zarcillos hechos en foami, son muy carnavaleros, los colores son muy llamativos, gran trabajo 😉.
Recuerda hacer comunidad, ver los otros post de los compañeros y comentar, para que así también te conozcan un poco.
Muchísimas gracias por la bienvenida ☺️ tendré en cuenta todos sus consejos... De antemano gracias ☺️
Congratulations @margararivera! You have completed the following achievement on the Hive blockchain And have been rewarded with New badge(s)
Your next target is to reach 300 upvotes.
You can view your badges on your board and compare yourself to others in the Ranking
If you no longer want to receive notifications, reply to this comment with the word
STOPCheck out our last posts:
Te quedé hermoso, me gusta porque es original. Tienes mucha creatividad.