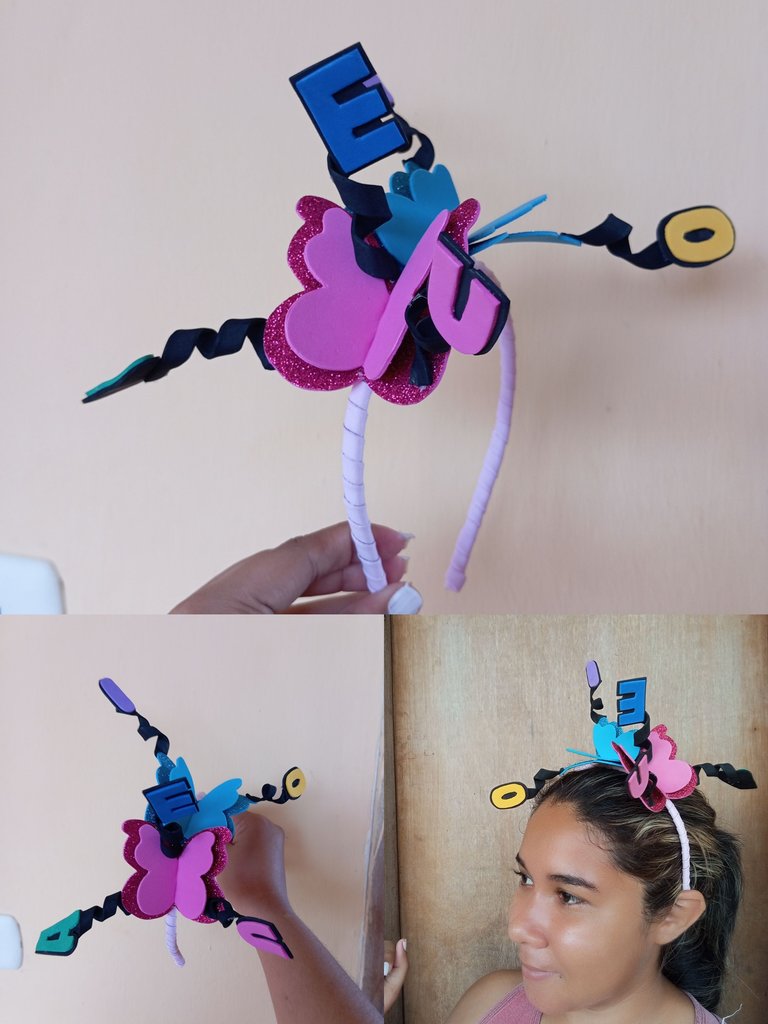
Hola queridos amigos lectores y creadores de contenidos feliz noche tengan todos , espero que todos estén llenos de mucha energía y salud , hoy les quiero compartir un diadema que realicé inspirado en las vocales, para las niñas que recién comienzan a aprender se las letras incluyendo las vocales
Hello dear friends readers and content creators, happy evening to you all, I hope you all are full of energy and health, today I want to share a headband that I made inspired by the vowels, for girls who are just starting to learn the letters including the vowels.
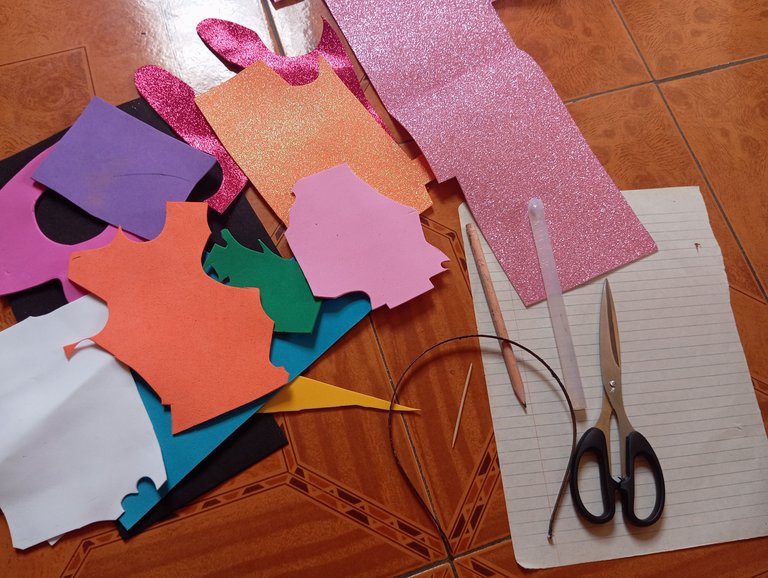
Materiales qué utilicé para mí diadema de las vocales:
-Foamis
-Cintillo
-Tijera
-Silicon
-Lapiz y papel
Materials I used for my vowels headband:
-Foamis
-Cintillo
-Scissors
-Silicon
-Paper and paper
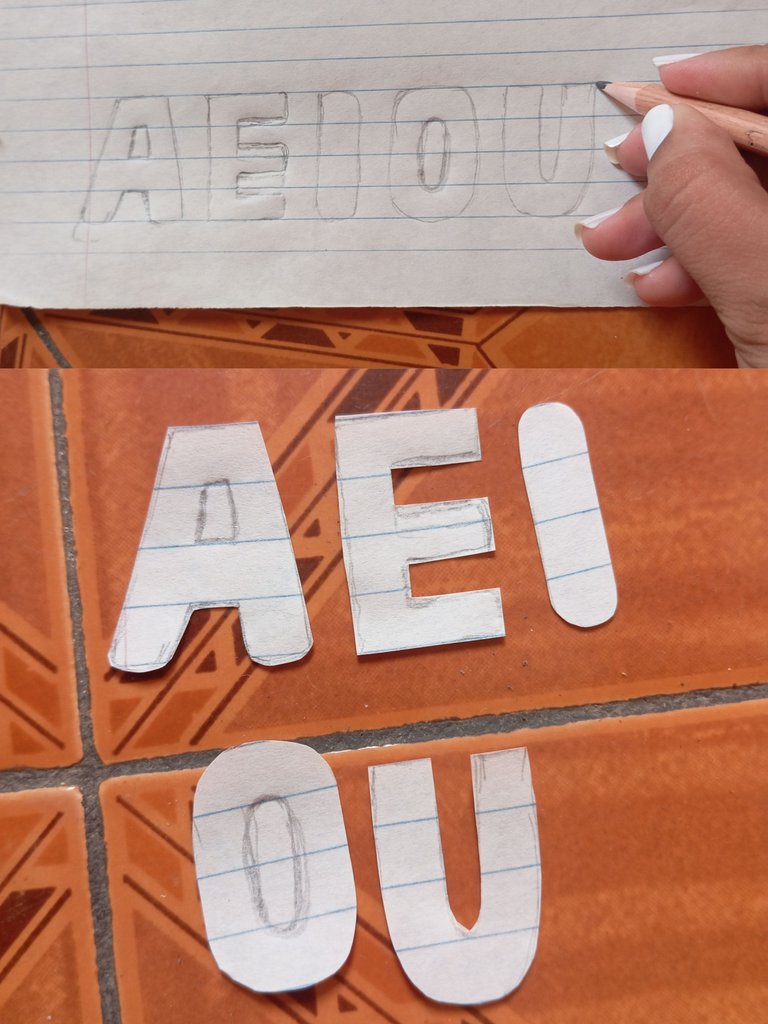
A continuación los pasos a seguir:
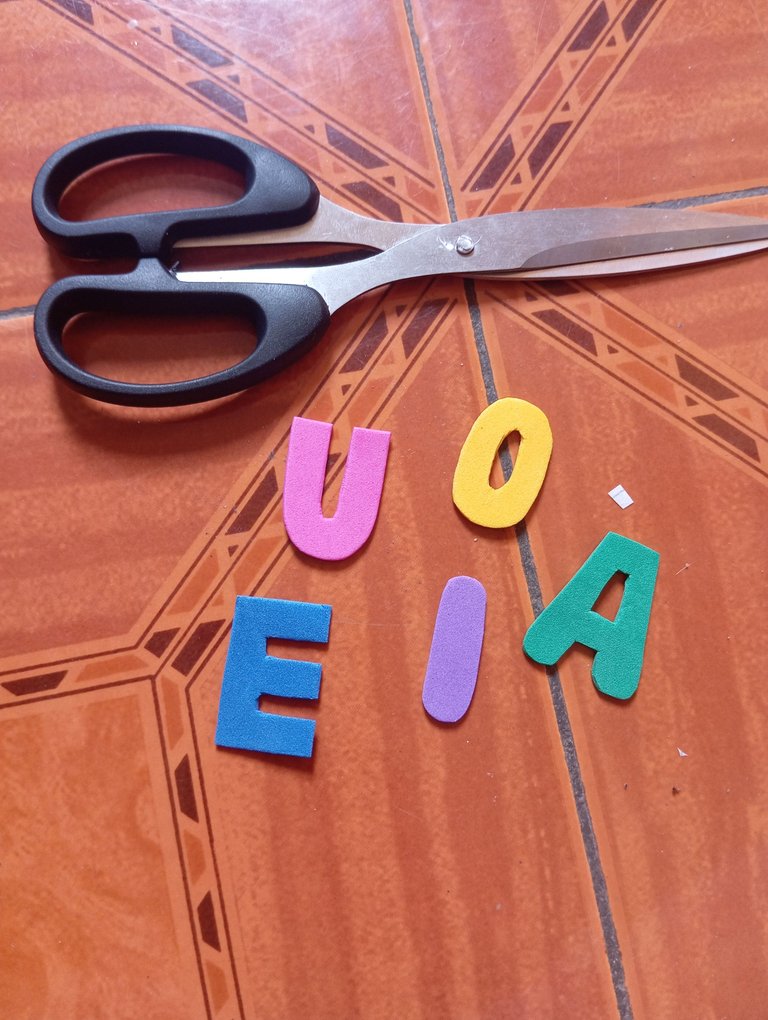
Comenzaremos dibujando en un recorte de papel un patrón con las letras moldeadas a nuestro gusto, las letras qué realicé fueron específicamente (Las vocales en mayúscula A,E,I,O,U) , cuando se encuentren listas las vamos a recortar por separados
Here are the steps to follow:
We will begin by drawing on a paper cutout a pattern with the letters molded to our liking, the letters I made were specifically (the capital vowels A, E, I, O, U), when they are ready we will cut them separately.
A continuación vamos a iniciar marcando nuestras vocales en los foamis de nuestra preferencia, los colores qué utilicé fueron los siguientes: para la letra A verde , Azul para la E , morado para la I ,amarillo para la letra O y rosado para la letra U
Next we are going to start marking our vowels in the foamis of our preference, the colors I used were the following: green for the letter A, blue for the letter E, purple for the letter I, yellow for the letter O and pink for the letter U.
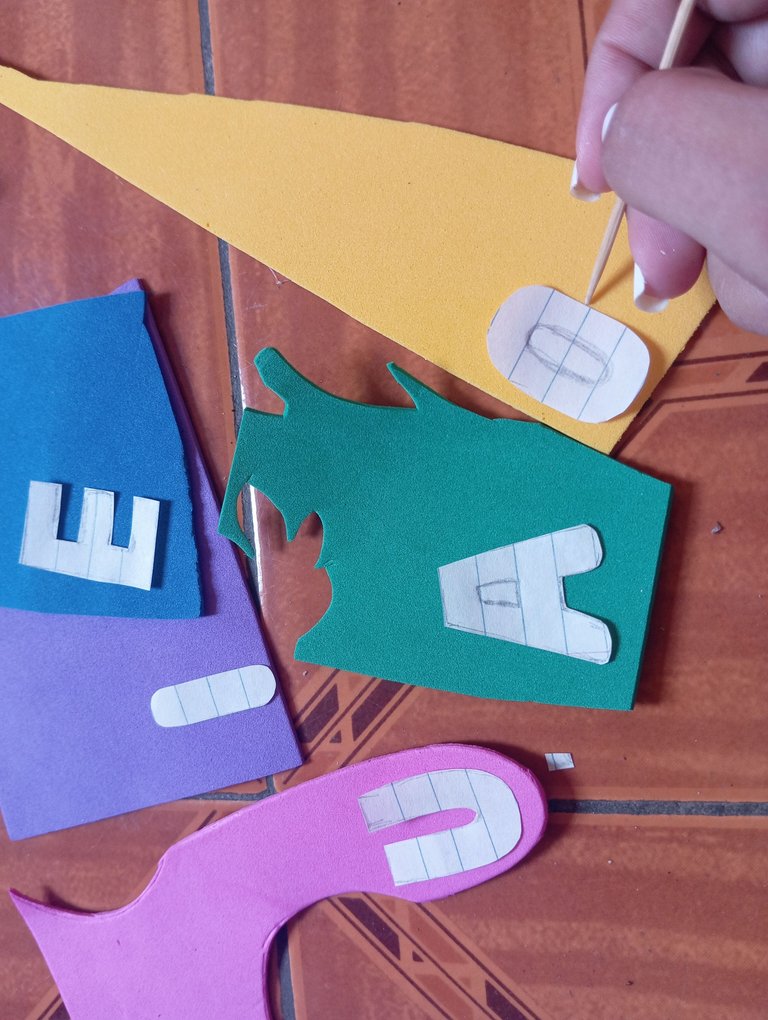
Una vez que marcamos nuestras piezas vamos a proceder recortando las
Once we have marked our pieces we are going to proceed by cutting them out.
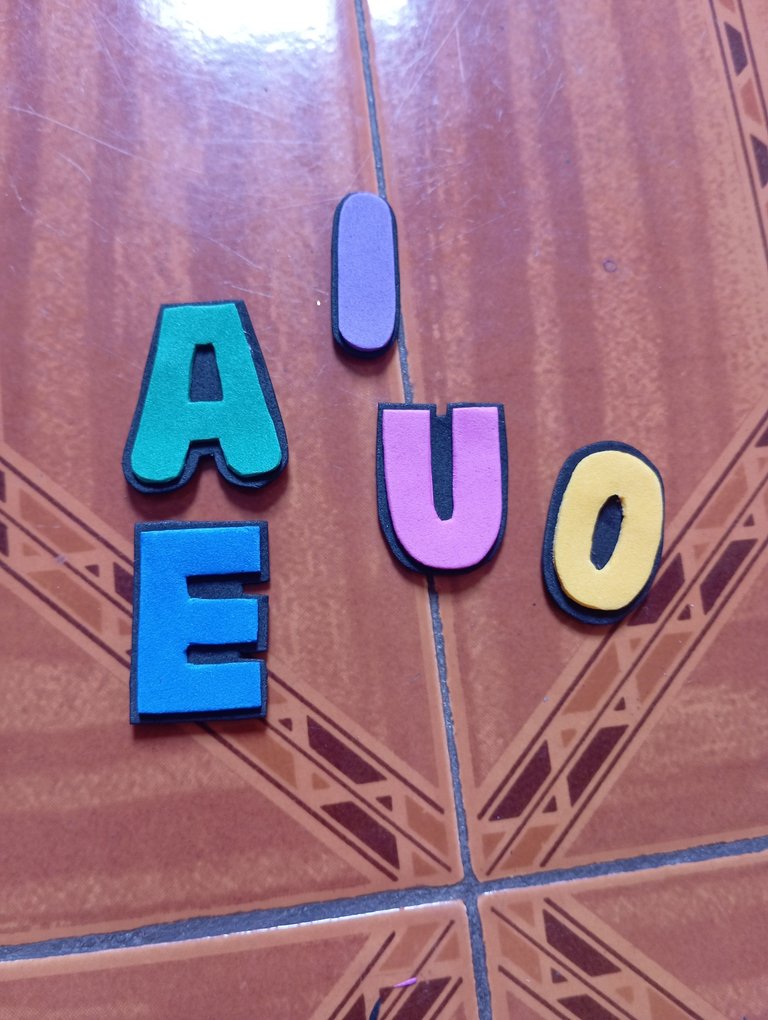
Seguidamente vamos a continuar realizando un fondo o base para nuestras letras , de esta manera ellas van a resaltar más, para este fondo utilicé color negro ya que es un color que combina con todos los colores , como hacemos este fondo ? Sencillamente pegamos la letra al foamis negro dejando un espacio para recortar y dejar un borde que sobre salga de la letra de esta manera resaltará
Then we will continue making a background or base for our letters, this way they will stand out more, for this background I used black color because it is a color that combines with all colors, how do we do this background? We simply glue the letter to the black foamis leaving a space to cut out and leave a border that goes over the letter, this way it will stand out.
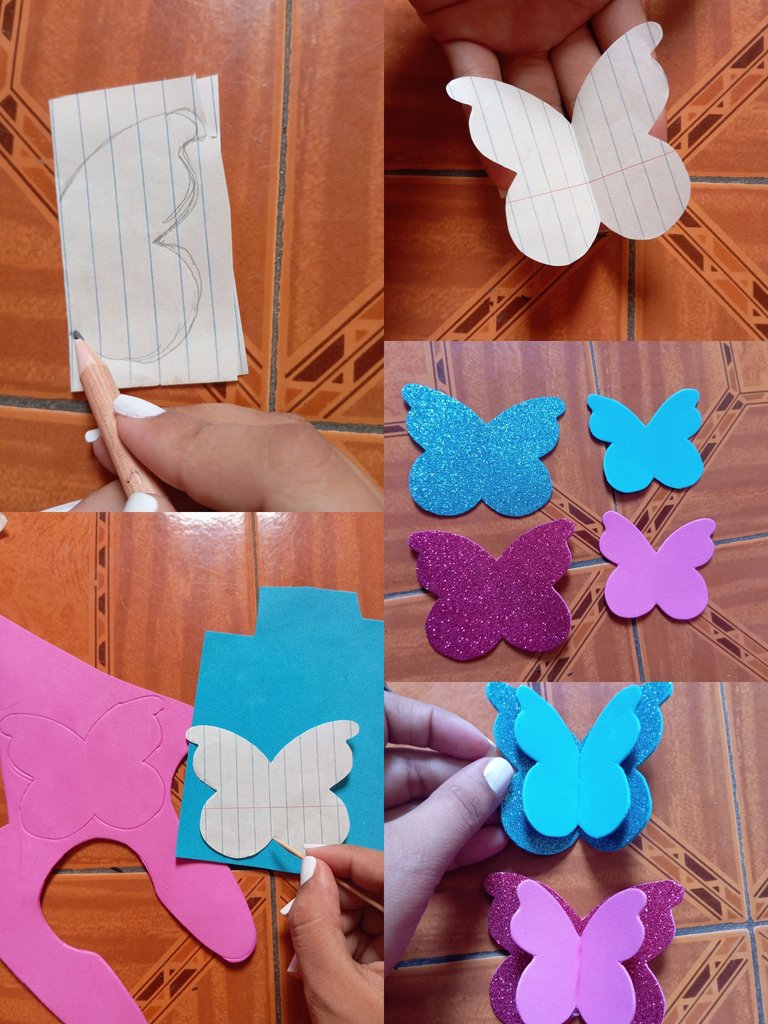
A continuación vamos a realizar dos mariposas para que acompañen a las vocales, iniciamos con un patrón, doblamos el papel en dos y dibujamos la silueta de la mariposa al recortar y abrir quedará una mariposa abierta, vamos a marcar dos grandes y dos medianas , las grandes serán las del foamis sin escarcha,las medianas lo contrario ,sin escarcha , una vez que marcamos las mariposas procedemos a recortar, seguidamente vamos a pegar la mediana encima de la grande , doblando para que quede semi levantada
Next we are going to make two butterflies to accompany the vowels, we start with a pattern, we fold the paper in two and draw the silhouette of the butterfly to cut and open will be an open butterfly, we will mark two large and two medium, the large will be the foamis without frost, the medium the opposite, without frost, once we mark the butterflies proceed to cut, then we will paste the medium on top of the large, bending to be semi raised
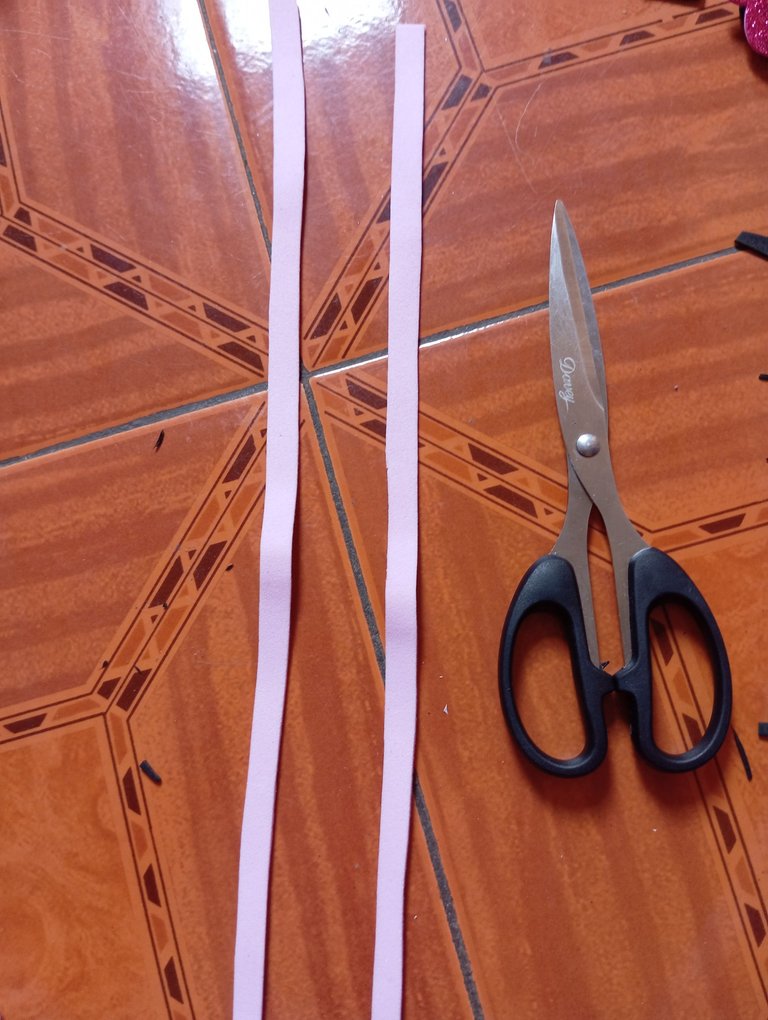
Luego vamos a continuar recortando dos tiras , con estas dos tiras vamos a decorar el cintillo, vamos a iniciar pegando desde una punta , llevándola enrollada hacia la otra punta
Then we will continue cutting out two strips, with these two strips we will decorate the headband, we will start gluing from one end, taking it rolled up to the other end.
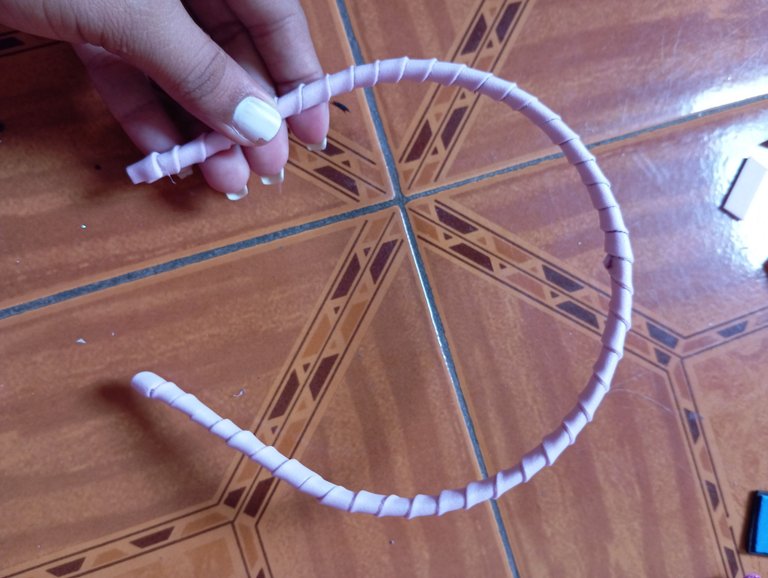
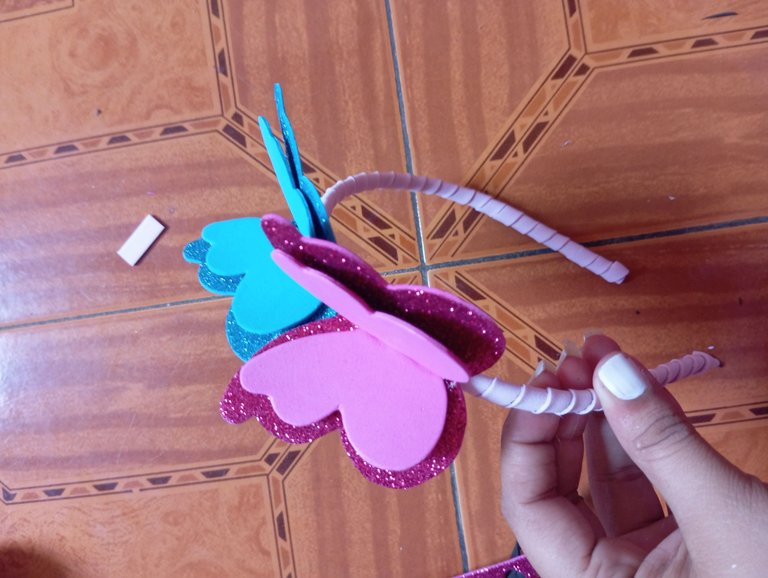
Una vez listo el Cintillo vamos a continuar pegando las mariposas en una esquina,una arriba de la otra , la azul arriba y la rosada abajo, también puede ir de forma viceversa
Once the headband is ready, we will continue gluing the butterflies in one corner, one on top of the other, the blue one on top and the pink one on the bottom, it can also go the other way around.
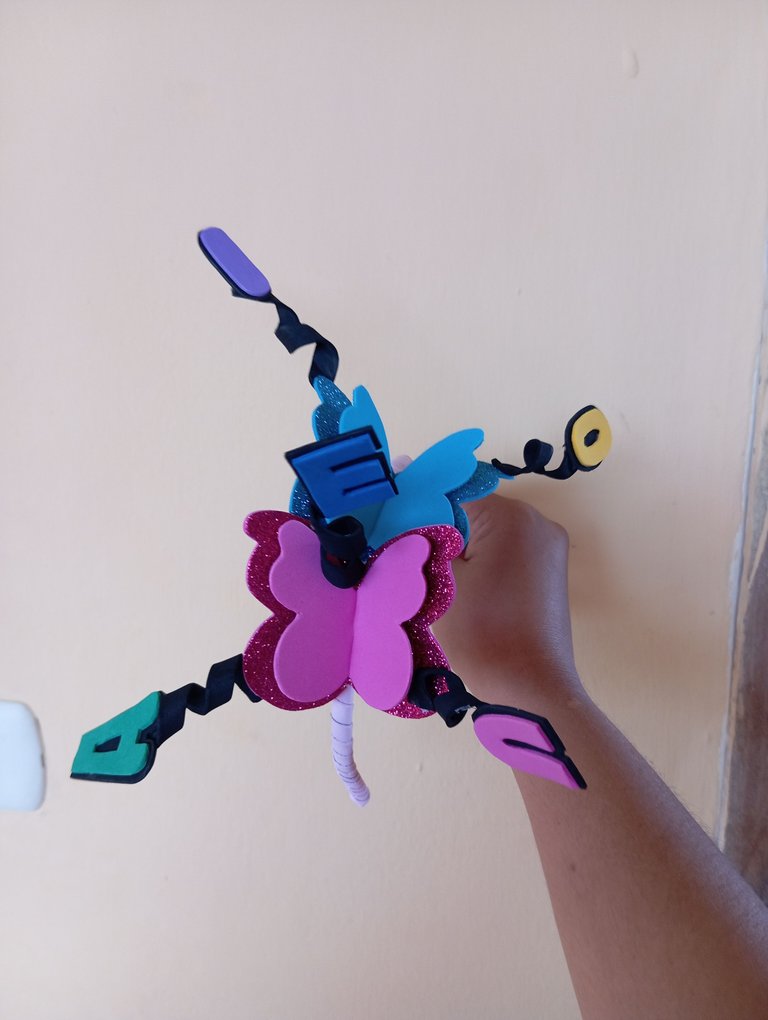
Por último vamos a tomar una tira de foamis negra , la vamos a enrollar con un lápiz y procedemos pegando de forma separada , alrededor de las mariposas,los rollitos junto con las vocales (A,E,I,O,U) , finalizando nuestro cintillo o diadema de las vocales
Finally we are going to take a strip of black foamis, we are going to roll it with a pencil and proceed by gluing separately, around the butterflies, the rolls together with the vowels (A, E, I, O, U), finishing our headband or headband of the vowels.
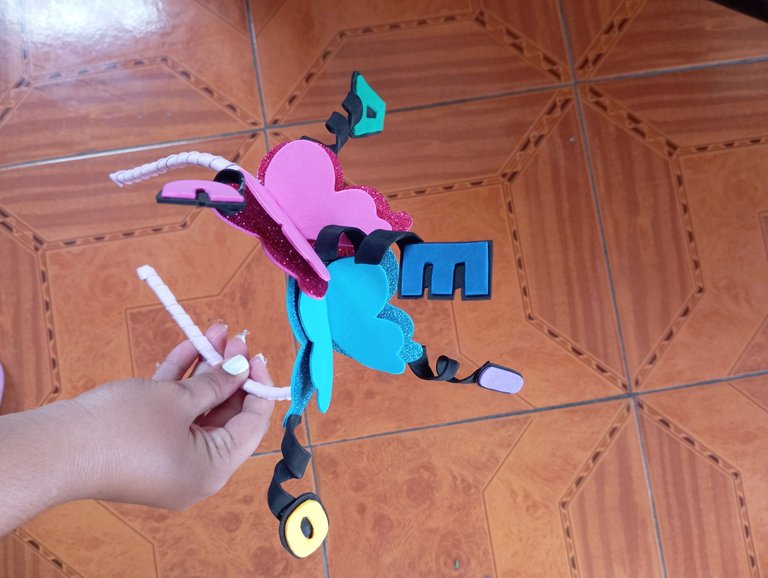
Este es el resultado final de mi hermoso Diadema de las vocales , en especial para las pequeñas que aprenden a reconocer las letras
Créditos: las fotos las tomé con mi redmi 12 y traduje los textos con el traductor deepl, feliz noche
This is the final result of my beautiful vowel headband, especially for the little ones who are learning to recognize the letters.
Credits: the pictures were taken with my redmi 12 and I translated the texts with the deepl translator, happy night.
Encrypting the vowel is really lovely dear.
Thanks Friends
Is so lovely
Lovely headband
What a vowels headband, this is great, I love the inspection of this, well done dear.
It really once, I love the passion, this is what my cousins always told me about that their teacher told them about and gave them some practical on it, you did a nice work, keep it up
Thanks Friends
Que bello, es una gran idea, mi niña esté en ese proceso y creo que algo así la ayudaría mucho.
Saludos.
Gracias amiga ,así es
Genial muy ilustrativa y original la diadema amiga