Hello dear hive community! 😉
¡Hola querida comunidad de hive! 😉
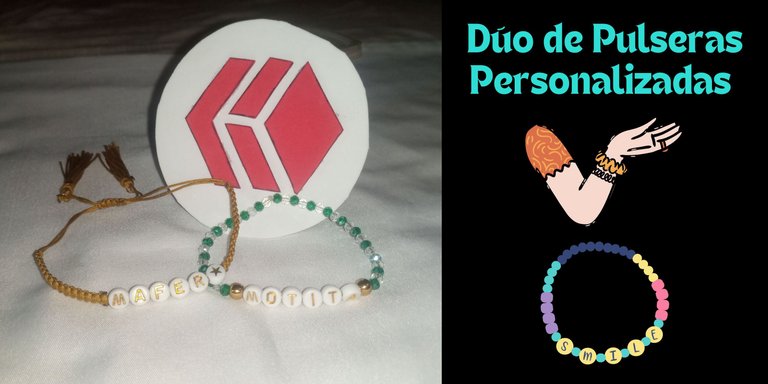
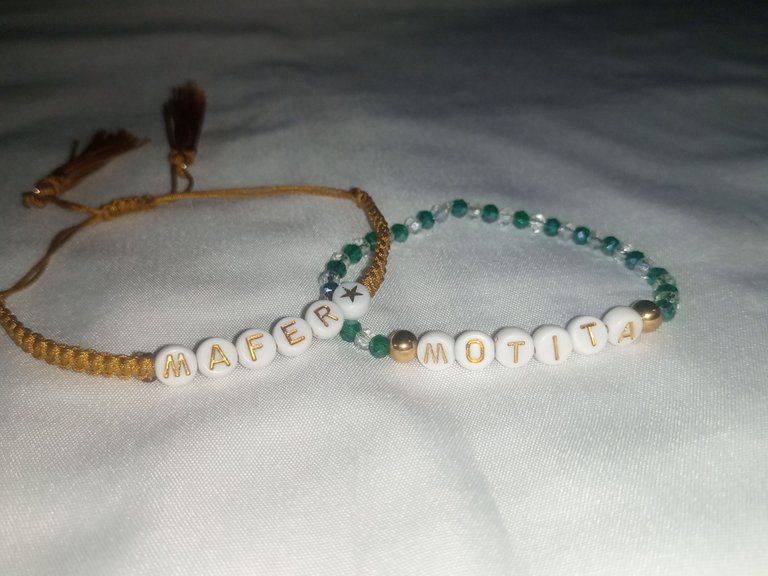
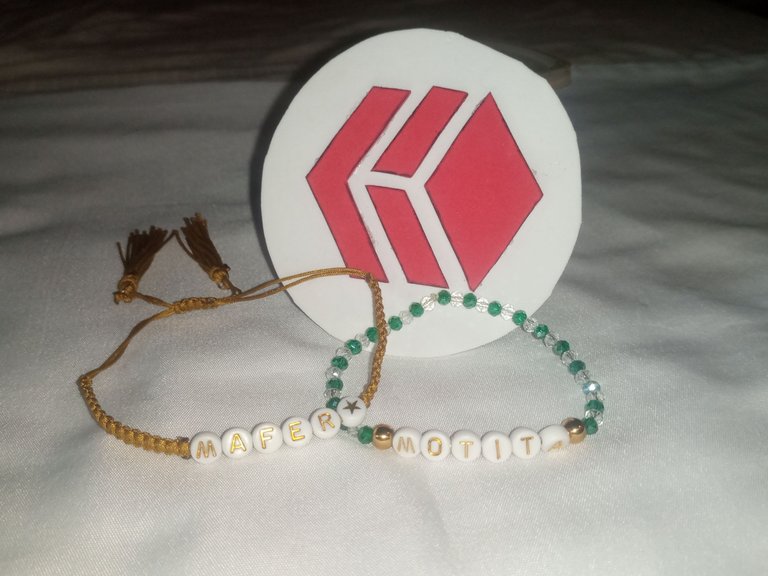
El día de hoy me tocó ayudar a mi hermana @kiutvariedades con un obsequio para una de sus amigas; ella se llama María Fernanda y tenía una perrita que se llamaba Motita la cual lamentablemente falleció. Entonces, decidimos hacer un dúo de pulseras, una con el nombre abreviado de la chica y otra con el nombre de su mascota, como un acto de solidaridad con ella… Así que sin más que decir veamos el tutorial.
Today I had to help my sister @kiutvariedades with a gift for one of her friends; her name is María Fernanda and she had a dog named Motita who unfortunately passed away. So, we decided to make a duo of bracelets, one with the abbreviated name of the girl and the other with the name of her pet, as an act of solidarity with her... So without further ado, let's see the tutorial.


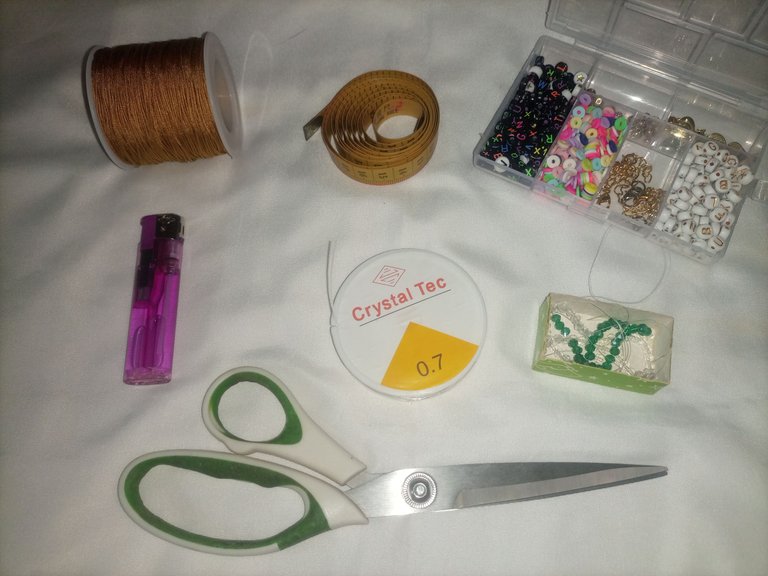
- Hilo Chino color dorado
- Nylon elástico
- Rombos de cualquier color
- Letras y una estrella
- Aros
- Balines de acero
- Pinzas de bisutería
- Tijera
- Cinta métrica
- Yesquero o encendedor
- Gold-colored Chinese thread
- Elastic nylon
- Rhombus of any color
- Letters and a star
- Hoops
- Steel balls
- Costume jewelry tweezers
- Scissors
- Tape measure
- Tinder or lighter


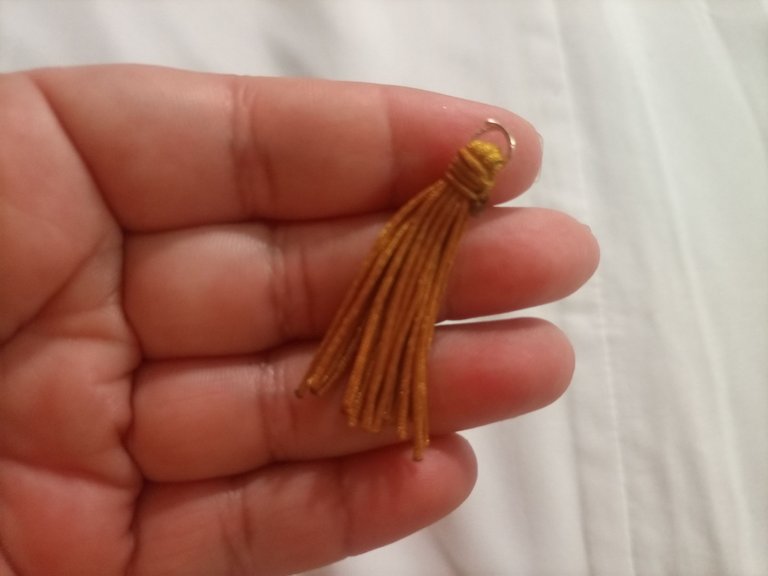
Primero vamos a necesitar unas borlas para colocarlas en los extremos de una de las pulseras, para aprender a hacerlas voy a dejar el link de la publicación a continuación:
First we are going to need some tassels to place on the ends of one of the bracelets, to learn how to make them I am going to leave the link to the publication below:
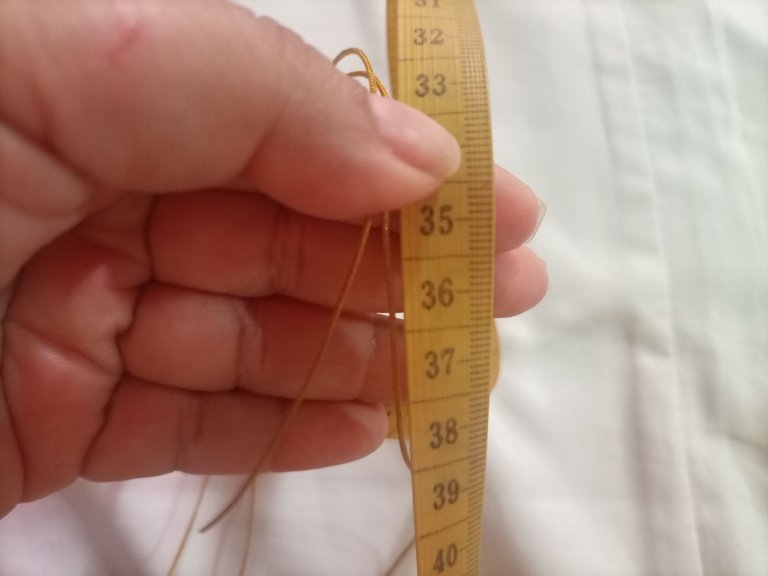
Comenzamos con la primera pulsera, para ello tomaremos el hilo Chino y medimos 35 centímetros, colocando el hilo de manera doble.
We start with the first bracelet, for this we will take the Chinese thread and measure 35 centimeters, placing the thread in a double way.
Colocaremos la primera borla, la cual quedará en el extremo de la pulsera, seguidamente procedemos a realizar un nudo.
We will place the first tassel, which will be at the end of the bracelet, then we proceed to tie a knot.
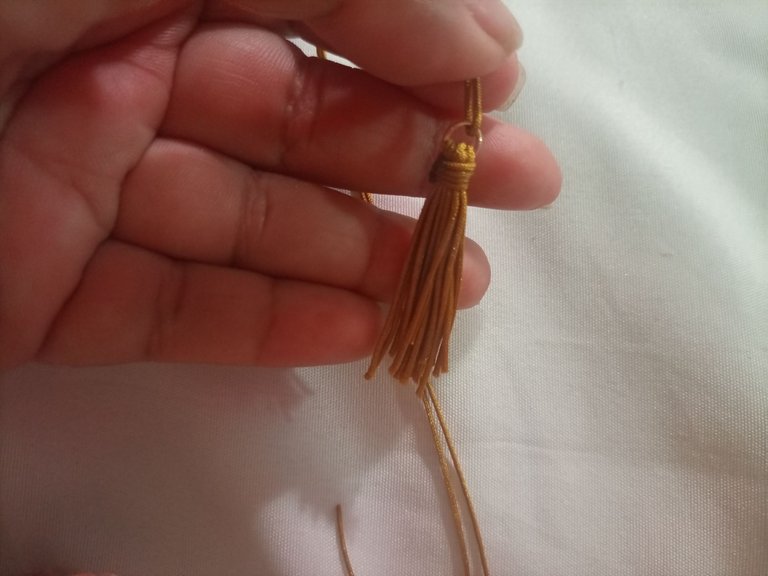
Después tomaremos el rollo de hilo y mediremos de 80 a 90 centímetros. Con este trozo de hilo comenzaremos a tejer un macramé.
Then we will take the roll of thread and measure 80 to 90 centimeters. With this piece of thread we will begin to weave a macramé.
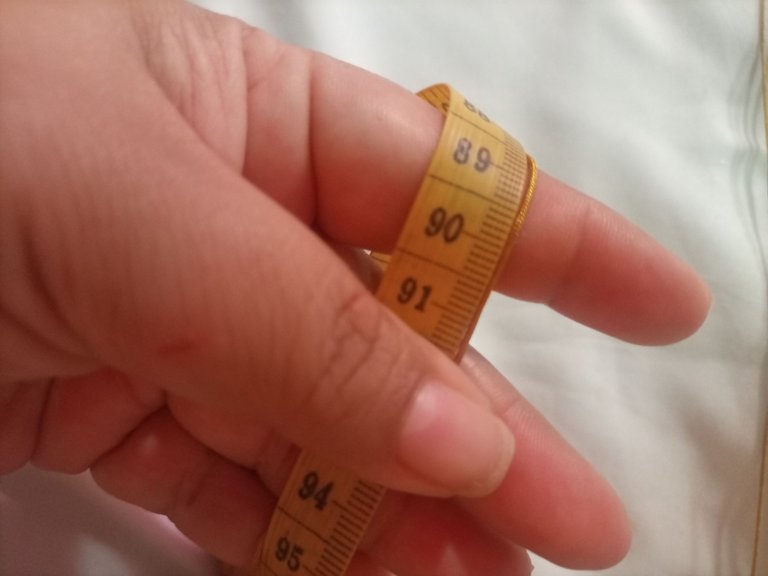
Ahora bien, con la ayuda de la cinta métrica se procede a medir 8 centímetros desde la punta del hilo hacia adentro y allí haremos el primer nudo para comenzar el tejido macramé.
Now, with the help of the measuring tape, we proceed to measure 8 centimeters from the tip of the thread inward and there we will make the first knot to begin the macramé weaving.
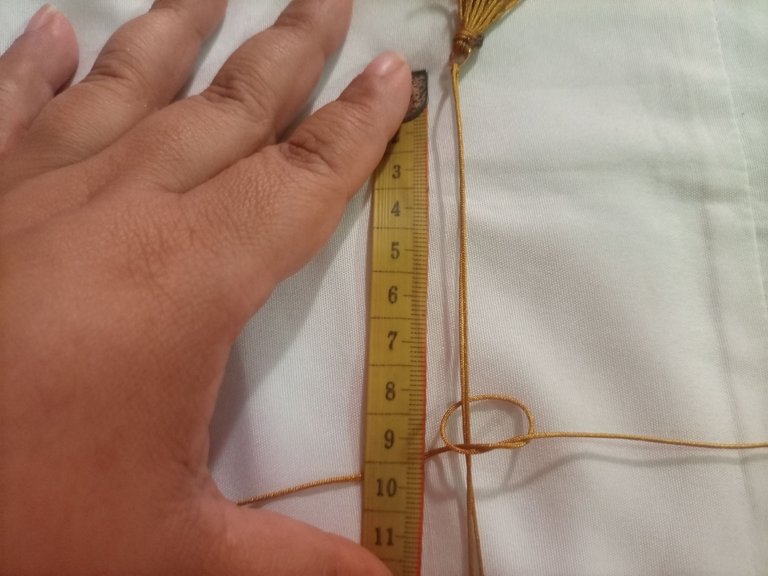
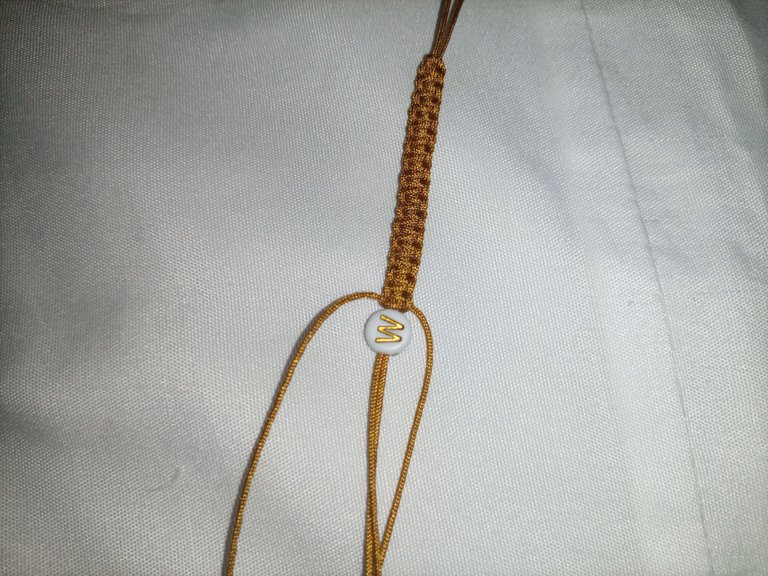
Tenemos un macramé de aproximadamente de 4 centímetros de largo.
We have a macramé approximately 4 centimeters long.
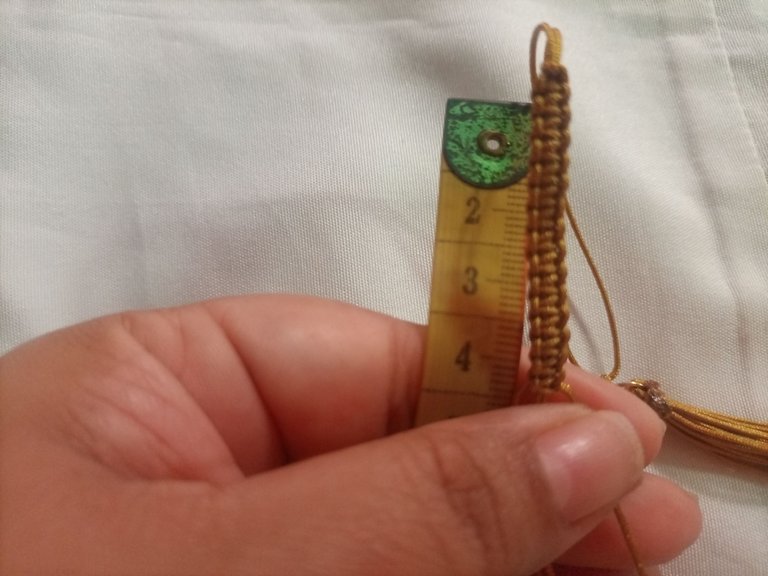
Cuando ya tenemos el tejido macramé listo procedemos colocar las letras
Once the macramé weave is ready, we proceed to place the letters.
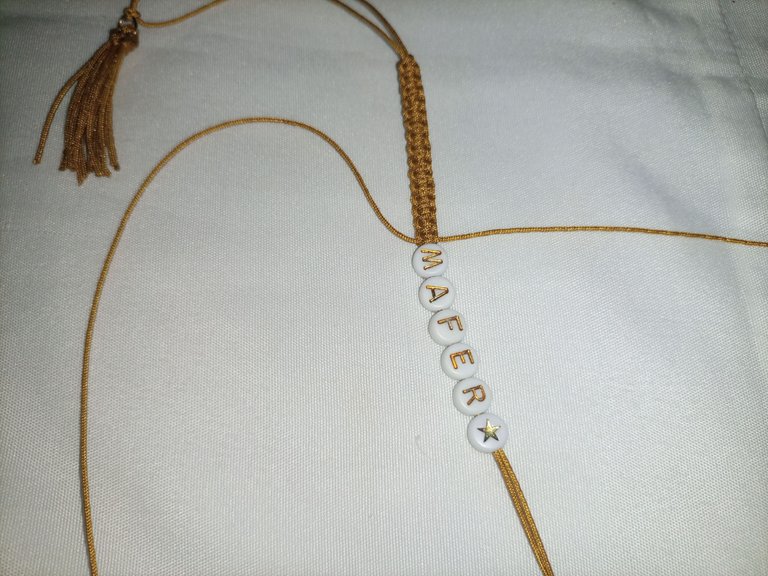
Cuando hayamos completado todas las letras, procedemos a cortar otro trozo de hilo y tejemos un macramé exactamente de la misma longitud que el otro, 4 centímetros.
When we have completed all the letters, we proceed to cut another piece of thread and weave a macramé exactly the same length as the other one, 4 centimeters.
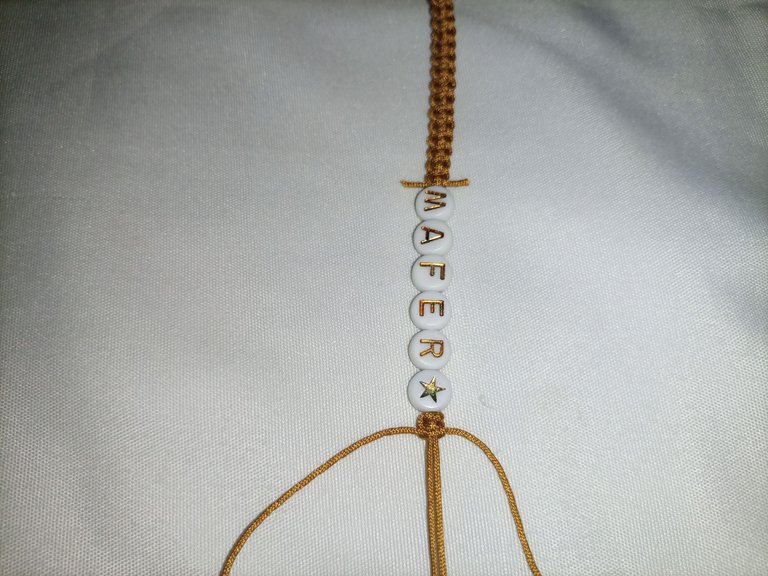
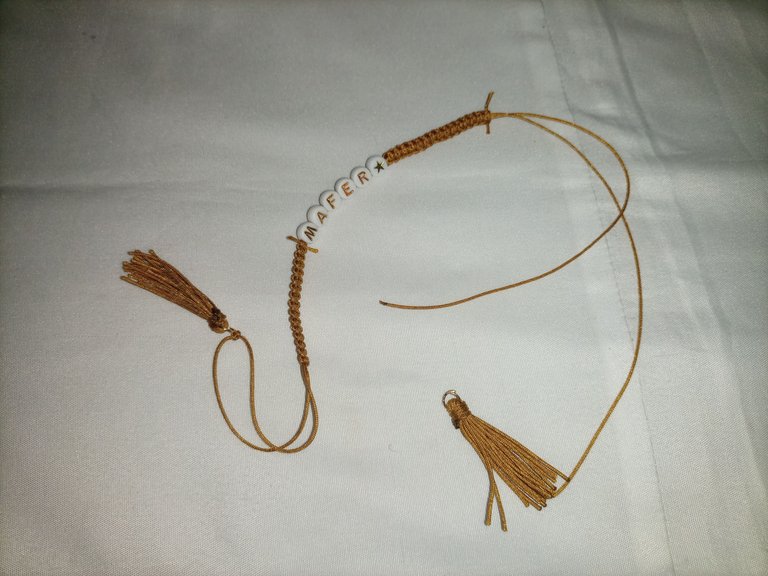
Ahora se va colocar la segunda borla para eso se mide de modo tal que quede a la misma altura del otro y se realiza un nudo.
Now the second tassel is to be placed so that it is measured so that it is at the same height as the other one and a knot is tied.
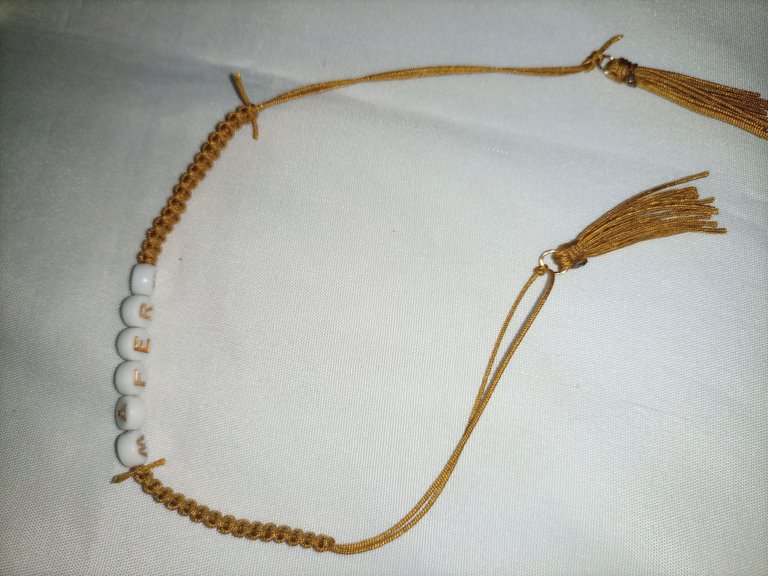
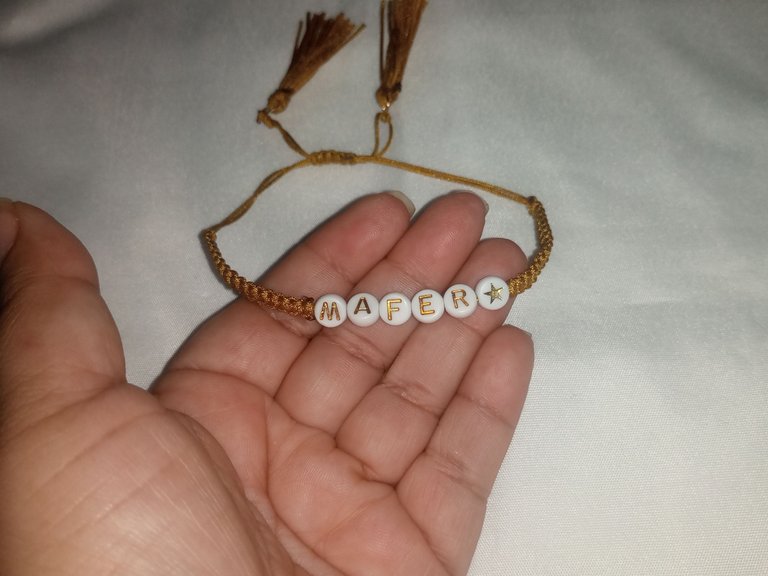
Ya casi está lista la pulsera, es momento de cerrarla para ello cortamos un trozo de hilo y uniendo ambos extremos de la pulsera hacemos un pequeño tejido macramé que nos ayudará a abrir y cerrar nuestra pulsera. Por último cortamos los excedentes y quemamos para asegurar que nuestra pulsera no se dañe.
The bracelet is almost ready, it's time to close it, for this we cut a piece of thread and joining both ends of the bracelet we make a small macramé weave that will help us to open and close our bracelet. Finally we cut the excess and burn to ensure that our bracelet is not damaged.
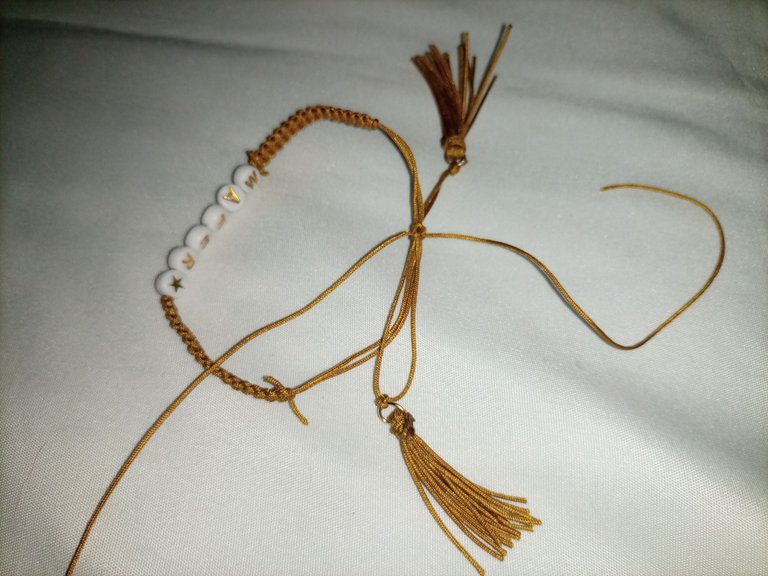
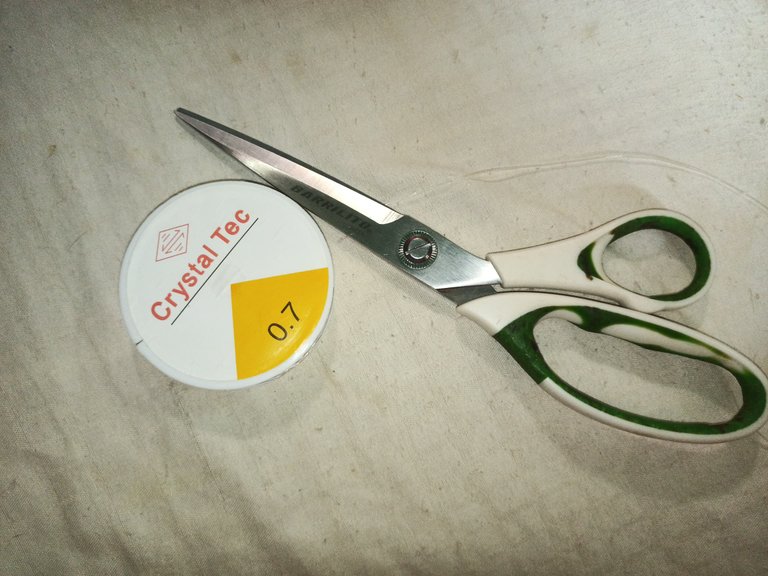
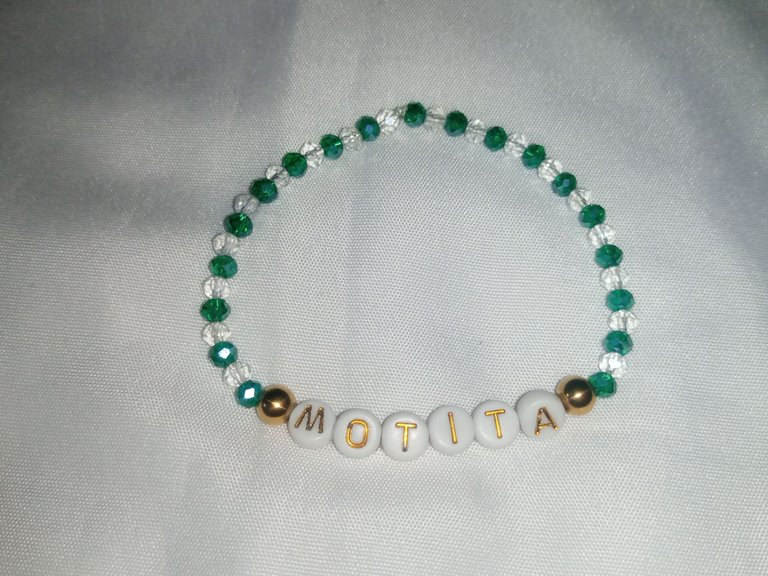
Ya nuestra primera pulsera está lista, ahora es momento de comenzar con la segunda. Cómo recuerdan esta es en honor a la perrita que falleció pero la haremos diferente, para ello tomaremos el Nylon elástico y con ayuda de la tijera cortaremos un trozo considerable.
Our first bracelet is ready, now it's time to start with the second one. As you remember this one is in honor of the little dog that passed away but we will do it differently, for this we will take the elastic Nylon and with the help of the scissors we will cut a considerable piece.
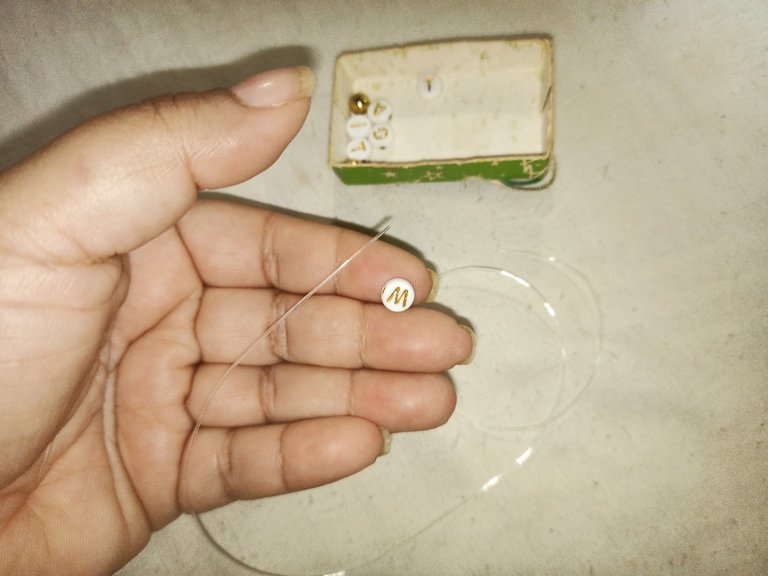
Lo primero que se introduce en el Nylon son las letras de la palabra que se desea colocar.
The first thing you enter in the Nylon is the letters of the word you want to place.
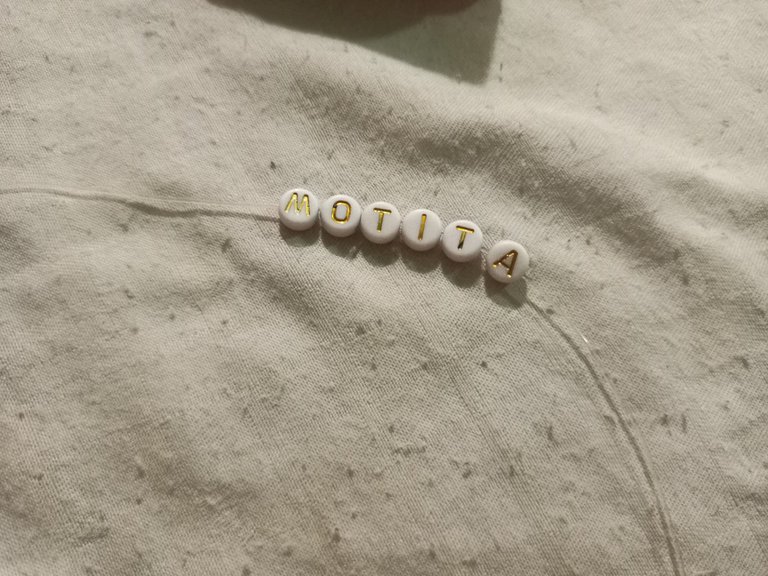
Después que tenemos la palabra completa dentro del Nylon colocamos los balines, uno de cada lado.
After we have the complete word inside the Nylon we place the pellets, one on each side.
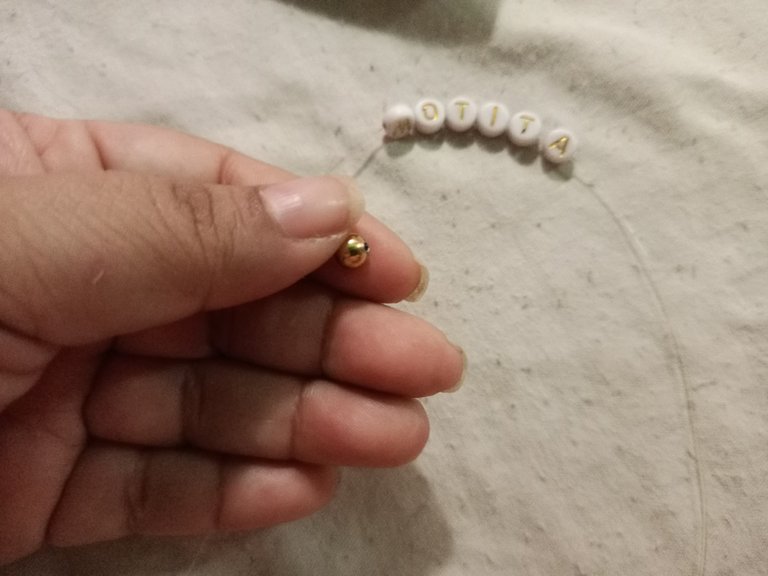
Y ahora comenzamos a colocar los rombos de manera intercalada. Uno de color verde seguido de otro transparente.
And now we begin to place the rhombuses in an interspersed manner. A green one followed by a transparent one.
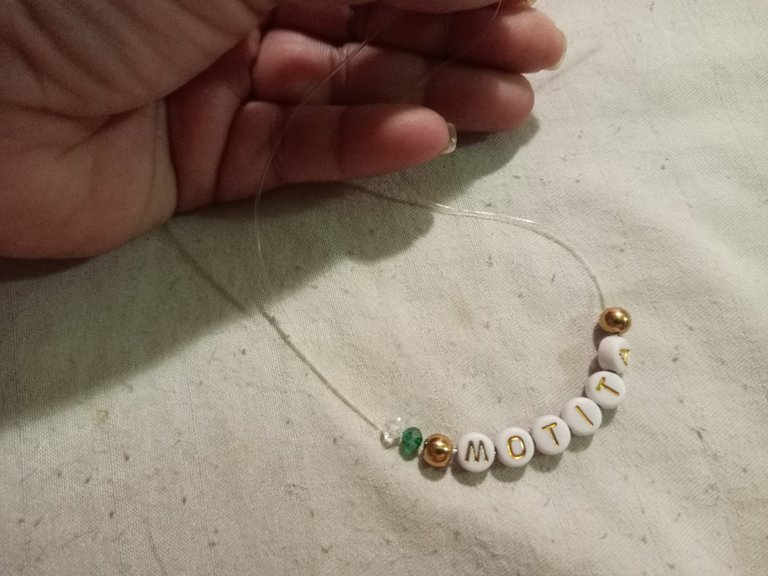
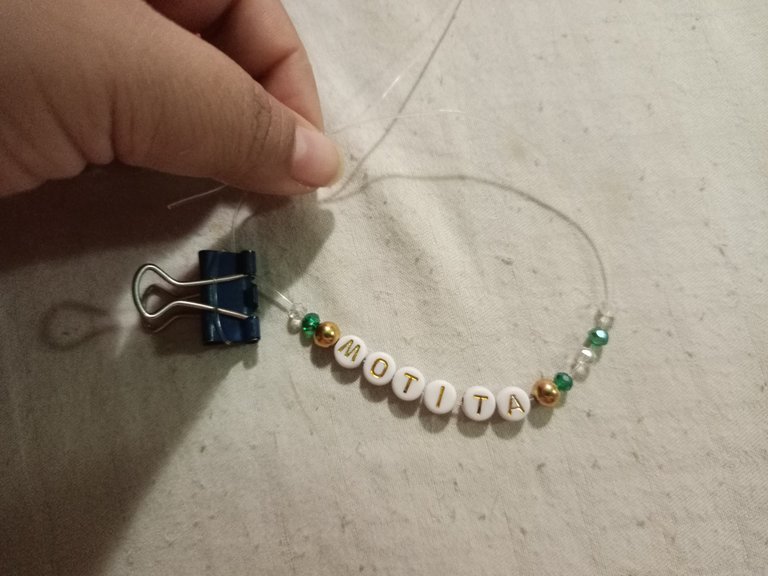
Hacemos este proceso de los rombos de ambos lados tratando de que las letras nos queden bien centradas dentro del hilo.
We do this process of the rhombuses on both sides trying to make sure that the letters are well centered inside the thread.
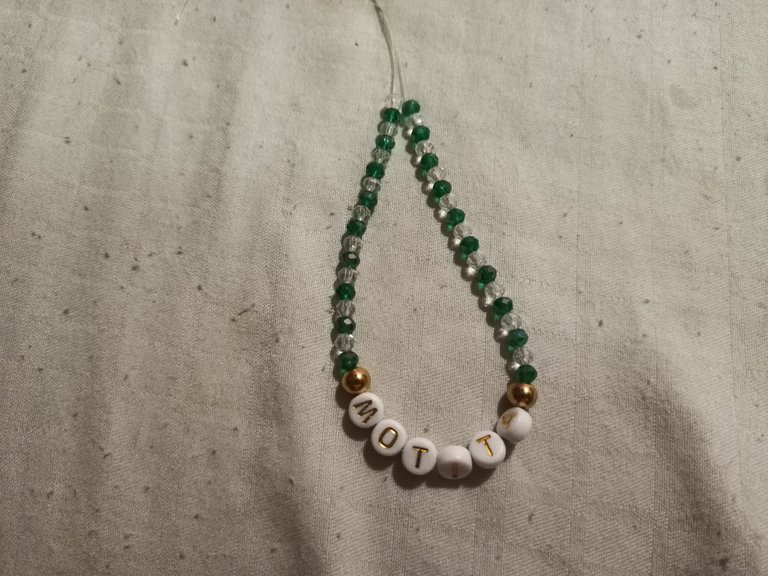
Once we have the desired length of the bracelet, we proceed to close it by tying a strong double knot.
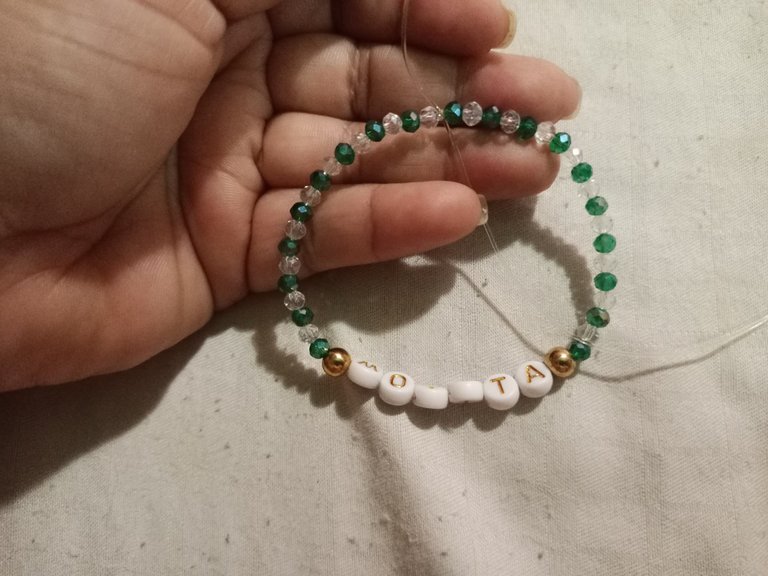
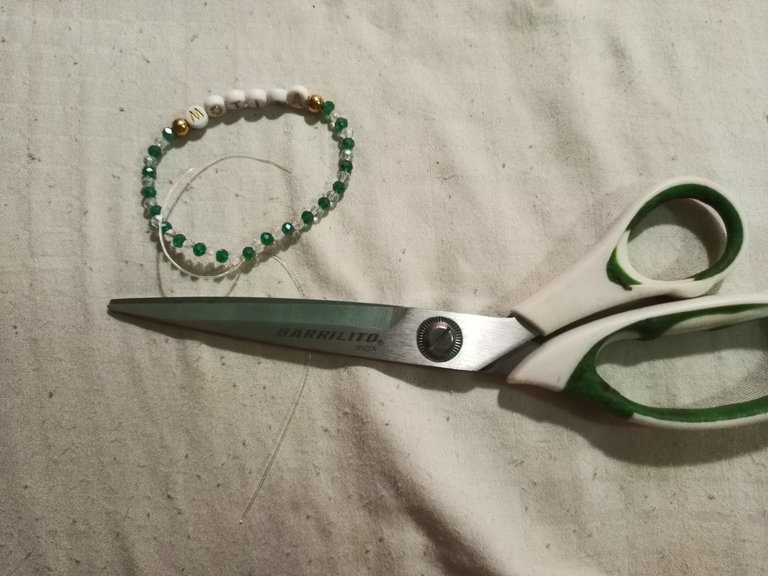
Por último, procedemos a cortar los excedentes del nylon.
Finally, we proceed to cut the excess nylon.
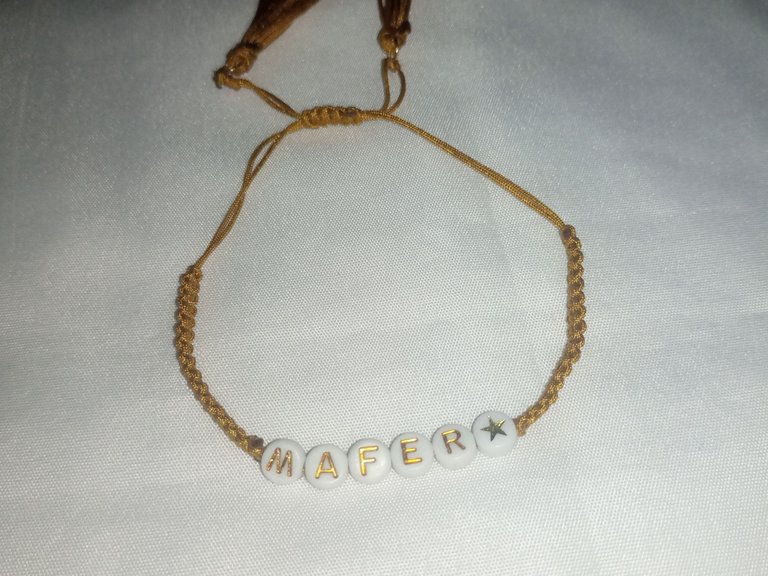
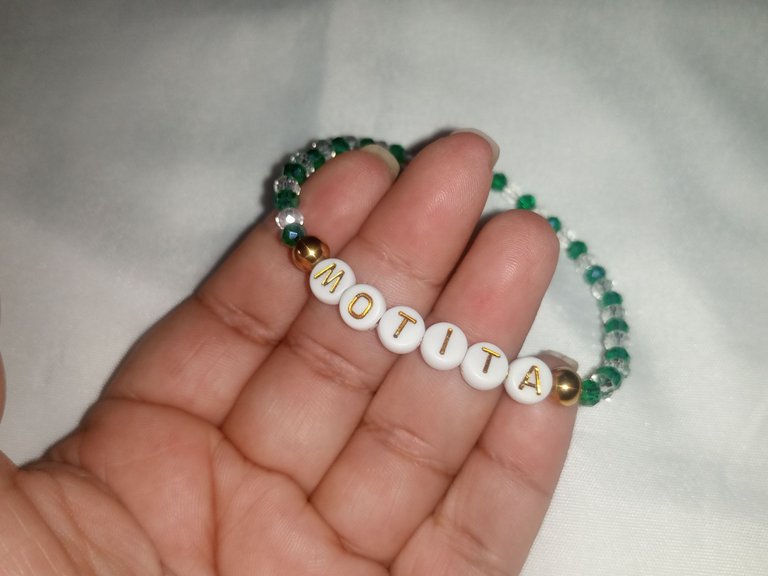
Listo… Ya nuestro trabajo está terminado, tenemos un hermoso dúo de pulseras personalizadas listas para ser entregadas, es super sencillas hacerlas y el resultado es maravilloso, ideales para un obsequio o para combinar con los atuendos de uso diario.
Ready... Now our work is finished, we have a beautiful duo of personalized bracelets ready to be delivered, it is super simple to make them and the result is wonderful, ideal for a gift or to combine with everyday outfits.


Translator Deepl


Justo hoy ví a María ya con su regalo y puedo decir que las pulseras se ven mucho más hermosas en persona. Te quedaron preciosas ✨
Hola @mandysmoon
Gracias... Me alegra que te gusten, espero que a ella también.
Gracias por comentar ☺️
~~~ embed:1876772443789930941?t=DYvrJrgVlOphw2oLTkvBkA&s=19P twitter metadata:SUxvdmVQaHlzaWNhfHxodHRwczovL3R3aXR0ZXIuY29tL0lMb3ZlUGh5c2ljYS9zdGF0dXMvMTg3Njc3MjQ0Mzc4OTkzMDk0MXw= ~~~
It is so beautiful, charming, and lovely. It shows your creativity. Good to see each step of making this bracelet. Nice work!