Hello jewelry lovers, welcome 🤗 back to my blog.
I decided to add this beaded bracelet made with red bicone beads and black seed beads to my gifting items Not only that I loved it so much, but I ended up making one for myself as a little show of self-love😊
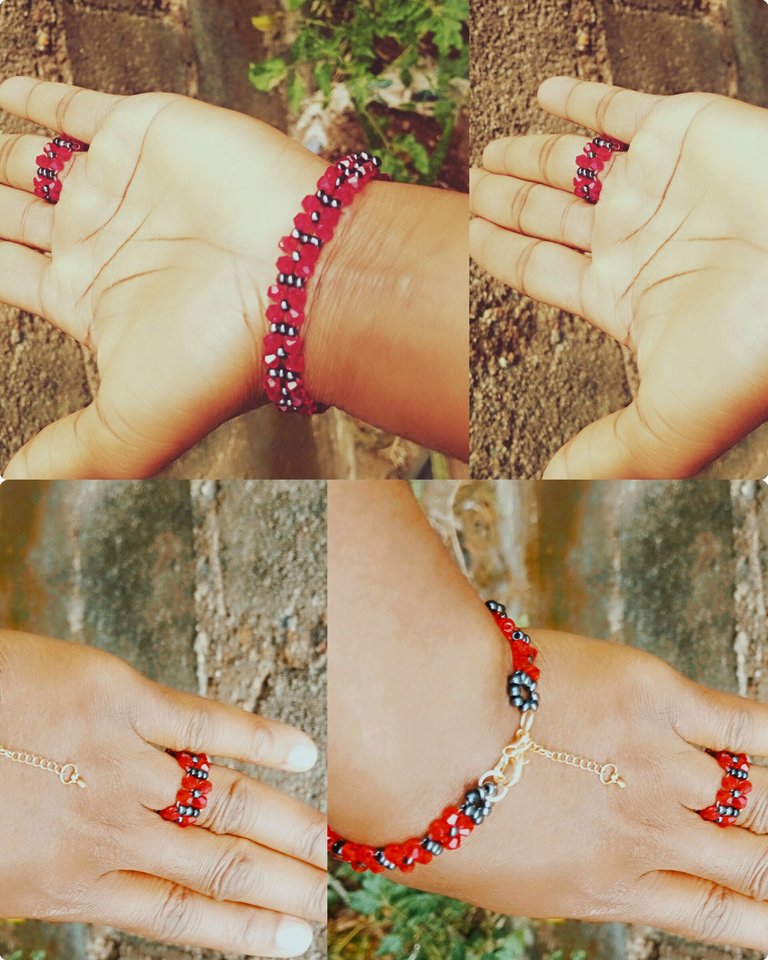 I adore 🥰 this bracelet so much; I can't get enough of its beauty.
To make this, the process is quite straightforward, but a bit delicate, and below are the materials I used:
✓ Shiny black seed beads,
✓ red bicone beads of size 4,
✓ 2 beading needles,
✓ beading thread of size 0.2,
✓ scissors,
✓ measuring tape,
✓ and pairs of bracelet clasps.
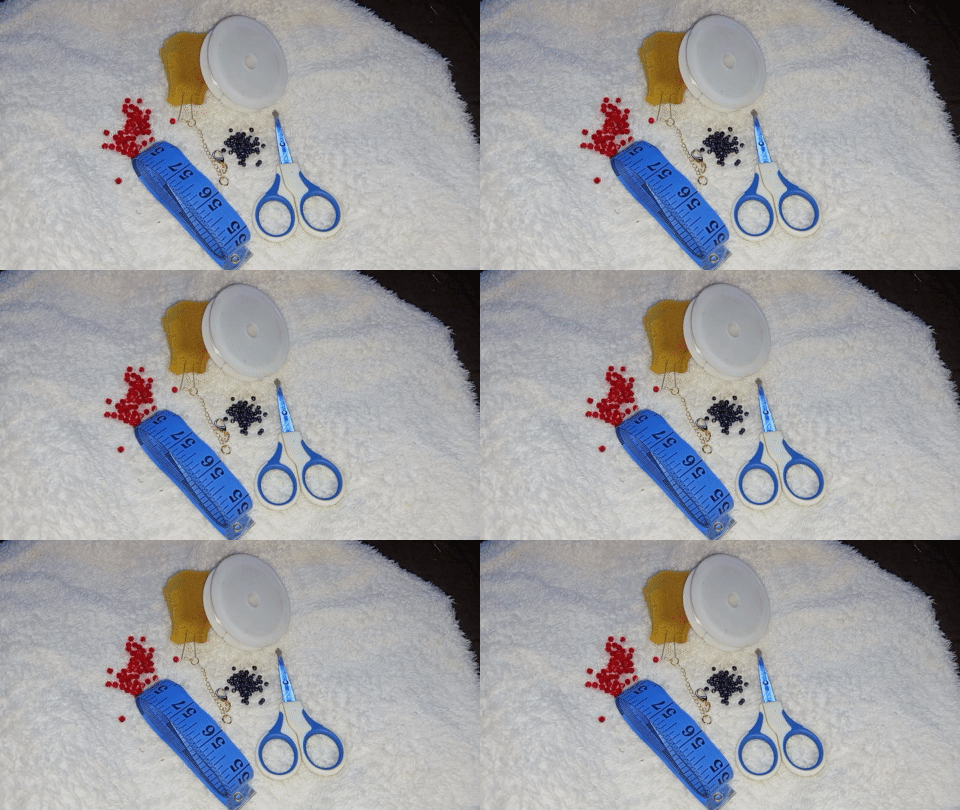
Step-by-step process;
Please come along and let me show you the process.
Step 1:
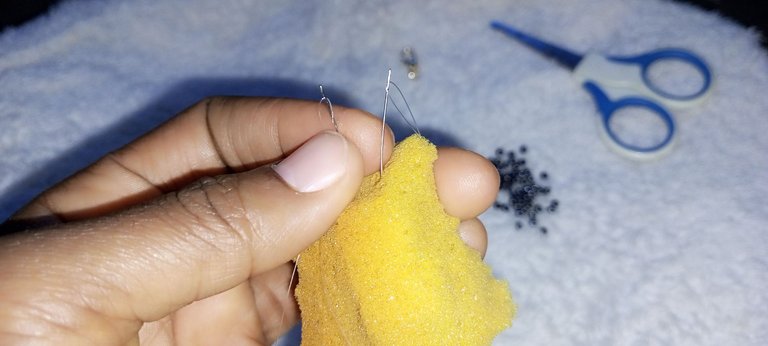
With my measuring tape, I cut a 120 cm long fishline and threaded both sides on my two needles, leaving a bit of tail on both sides of the needle.
Pro tip: I always stick my needles to a little piece of foam for easy access and safety reasons.
Step 2:
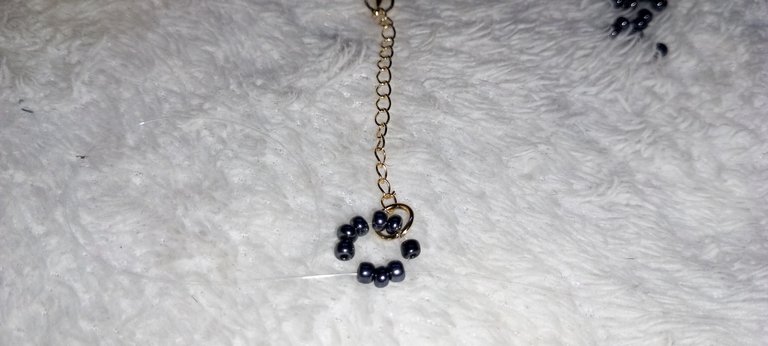
In this step, I put three seed beads through my first needle, put one of the bracelet clasps, followed by three seed beads through the second needle, and then cross both lines with three seed beads.
Step 3:
I put one bicone bead to the left fishline and one bicone bead to the right fishline and crossed both lines with one seed bead.
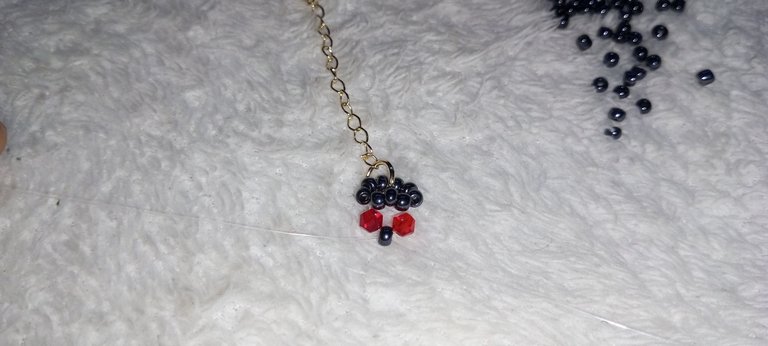
Step 4:
I put one bicone bead to the left fishline and one bicone bead to the right fishline and then crossed both lines with three seed beads. Look at the beautiful shape it's formed below 👇
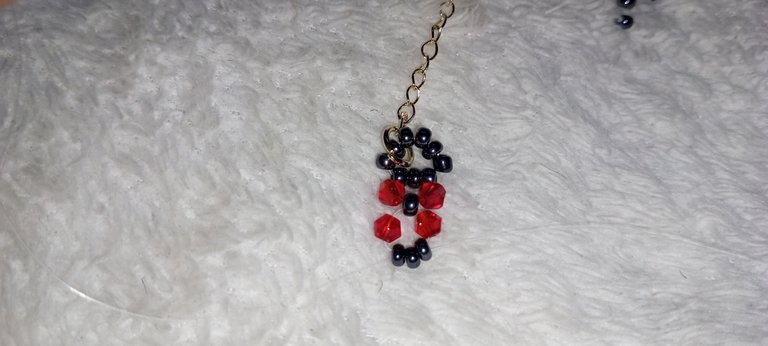
Step 5:
I put one bicone bead on the left fishline and one bicone bead on the right fishline and then crossed both lines with one seed bead.
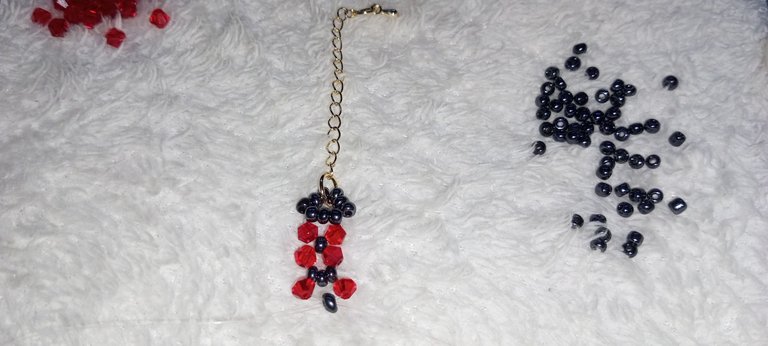
Step 6:
I put one bicone bead on the left fishline and one bicone bead on the right fishline and crossed both lines with three seed beads.
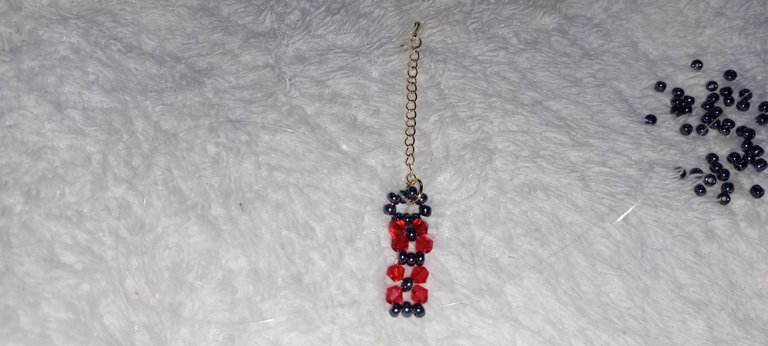
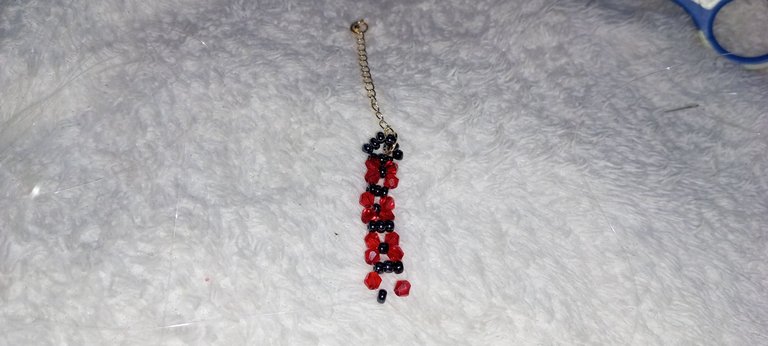
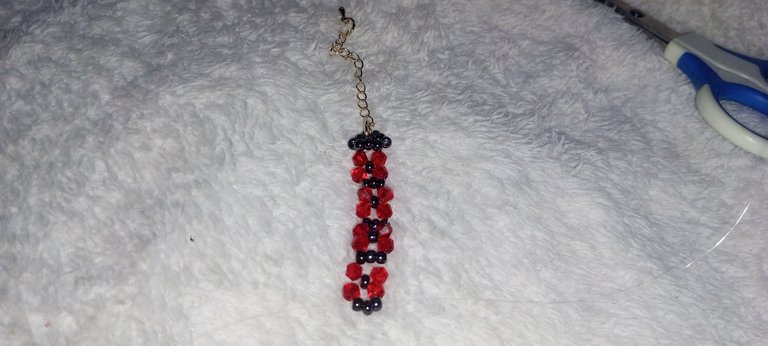
Step 7:
I continue to repeat steps 5 and 6 above until I make 13 rings of the beads. Which is the length I need? It can be longer or shorter depending on the size of your wrists.
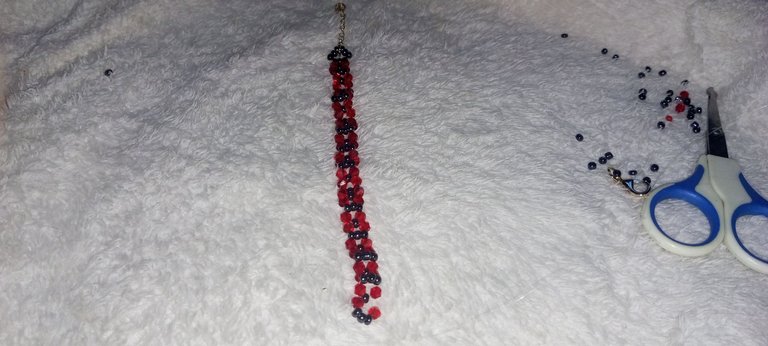
Step 8:
It's time I put the second part of the clasps. I did this by putting three seed beads on the left fishline, followed by the clasp, and then another three seed beads. I crossed both fishlines with each side and then carefully passed the fishline through the whole work to reinforce. Here I'm very careful so the bracelet will not be too stiff. Also, the fishline can easily enter the wrong bead, so I have to watch out and carefully pass it around.
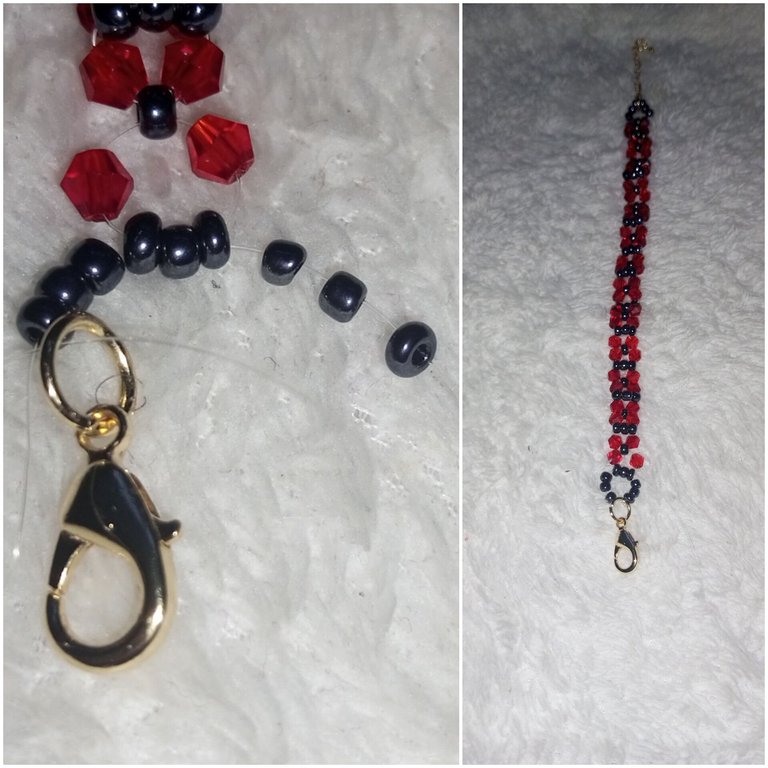 Once I'm done passing the fishline around for the second time, tying the knots, and trimming off the excess fishlines, here I have my bracelet. To complement it, following the same process, I beaded a ring to it.
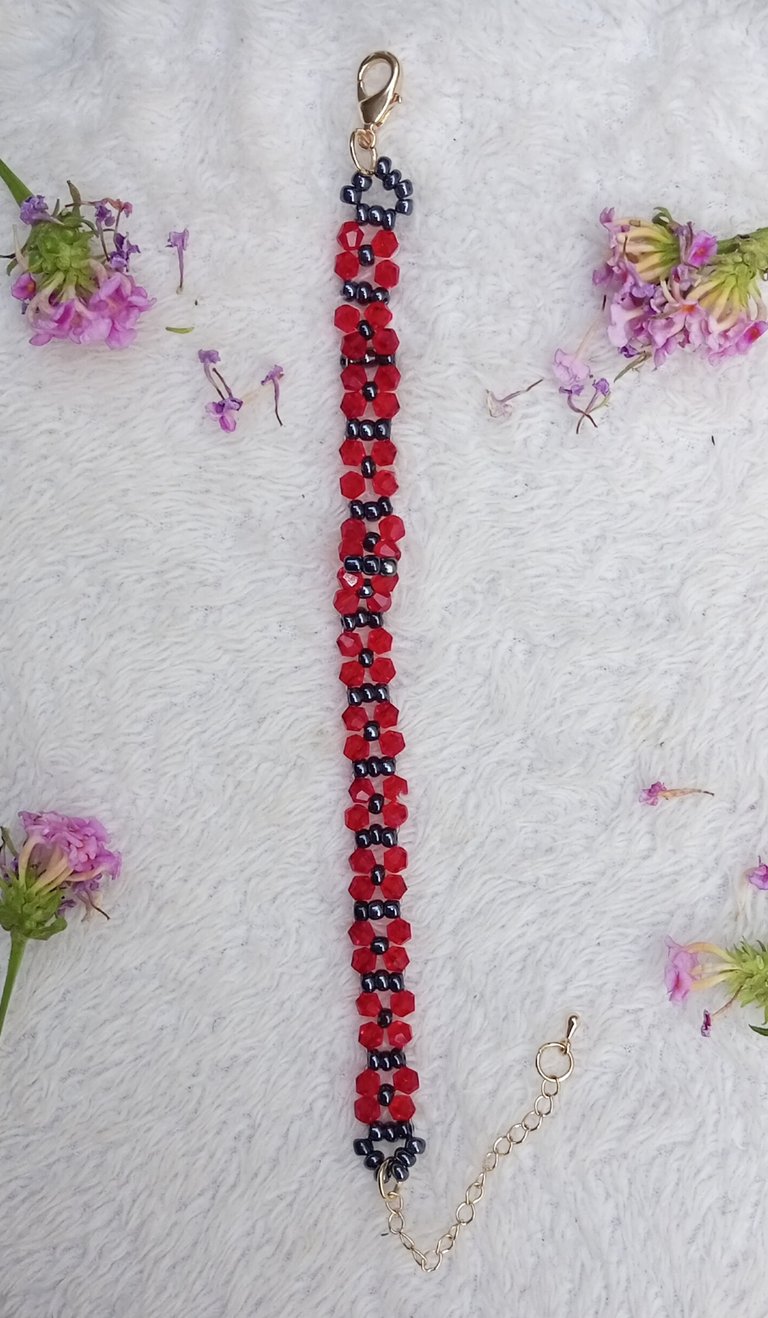
 This is likely going to bring me a lot of sales, as three people have already placed an order for their own. What do you think, friends? Do you love it? Would you try to make one? Please do let me know in the comment section.
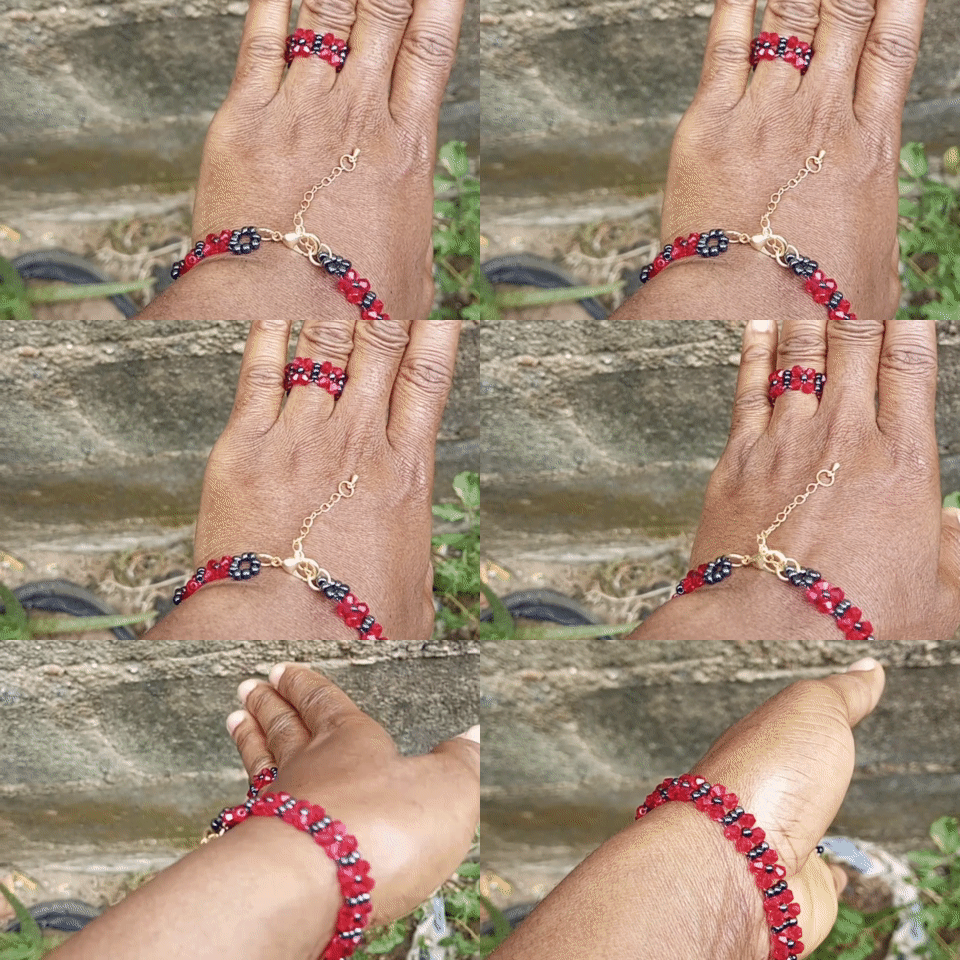 Thank you so much for your attention and support. Have a lovely day ahead.
All images are mine, taken with my Tecno Spark 8 Plus.@funshee✍️🙏❣️
Funshee ..I just read your earrings work and saw your amazing work...now a bracelet...oh my goodness 🤭🤭..these are super beautiful designs
You are doing well oo
Do and craft mine oo 😂
Thank you so much 🥰🙏🙏💃 !LUV
Honestly, if you live nearby, I could have sent your crafted earrings by now, but don't worry when I start sending waybills to Lagos, I will plan yours along.
(3/5) sent you LUV. | tools | discord | community | HiveWiki | <>< daily@nkemakonam89, @funshee
Wow, this is so beautiful
Thank you @ashirabdullah 🙏😊 !LUV
(4/5) sent you LUV. | tools | discord | community | HiveWiki | <>< daily@ashirabdullah, @funshee
What a lovely and colorful creativity, it's beautiful catches my eyes, thanks for feeding my eyes with beauty
Aww 🥰 thank you so much, I glad you love it. !LUV
(1/5) sent you LUV. | tools | discord | community | HiveWiki | <>< daily@pepefashion, @funshee
It's beautiful ❤❤
Thanks dear🙏😊
It looks pretty good. It is colorful and charming. It's good to see each step of making this. Thank you for sharing it. Keep up the good work!
Thank you so much❣️🙏 for always encouraging me to do my best.
Cute set of costume jewelry to decorate your hands.
Muchas gracias🙏😊 cariño @lorennys
Nice one
Lovely beaded bracelet
Nice project. Keep it up
Thank you 😊 !LUV
(1/5) sent you LUV. | tools | discord | community | HiveWiki | <>< daily@ityruth, @funshee
@funshee, I paid out 0.358 HIVE and 0.098 HBD to reward 5 comments in this discussion thread.