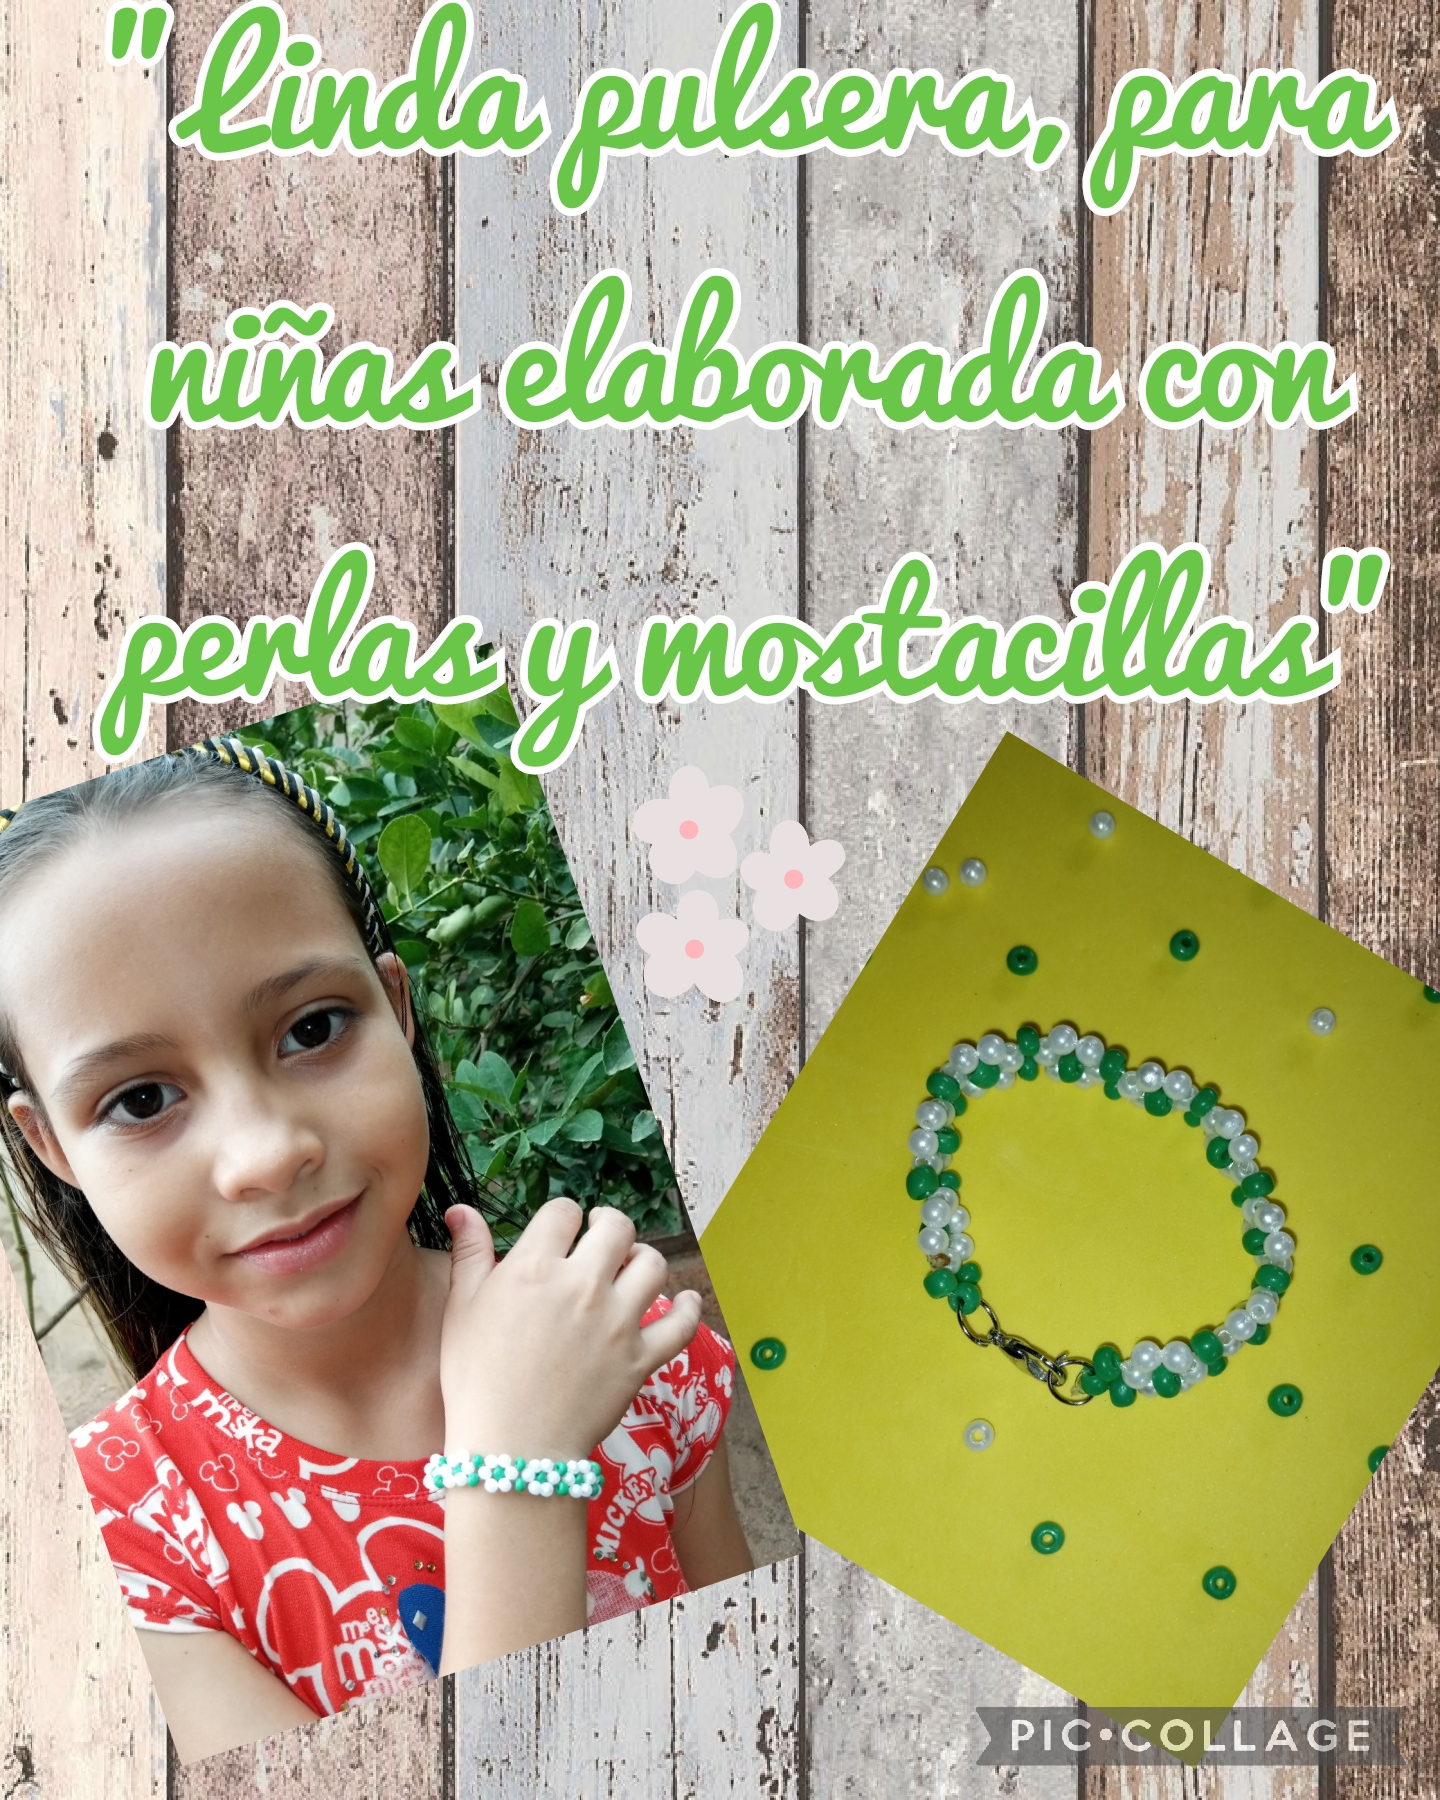
Hola... Muy buenas noches mi gente bella, de esta linda comunidad Jewelry, antes de todo les deseo que se encuentren muy bien y estén pasando un feliz fin de semana, les envio un fuerte abrazo, hoy les doy nuevamente la bienvenida a mi blog, que les traigo un sencillo y fácil tutorial, se trata de elaborar una linda pulsera, hecha con mostacillas color verde y perlas blancas, esta pulsera es ideal para las princesas dela casa, además los materiales son muy económicos y fácil de conseguir, esta pulsera la elabore nuevamente para mi hija, como les he dicho a ella les gusta mucho la bisutería, ahora vamos a comenzar con este practico, fácil y sencillo tutorial, espero les sea de su agrado.
Hello... Good evening my beautiful people, from this beautiful jewelry community, first of all I wish you to be well and have a happy weekend, I send you a big hug, today I welcome you back to my blog, I bring you a simple and easy tutorial, it is about making a beautiful bracelet, made with green beads and white pearls, this bracelet is ideal for the princesses of the house, also the materials are very cheap and easy to get, I made this bracelet again for my daughter, as I told you, she really likes jewelry, now we are going to start with this practical, easy and simple tutorial, I hope you like it.
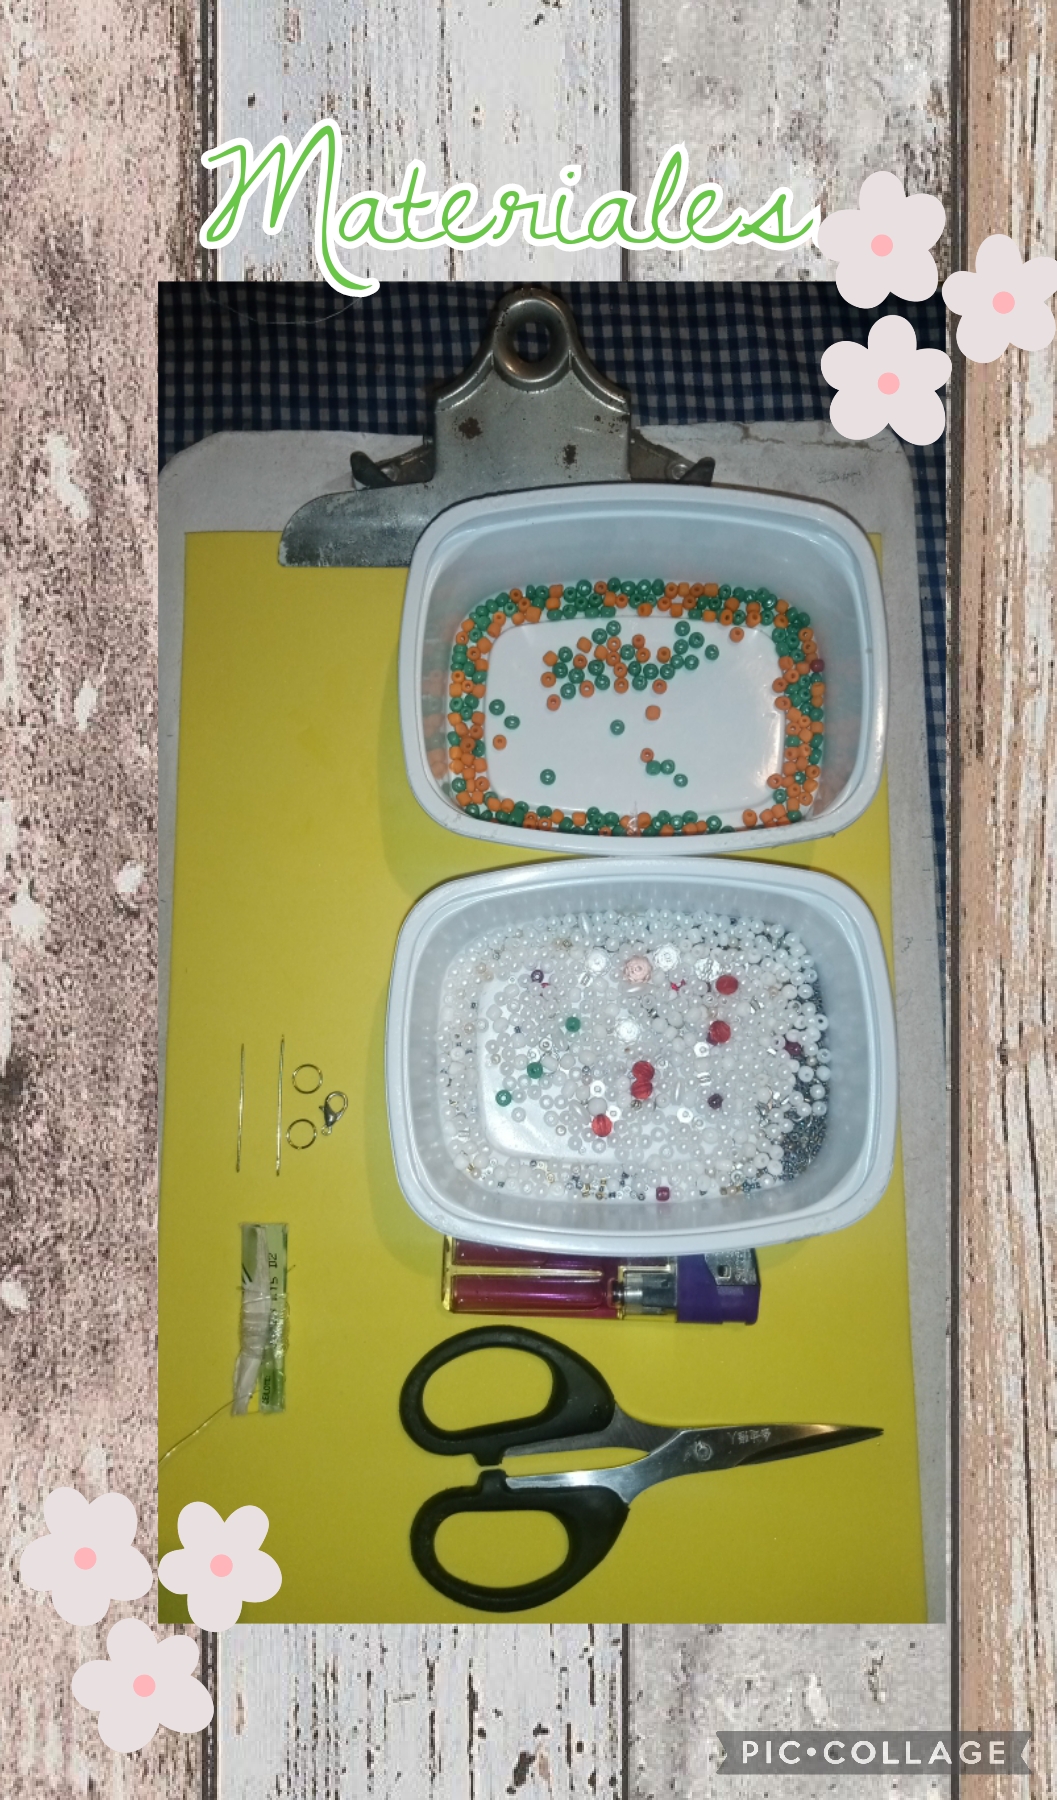
Vamos a necesitar los siguientes materiales y herramientas, para elaborar esta linda pulsera, para las princesas de la casa.
*Nailon transparente, para bisutería.
*Mostacillas, color verde.
*Perlas pequeñas, color blanca.
*2 agujas para coser.
*2 aros de metal.
*Trancadero de metal, para abrir y cerrar.
*1 tijera.
*1 yesquero.
*1 tabla con gancho de presión.
We are going to need the following materials and tools, to make this beautiful bracelet, for the princesses of the house.
*Transparent nylon, for jewelry.
*Mostacillas, green color.
*Small white pearls.
*2 sewing needles.
*2 metal rings.
*Metal lock, to open and close.
*1 scissors.
*1 tinderbox.
*1 board with snap hook.
We are going to start with the step by step, to make a beautiful bracelet for a girl with beads and pearls.
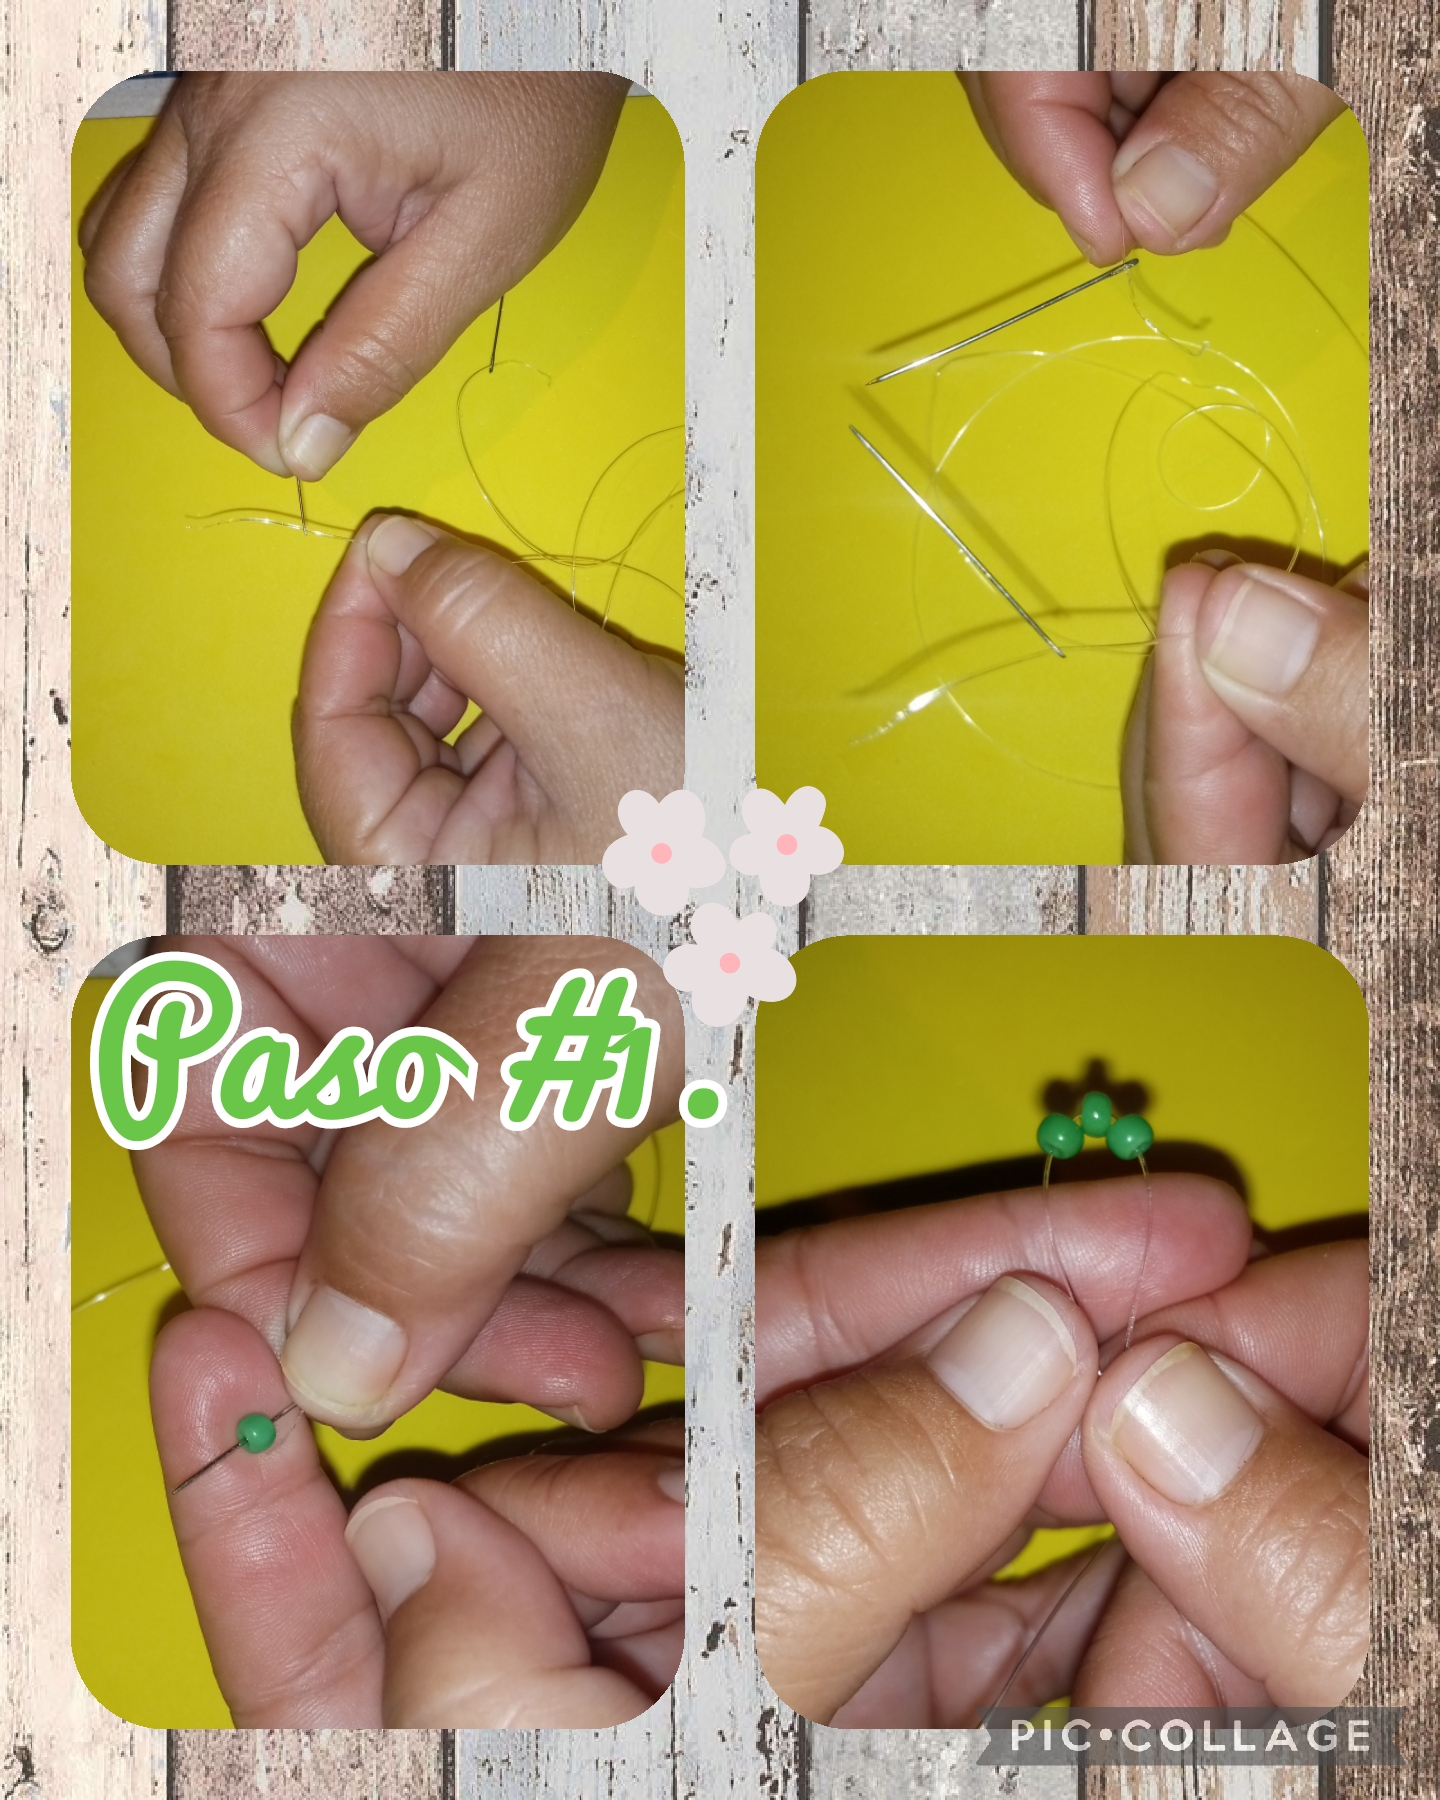
Step #1. We are going to start today, with the tutorial, to make a bracelet for girls with beads and pearls, and we are going to do it in the following way, we take the nylon thread, and with a metric rule we measure 80 centimeters long, and then we take the 2 needles and we are going to insert them into each end of the nylon thread, once the needles are inserted we are going to insert 3 beads, and we take them to the center of the nylon thread, we make a knot and we tighten it so that they do not come loose, see photos.
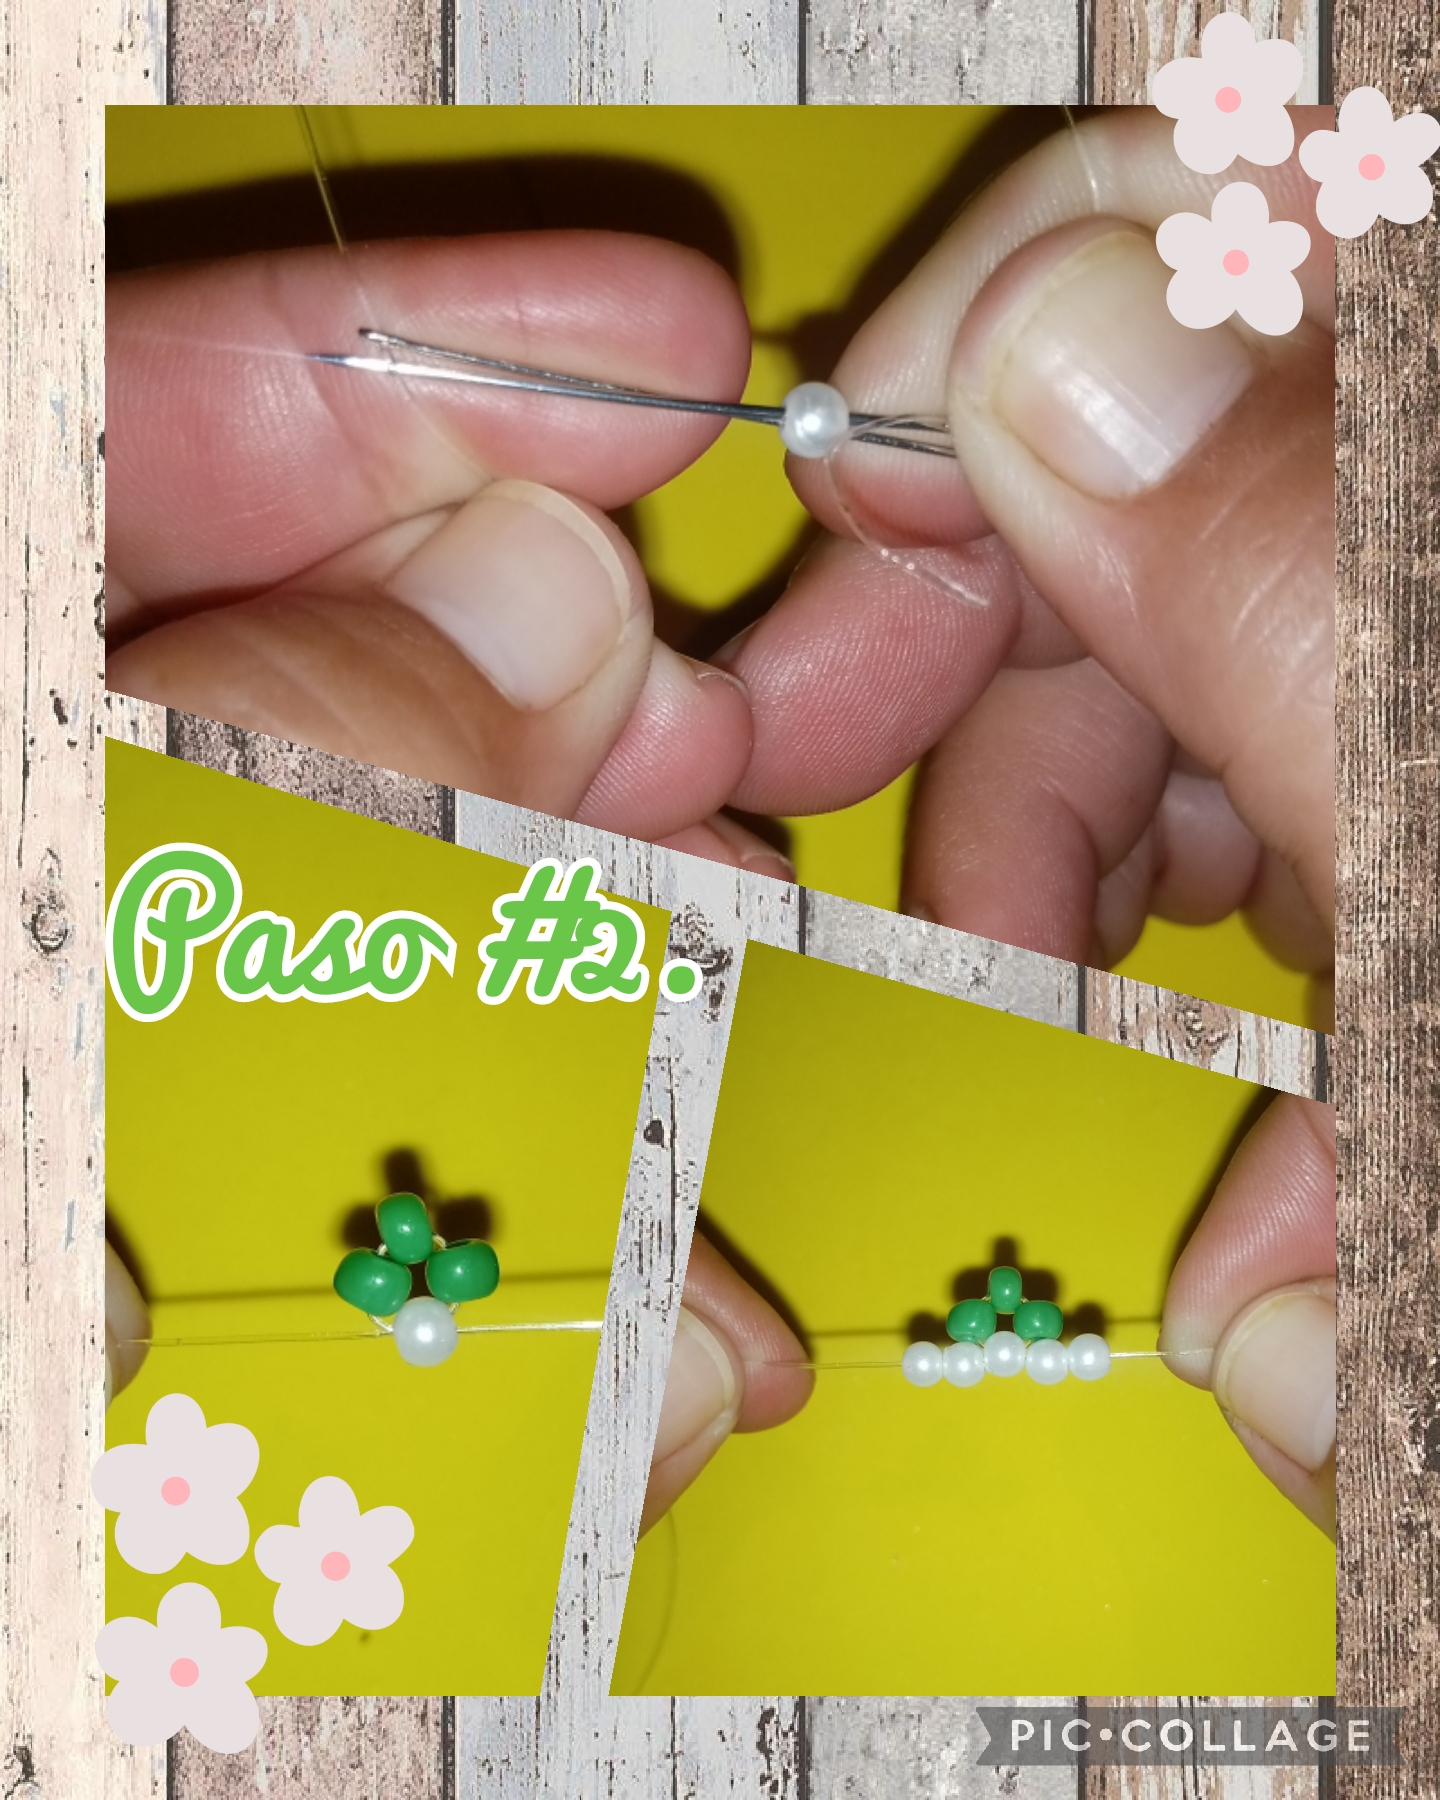
Step #2. Next we take a white pearl, and insert it into the crossed needles, then we bring it to where the beads are, we tighten again and make a strong knot, and then from one side of the thread, we insert 2 pearls and so on. the other thread also 2 pearls, see photos.
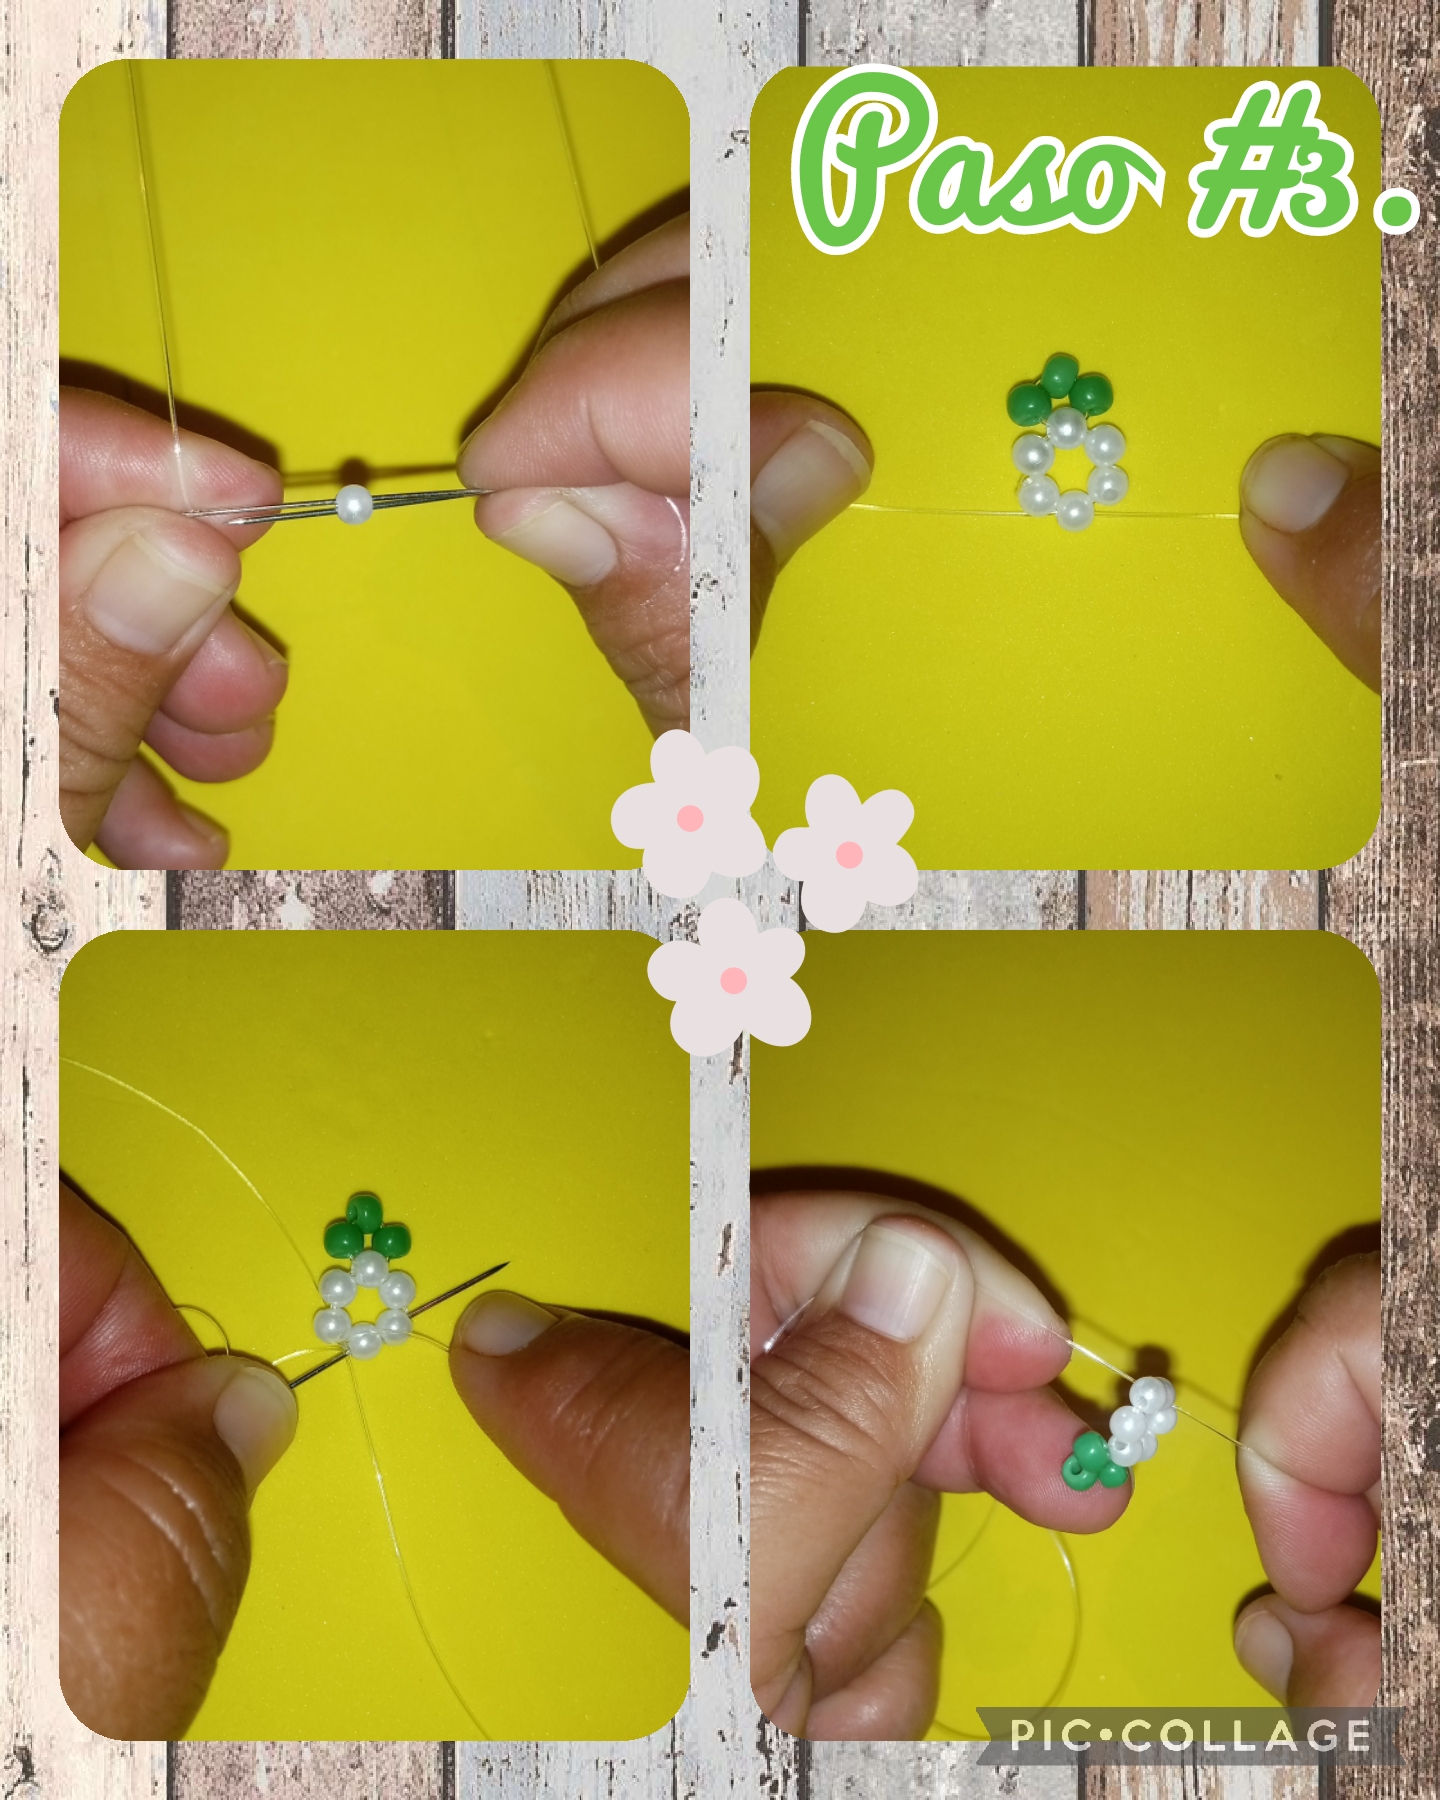
Step #3. We take another pearl and we are going to introduce the 2 crossed needles from left to right and vice versa, join the pearls, make a knot and tighten tightly, with the needle we are going to sew the pearls so that they are not loose, see the images.
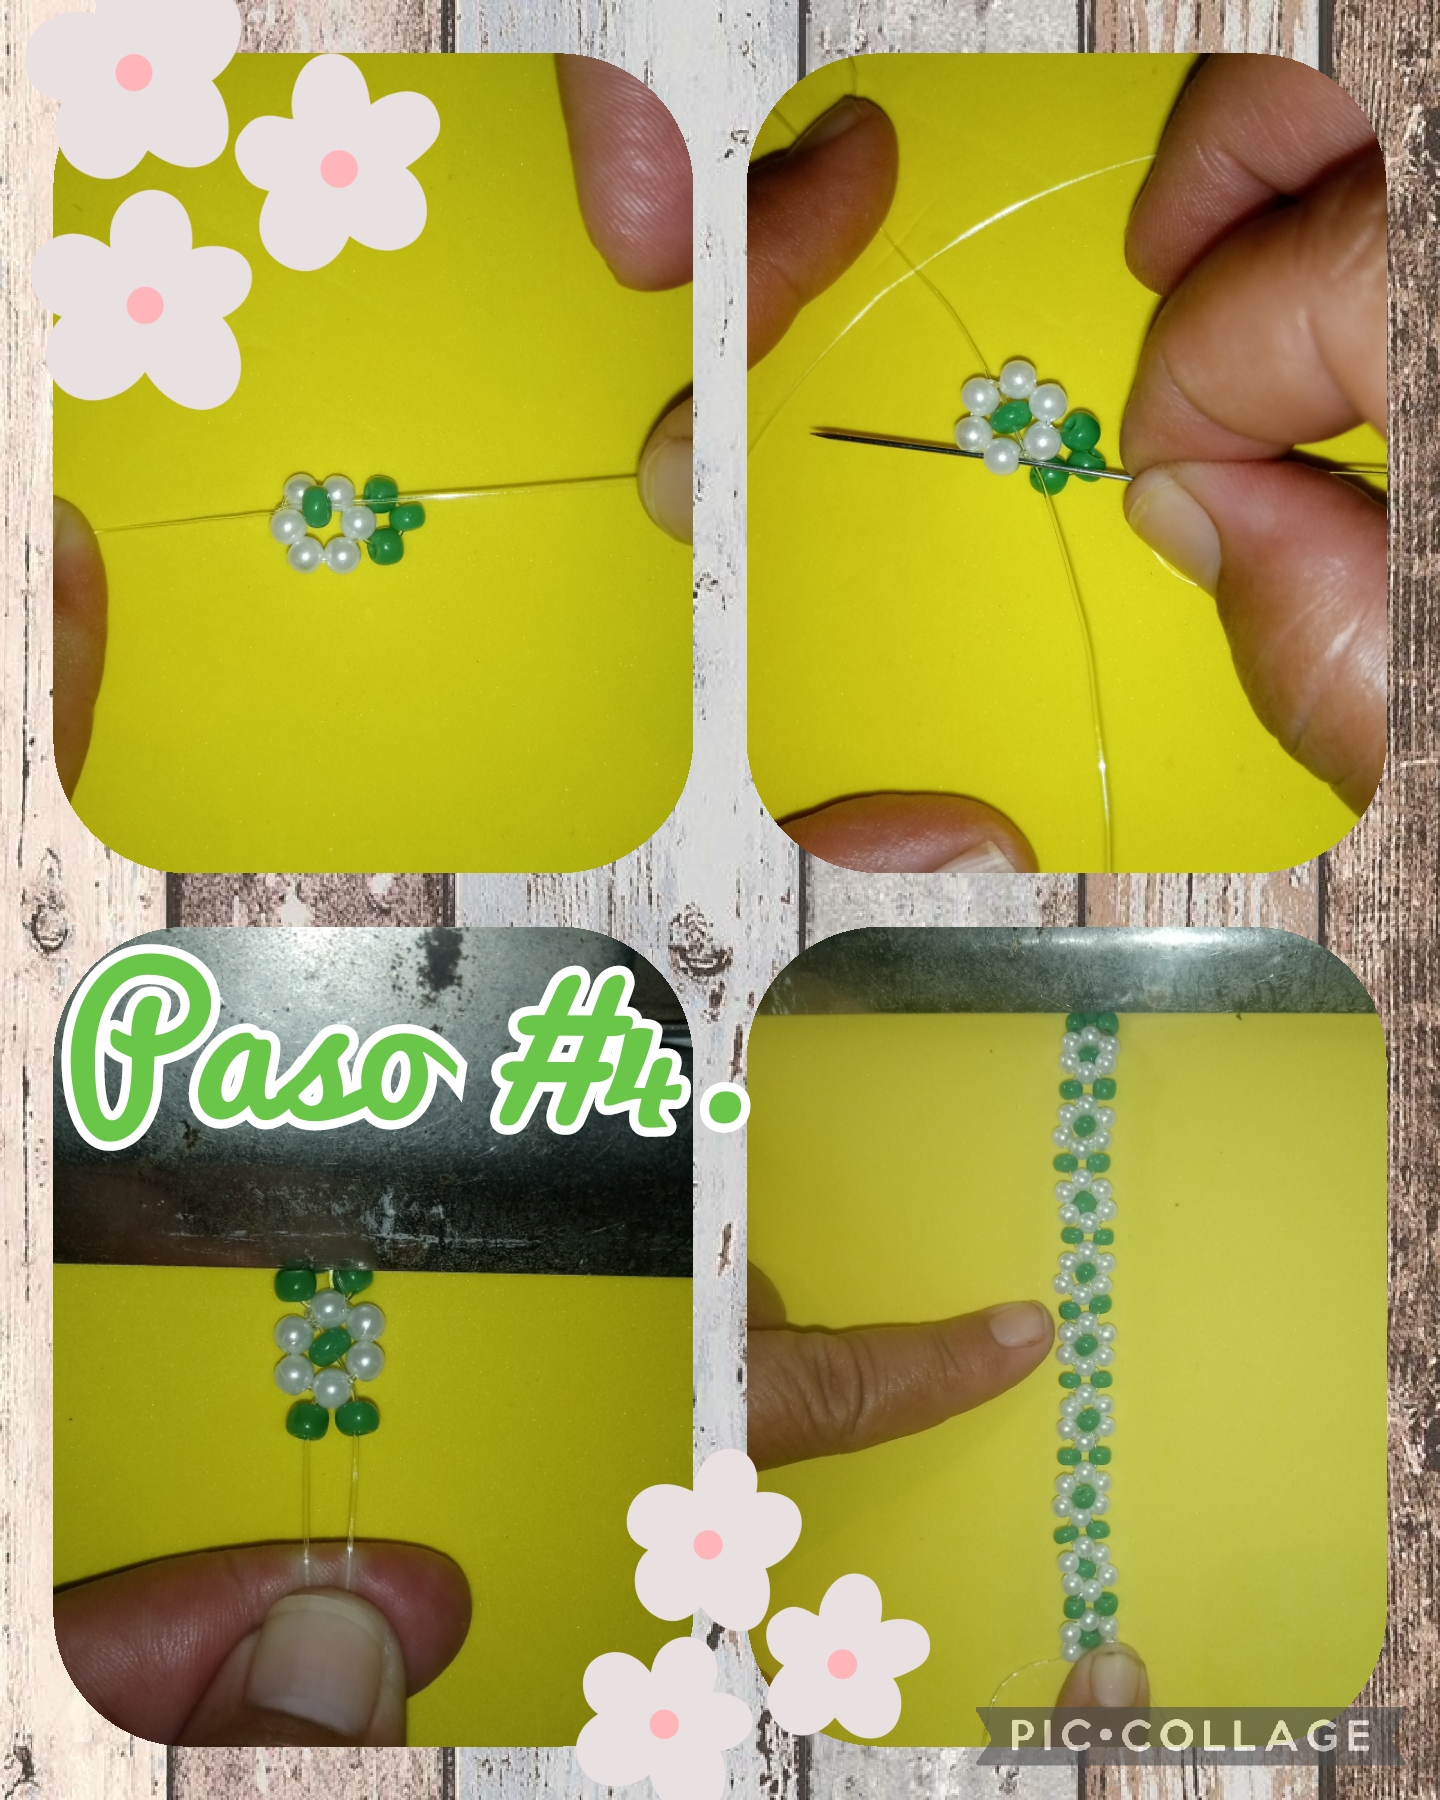
Step #4. In this step we are going to insert a green bead, which will be inserted, in the center of the pearls to form the flower, and then we take 2 beads, on one side of the thread and then on the other thread, we make another knot and tighten it tightly, in the pressure hook, we place the piece to make the bracelet better with more ease, and we see how the bracelet is formed, see the images.
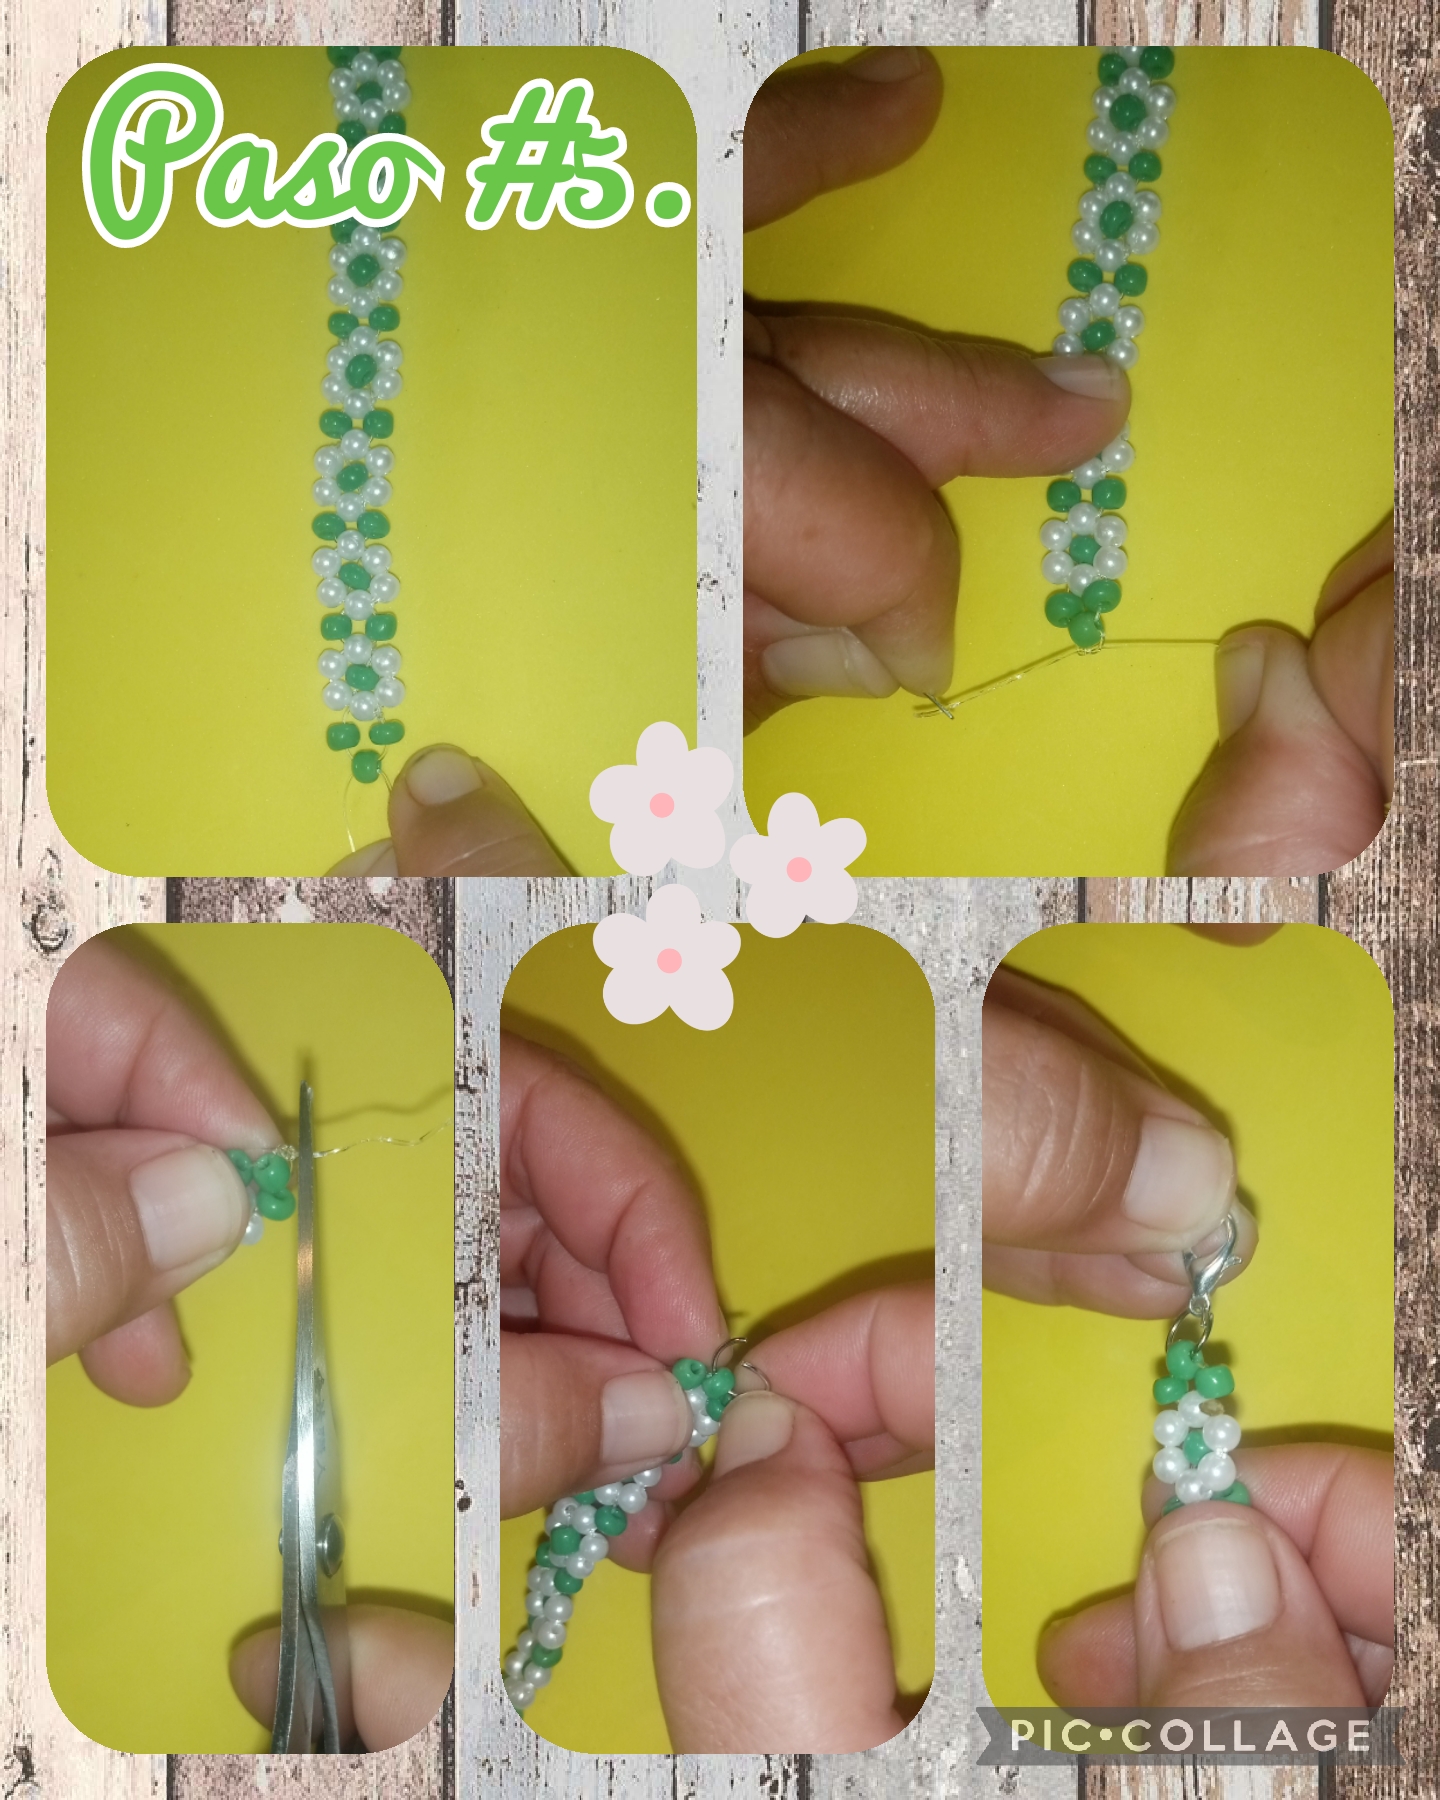
Step #5. The bracelet is almost finished, in the lower part we are going to insert the last beads, which are missing, we join them and then we make a knot and tighten, we cut the excesses, we burn the ends with a tinderbox and we proceed to place the metal rings and metal lock, to open and close the bracelet, see the images.
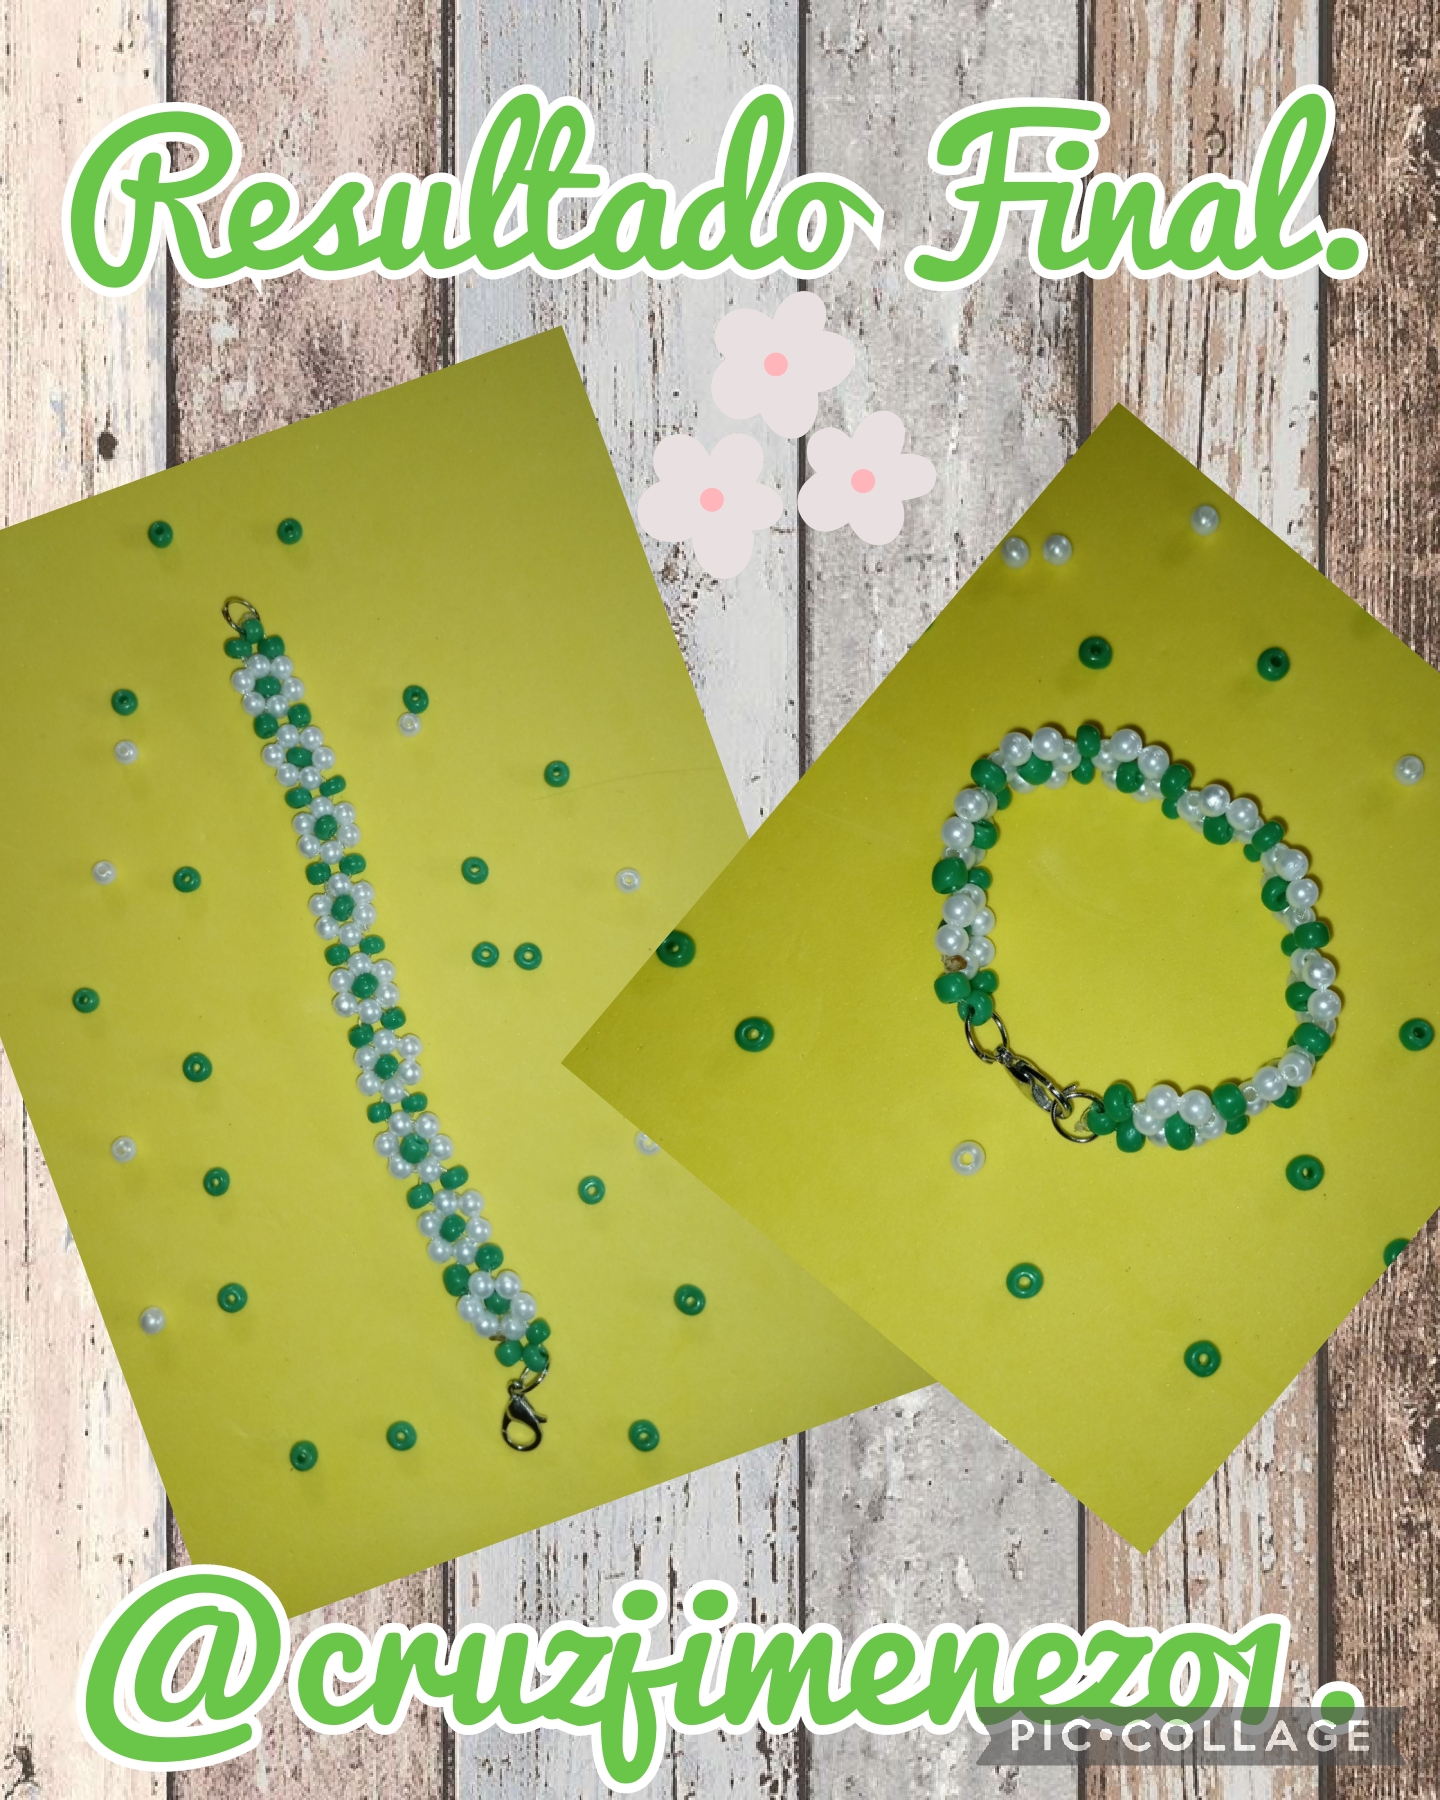
All the steps have been completed, this is the final result, a beautiful bracelet, made with beads and pearls, ideal for the princesses of the house, I thank you for visiting my blog, see you very soon with another creative idea, God bless you all,
Las fotos fueron capturadas con mi teléfono Tecno Spark 6go y editadas con la aplicación Pic-Collage y traducido el contenido con el traductor Google- Esp-ing.
The photos were captured with my Tecno Spark 6go cell phone and edited with the Pic-Collage application and the content was translated with the Google-Esp-ing translator.
Hermosa la modelo y la pulsera, nos encanta el tutorial que nos regalas hoy, estas pulseras están muy de moda y son hermosas para regalar, buen tutorial.
Te recordamos hacer comunidad ✅️
Hola, muchas gracias, me alegra mucho que le haya gustado y la modelo es muy linda.
Congratulations @cruzjimenez01! You have completed the following achievement on the Hive blockchain And have been rewarded with New badge(s)
Your next payout target is 3000 HP.
The unit is Hive Power equivalent because post and comment rewards can be split into HP and HBD
You can view your badges on your board and compare yourself to others in the Ranking
If you no longer want to receive notifications, reply to this comment with the word
STOPCheck out our last posts:
Support the HiveBuzz project. Vote for our proposal!
Ha quedado hermosa, una pulsera sencilla de bellos colores 👍
Hola, si muy linda la pulsera y a la modelo le quedo espectacular, muchas gracias, saludos y bendiciones.