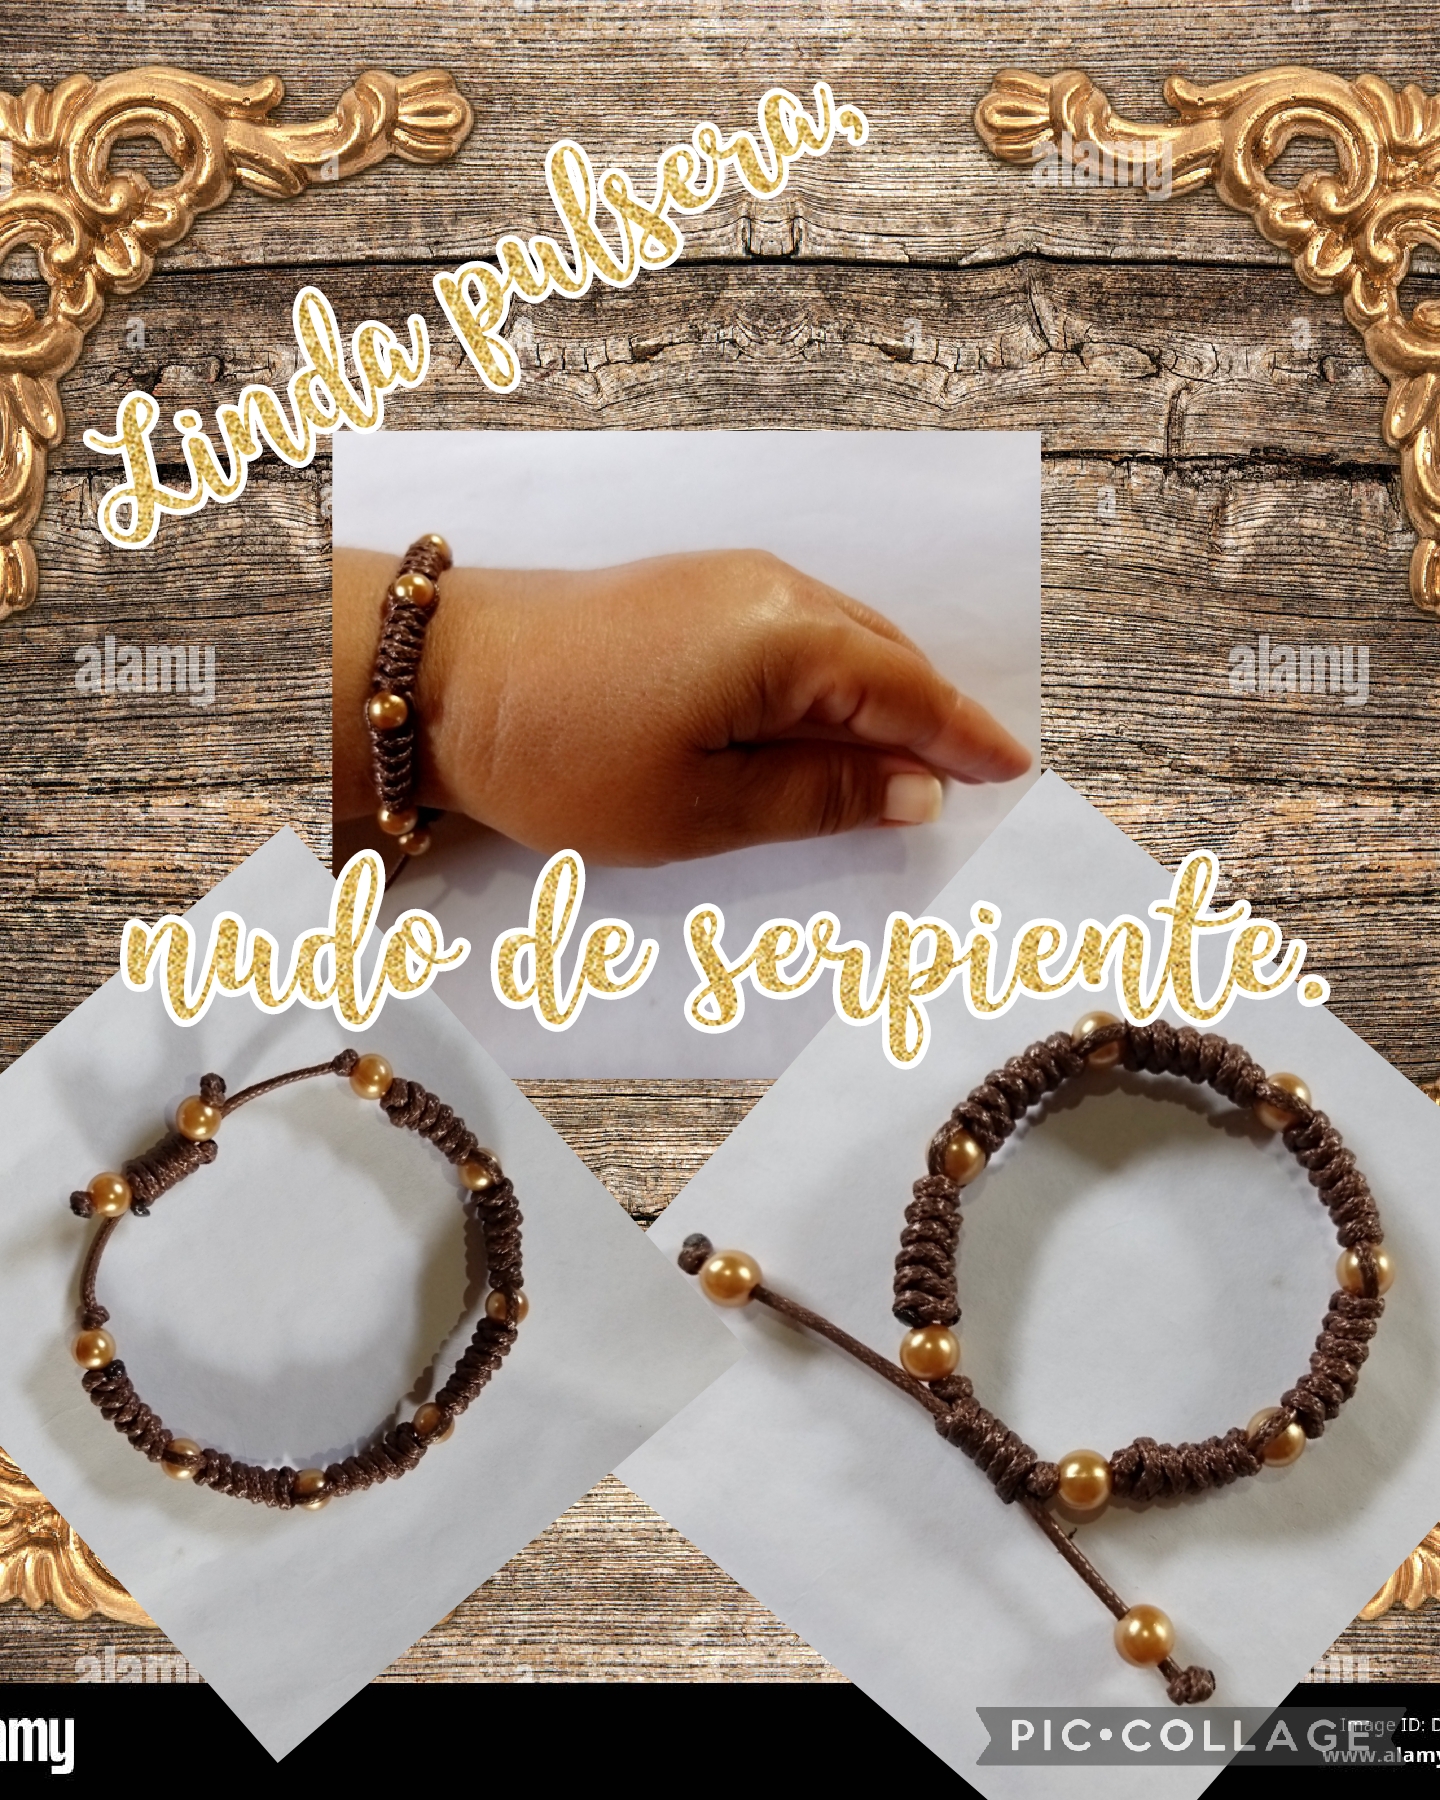
Muy buenas noches, mi gente bella de esta comunidad Jewelry, espero hayan pasado un lindo día, les envio de mi parte un gran saludo virtual, deseandoles que estén muy bien que es lo mas importante, Dios los bendiga a todos a todos, les doy nuevamente la bienvenida a mi blog, para compartir con ustedes este nuevo proyecto, este proyecto se trata de hacer una muy linda pulsera, con nudos de serpientes, esta pulsera la hice especialmente para regalársela a una gran amiga, que quiero mucho, además la considero como mi hermana, y por eso la quiero sorprender mañana con esta pulsera, porque mañana esta cumpliendo años, y que mejor obsequio, que esta pulsera, ahora manos a la obra y vamos a comenzar con el paso a paso de esta linda pulsera, con nudo de serpiente, espero les guste.
Good evening, my beautiful people of this Jewelry community, I hope you have had a nice day, I send you a great virtual greeting from me, wishing you that you are very well, which is the most important thing, God bless you all, I give you Welcome back to my blog, to share with you this new project, this project is about making a very nice bracelet, with snake knots, I made this bracelet especially to give it to a great friend, who I love very much, and I also consider it like my sister, and that's why I want to surprise her tomorrow with this bracelet, because tomorrow she is celebrating her birthday, and what better gift than this bracelet, now let's get to work and we are going to start with the step by step of this beautiful bracelet, with snake knot, I hope you like it.
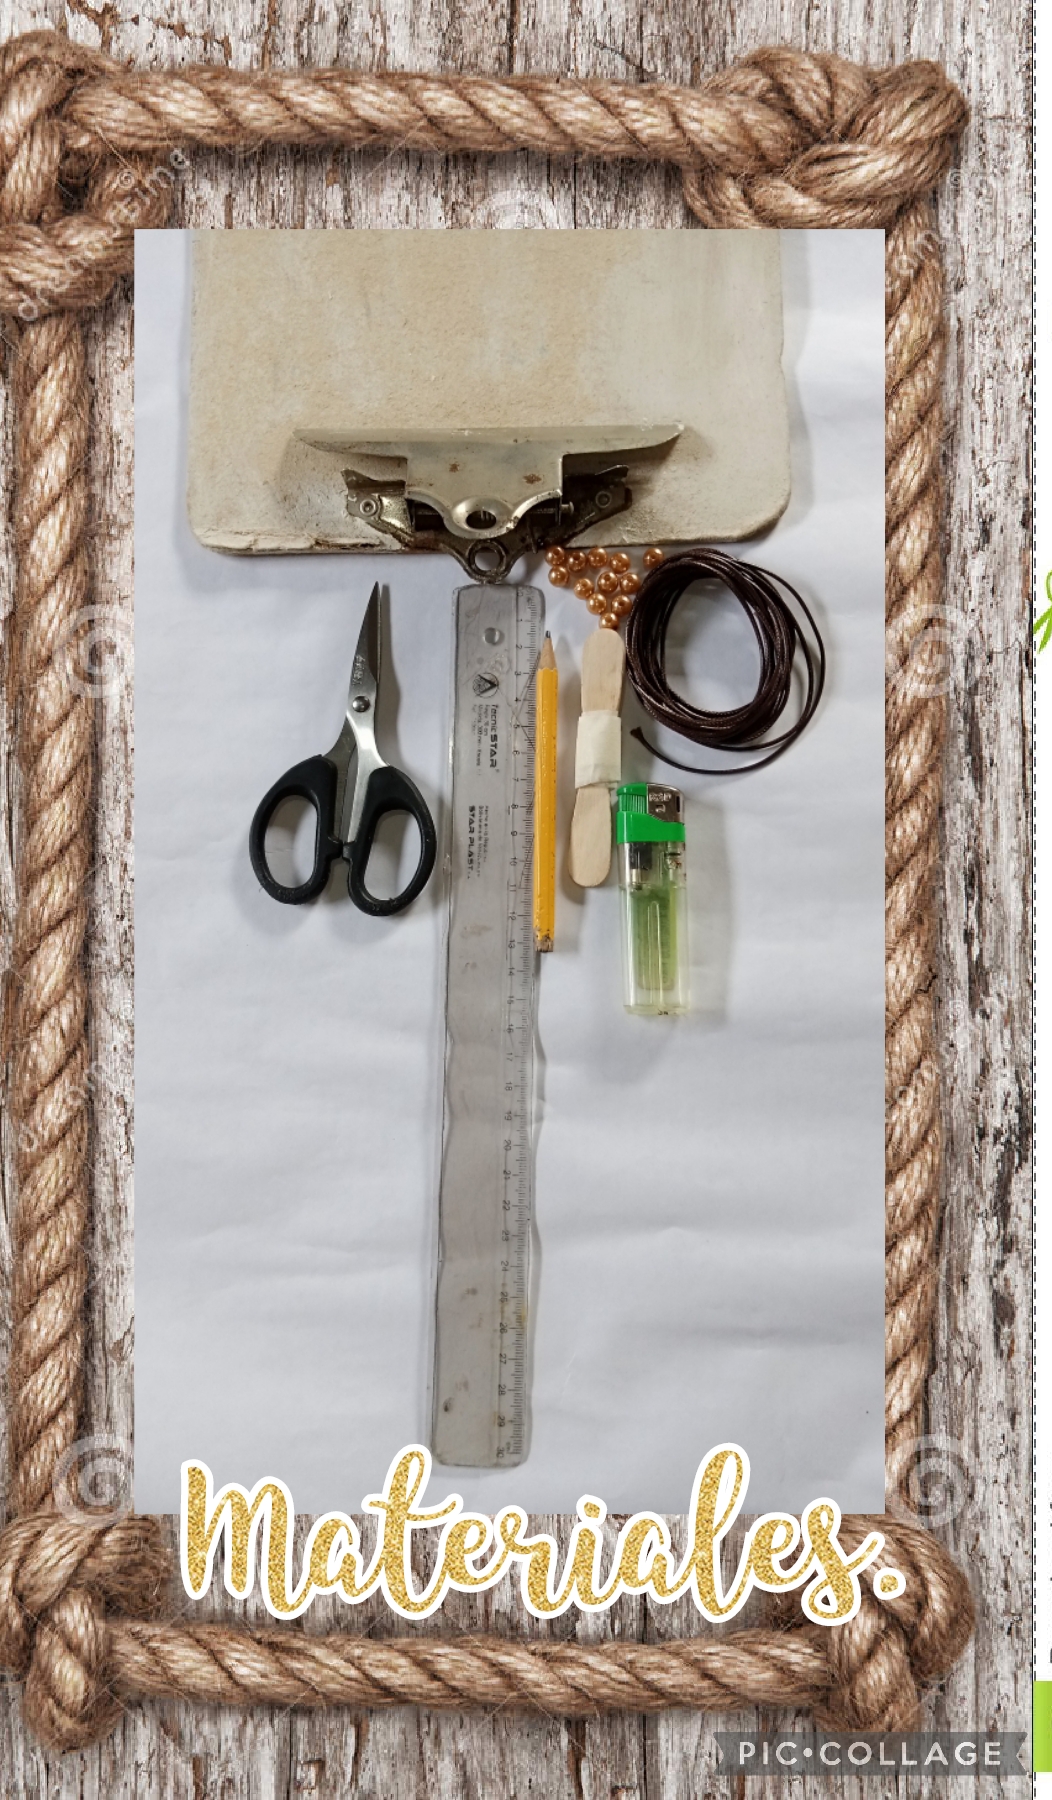
Los materiales y herramientas que vamos a necesitar para hacer esta linda pulsera, son los siguientes:
*Cordón, piel de serpiente, color marrón
*9 perlas color dorada.
*1 tijera.
*1 regla métrica.
*Cinta adhesiva.
*1yesquero.
*1 tabla con un gancho de presión.
The materials and tools that we are going to need to make this beautiful bracelet are the following:
*Cord, snakeskin, brown color
*9 golden pearls.
*1 scissors.
*1 metric ruler.
*Scotch tape.
*1sink.
*1 board with a snap hook.
We are going to show you step by step.
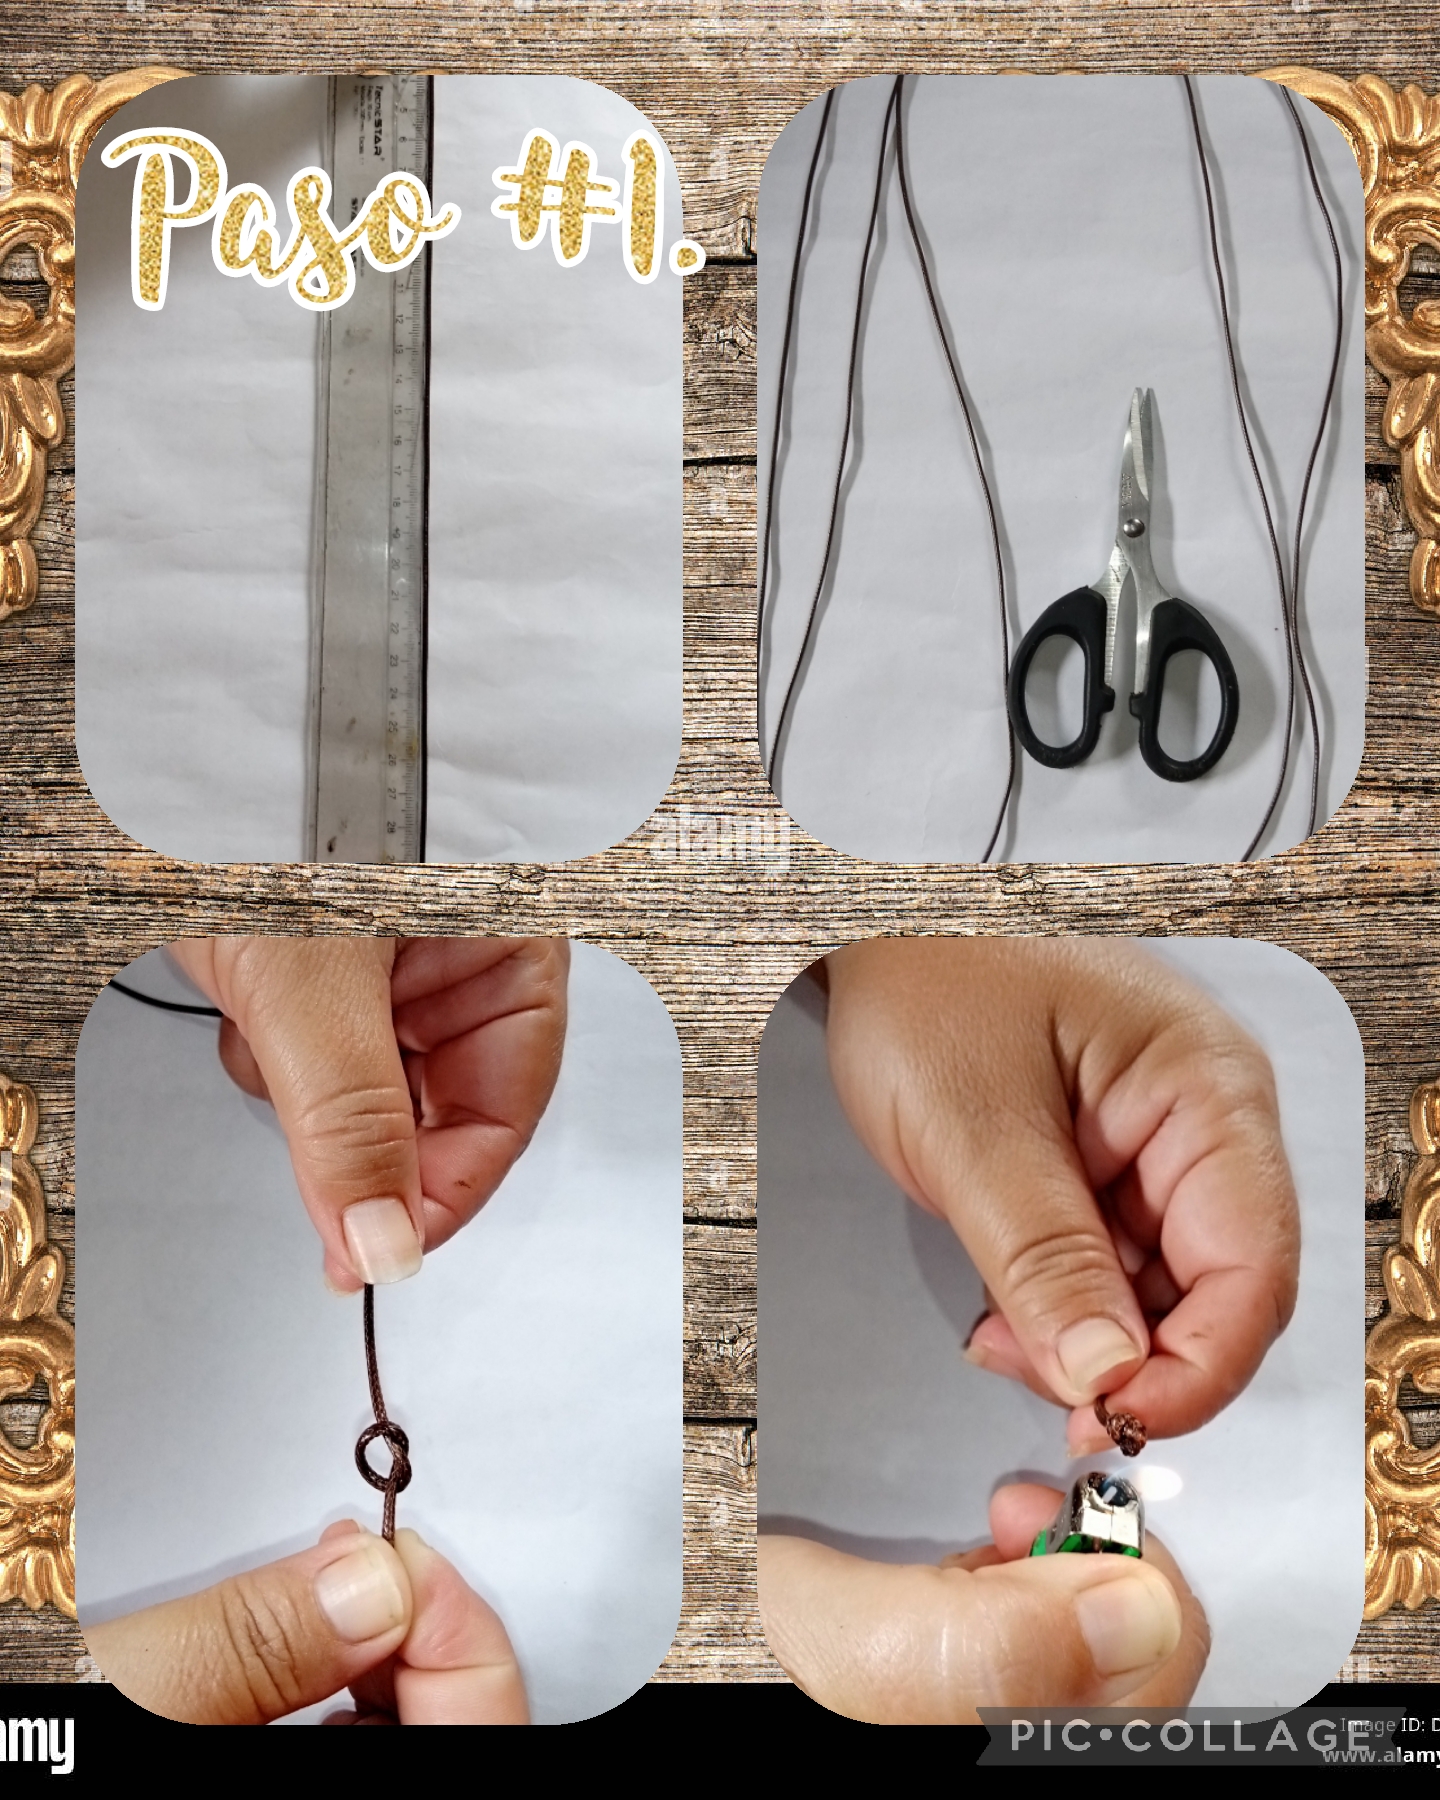
Step #1. We are going to start, to make this beautiful bracelet, with a snake knot, and we are going to do it as follows, the first thing we are going to do is, we take a metric ruler and the cord, snake tail, we take the measurements of 35 centimeters and another measure of 160 centimeters, and then with the help of scissors we cut, then we take the cord with the measure of 35 centimeters, we make a simple knot, we tighten it and with a tinderbox we burn the tip so that it does not come loose, see the images .
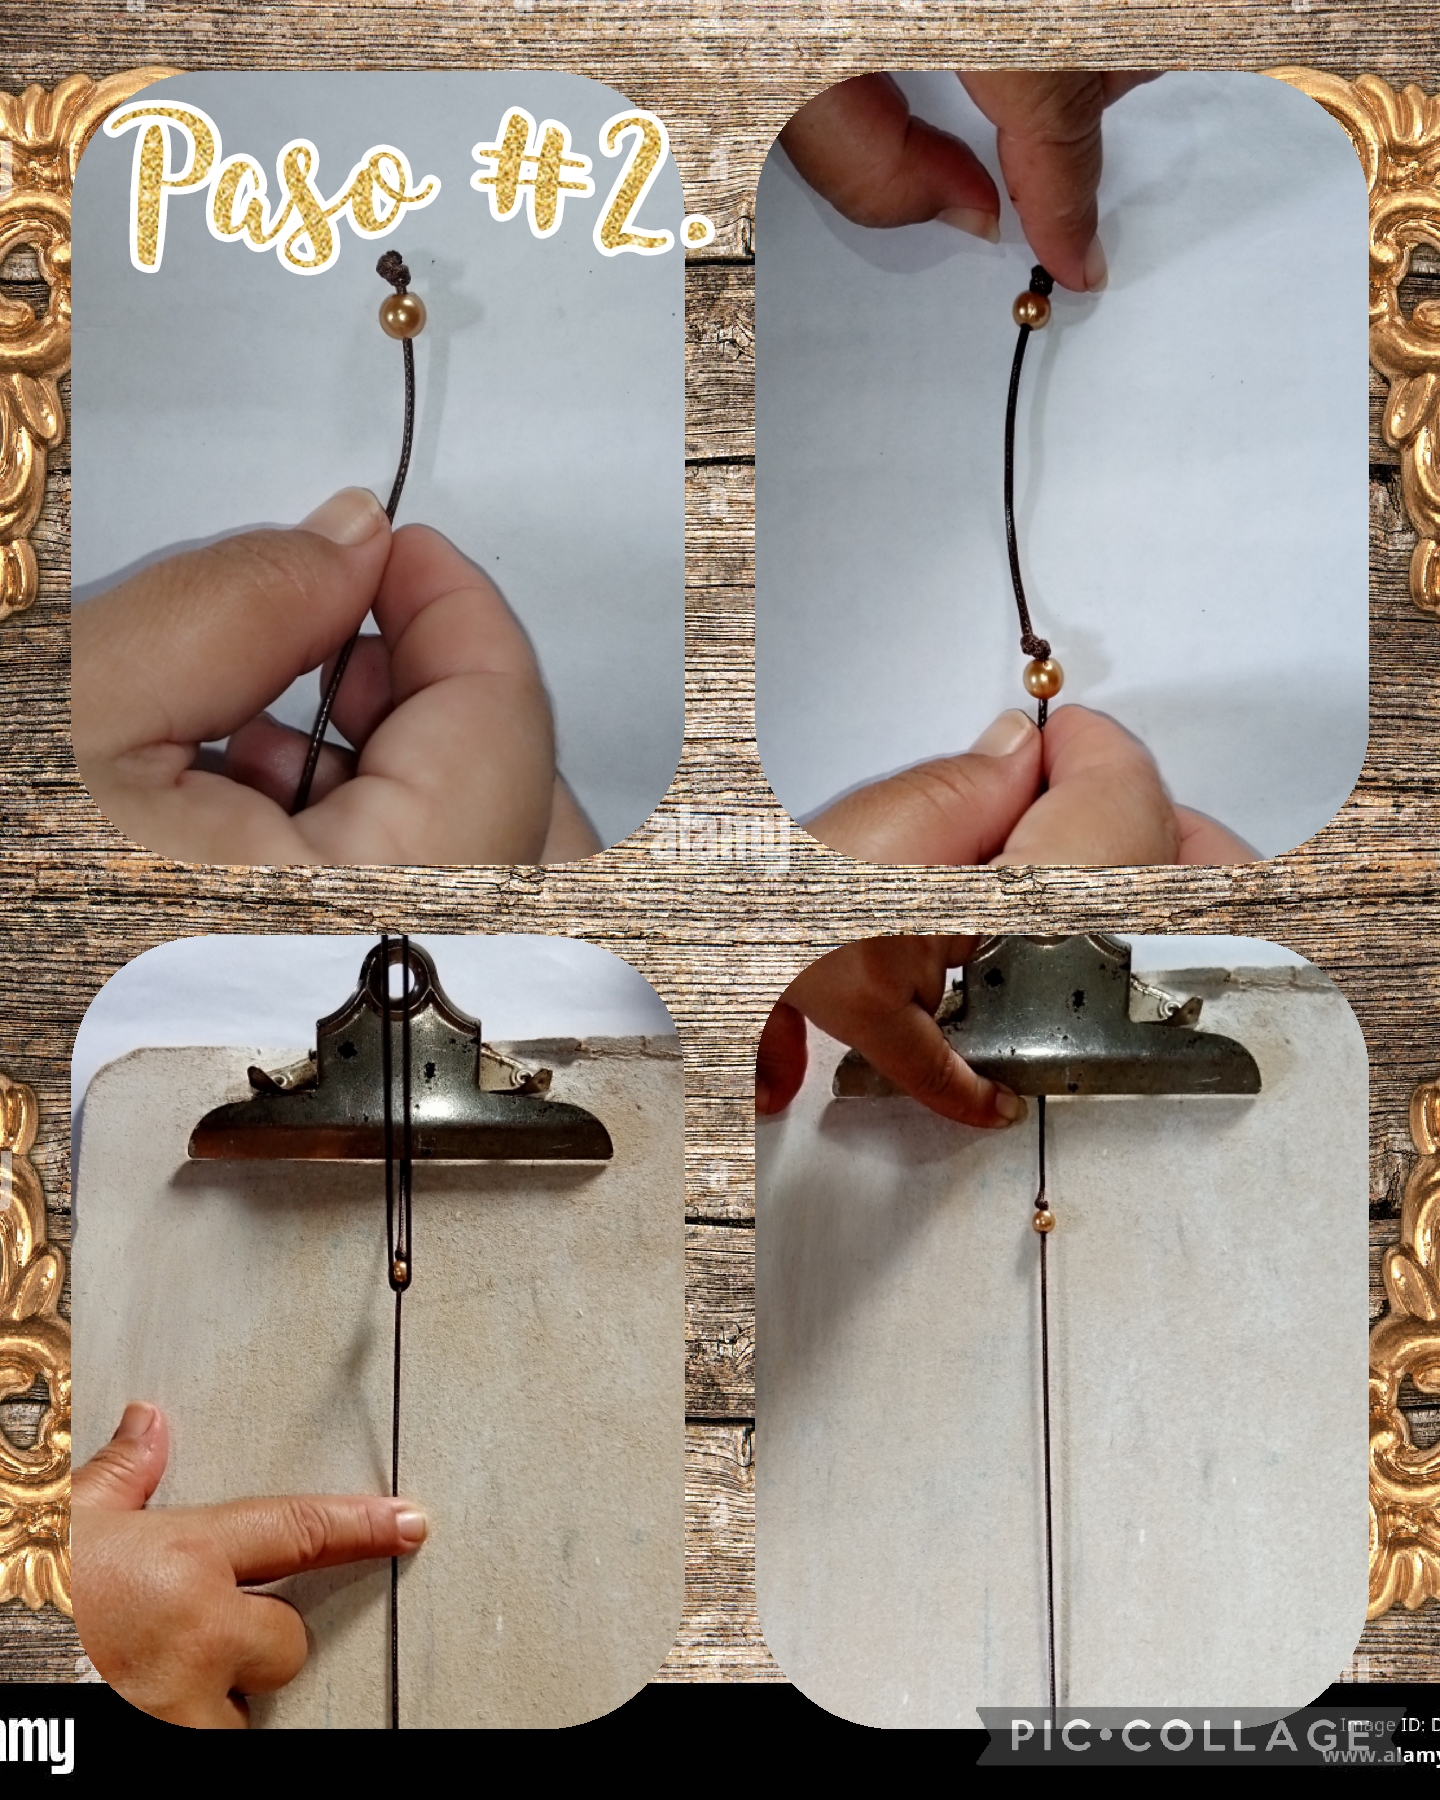
Step 2. In this step we are going to take a golden pearl, and we are going to insert it into the cord in the part where the knot is, then we leave a space of 6 centimeters, we make a simple knot again, and we reinsert another golden pearl, then we fix the cord on the table, with the snap hook, one end and the other end, with adhesive tape at the bottom, see the images.
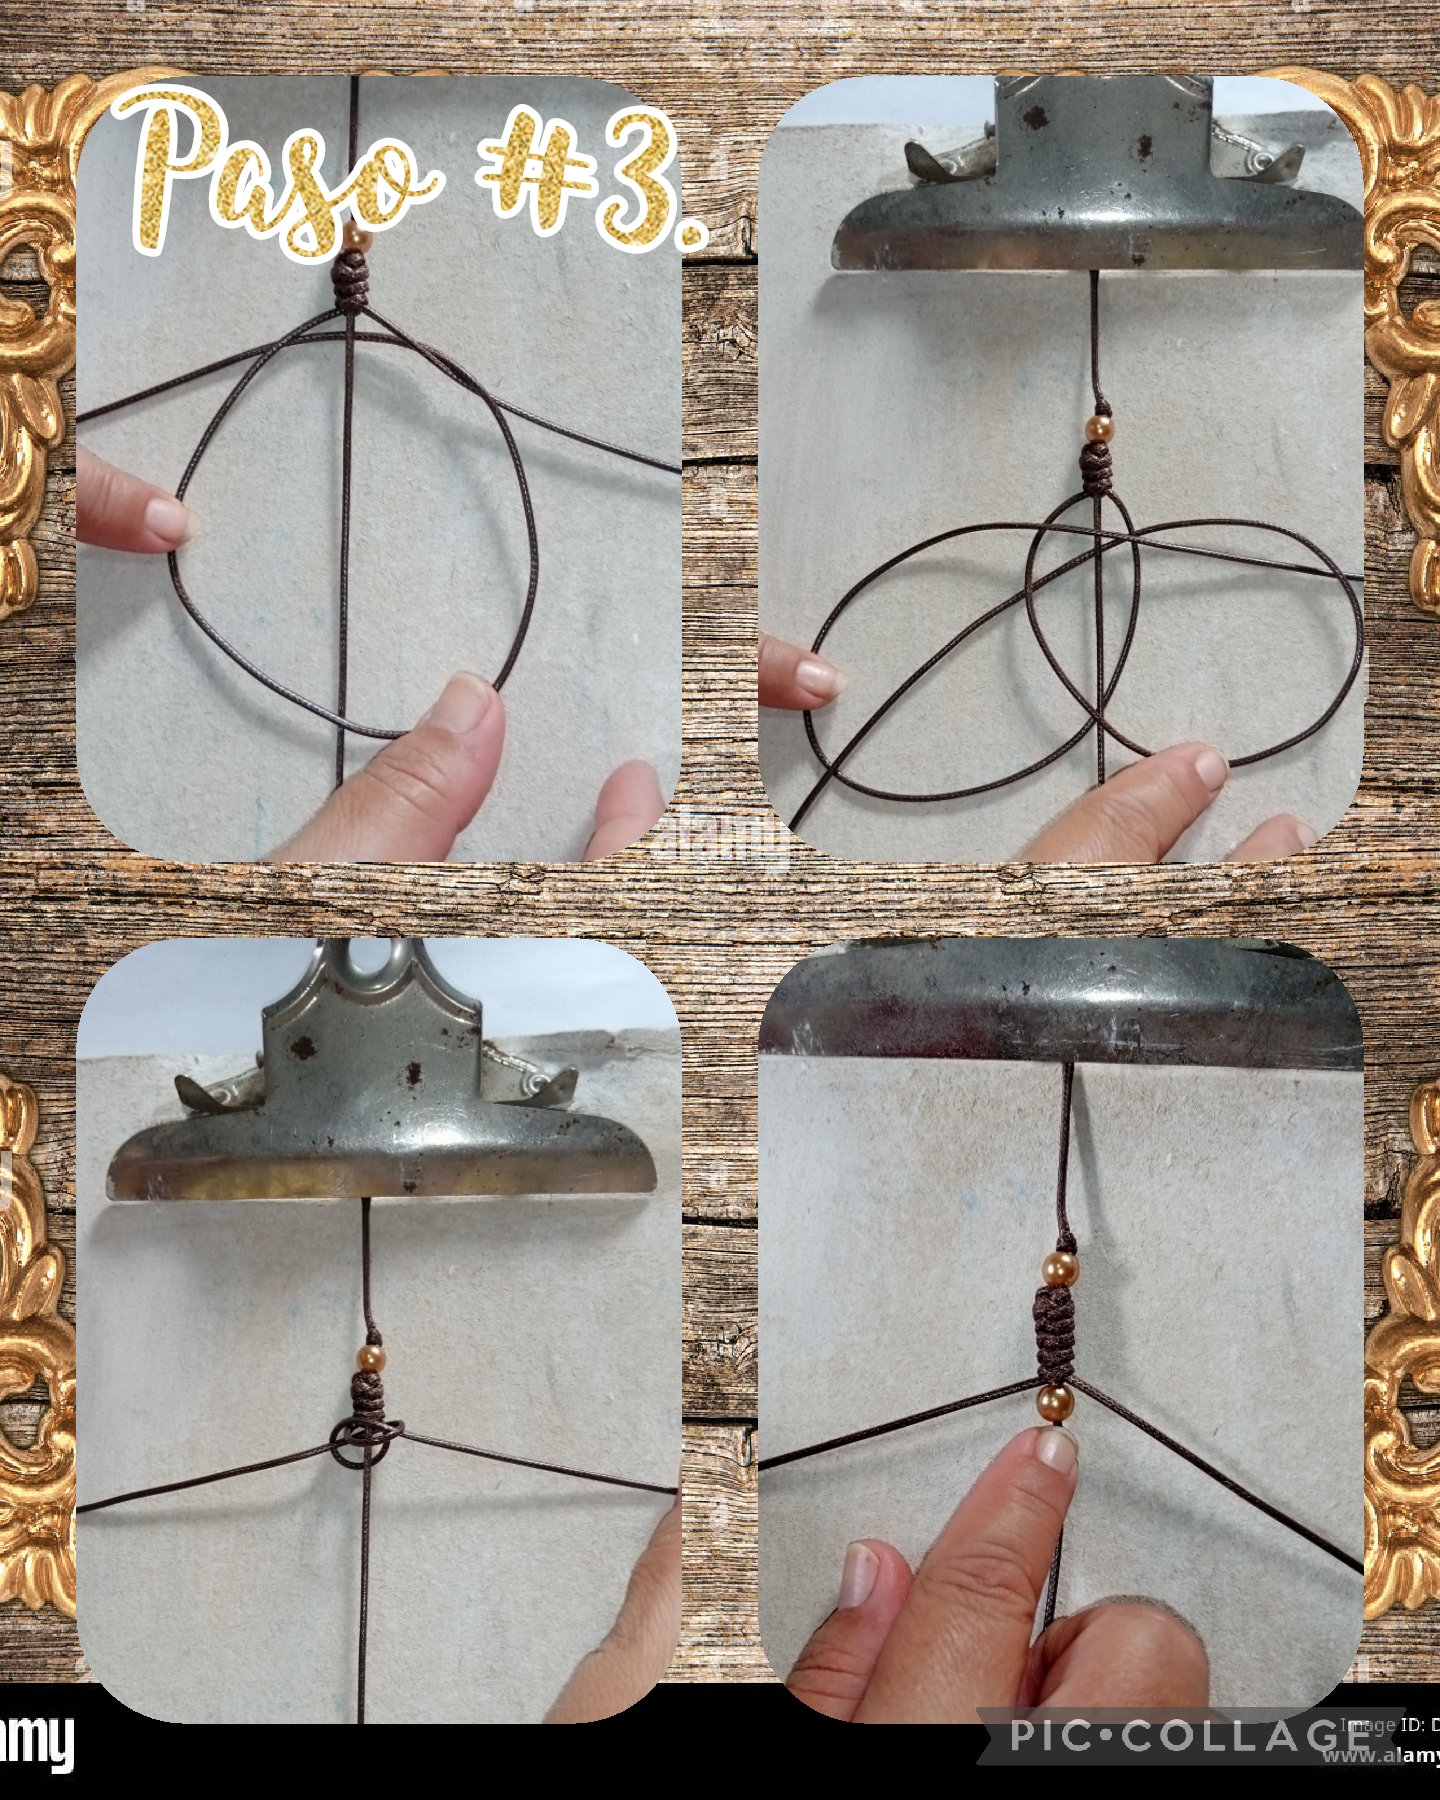
Step #3. In this step we are going to explain how the snake knot is made, the left side of the cord, we pass it to the right side, over the central cord, and over the cord that is on the right side, and we return it to the right side. left, under the cord, which is on the right side, under the central cord and under it, now the cord that is on the right side, we pass it under the central cord and we take it, to the left side, and We also pass it under the cord that is on the left side, then we pass it over the central cord and insert it into the circle that is on the right side, then we pull the cord on both sides, to gently tighten it, at the same time, then we are inserting the pearls, see pictures.
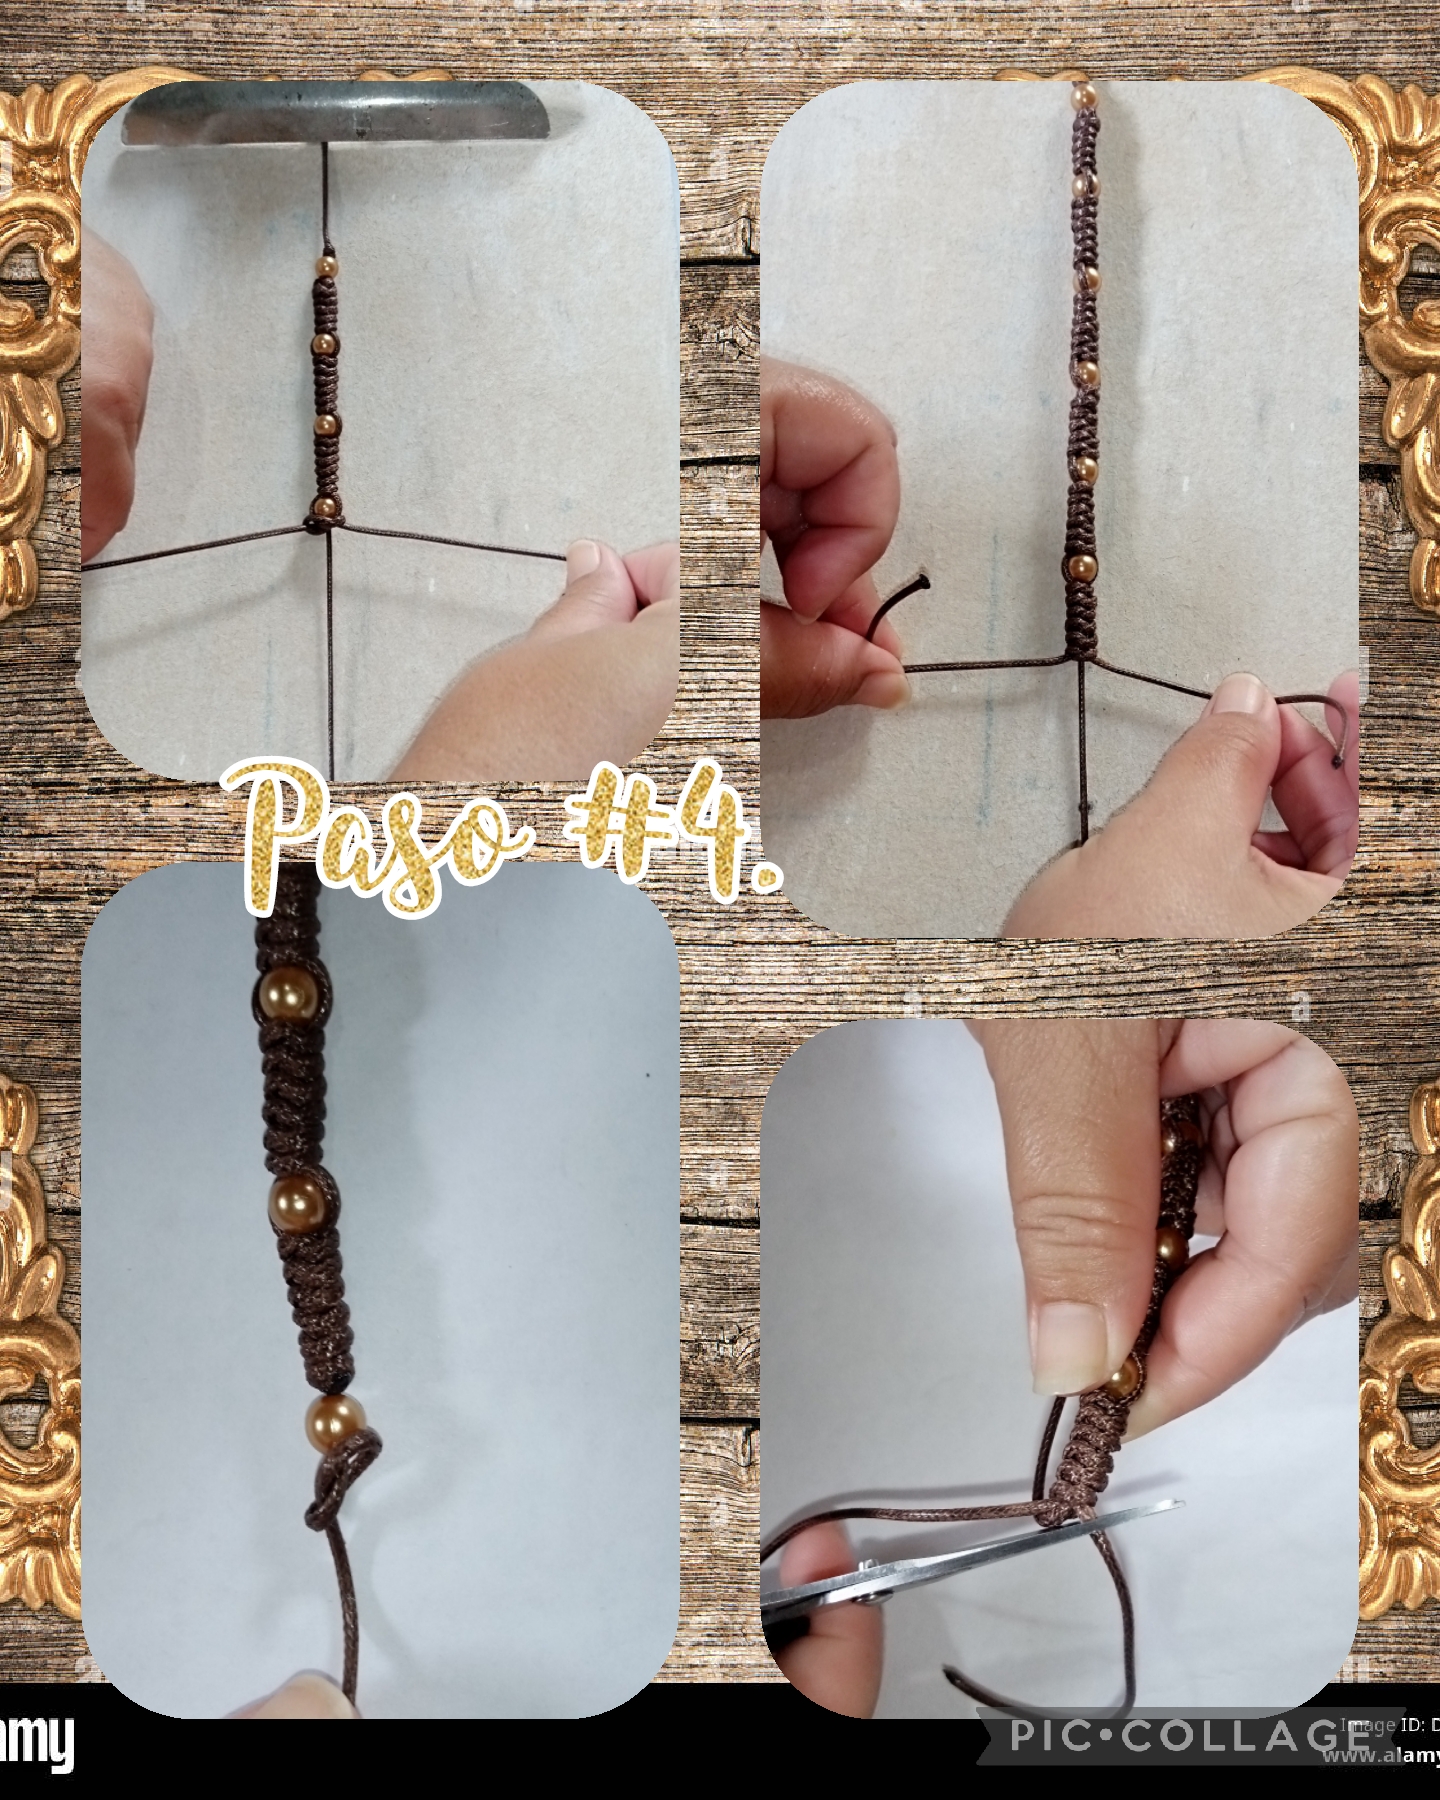
Step #4. In this step, we continue inserting the pearls and making the snake knots, to form the bracelet, and at the end of the bracelet, we reinsert another golden pearl and we make a simple knot, we cut the excess and burn the tips with the tinderbox, see pictures.
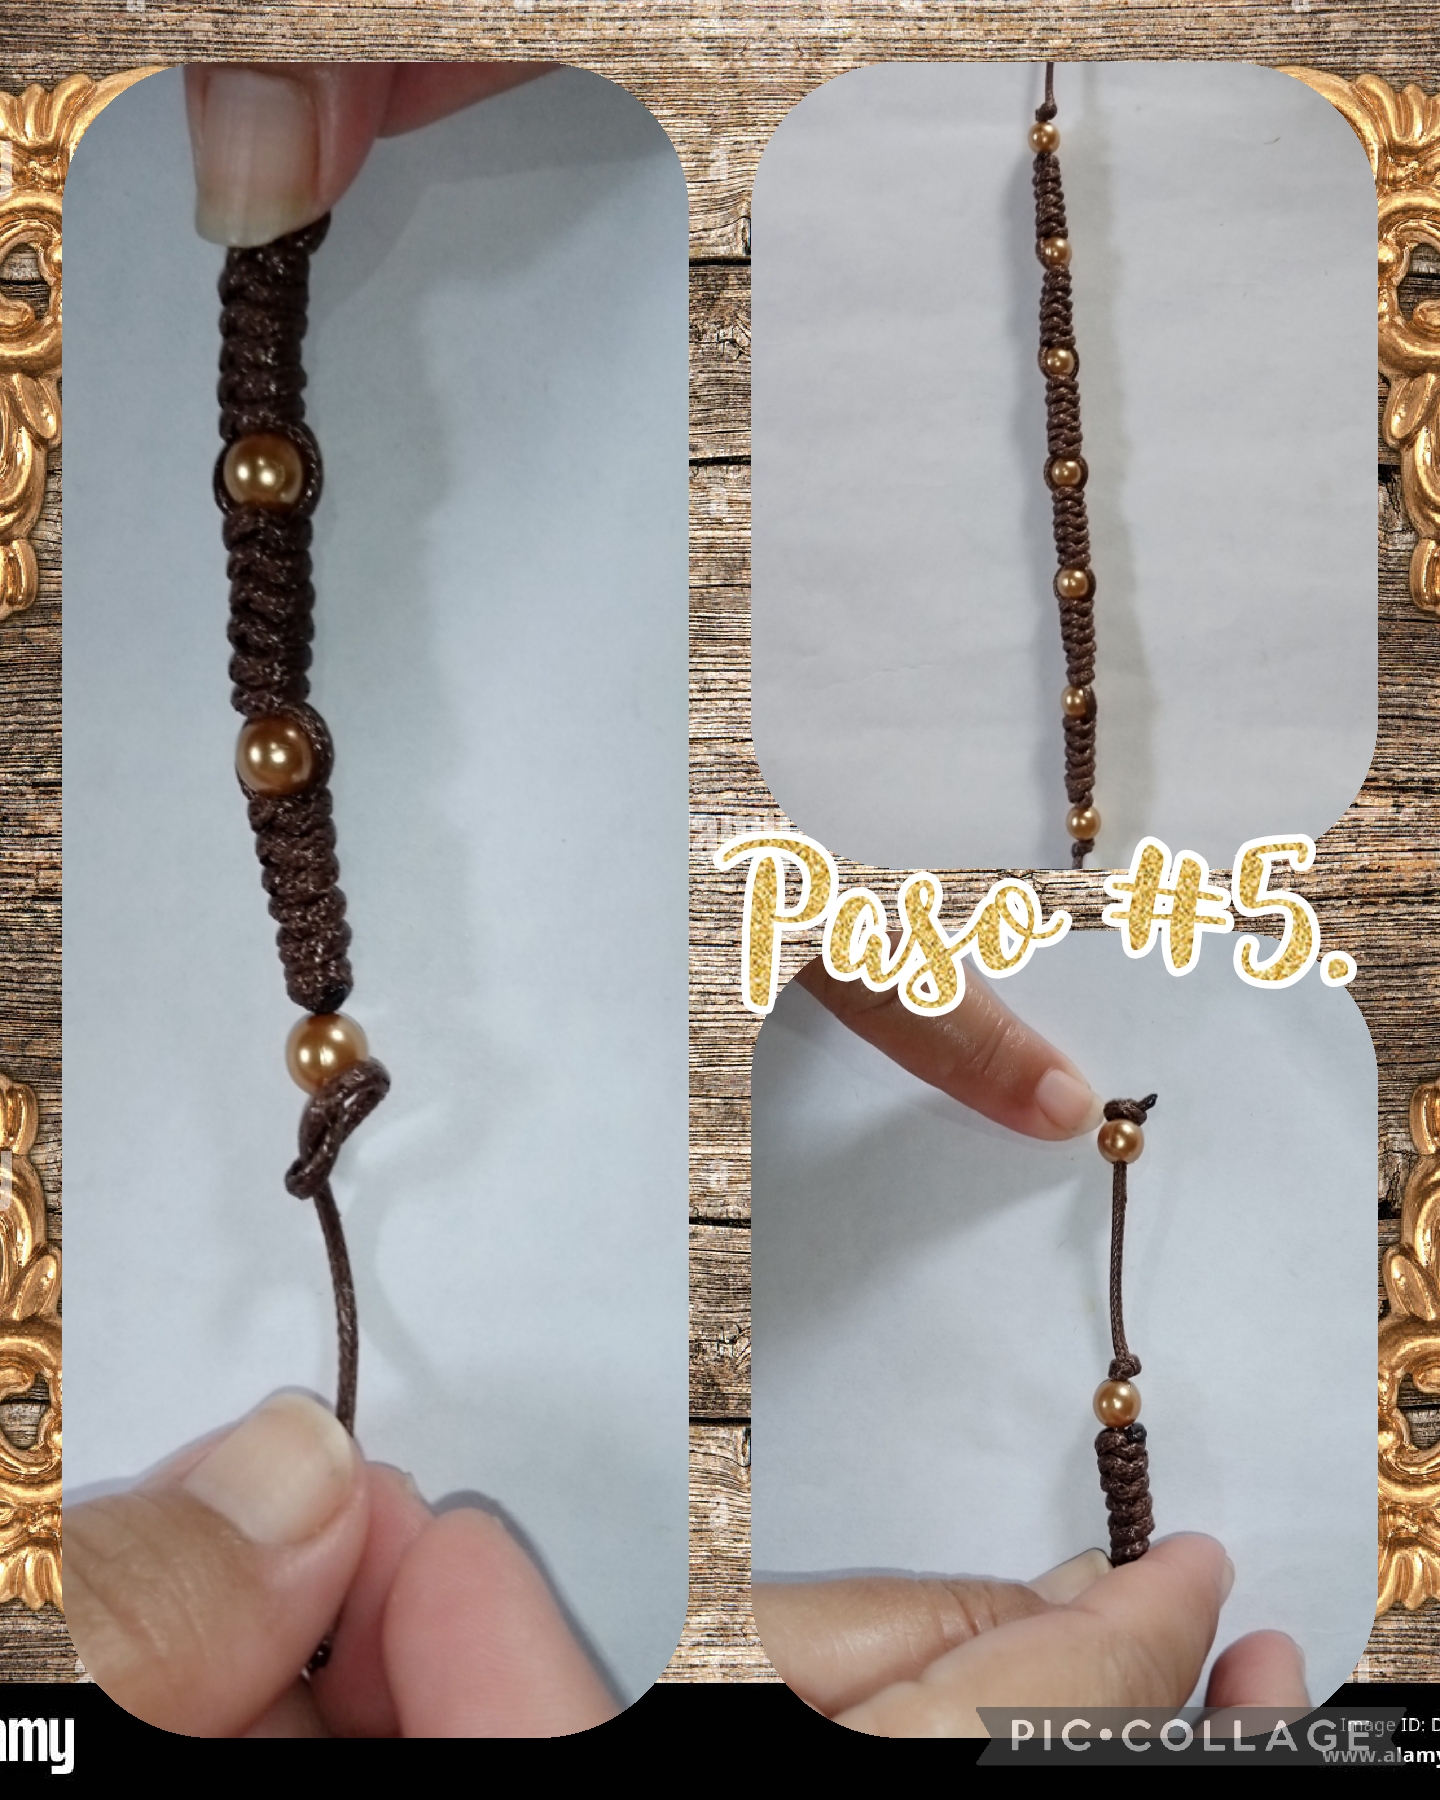
Step #5. In this step we show you how the bracelet goes, and now in the other part of the cord, we introduce another `golden pearl, and at the end we make another simple knot, see the images.
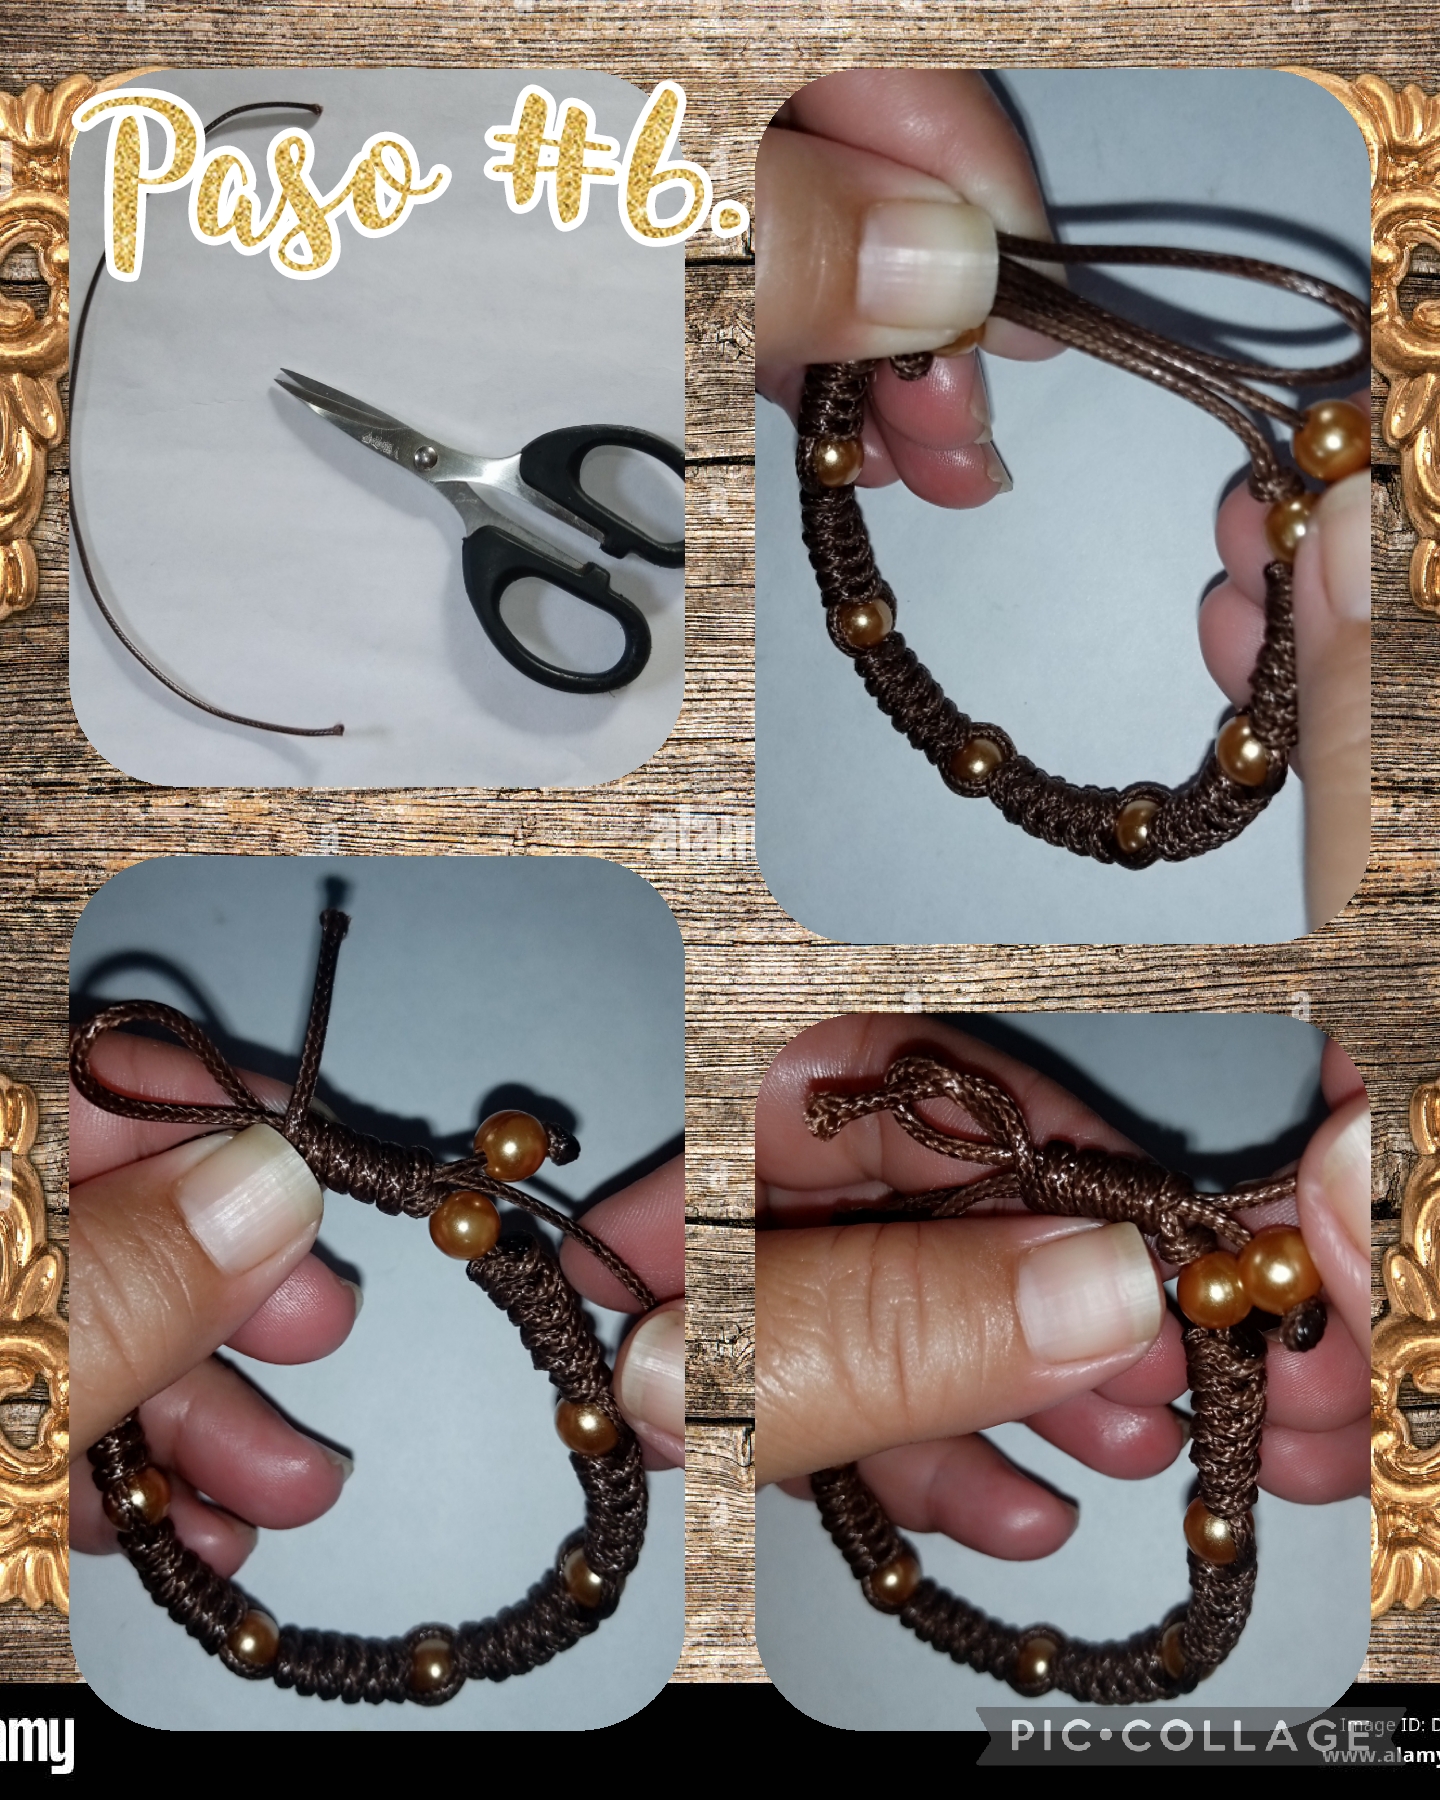
Step #6. In this step we cut another 25 centimeter cord to make the knot, to tighten and loosen the bracelet, and we are going to do it as follows, we join the ends of the bracelet, we take the 5 centimeter cord that we cut, we double split it in two, and we place it on the ends that we had already joined, and we take one of the ends of the cord that we double and we roll it from right to left, until reaching the hole and we put it inside, then we pull the other end and adjust, cut the excesses and with a tinderbox we burn the ends, so that it does not come loose, and we have finished tying the knot, see the images.
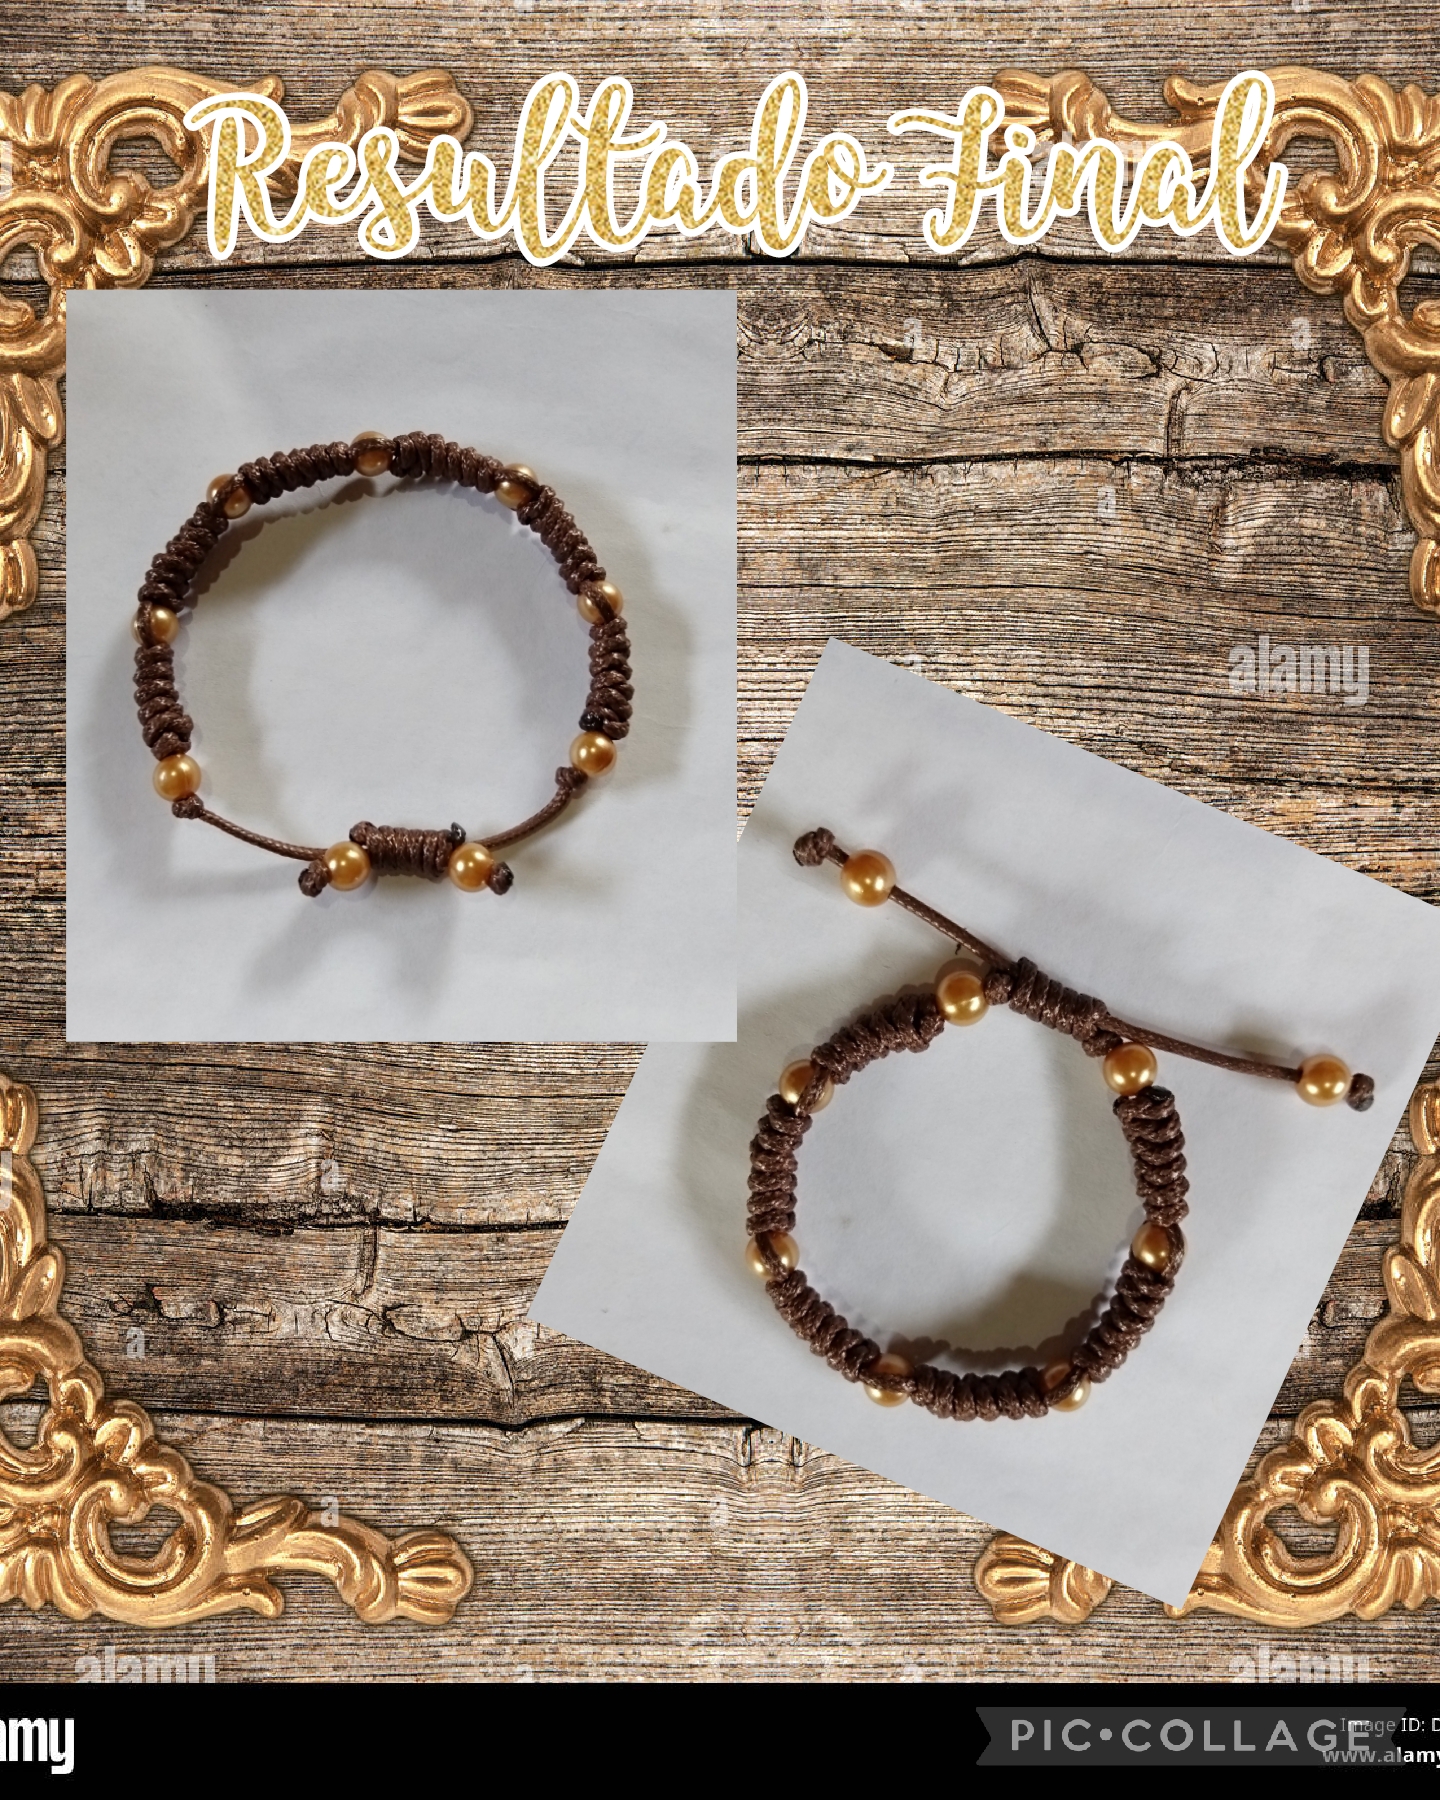
We have reached the end of all the steps, and this is the final result, this beautiful bracelet with snake knots, thanks for visiting my blog, see you very soon, have a good night.
Las fotos fueron capturadas con mi teléfono Tecno Spark 6go, editadas con la aplicación Pic-Collage y el contenido fue traducido con el traductor de Google Esp- Ing.
The photos were captured with my Tecno Spark 6go cell phone, edited with the Pic-Collage application and the content was translated with the Google Esp-Ing translator.
Thank you for sharing this post on HIVE!
Your content got selected by our fellow curator ashikstd & you just received a little thank you upvote from us for your great work! Your post will be featured in one of our recurring compilations which are aiming to offer you a stage to widen your audience within the DIY scene of Hive. Stay creative & HIVE ON!
Please vote for our hive witness <3