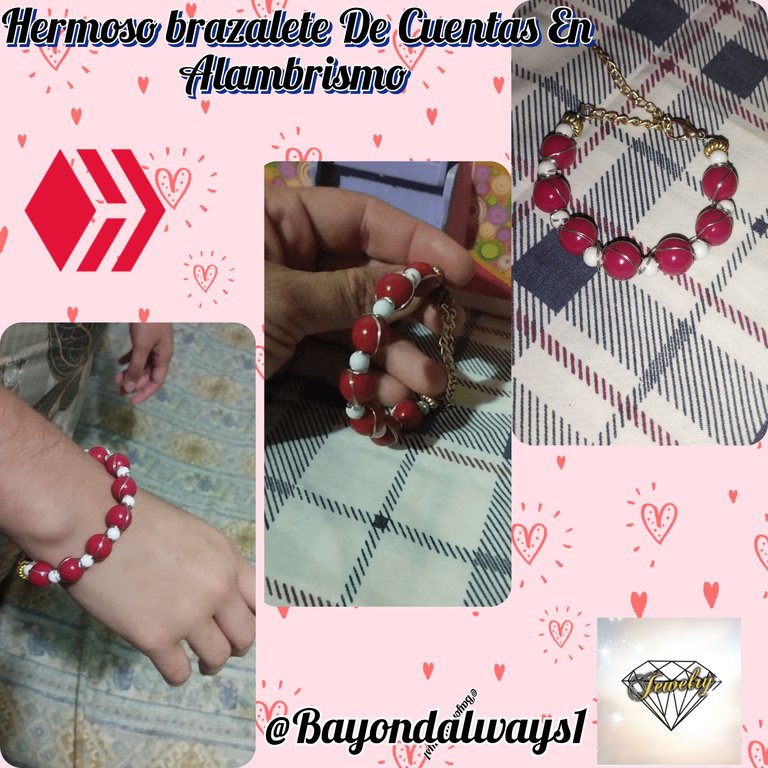
Saludos mis amigos de @jewelry, para mí es maravilloso siempre compartir con ustedes este proceso que me ha llevado a experimentar mis habilidades en esta hermosa plataforma @hive y siempre hay una historia que contar, una anécdota detrás de cada publicación y está vez tengo en mis manos un gran compromiso. A través de mi evolución en este arte de creación de joyas mis amistades me han elogiado mucho por mis elaboración en alambrismo más que todo, y eso sin contarle a ellos que no tengo ningún tipo de experiencia profesional, pero siempre he dicho, querer es poder! Y si lo haces con amor mucho más. En fin tengo un compromiso la bisabuela de mi hija está de cumpleaños el próximo mes, no se encuentra en mi cuidad natal viene de otro estado de visita para mediados de los últimos días de este mes de noviembre y me dejaron como tarea elaborar para ella un brazalete de cuentas rojas y blancas Sencilla porque ella es muy sencilla. Y pues aquí les vengo a contar mi elaboración del día de hoy.
MATERIALES:
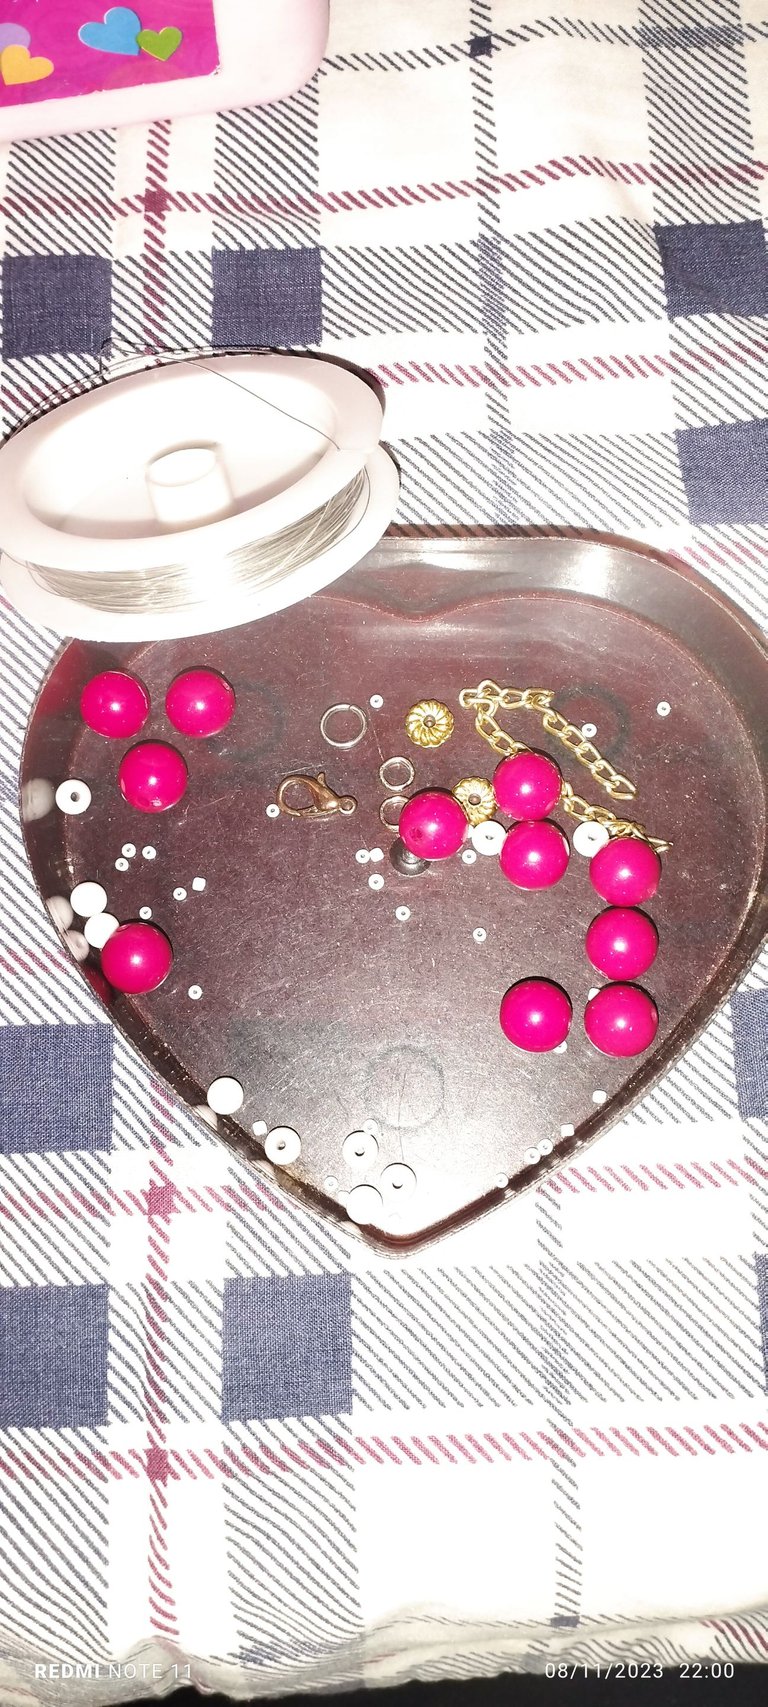
✓ Alambre Número 26 plateado.
✓ Cuentas color Rojo grande.
✓ Cuentas color blancas pequeña.
✓ Separadores.
✓ Cadena.
✓ Broche.
✓ Argollas.
PASO A PASO:
PASO 1:
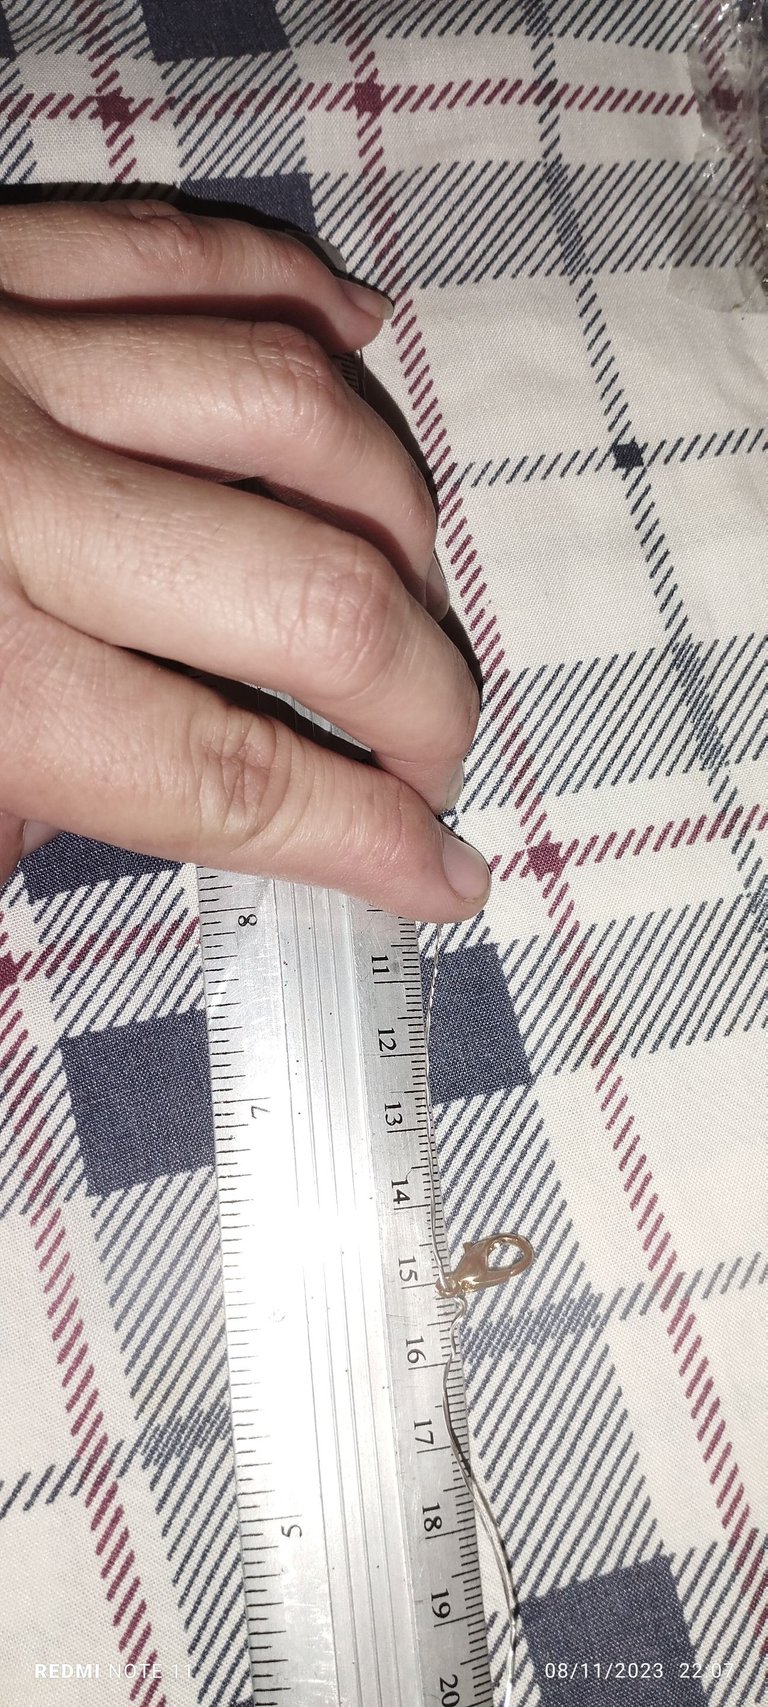
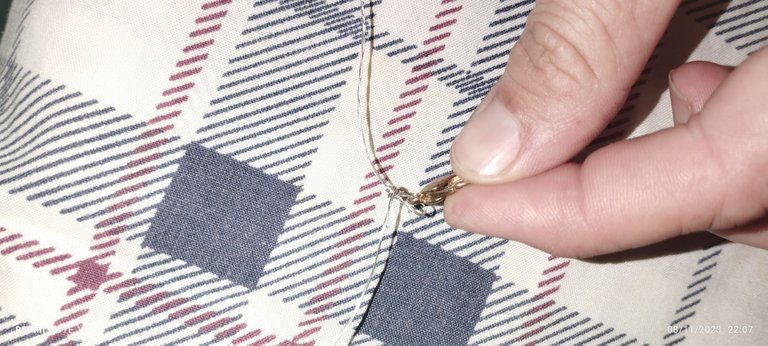
El alambre lo tengo que colocar torcido, esto para que sea resistente y no se valla a romper tan fácilmente. Trabajo más que todo en este alambre xq es muy fácil de manejar y por ahora no cuento con todos las herramientas que se deben utilizar y uno más que todo mis dedos. Para el moldeado. Luego que tengo listo el alambre torcido mido 15 centímetros de largo y coloco el broche y lo ajusto bien dando varias vueltas sobre el doblaje para que no se me suelte y quede fijo de una vez.
PASO 2:
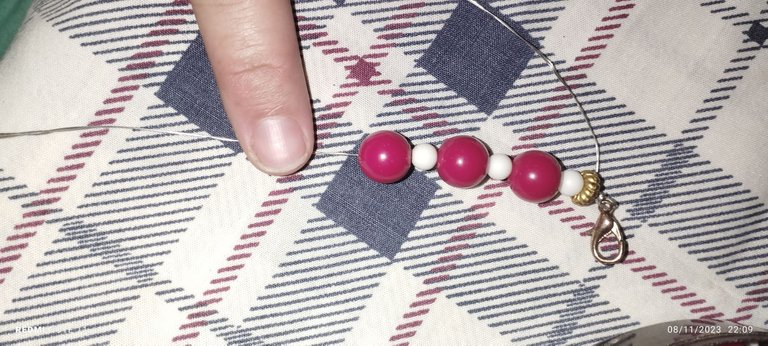
Ahora vamos a introducir un separador entre el broche y la primera cuenta que será de color blanco y luego una roja.


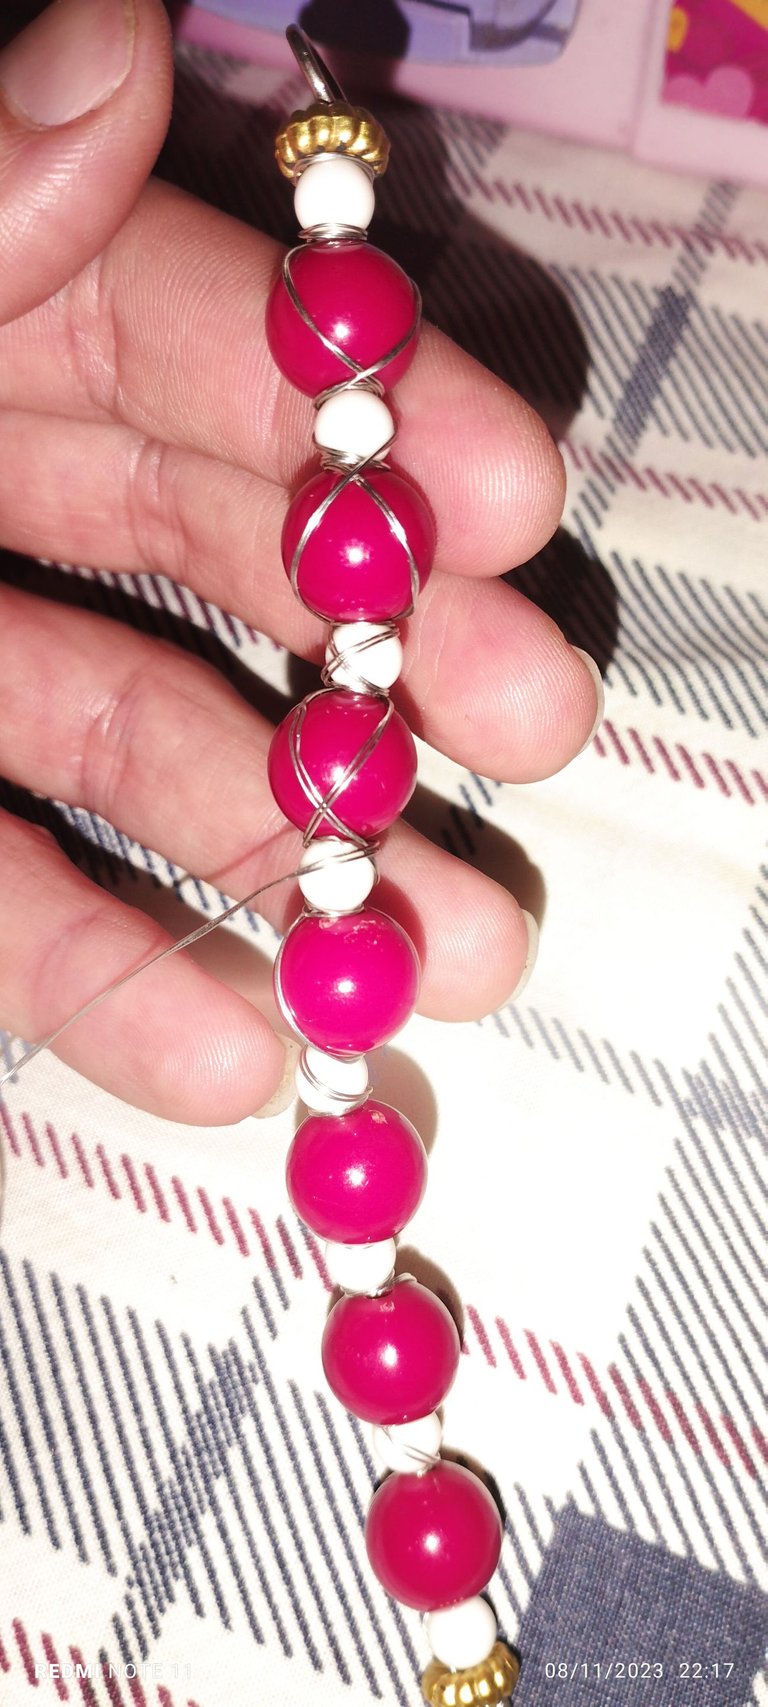
PASO 3:
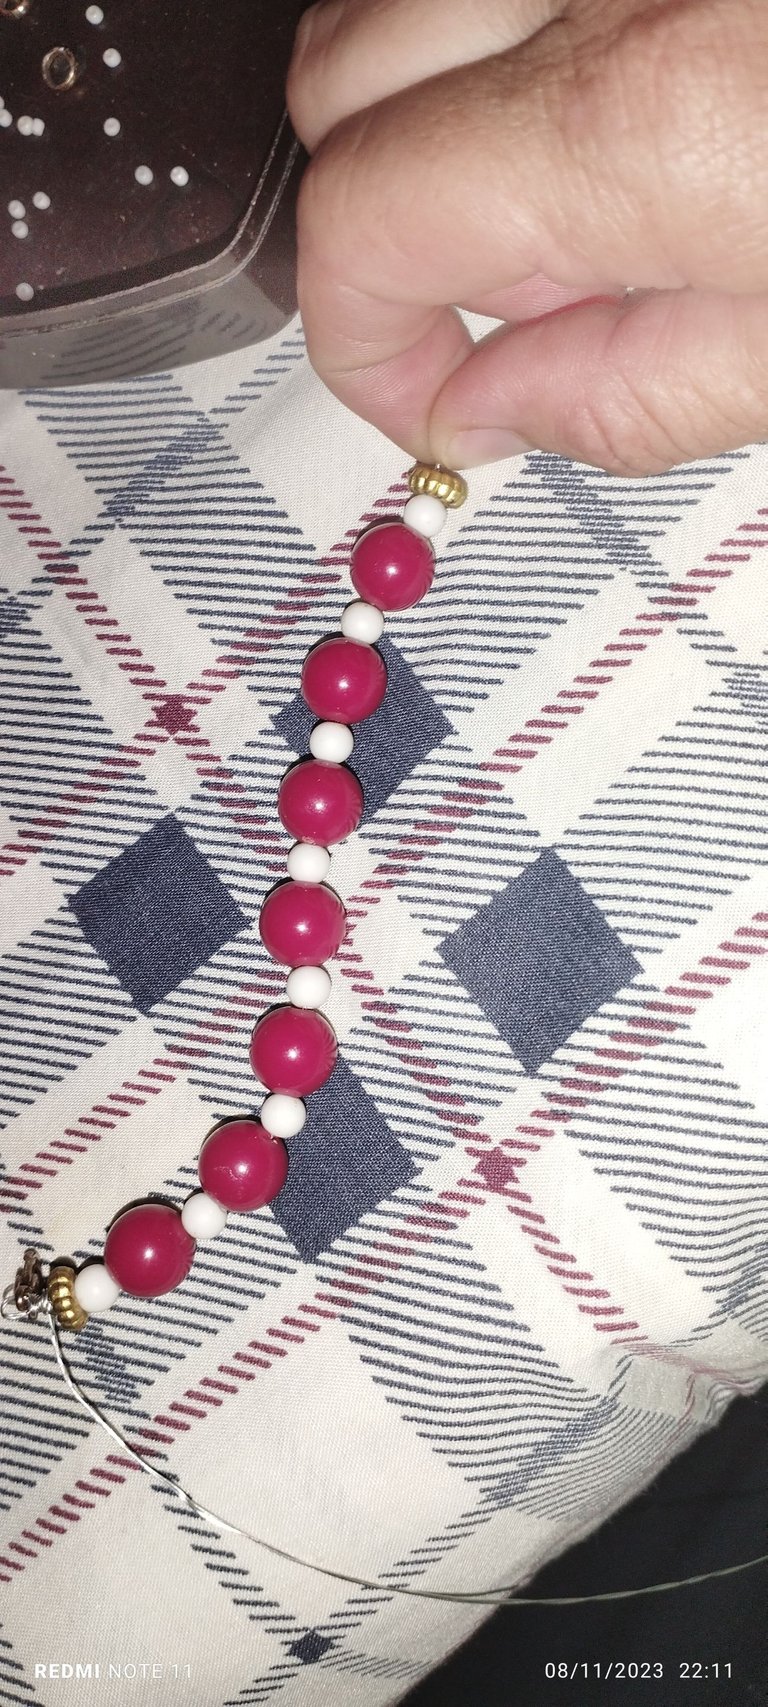
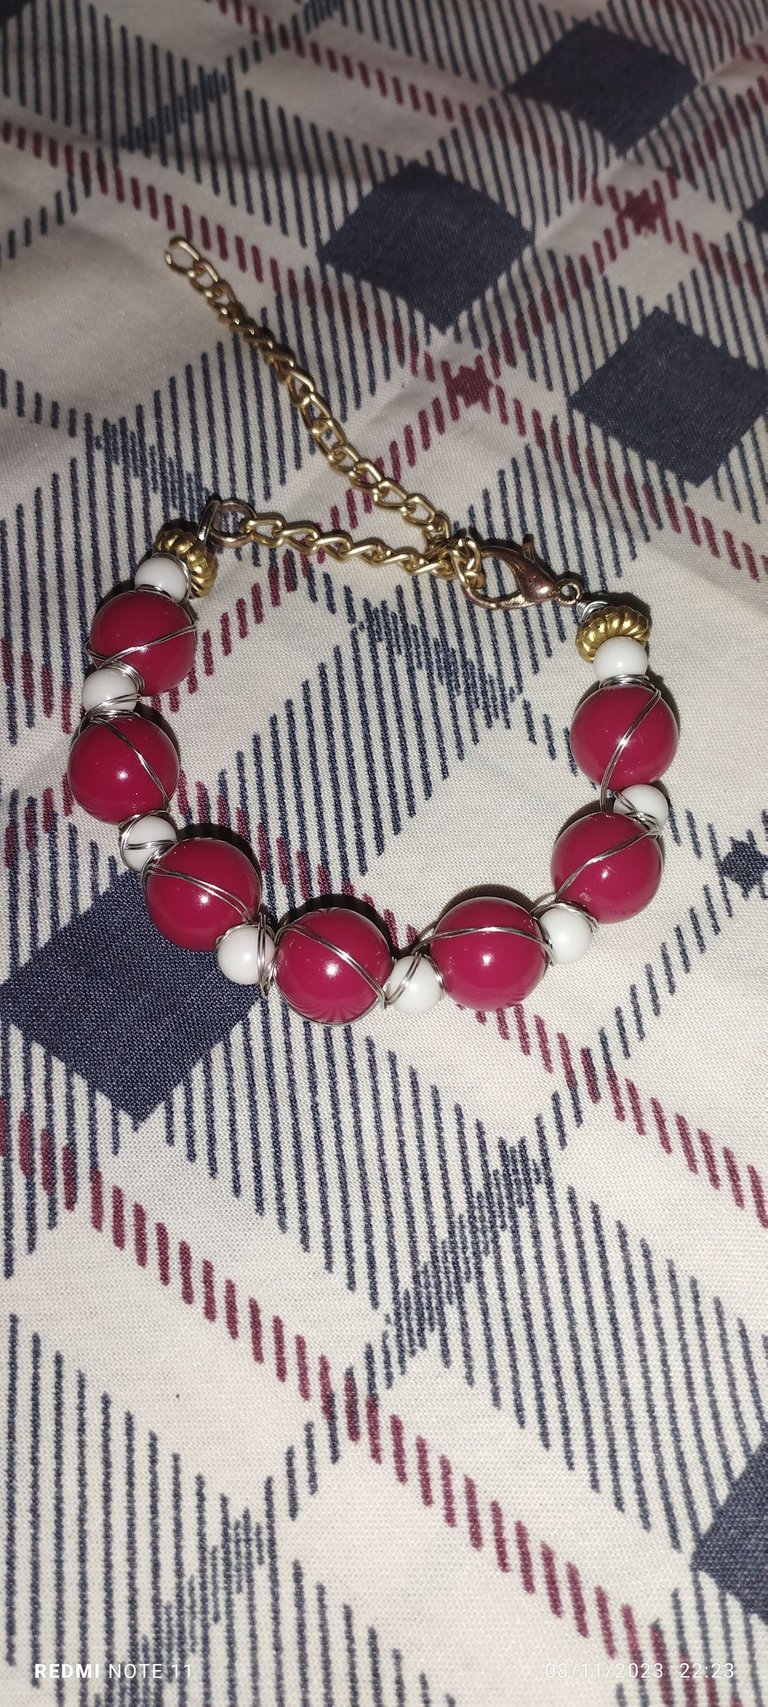
Este proceso lo vamos a repetir hasta que tengamos el largo que se desee yo utilice 8 cuántas blancas y 7 rojas los dos Separadores uno al comienzo y otro al final.
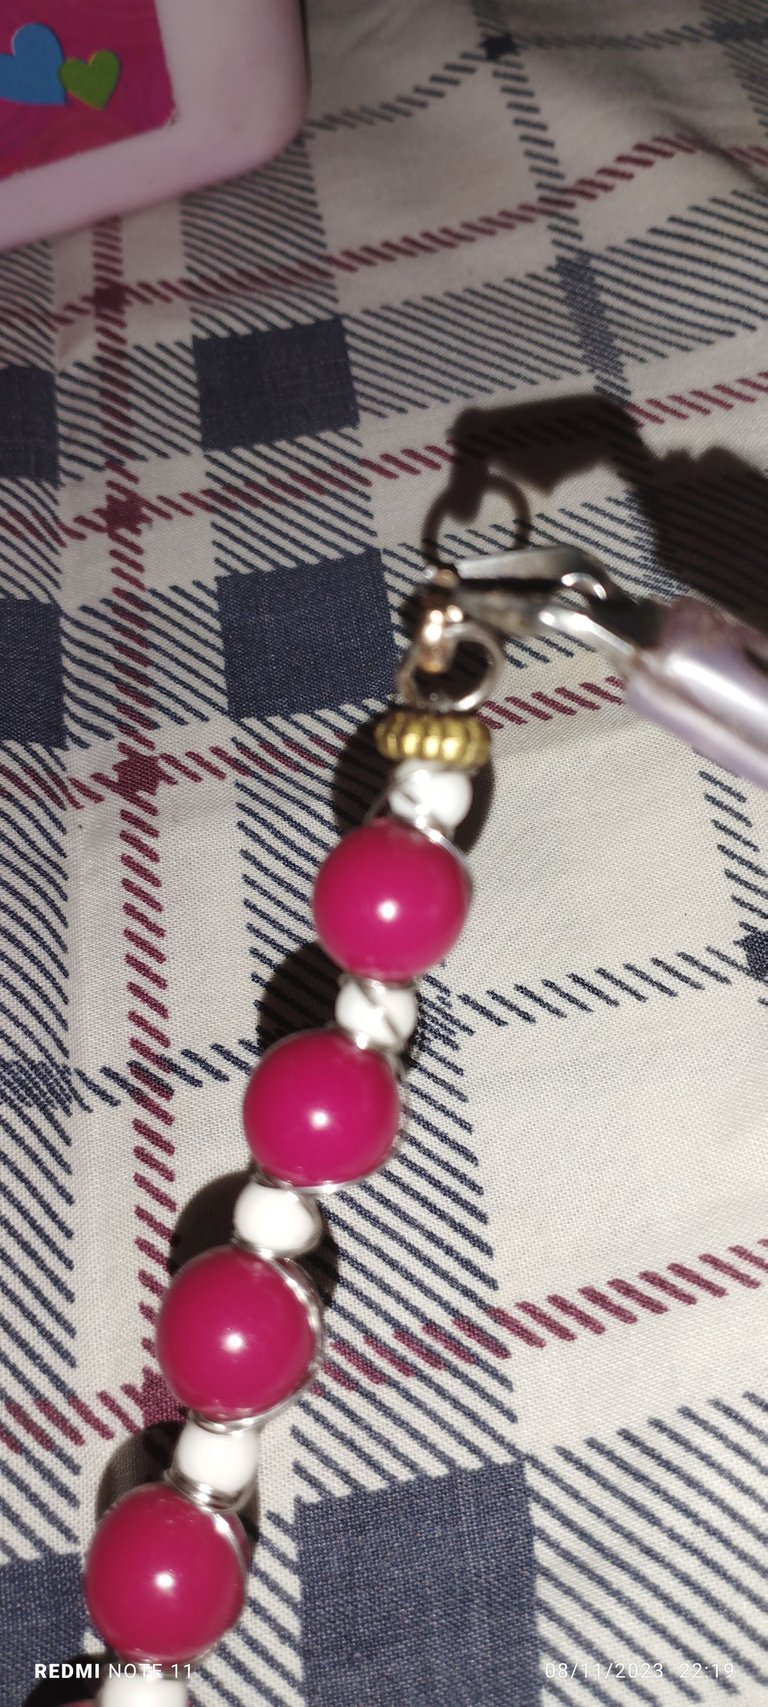
PASO 4:
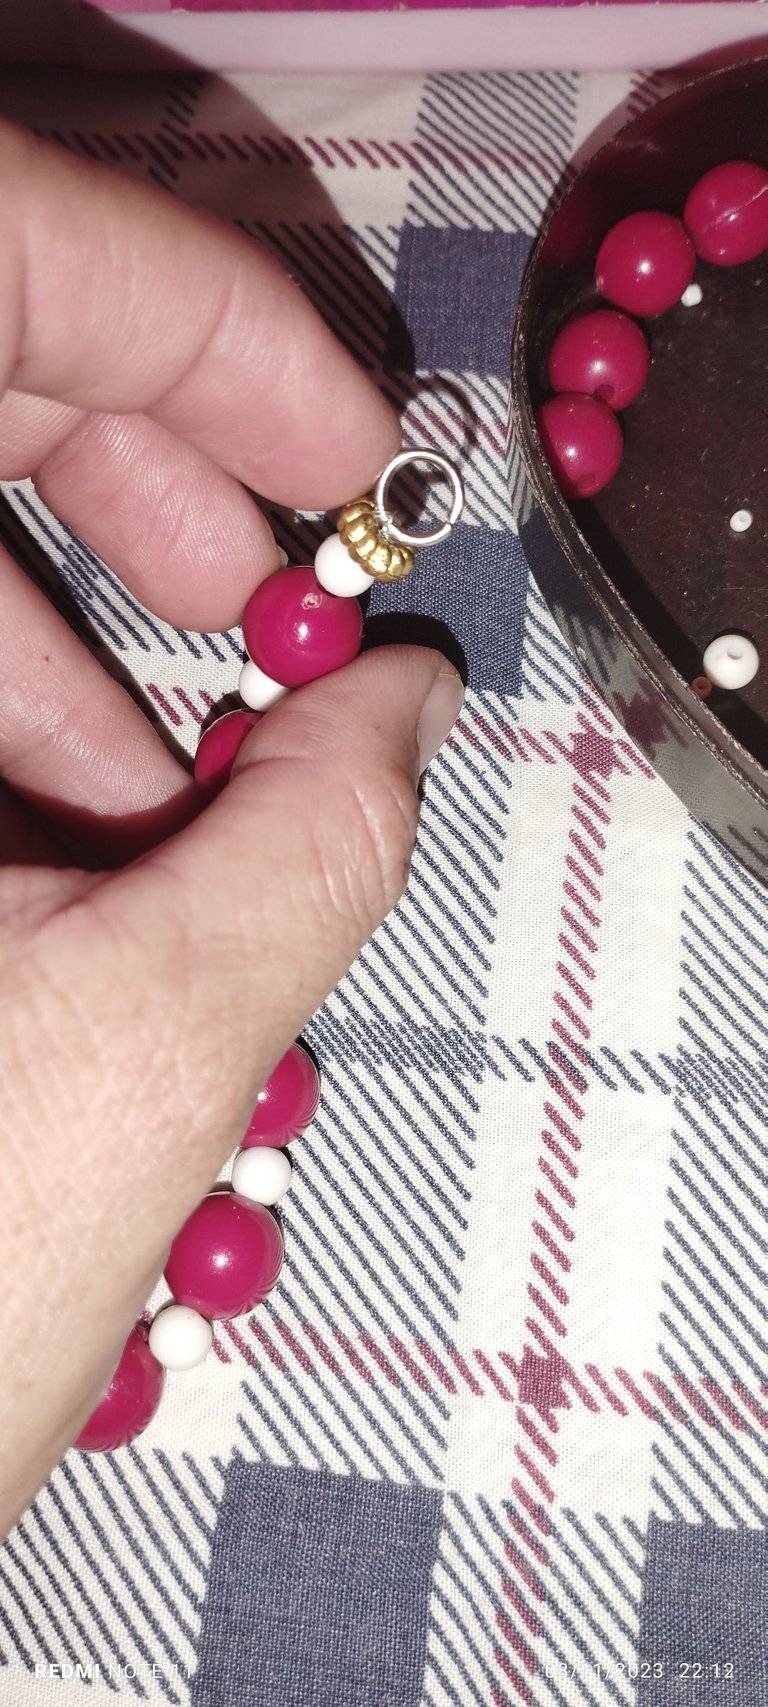
Cuando tengamos listas todas las cuantas en el excedente del alambre colocamos una argolla y ajustamos bien, este para colocar luego la cadena para extender la pulsera.
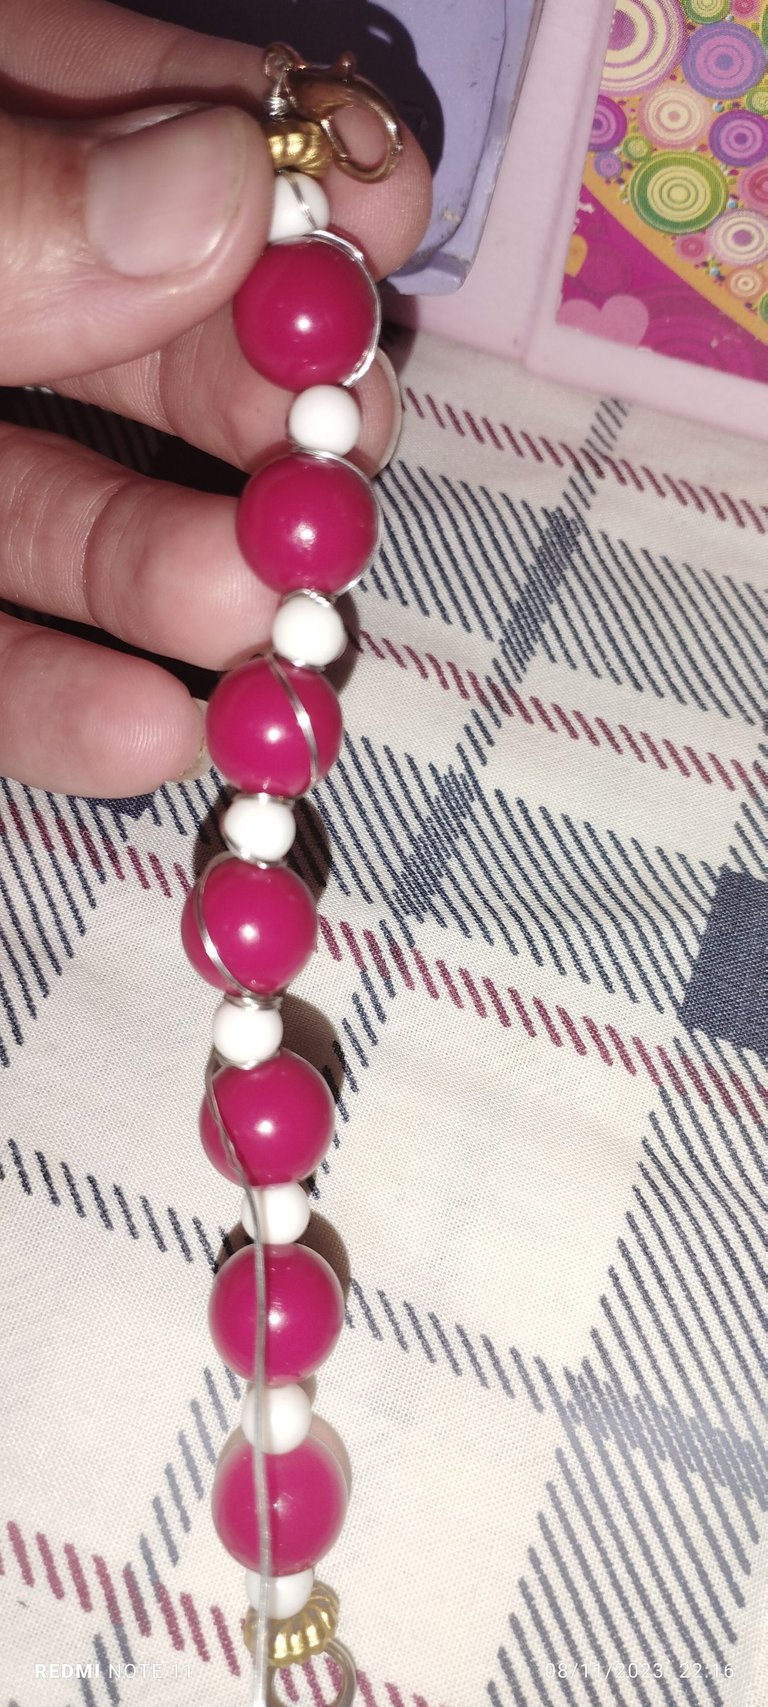
PASO 5:
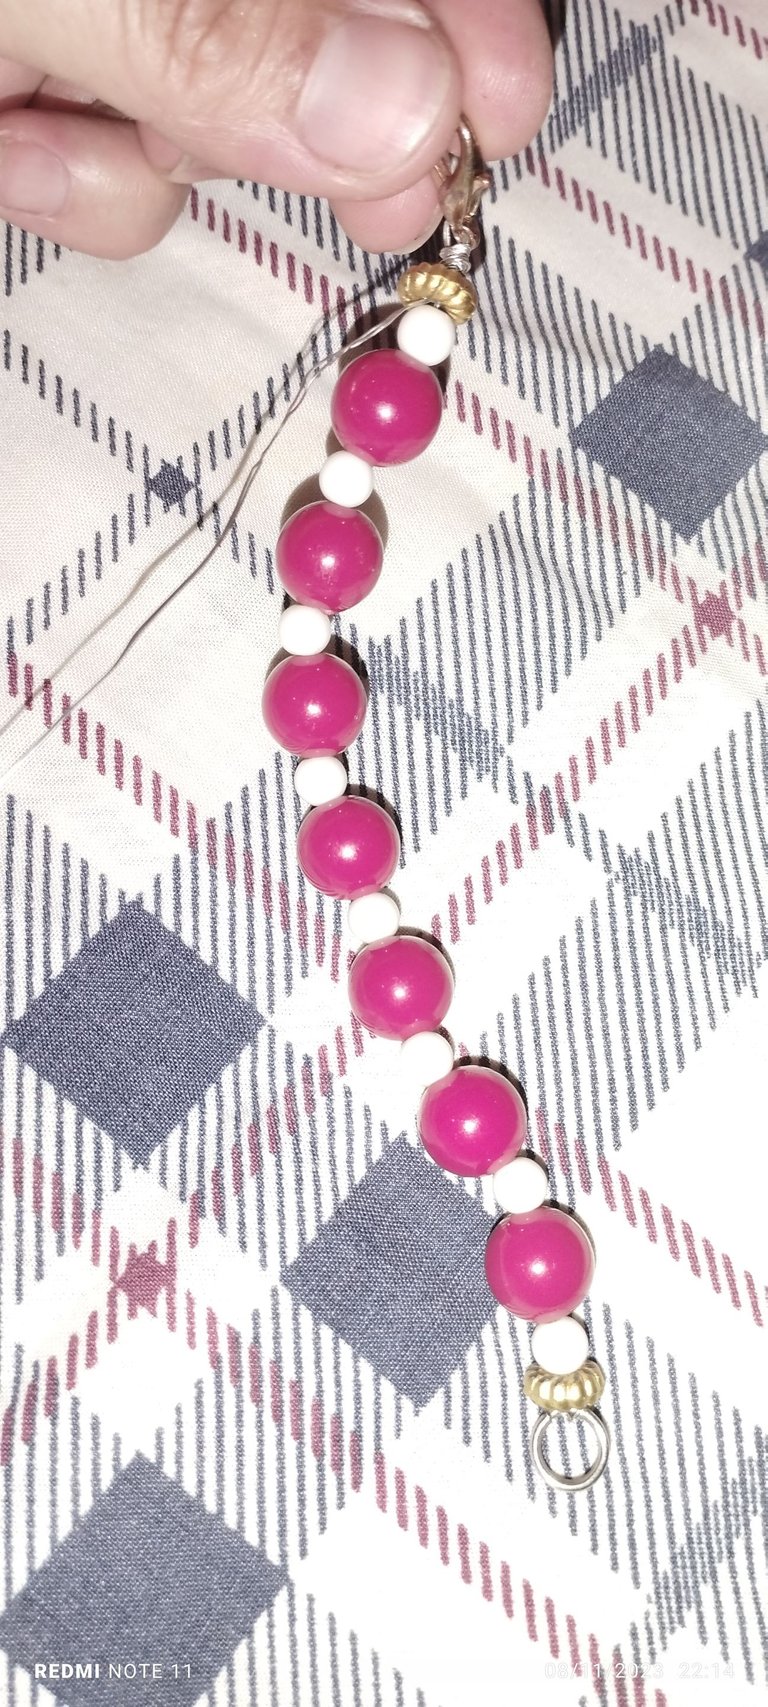
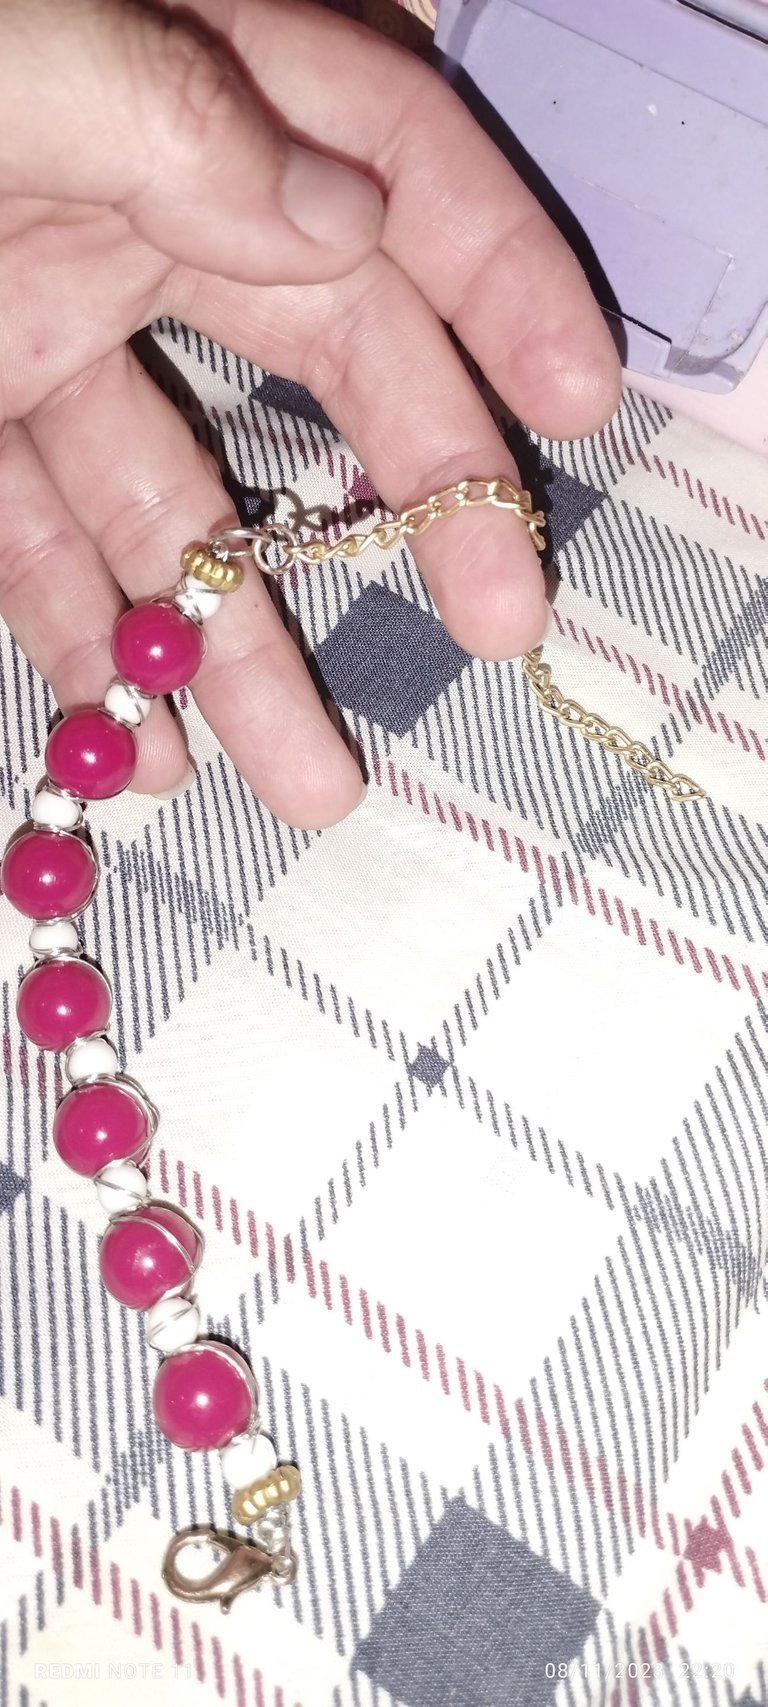
Ahora con el excedente del alambre vamos a rodear cada cuenta y hacemos un pequeño diseño yo se lo hice en forma de X y se ve hermosa. Y en medio de cada cuenta hacemos tres o dos vueltas esto depende del gusto yo hice tres.
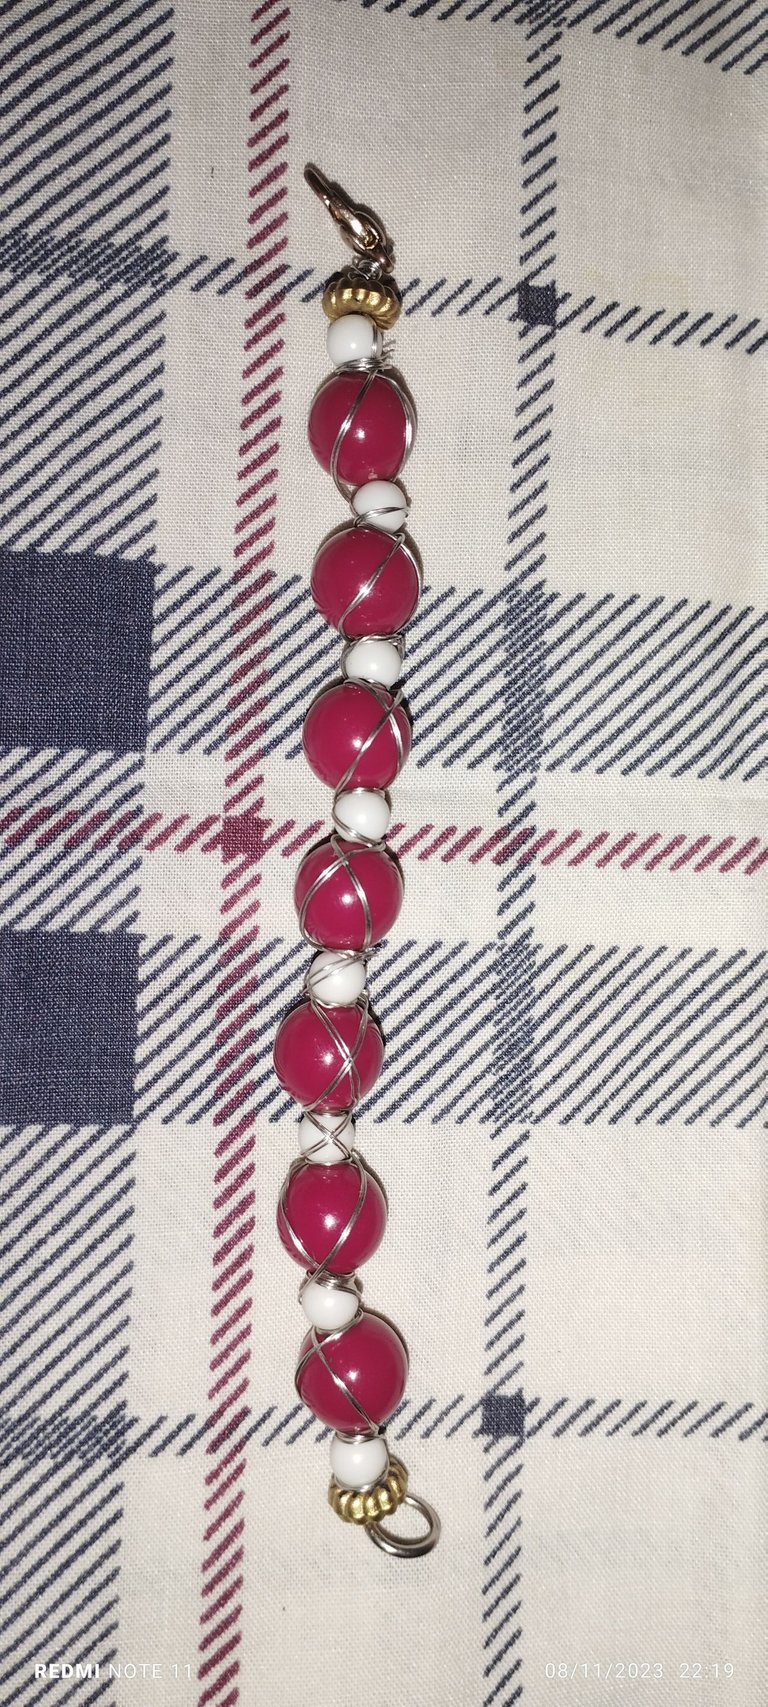
PASO 6:
Una vez terminado el proceso le colocamos la cadena y ya tenemos culminado mi encargo para la bisabuela de mi hija. Yo espero que le guste a ella y también a ustedes mis queridos amigos hivers. Me encantó compartir este proceso con ustedes.
Muchas gracias por el apoyo, les envío infinitas bendiciones.
Hasta la próxima oportunidad 🤗.

SALUDOS
Las imagenes me pertenecen, fueron tomadas de mi teléfono Redmi Note 11.
Las imágenes fueron editadas por programa de editor de fotos Polish.
traductor: Deepl Traslator.
Greetings my friends of @jewelry, for me it is wonderful to always share with you this process that has led me to experience my skills on this beautiful platform @hive and there is always a story to tell, an anecdote behind each publication and this time I have in my hands a great commitment. Throughout my evolution in this art of jewelry creation my friends have praised me a lot for my elaboration in wire wrap more than anything, and that without telling them that I don't have any professional experience, but I have always said, will is power! And if you do it with love much more. Anyway I have a commitment, my daughter's great-grandmother has a birthday next month, she is not in my hometown, she is coming from another state to visit in the middle of the last days of this month of November and they left me as a task to make her a bracelet of red and white beads Simple because she is very simple. And so here I come to tell you about my elaboration today.
MATERIALS:
✓ Silver plated wire number 26.
✓ Large red beads.
✓ Small white beads.
✓ Separators.
✓ Chain.
✓ Brooch.
✓ Hoops.
STEP BY STEP:
STEP 1:
The wire I have to place it twisted, this so that it is resistant and it will not break so easily. I work mostly on this wire because it is very easy to handle and for now I don't have all the tools that must be used and one more than all my fingers. For the molding. After I have the twisted wire ready I measure 15 centimeters long and place the clasp and adjust it well by turning it several times over the bending so that it doesn't come loose and is fixed at once.
STEP 2:
Now we are going to insert a separator between the brooch and the first bead which will be white and then a red one.
STEP 3:
We are going to repeat this process until we have the desired length. I used 8 white and 7 red ones, the two separators, one at the beginning and the other at the end.
STEP 4:
When we have ready all the quanta in the excess wire we place a ring and adjust well, this to then place the chain to extend the bracelet.
STEP 5:
Now with the excess wire we are going to go around each bead and make a small design I did it in the shape of an X and it looks beautiful. And in the middle of each bead we make three or two wraps this depends on taste I did three.
STEP 6:
Once the process is finished we put the chain and we have finished my order for my daughter's great-grandmother. I hope she likes it and so do you my dear hivers friends. I loved sharing this process with you.
Thank you very much for your support, I send you infinite blessings.
Until the next opportunity 🤗.
Greetings
The images belong to me, they were taken from my Redmi Note 11 phone.
The images were edited by Polish photo editor program.
translator: Deepl Traslator.
Amiga quedó bonita saludos y bendiciones para ti 😘
Gracias amiga .. saludos 😘🤗
Muy linda Amiga Bendiciones para ti 😊
Gracias amigo .. igual para ti y tu familia 😘
Hermoso amiga , éxitos.
Amén mamita gracias. Saludos bella
Muy hermosa, ella estará feliz!
Hermosa amiga.. saludos.
Gracias por el apoyo
Te quedó muy bella. Exitos
Gracias amigo
The red and white beads combined to make the bracelet turned out well with the chain especially the wire used to weave it.
Hi, thanks friend, glad you liked it, greetings!
Linda pulserita!
Gracias amiga .. saludos !